Red Velvet Cupcakes

This post may contain affiliate links. Read my full disclosure policy.
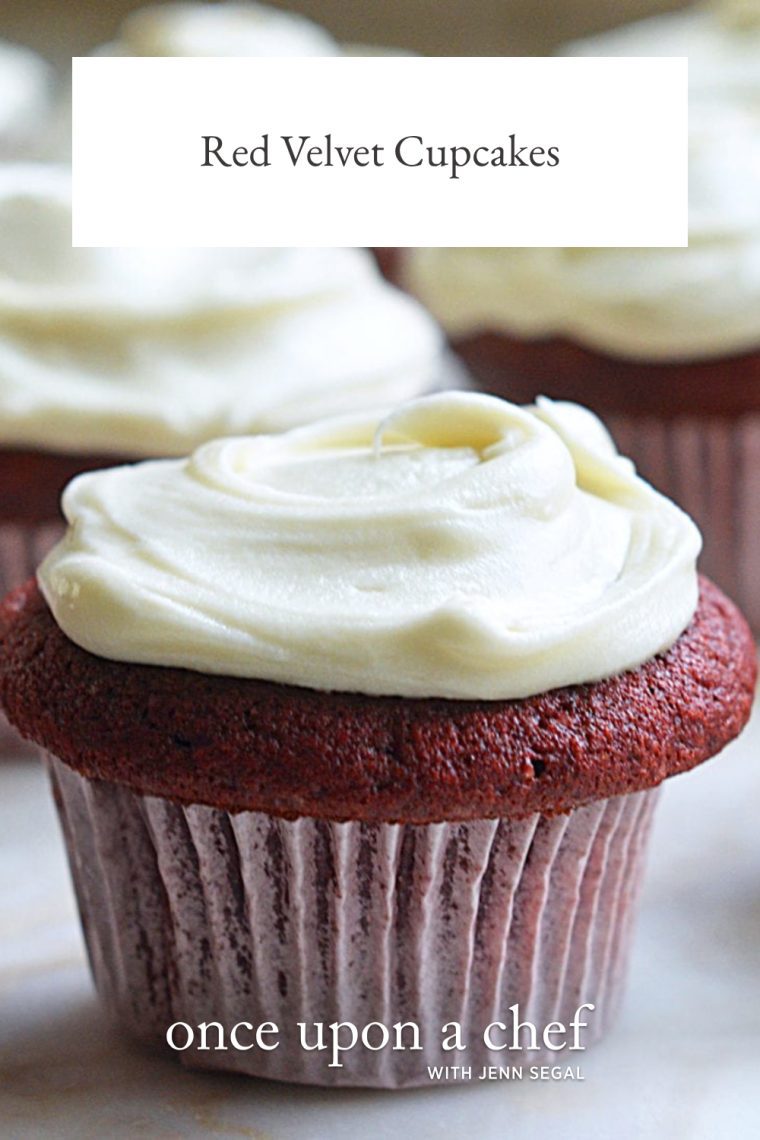
Charming? Check. Kitschy? Absolutely. But who can resist red velvet cupcakes with their subtle chocolate flavor, gorgeous hue, and lavish swirl of cream cheese frosting on top?

The best quote about the allure of red velvet cake comes from Southern food writer Angie Mosier, who said, “It’s the Dolly Parton of cakes—a little bit tacky, but you love her.” It’s true: the cake is sometimes appallingly red, but I don’t know anyone who can resist it. This version, modestly adapted from Dam Good Sweet: Desserts to Satisfy Your Sweet Tooth, New Orleans Style by David Guas and Raquel Pelzel, is my all-time favorite. The cupcakes have a subtle chocolate flavor, deep mahogany color, and lavish swirl of tangy cream cheese frosting on top.
You should know right off the bat that these cupcakes are made with a lot of food coloring. After all, the color is the main idea! There are many theories as to why the cake is red, but no one knows for sure; to read about it, check out this wonderful New York Times article.
Table of Contents
“Delicious, moist, just the right amount of sweet, and absolutely lovely!”
What You’ll Need To Make Red Velvet Cupcakes
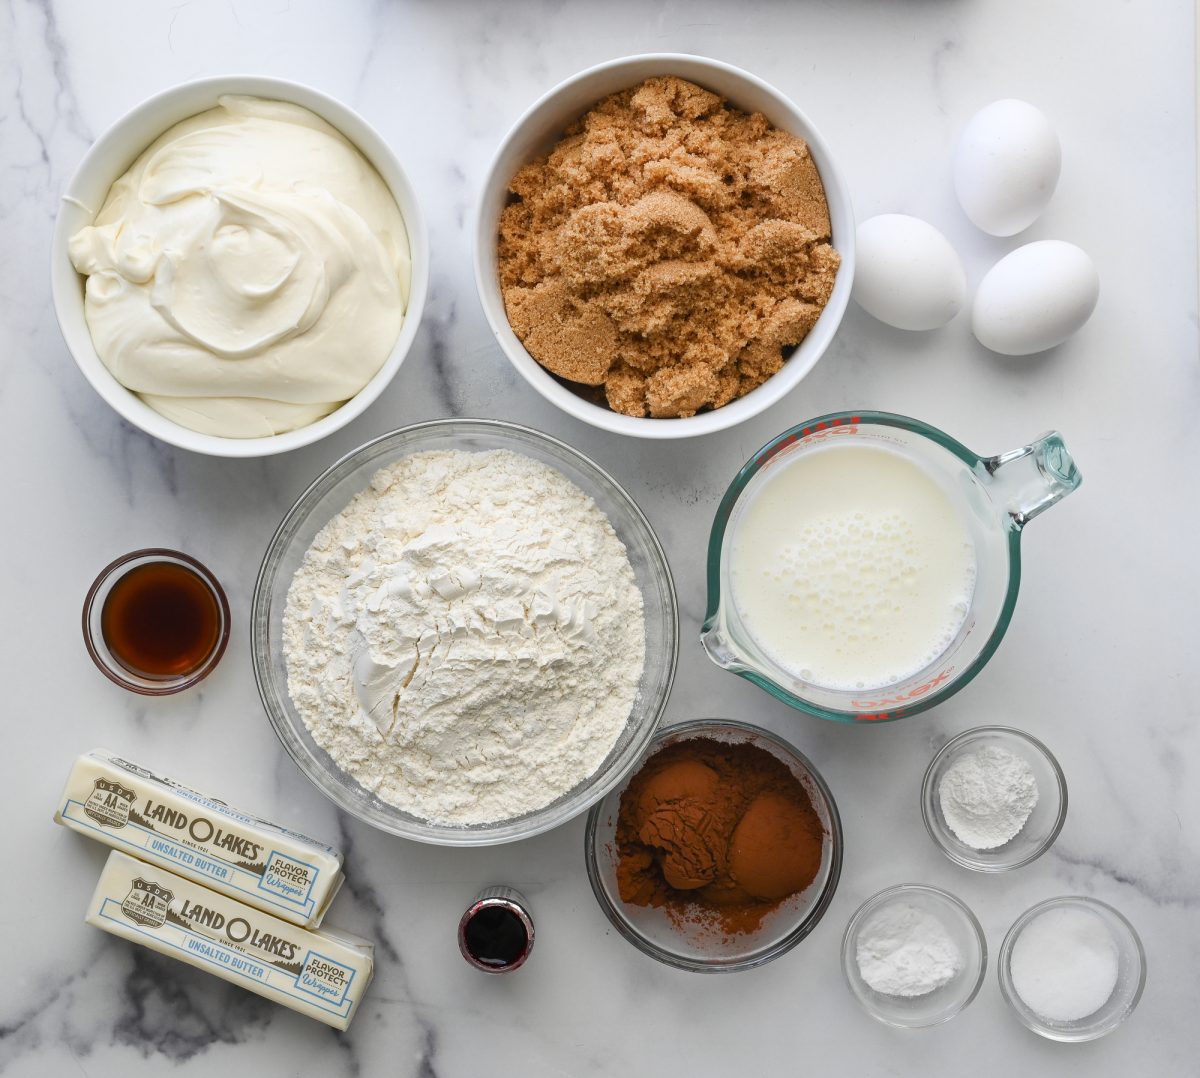
- All-purpose flour: Provides the structure for the cupcakes. Use the spoon-and-level method when measuring to ensure accuracy.
- Dutch-processed cocoa powder: Adds a lovely subtle chocolate flavor characteristic of red velvet cupcakes. Natural cocoa powder can also be used, but the cupcakes won’t be quite as chocolaty.
- Baking soda and baking powder: These leavening agents help the cupcakes rise and become fluffy.
- Unsalted butter: Adds richness and moisture to the batter; also used to grease the pans to prevent sticking.
- Light brown sugar: Contributes to the cupcakes’ moisture and adds a subtle molasses flavor.
- Red Food Coloring: Provides the signature red color of red velvet cupcakes. I recommend using gel food coloring, such as Wilton (No-taste) Red Gel Icing Color, as it lends intense color without affecting the taste or consistency of the cupcakes. (See FAQs below for more details.)
- Eggs: Bind the ingredients together, adding structure and contributing to the cupcakes’ richness.
- Buttermilk: Its acidity reacts with the baking soda for lift and tenderizes the flour, making the cupcakes soft and moist while adding a slight tanginess. If you don’t want to buy a whole carton, see my easy method for how to make buttermilk with milk and lemon juice or vinegar.
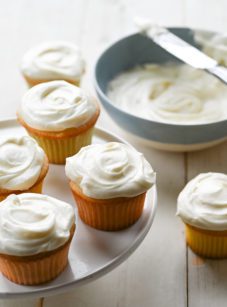
- Cream Cheese Frosting: Made with cream cheese, butter, powdered sugar, and vanilla extract, this slightly tangy frosting adds a luscious finish that balances the sweetness of the cake.
- Jump to the printable recipe for precise measurements
Step-By-Step Instructions
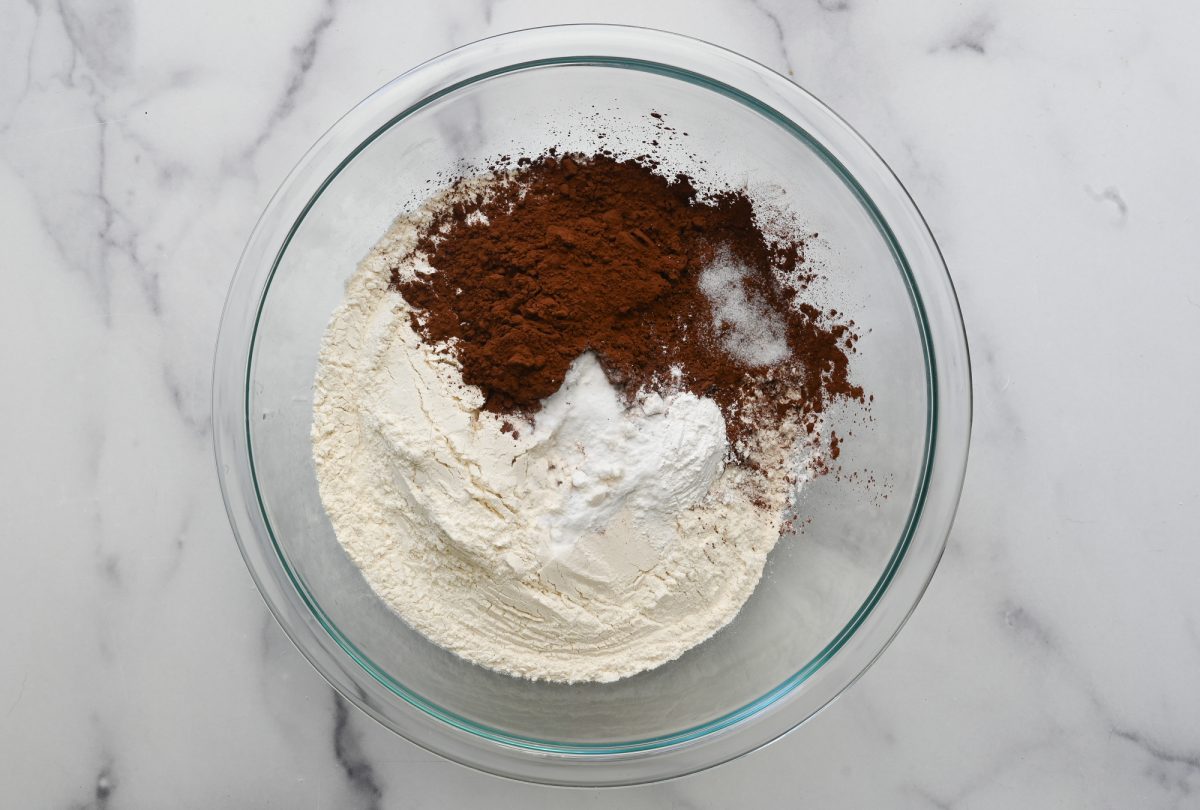
Begin by combining the flour, cocoa powder, baking powder, baking soda, and salt.
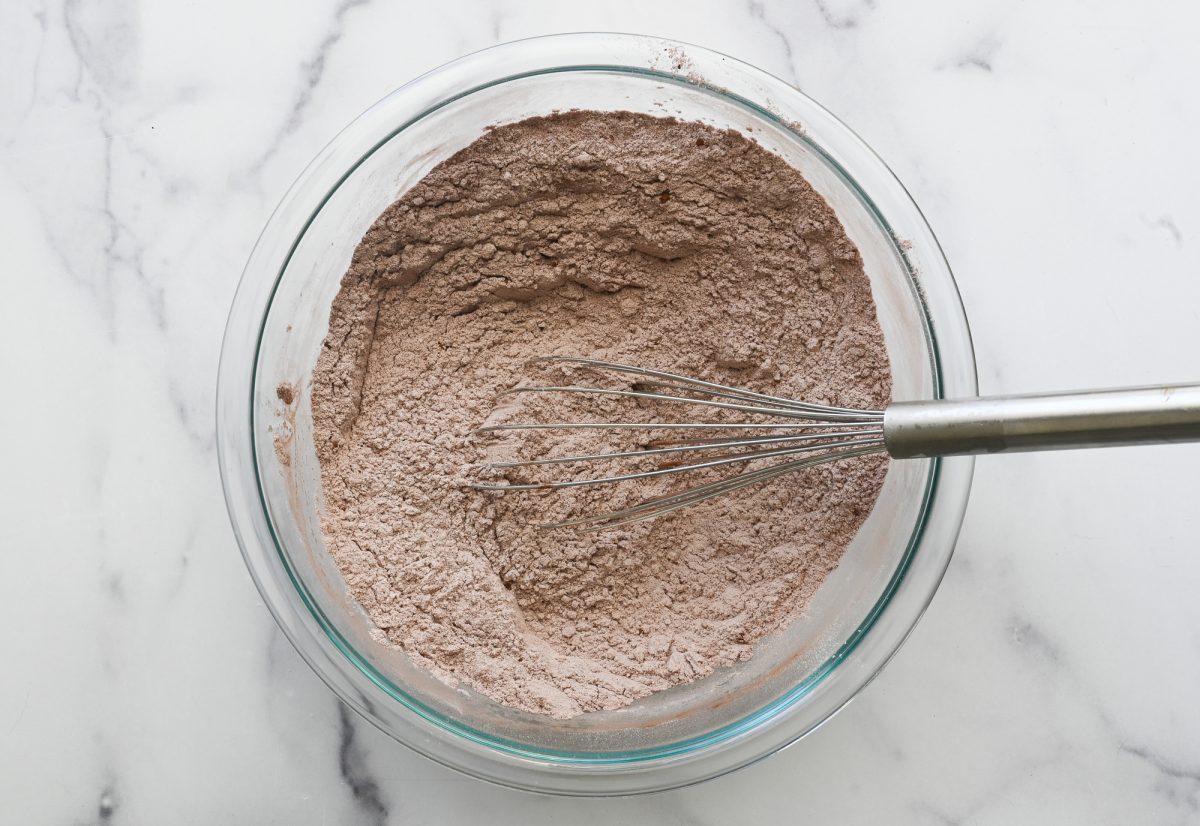
Whisk until well combined, then set aside.
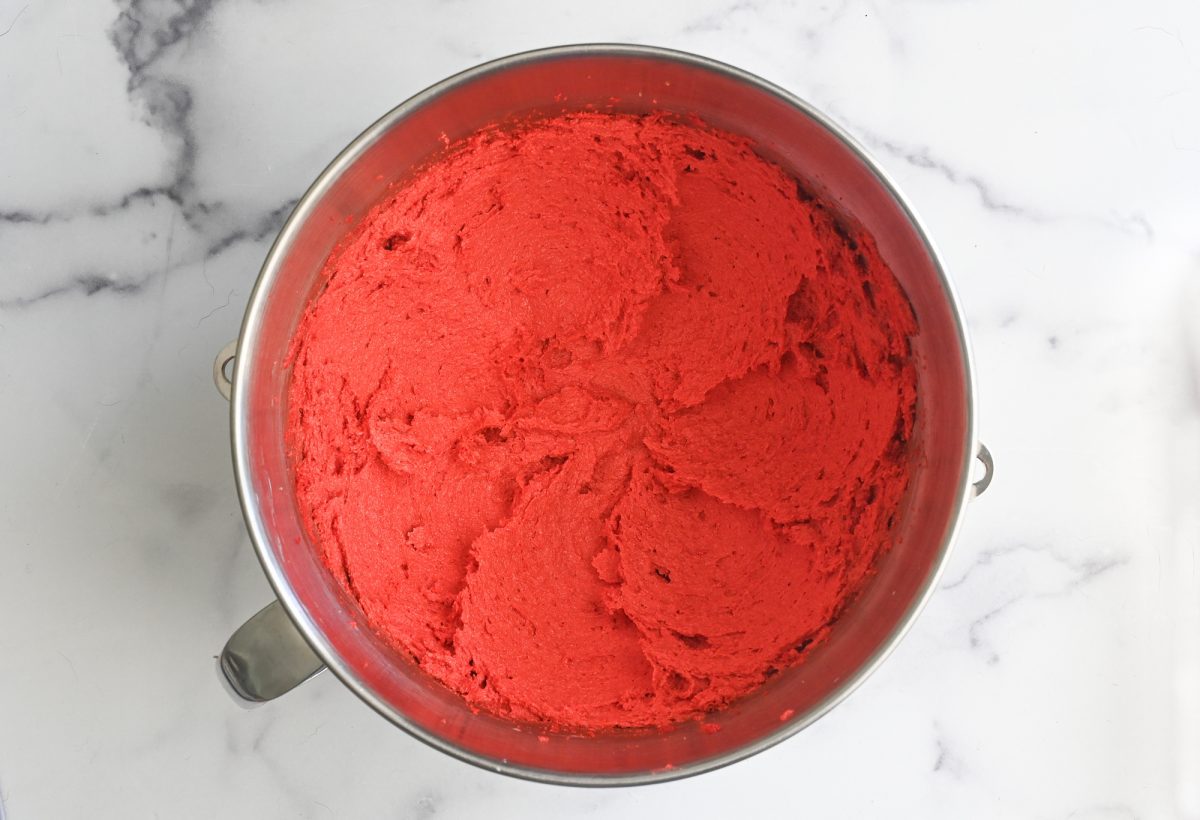
In the bowl of an electric mixer, combine the butter, light brown sugar, vanilla and food coloring.
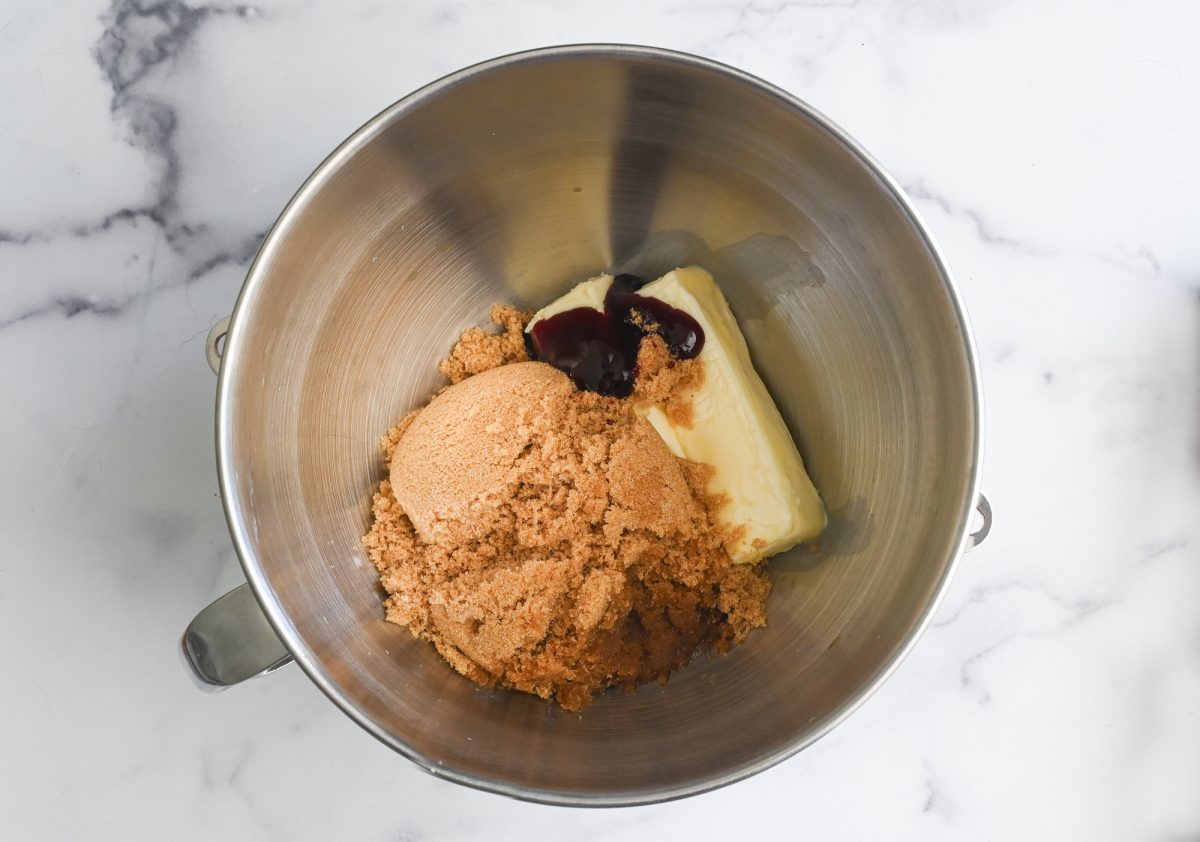
Mix on low speed until combined (go easy — you don’t want to splatter red food coloring all over your kitchen!) and then increase the speed and beat until light and aerated, about 2 minutes.
Scrape down the bowl and add the eggs one at a time.
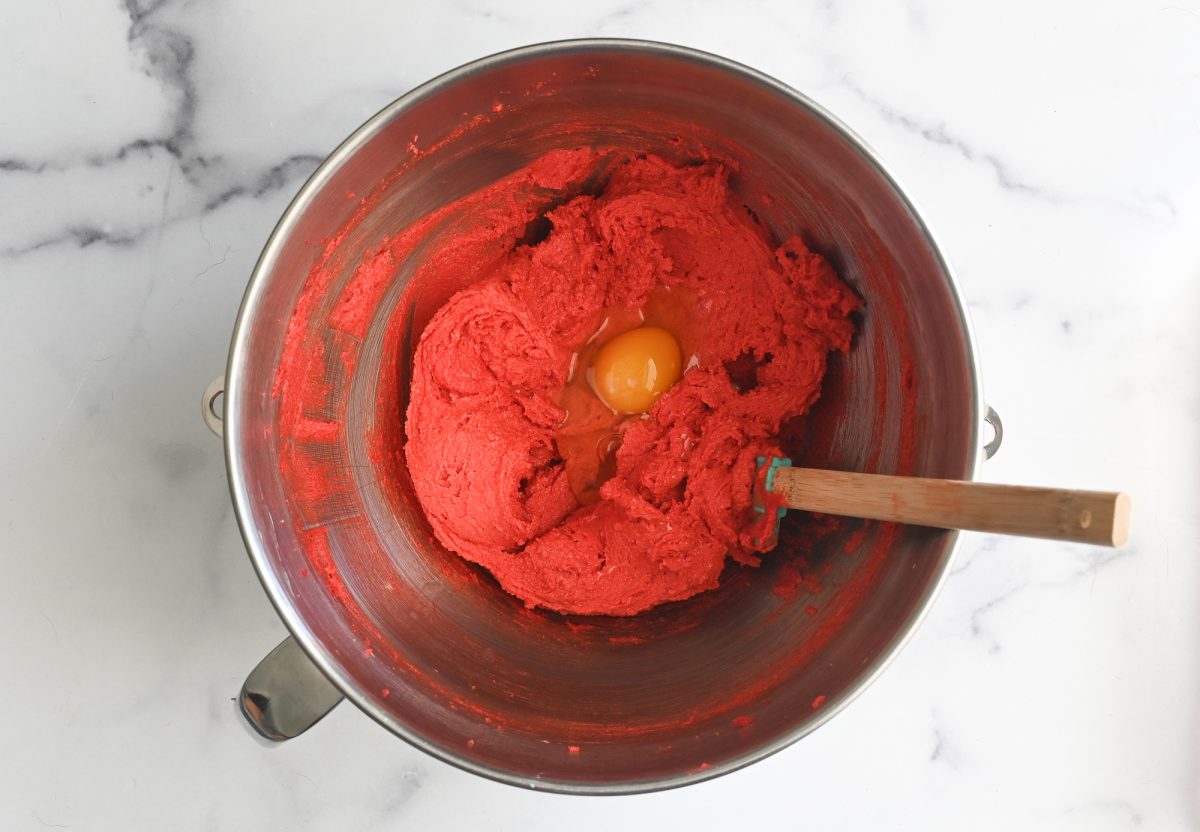
Beat well after each addition.
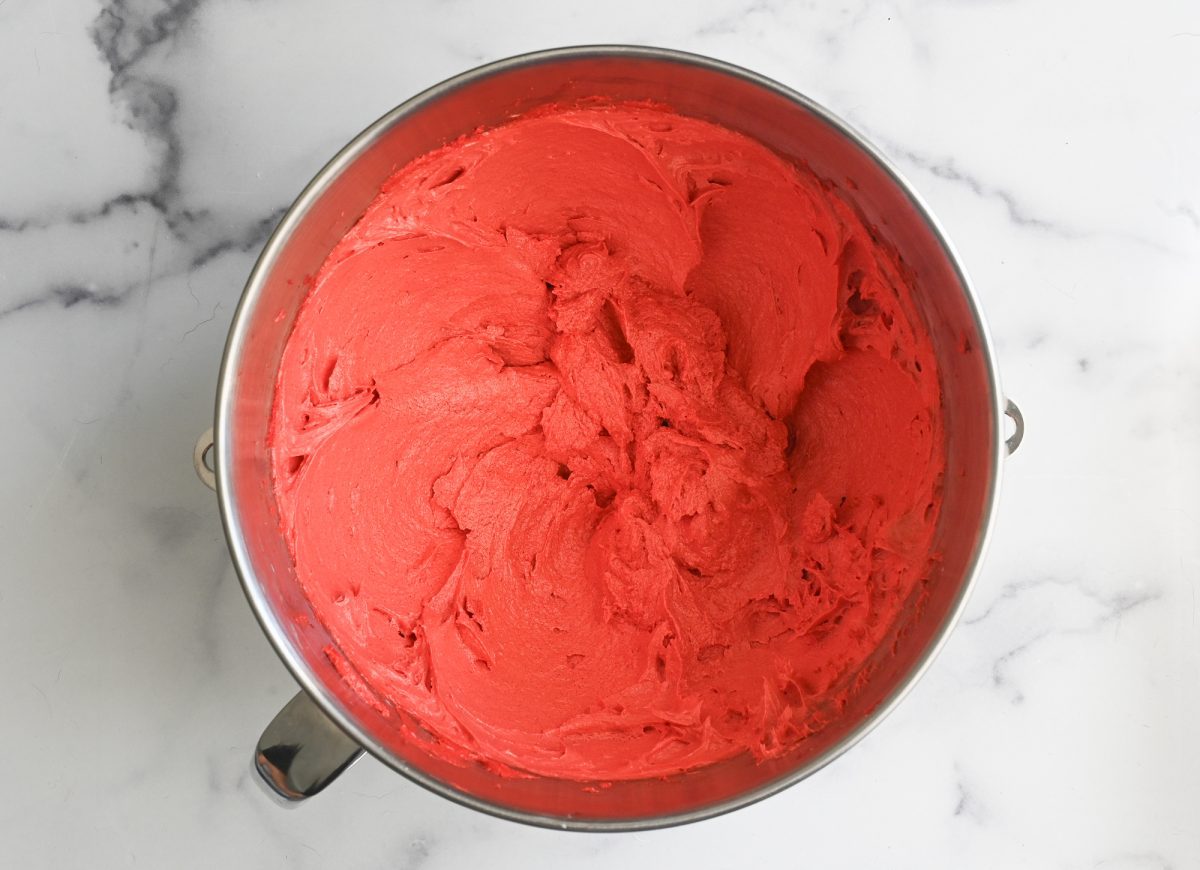
Then mix in one-third of the flour mixture.

Follow that with half of the buttermilk.
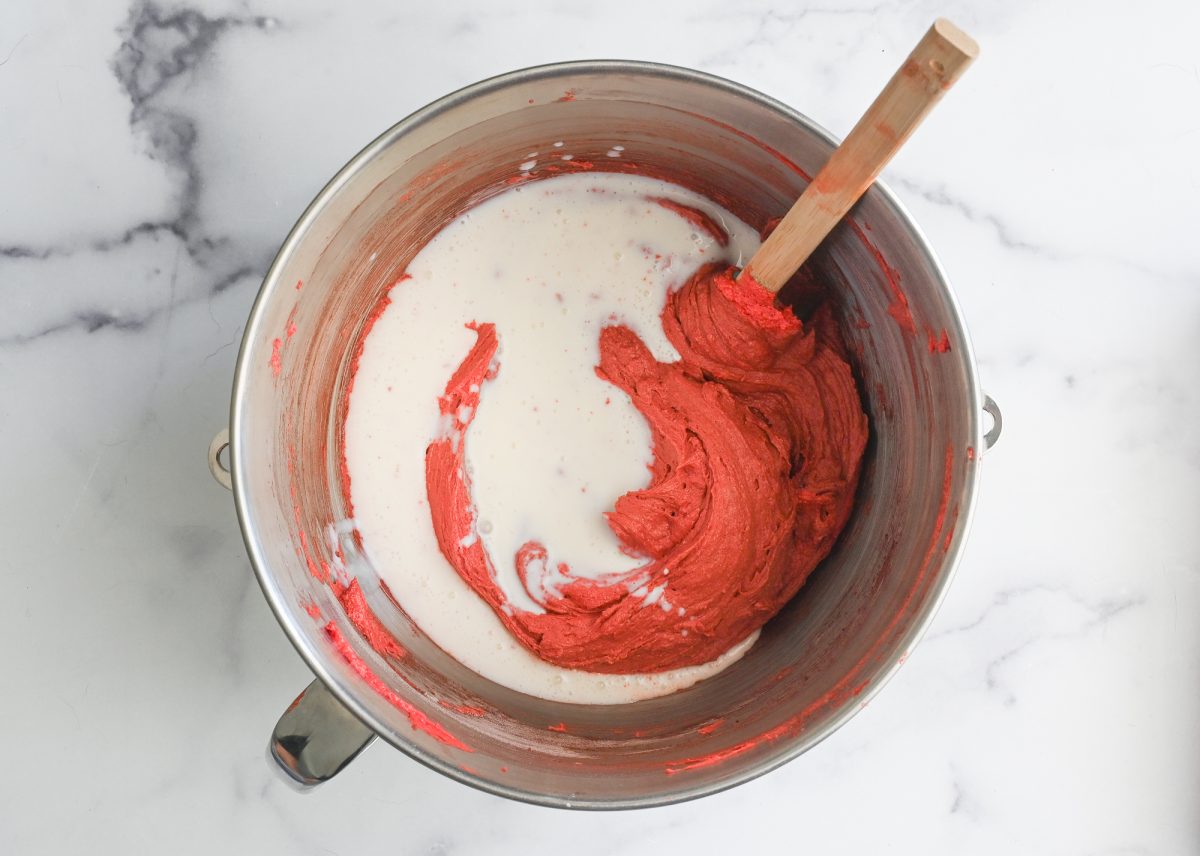
Mix in another third of the flour. Then repeat with the remaining buttermilk and flour.
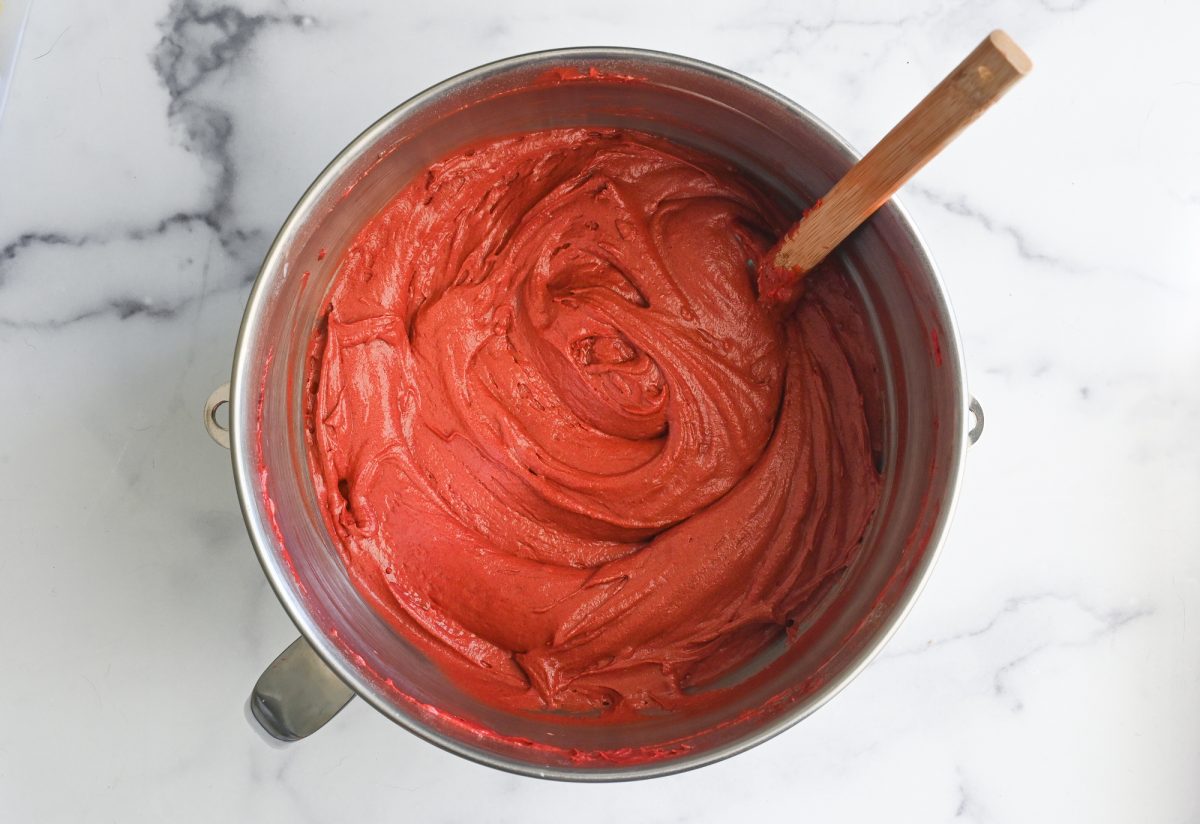
When the batter is well-mixed, spoon it into the cupcake pans, filling the liners almost to the top.
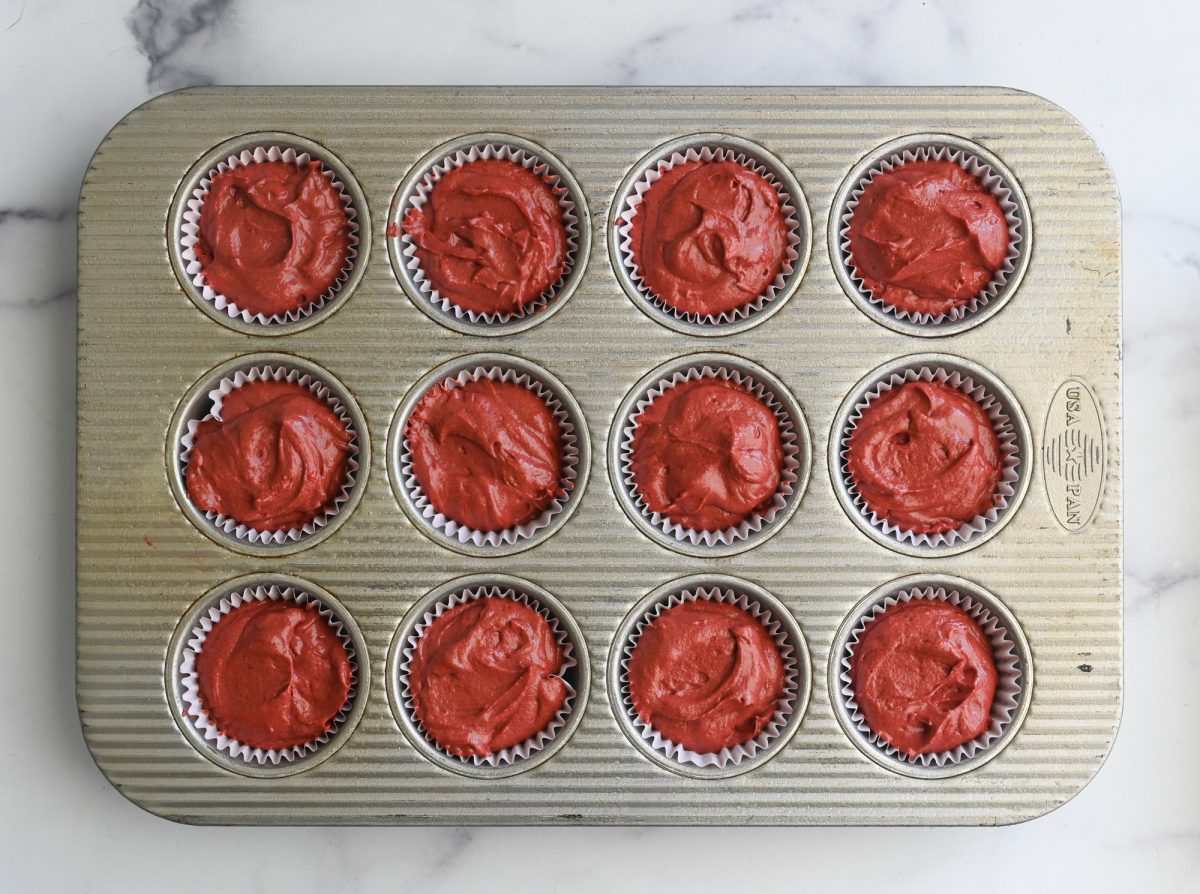
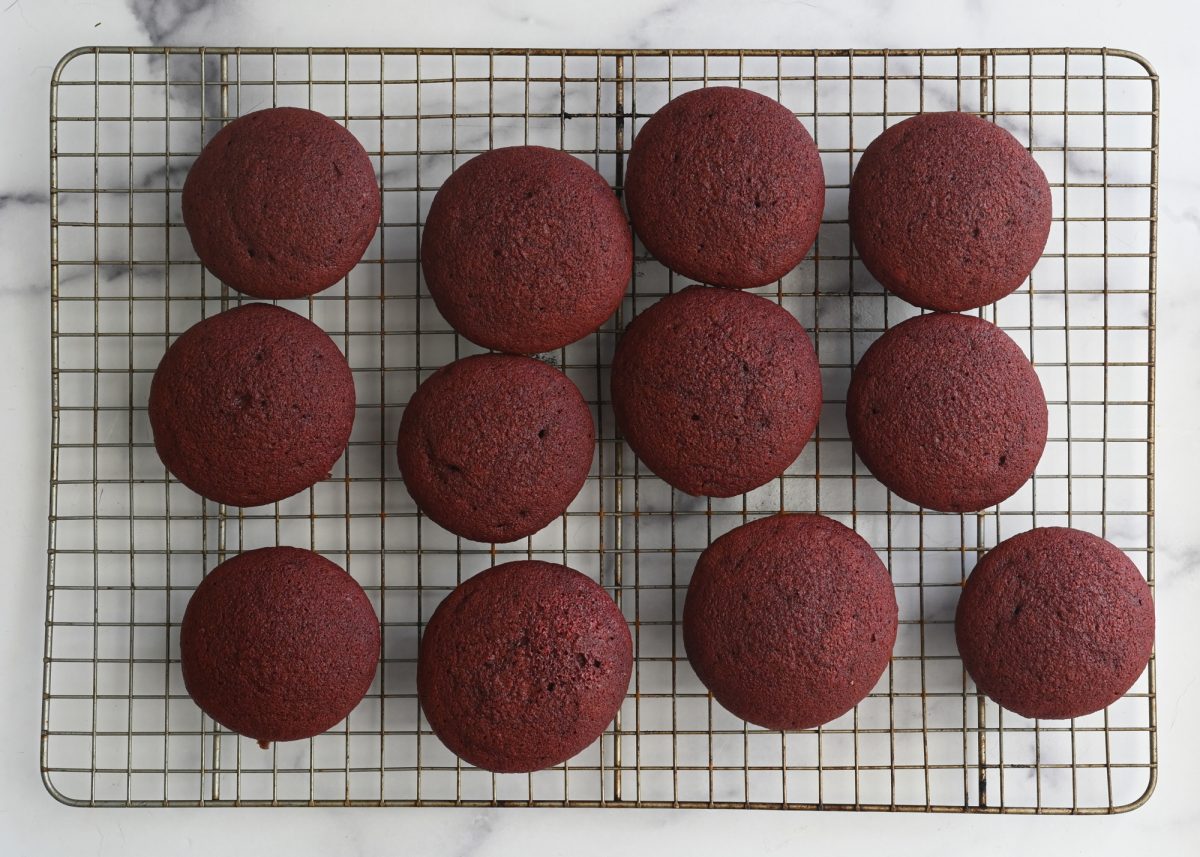
Bake for 22 to 24 minutes, until the tops are set and a cake tester comes out clean.
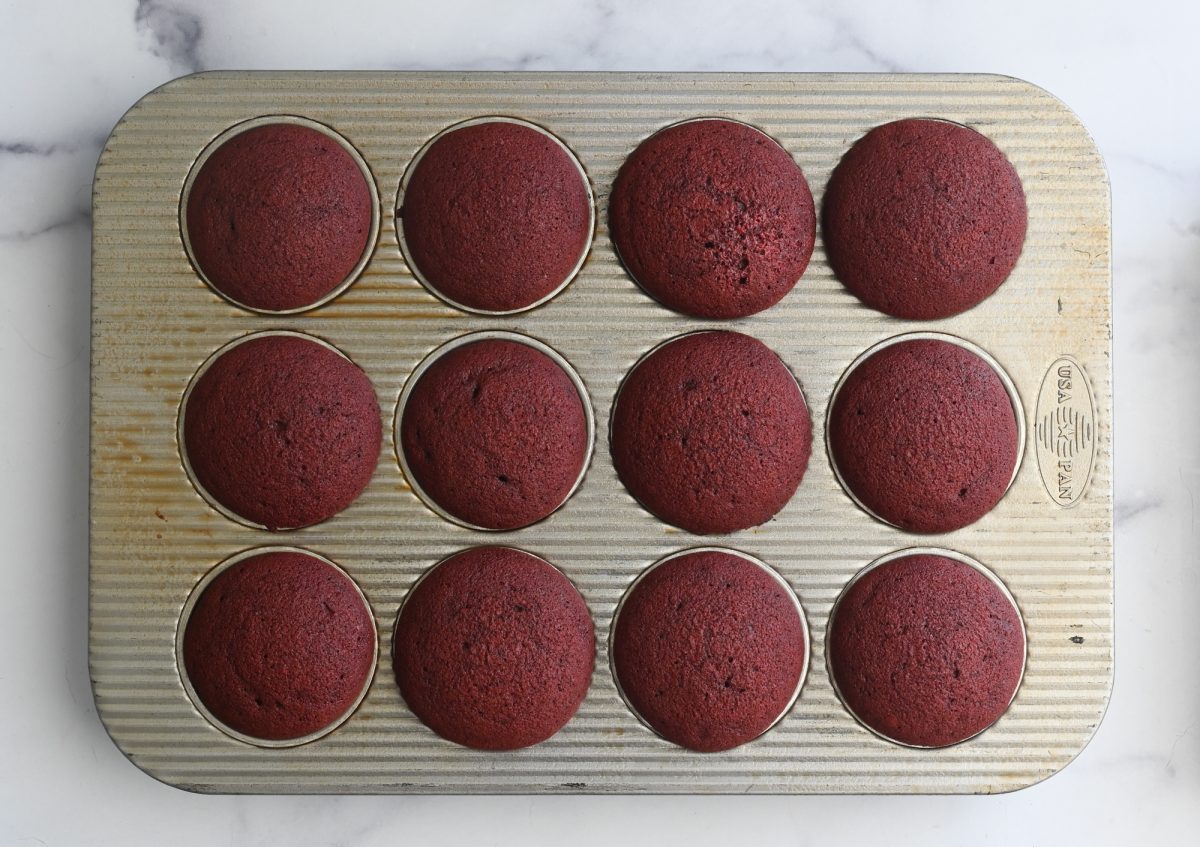
Let the cupcakes cool on a rack.
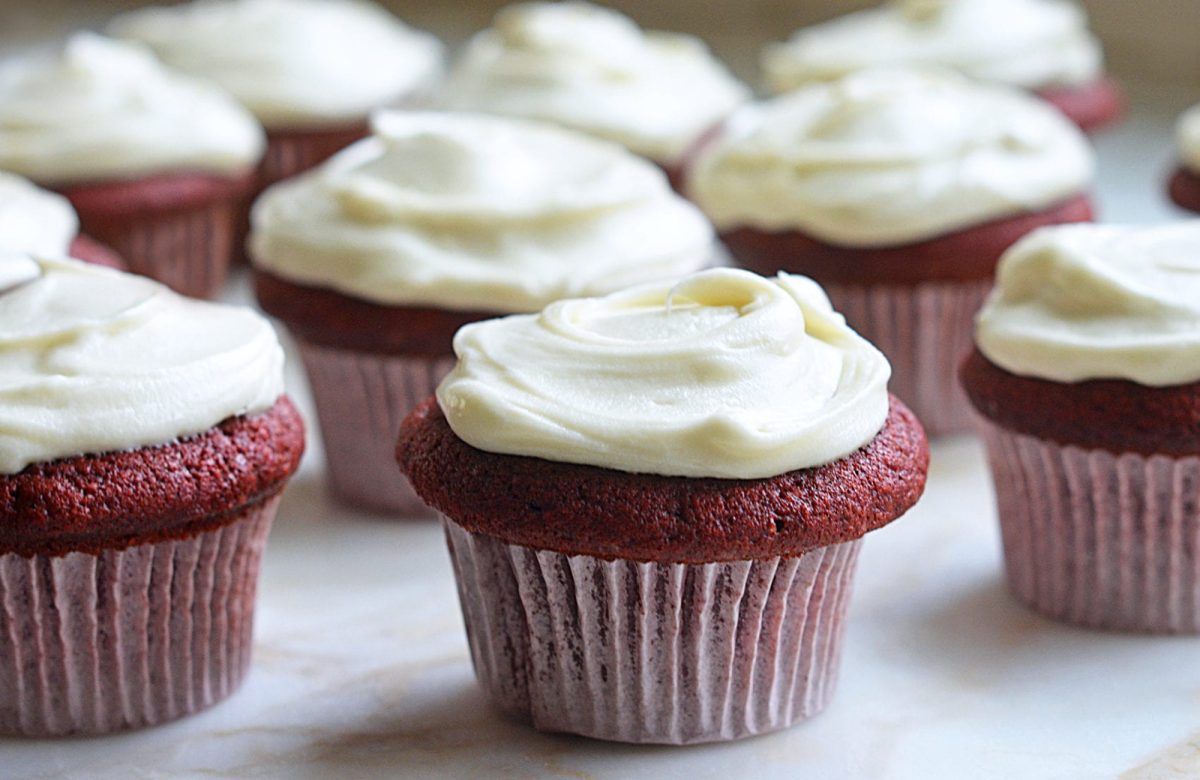
Meanwhile, make the cream cheese frosting. When the cupcakes are completely cool, use a butter knife or small offset spatula to swirl the frosting over top. The cupcakes are best enjoyed fresh on the same day.
Frequently Asked Questions
I recommend gel food coloring because it’s much more concentrated than liquid food coloring. This means you can achieve the deep, vibrant red hue characteristic of red velvet with less product, which can affect the batter’s consistency and taste bitter when used in large quantities (especially when it comes to red). I use Wilton’s Red (No-taste) Icing Color. You can find it in the cake decorating section at craft stores, like Michael’s or A.C. Moore, or order it online.
If you’d like to omit food coloring altogether, you can try to find an all natural substitute (though I know of none that give the same intensity) or just leave it out.
Absolutely! The recipe makes enough to fill two 9-inch cake pans. The baking time for the cake layers will be about 30 minutes, or until a cake tester comes out clean.
Yes, the cupcakes can be frozen without the frosting for up to 3 months. Let them cool completely, wrap them individually in plastic wrap, and then in foil. Thaw overnight on the countertop before serving. (Wait until the cupcakes are fully defrosted to ice them.)
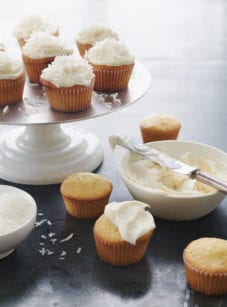
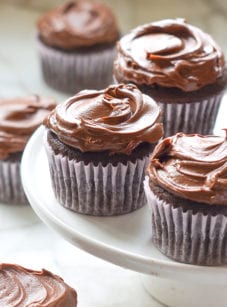
You May Also Like
Red Velvet Cupcakes
Charming? Check. Kitschy? Absolutely. But who can resist red velvet cupcakes with their subtle chocolate flavor, gorgeous hue, and lavish swirl of cream cheese frosting on top?
Ingredients
For the Cupcakes
- 3 cups all purpose flour, spooned into measuring cup and leveled-off with a knife
- ¼ cup plus 2 tablespoons Dutch-processed cocoa powder (see note)
- 1 teaspoon baking soda
- 1½ teaspoons baking powder
- ½ teaspoon salt
- 2 sticks (½ lb.) unsalted butter, at room temperature, plus more for greasing the pans
- 1 (1-lb.) box light brown sugar (2¼ cups)
- 2 teaspoons Wilton Concentrated Red (No-taste) Gel Icing Color, or 3 tablespoons normal liquid red food coloring (see note)
- 2½ teaspoons vanilla extract
- 3 large eggs, at room temperature
- 1¾ cups buttermilk (see note)
- Cream Cheese Frosting
Instructions
- Preheat the oven to 350°F. Line two cupcake pans with paper liners. Lightly grease the tops of the pans with butter or nonstick cooking spray (it's okay if the nonstick spray gets inside of the paper liners).
- In a large bowl, combine the flour, cocoa powder, baking soda, baking powder and salt. Whisk until well combined and set aside.
- In the bowl of a stand mixer fitted with the paddle attachment (or large bowl if using a hand mixer), mix the butter, brown sugar, food coloring, and vanilla on low speed until combined (take care to mix slowly—you don't want the red food coloring to splatter all over your kitchen). Once blended, increase the speed to medium-high and beat until aerated and pale, about 2 minutes. Use a rubber spatula to scrape down the sides of the bowl. Add the eggs, one at a time, beating well after each addition and scraping down the sides of the bowl as necessary. Reduce the speed to low and add one-third of the flour mixture, followed by half of the buttermilk. Add another third of the flour followed by the remaining buttermilk. Finish with the final third of the flour mixture and mix until just combined. Scrape down the sides of the bowl, then spoon the batter evenly into the prepared cupcake pans, filling almost to the top of the liners. Bake for 22 to 24 minutes, or until the cupcakes are set and a toothpick inserted into the center comes out clean. Let cool on a wire rack for about 15 minutes, then remove the cupcakes from the pans and set on a wire rack to cool completely.
- When the cupcakes are cool, use a butter knife or small offset spatula to spread the frosting lavishly over top. The cupcakes are best enjoyed fresh on the day that they are baked.
- Note: In baked goods, Dutch-processed cocoa powder has a richer, more chocolatey flavor and darker color than natural unsweetened cocoa powder. It's worth getting for this recipe, but natural unsweetened cocoa powder may be substituted if necessary; just increase the cocoa powder to ½ cup and decrease the flour by 2 tablespoons. Keep in mind that the chocolate taste won't be quite as pronounced and your cupcakes will be a brighter red.
- Note: If you’d like to make your own buttermilk, check out the easy method here.
- Note: Red (no-taste) concentrated gel icing color is made by Wilton and sold at craft stores (such as Michael's or AC Moore) in the cake decorating section. It is superior to ordinary liquid red food coloring, which can taste bitter when used in large quantities.
- Freezer-Friendly Instructions: The cupcakes can be frozen without the frosting for up to 3 months. Let them cool completely, wrap them individually in plastic wrap, and then in foil. Thaw overnight on the countertop before serving. (Wait until the cupcakes are defrosted to ice them.)
Nutrition Information
Powered by ![]()
- Serving size: 1 cupcake
- Calories: 474
- Fat: 23g
- Saturated fat: 14g
- Carbohydrates: 65g
- Sugar: 51g
- Fiber: 1g
- Protein: 5g
- Sodium: 227mg
- Cholesterol: 85mg
This website is written and produced for informational purposes only. I am not a certified nutritionist and the nutritional data on this site has not been evaluated or approved by a nutritionist or the Food and Drug Administration. Nutritional information is offered as a courtesy and should not be construed as a guarantee. The data is calculated through an online nutritional calculator, Edamam.com. Although I do my best to provide accurate nutritional information, these figures should be considered estimates only. Varying factors such as product types or brands purchased, natural fluctuations in fresh produce, and the way ingredients are processed change the effective nutritional information in any given recipe. Furthermore, different online calculators provide different results depending on their own nutrition fact sources and algorithms. To obtain the most accurate nutritional information in a given recipe, you should calculate the nutritional information with the actual ingredients used in your recipe, using your preferred nutrition calculator.
Has anyone tried making this cake with a gluten-free one-to-one flour?
Hi Phyllis, I noticed that one reader commented that she used gluten-free flour successfully. Hope you enjoy if you make them!
flavor was great… but a little dry. i followed your instructions to increase for unsweetened cocoa and decrease flour. i didn’t have the wilton gel so i had to use whole foods color which didn’t turn red.
should i cook less than 22 minutes?
Hi Nidhi, I’m sorry they came out a little dry! Dryness is usually caused by measuring the flour incorrectly. Did you use the spoon and level method to measure the flour? Even a few extra ounces can make a big difference. This article/video explains it nicely. Also, did you serve them on the same day? Like most homemade cakes, they don’t stay fresh for long. If the answer to both of those is yes, than I’d cut back on the baking time just a touch.
ok. i did measure correctly and serve same day. now i have dutch processed cocoa and wilton gel is on the way. i will try again with less baking time
perhaps i could weigh the flour? how many grams?
Weighing the flour is a good idea. The great majority of my recipes (including this one) include conversions to metric/weight measurements. To view them, scroll down to the recipe, and immediately under the recipe title on the right side, you’ll see a little toggle. If you move it from “cup measures” to metric, you’ll see measurements that will work for you. Please LMK how they turn out the second time around.
I have to say I was disappointed in this recipe. I followed the recipe exactly using the Dutch Processed cocoa (at $10!) and best quality ingredients. The texture was fine but the cupcakes didn’t taste like much of anything, not even chocolate. I made these for a special occasion where Red Velvet was specifically requested and I don’t have time to make another batch with another recipe so it’s a little embarrassing. The batter looks red but bakes brown. I (too late) read on another site that using the Dutch process cocoa means they would not be red, so all in all, they are just a mild flavored cupcake that’s not red.
HI! I Made 12 cupcakes, halving the recipe – they were delicious! Lots of icing (after halving it as well) generous amount on cupcakes but still had leftover, next time will decrease icing recipe a bit more. Thanks, everyone enjoyed!