%name
[formatdescription]
[pair_with]
%nutrition
[glutenfree]
Ingredients
%ingredientsInstructions
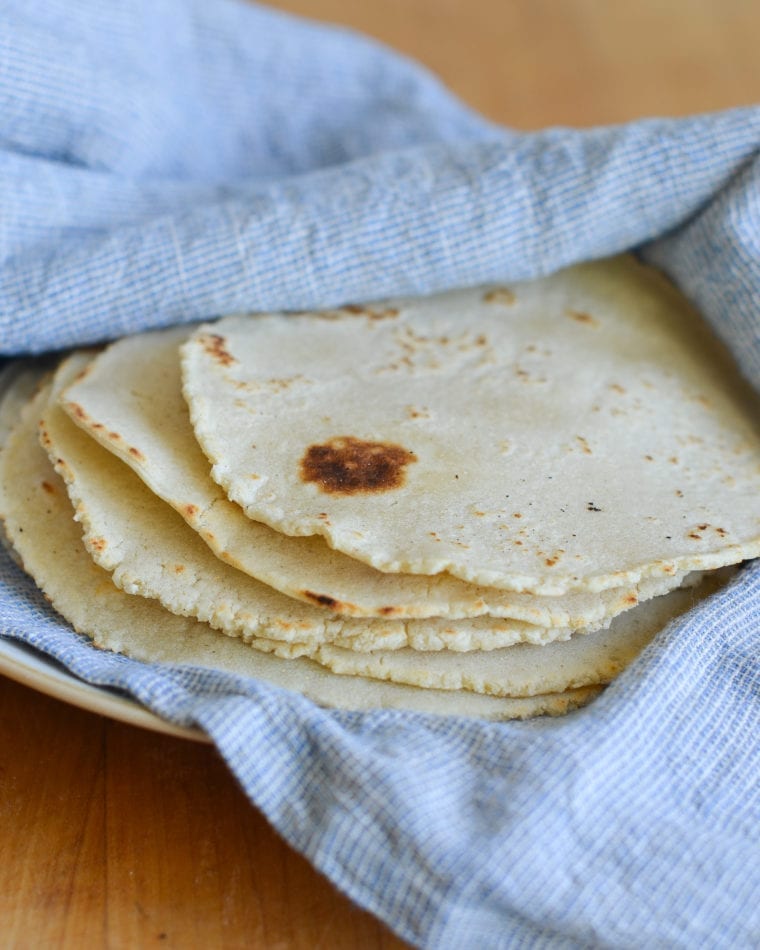
%instructions_olSay goodbye to store-bought and hello to the irresistible flavor of fresh homemade corn tortillas. Whether it’s taco Tuesday or an enchilada feast, your Mexican-themed dinners are about to get a delicious upgrade!