Crusty Artisan Bread

This post may contain affiliate links. Read my full disclosure policy.
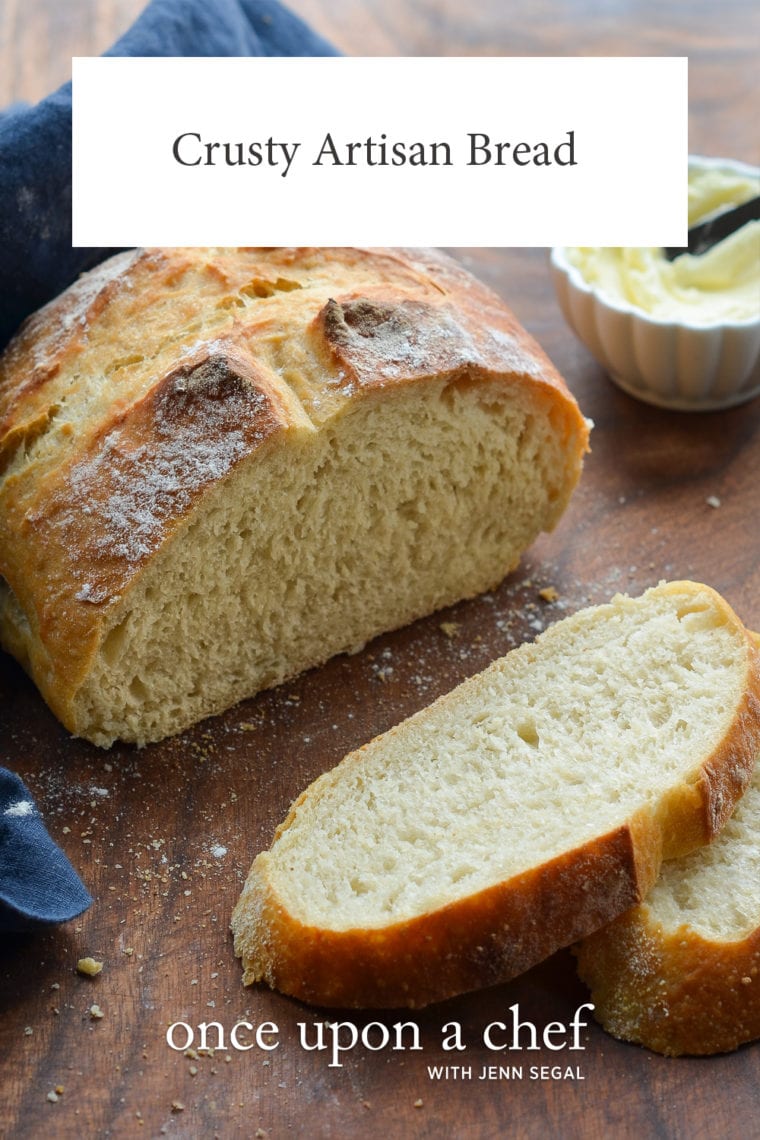
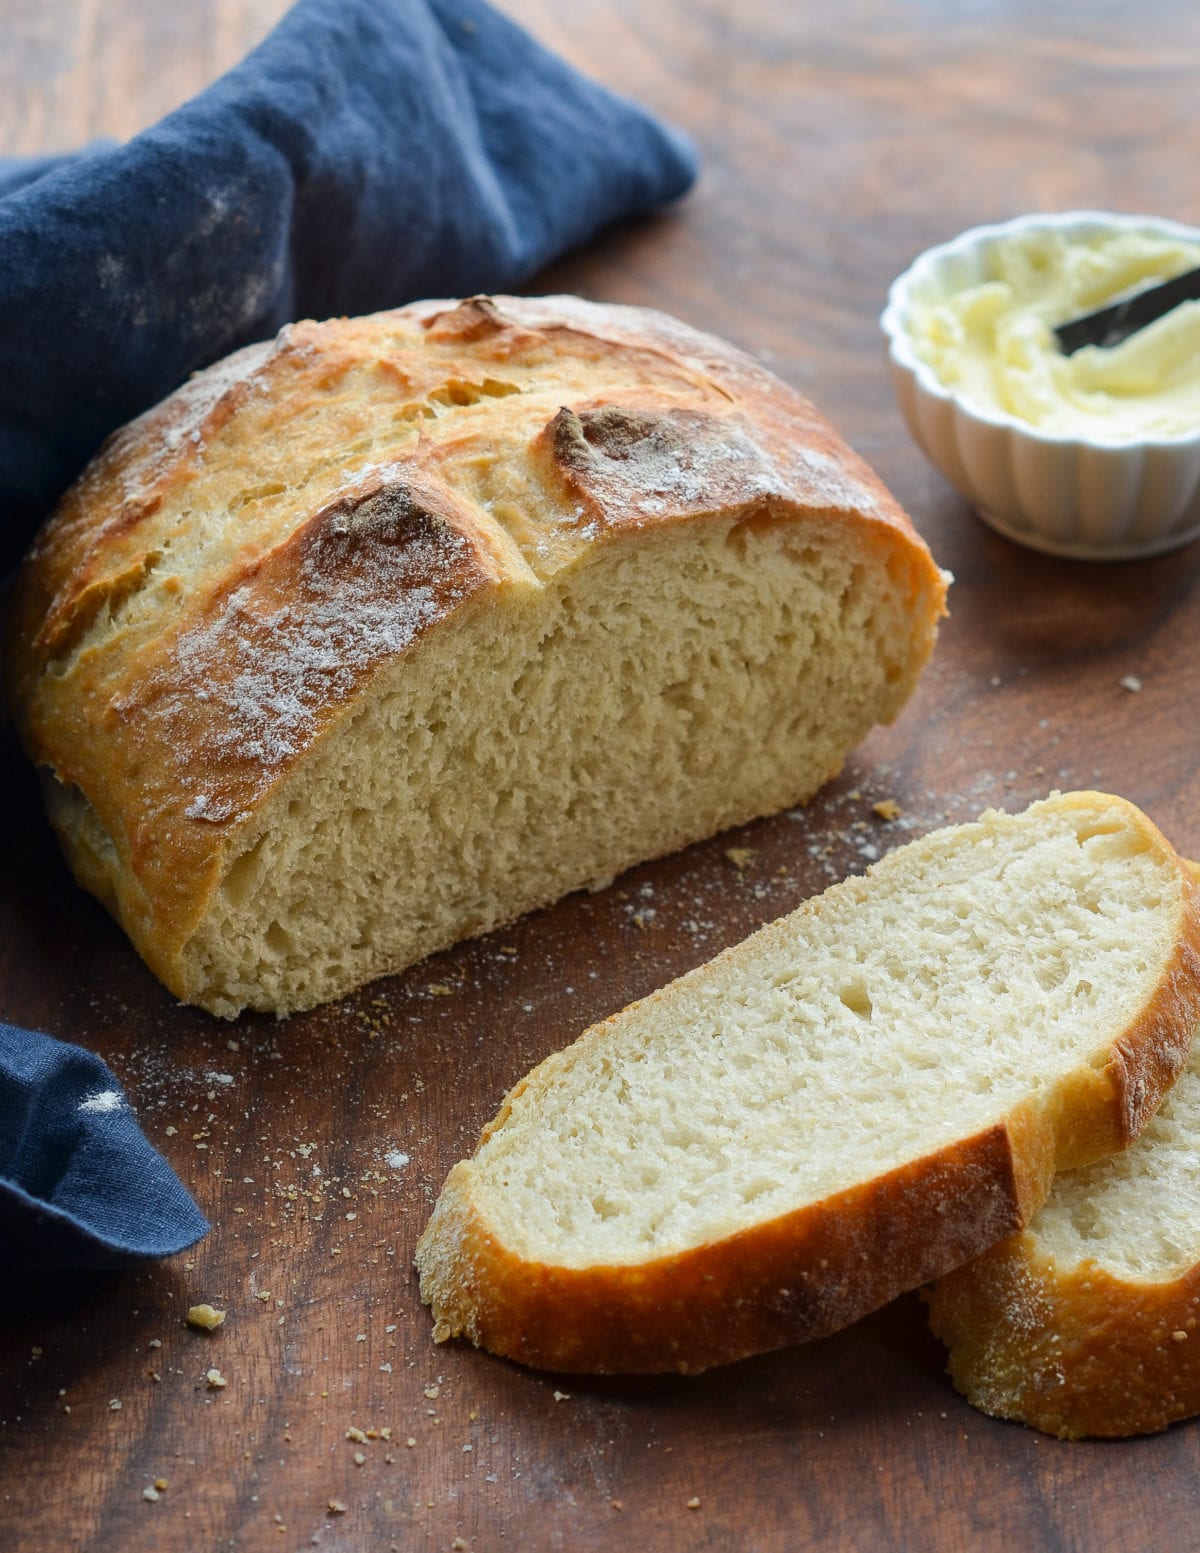
This crusty bread recipe is astonishingly easy — no kneading required — and makes three beautiful loaves, which you can bake as needed.

This homemade artisan bread recipe is astonishingly easy, and it makes enough for three delicious loaves, which you can bake as needed. What’s more, the dough takes just five minutes to make, does not require kneading or any special equipment, and can rest in the fridge for up to two weeks (the flavor becomes more complex the longer it sits). The recipe is modestly adapted from one of my favorite baking books, Artisan Bread in 5 Minutes A Day by Jeff Hertzberg M.D. and Zoë François.
What You’ll Need To Make Crusty Artisan Bread

This recipe has just four ingredients: all-purpose flour, instant yeast, kosher salt, and water. (The cornmeal is for dusting the pan.) As you can see, I use instant (or rapid-rise) yeast. Active dry yeast may be used instead of instant yeast, however, the dough will take longer to rise. To give active dry yeast a boost, you can dissolve it in the lukewarm water and let it sit until frothy, about 10 minutes. After that, add it to the flour and proceed with the recipe.
How To Make Crusty Artisan Bread
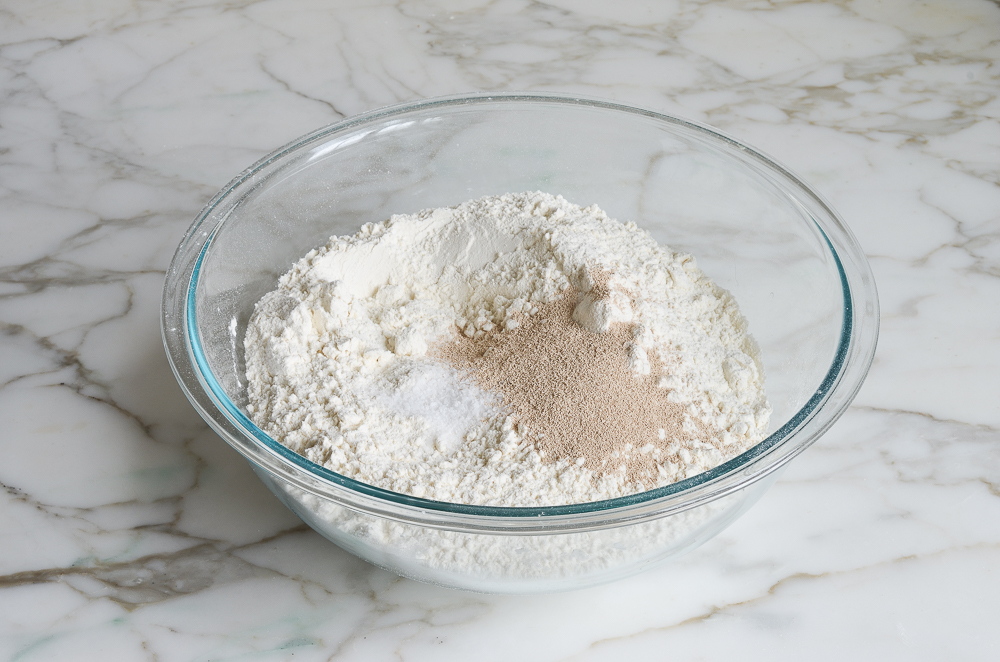
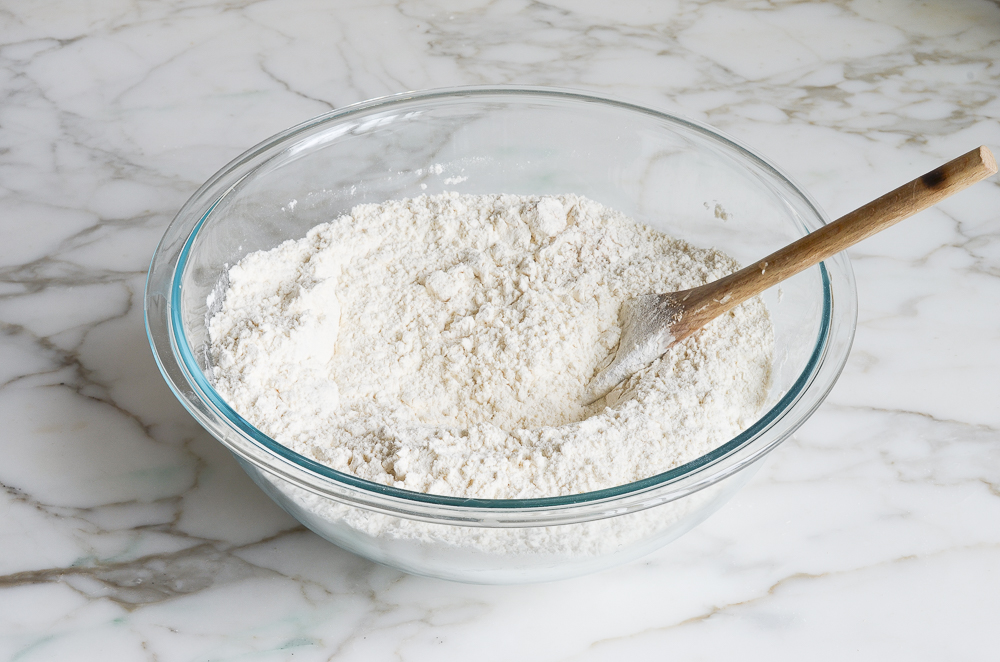
In a very large (6-quart) bowl, combine the flour, salt, and yeast. Mix to combine.
Add 3 cups of lukewarm water (no need to be exact but lukewarm is about 100°F).
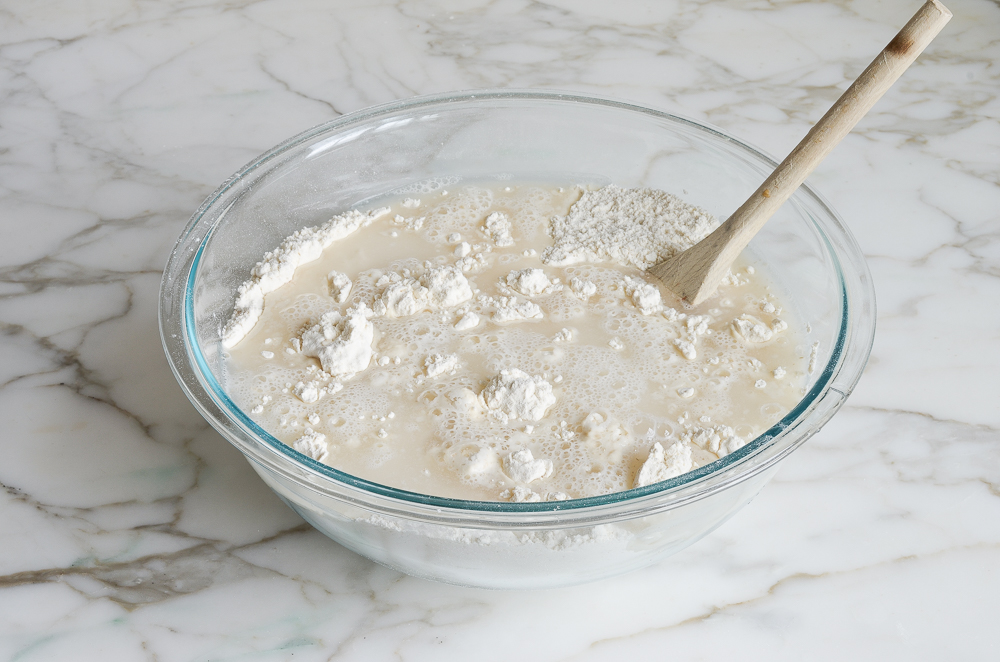
Stir with a wooden spoon until the mixture is uniformly moist, without any patches of flour.
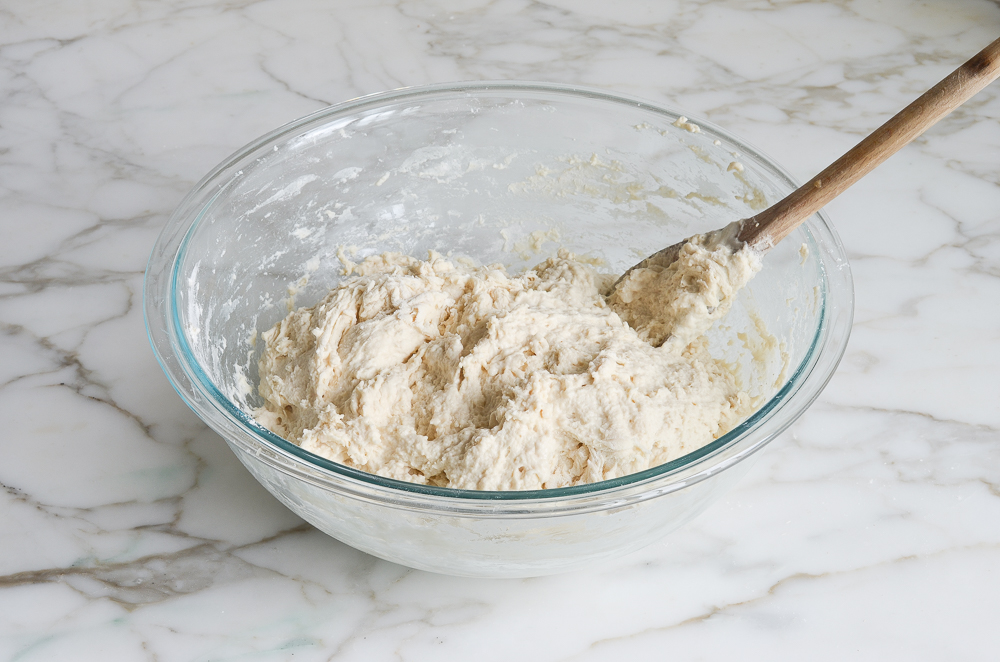
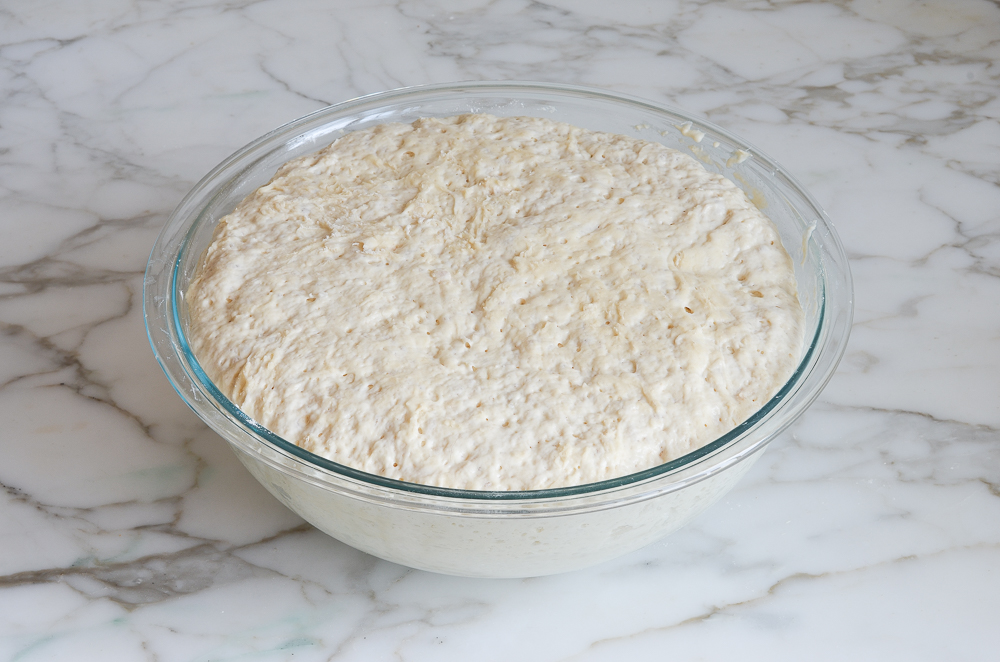
The dough should be sticky and conform to the shape of the bowl. If your dough is too dry, add a few tablespoons more warm water. If it’s too wet, add a few tablespoons of flour. Cover the bowl loosely with plastic wrap and let it sit on the counter in a warm spot for 2 hours. As you can see below, it will rise a lot!
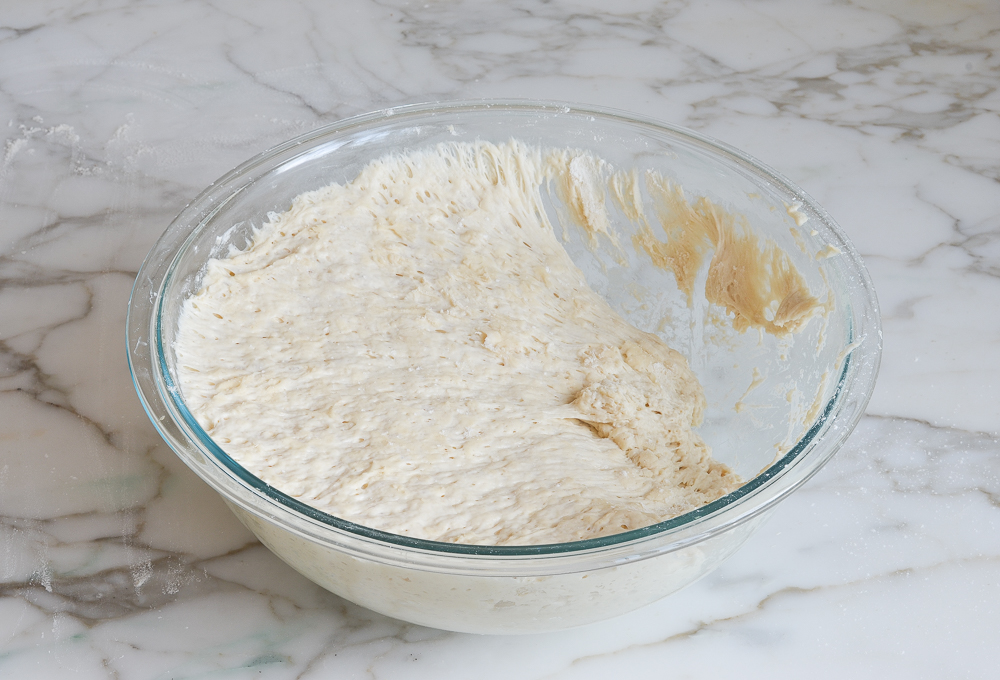
When you’re ready to bake a loaf, pull out one-third of the dough.
Coat the outside lightly with flour (you don’t want to incorporate more flour into the dough, you just want to be able to handle it). Gently work the dough into a smooth ball, stretching the surface and tucking the ends underneath.
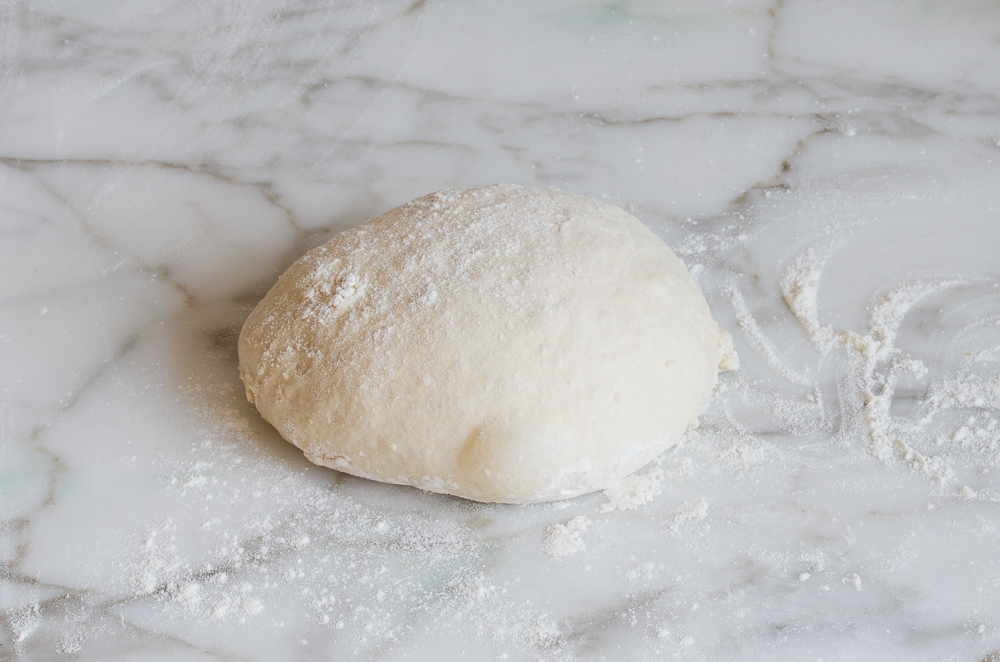
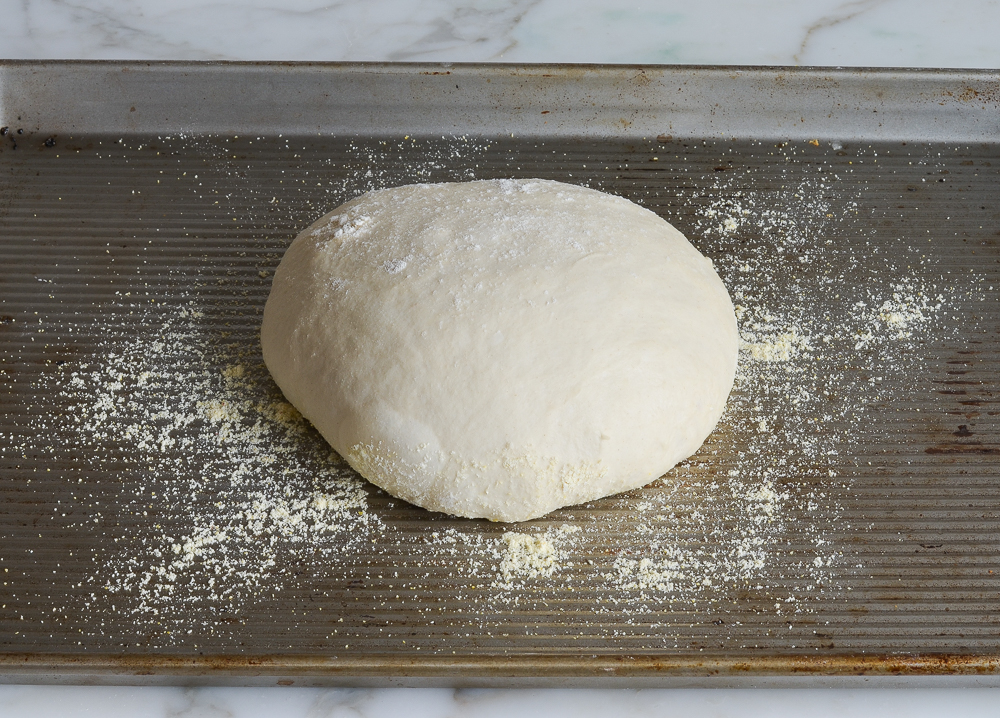
Put the dough ball onto a cornmeal-dusted baking sheet and let rest at room temperature, uncovered, for about 40 minutes. (If the dough has been refrigerated, allow it to rise for 60 minutes, or up to 90 minutes if you want a more open and airy crumb structure.) The dough will rise a bit. It may also spread/flatten a bit; that’s okay.
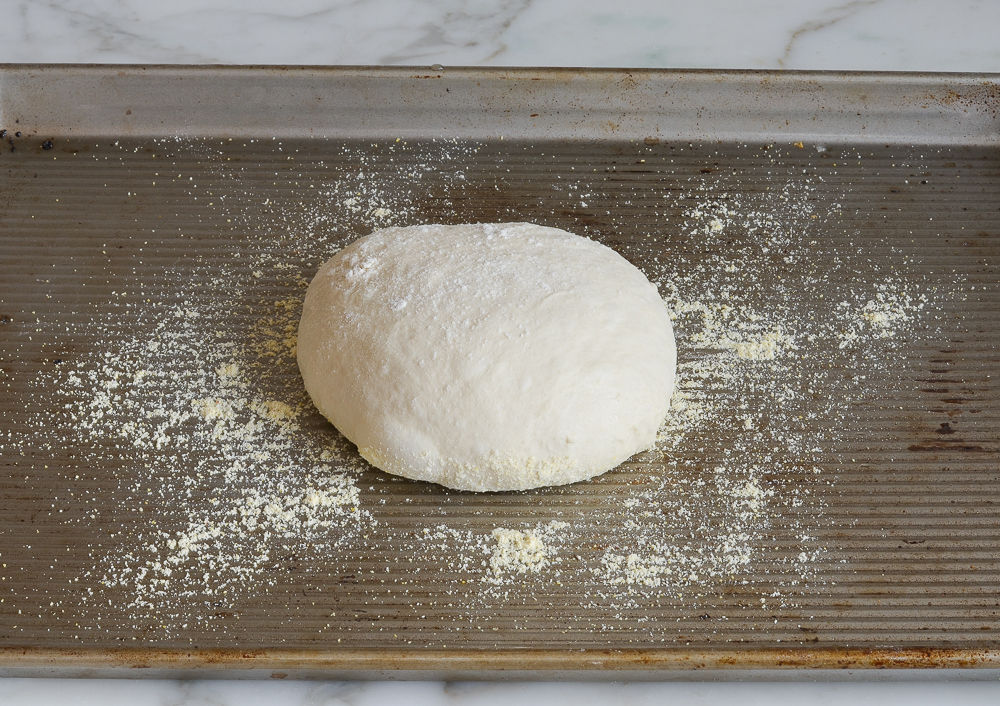
The dough will rise a bit.
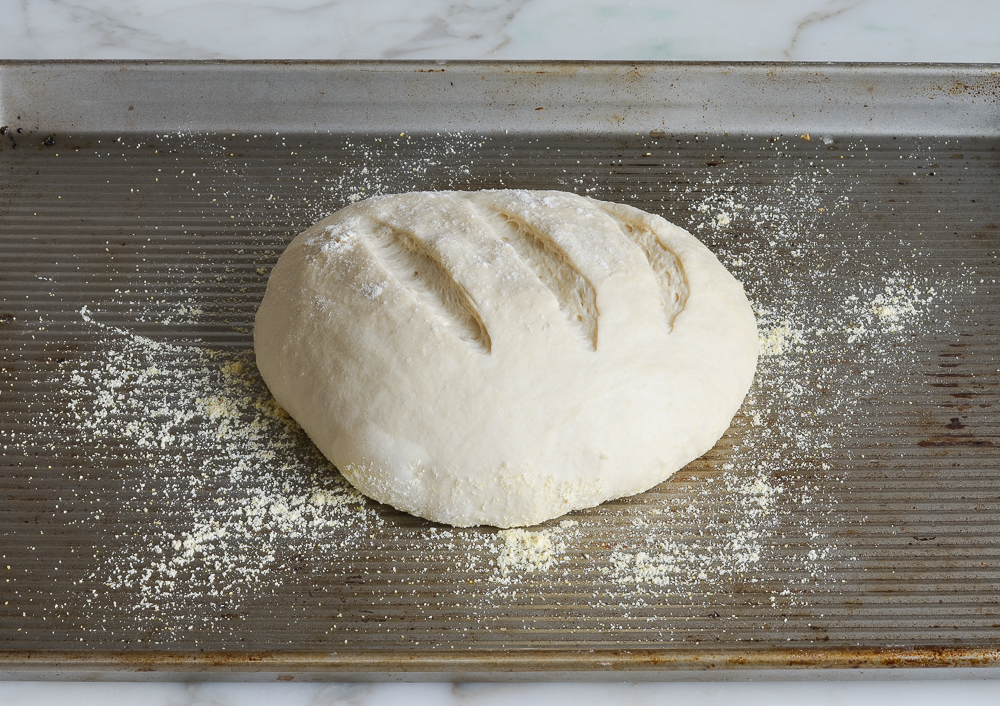
Generously dust the dough with flour. Using a sharp knife, make a few 1/2-inch-deep slashes in the dough — a scallop, cross, or tic tac toe pattern all look nice.
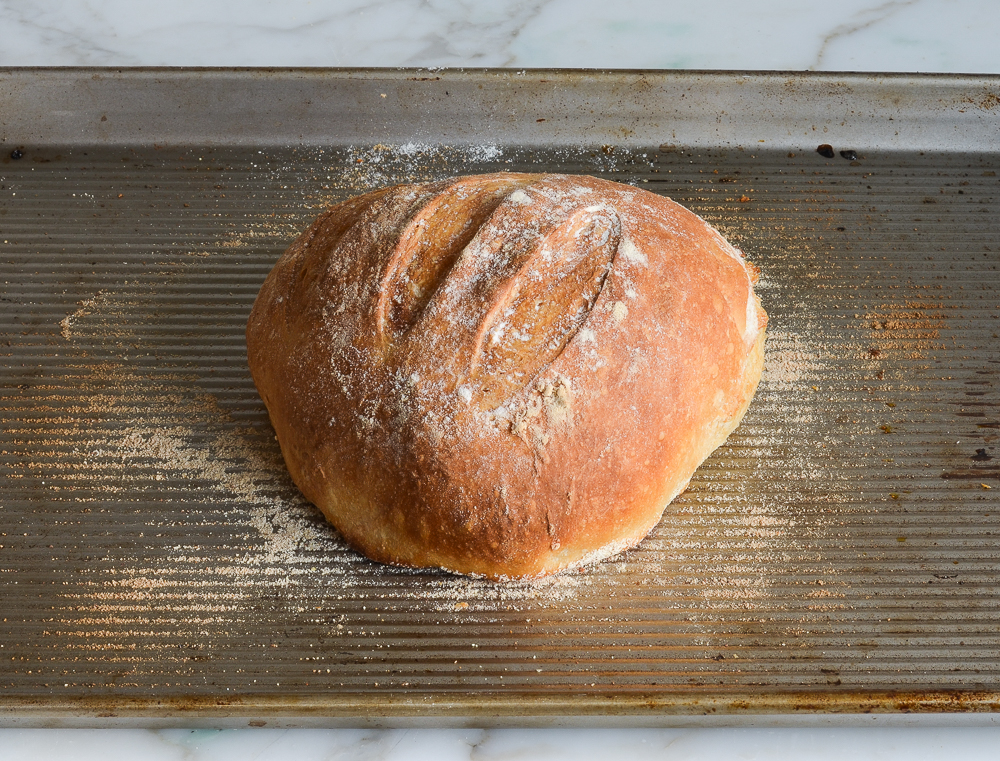
Set a metal pan on the bottom rack of a preheated 450°F-oven. Slide the baking sheet with the dough into the oven, and carefully fill the metal cake pan with one cup of hot tap water. This creates steam in the oven. (Try to do this quickly so as not to let heat out of the oven.) Bake until the loaf is golden brown, about 30 minutes. Cool completely on a wire rack.
This bread is best enjoyed fresh on the day it is made. Once sliced, place the loaf cut-side down on a cutting board or plate and leave it uncovered.
How To Freeze
The dough can be portioned into thirds and frozen in airtight plastic containers for up to 1 month. Defrost the dough in the refrigerator overnight, then shape, rest and bake as usual. The baked loaves can also be frozen whole or sliced. Wrap in a zip-top freezer bag and freeze for up to 1 month. To thaw, take the bread out of the freezer and let it come to room temperature, about 3 hours. Reheat in a 350°F oven until warmed through, about 10 minutes.
You May Also Like
- Rosemary Focaccia
- Challah
- Homemade Naan
- Garlic Bread
- Miraculous Homemade Bagel Recipe
- Brioche
- Dinner Rolls
Crusty Artisan Bread
This crusty bread recipe is astonishingly easy — no kneading required — and makes three beautiful loaves, which you can bake as needed.
Ingredients
- 6½ cups all-purpose flour, spooned into measuring cup and leveled-off (preferably King Arthur; see note)
- 4 teaspoons kosher salt
- 1½ tablespoons instant/rapid-rise yeast (see note)
- 3 cups lukewarm water (no need to be exact but lukewarm is about 100°F)
- Cornmeal, for dusting the pan
Instructions
- In a very large (6-quart) bowl, whisk together the flour, salt, and yeast. Add the water and stir with a wooden spoon until the mixture is uniformly moist, without any patches of flour. The dough should be sticky and conform to the shape of the bowl. If your dough is too dry, add a few tablespoons more warm water. If it's too wet, add a few tablespoons of flour. (See the step-by-step photos for guidance on what the dough should look like.) Cover the bowl loosely with plastic wrap and let it sit on the counter in a warm spot for 2 hours. If you plan to bake a loaf immediately, proceed to the next step. Otherwise, place the bowl of dough in the refrigerator to be used over the next 14 days. (Once refrigerated, the dough will shrink back a bit; that's okay. Do not punch down the dough at any point, and keep it loosely covered with plastic wrap.)
- Dust a sturdy baking sheet with cornmeal.
- Dust the surface of the dough and your hands lightly with flour. Pull out one-third of the dough and coat the outside lightly with flour (you don't want to incorporate more flour into the dough, you just want to be able to handle it). Gently work the dough into a smooth ball, stretching the surface and tucking the ends underneath, adding more flour as needed so it doesn't stick to your hands. (Don't overwork the dough; this process should only take about 30 seconds.) Put the dough ball onto the prepared baking sheet and let it rest at room temperature, uncovered, for about 40 minutes. (If the dough has been refrigerated, allow it to rise for 60 minutes, or up to 90 minutes if you want a more open and airy crumb structure.) The dough will rise a bit. It may also spread/flatten a bit; that's okay.
- Preheat the oven to 450°F. Set one rack in the lowest position of the oven and one rack in the middle position. Place a metal pan (any metal cake pan or broiler pan will work; just don't use glass) on the bottom rack. (You will fill this with water later to create steam in the oven).
- Generously dust the dough with flour. Using a sharp knife, make a few ½-inch-deep slashes in the dough -- a scallop, cross, or tic tac toe pattern all look nice.
- Slide the baking sheet with the dough into the oven, and carefully fill the metal cake pan with one cup of hot tap water. (Try to do this quickly so as not to let heat out of the oven.) Bake until the loaf is golden brown, about 30 minutes. Cool completely on a wire rack.
- This bread is best enjoyed fresh on the day it is made. Once sliced, place the loaf cut-side down on a cutting board or plate and leave it uncovered. (If it lasts beyond a day, I suggest slicing and freezing.)
- Freezer-Friendly Instructions The dough can be portioned into thirds and frozen in airtight plastic containers for up to 1 month. Defrost the dough in the refrigerator overnight, then shape, rest and bake as usual. The baked loaves can also be frozen whole or sliced: Wrap in a zip-top freezer bag and freeze for up to 1 month. (If you plan to use slices one at a time, place pieces of parchment between them so they don't stick.) To thaw, take the bread out of the freezer and let it come to room temperature on the countertop. Reheat in a 350°F oven until warmed through, about 10 minutes.
- Note: Active dry yeast may be used instead of instant/rapid-rise yeast, however, the dough will take longer to rise. To give active dry yeast a boost, you can dissolve it in the lukewarm water and let it sit until frothy, about 10 minutes. After that, add it to the flour and salt, and proceed with the recipe.
- Note: I use King Arthur flour, which is higher in protein than some other all-purpose flours. If using a flour with a lower protein content, such as Gold Medal, you will likely need to add a few more tablespoons of flour.
Nutrition Information
Powered by ![]()
- Serving size: 1 slice
- Calories: 100
- Fat: 0 g
- Saturated fat: 0 g
- Carbohydrates: 21 g
- Sugar: 0 g
- Fiber: 1 g
- Protein: 3 g
- Sodium: 64 mg
- Cholesterol: 0 mg
This website is written and produced for informational purposes only. I am not a certified nutritionist and the nutritional data on this site has not been evaluated or approved by a nutritionist or the Food and Drug Administration. Nutritional information is offered as a courtesy and should not be construed as a guarantee. The data is calculated through an online nutritional calculator, Edamam.com. Although I do my best to provide accurate nutritional information, these figures should be considered estimates only. Varying factors such as product types or brands purchased, natural fluctuations in fresh produce, and the way ingredients are processed change the effective nutritional information in any given recipe. Furthermore, different online calculators provide different results depending on their own nutrition fact sources and algorithms. To obtain the most accurate nutritional information in a given recipe, you should calculate the nutritional information with the actual ingredients used in your recipe, using your preferred nutrition calculator.
Hello, can I use fresh yeast (not dry) for this recipe? If so what would be the best quantities?
Hi Lilac, I’ve never used fresh yeast before. I think that should work here, but the rise time and quantities may be a little different. I read this on a website I trust: To convert from fresh yeast to instant dry yeast, multiply the fresh quantity by 0.33. Instant yeast can be incorporated into the dough without first rehydrating it; however, it is sensitive to ice or ice-cold temperatures, and if the water temperature of the dough is cold, it is best to mix the dough for a minute or two before adding the yeast. In order to maintain dough yield, most manufacturers suggest making up the weight difference between dry yeast and fresh with additional water. Hope that helps!
This is an excellent recipe. I use to use the overnight no knead bread recipe but this one is much better.
I make mine on parchment paper and for the 40 minute rise I put it in a tall round bowl so it holds its shape. I also bake it in a tall dutch oven that is preheated. This way I get a loaf that does not spread as much. I have also substitute some of the water for beer or apple cider and that adds a slightly different taste.
Hi Jenn, I made a loaf of this bread a few weeks ago. Turned out very good! I then froze the other 2 loaves. Today I defrosted one and baked it. I dusted the baking sheet with cornmeal and it really stuck. My husband had to help me pry it off and the bottom crust was left behind. 🙁 It is kind of gummy in the middle too. I tempted it when I took it out and it was at 200 degrees. Any ideas as to what went wrong?
Hi Sharon, sorry to hear about the problems you had with this loaf! Regarding the bread sticking, when you bake the third loaf,you may want to try parchment paper or greasing the baking sheet with nonstick cooking spray. Keep in mind if you use parchment, it will brown from the high heat. And the fact that it was gummy in the middle is definitely a head scratcher, considering you measured the temperature! Was the dough fully thawed? I’m wondering if perhaps you stuck the thermometer in a spot where it was 200° but that it was not that temperature throughout.
Thanks, for the reply…I’ll let you how loaf #3 turns out. 🙂
I love your recipes, they are straightforward and well explained! I have shared your Caesar salad dressing recipe probably 100 times! Can you post a sourdough recipe please?
Glad you like the recipes! I will add sourdough to my list of recipes to potentially develop. 😊
I have made this a couple of times and just love it! Now, I am making it for a gathering. Can I bake two or three loaves at once? Will I need more water or longer cooking time?
Hi Tasha, Glad you like it! If you bake all three loaves at once, they’ll take a bit longer. I’d start checking them at about 35 minutes and use the color as your visual cue–you’re looking for a golden brown. (And I don’t think you’ll need more water.) Hope everyone enjoys!
I thought Jeff Hertzbergs name was familiar. His Artisan Bread in 5 minutes a day is on my bookshelf. I’ve never made any of the recipes in that book
I made this one. My family loved it. I’ll be making more recipes from his book on the future!
It really is simple and takes very little time.
My old arthritic hands really can’t knead very well anymore. This is a gift, thank you!
Hi Jenn, I really would like to make this bread, but there is no kosher salt where I live. Is it ok to substitute it with 2 teaspoons of fine salt? Thank you.
That sounds about right but I think you could get away with using 2.5 teaspoons. Hope you enjoy!
Thank you! We did enjoy it a lot.
Hey Jenn,
If I half this recipe do you think I can get 2 loaves?
I think you could; they’ll just be a bit smaller.
Hi Jenn,
I’ve made this bread successfully in the past but this time the loaf of bread stuck to the baking sheet even though it was dusted with cornmeal. I don’t remember having this trouble in the past. Even though I had to work at getting the bread detached from the pan, the bread itself was great. I double checked the recipe thinking I had missed instruction to grease the pan but I didn’t see any such instruction. My dough was on the wet side as I ran short of flour. Might that have caused the baked loaf to stick so hard to the pan? And can I lightly grease the baking pan? I have one more loaf to bake.
Many thanks, Jenn your recipes are quite simply the best.
Hi, sorry you had a problem with the bread sticking this time around. Yes, I suspect that it was due to the dough being wetter than usual. And, yes, it’s fine to lightly grease the baking pan if you’d like. I hope this next loaf releases more easily!
My bread looks great, but seems to be slightly “damp” on the inside, even after baking for an additional 5 and 10 minutes. The taste overall is great, but I feel like the inside should be slightly more dry. Any idea what would have caused this?
Hi Anna, it sounds like your bread was a bit underbaked. If you make this again, I’d leave it in the oven for a few more minutes. (If the crust starts to get too browned, loosely lay a piece of foil over top of the loaf for the remainder of the baking time.)
The recipe calls for 4 tsp Kosher Salt. I have Mortons Kosher and I read that salt can kill yeast so I used only 2 tsp. However, i felt the bread could have used the additional salt. Is it OK to 4 tsp of Morton’s Kosher Salt?
Yep, it’s perfectly fine. And here’s some info about the salt/yeast interaction that should provide some clarification.