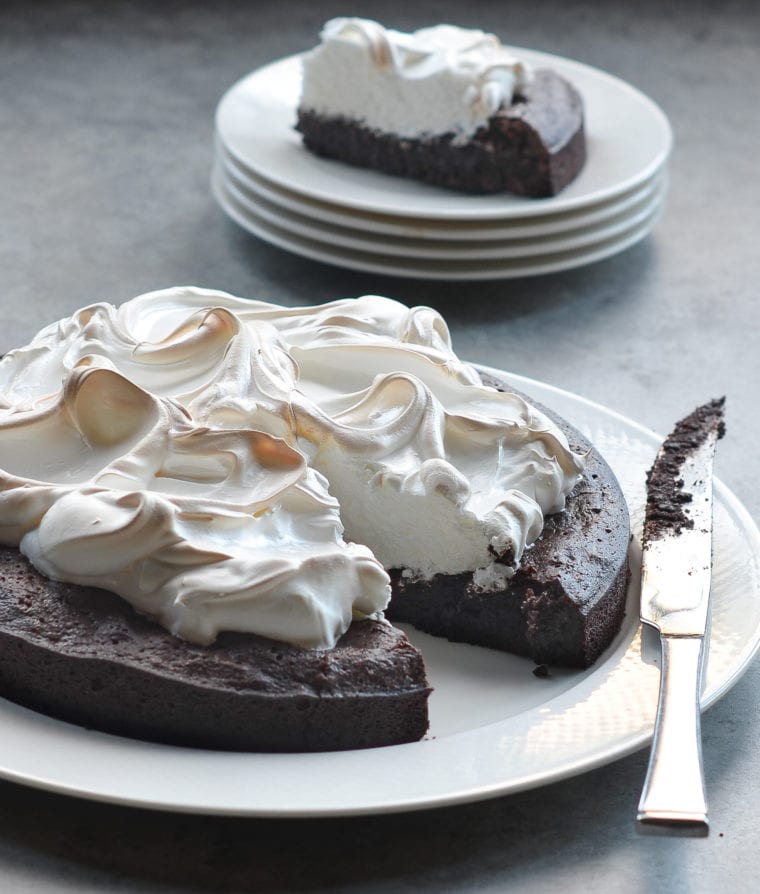
Flourless Chocolate Cake with Meringue
A rich, slab of flourless chocolate cake topped with a light meringue — this cake is as impressive as it is delicious.
Ingredients
For The Cake
- 1½ sticks (12 tablespoons) unsalted butter, plus more for greasing the pan
- 6 ounces semisweet chocolate, chopped
- 1¼ cups sugar
- 5 large eggs
- ½ cup Dutch-process cocoa powder, sifted (see note)
For Meringue Topping
- 4 large egg whites
- ⅛ teaspoon cream of tartar
- ¾ cup sugar
Instructions
- Set a rack in the middle of the oven and preheat to 350°F. Generously butter a 9-inch springform pan.
- In a large microwave-safe bowl, melt the butter in the microwave until foamy (watch carefully so that it doesn't boil and splatter). Add the chopped chocolate and stir until completely melted and smooth. (If necessary, pop the bowl back into the microwave for 20 seconds to melt any remaining bits of chocolate.) Add the sugar and whisk until well combined. Whisk in the eggs one at a time. Whisk in the cocoa powder, using a folding motion at first so it doesn't fly out of the bowl. Pour the batter into the prepared pan and bake for 30 minutes, or until the cake is set.
- While the cake bakes, make the meringue topping. Bring ½-inch of water to a boil in a small sauce pan, then lower the heat so that the water just simmers. Combine the egg whites, cream of tartar, and sugar in the bowl of an electric mixer (or any large heatproof bowl). Set the bowl over the pan of simmering water, making sure the bottom of the bowl does not touch the water. Whisk gently for about 3 minutes, until the egg whites are hot to the touch and the sugar is dissolved. Remove the bowl from the pan and attach it to the stand mixer. (Alternatively, a hand mixer can be used.) Fit the mixer with the whisk attachment (or beaters if using a hand mixer) and whisk on medium speed (or high if using a hand mixer) until the meringue is cooled, glossy and stiff, 5 to 6 minutes. You'll know it's ready when you lift the whisk out of the bowl and the meringue holds a firm peak that curls over. Set aside until the cake is done.
- When the cake comes out of the oven, give the meringue a quick whisk, then pile it onto the the hot cake, leaving a 1-inch border around the perimeter (it may spread a little and you don't want it to touch the sides of the pan). Use a small spoon to swirl it into dramatic peaks.
- Place the cake back into the oven for 10 to 12 minutes, until the meringue peaks are lightly browned. Let the cake cool on a rack for about 15 minutes, then run a sharp knife around the edges, if necessary, to loosen any meringue that may have stuck to the sides. Carefully remove the sides of the springform pan. Transfer the cake to a platter and serve at room temperature. (Removing the base of the springform pan is optional: to do so, simply slide a large spatula underneath the cake and lift it off -- it is pretty sturdy.) To make neat slices through the meringue, wipe the knife clean between slices.
- Note: The chocolate cake base may be made up to 2 days ahead of time. Once cool, wrap tightly in plastic wrap and store in the refrigerator. Wait until a few hours before serving to add the meringue (it is not necessary to heat the cake before adding the meringue, but do let it come to room temperature).
- Note: The easiest way to sift the cocoa powder is to pass it through a fine mesh sieve when adding it to the cake batter.
Nutrition Information
Powered by ![]()
- Per serving (12 servings)
- Serving size: 1 slice
- Calories: 343
- Fat: 18 g
- Saturated fat: 11 g
- Carbohydrates: 45 g
- Sugar: 41 g
- Fiber: 2 g
- Protein: 5 g
- Sodium: 52 mg
- Cholesterol: 108 mg
Gluten-Free Adaptable Note
To the best of my knowledge, all of the ingredients used in this recipe are gluten-free or widely available in gluten-free versions. There is hidden gluten in many foods; if you're following a gluten-free diet or cooking for someone with gluten allergies, always read the labels of your ingredients to verify that they are gluten-free.