Classic New York Cheesecake
This post may contain affiliate links. Read my full disclosure policy.
Think making cheesecake is a challenge? Think again! This foolproof recipe delivers a cheesecake so dense, rich, and creamy, it rivals those from New York’s most beloved delis—and it’s easy enough for beginners to master.
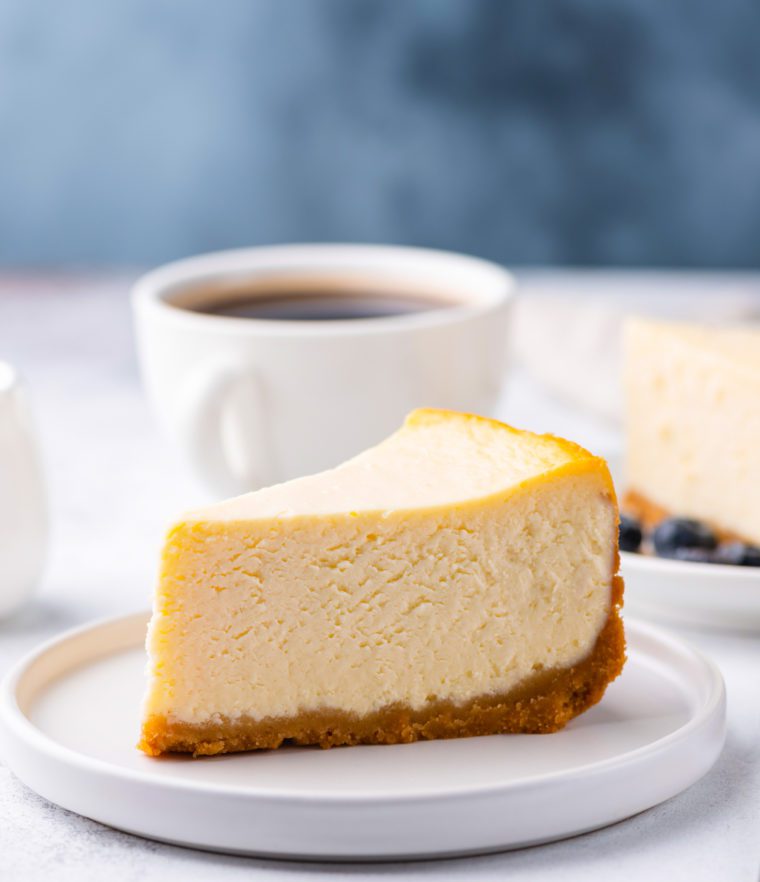
Cheesecake has always been my husband Michael’s absolute favorite dessert. I remember when I first met my future mother-in-law over 20 years ago, she told me the key to her son’s heart was through his stomach—and he could be persuaded to do just about anything for a slice of NY cheesecake. Luckily, having just graduated from culinary school, I had a little advantage when it came to both winning his heart and perfecting my cheesecake! Now, I know that making cheesecake can seem a little intimidating. It’s a custard dessert that requires careful baking in a water bath to prevent cracking and achieve the perfect consistency. But don’t let that daunt you. With a few pointers and a tried-and-true recipe, which I’m happy to share with you, even beginners can whip up a dense, rich, creamy (and crack-free) cheesecake. This is a tradition-worthy dessert that rivals the best NY delicatessens. Who knows, maybe it will even help you win over someone special!
“I made this for my family at Christmas time and everyone LOVED it! I had never made a cheesecake before. The instructions were simple and easy for beginners. I am now tasked with making this for birthdays and holidays!”
What You’ll Need To Make A Classic New York Cheesecake
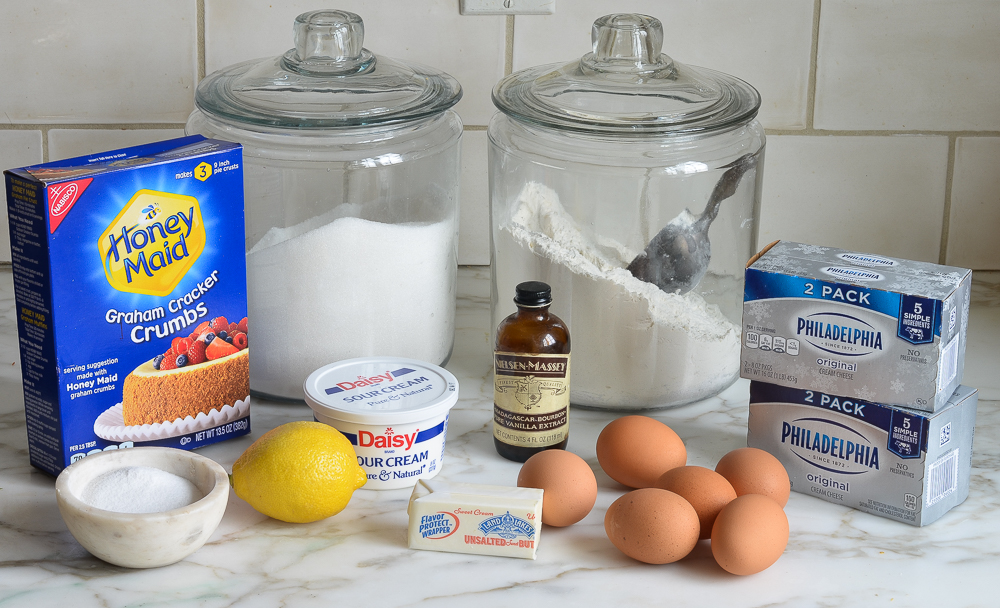
This recipe makes a classic New York-style cheesecake with a buttery graham cracker crust and rich, dense filling made from cream cheese, eggs, sugar, sour cream, vanilla, a hint of lemon, and a few tablespoons of flour.
Cream cheese is the key ingredient, so I recommend using a good brand, like Philadelphia. Though it is used most often as a spread for bagels (or a schmear), cream cheese is used to make many wonderful desserts, like my no-churn key lime pie ice cream, berry trifle, and cream cheese frosting.
Flour might seem like an unusual addition—not all cheesecake recipes incorporate it—but it’s the secret to success. A little starch helps prevent the cake from cracking and also makes the filling lighter and fluffier.
Key Equipment
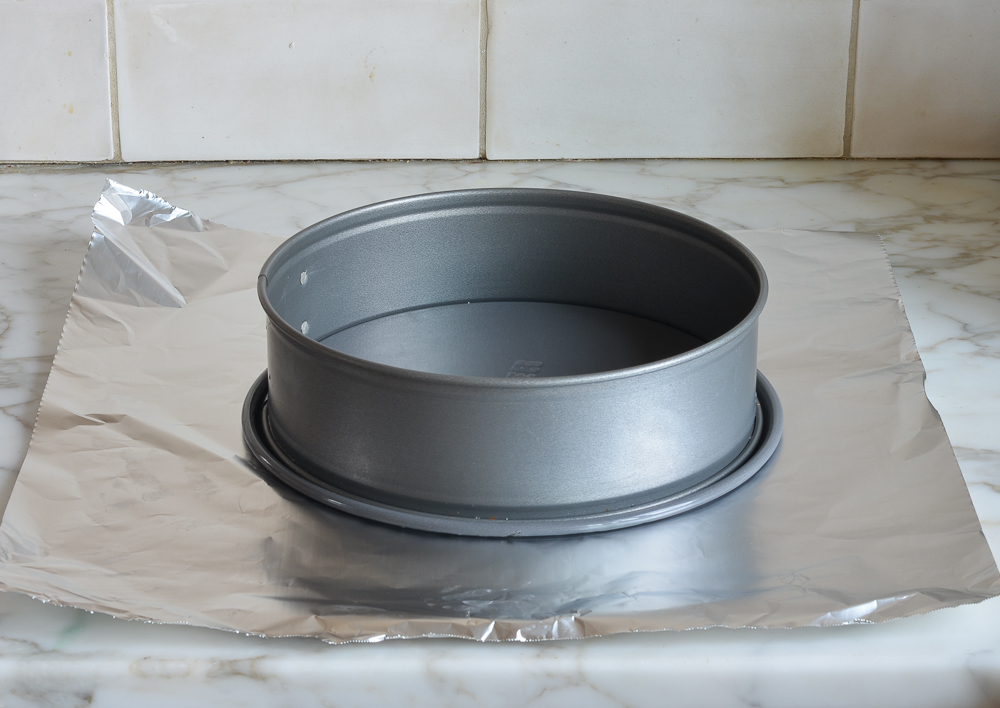
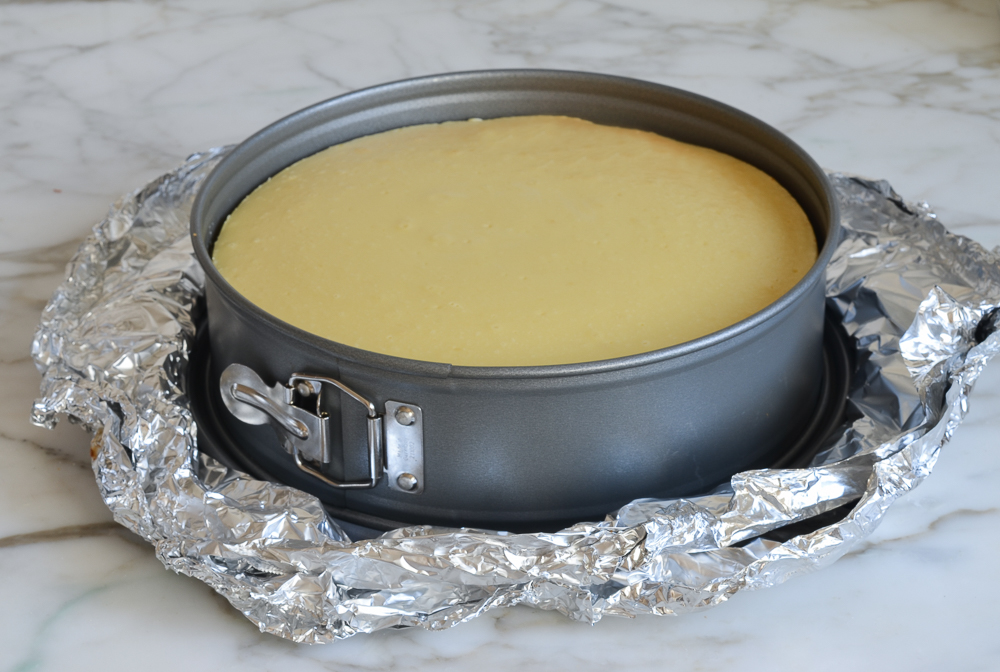
You’ll need a 9 or 10-inch springform pan and 18-inch heavy-duty aluminum foil. The springform pan features sides that can be removed from the base, so you can release the cake easily without having to flip the whole pan over (this would be a disaster with cheesecake). Springform pans, however, are notorious for leaking. Since the cheesecake bakes in a water bath, the foil prevents the water from seeping in during baking. If you’d like to try another technique that doesn’t require wrapping the pan in foil, you can place your springform pan inside a larger cake pan (see how it’s done here) or purchase a silicone wrap for your pan.
You will also need an electric mixer for whipping up the batter and a large roasting pan for the water bath.
Step-by-Step Instructions
Step 1: Preheat the Oven and Prep the Pan
Preheat the oven to 375°F.
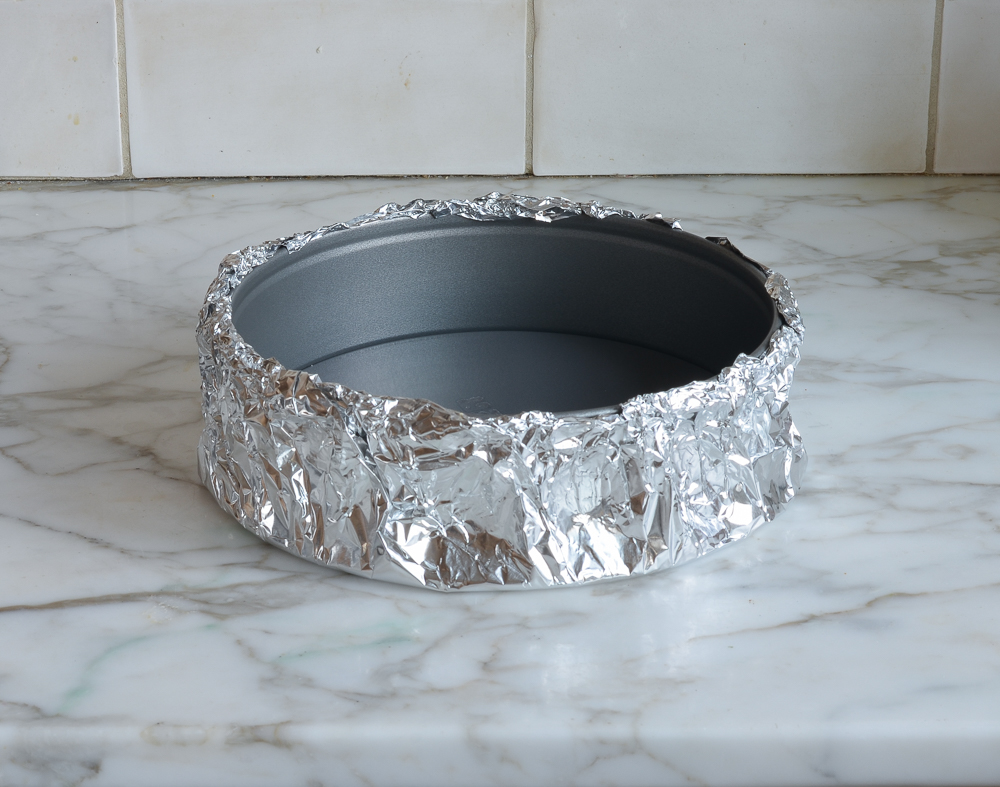
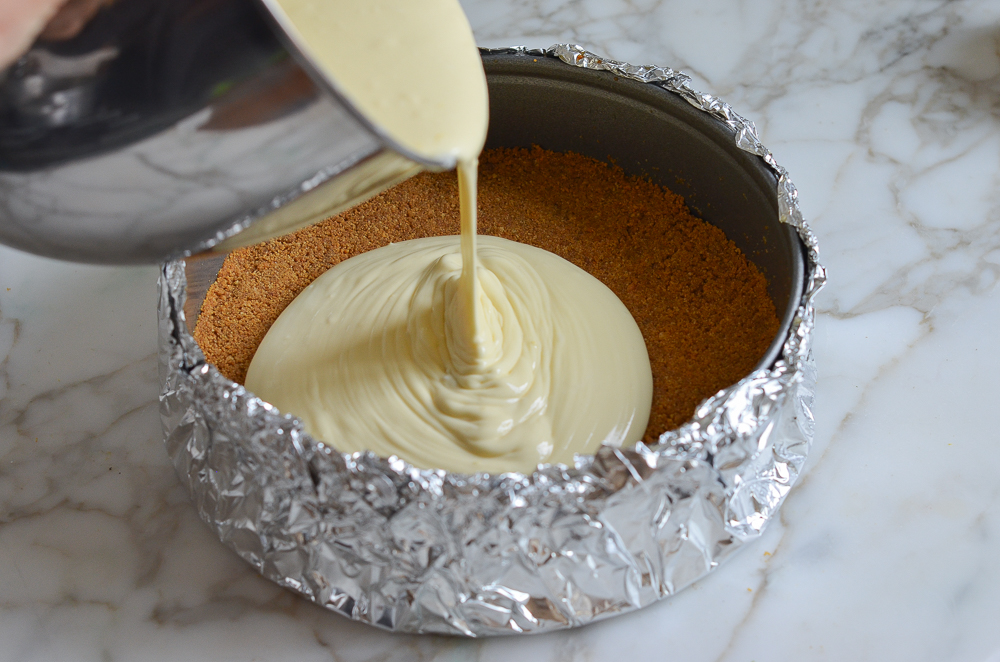
Wrap the springform pan with one large piece of heavy-duty aluminum foil, covering the underside of the pan and extending all the way to the top. Repeat with another sheet of foil for insurance. Spray the inside of the pan with nonstick cooking spray.
Step 2: Make the Graham Cracker Crust
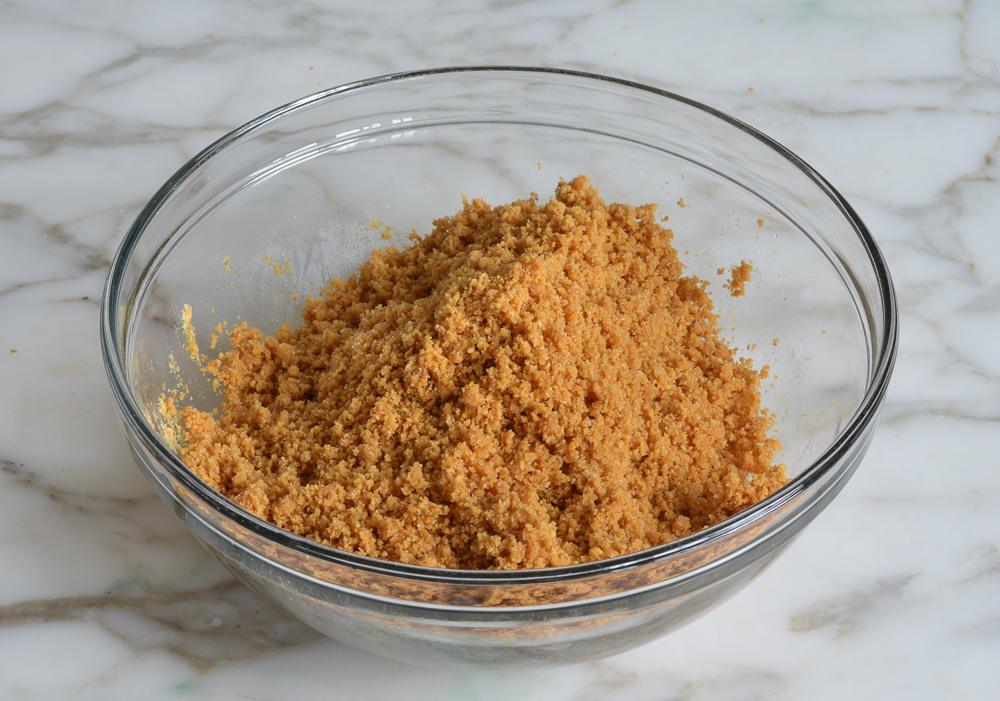
In a medium bowl, combine the graham cracker crumbs, melted butter, sugar, and salt.
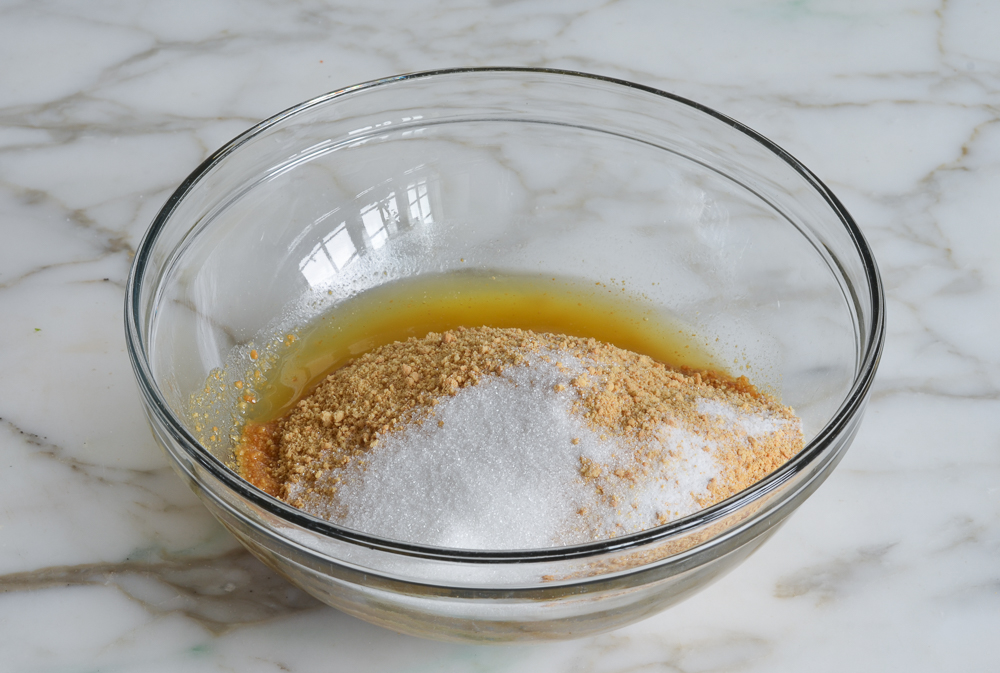
Stir until well combined.
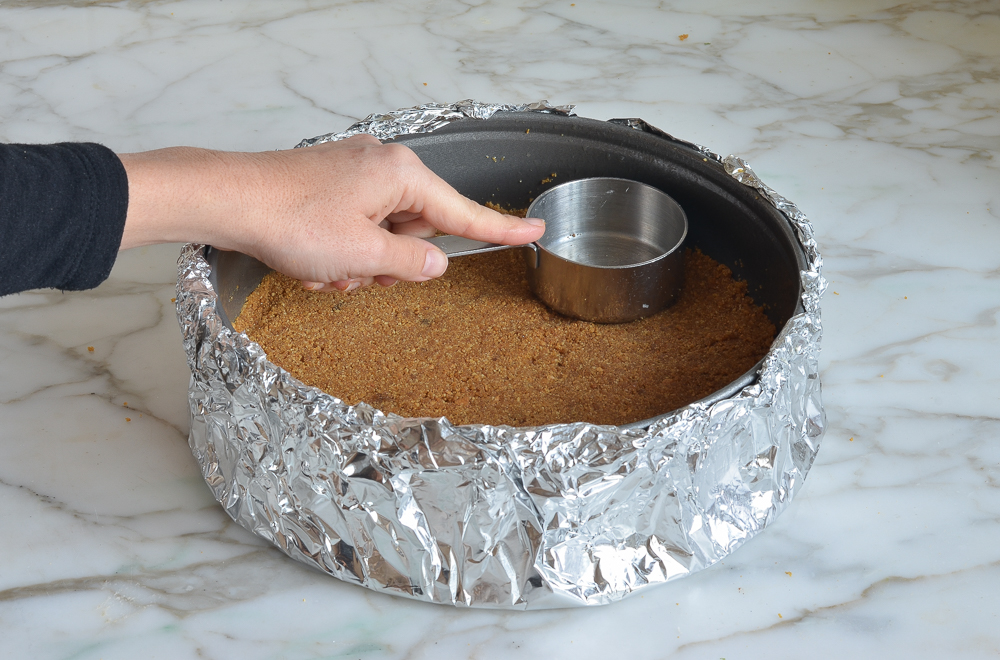
Press the crumbs into an even layer on the bottom of the prepared pan. Bake the crust for 10 minutes, until set. Remove the pan from the oven and set aside. Reduce the oven temperature to 325°F.
Step 3: Make the Cheesecake Batter
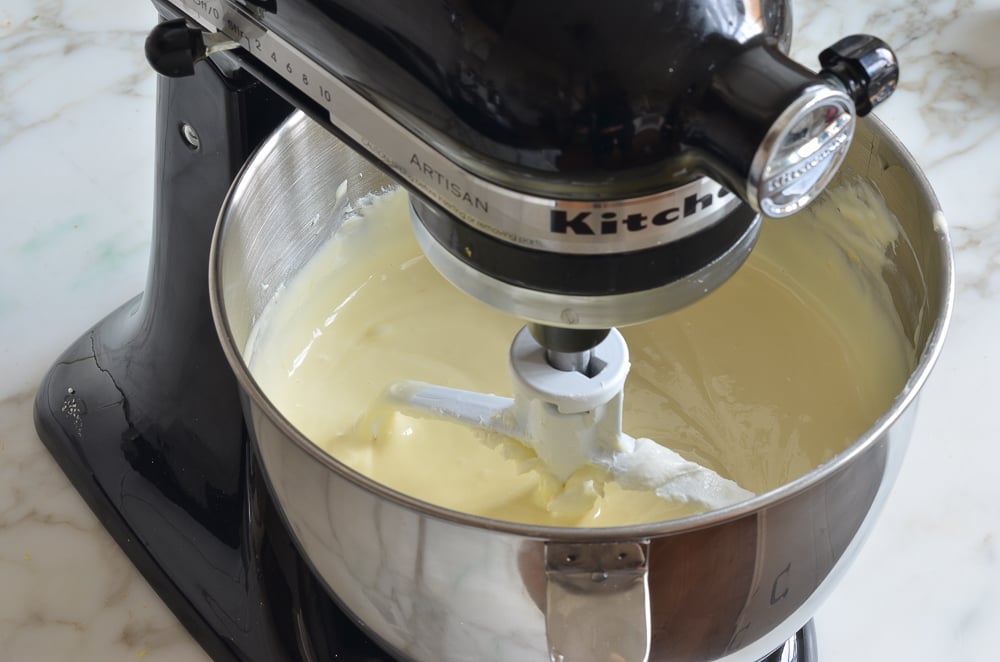
In the bowl of an electric mixer fitted with the paddle attachment or beaters, combine the cream cheese, sugar, and flour.
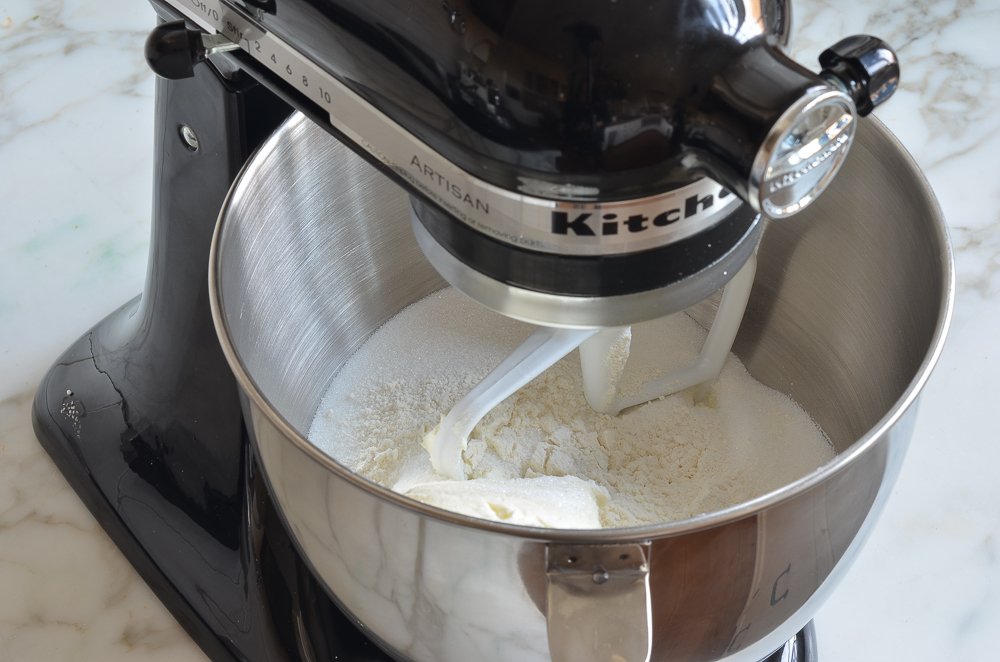
Beat on medium speed until just smooth, about 1 minute. Scrape the bottom and sides of the bowl to be sure the mixture is evenly combined.
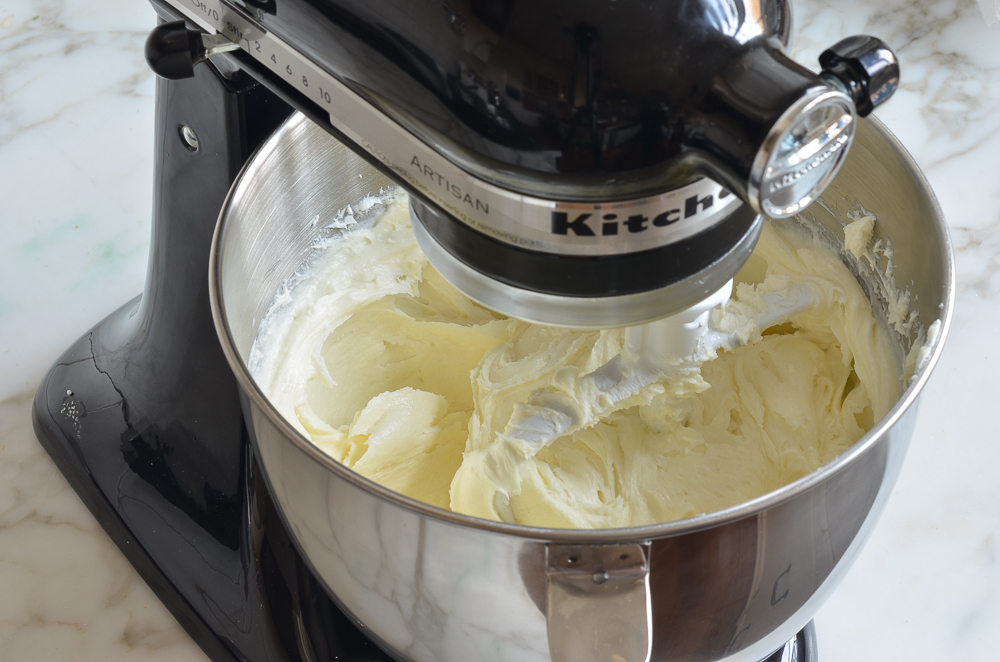
Add the vanilla, lemon zest, lemon juice, and salt; beat on low speed until just combined.
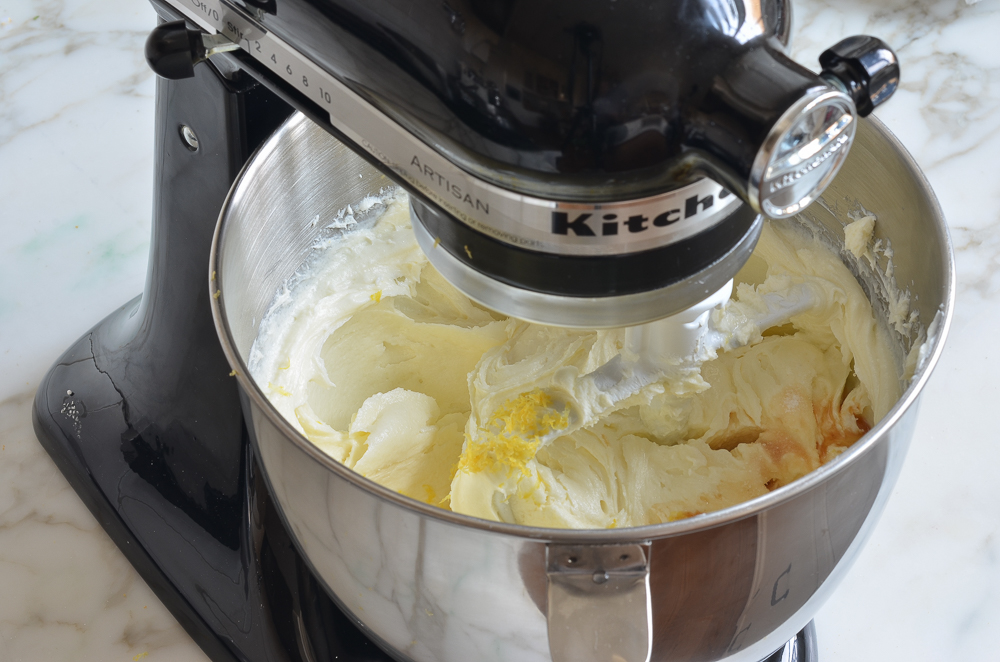
Add the eggs, one at a time, mixing on low speed until incorporated, scraping the bowl as necessary.
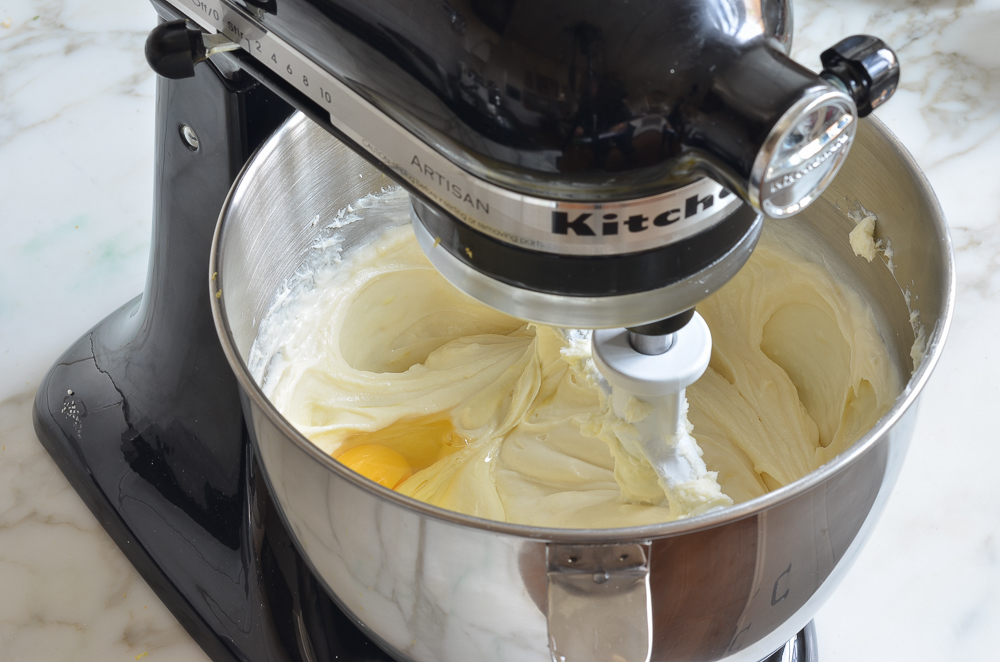
Mix in the sour cream.
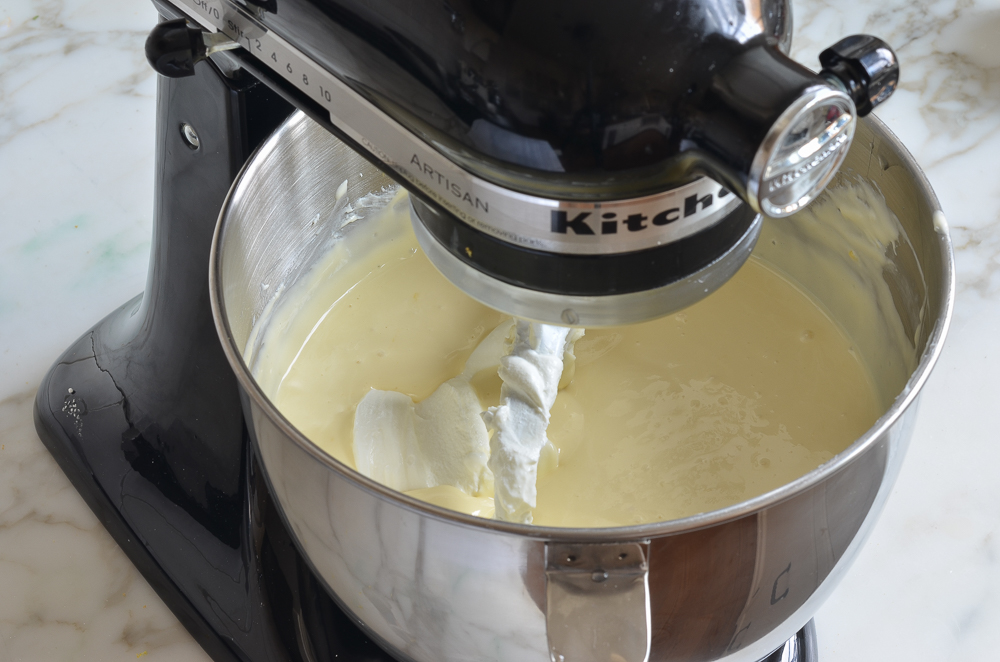
Make sure the batter is uniform but do not over-mix.
Pour the batter on top of the crust.
Step 4: Bake
Set the unbaked cheesecake in a large roasting pan. Pour boiling water into the roasting pan until it comes about one inch up the side of the cake pan. The water bath (also called a bain marie) regulates the temperature and keeps the cheesecake baking at an even, low heat. The steam/humidity created by the water bath also protects the cheesecake from drying out and cracking.
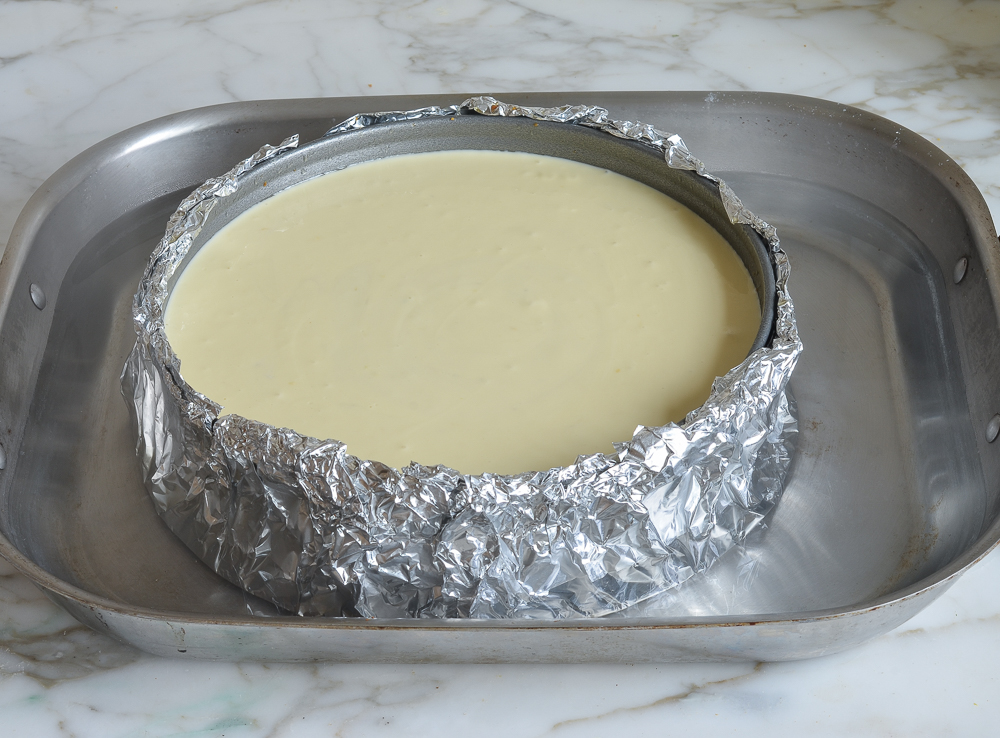
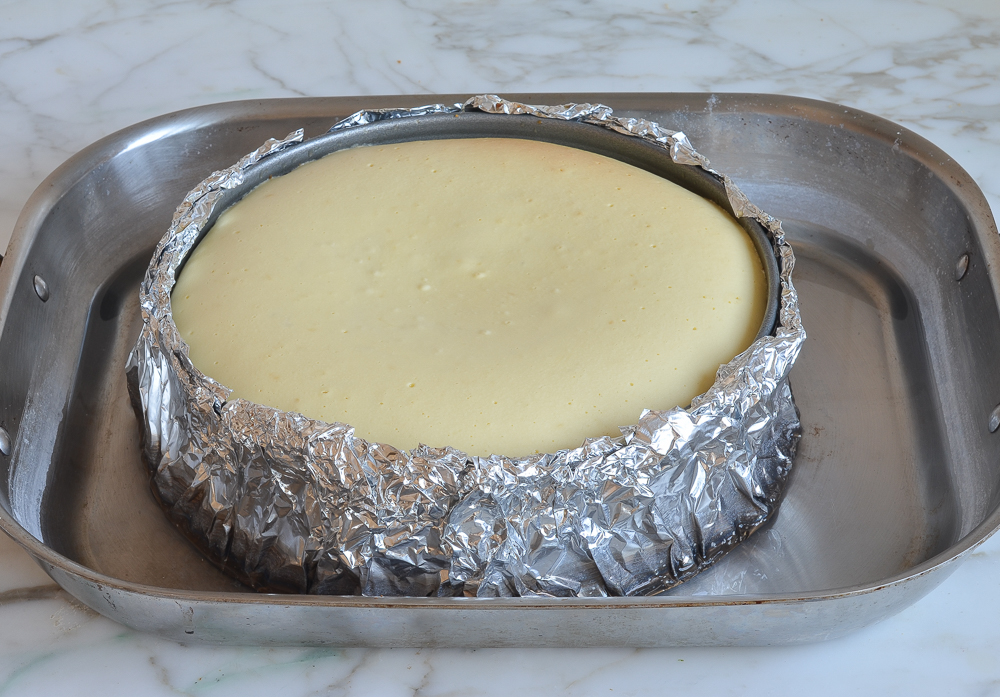
Bake until the cake is just set, 1 hour and 30 minutes to 1 hour and 45 minutes. The cake should not look liquidy at all but will wobble just a bit when the pan is nudged; it will continue to cook as it cools.
Step 5: Cool
Carefully remove the roasting pan from the oven and set it on a wire rack. Cool the cheesecake in the water bath until the water is just warm, about 45 minutes. Remove the springform pan from the water bath, discard the foil, and transfer the cheesecake to the refrigerator to cool for at least 8 hours or overnight.
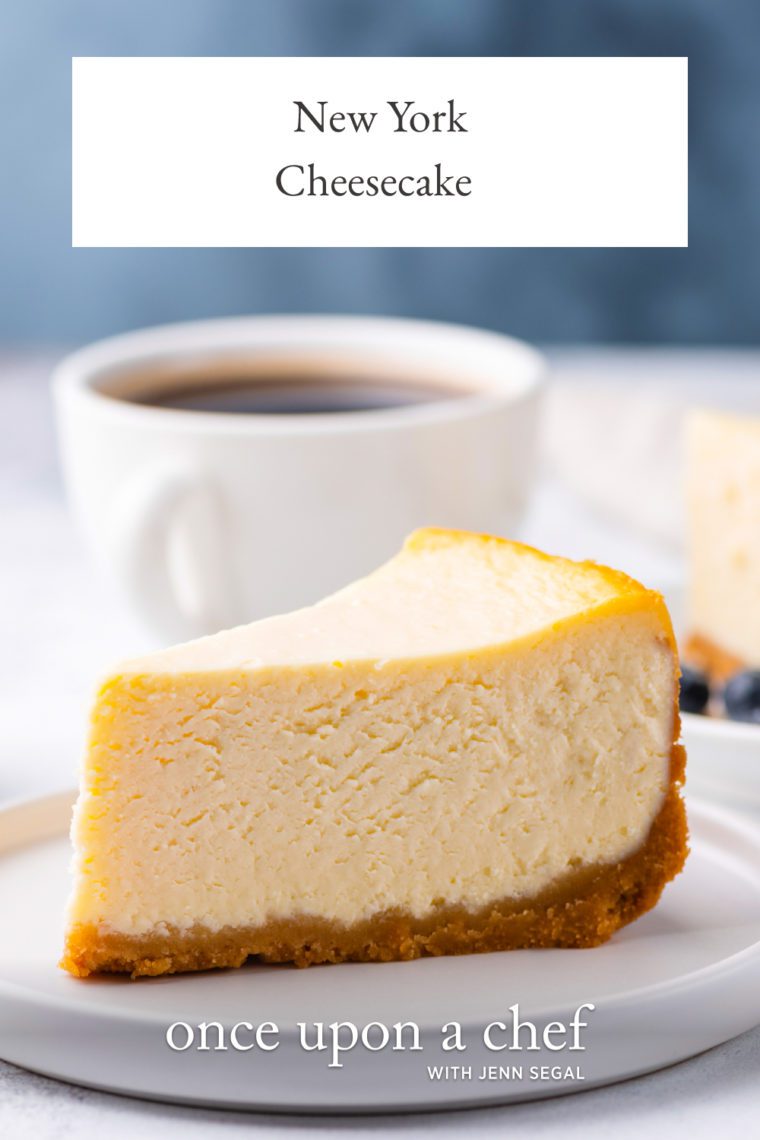
Remove the sides of the springform pan. You can serve the cheesecake right from the base of the springform pan. Or, if you’d like to transfer it to a serving platter, run a long, thin spatula between the crust and the pan bottom, and then use two large spatulas to transfer the cheesecake to a serving dish. Slice with a sharp knife, wiping the knife clean between slices. Serve with berry sauce, if you like.
video tutorial

You May Also Like
Classic New York Cheesecake
Think making cheesecake is a challenge? Think again! This foolproof recipe delivers a cheesecake so dense, rich, and creamy, it rivals those from New York’s most beloved delis—and it’s easy enough for beginners to master.
Ingredients
For the Crust
- 1½ cups graham cracker crumbs, from 12 whole crackers
- 5 tablespoons unsalted butter, melted
- 2 tablespoons sugar
- ⅛ teaspoon salt
For the Filling
- 32 oz (four 8-oz blocks) cream cheese, at room temperature
- 2 cups sugar
- 3 tablespoons all-purpose flour
- 4 teaspoons vanilla extract
- 1 teaspoon packed lemon zest, from 1 lemon
- 2 teaspoons fresh lemon juice, from 1 lemon
- ¼ teaspoon salt
- 6 large eggs
- ½ cup sour cream
- Special equipment: 9- or 10-inch springform pan; 18-inch heavy-duty aluminum foil (see Pro Tip)
- Berry sauce, for serving (optional)
Instructions
For the Crust
- Preheat the oven to 375°F and set an oven rack in the lower middle position. Wrap a 9- or 10-inch springform pan with one large piece of heavy-duty aluminum foil, covering the underside and extending all the way to the top so there are no seams on the bottom or sides of the pan. Repeat with another sheet of foil for insurance. Spray the inside of the pan with nonstick cooking spray.
- Make the crust: In a medium bowl, combine the graham cracker crumbs, melted butter, sugar, and salt. Stir until well combined. Press the crumbs into an even layer on the the bottom of the prepared pan. Bake the crust for 10 minutes, until set. Remove the pan from the oven and set aside.
- Reduce the oven temperature to 325°F. Set a kettle of water to boil.
- Make the batter: In the bowl of an electric mixer fitted with the paddle attachment or beaters, beat the cream cheese, sugar, and flour together on medium speed until just smooth, about 1 minute. Scrape the bottom and sides of the bowl to be sure the mixture is evenly combined. Add the vanilla, lemon zest, lemon juice, and salt; beat on low speed until just combined. Add the eggs, one at a time, mixing on low speed until incorporated, scraping the bowl as necessary. Mix in the sour cream. Make sure the batter is uniform but do not over-mix.
- Check to make sure your oven has cooled to 325°F, then set the cheesecake pan in a large roasting pan. Pour the batter on top of the crust. Pour the boiling water into the large roasting pan to come about 1 inch up the side of the cake pan. Bake until the cake is just set, 1 hour and 30 minutes to 1 hour and 45 minutes. (If the cheesecake starts to look too golden on top towards the end, cover it loosely with foil.) The cake should not look liquidy at all but will wobble just a bit when the pan is nudged; it will continue to cook as it cools. Carefully remove the roasting pan from the oven and set it on a wire rack. Cool the cheesecake in the water bath until the water is just warm, about 45 minutes. Remove the springform pan from the water bath and discard the foil. If necessary, run a thin-bladed knife around the edge of the cake to make sure it's not sticking to the sides (which can cause cracks as it cools), then cover with plastic wrap and transfer to the refrigerator to cool for at least 8 hours or overnight.
- For serving: Remove the sides of the springform pan. Serve the cheesecake right from the base of the pan; or, to transfer it to a serving platter, run a long, thin spatula between the crust and the pan bottom, and then use two large spatulas to carefully transfer the cheesecake to a serving dish. Slice with a sharp knife, wiping the knife clean between slices. Serve with berry sauce, if you like.
- Make Ahead: The cheesecake can be made and stored in the springform pan in the fridge, tightly covered with plastic wrap, up to two days ahead of time.
- Freezer-Friendly Instructions: The cheesecake can be frozen for up to 3 months. To freeze, place the cake in the freezer briefly, unwrapped, to firm it up. Then double-wrap it tightly with aluminum foil or plastic freezer wrap, or place it in heavy-duty freezer bag. Thaw in the refrigerator the night before you plan to eat it.
- Pro Tip: Springform pans are notorious for leaking. Since a cheesecake bakes in a water bath, the foil prevents the water from seeping in during baking. Please do not attempt to use standard 12-inch (30cm) aluminum foil – you can’t have any foil seams on the bottom or sides of the pan. No matter how well (or how many times) you wrap the pan, if there are seams exposed to the water, the water will find a way in. Even when wrapped properly, you can occasionally get some condensation inside the foil. If this happens, don’t worry – the crust is likely just a bit moist around the edges. Simply remove the sides of the springform pan before refrigerating and let it dry out in the refrigerator.
Nutrition Information
Powered by ![]()
- Per serving (10 servings)
- Serving size: 1 slice
- Calories: 659
- Fat: 43 g
- Saturated fat: 24 g
- Carbohydrates: 59 g
- Sugar: 49 g
- Fiber: 1 g
- Protein: 11 g
- Sodium: 464 mg
- Cholesterol: 233 mg
This website is written and produced for informational purposes only. I am not a certified nutritionist and the nutritional data on this site has not been evaluated or approved by a nutritionist or the Food and Drug Administration. Nutritional information is offered as a courtesy and should not be construed as a guarantee. The data is calculated through an online nutritional calculator, Edamam.com. Although I do my best to provide accurate nutritional information, these figures should be considered estimates only. Varying factors such as product types or brands purchased, natural fluctuations in fresh produce, and the way ingredients are processed change the effective nutritional information in any given recipe. Furthermore, different online calculators provide different results depending on their own nutrition fact sources and algorithms. To obtain the most accurate nutritional information in a given recipe, you should calculate the nutritional information with the actual ingredients used in your recipe, using your preferred nutrition calculator.

So many pointless, confusing, totally archaic meaasurements, holy hell!! Ingredients should be listed by weight only, otherwise it’ll never work for ya no matter what you do
Hi Jim, The great majority of my recipes (including this one) include conversions to metric/weight measurements. To view them, scroll down to the recipe, and immediately under the recipe title on the right side, you’ll see a little toggle. If you move it from “cup measures” to metric, you’ll see measurements that will work for you. Hope that helps!