

This post may contain affiliate links. Read my full disclosure policy.
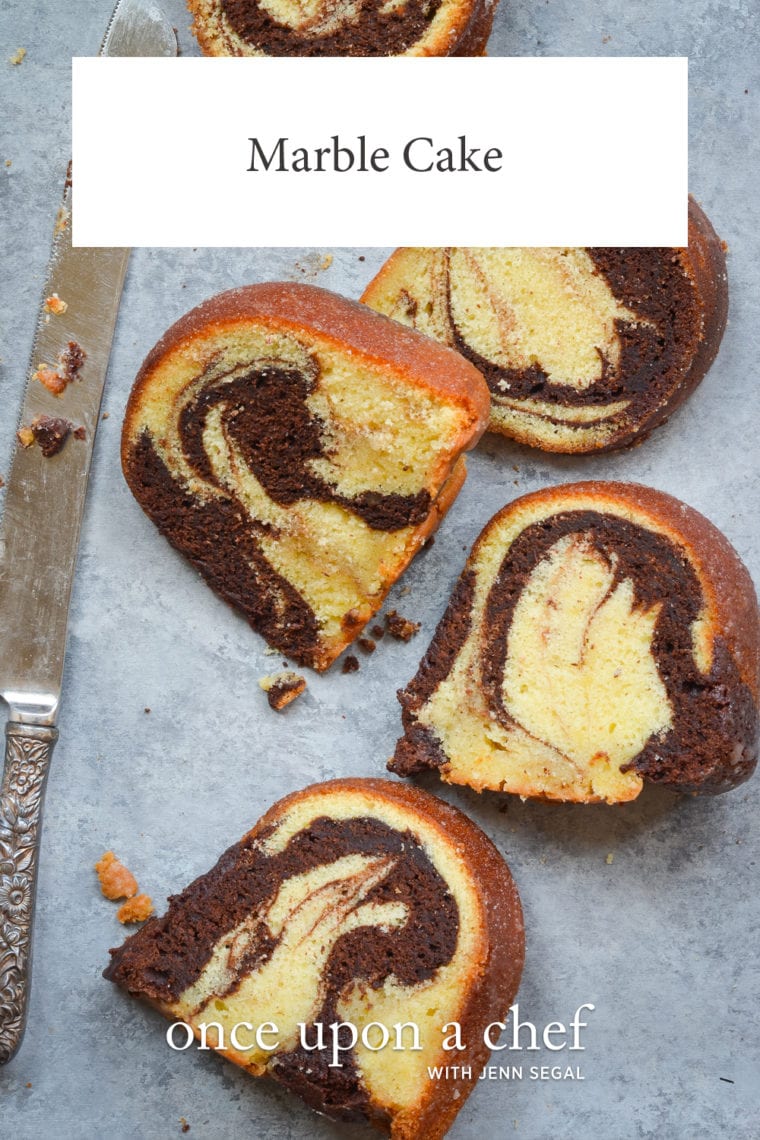
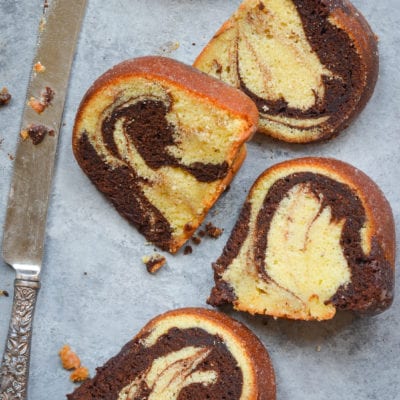
Marble cake is the best of both worlds—swirls of tender vanilla and rich chocolate cake baked together in one beautiful Bundt. It looks impressive but comes together easily with just a few pantry staples. Perfect for birthdays, brunches, or just because.
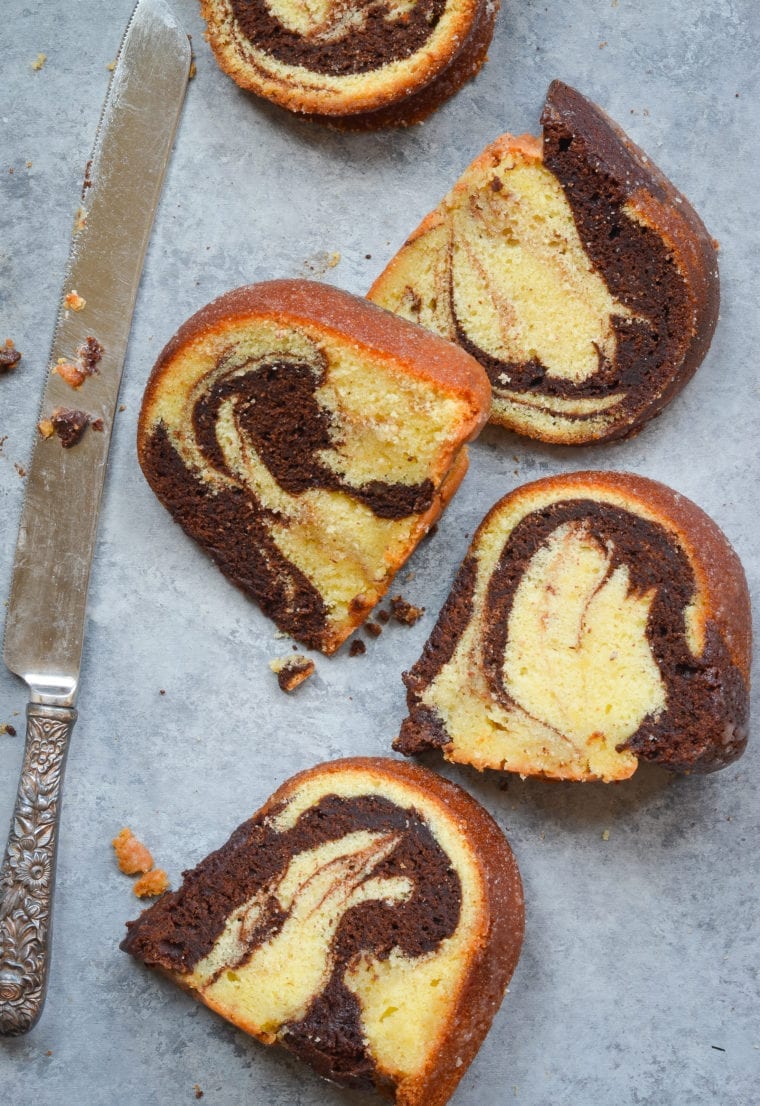
Why choose between chocolate and vanilla when you can have both? This marble cake recipe brings the two flavors together, with swirls of rich, fudgy chocolate and buttery vanilla cake in every slice. It’s essentially a marbled version of my classic Kentucky butter cake, and it’s much easier to make than it looks.
There’s no need to prepare two separate batters. Just mix a portion of the vanilla batter with melted chocolate and cocoa powder, swirl the two together, and voilà! You’ve got a beautiful, old-fashioned marble cake that’s every bit as good as it looks.
“One of best cakes I’ve ever baked!”
What You’ll Need To Make Marble Cake
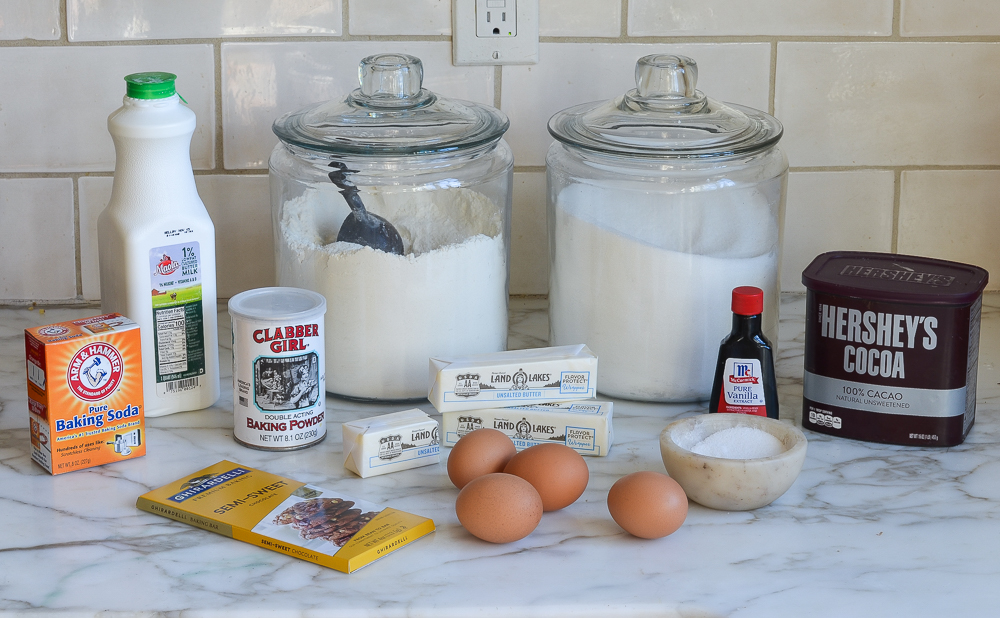
- Chocolate: Use natural unsweetened cocoa powder, such as Hershey’s—not Dutch-process—and a good-quality semisweet chocolate bar, such as Ghirardelli. If shopping by cacao percentage, aim for 55 to 60%. The combination of the cocoa powder and the bar gives the chocolate portion a deeper flavor than cocoa alone.
- Sugar: Sweetens both the cake and the glaze and contributes to the tender texture of the crumb.
- Buttermilk: Adds moisture and gives the cake a soft, tender crumb. Its acidity is what makes it different from regular milk. No buttermilk? Just add 1 tablespoon of lemon juice or vinegar to a 1-cup measuring cup, fill it the rest of the way with milk, and let it sit for 5 minutes before using.
- Flour: Gives the cake structure. For accuracy, spoon it into your measuring cup and level it off.
- Eggs: Help bind the batter and give the cake its structure.
- Vanilla Extract: Brings warmth and depth to both the cake and glaze.
- Baking Powder & Baking Soda: Work together to give the cake lift and ensure a light texture.
- Unsalted Butter: Adds richness and flavor to both the cake and the glaze.
- Jump to the printable recipe for precise measurements
How to Make Marble cake
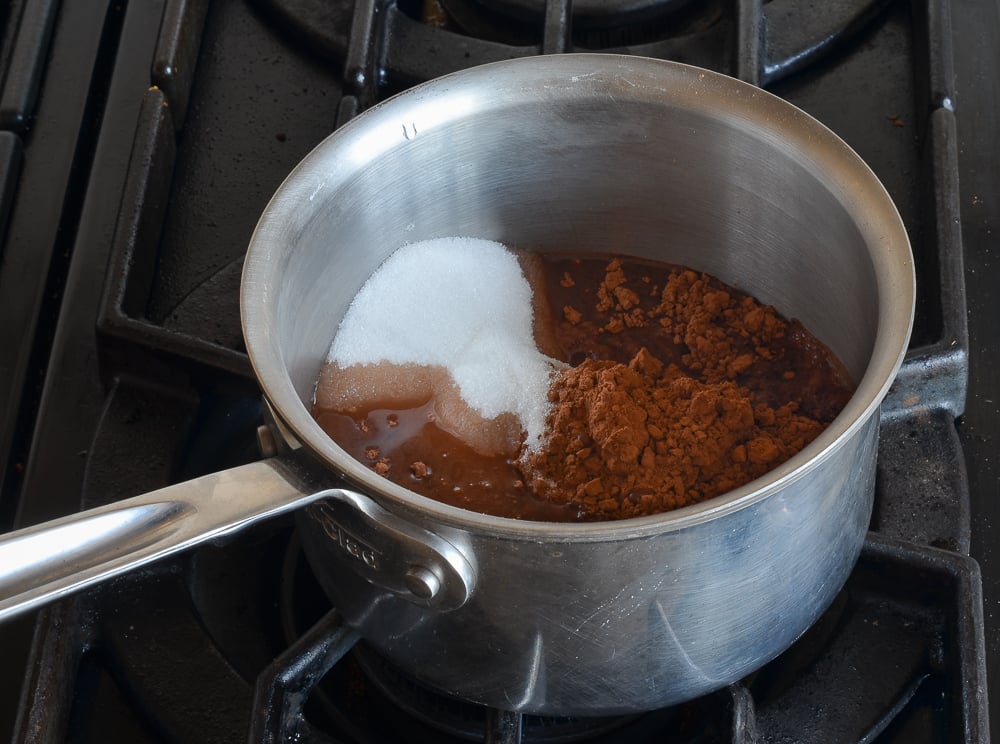
Make the chocolate base: In a small saucepan, whisk together the cocoa powder, ½ cup of the sugar, and the water. Bring to a simmer over high heat, whisking until smooth. Remove from the heat, add the chocolate, and whisk until melted and silky smooth. Set aside.
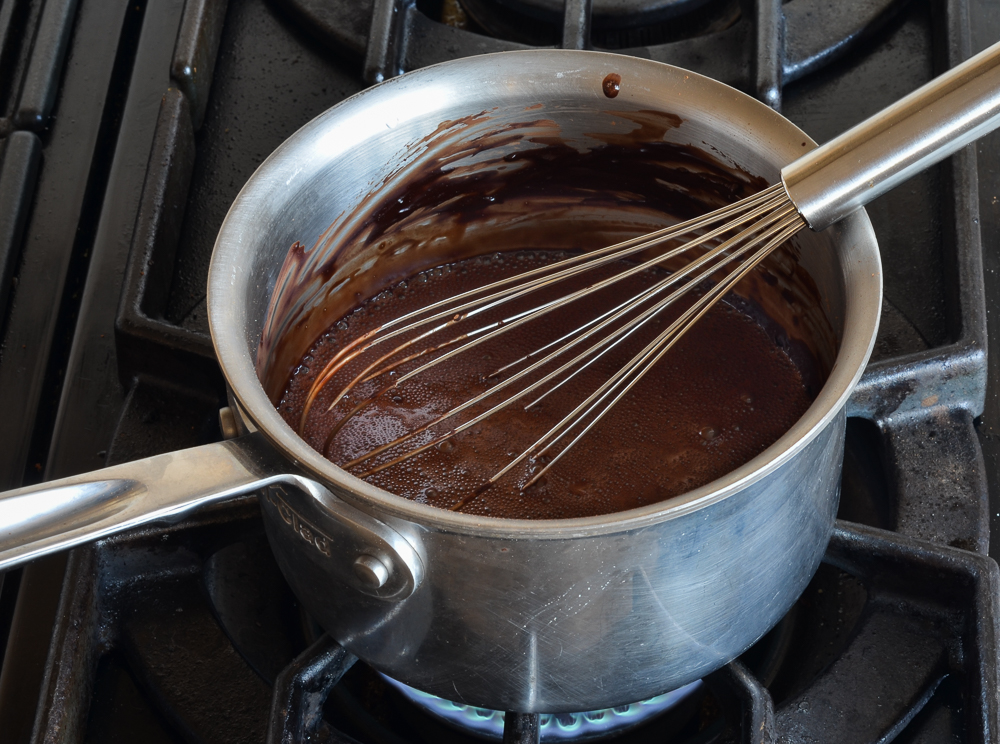
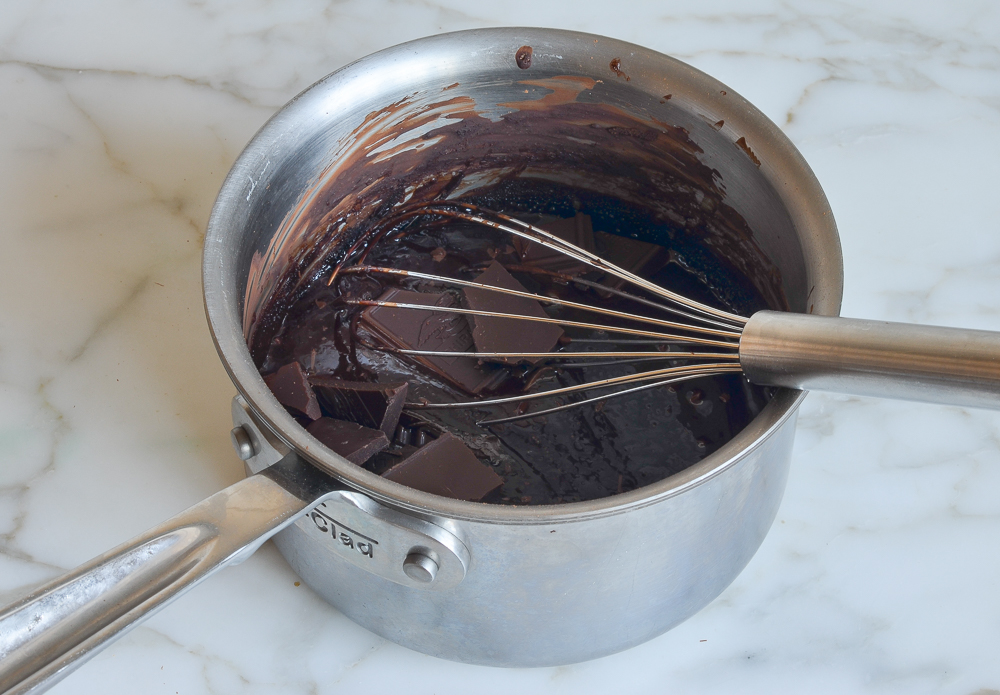
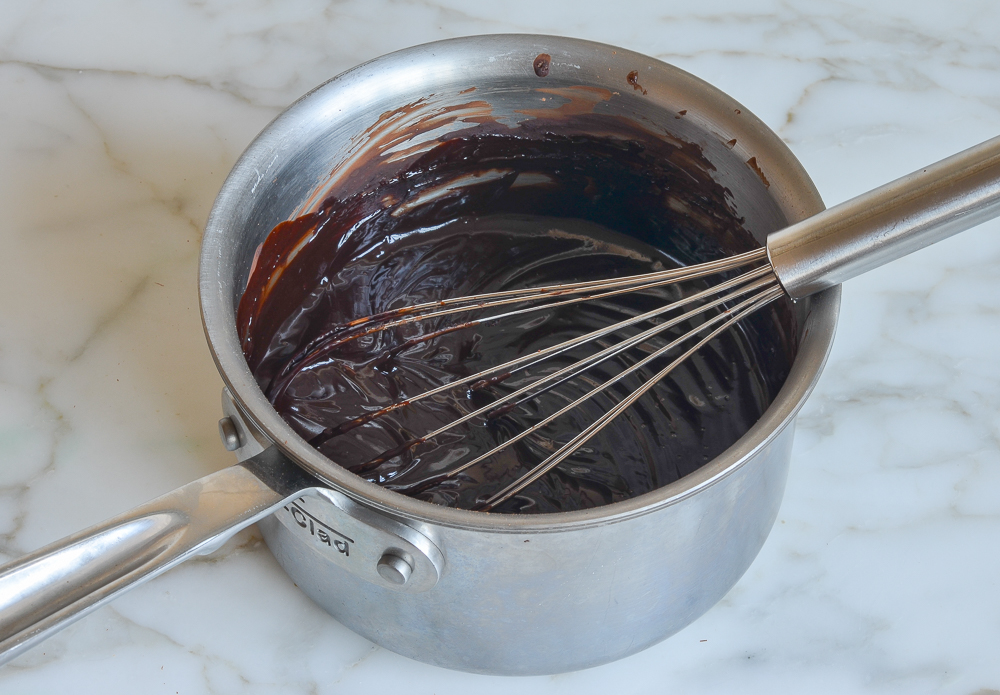
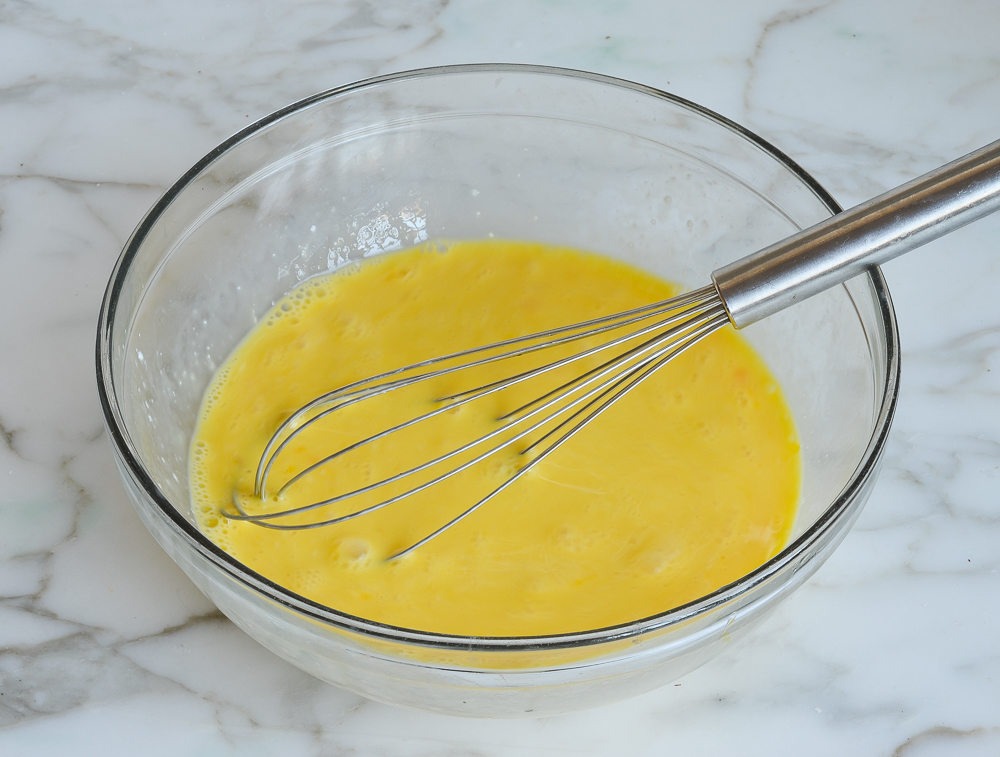
Mix the wet ingredients for the cake batter: Combine the buttermilk, eggs, and vanilla in a medium bowl, then whisk well.
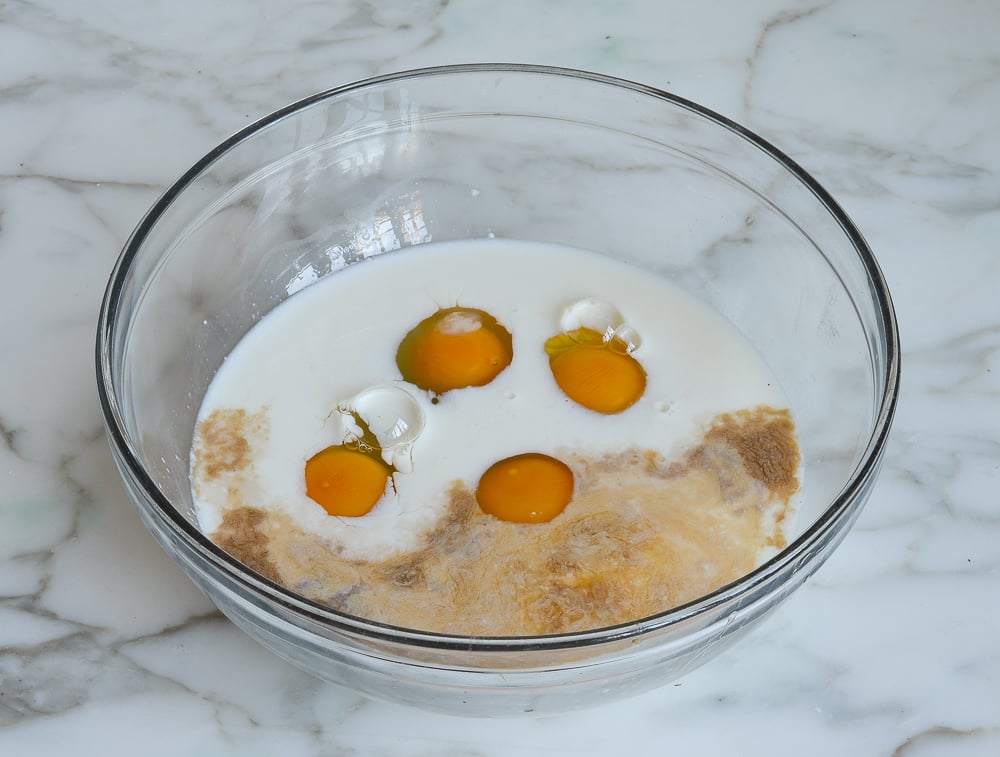
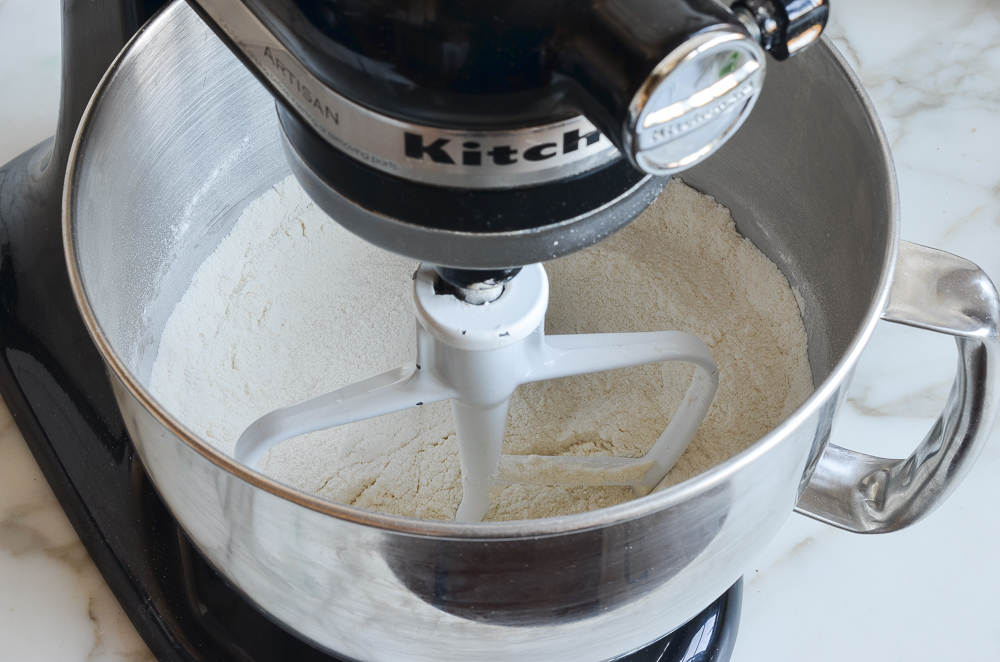
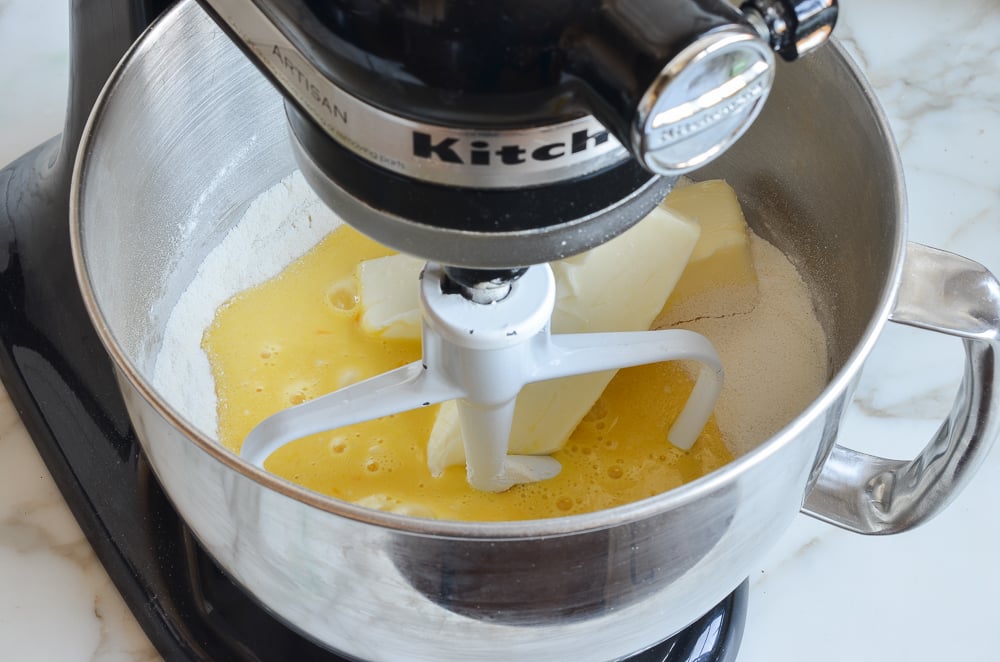
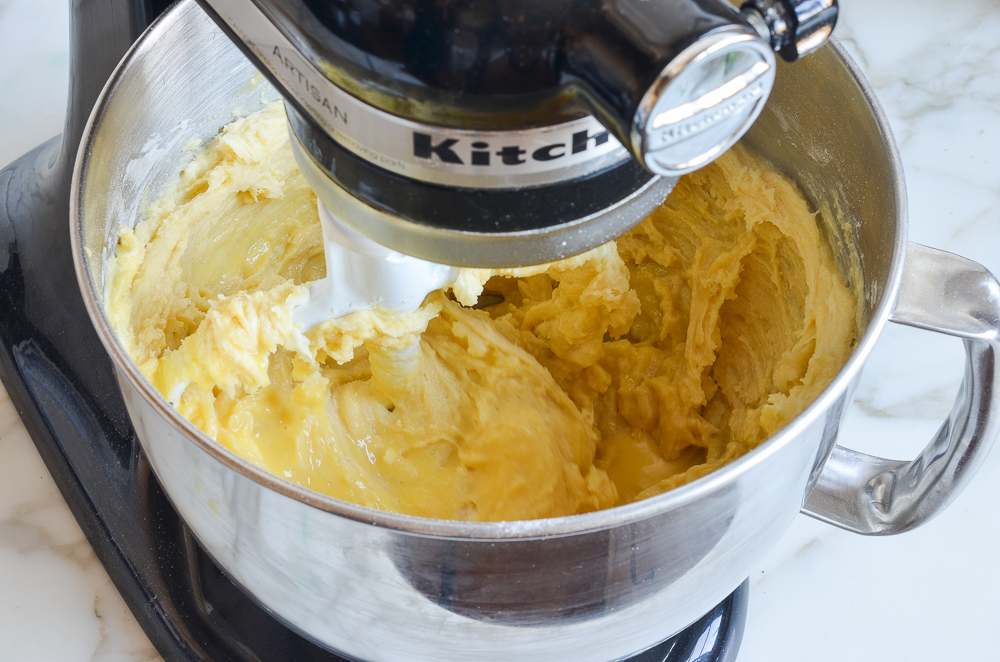
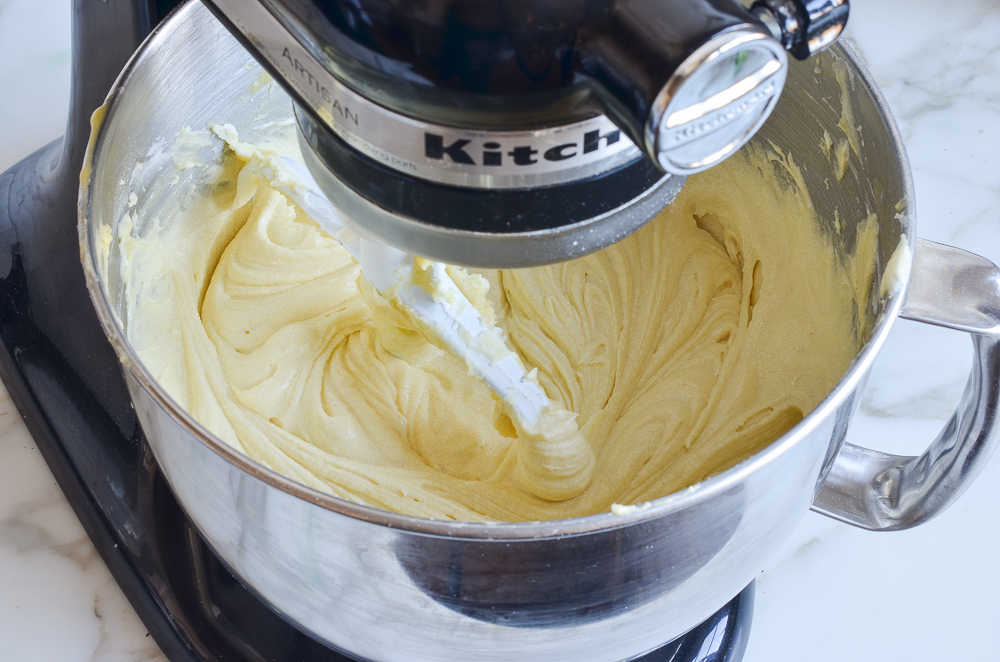
Mix the cake batter: In a mixing bowl, combine the flour, baking powder, baking soda, salt, and remaining sugar. Add the softened butter and half of the buttermilk mixture, then mix on low speed for about a minute, until everything is moistened but still a little crumbly. With the mixer running on low, gradually add the remaining buttermilk mixture. Increase the speed to medium and beat for 3 minutes, until the batter is pale and creamy.
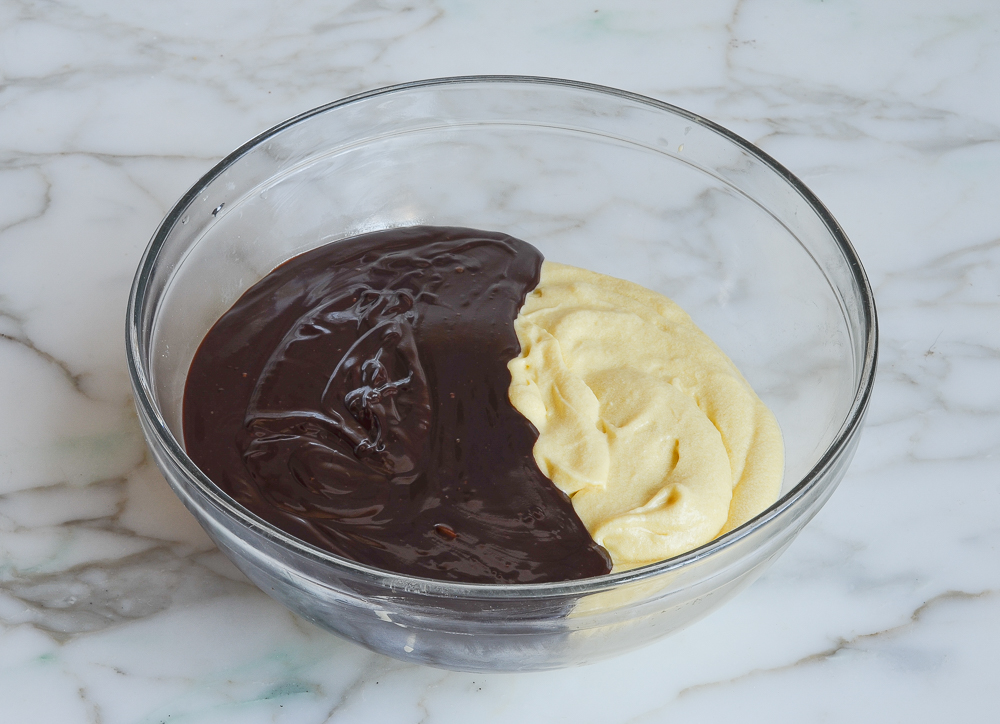
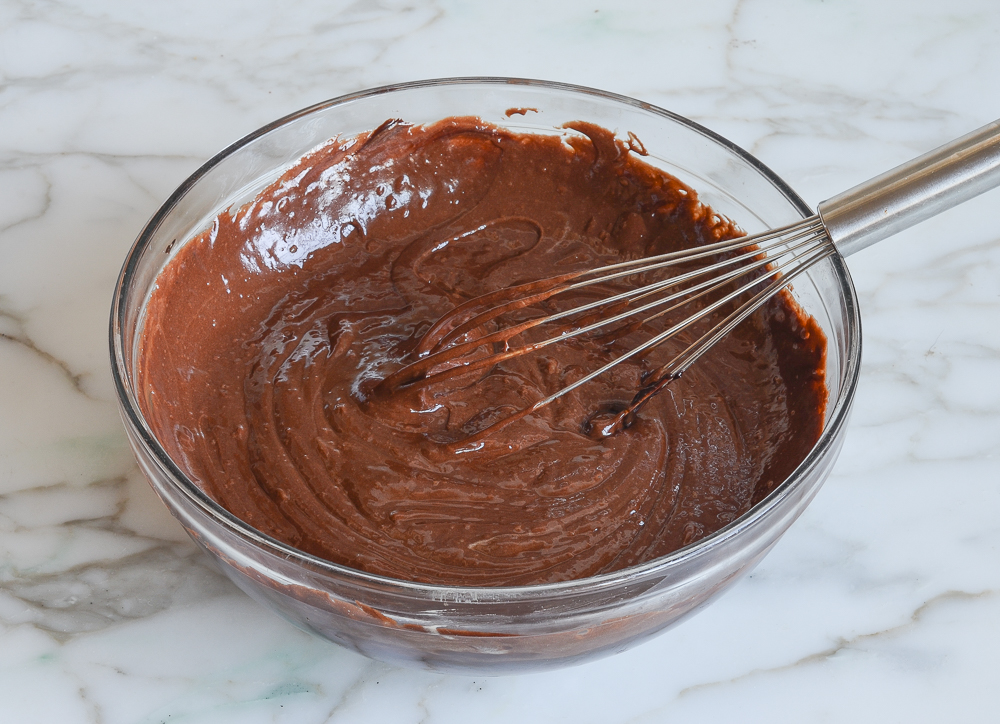
Mix the chocolate batter: Transfer about 2½ cups of the marble cake batter to a medium bowl and add the chocolate base you made earlier. Whisk until smooth.
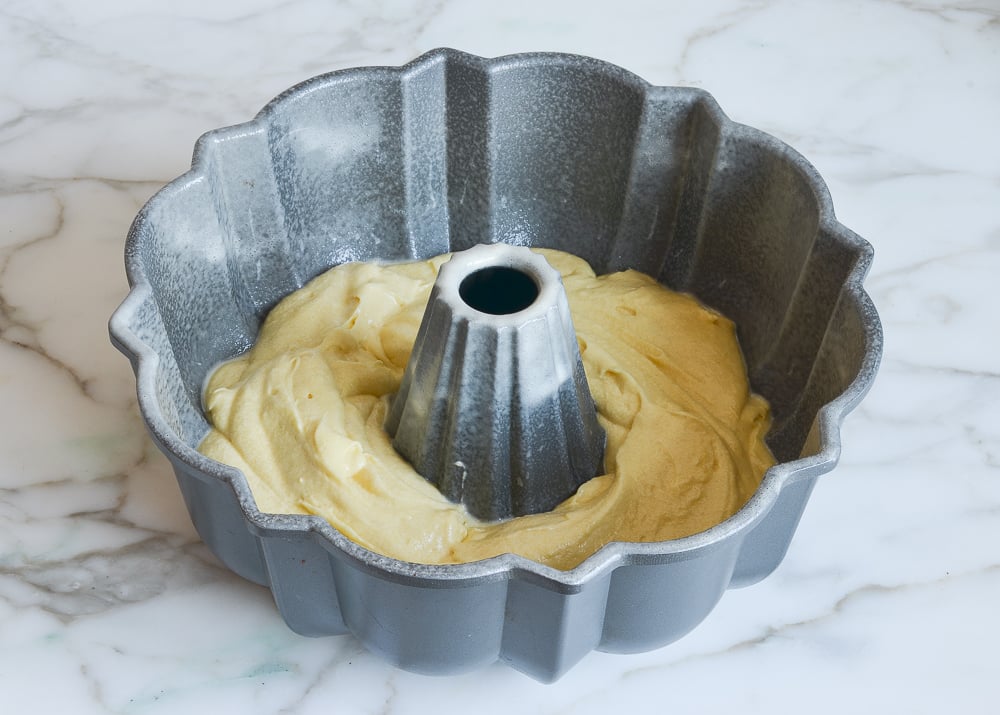
Layer, swirl, and bake: Spoon half of the remaining vanilla batter into the prepared pan, followed by the chocolate batter and then the rest of the vanilla batter. Swirl with a butter knife in a zigzag motion, going around the pan a few times—then stop so the batters stay distinct. Bake for 60 to 70 minutes, until a cake tester comes out clean.
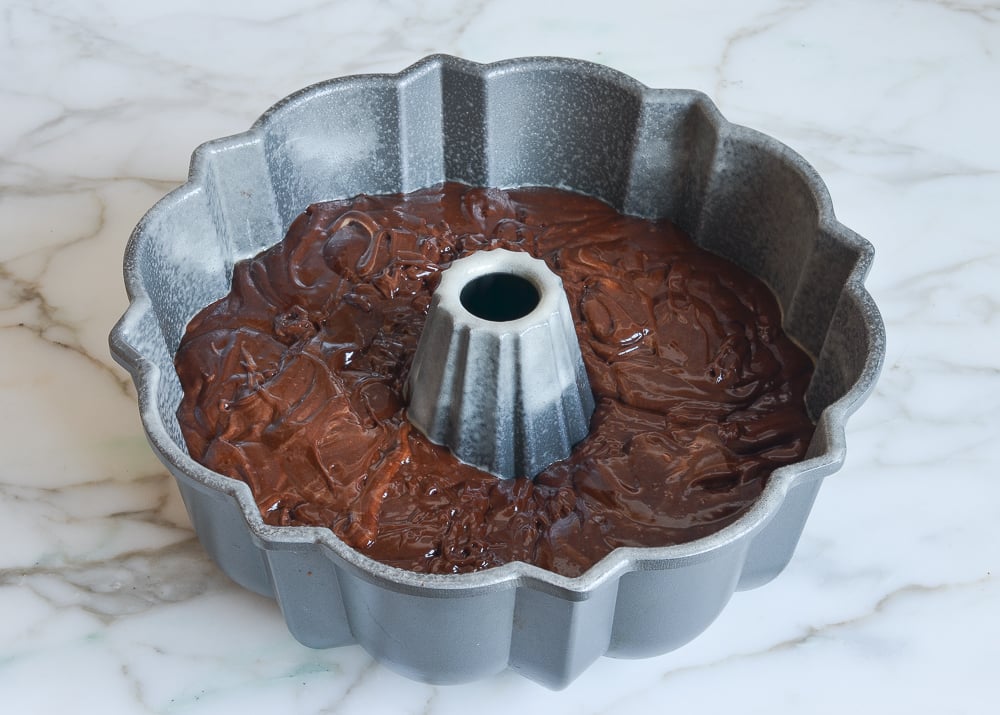
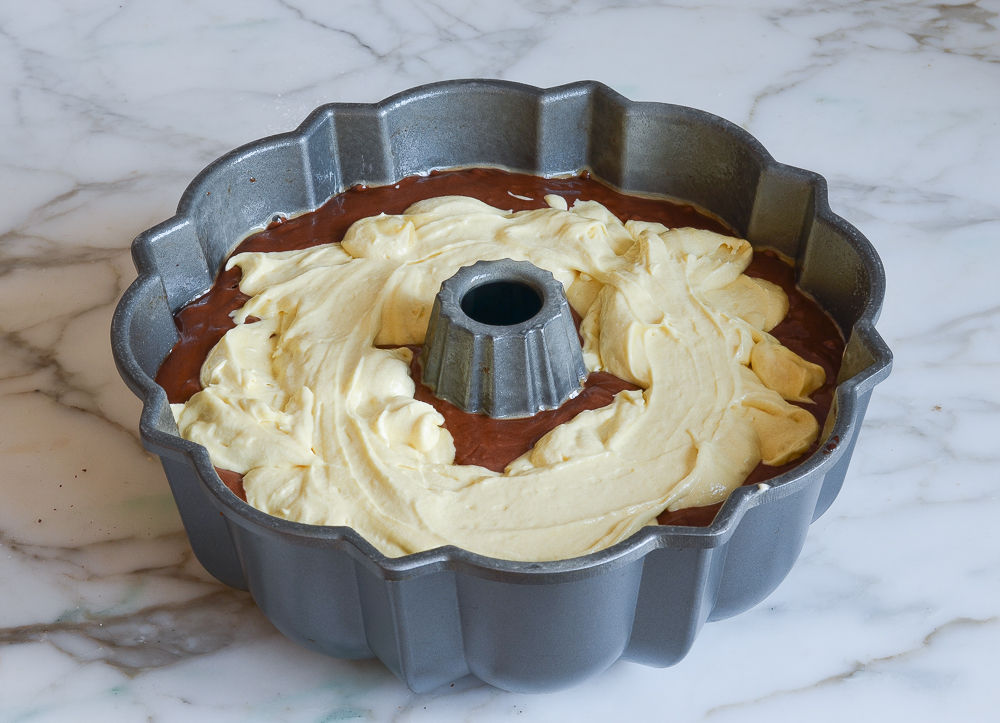
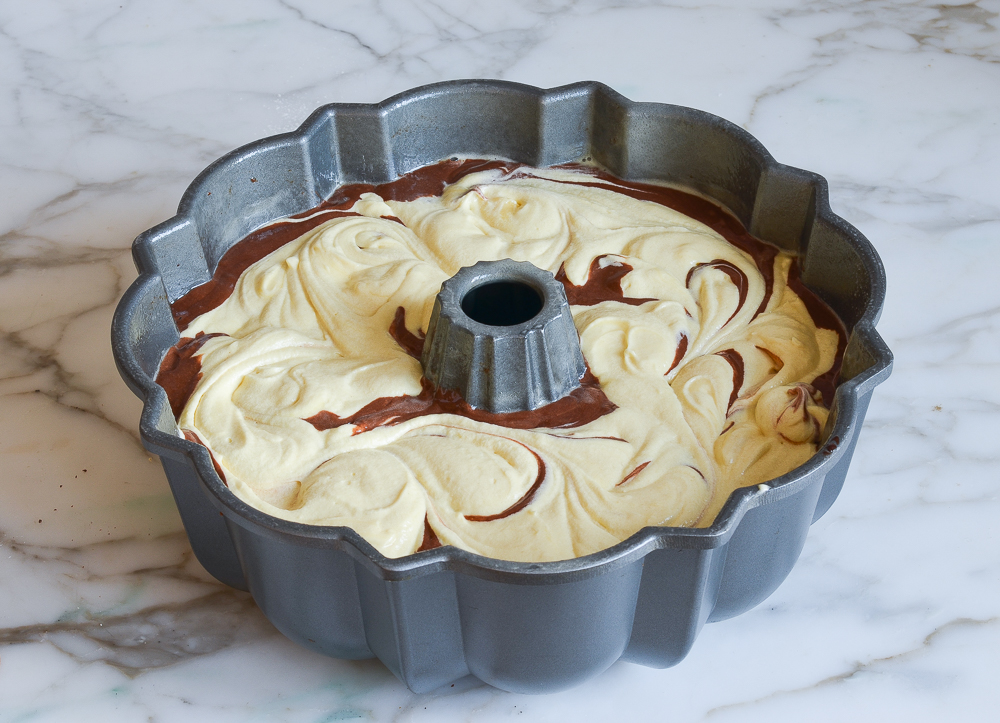
Make the glaze: While the cake bakes, make the glaze by boiling butter, sugar, water, and vanilla, then simmering until the sugar dissolves.
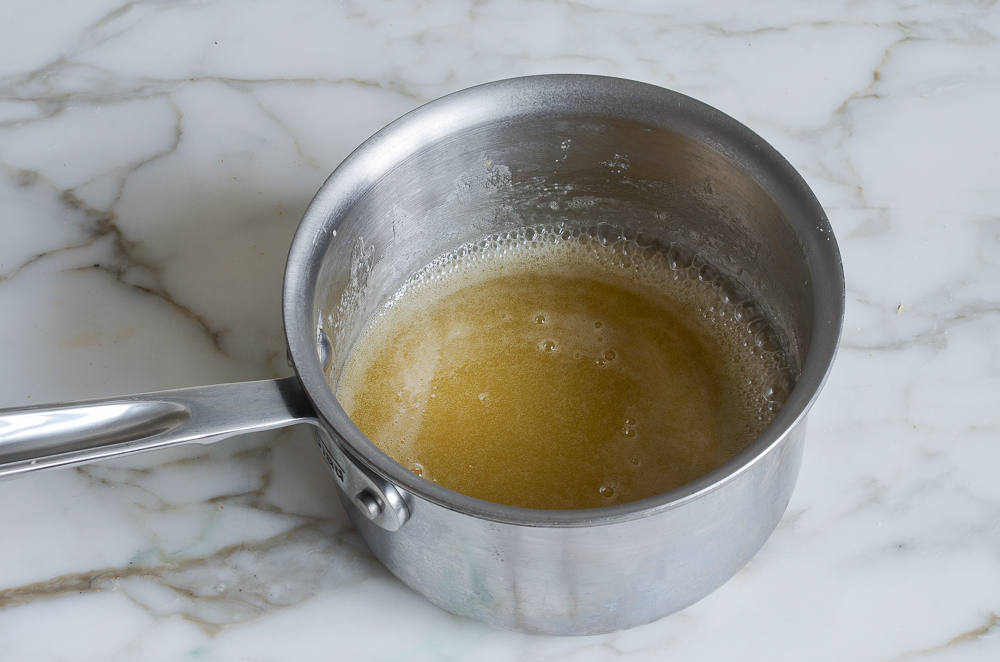
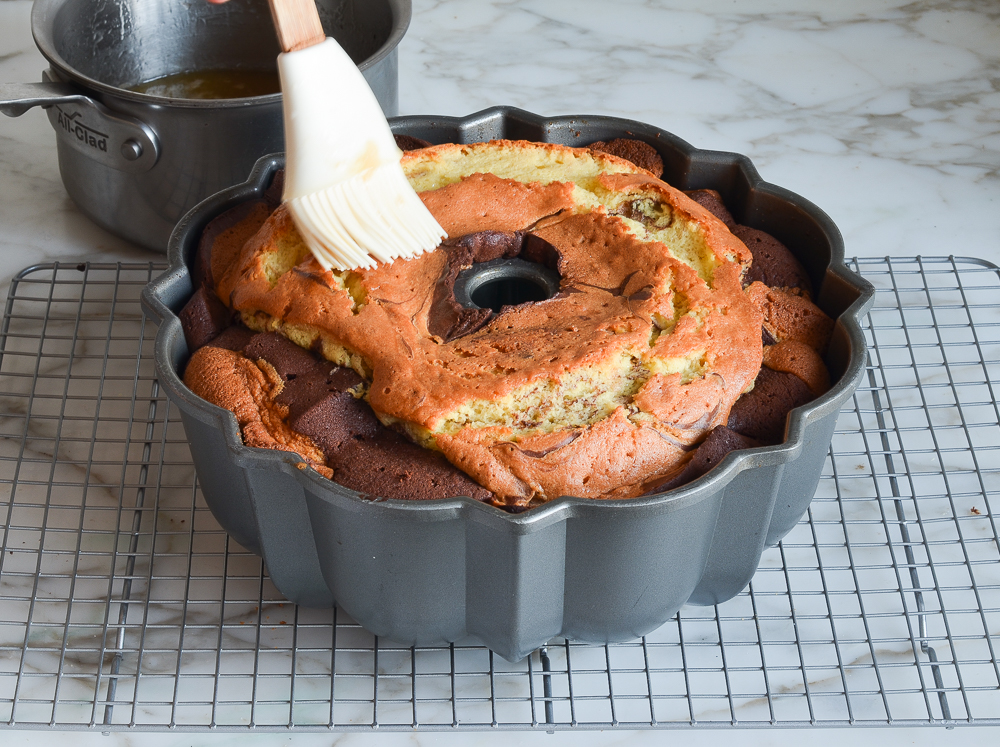
Glaze in the pan: Set the pan on a cooling rack. While the cake is still hot, poke about 40 holes into its exposed surface, going about three-quarters of the way down. Brush half the glaze over the cake, then cool in the pan for 30 minutes.
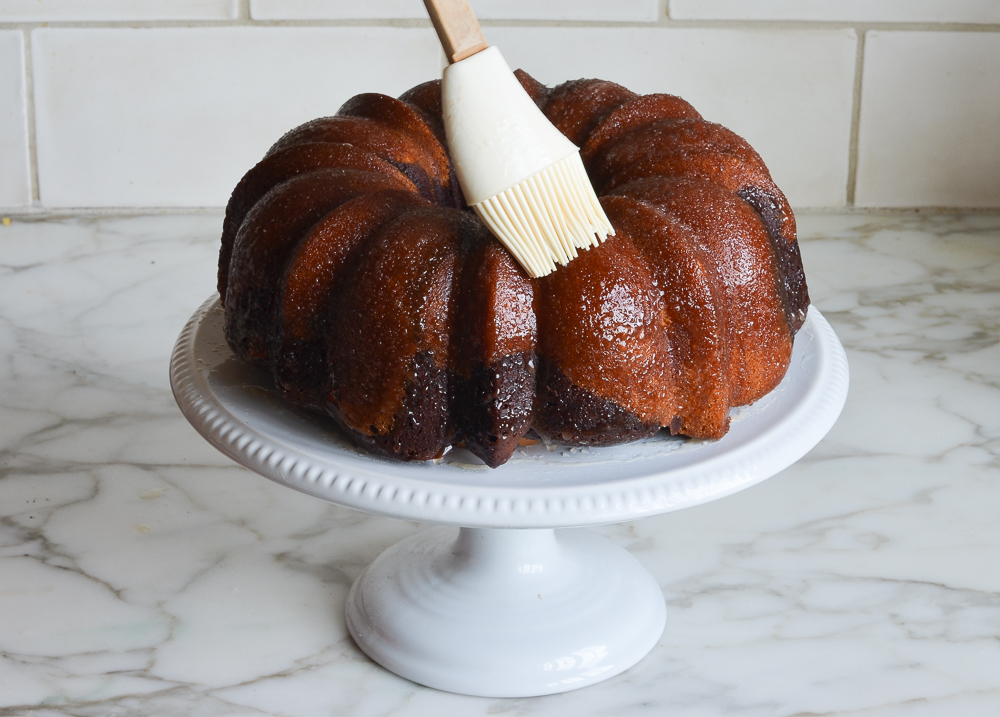
Unmold and finish glazing: Invert the cake onto a serving platter, then slowly brush the remaining glaze over the top and sides, letting it soak in as you go. Let the cake sit for at least 2 hours before serving, then slice with a serrated knife.
Make-Ahead, Storage & Freezing
This cake keeps well, so you can bake it ahead for a gathering. Once completely cool, store under a cake dome or covered with plastic wrap at room temperature for up to 3 days.
It can be frozen for longer storage; double-wrap the cooled cake securely in foil or plastic freezer wrap, or place it in a heavy-duty freezer bag. Unwrap the frozen cake and let it thaw overnight at room temperature under a cake dome.
Marble Cake
Ingredients
For the Cake
- ½ cup natural unsweetened cocoa powder, such as Hershey’s
- 2½ cups sugar, divided
- ½ cup water
- 4 oz semi-sweet chocolate, best quality such as Ghirardelli, broken into 1-in pieces
- 1 cup buttermilk (see note)
- 4 large eggs
- 2 teaspoons vanilla extract
- 3 cups all-purpose flour, spooned into measuring cup and leveled-off
- 1 teaspoon baking powder
- ½ teaspoon baking soda
- ¾ teaspoon salt
- 1 cup (2 sticks) unsalted butter, softened
For the Glaze
- 5 tablespoons unsalted butter
- ¾ cup sugar
- ¼ cup water
- 2 teaspoons vanilla extract
Instructions
For the Cake
- Preheat the oven to 325°F (165°C) and set an oven rack in the middle position. Spray a 10-in/25-cm (12-cup) Bundt pan generously with nonstick cooking spray with flour, such as Baker's Joy or Pam with Flour.
- In a small saucepan, combine the cocoa powder, ½ cup (100 g) of the sugar, and the water. Bring to a simmer over high heat, whisking until smooth. Off the heat, immediately add the chocolate; whisk until the chocolate is melted and the mixture is smooth. Set aside.
- In a medium bowl, whisk together the buttermilk, eggs, and vanilla. Set aside. (Note that the mixture will start to look curdled as it sits; that’s okay.)
- In the bowl of an electric mixer fitted with the paddle attachment or beaters, combine the flour, baking powder, baking soda, salt, and remaining 2 cups of sugar. Beat on low speed for 30 seconds to combine.
- Add the softened butter and half of the buttermilk mixture and mix on low speed until moistened but still a little crumbly, about 1 minute.
- With the mixer running on low, gradually add the remaining buttermilk mixture until incorporated, then increase the speed to medium and mix for three minutes, stopping once to scrape down the sides and bottom of the bowl with a rubber spatula. The batter should look pale and creamy. Scrape down the sides and bottom of the bowl again, making sure the batter is evenly mixed.
- Transfer about 2½ cups (600 ml) of the batter to a medium bowl. Add the chocolate mixture and whisk until smooth.
- Spoon half of the remaining vanilla batter into the prepared Bundt pan. Pour the chocolate batter over top. Finish by spooning the remaining vanilla batter over the chocolate (don’t worry about covering the chocolate layer completely). Using a butter knife, swirl the batters together with a zig-zag motion, going three times around the pan. It may not look like the batters are swirled; that’s okay. It’s important not to over-swirl.
- Bake for 60 to 70 minutes, or until a cake tester comes out clean.
- While the cake bakes, make the glaze: In a small saucepan, combine the butter, sugar, water, and vanilla. Bring to a boil, then reduce the heat and simmer until the sugar is dissolved, about 1 minute.
- Set the pan on a cooling rack. Using a skewer or toothpick, poke about 40 holes in the bottom of the still-hot cake, going about ¾ of the way down. Spoon or brush half of the glaze evenly over the bottom of the cake. If the glaze starts to pool on the surface, poke more holes to help it absorb. Leave the cake on the rack to cool for 30 minutes.
- Invert the cake onto a serving platter. Brush the remaining glaze evenly over the top and sides of the cake, letting it soak in as you go. (Go slowly so that the glaze gets absorbed.) Let the cake sit for at least two hours before serving. Cut with a serrated knife. The cake will keep nicely for up to 3 days.
Notes
Nutrition Information
This website is written and produced for informational purposes only. I am not a certified nutritionist and the nutritional data on this site has not been evaluated or approved by a nutritionist or the Food and Drug Administration. Nutritional information is offered as a courtesy and should not be construed as a guarantee. The data is calculated through an online nutritional calculator, Edamam.com. Although I do my best to provide accurate nutritional information, these figures should be considered estimates only. Varying factors such as product types or brands purchased, natural fluctuations in fresh produce, and the way ingredients are processed change the effective nutritional information in any given recipe. Furthermore, different online calculators provide different results depending on their own nutrition fact sources and algorithms. To obtain the most accurate nutritional information in a given recipe, you should calculate the nutritional information with the actual ingredients used in your recipe, using your preferred nutrition calculator.
Wonderful! Followed the excellent directions to the letter and this cake turned out perfect. It smells intoxicating of vanilla and chocolate and both flavor notes really come through in the taste department. The addition of the dark chocolate bar in the chocolate part is genius. My husband kept saying that the chocolate flavor really shines on this. It is a very moist cake. I was impressed by how well it set up and it was just a joy to cut into – firm, moist, full of flavor with a wonderful crumb. The glaze is a wonderful addition—vanilla but somehow highlights the chocolate too. When my one girlfriend saw it she thought she would miss the frosting but she didn’t at all. Just perfect. Another winner, Jenn!
THANKS! You’re the best!
Jenn,
THANK YOU so much for all your wonderful recipes and for making people think I’m a really great cook! Quick question, what is the weight measurement you use for a cup of flour?
I find that I have more success baking when I weigh the ingredients out.
Thanks,
Pam
Hi Pam, so glad you like the recipes! A cup of flour is the equivalent of 130 g. It may be helpful for you to know that most of my recipes have metric/weight conversions. To view them, scroll down to the recipe and immediately under the recipe title on the right side, you’ll see a little toggle. If you move it from “cup measures” to metric, you’ll see measurements that will work for you. Hope you enjoy!
I made your Marble Cake last Thursday for a Friday book club meeting and it was delicious! Using the flour/butter spray was perfect. The cake came out of the pan so easy. My friends loved the cake and I will definitely make it again! Thank you for your delicious recipes!
Marvellous cake.It took me 75 minutes to bake. A bit time consuming to prepare too. But worth all the trouble! Will most certainly make it again👍
I made the chocolate marble cake…. when shopping for the ingredients I could only get a reduced fat buttermilk at the supermarket. Otherwise all the ingredients were the same. I followed the recipe to the tee…. but when the timer went off and I checked for doneness it was too moist. Wound up keeping it in for an extra twenty minutes until my cake tester came out clean. The cake was dry and tasted flat. Was it the combination of less fat in the buttermilk and the extra cooking time?
So sorry the cake didn’t work out, Jane. I don’t think the low-fat buttermilk would cause an issue (I use it, too). Did you use the glaze at the end?
This cake is absolutely the best!! Turned out perfect first time! I have your recipe book and have made many of the recipes. Loved every one!
I made this cake today but it stuck to the bottom of my bundt pan even after I sprayed and floured it. I think the reason may be that my pan is old and worn out. May I ask the name or brand of the bundt pan that you use and where I can purchase one? I would love to make this cake again! Thanks!
Sorry to hear it stuck, Cindy. Thisis similar to the bundt pan I have. I assume you’ll have better luck with a new pan. 🙂
Made this over the weekend. Delicious!!! I’m a chocolate fan, my husband not so much, but he loved this. Next time I will take cake out at 60 minutes (vs 65). Was a little hard to determine doneness when toothpick hit some of the more gooey chocolate so I kept it in the oven a few more minutes. My oven bakes pretty accurately so I should have trusted my instinct that it was done in 60 minutes. And as much as you’d like to dig in immediately after unmolding, DO let the cake rest the 2 hours. This is a very tender cake and the chocolate parts need time to firm up. Jenn, another winner!!!!!
I don’t have buttermilk can I use sour cream? If so how much?
Love love love your website and recipes! Thankful for your talents!!!
Yes, sour cream will work, but you’ll need to thin it out with a little milk. I’d use a combination of the two to get to 1 cup. Hope that helps and that you enjoy!
Hi Again,
I haven’t tried the marble cake yet, but I’ve made it twice since I read the recipe last week. It’s fun to make! I’ve been busy all weekend baking and freezing for Thanksgiving and beyond. I have ten 26-year-old women coming for a college “reunion” two weeks after Thanksgiving…my daughter and her friends don’t want to give up the tradition, yay me, haha.
My question is this: Why, in this recipe, do you have the dry goods in the mixer and add the liquid to it, when usually, we cream together butter and sugar before adding flour mixture and alternating with egg/milk mixture? I’m so curious! Does it change the crumb of the cake significantly? I would imagine it does because we seem to be beating it a lot more than a typical cake recipe calls for…inquiring minds want to know!
Thanks,
Ruthie
That’s a great question, Ruthie. This is a “high-ratio” cake, which means that the weight of the sugar equals or exceeds the weight of the flour. Instead of the more common “creaming” method (where the butter and sugar are beaten together before the eggs, flour, and liquid are added), high-ratio cakes can be made using the “high-ratio” or “quick-mix” method. This involves mixing all the dry ingredients with the butter and some of the liquid first, then adding the remaining liquid ingredients. This method is not only faster and easier than the traditional creaming method, but it also yields incredibly tender and fine-textured cakes.
Hello,
Thanks for this lovely recipe, I made this today for my aunt’s 60th birthday party.
As delicious as it is, moist, buttery, all round goodness, my cake fell apart 😔
I was able to salvage a few slices… I’d like to know, what I did wrong? Or how I could fix it?
Mine also didn’t marble as beautifully as yours, will probably lessen the chocolate portion next time, or not mix in as much butter.
With all that said, my children were eating all the crumbs and cake pieces as it fell apart – it’s THAT good!
Hi Sa-eeda, Sorry to hear this fell apart! Did it crumble when you were removing it from the pan or when you were slicing it? Did you make any adjustments to the recipe?
I just found this response to my question in November…I’m sorry if all this info was already written at the top. I should know better…I am a teacher and constantly reminding kids to read everything on a page!
No worries!! 🙂