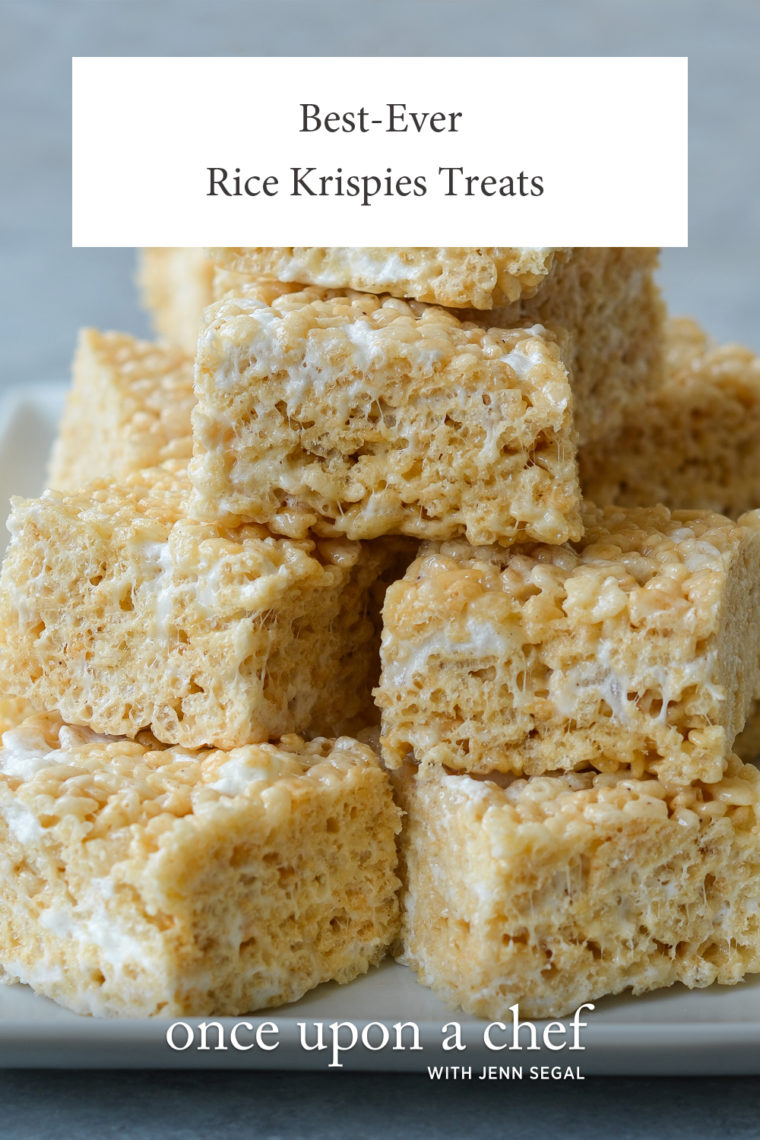
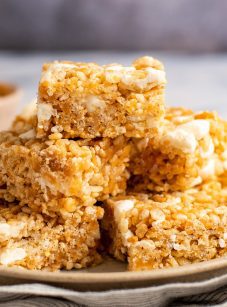
Best Rice Krispie Treats

This post may contain affiliate links. Read my full disclosure policy.
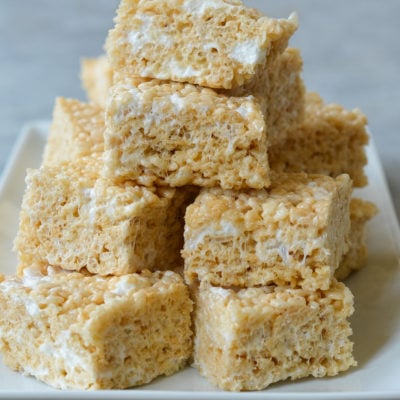
A childhood favorite you never outgrow—this Rice Krispie Treat recipe gets a few irresistible upgrades for even more gooey, buttery goodness!
I’m always hesitant to say a recipe is the “best ever,” especially for a dessert like Rice Krispie Treats that everyone knows and loves. But once you’ve tinkered around with a recipe for weeks—asking your kids, their friends, and anyone who passes through your house to sample different versions—you can say it’s the best with some confidence. There’s absolutely nothing wrong with the original back-of-the-box Rice Krispie treat recipe, but it can be made so much better with almost no effort. Here’s how:
- Use more butter (lots more) and brown it to deepen the flavor.
- Increase the marshmallows and stir in some at the end for extra gooeyness.
- Add vanilla extract for flavor.
- Add salt because a little salt makes anything sweet taste so much better.
If you love Rice Krispie Treats, be sure to check out my Chewy, Gooey, Golden Rice Krispie Treats (made with a secret ingredient) or my Peanut Butter Rice Krispie Treats for a sweet-and-salty twist.
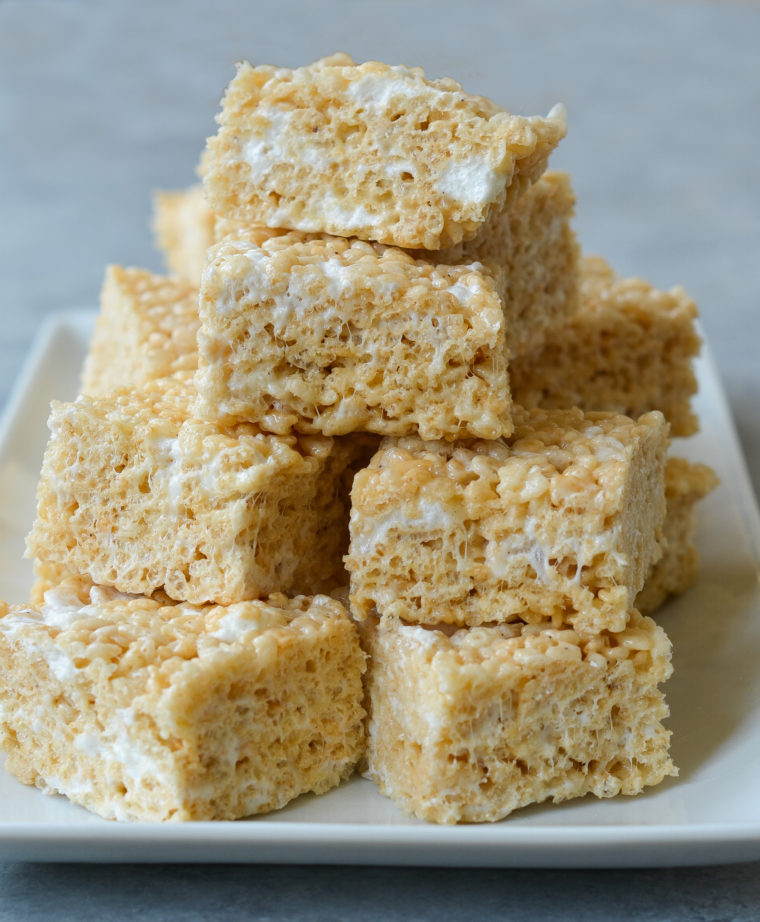
“These really are the BEST rice krispie treats! Moist, delicious, and full of gooey marshmallow goodness!”
What You’ll Need To Make The Best Rice Krispie Treat Recipe
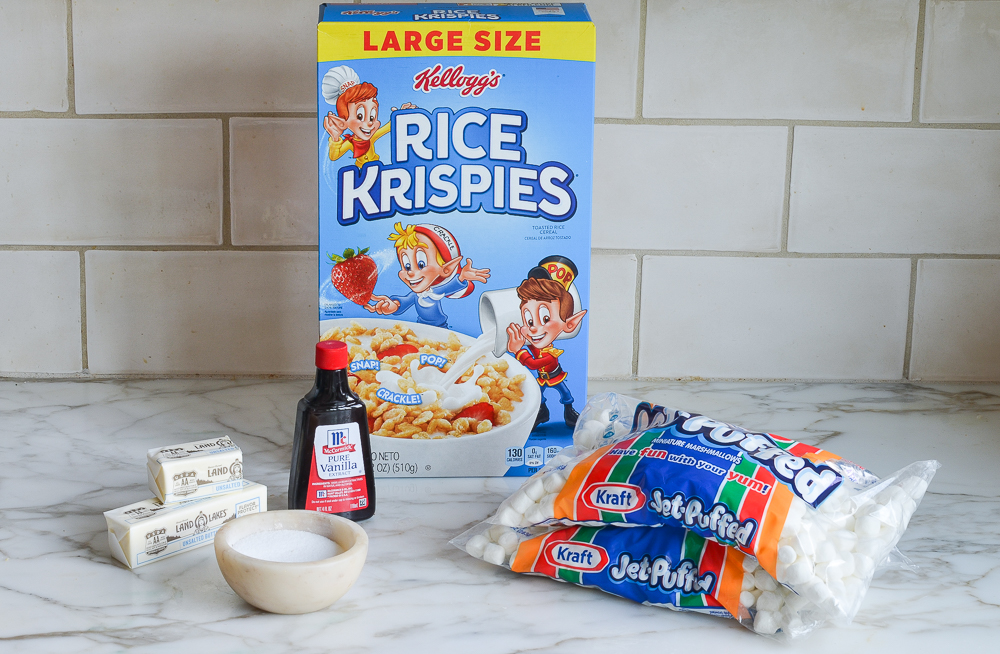
- Butter: Provides the rich, buttery flavor and helps bind the treats together. Browning it deepens the flavor, creating a nutty, caramel-like richness.
- Mini Marshmallows: The main sweetener and binder, melted marshmallows create the gooey, sticky texture that gives Rice Krispie treats their characteristic chewiness.
- Vanilla Extract: Adds a touch of warm, aromatic flavor.
- Salt: Balances the sweetness and enhances the flavor of the other ingredients.
- Rice Krispies: These crisped rice cereal pieces absorb the melted marshmallow mixture and provide a crispiness.
- Jump to the printable recipe for precise measurements
Step-by-Step Instructions
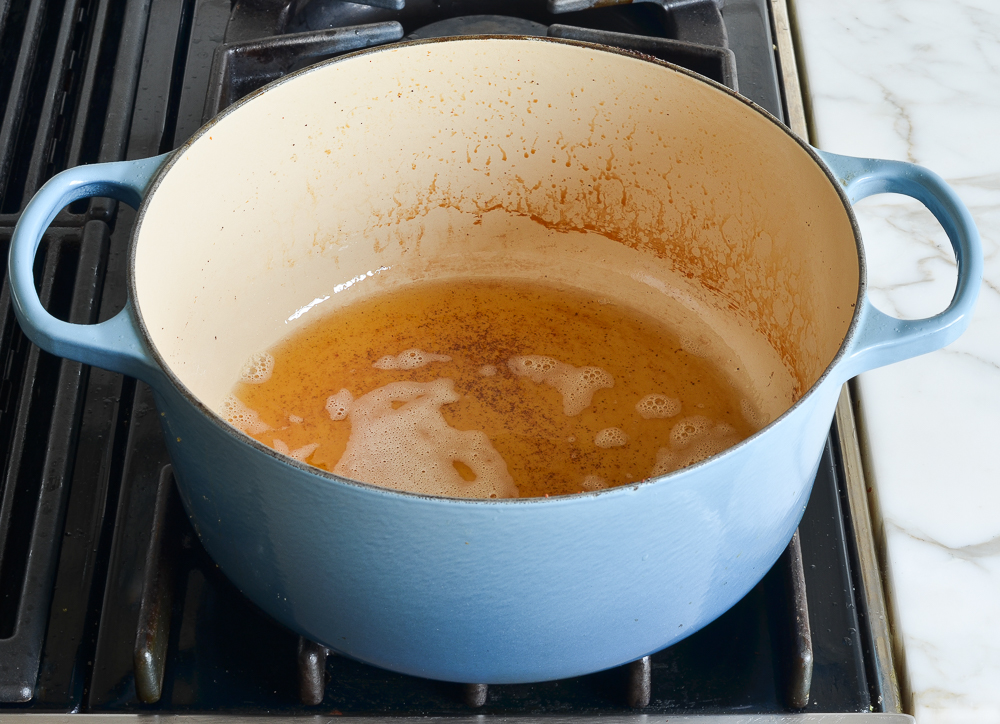
Start by melting the butter in a large pot over medium-high heat. And don’t toss those butter wrappers—you’ll use them later to press the mixture into the pan without it sticking to your spatula!
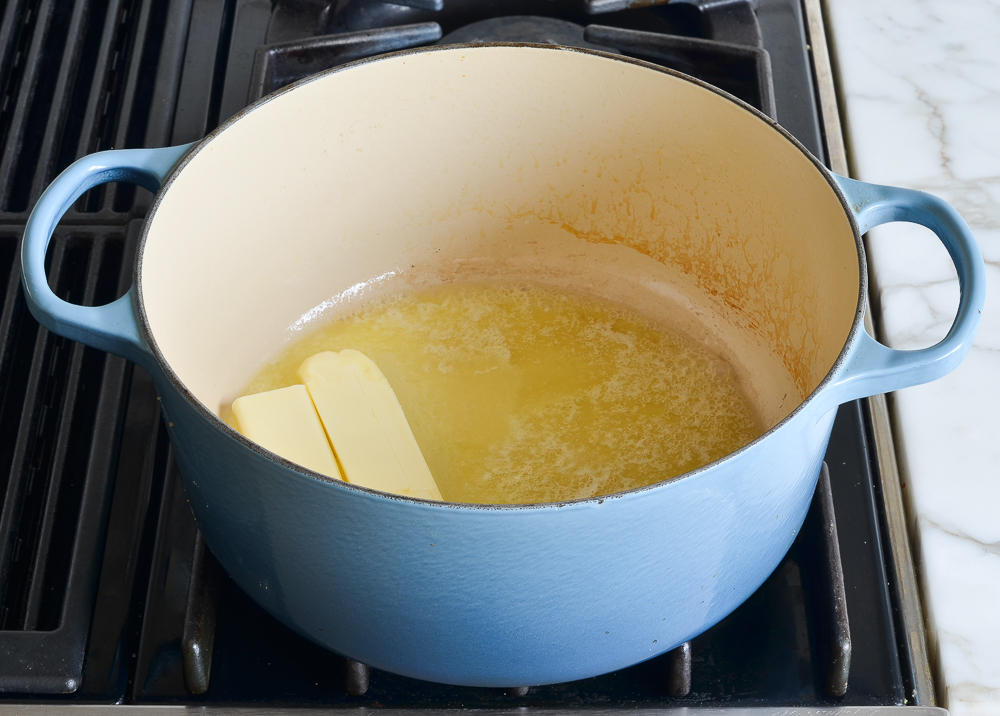
Once the butter melts, it’ll start to bubble, foam, and turn golden around the edges. Keep a close eye on it—before long, it’ll turn a deep golden brown and smell nutty. But be careful! It can go from perfectly browned to burnt in seconds.
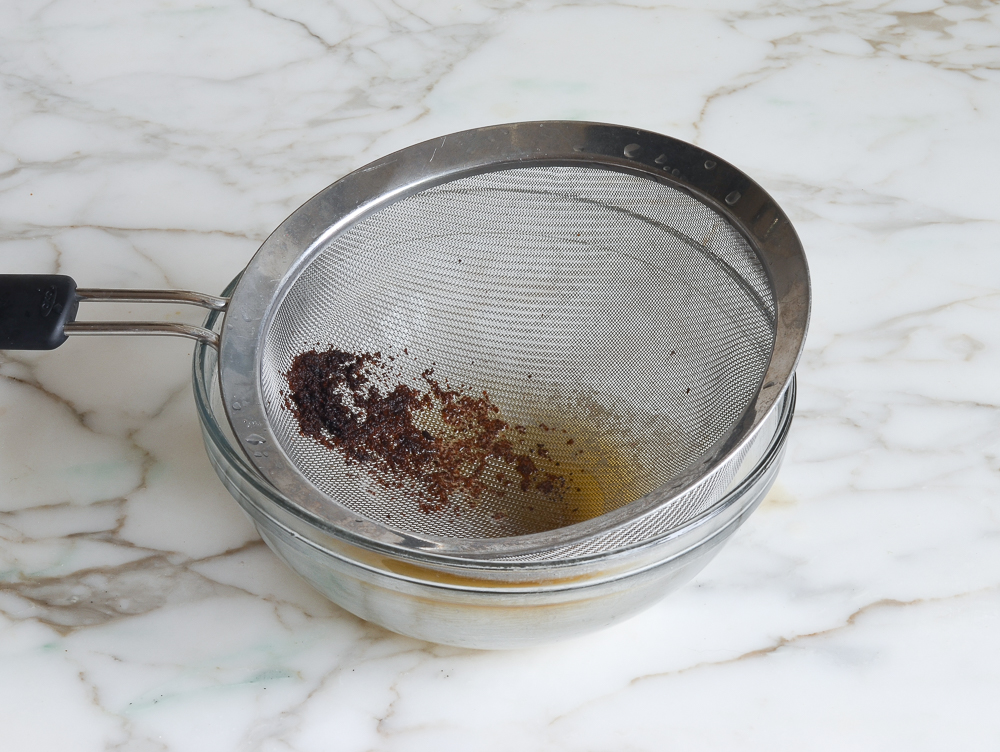
You’ll notice little bits of golden brown sediment forming—that’s totally fine! But if they start to get too dark, just strain them out, then pour the brown butter back into the pot.
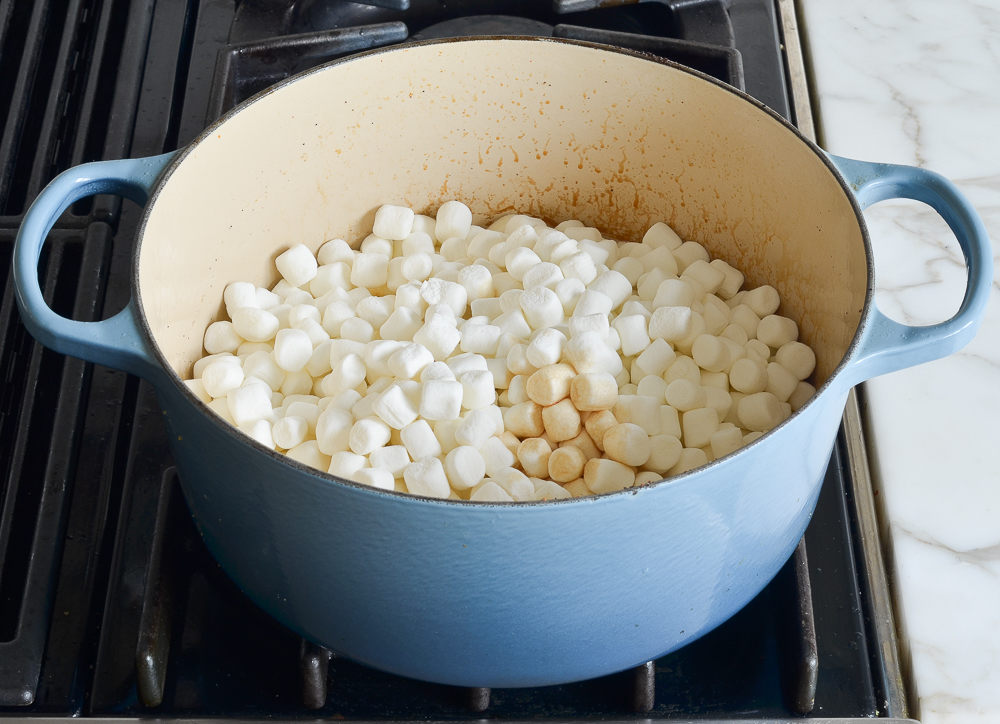
Add all but 2 cups of the marshmallows, the vanilla, and salt to the brown butter.
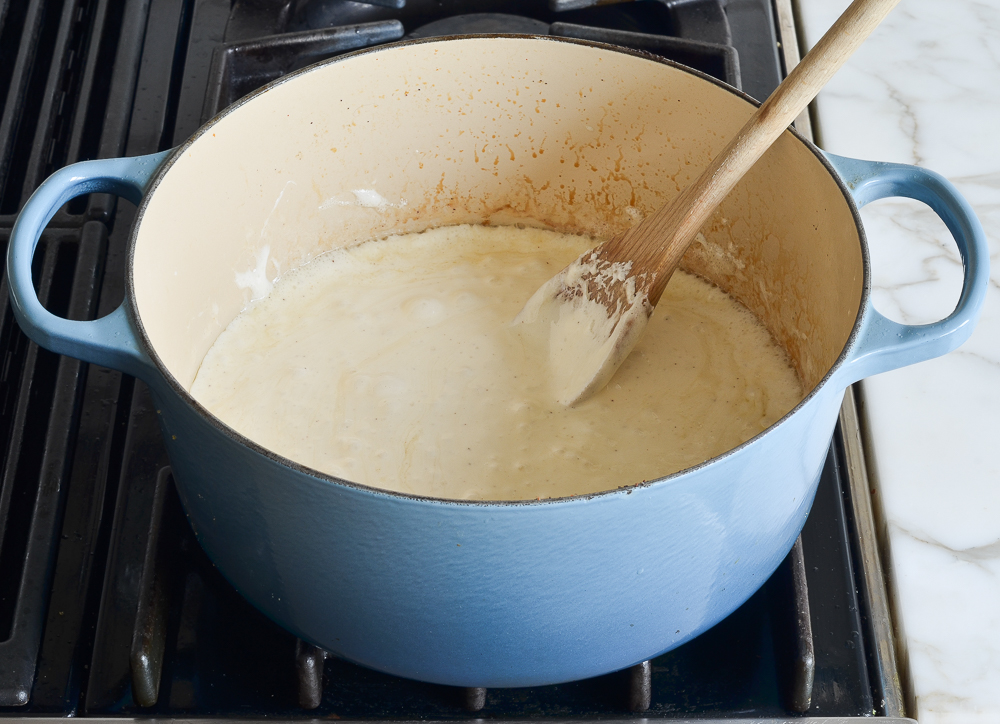
Set the pot over medium heat and stir with a wooden spoon until the marshmallows are completely melted and smooth.
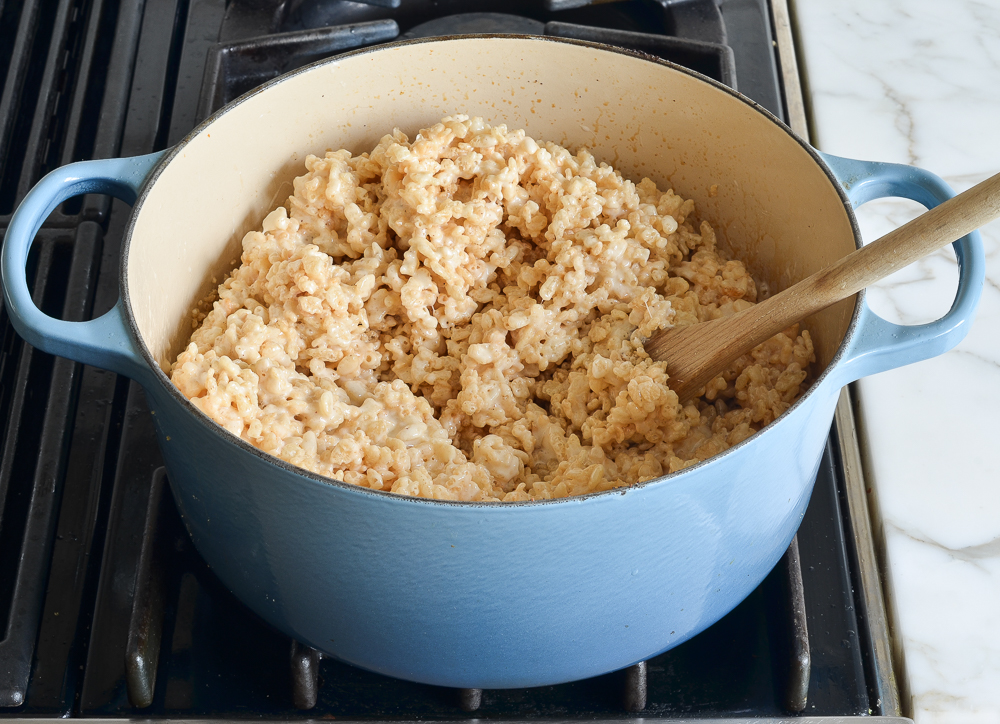
Take the pot off the heat and add the Rice Krispies cereal. Using a rubber spatula or wooden spoon, stir until everything is evenly coated.
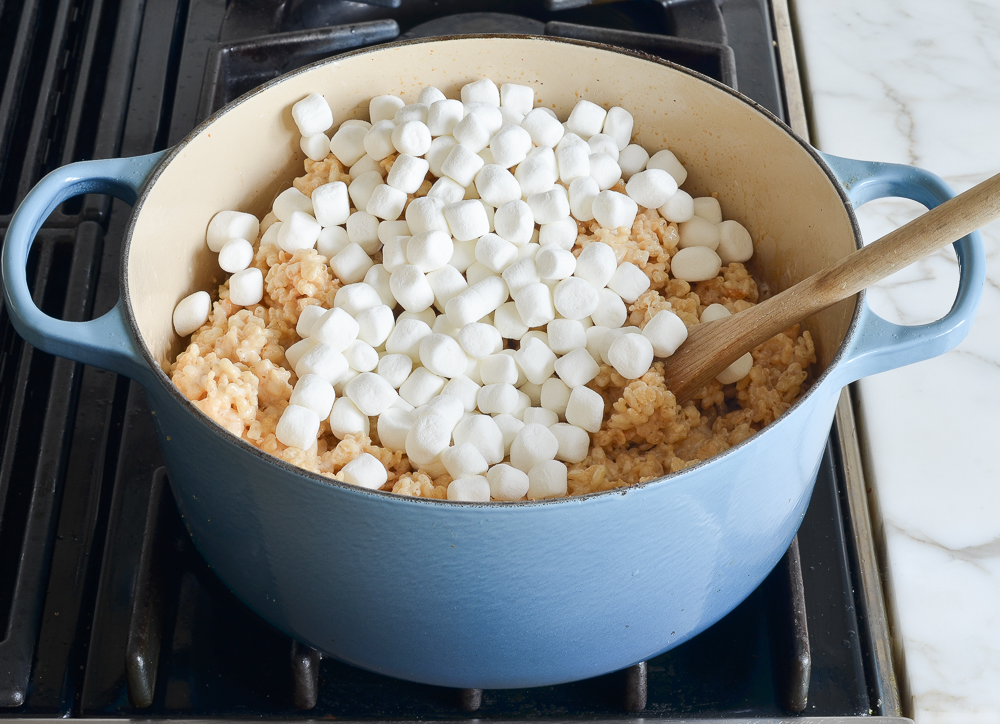
Now toss in those reserved marshmallows and stir just until they soften and start to melt. Don’t overmix—you want those delicious pockets of goo!
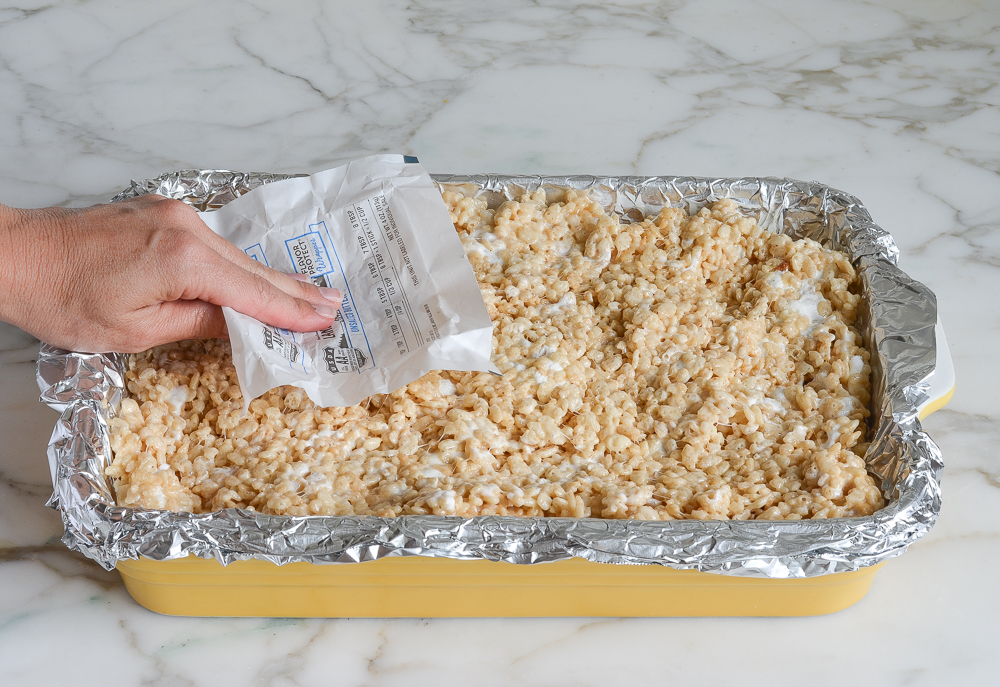
Transfer the mixture to a foil-lined baking dish. Using the butter wrappers you saved, press it gently into an even layer.
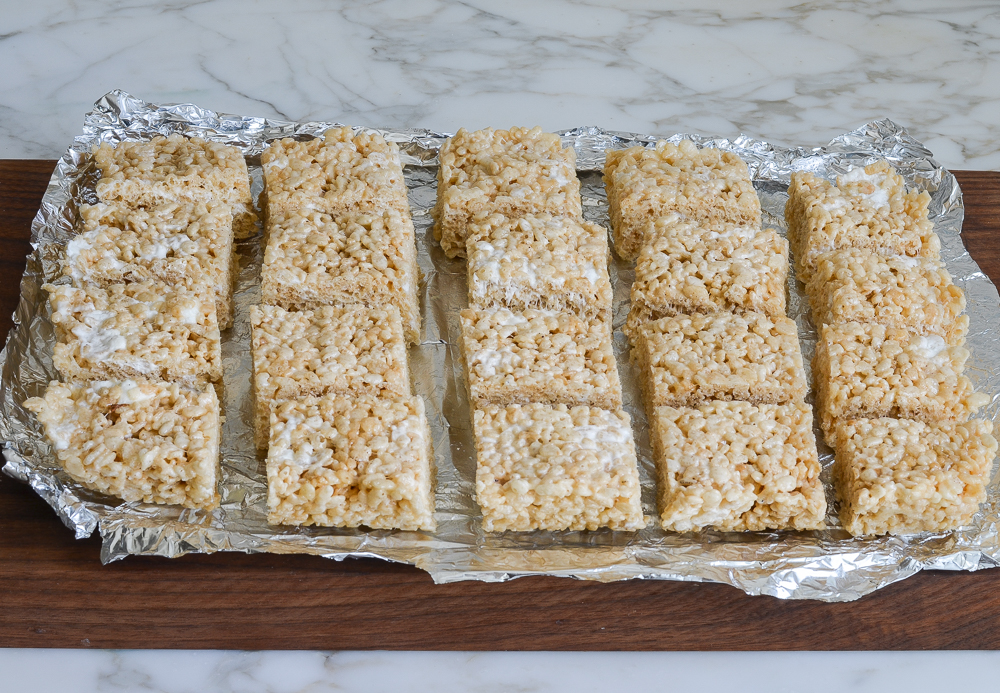
Let the treats cool for at least an hour, then use the foil overhang to lift them onto a cutting board. Use a serrated knife to cut them into squares. You can store the treats in an airtight container at room temperature for up to 5 days, or freeze them for longer storage.
Video Tutorial
You May Also Like
Best Rice Krispie Treats
Ingredients
- 12 tablespoons (1½ sticks) unsalted butter, plus more for greasing the pan
- Two (10-oz) bags mini marshmallows, divided
- ¾ teaspoons vanilla extract
- ½ teaspoon salt
- 8½ cups Rice Krispies or crispy rice cereal (see note)
Instructions
- Line a 9 x 13-in (23 x 33-cm) pan with heavy duty aluminum foil and lightly grease with softened butter. Set aside 2 cups (110 g) of the marshmallows.
- In a large pot or Dutch oven, preferably with a light bottom so you can monitor the color, melt the butter over medium heat (save the butter wrappers; you'll use them later for pressing the mixture into the pan). Swirl the pan occasionally to be sure the butter is cooking evenly.
- As the butter melts, it will begin to bubble and foam, and the color will progress from bright yellow to golden to, finally, a toasty-brown. Once you smell that nutty brown butter aroma, take the pan off the heat. (You'll see little bits of golden brown sediment forming; that's okay. However, if the sediment looks almost black, go ahead and pass the butter through a fine sieve to strain it out, then return the brown butter to the pan.)
- Off the heat, add the remaining marshmallows, vanilla, and salt.
- Place the pot back over medium heat and stir the mixture with a wooden spoon until the marshmallows are completely melted. Remove the pan from the heat and add the cereal. Using a rubber spatula or wooden spoon, stir until evenly combined.
- Add the reserved marshmallows and stir until they are softened and partially melted. Don't overmix; you want pockets of goo. Transfer the mixture to the prepared pan and, using the butter wrapper or damp fingers, press the mixture gently into an even layer in the prepared baking pan. Let cool at room temperature for at least an hour.
- Use the foil overhang to lift the treats onto a cutting board, then use a serrated bread knife to cut into squares. Store in an airtight container at room temperature for up to 5 days.
Notes
Nutrition Information
This website is written and produced for informational purposes only. I am not a certified nutritionist and the nutritional data on this site has not been evaluated or approved by a nutritionist or the Food and Drug Administration. Nutritional information is offered as a courtesy and should not be construed as a guarantee. The data is calculated through an online nutritional calculator, Edamam.com. Although I do my best to provide accurate nutritional information, these figures should be considered estimates only. Varying factors such as product types or brands purchased, natural fluctuations in fresh produce, and the way ingredients are processed change the effective nutritional information in any given recipe. Furthermore, different online calculators provide different results depending on their own nutrition fact sources and algorithms. To obtain the most accurate nutritional information in a given recipe, you should calculate the nutritional information with the actual ingredients used in your recipe, using your preferred nutrition calculator.
Gluten-Free Adaptable Note
To the best of my knowledge, all of the ingredients used in this recipe are gluten-free or widely available in gluten-free versions. There is hidden gluten in many foods; if you're following a gluten-free diet or cooking for someone with gluten allergies, always read the labels of your ingredients to verify that they are gluten-free.
This recipe is super dry and crumbly. Too many rice crispies not enough marshmallow. And using foil is a horribly messy snd sticky situation.
I have used this recipe four times in the last two weeks; recently discovered Cinnamon Rice Krispies and substituted two cups in lieu of the regular. Very good.
Thanks for sharing!
These are insanely good! I used big marshmallows instead for extra “goo.” Thank you so much for your recipes.
Oh my goodness the butter becoming nutty just makes the Rice Krispie square complete. Thank you. I love it!
Hi, Jenn! Thank you for this great recipe! I made two batches not too long ago and loved every square I got to eat! It was a hit at a staff potluck. This recipe brings back wonderful childhood memories. Not to mention the treats stay tasty and chewy left in the fridge for a few days after!
The best recipe I’ve found so far… and I make a LOT of treats!
Literally the best rice krispy treats! So much flavor and a little salty. Love these!
Made them this afternoon and they turned out just like you said. Thank you. Love this recipe.
These are soooo good! I only had 6 cups of Rice Krispies so I used lucky charms to make up the rest, they are delicious!
Very easy to make as well.
Browning the butter makes them taste very gourmet.
P.S, Kelloggs does make gluten free Rice Krispies. I found them at Walmart! Also, lucky charms are gluten free too 🙂
score for my fellow celiacs/ gluten sensitive peeps.
Wow, this recipe looks so good that I even bookmarked it on my computer before I even had baked it.