
Chicken Quesadillas

This post may contain affiliate links. Read my full disclosure policy.
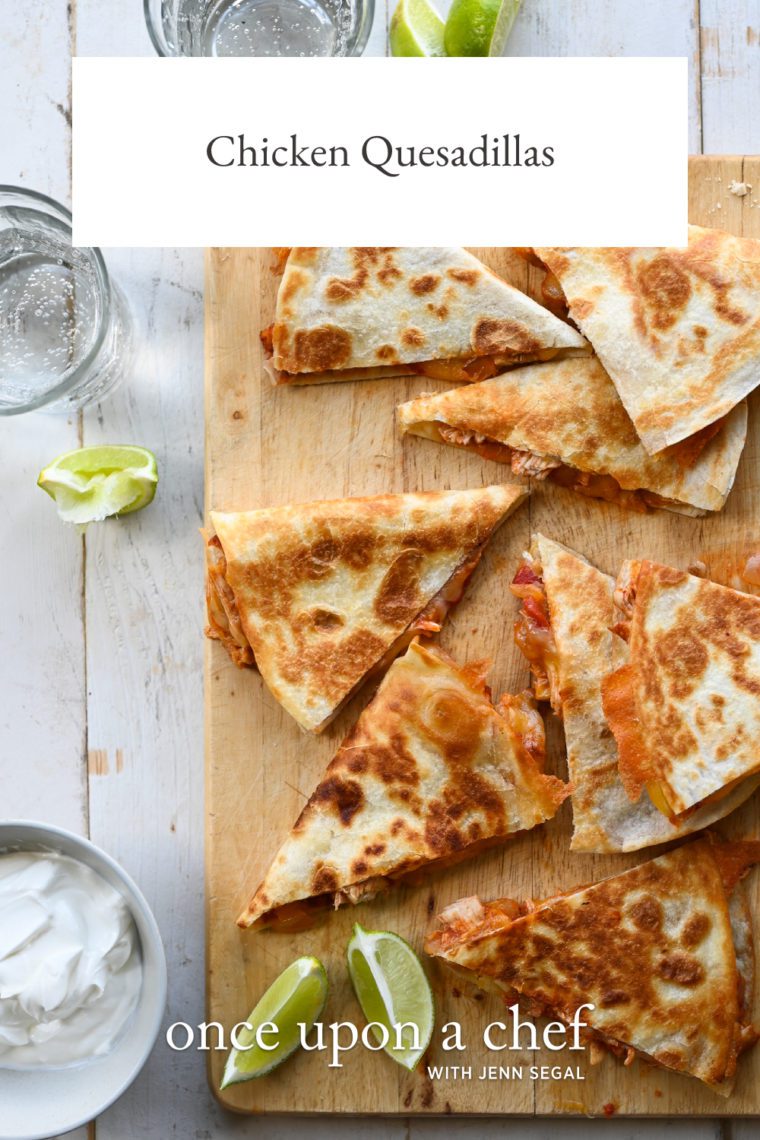
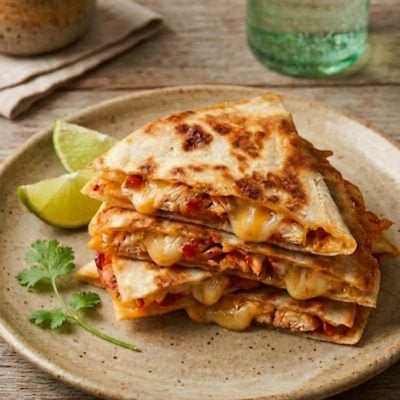
This chicken quesadillas recipe is loaded with smoky seasoned chicken simmered in store-bought salsa and plenty of melted cheese, all tucked into crisp flour tortillas.
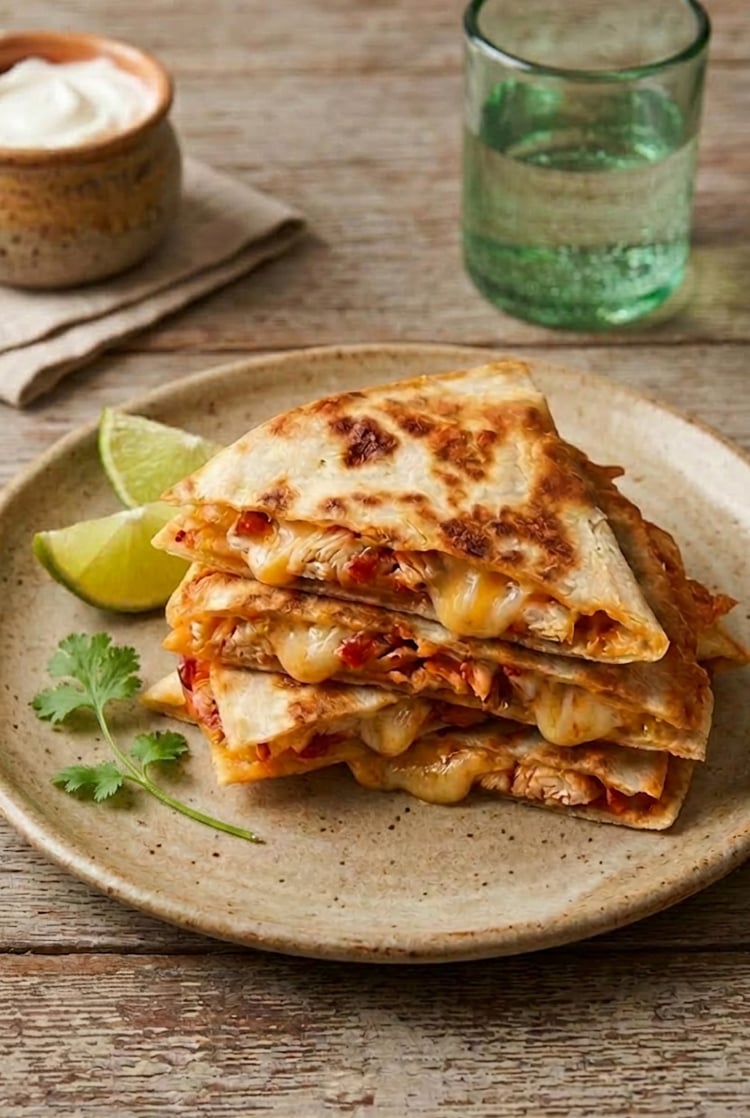
I love a good semi-homemade recipe, and these chicken quesadillas fit the bill perfectly. The chicken is seasoned with a smoky blend of spices, cooked until golden, then shredded and tossed with salsa that’s been simmered until thick and concentrated. Cooking down the salsa intensifies its flavor and keeps the filling from making the tortillas soggy. Add plenty of melted cheese and crisp flour tortillas, and you’ve got a chicken quesadilla recipe that tastes far more involved than it is.
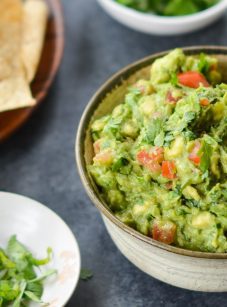
The filling makes enough to freeze half for another meal, so you can have another batch ready to go whenever the craving strikes. Serve with Mexican rice and guacamole for a complete meal. And a heads-up: a large skillet typically fits just one quesadilla at a time, so if you want to speed things up, use two skillets.
“Reducing the salsa was the trick to these restaurant quality quesadillas!! Fantastic. Thanks for making a simple food taste gourmet.”
What You’ll Need To Make Chicken Quesadillas
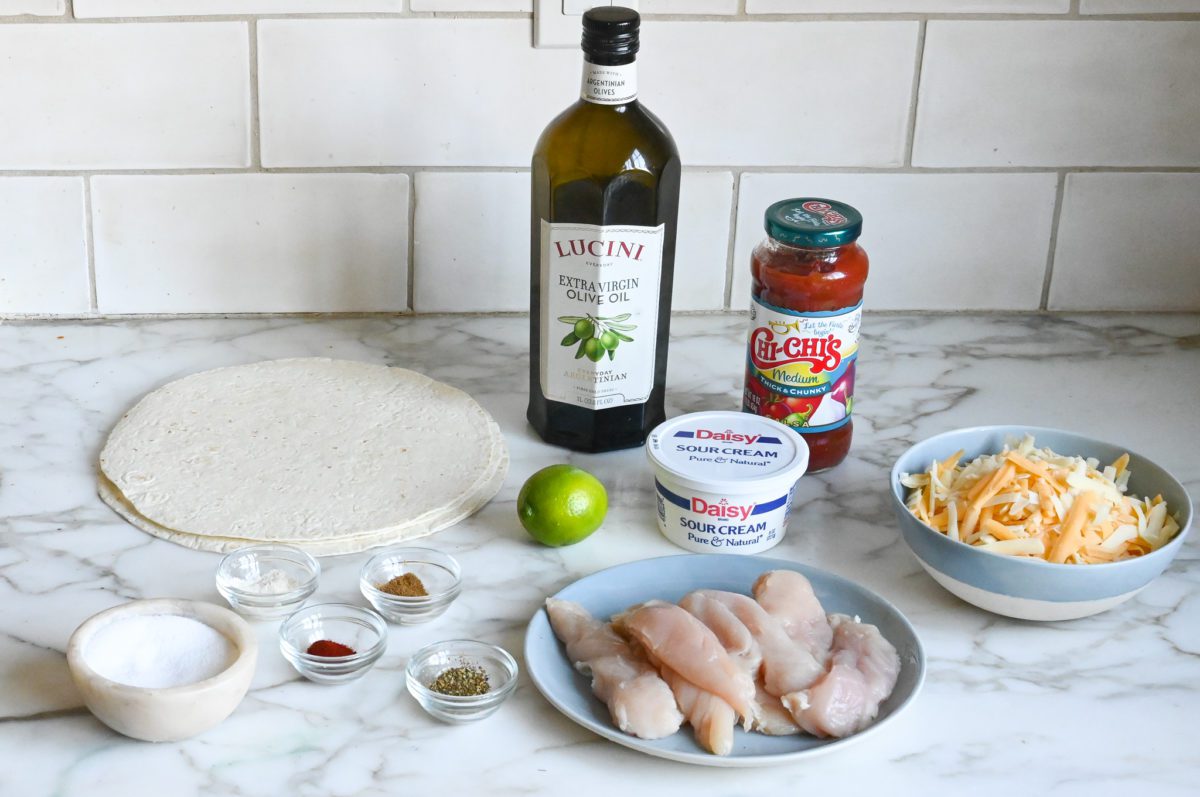
- Spices (Smoked Paprika, Garlic Powder, Oregano, Cumin): Bring a mix of smokiness, warmth, and herby flavors to the filling.
- Chicken Tenderloins: Super tender and quick to cook. Sliced chicken breasts work too, but they won’t be quite as tender and juicy. Or, if you prefer dark meat, chicken thighs also work and will provide extra juiciness—just note they take a few more minutes to cook.
- Salsa: Adds a tangy, slightly spicy kick with lots of flavor from tomatoes, onions, and jalapeño peppers.
- Flour Tortillas: Crisp up nicely on the outside while staying soft inside. Use the burrito-size (10-inch) ones for the best fold and fill. Corn tortillas aren’t a great fit here since they tend to tear and don’t get as crispy.
- Shredded Cheese: A thick-cut Mexican blend or Monterey Jack works great—pre-shredded is fine as long as you use a good brand like Tillamook.
- Jump to the printable recipe for precise measurements
How To Make Chicken Quesadillas
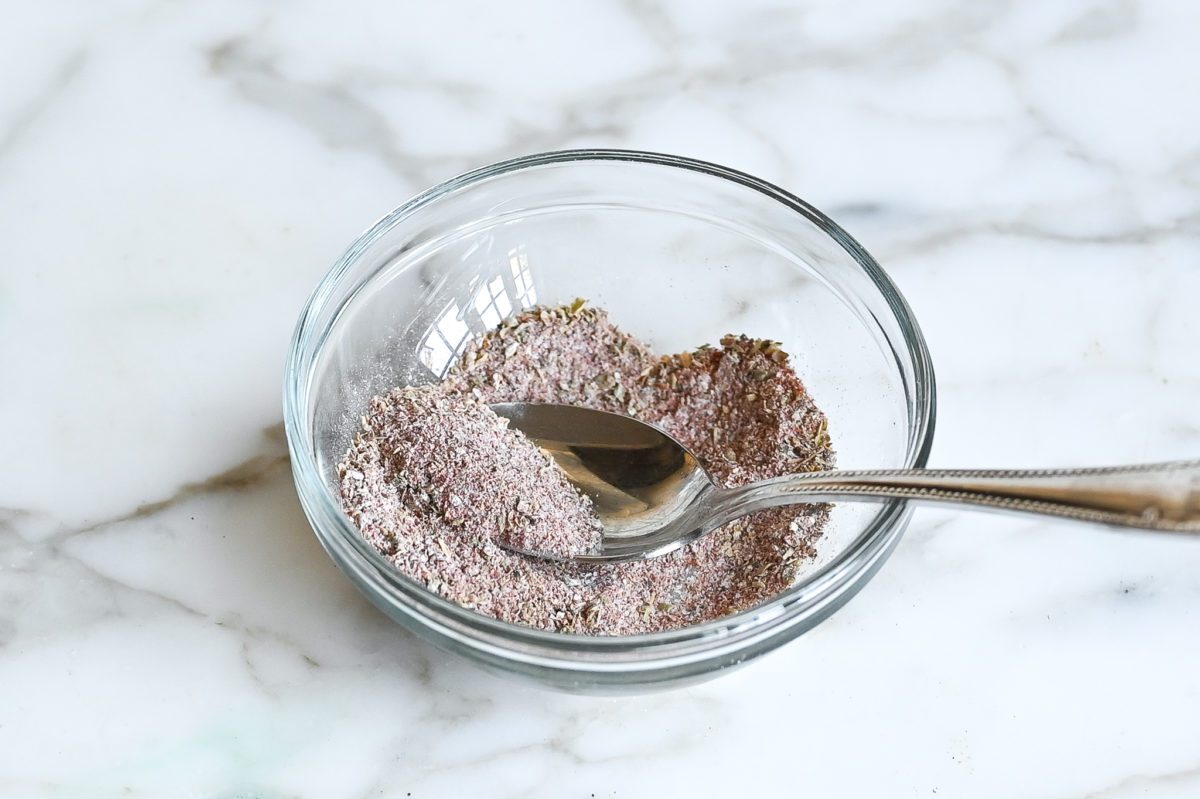
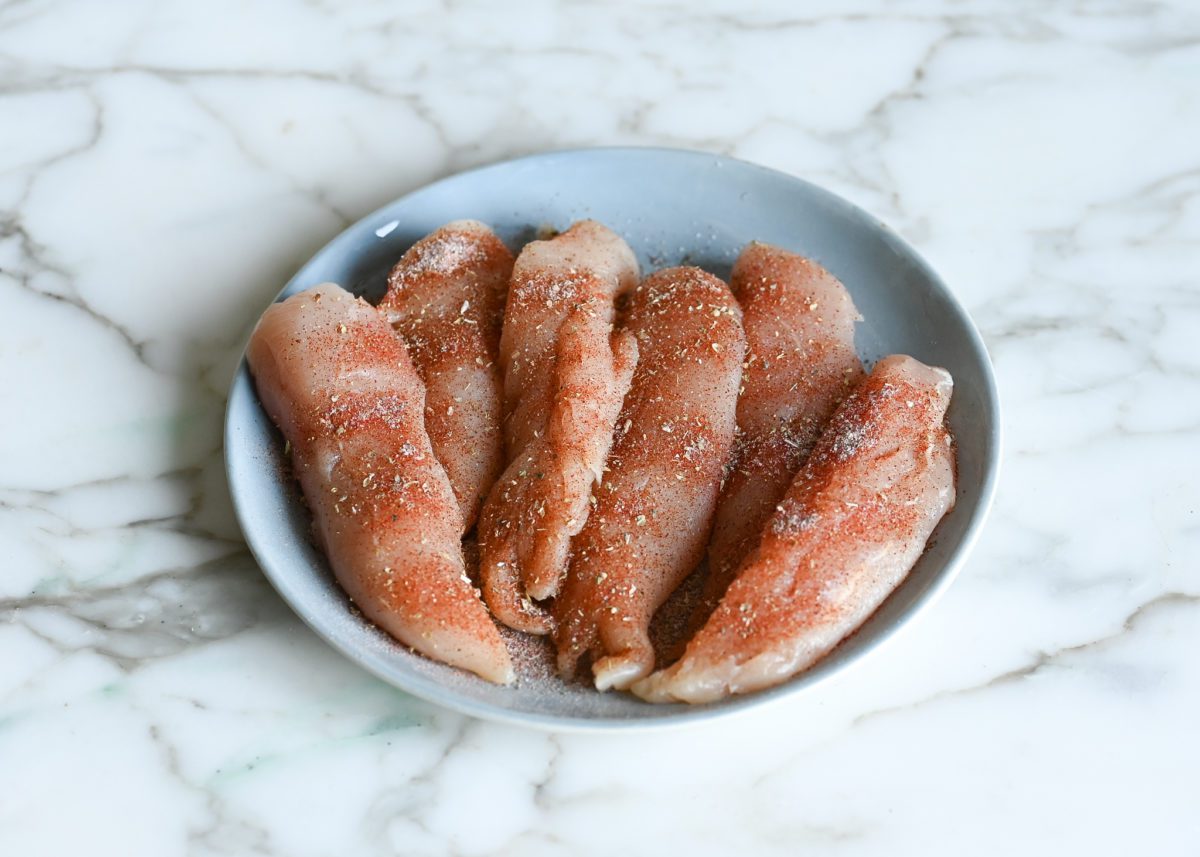
Season the chicken: Remove the tough white tendon from the chicken tenderloins. Combine the salt, smoked paprika, garlic powder, oregano, and cumin, then season the chicken evenly on both sides.
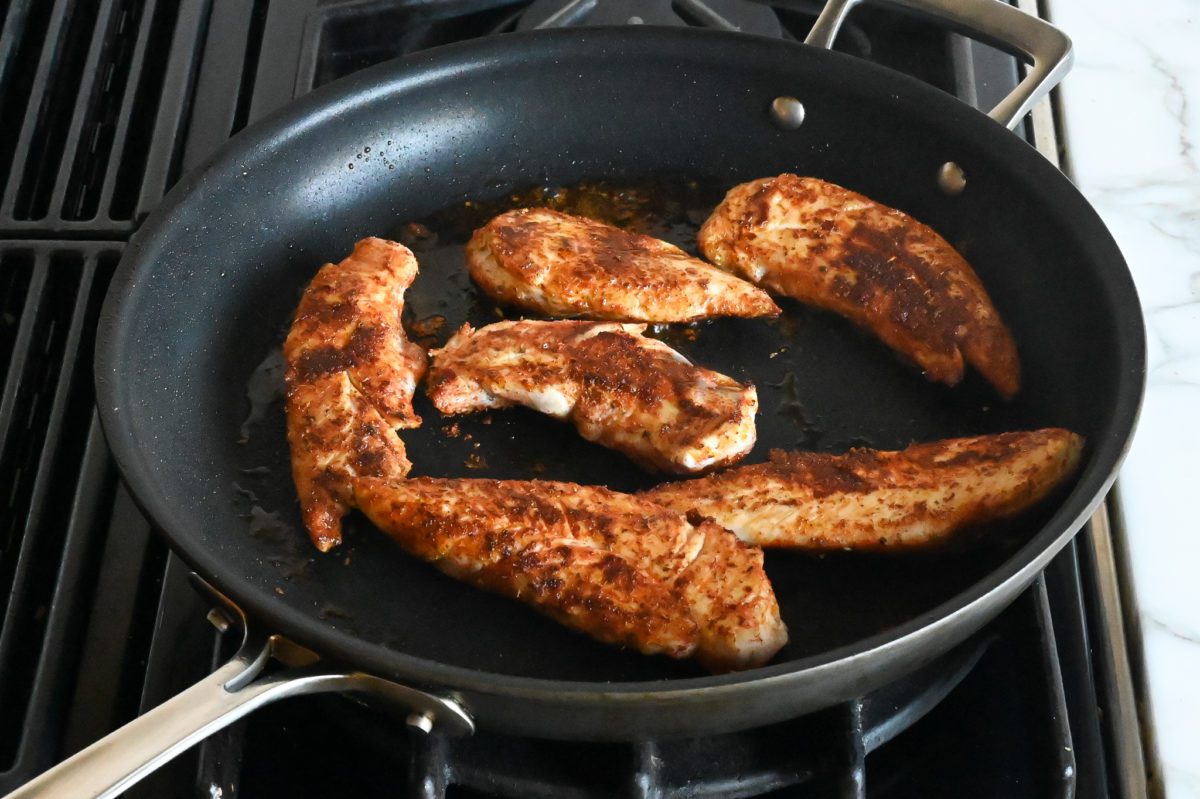
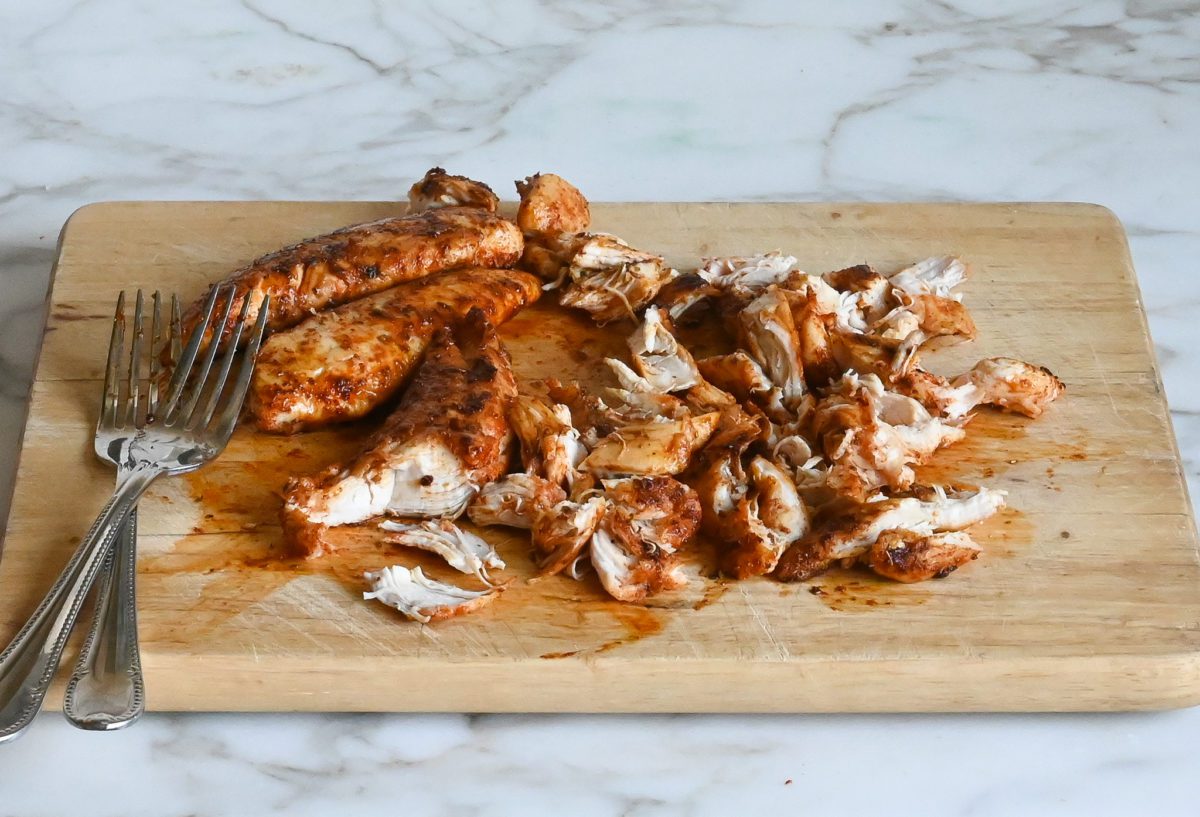
Cook and shred the chicken: Heat the oil in a large nonstick skillet and cook the chicken until golden and cooked through. Transfer it to a cutting board and shred it with two forks.
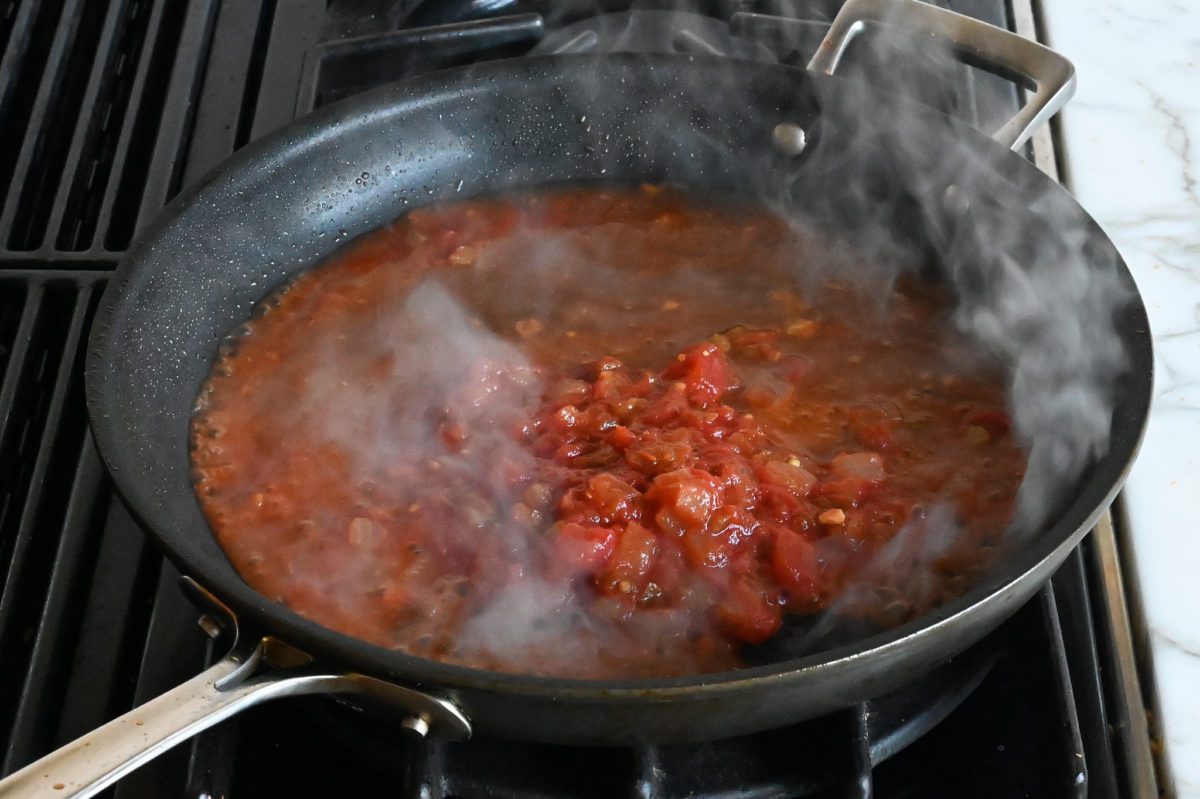
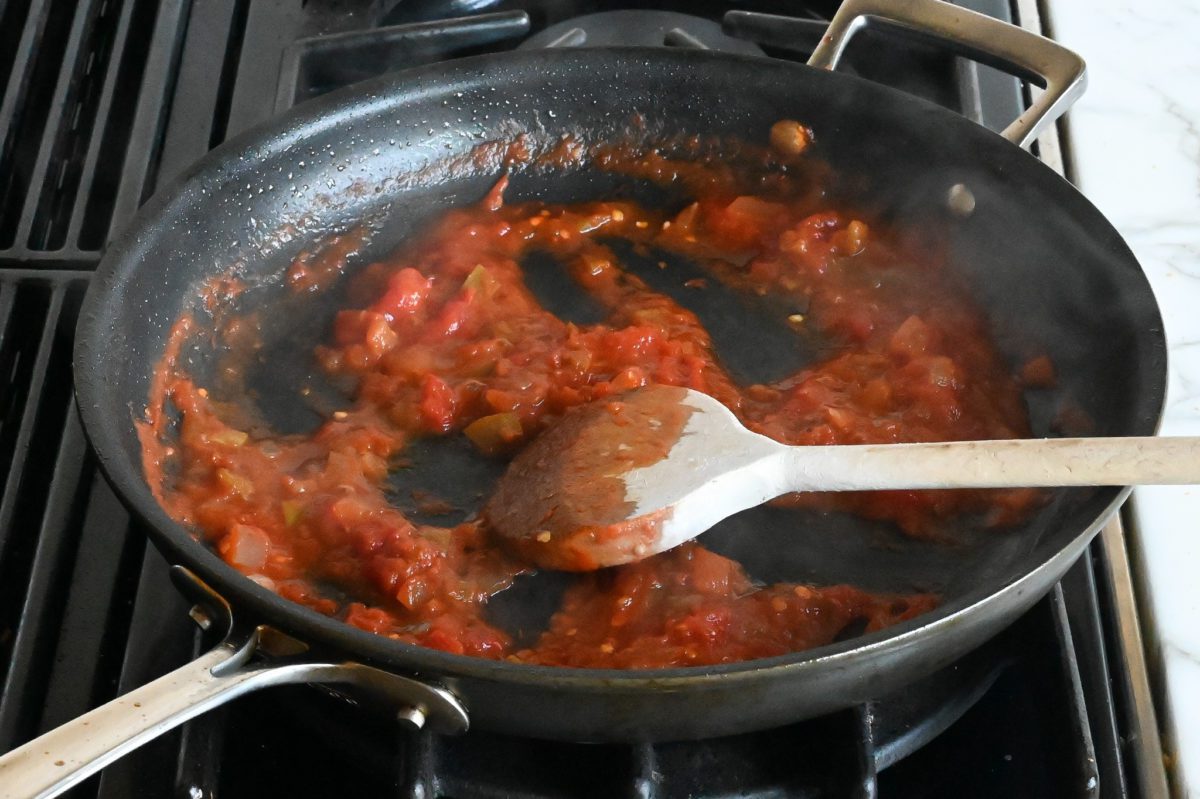
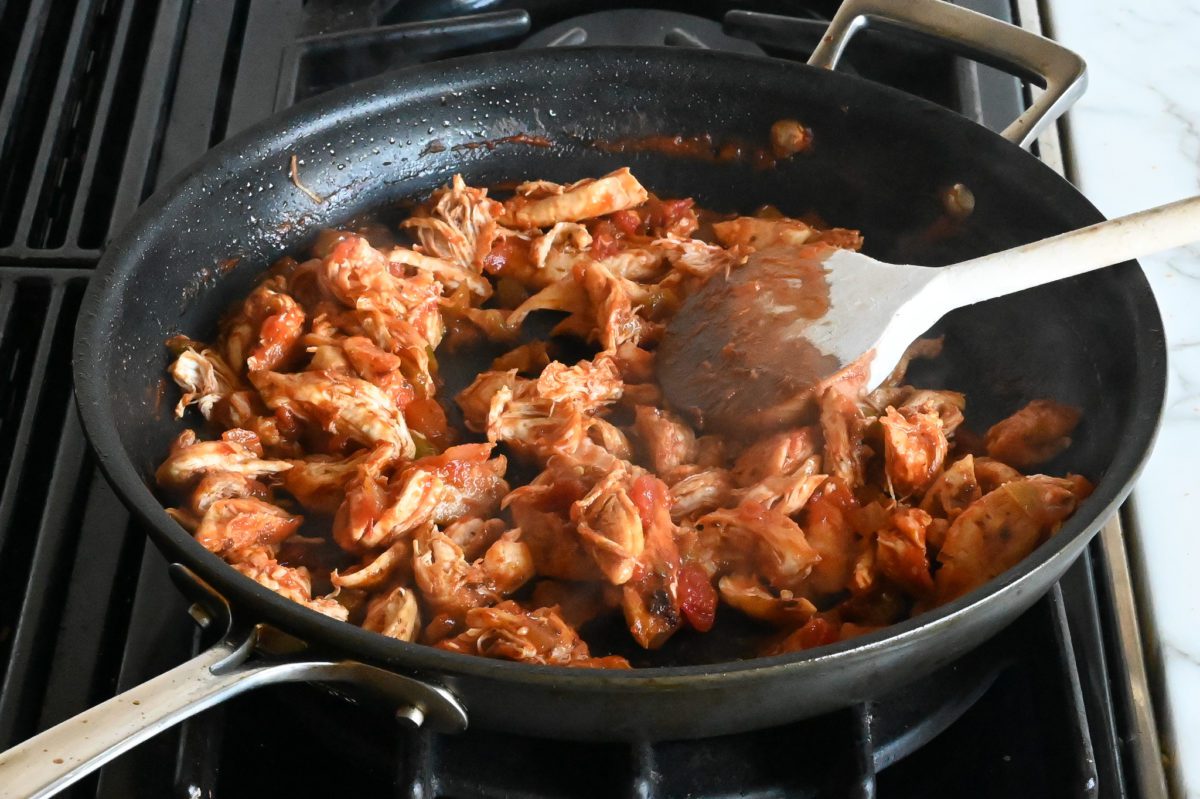
Make the filling: Add the salsa and water to the skillet and simmer until thick and concentrated, with most of the liquid evaporated so the filling won’t make the tortillas soggy. Remove from the heat, then stir in the shredded chicken and any accumulated juices.
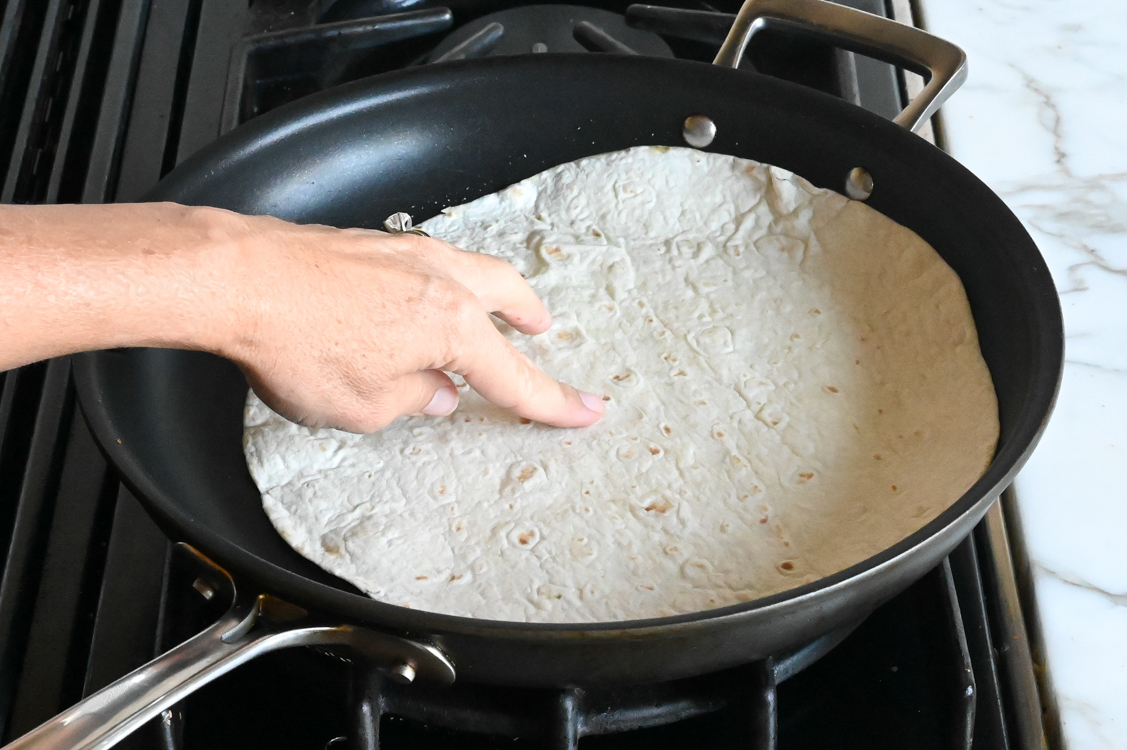
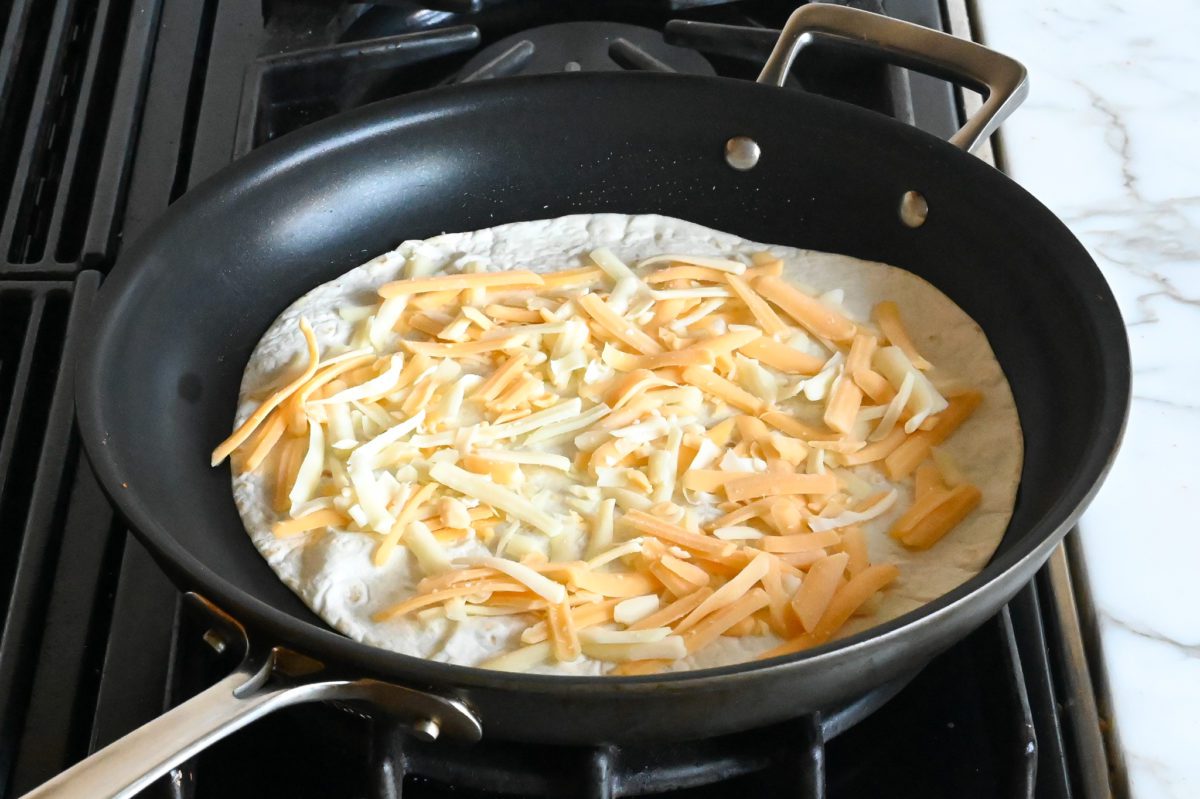
Assemble and cook the quesadillas: Heat a little oil in the skillet, add a tortilla, and swirl it around to coat the bottom lightly with oil. Sprinkle the cheese over the top, then spoon the chicken filling over one half. Once the cheese begins to melt, fold the tortilla over the filling and cook until crisp and golden on both sides.
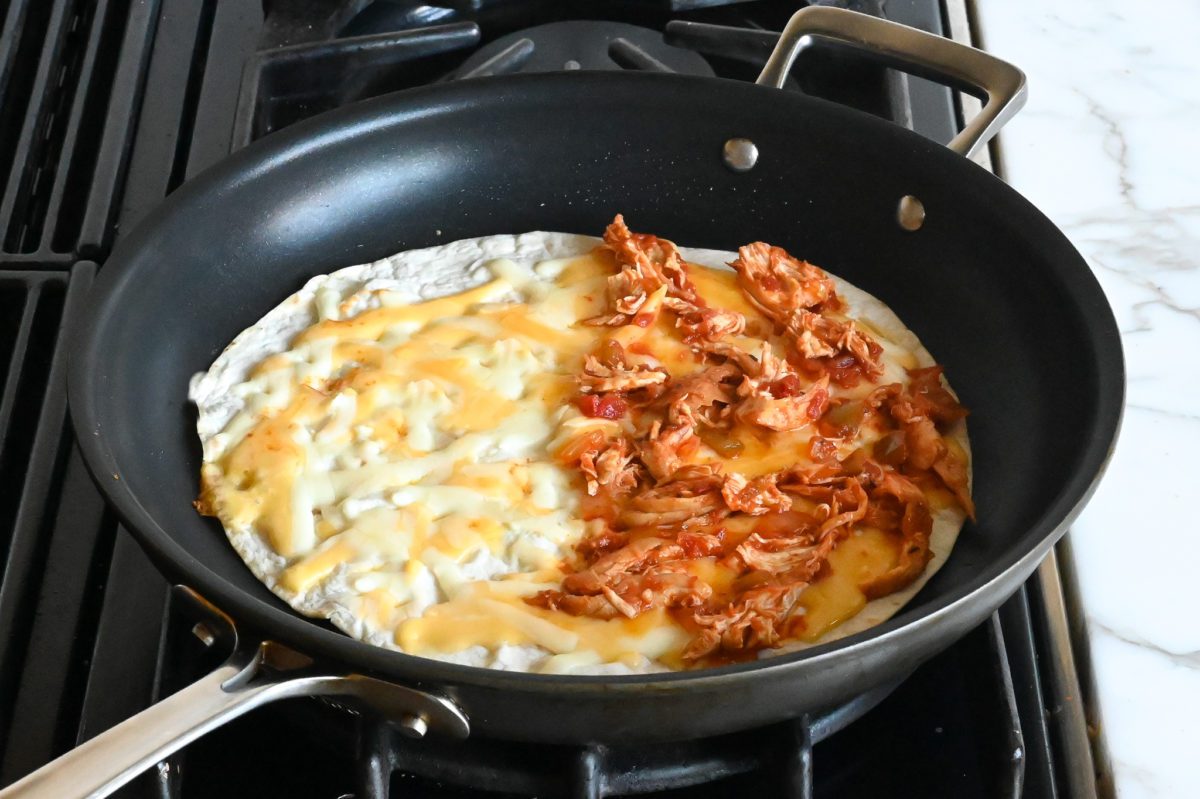
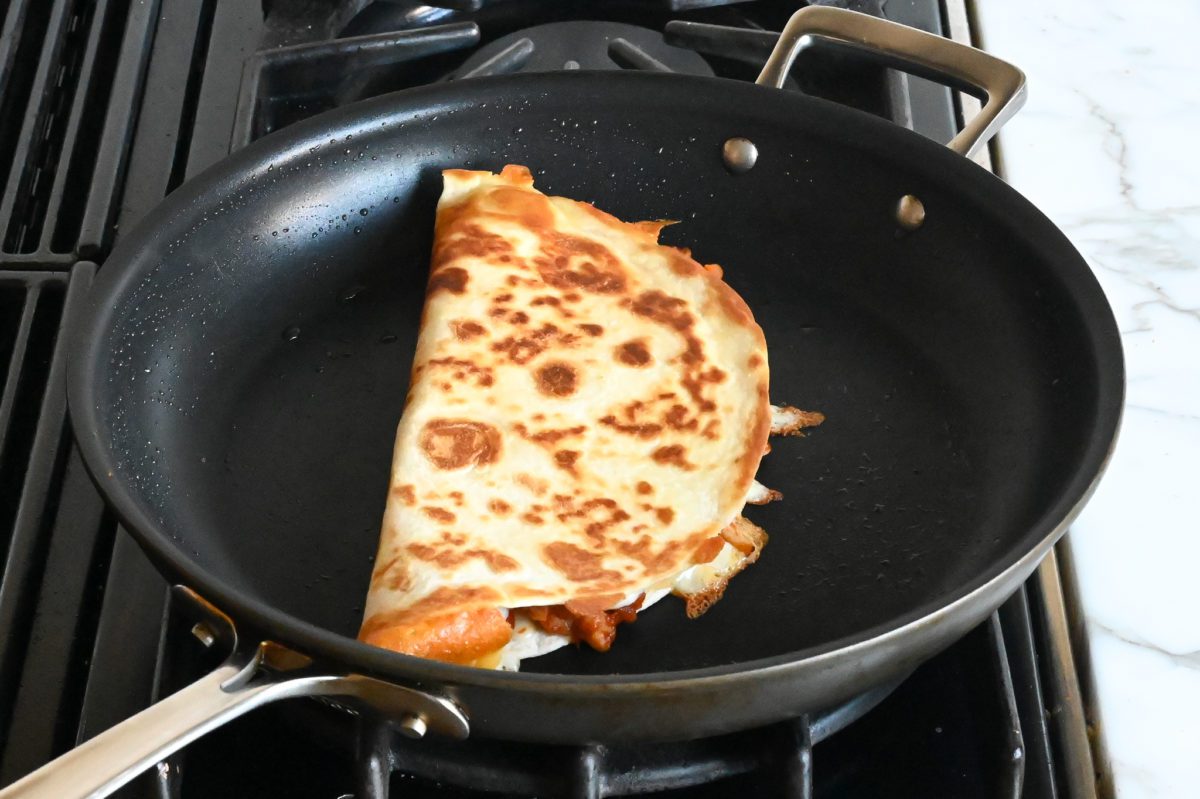
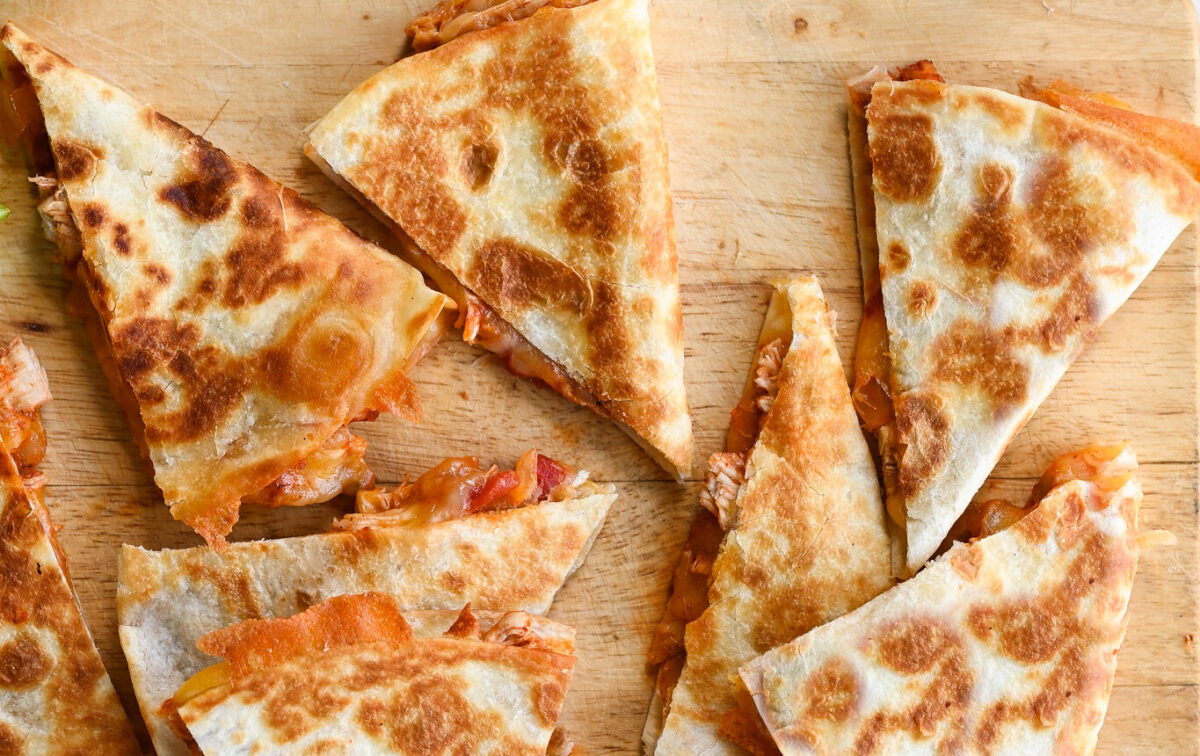
Serve: Transfer the quesadilla to a cutting board and let it rest briefly before cutting into wedges. This gives the filling a chance to settle so it stays put when you slice.
Video Tutorial
You May Also Like




Chicken Quesadillas
Ingredients
- Olive oil for cooking
- ¾ teaspoon salt
- ½ teaspoon smoked paprika
- ½ teaspoon garlic powder
- ½ teaspoon dried oregano
- ½ teaspoon ground cumin
- 1 pound chicken tenderloins, tendons trimmed (see note), or boneless, skinless chicken breasts cut into 1½ strips
- 1 cup thick and chunky salsa, such as Chi-Chi’s Medium
- ½ cup water
- 4 large burrito-size 10-inch flour tortillas
- 3 cups shredded Mexican Blend or Monterey Jack cheese (see note)
For Serving (optional)
- Sour cream
- Lime wedges
Instructions
- In a small bowl, mix together the salt, smoked paprika, garlic powder, oregano, and cumin. Sprinkle the spice mixture evenly all over the chicken.
- In a large nonstick skillet over medium-high heat, heat 1½ tablespoons of oil until shimmering. Add the chicken and cook, undisturbed, until golden brown on the first side, 2 to 3 minutes. Flip the chicken, reduce the heat to medium, and continue cooking until the chicken is cooked through, 3 to 4 minutes more. Transfer the chicken to a plate or cutting board.
- Add the salsa and water to the skillet. Cook, uncovered, over medium-low heat until most of the liquid is evaporated and the sauce has a thick consistency, 7 to 9 minutes.
- Meanwhile, shred the chicken. (If the sauce is done before you’ve finished shredding the chicken, remove it from the heat.)
- Off the heat, add the shredded chicken and any juices that have accumulated on the plate/cutting board to the finished sauce and stir until evenly combined. Transfer the chicken mixture to a plate, reserving half to refrigerate or freeze for another meal. Clean the skillet and return to the stove.
- Heat ½ tablespoon of oil in the skillet over medium heat. Place 1 tortilla in the skillet and swirl it around with your hand to coat the bottom evenly with the oil. Sprinkle ¾ cup of the cheese evenly over top, leaving a ½-inch border around the edges. Spread about ⅓ cup of the chicken mixture over half of the tortilla. When the cheese is mostly melted, fold the tortilla over to cover the filling and form a half-moon shape. Cook until the tortilla is crisp and golden and the cheese is melted, adjusting the heat as necessary, 1 to 2 minutes per side. Repeat with the remaining oil, tortillas, cheese, and filling, adjusting the heat as necessary. (Cover the cooked quesadillas lightly with foil to keep them warm.) Let the quesadillas rest a few minutes to allow the filling to set, then cut into wedges and serve with sour cream and lime wedges, if desired.
Notes
- Chicken tenderloins typically have a white tendon attached to them. They can be a little tough to chew, so I like to remove them with kitchen shears before cooking. Just pinch the tip of the tendon with your finger and snip where the tendon meets the chicken.
- It’s perfectly fine to use pre-shredded cheese from a bag, but be sure to use a good-quality brand, like Tillamook thick-cut Mexican blend.
- Make-Ahead/Freezer-Friendly Instructions: The filling mixture can be made up to 2 days ahead and refrigerated in a covered container or frozen for up to 3 months.
Pair with

Nutrition Information
This website is written and produced for informational purposes only. I am not a certified nutritionist and the nutritional data on this site has not been evaluated or approved by a nutritionist or the Food and Drug Administration. Nutritional information is offered as a courtesy and should not be construed as a guarantee. The data is calculated through an online nutritional calculator, Edamam.com. Although I do my best to provide accurate nutritional information, these figures should be considered estimates only. Varying factors such as product types or brands purchased, natural fluctuations in fresh produce, and the way ingredients are processed change the effective nutritional information in any given recipe. Furthermore, different online calculators provide different results depending on their own nutrition fact sources and algorithms. To obtain the most accurate nutritional information in a given recipe, you should calculate the nutritional information with the actual ingredients used in your recipe, using your preferred nutrition calculator.
So yummy and easy peasy! Another winner from Jennifer. You make me feel like I actually can cook Lol.
Just FYI, snipping the tendon is not the same as removing it, I can still see it clearly in your pictures. The best way to remove the tendon, is to get it between the tines of a fork, grab it firmly with a paper towel, then pull the whole thing out through the fork! Easy peasy, and you’ve removed the entire thing and will most definitely not be biting down on any chewy, grisly tendon bits left behind!