Chocolate Chip Scones

This post may contain affiliate links. Read my full disclosure policy.
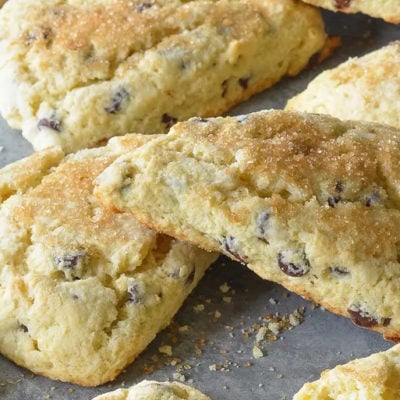
These chocolate chip scones are soft, buttery, and just sweet enough, with plenty of melty chocolate in every bite. They’re perfect with coffee, tea, or straight off the baking sheet.
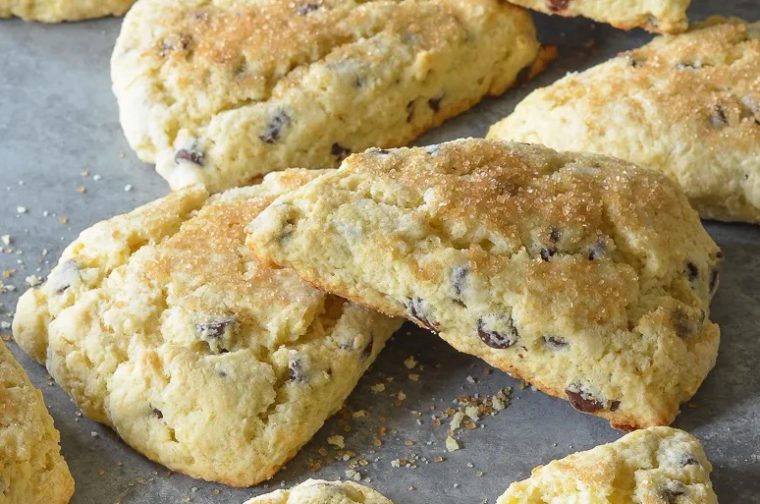
If there’s one thing I’ve learned, it’s that anything with chocolate chips is an instant hit with my kids—chocolate chip cookies, chocolate chip muffins, you name it. These chocolate chip scones are no different. They’re sweet, buttery, and tender, with just the right amount of melty chocolate in every bite. Warm from the oven, they’re perfect for a lazy weekend morning when you feel like spoiling everyone.
This recipe is a twist on my classic cream scones—just a bit sweeter, flecked with chocolate chips, and flavored with vanilla. And they always disappear fast…at least around here.
“These are great! I’ve tried to make scones 3 times with other recipes, this is the first time they came out perfectly.”
What You’ll need To Make Chocolate Chip Scones
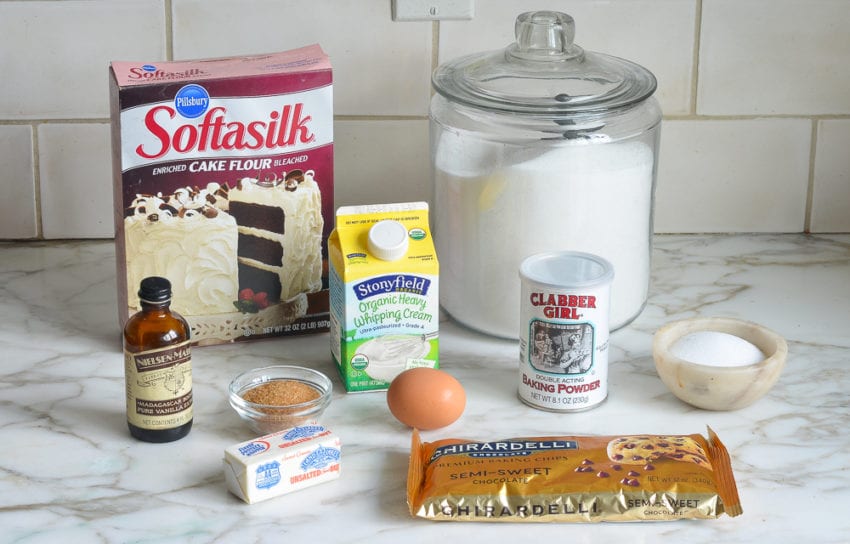
- Cake Flour: The base of the scones. Cake flour provides a softer, more delicate texture than all-purpose flour thanks to its lower protein content. Don’t have cake flour on hand? You can make your own; just whisk together 1¾ cups all-purpose flour and ¼ cup cornstarch.
- Baking Powder: Gives scones their lift, helping them rise and become light and fluffy.
- Granulated Sugar: Sweetens the dough just enough to balance the richness and chocolate.
- Cold Butter: Butter adds richness and helps create a tender, flaky texture in scones; keeping it cold ensures it melts during baking, forming steam pockets that lift and lighten the dough.
- Semisweet Chocolate Chips: Semisweet chips bring bursts of melty chocolate throughout—use a high-quality brand like Guittard or Ghirardelli for the best flavor.
- Egg: Helps bind the dough and adds richness.
- Heavy Cream: Adds moisture and richness to the dough, creating a soft crumb. Don’t swap it for milk or light cream—this is one place where the fat really matters.
- Vanilla Extract: Adds warm, subtle flavor that complements the chocolate.
- Demerara Sugar: Sprinkled on top before baking for a sweet, caramel-y crunch on the outside. Also known as raw or turbinado sugar. If you don’t have it on hand, you can substitute brown sugar or more granulated sugar.
- Jump to the printable recipe for precise measurements
Step-by-Step Instructions
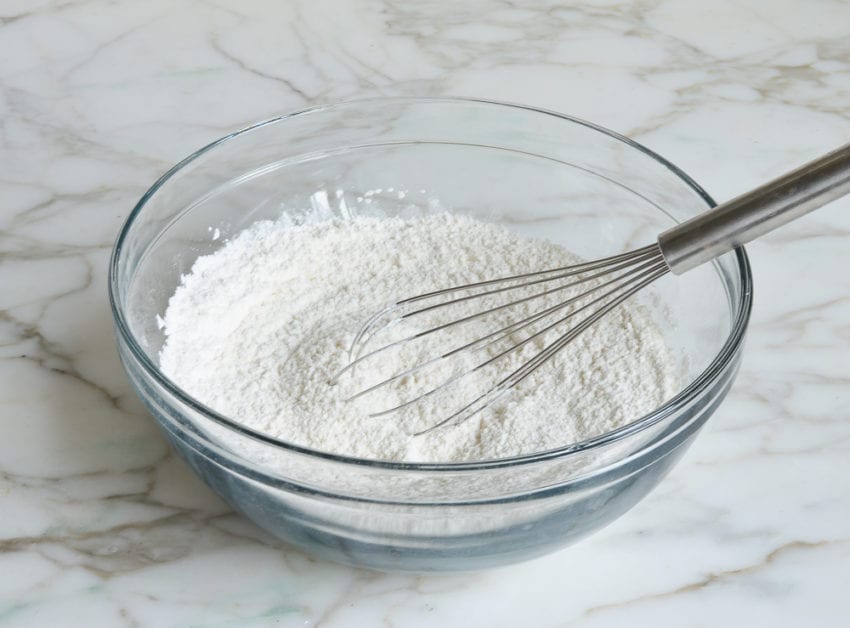
Step 1: Mix the dry ingredients. In a large bowl, whisk together the dry ingredients. Whisking helps evenly distribute the baking powder, which ensures the scones rise and bake evenly.
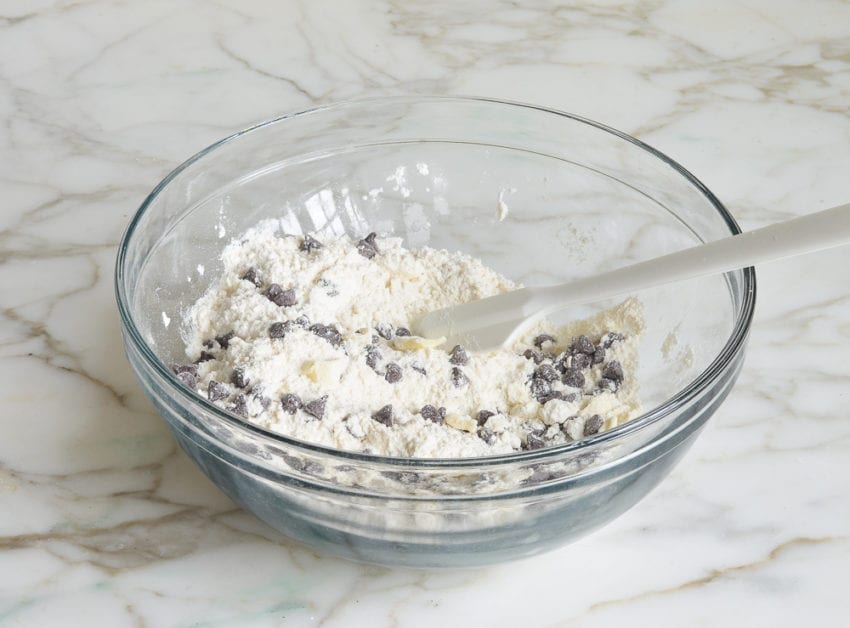
Step 2: Cut in the butter. Add the cold butter and use your fingertips to rub it in until the mixture looks very coarse—those little clumps of butter are what make the scones tender.

Step 3: Add the chocolate chips. Stir in the chocolate chips.
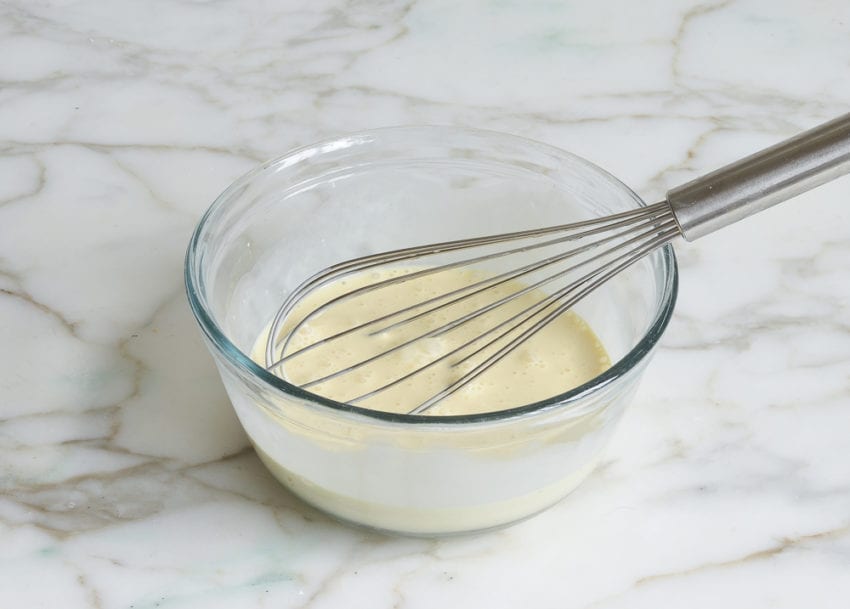
Step 4: Whisk the wet ingredients. In a small bowl, whisk the cream, egg, and vanilla until smooth.
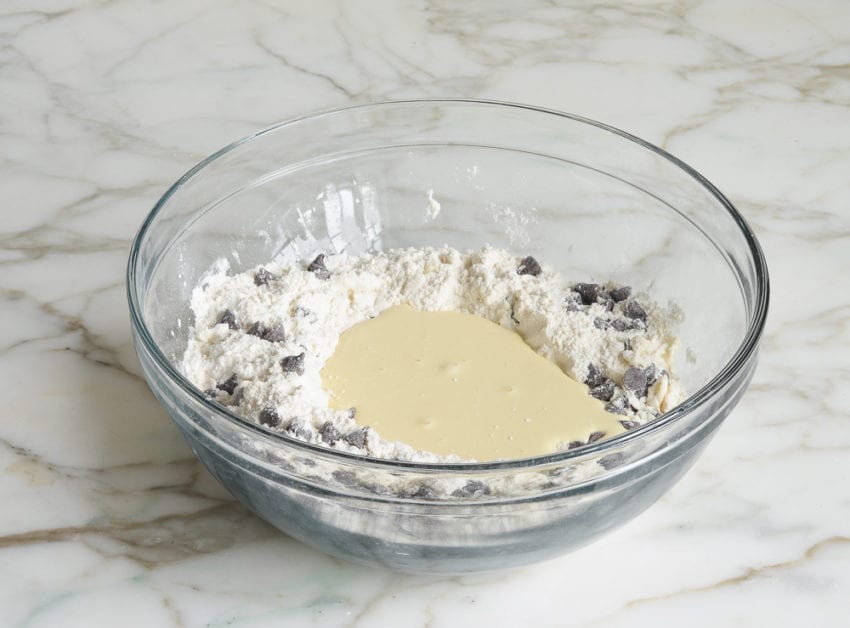
Step 5: Combine wet and dry. Make a well in the dry ingredients, pour in the wet ingredients, and stir it all together. (Making a well helps incorporate the wet ingredients more gently, which reduces overmixing.)
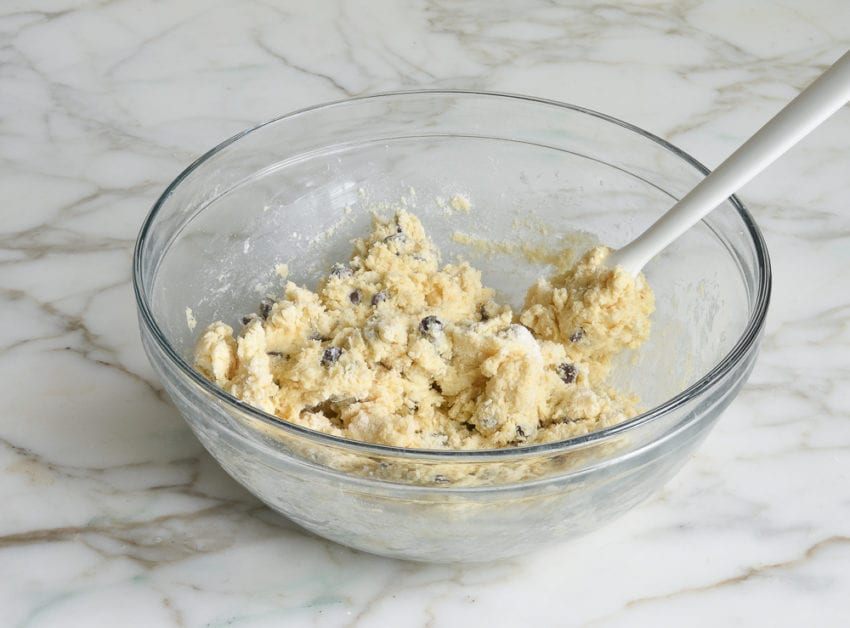
Step 6: Mix the dough. Stir with a spatula until the dough mostly comes together—it’ll be sticky.
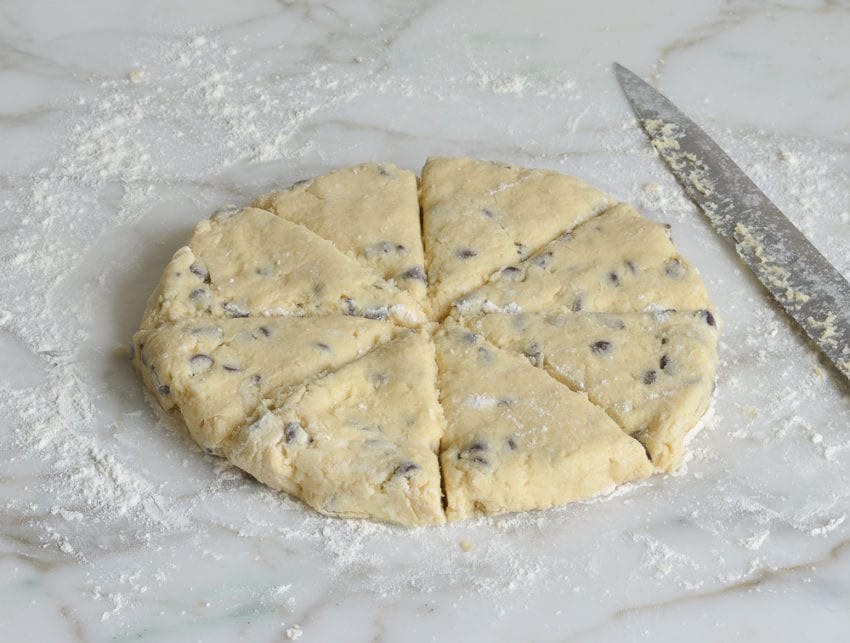
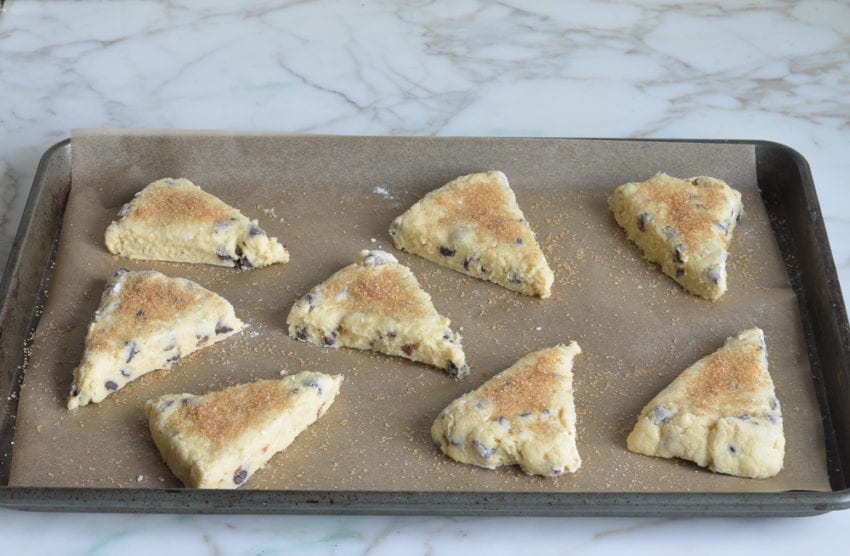
Step 7: Shape and cut dough. Lightly knead it into a ball. Be gentle and stop as soon as the dough holds together; over-kneading can make the scones tough. Press the dough into a ¾-inch-thick circle and slice into 8 wedges. For clean cuts, use a sharp knife.
Step 8: Prep to bake. Transfer the wedges to a parchment-lined baking sheet and sprinkle with the Demerara sugar.
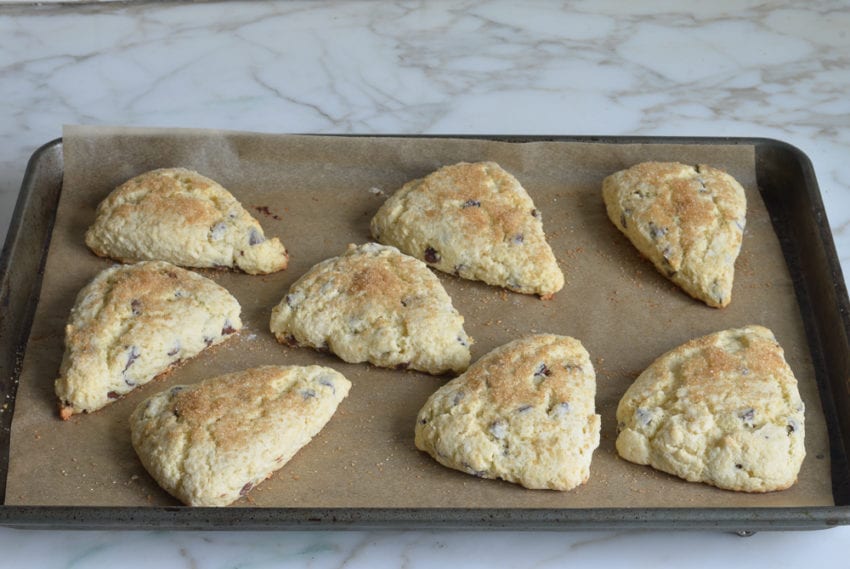
Step 9: Bake. Bake for 12 to 15 minutes, until light golden brown and set. Remove from oven and serve warm. The scones can be frozen, before or after baking, in an airtight container for up to 3 months. (For best results, freeze before baking.)
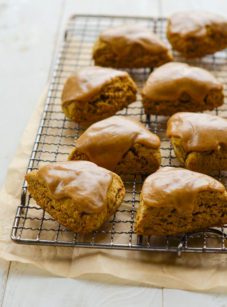
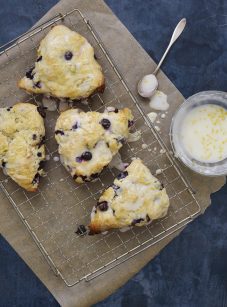
More Scone Recipes You May Like
Chocolate Chip Scones
Ingredients
- 2 cups cake flour, spooned into measuring cup and leveled-off (see note on substitution)
- ¾ teaspoon salt
- 1 tablespoon baking powder
- ¼ cup granulated sugar
- 5 tablespoons cold unsalted butter, cut into ½-inch (13-mm) pieces
- ⅔ cup semi-sweet chocolate chips, best quality such as Guittard or Ghirardelli
- 1 large egg
- ⅔ to ¾ cup heavy cream (do not substitute milk or light cream)
- 1 teaspoon vanilla extract
- 1 tablespoon demerara sugar (also called raw or turbinado)
Instructions
- Preheat the oven to 400°F (205°C) and set an oven rack in the middle position. Line a baking sheet with parchment paper.
- In a large bowl, whisk together cake flour, salt, baking powder and granulated sugar. Add the pieces of cold butter. Use your fingertips to rub butter into dry ingredients until mixture resembles coarse crumbs with pea-size clumps of butter within. Stir in the chocolate chips.
- In a small bowl, whisk together ⅔ cup (160 ml) heavy cream, the egg, and the vanilla. Make a well in center of dry ingredients, then add the cream mixture. Use a rubber spatula to mix until the dough comes together. It should be a bit sticky. If it seems dry, add the remaining 2 tablespoons of cream.
- Dust a work surface lightly with flour, then dump the sticky dough on top. Knead very gently a few times until the dough comes together into a ball, sprinkling more flour as needed if the dough is too sticky to work with. Press the dough into a circle about ¾-in (2-cm) high, then cut into 8 wedges. Transfer the wedges to the prepared baking sheet, and then sprinkle evenly with the demerara sugar. Bake for 12 to 15 minutes, until the scones are lightly golden and firm to the touch. Serve warm.
Notes
Nutrition Information
This website is written and produced for informational purposes only. I am not a certified nutritionist and the nutritional data on this site has not been evaluated or approved by a nutritionist or the Food and Drug Administration. Nutritional information is offered as a courtesy and should not be construed as a guarantee. The data is calculated through an online nutritional calculator, Edamam.com. Although I do my best to provide accurate nutritional information, these figures should be considered estimates only. Varying factors such as product types or brands purchased, natural fluctuations in fresh produce, and the way ingredients are processed change the effective nutritional information in any given recipe. Furthermore, different online calculators provide different results depending on their own nutrition fact sources and algorithms. To obtain the most accurate nutritional information in a given recipe, you should calculate the nutritional information with the actual ingredients used in your recipe, using your preferred nutrition calculator.
These scones are incredible! I have been making them for quite some time and have been meaning to send a review. My 10 year old son begs for them on a regular basis. I bake them and then freeze them in individual little zip lock bags. He gets up, pops one in the microwave for 30 seconds before school and it is perfectly moist and tender. His class recently had a party and he asked to bring a large batch to school. The teacher made sure to heat them up a bit in the cafeteria and they were a huge hit!
Just made the scones for the first time and they were exactly how I like my scones – tender and buttery! Jenn, you are the best! Your site is now my go-to source for recipes – every recipe I have tried has been delicious and exactly what I was looking for in a particular dish/dessert! Your recipes are fantastic and your instructions and photos are so easy to follow. Your’s and Ina Garten’s recipes are the only ones I will try now – because they never disappoint! Thank you!!
I made these scones snd they are amazing! Thank you for the recipe!!!
I’ve made this delicious recipe several times before, each time when we were having company for brunch. This morning I made it for no reason at all, other than it would make a lovely treat for my husband and myself as we watched Meet the Press. This shows you how easy these scones are to make, and how much I value our Sunday mornings. As always, Jenn, many thanks!
I make these frequently – simple and delicious. I use a mixer and it is fast. For fun I tried making it as a ‘scone cake’ for a birthday – instead of cutting it, I just baked it whole in the last step (kept it in the oven closer to 17 minutes). It worked quite well and kept it moist. Also we could cut it to custom sized pieces. Kept well into the next day. Thank you as always for your great recipes!
I made these this morning and they came out amazing! It was such an easy recipe to follow!
When you freeze before baking are you freezing with the coarse sugar on top or will you add the sugar before you are ready to bake?
You can go either way, but because you cake bake them straight from the freezer, I’d add the sugar before freezing. Hope you enjoy!
Can I make the scones and wait to bake them until the next morning? Or do they need to be baked or frozen right away?
Yes, you can refrigerate them overnight before baking. Hope you enjoy!
I am amazed that I can bake a scone better than my favorite bakery! Thanks so much for the recipe and your website. I am enjoying it and so are the people that get to share what I bake!
Oh my, these scones are so fantastic and easy to make as well. Don’t know why, but these types of recipes are intimidating to me and I love to bake. Not this recipe! Only change I made was I used mini chips instead of regular chips. This recipe is perfect!