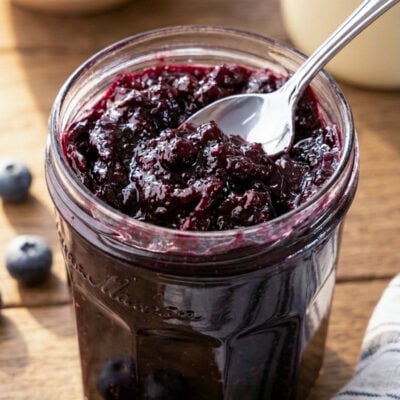
Small-Batch Blueberry Jam


This post may contain affiliate links. Read my full disclosure policy.
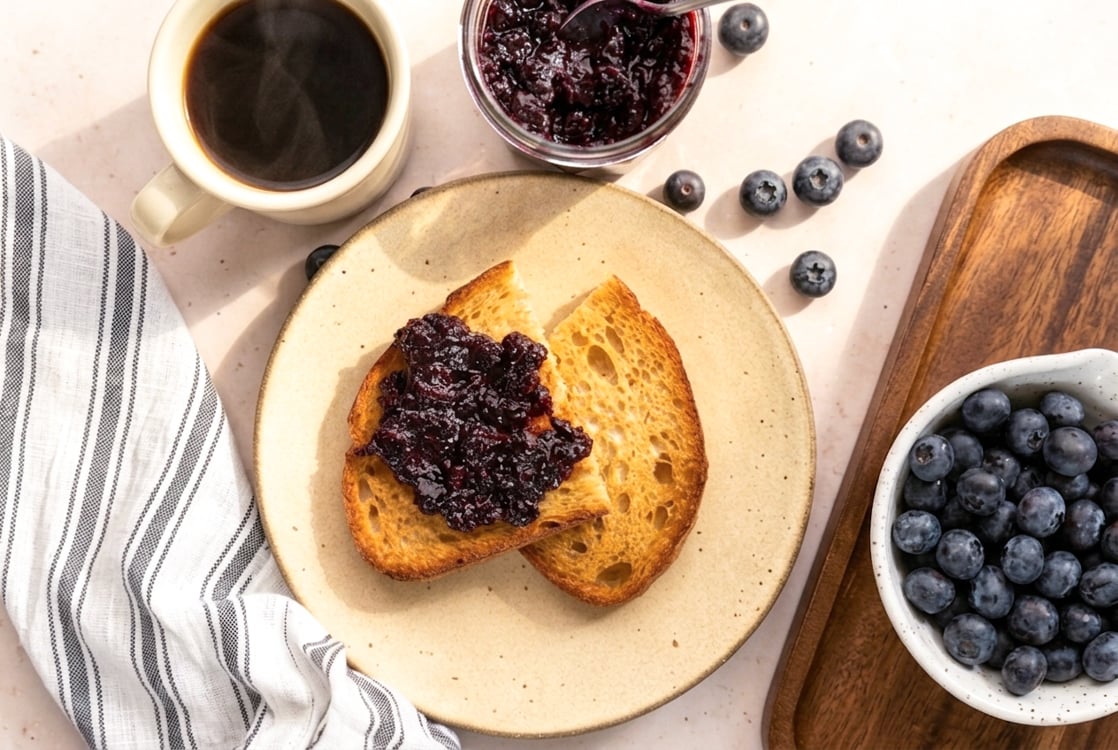
This small-batch blueberry jam tastes like summer in a jar, with deep blueberry flavor and a bright pop of lemon. No pectin or canning required.
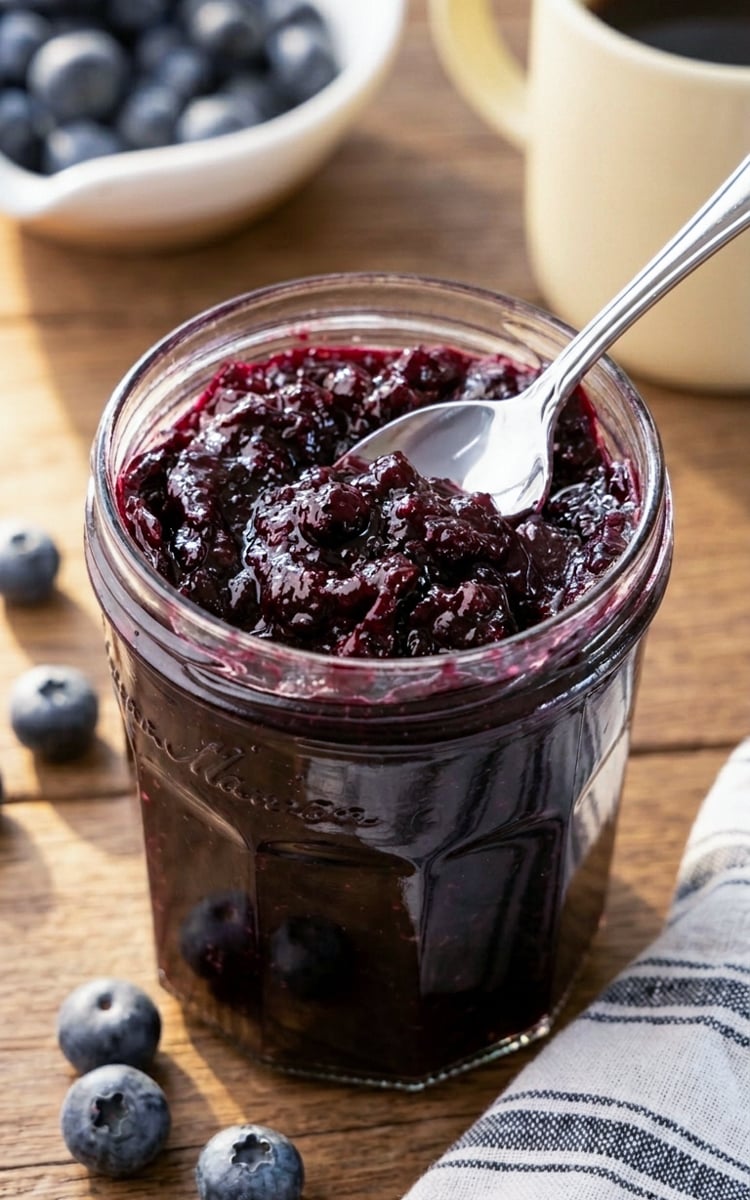
I make this small-batch blueberry jam all summer long when berries are at their peak. Because the recipe makes a modest amount (1 to 2 jars) and doesn’t require pectin or canning, it’s simple enough to make on a whim, and it’s ready in just 30 minutes. The flavor is bright and intensely blueberry, with just enough lemon to balance the sweetness.
I love it on toast, biscuits, scones, or English muffins, though I’m not above sneaking spoonfuls straight from the jar. It also makes a lovely hostess gift—just spoon it into a jar, tie on a pretty ribbon, and you’re done.
What You’ll Need To Make Small-Batch Blueberry Jam
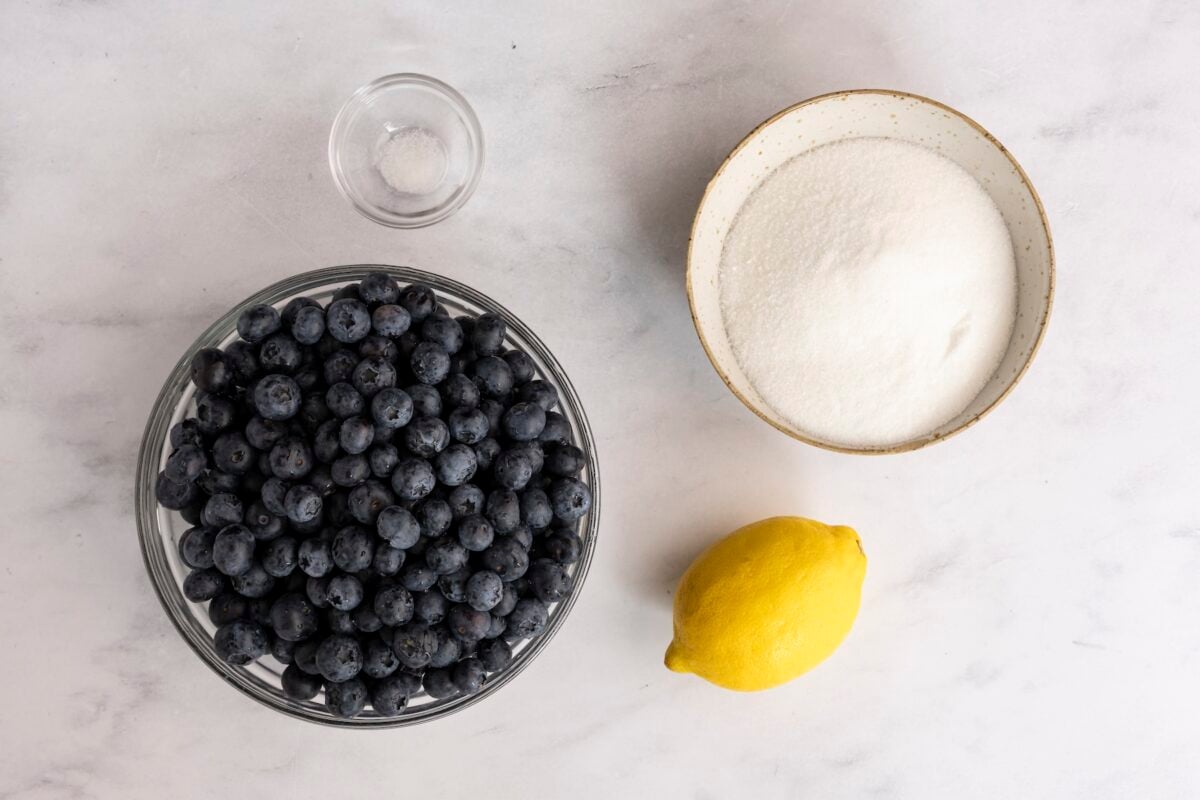
To make blueberry jam, you’ll need fresh blueberries, sugar, lemon zest, lemon juice, and salt.
Step-By-Step Instructions
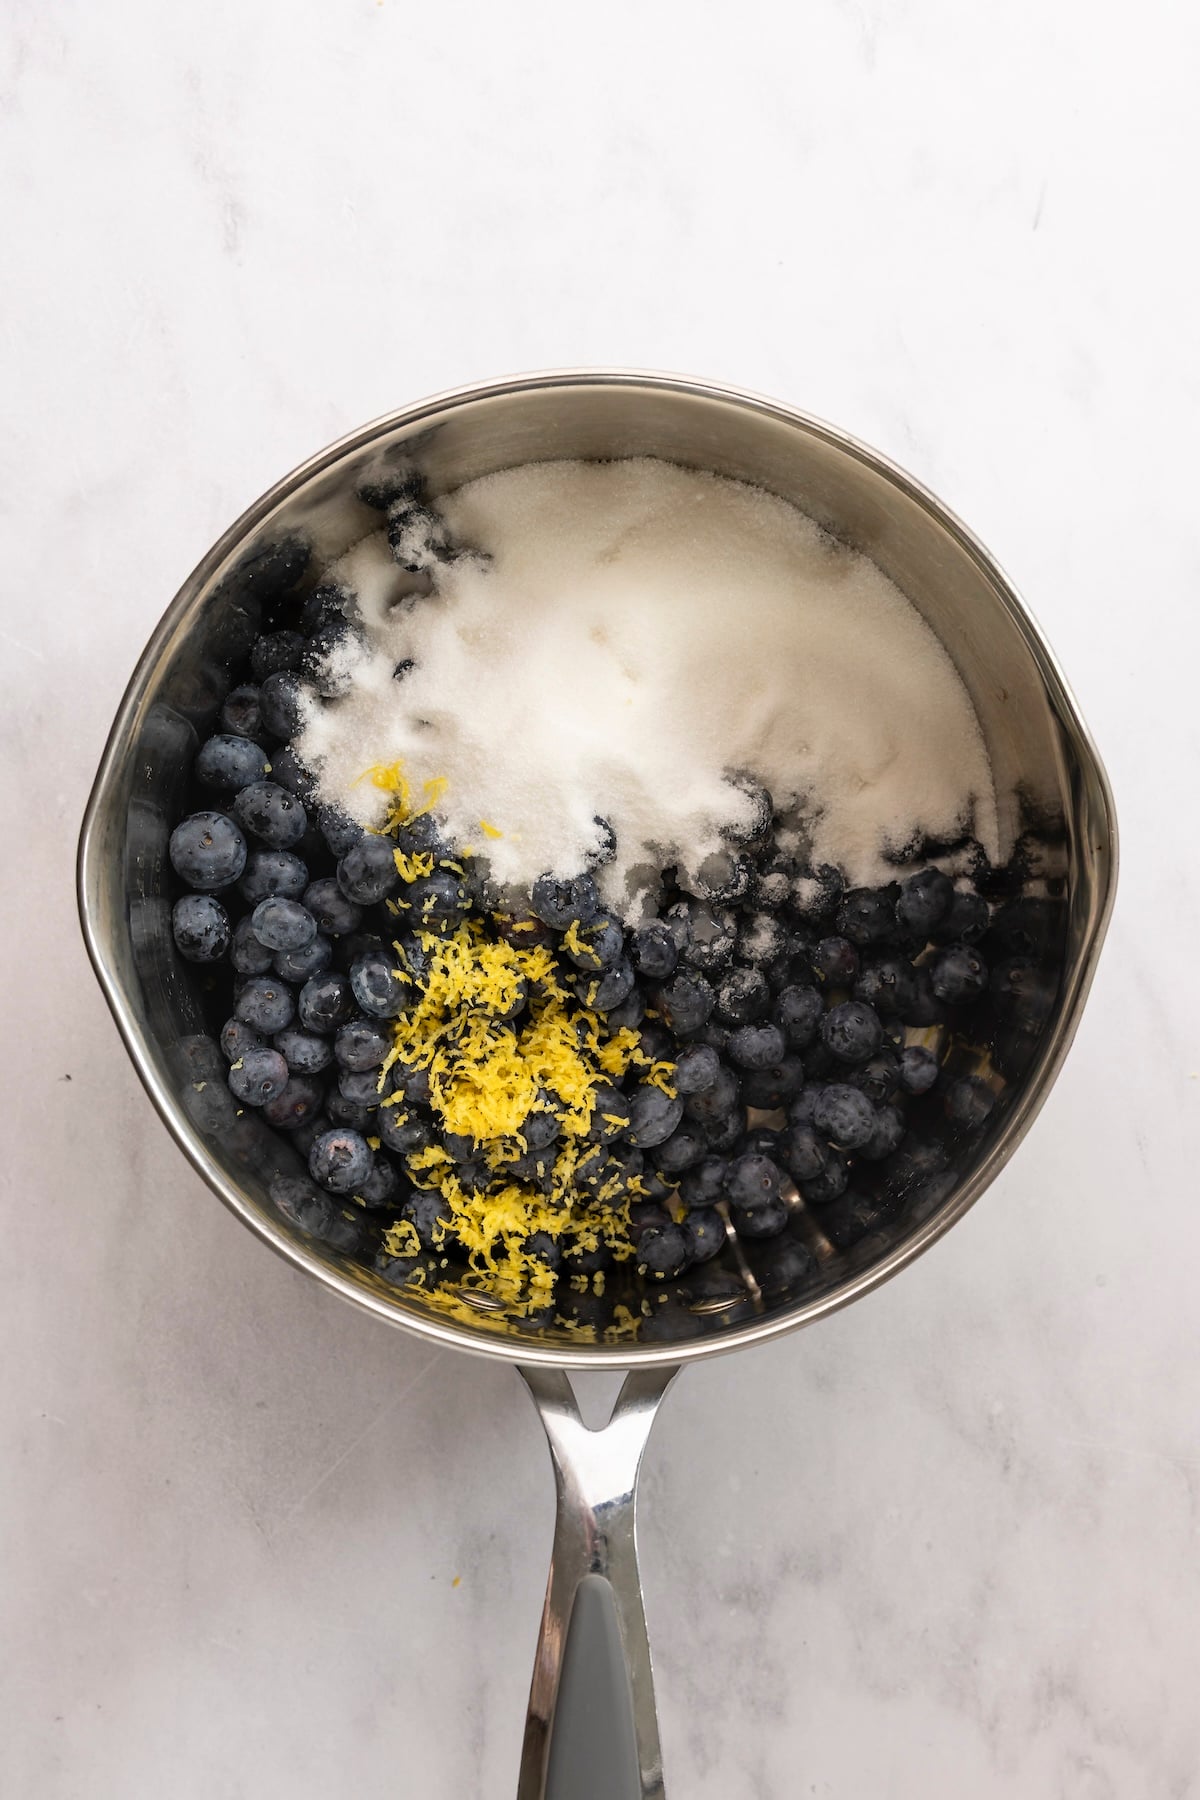
Step 1: Cook the jam. In a medium saucepan, combine the blueberries, sugar, lemon juice, lemon zest, and salt, then bring to a boil over medium heat, stirring occasionally until the sugar dissolves and the mixture bubbles. Reduce the heat to maintain a steady simmer and cook for 25 to 30 minutes, stirring frequently. Use a spoon or potato masher as it cooks to crush the berries to your desired consistency.
Pro Tip: A pinch of salt may seem odd in a sweet jam, but it’s actually there to brighten the blueberries and balance out the sugar so the fruit’s natural tartness really shines through.
Step 2: Test for doneness. Drop a spoonful of jam onto the chilled plate and let it set for a few seconds; it is ready if a line held by dragging your finger through it doesn’t run back together. If it’s too loose, simmer for a few more minutes and re-test, chilling the plate between attempts.
Pro Tip: The chilled-plate test is more reliable than the clock. Cooking time can vary depending on the juiciness of the berries and the size of your pan, so trust the texture—not the timer.

Step 3: Cool and serve. Transfer to jars or an airtight container and refrigerate until set. Store the jam in the fridge for up to 2 weeks or freeze for up to 3 months. Of course, it’s wonderful on all the usual breakfast breads and baked goods, but it’s also good swirled into yogurt or spooned over oatmeal, waffles, or pancakes.
More Fruit Jams You’ll Love
Small-Batch Blueberry Jam
Ingredients
- 2 pints (24 oz) fresh blueberries (4 cups)
- 1 cup sugar
- ½ teaspoon lemon zest, from 1 lemon
- 2½ tablespoons fresh lemon juice, from 1 lemon
- ⅛ teaspoon salt
Instructions
- Before you begin, place a small plate in the freezer so it’s well chilled—you’ll use it later to test whether the jam is set.
- In a medium saucepan, combine the blueberries, sugar, lemon juice, lemon zest, and salt. Bring to a boil over medium heat, stirring occasionally, until the sugar dissolves and the mixture becomes juicy and begins to bubble.
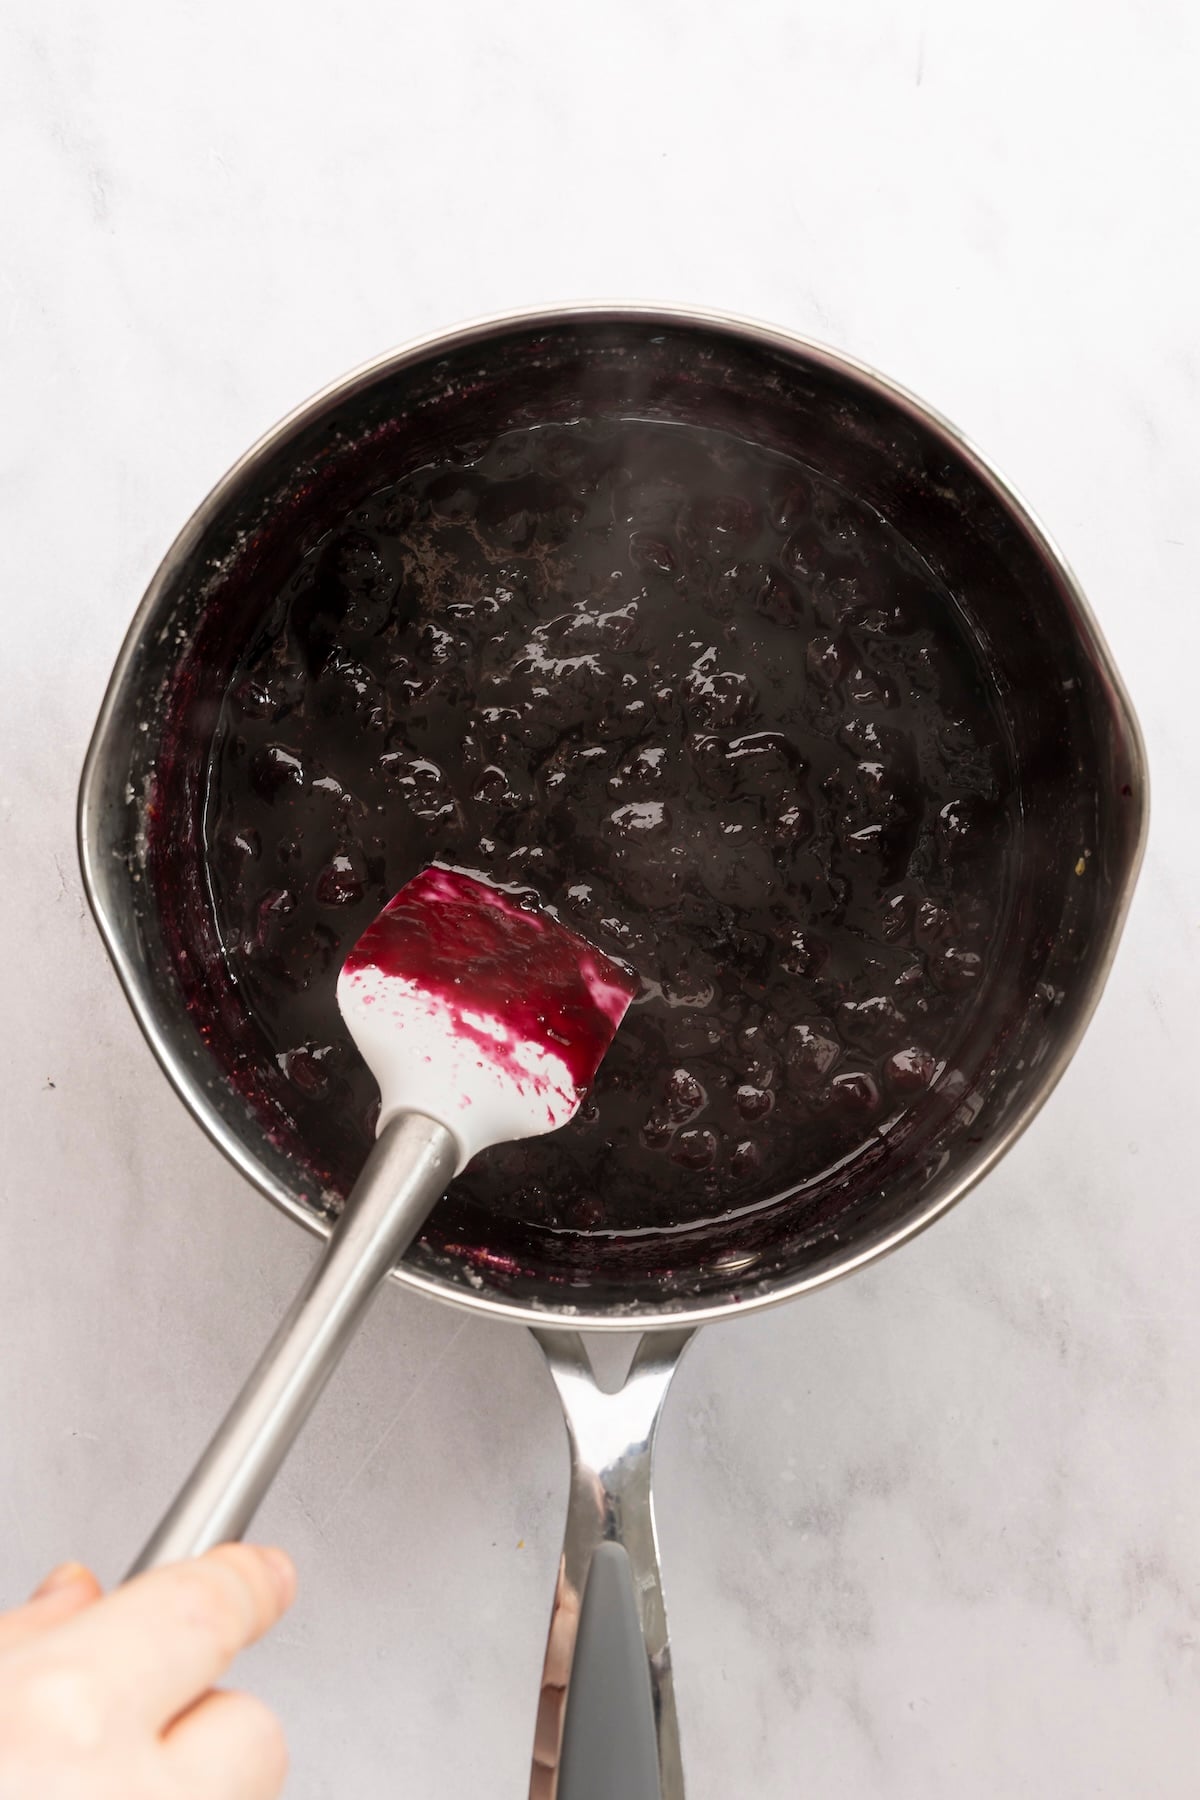
- Lower the heat so the mixture bubbles gently. Cook, stirring frequently, until the berries have broken down and the mixture thickens, 25 to 30 minutes. As it cooks, use a spoon or potato masher to break up the berries to your desired consistency.
- To test for doneness, drop a small spoonful of jam onto the chilled plate and let it sit for a few seconds. If you can drag your finger through it and the line holds (instead of running back together), it’s ready. If it still seems loose, continue cooking for a few more minutes and test again, returning the plate to the freezer to chill between tests. (This plate test is all you really need, but if you prefer to use a thermometer, the jam is done when it reaches 220°F/104°C.)
- Remove from the heat and let cool slightly. For a smoother jam, you can blend it very briefly with an immersion blender, leaving some texture. Transfer to jars or an airtight container and refrigerate until set. Store in the refrigerator for up to 2 weeks.
Notes
Nutrition Information
This website is written and produced for informational purposes only. I am not a certified nutritionist and the nutritional data on this site has not been evaluated or approved by a nutritionist or the Food and Drug Administration. Nutritional information is offered as a courtesy and should not be construed as a guarantee. The data is calculated through an online nutritional calculator, Edamam.com. Although I do my best to provide accurate nutritional information, these figures should be considered estimates only. Varying factors such as product types or brands purchased, natural fluctuations in fresh produce, and the way ingredients are processed change the effective nutritional information in any given recipe. Furthermore, different online calculators provide different results depending on their own nutrition fact sources and algorithms. To obtain the most accurate nutritional information in a given recipe, you should calculate the nutritional information with the actual ingredients used in your recipe, using your preferred nutrition calculator.
Gluten-Free Adaptable Note
To the best of my knowledge, all of the ingredients used in this recipe are gluten-free or widely available in gluten-free versions. There is hidden gluten in many foods; if you're following a gluten-free diet or cooking for someone with gluten allergies, always read the labels of your ingredients to verify that they are gluten-free.
Can I made the blueberry jam with frozen berries?
Sure, just keep in mind that the mixture may require a bit more cooking time.
Is it possible to keep this jam for longer than 2 weeks? We have a small ‘farmgate shop’ and i make jam which has a longer shelf life.
If so, what do i do?
Hi Rosie, while it may keep for longer than two weeks, I always err on the conservative side for shelf life/food safety. You could certainly test it out yourself before putting it in your shop. (But I didn’t test this recipe with longer preservation/canning in mind, so I don’t know that it would be safe.)