Sweet and Sour Chicken


This post may contain affiliate links. Read my full disclosure policy.
Tired of takeout that’s, well…tired? This homemade sweet and sour chicken recipe delivers—crispy golden chicken, bright veggies, and that just-right tangy and sweet sauce.

Sweet and sour chicken is one of those takeout classics that checks all the boxes—crispy, tangy, sweet, and just plain delicious. With perfectly battered chicken, crisp-tender veggies, and a pineapple-flavored sauce, it’s especially good served over a bowl of steamed rice.
You’ll use three pans for this recipe—one for the sauce, one for frying the chicken, and one for stir-frying the veggies—but don’t let that scare you off. Each step is simple, and once you get going, the whole dish comes together quickly. Once you taste that first bite, you’ll see: homemade sweet and sour chicken is truly next-level. Honestly, I think this version, adapted from America’s Test Kitchen, gives any restaurant a run for its money.
“This dish was absolutely superb – such wonderful flavours. We loved it and I will definitely be making this again.”
What You’ll Need To Make Sweet And Sour Chicken

- Pineapple Juice: Brings that signature fruity sweetness to the sauce.
- Distilled White Vinegar: Adds the bold, tangy flavor that gives sweet and sour sauce its name.
- Sugar: Sweetens the sauce and helps it give it a glossy finish when thickened.
- Ketchup: Adds sweetness, acidity, and a touch of tomato flavor—plus it gives the sauce that familiar color.
- Soy Sauce: Adds savory depth to the sauce and balances out the sweetness.
- Crushed Red Pepper Flakes: Just a pinch gives the sauce a little warmth without making it too spicy.
- Cornstarch: Used two ways—once in the batter to help make the chicken crispy and again in the sauce to thicken it to the perfect texture.
- All-Purpose Flour: Combined with cornstarch, it helps create a light, crunchy batter that fries up golden and crisp.
- Baking Powder And Baking Soda: A small amount of each helps the batter puff up a bit and stay light.
- Vegetable Oil: Used in the batter and for both frying the chicken and stir-frying the veggies.
- Chicken Tenderloins Or Chicken Breasts: Cut into bite-sized pieces and coated in batter—they fry up golden and stay juicy inside. Both tenderloins and breasts work equally well, so just use what you prefer.
- Red Bell Peppers and Red Onion: Bring sweetness, savory flavor, and a little crunch, plus a nice pop of color.
- Jump to the printable recipe for precise measurements
Step-By-Step Instructions
Step 1: Make the sauce. In a medium saucepan over medium heat, whisk together the pineapple juice, vinegar, sugar, ketchup, soy sauce, and red pepper flakes. Bring it to a boil, then lower the heat and simmer for about 8 minutes.
Make a cornstarch slurry by combining the cornstarch with 1½ tablespoons cold water. Add it to the sauce, then cook for 1 more minute, until the sauce thickens and looks glossy. Take it off the heat and set aside.


Step 2: Make the batter and coat the chicken. In a large bowl, whisk together the flour, cornstarch, baking powder, baking soda, salt, and pepper. Add ⅔ cup water and 1½ tablespoons of oil and whisk until smooth. Toss in the chicken and stir until everything’s well coated.


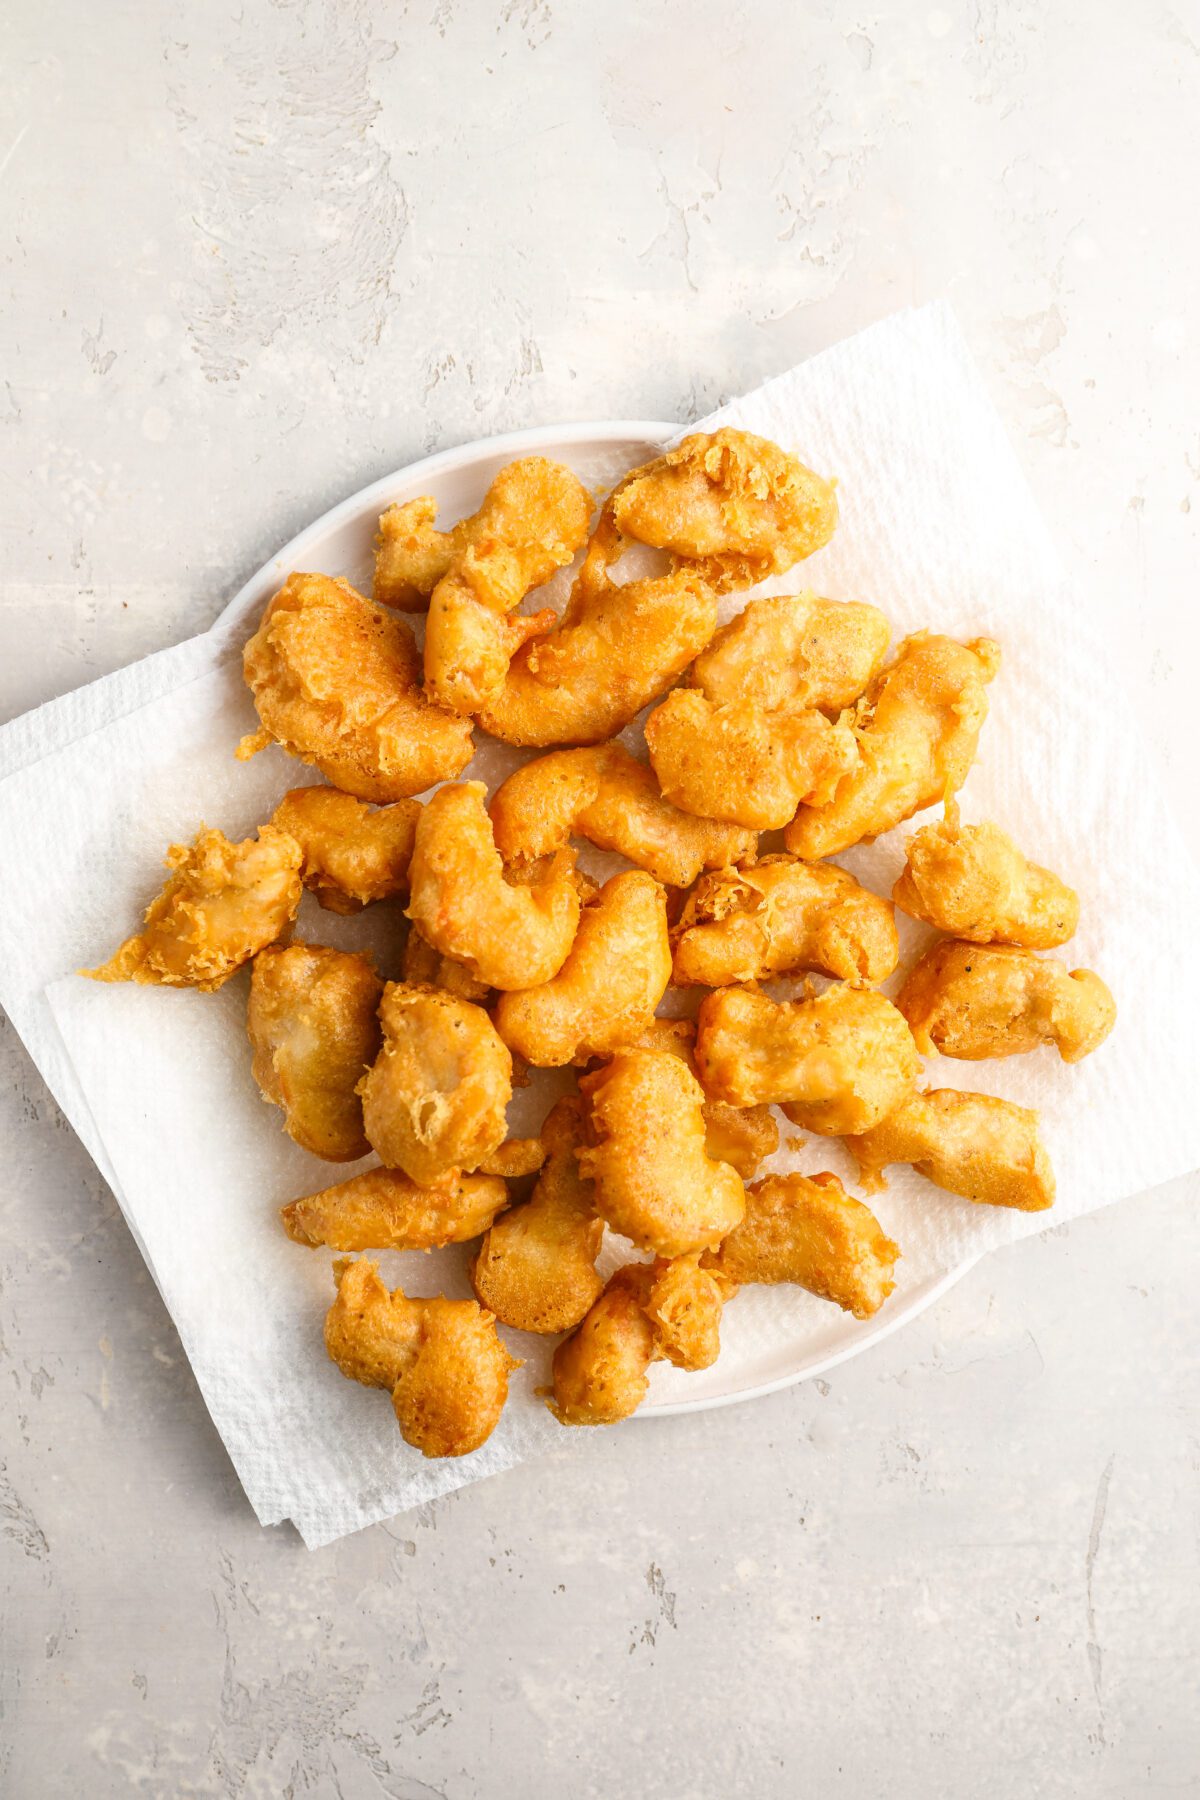
Step 3: Pan-fry the chicken. Pour about an inch of oil into a deep skillet or wok and heat it over medium-high heat until it’s shimmering—you’re aiming for around 350°F. Working in batches, gently lower the chicken into the oil one piece at a time (this helps prevent splatters and keeps the batter from sliding off). Fry for about 2 minutes per side until the chicken is golden and crispy. Move the cooked pieces to a paper towel-lined plate to drain.
Pro Tip: To safely discard oil, let it cool slightly, then pour it into a heatproof container (like a metal can or disposable foil pan). Once completely cool, toss it in the trash—never pour it down the drain.

Step 4: Stir-fry the veggies. In a clean skillet or wok, heat 1 tablespoon oil over medium-high heat. Add the bell peppers and onion and stir-fry for a few minutes, until just tender but still crisp. Reheat the sauce until hot. Add the chicken to the pan with the veggies.


Step 5: Finish the dish. Off the heat, pour in just enough sauce to coat everything and gently toss to combine. For extra crispy chicken, skip tossing and serve the sauce on the side. Serve right away.

Video Tutorial
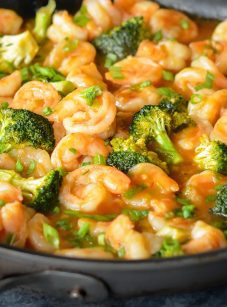
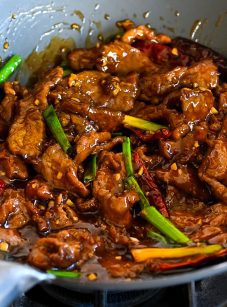
More Chinese Recipes You May Like


Sweet and Sour Chicken

Ingredients
For the Sauce
- 1 cup pineapple juice
- ½ cup distilled white vinegar
- ½ cup sugar
- 3 tablespoons ketchup
- 2 tablespoons soy sauce
- ¼ teaspoon crushed red pepper flakes
- 1½ tablespoons cornstarch
For the Chicken
- ½ cup all-purpose flour
- ½ cup cornstarch
- 1 teaspoon baking powder
- ¼ teaspoon baking soda
- Heaping teaspoon salt
- ¼ teaspoon freshly ground black pepper
- ⅔ cup water
- 1½ tablespoons vegetable oil, plus more for cooking
- 1 pound chicken tenderloins or boneless, skinless chicken breasts, trimmed and cut crosswise on slight bias into 1-inch (2.5-cm) chunks
For Finishing the Dish
- 1 tablespoon vegetable oil
- 2 red bell peppers, cut into 1-inch 1-inch (2.5-cm) pieces
- 1 small red onion, cut into 1-inch 1-inch (2.5-cm) chunks
Instructions
- Make the Sauce: In a medium saucepan over medium heat, whisk together the pineapple juice, vinegar, sugar, ketchup, soy sauce, and red pepper flakes. Bring to a boil, then reduce the heat to medium and cook, uncovered, for 8 minutes. In a small bowl, stir the cornstarch with 1½ tablespoons cold water, then whisk the mixture into the sauce. Cook for 1 more minute, until the sauce thickens and becomes glossy. Remove from heat and set aside.
- Prepare the Batter & Coat the Chicken: In a large bowl, whisk together the flour, cornstarch, baking powder, baking soda, salt, and pepper. Add the water and 1½ tablespoons vegetable oil, whisking until a smooth batter forms. Add the chicken pieces and toss until evenly coated.
- Pan-Fry the Chicken: Line a plate with a few layers of paper towels. Heat 1 inch (2.5 cm) of vegetable oil in a deep-sided medium skillet or wok over medium-high heat until shimmering (about 350°F/175°C). Pro tip: The larger the skillet, the more oil you'll need; the smaller the skillet, the less oil you'll use, but you may need to fry in more batches.Working in batches, use two forks to carefully lower the battered chicken, one piece at a time, into the hot oil, spacing the pieces apart to prevent sticking. Fry for about 2 minutes per side, turning once, until golden brown and crispy. (Cut a piece open to check for doneness and adjust the timing or heat if needed. Try to keep the oil at a steady temperature—if it drops too low, the chicken can turn out greasy; too high, and it may burn before it’s cooked through.)Transfer the chicken to the paper towel-lined plate to drain excess oil. Discard the oil safely (see note below).
- Stir-Fry the Vegetables: In a clean large skillet or wok, heat 1 tablespoon vegetable oil over medium-high heat. Add the bell peppers and onion, stir-frying for 3 to 4 minutes until slightly tender but still crisp.
- Finish & Serve: Reheat the sauce over medium heat until hot. Put the cooked chicken in the pan with the vegetables. Off the heat, gradually pour the sweet and sour sauce over everything and toss to coat—you may not need all of it. Alternatively, for maximum crispiness, you can serve the sauce on the side for dipping instead of tossing the chicken and veggies in it. This keeps the coating extra crunchy and allows everyone to control how much sauce they use. Serve immediately.
Notes
- Nutritional information was calculated assuming that approximately ¼ cup of the oil is absorbed into the chicken tenders when frying.
- To safely discard cooking oil after frying, let the oil cool slightly, then carefully pour it into a heatproof metal can or disposable foil pan. Allow it to cool completely before discarding it in the trash.
Nutrition Information
This website is written and produced for informational purposes only. I am not a certified nutritionist and the nutritional data on this site has not been evaluated or approved by a nutritionist or the Food and Drug Administration. Nutritional information is offered as a courtesy and should not be construed as a guarantee. The data is calculated through an online nutritional calculator, Edamam.com. Although I do my best to provide accurate nutritional information, these figures should be considered estimates only. Varying factors such as product types or brands purchased, natural fluctuations in fresh produce, and the way ingredients are processed change the effective nutritional information in any given recipe. Furthermore, different online calculators provide different results depending on their own nutrition fact sources and algorithms. To obtain the most accurate nutritional information in a given recipe, you should calculate the nutritional information with the actual ingredients used in your recipe, using your preferred nutrition calculator.
Everything you make is fantastic ! We appreciate you . I have been using your recipes for over 2 years now and my joy for cooking has reached new heights thanks to you. This recipe is another keeper .
This was very similar to my favourite takeout dish only way better!