Canadian Butter Tarts
- By Jennifer Segal
- Updated November 24, 2024
- 74 Comments
- Leave a Review

This post may contain affiliate links. Read my full disclosure policy.
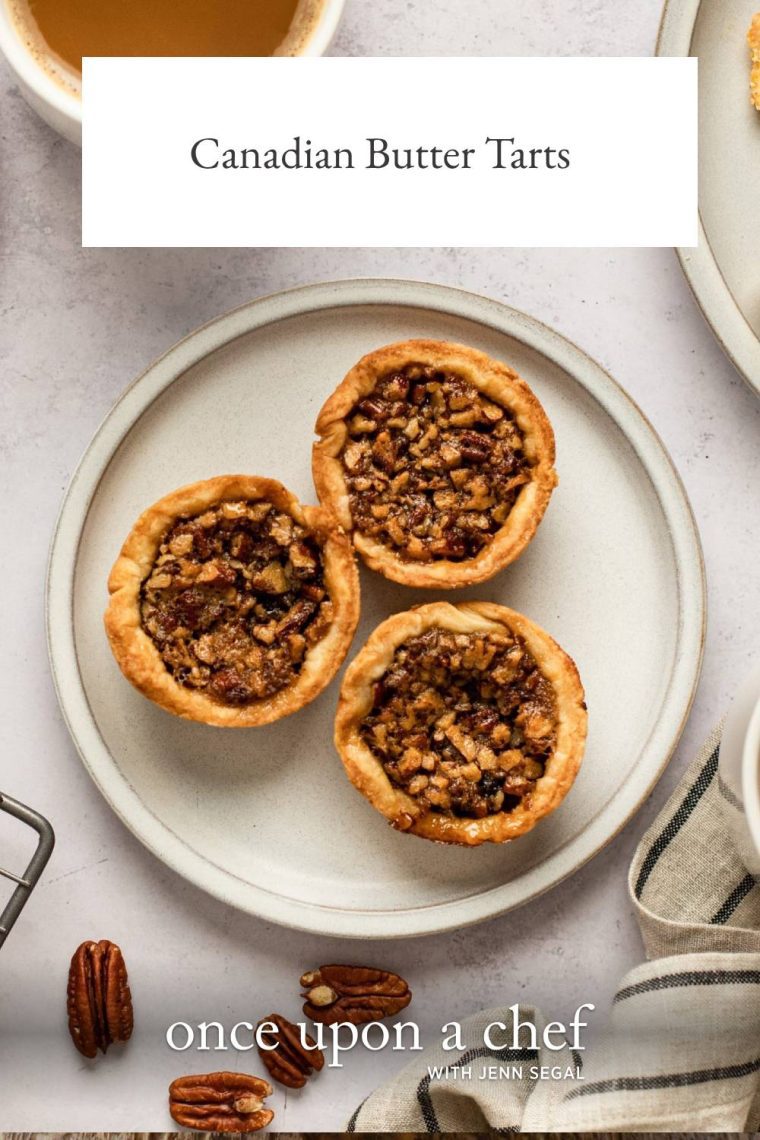
Canadian butter tarts are rich and gooey mini pies that put buttery goodness front and center—perfect for holidays or any day!
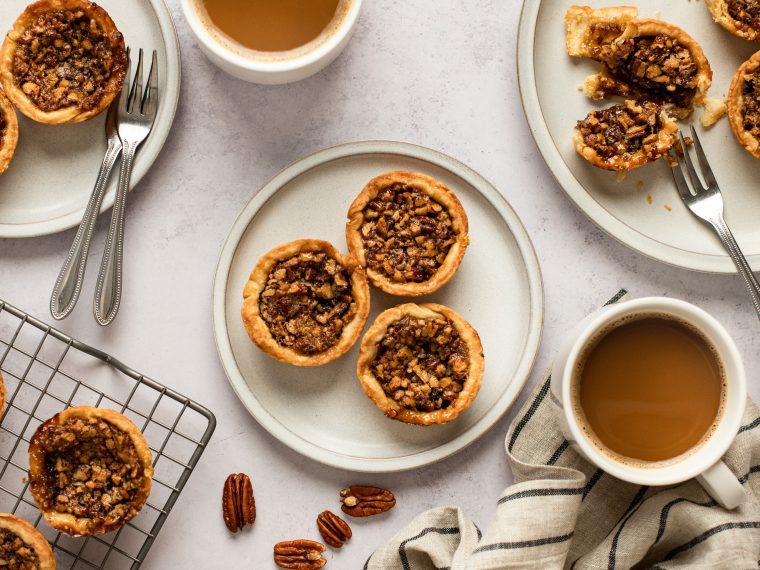
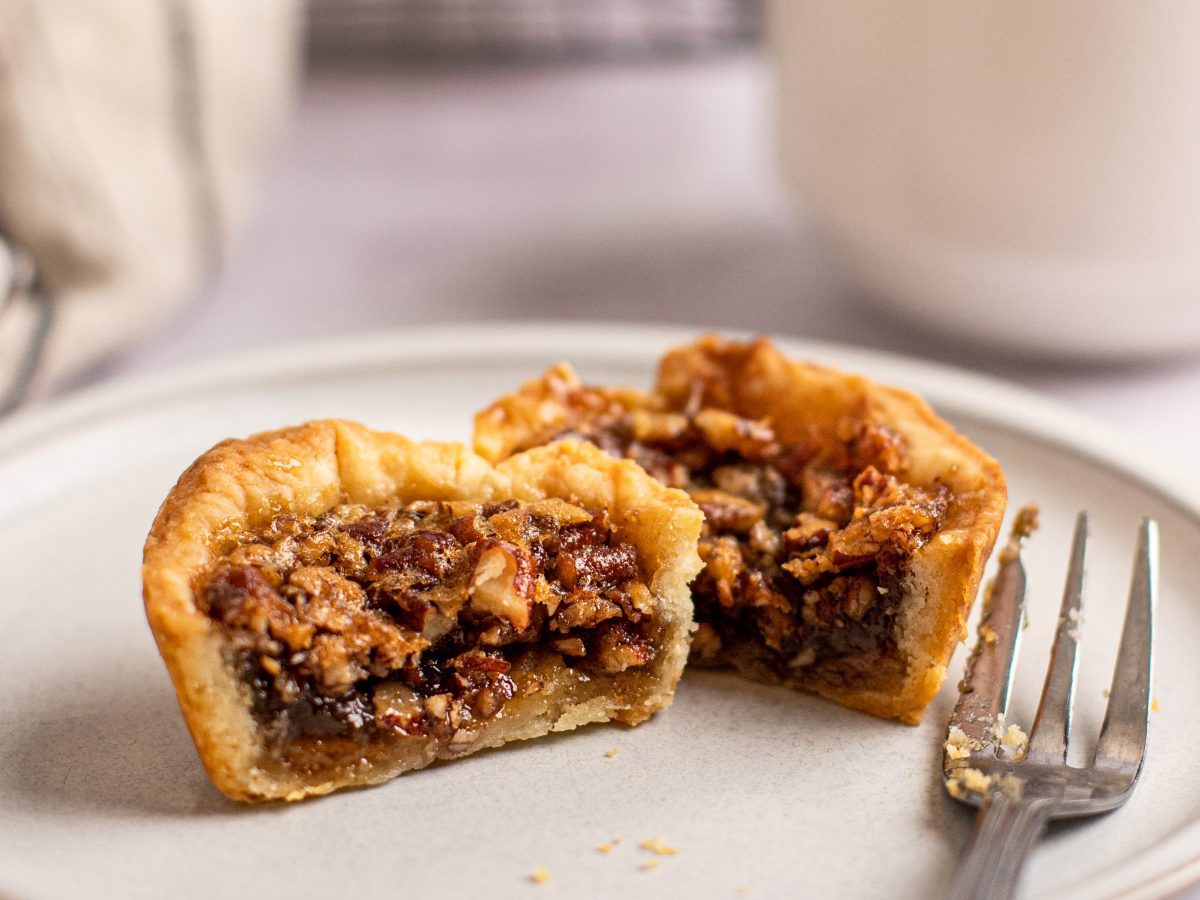
Butter tarts are a quintessential Canadian dessert—and, oh, how I love them! These buttery mini pies, typically baked in a muffin tin, have a flaky crust filled with a gooey mixture of butter, sugar, syrup, egg, and sometimes raisins or nuts. They bear some resemblance to the American pecan pie, bourbon pecan pie, and British treacle tart, but their uniquely rich flavor sets them apart. Though they can be enjoyed any time of year, butter tarts are especially popular during holidays and special occasions.
A playful debate exists in Canada about what makes a “true” Canadian butter tart—whether raisins and nuts should be included or if the filling should be runny versus solid. Every baker, family, and region has an opinion! As for my recipe, it’s slightly gooey with pecans, which I find add a nutty richness that balances out the sweetness. And whether raisins are included or not? I think it’s a love ’em or hate ’em type of thing, so I’ll leave that up to you.
“My Canadian father in law said that they were the best he’s ever had…Made some with pecans, some with raisins and some plain. Very hard to stay away from these tarts no matter what fillings you choose. Butter tart world peace!”
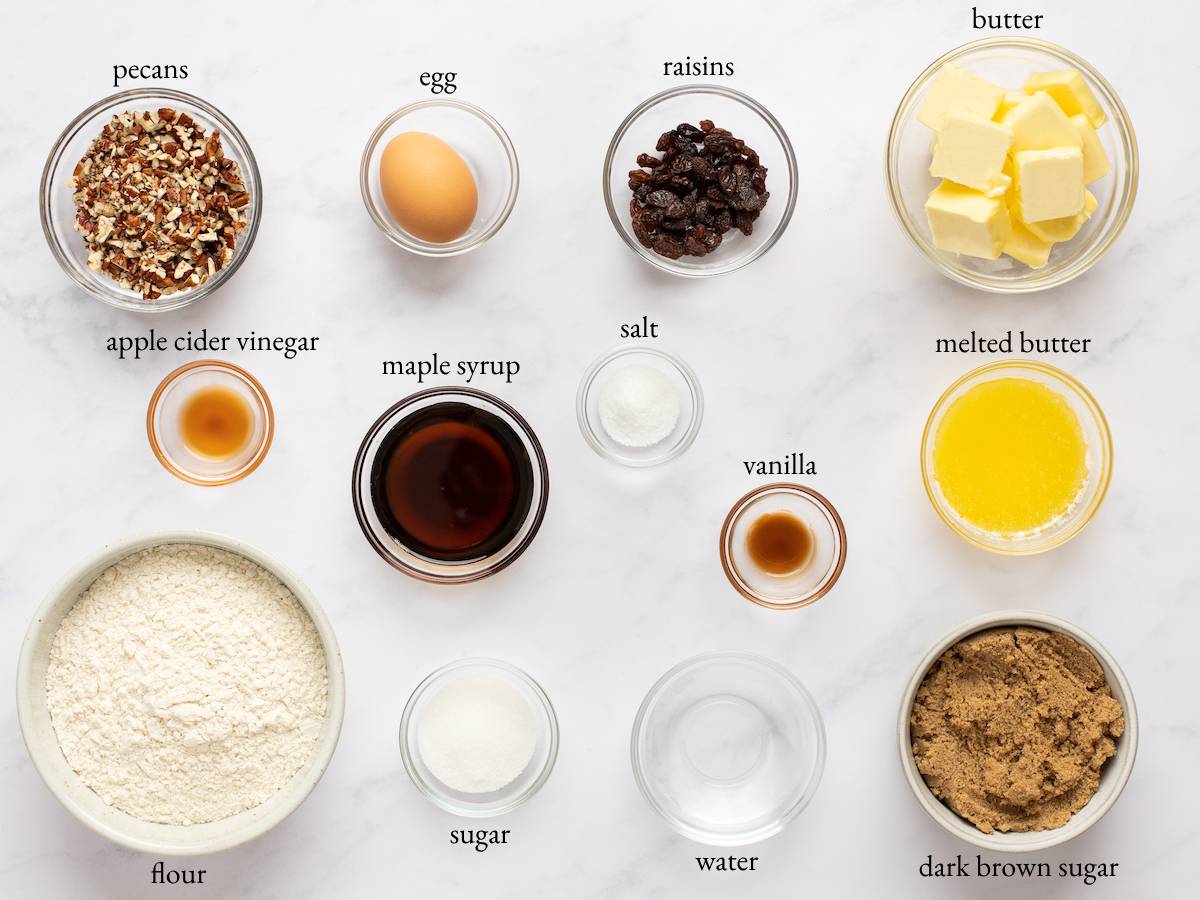
What You’ll Need To Make Canadian Butter Tarts
Step-by-Step Instructions
Step 1: Make the Crust
In a food processor fitted with the metal blade, add the flour, salt, and sugar. Pulse briefly to combine.
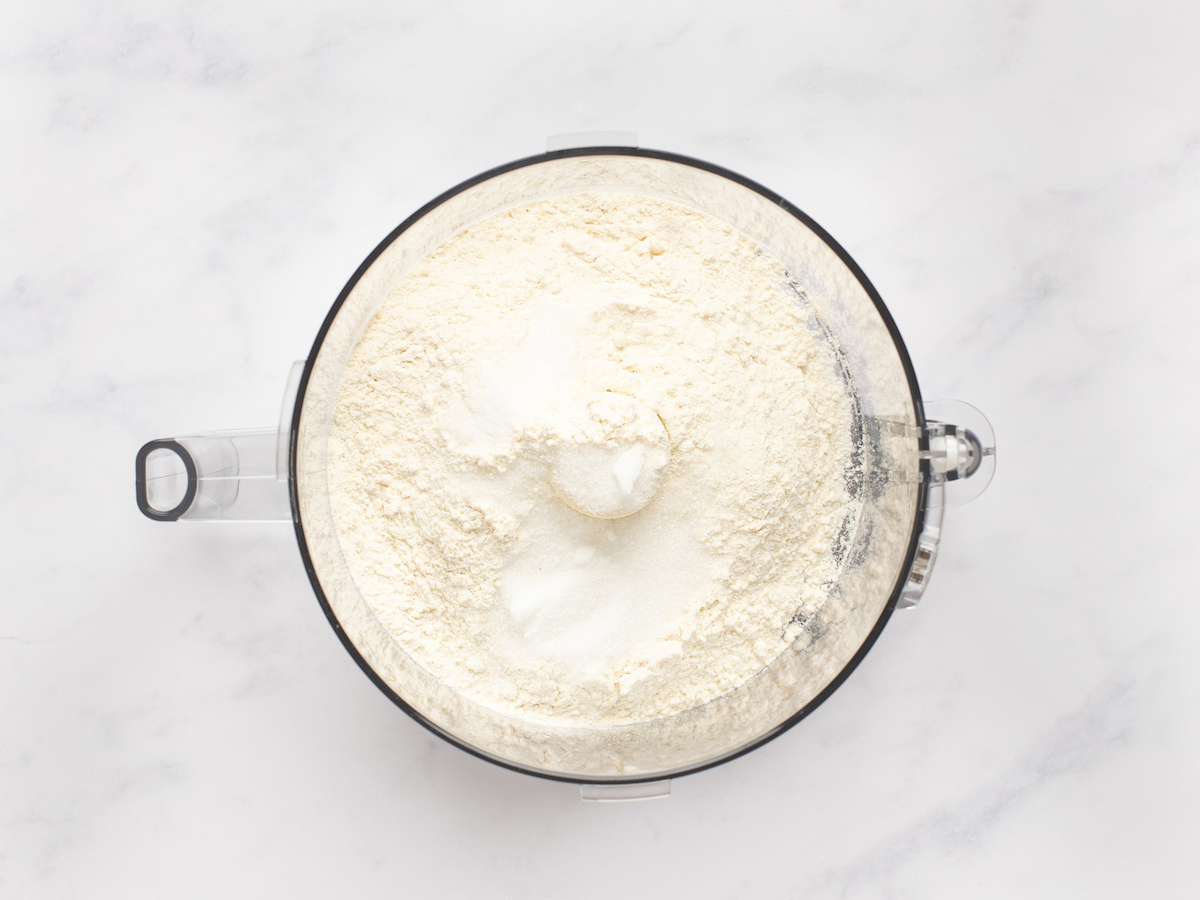
Add the cold butter.
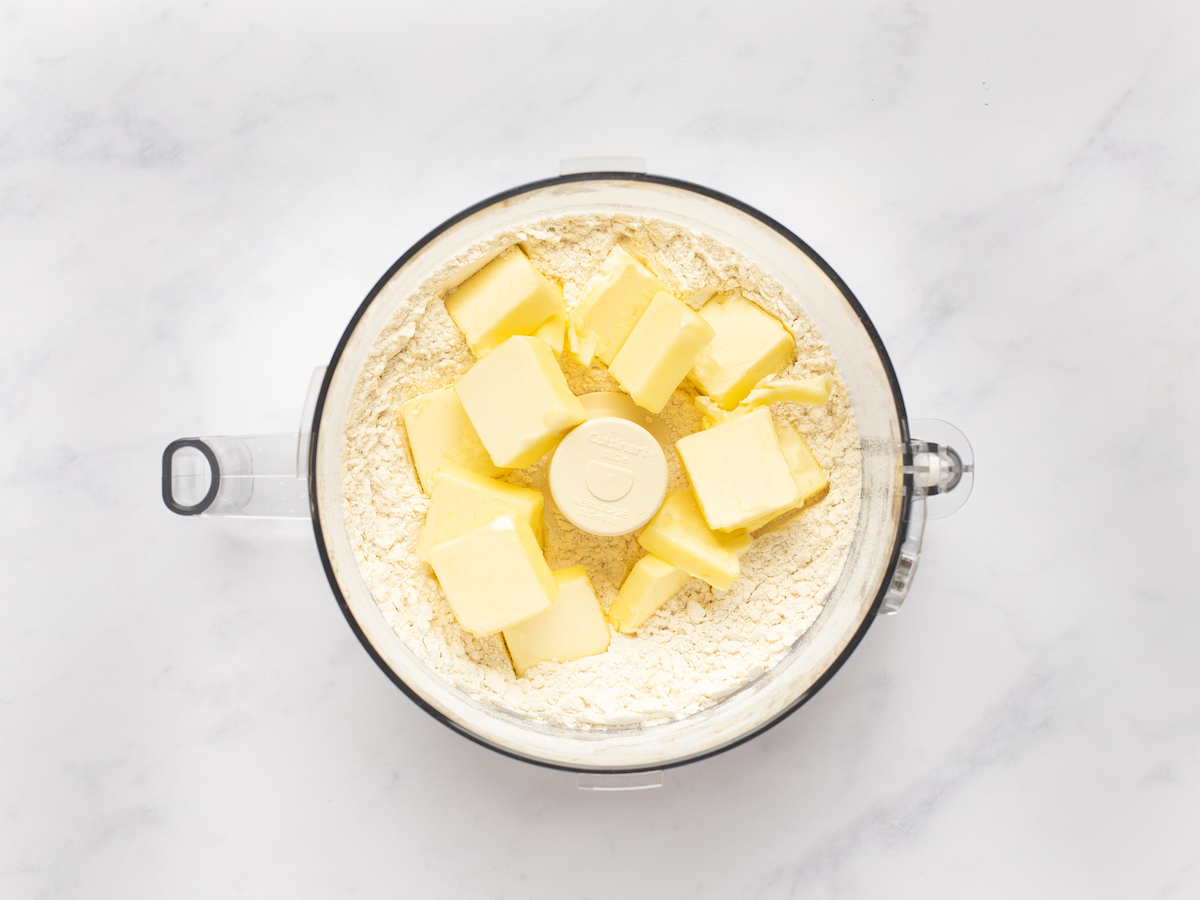
Process just until you have pea-size clumps of butter, about 8 seconds.
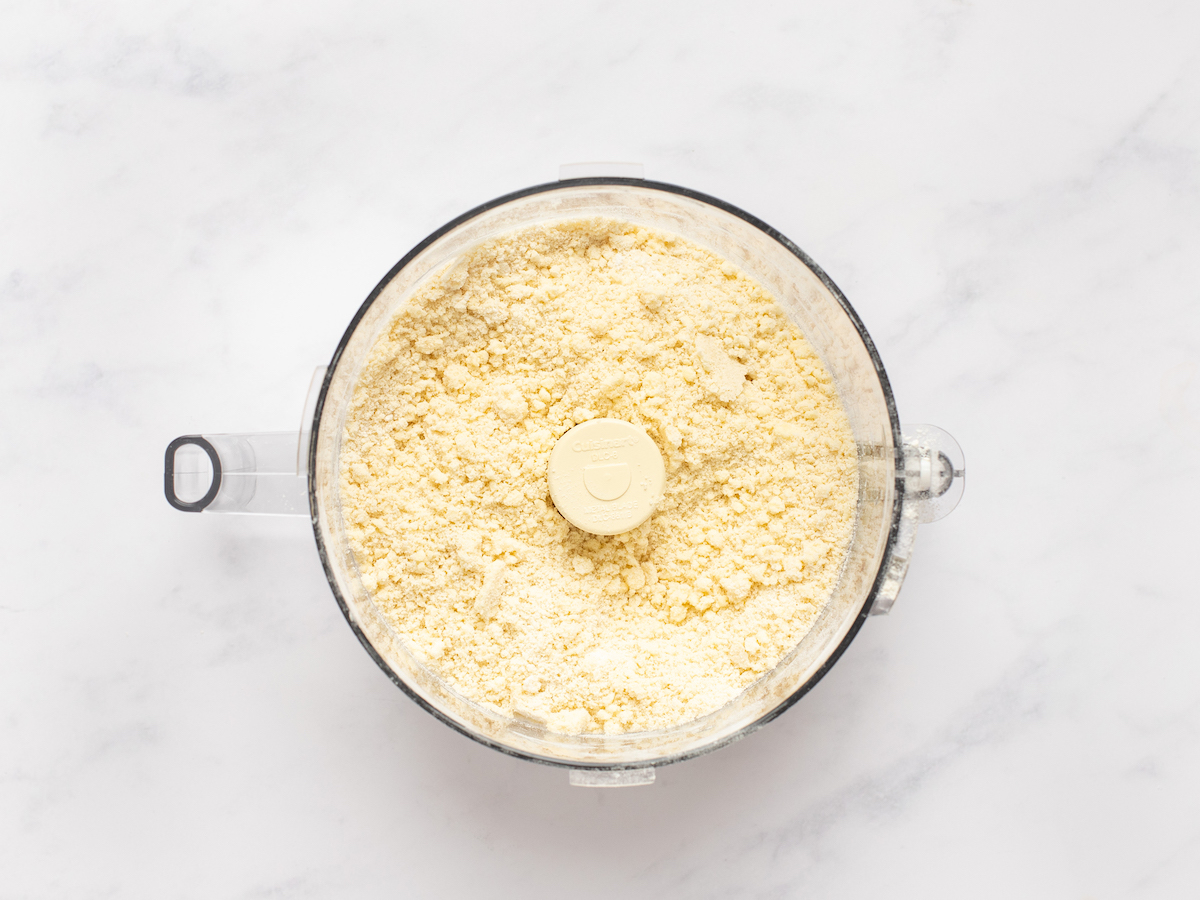
Sprinkle the cold water over the mixture.
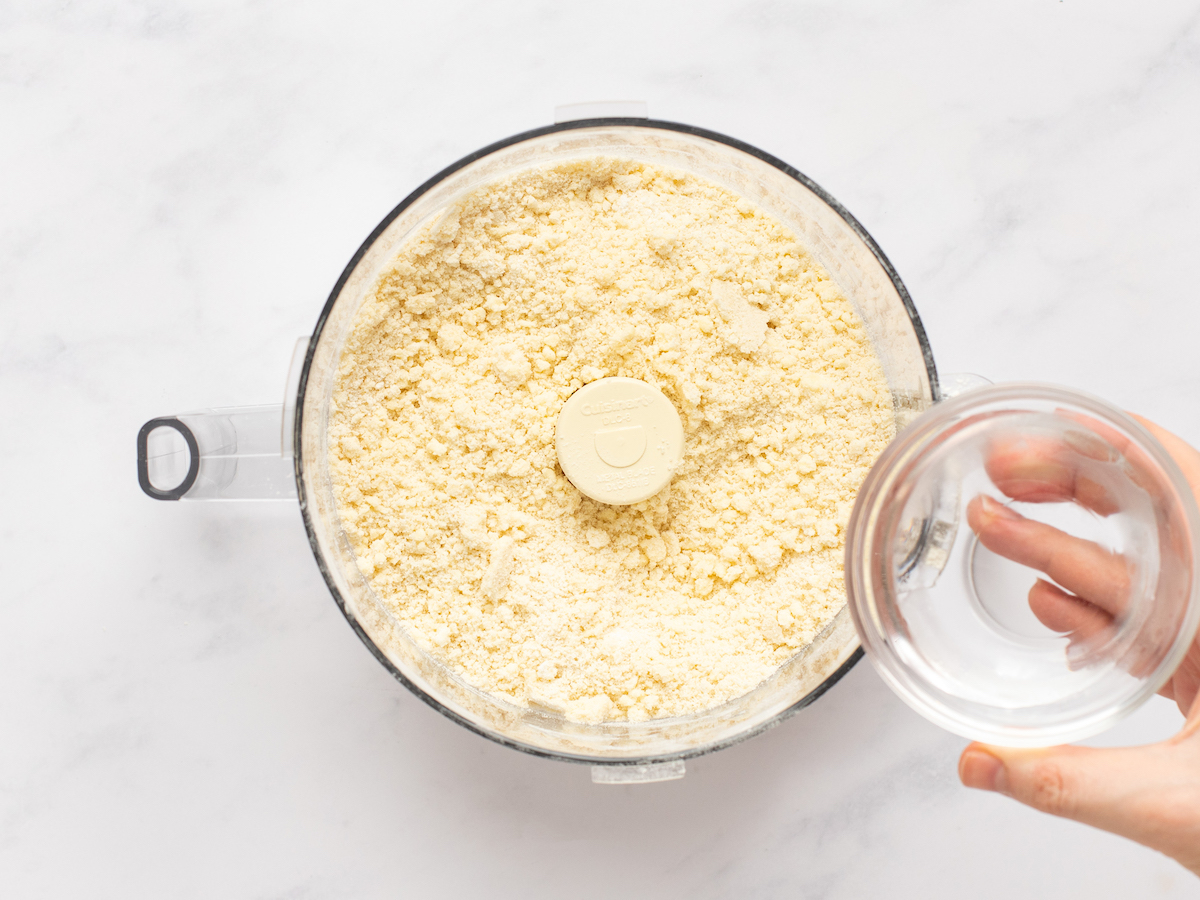
Process just until moistened and clumpy, about 8 seconds.
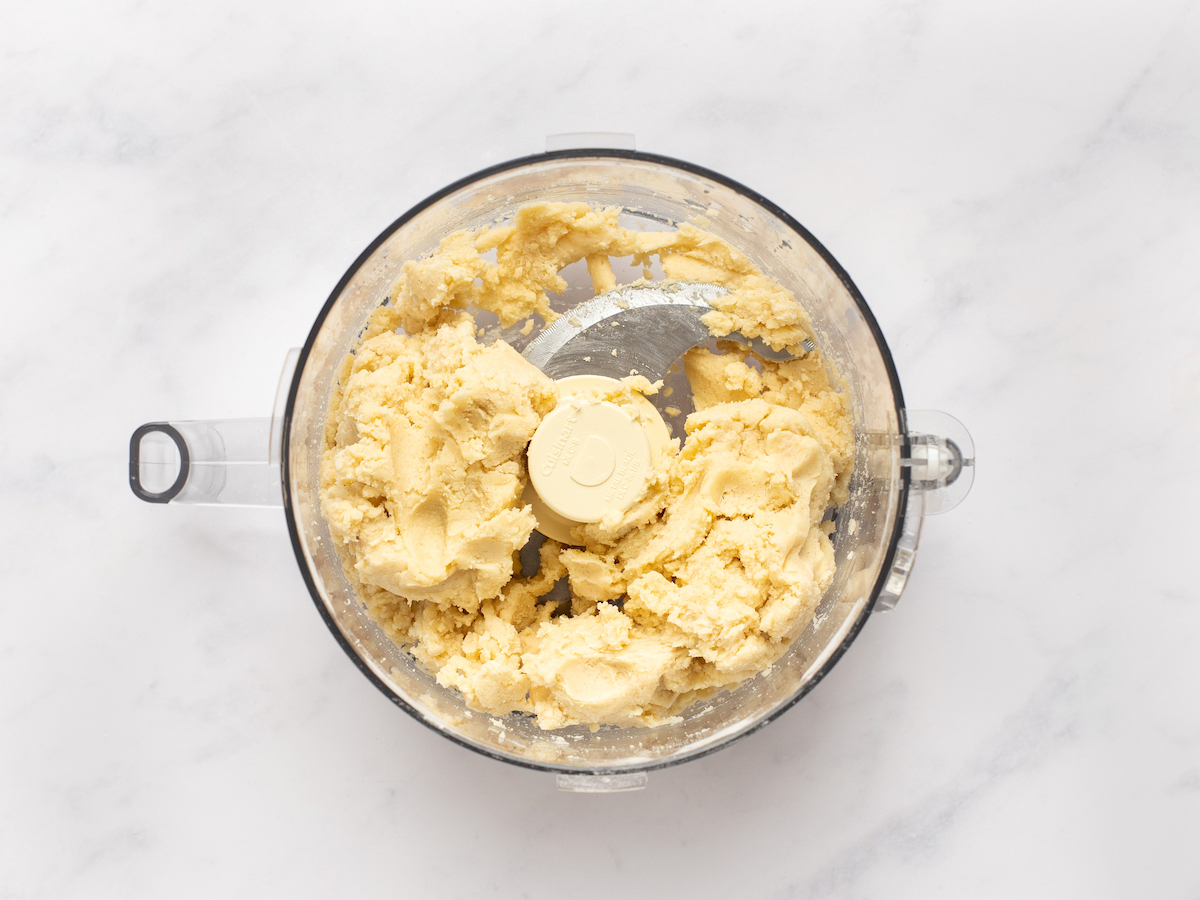
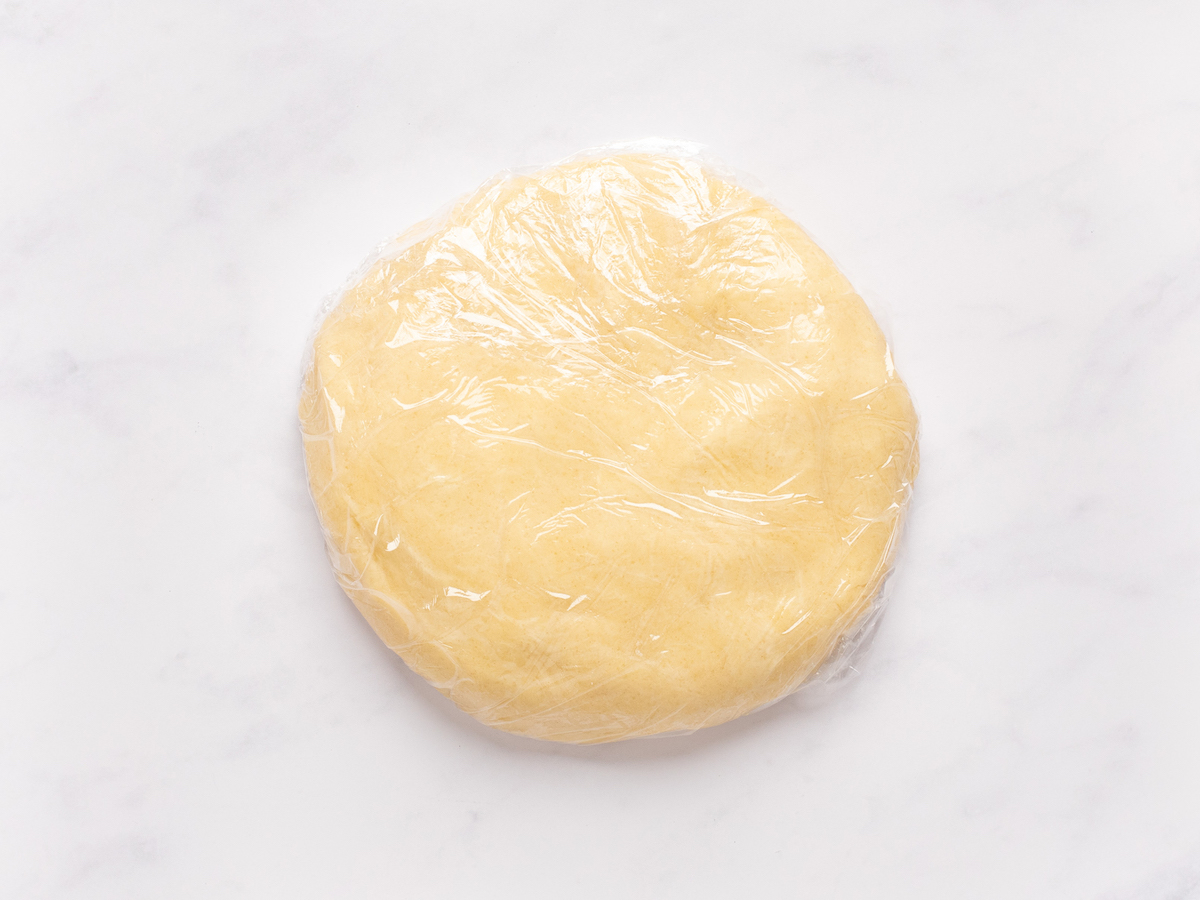
Transfer the dough to a lightly floured work surface and knead a few times, just until it comes together into a cohesive ball. Pat and knead the dough into a 6-inch disk, flouring and turning the dough as necessary so it doesn’t stick. Wrap the dough in plastic wrap and refrigerate for at least 30 minutes.
Preheat the oven to 375°F and set an oven rack in the middle position.
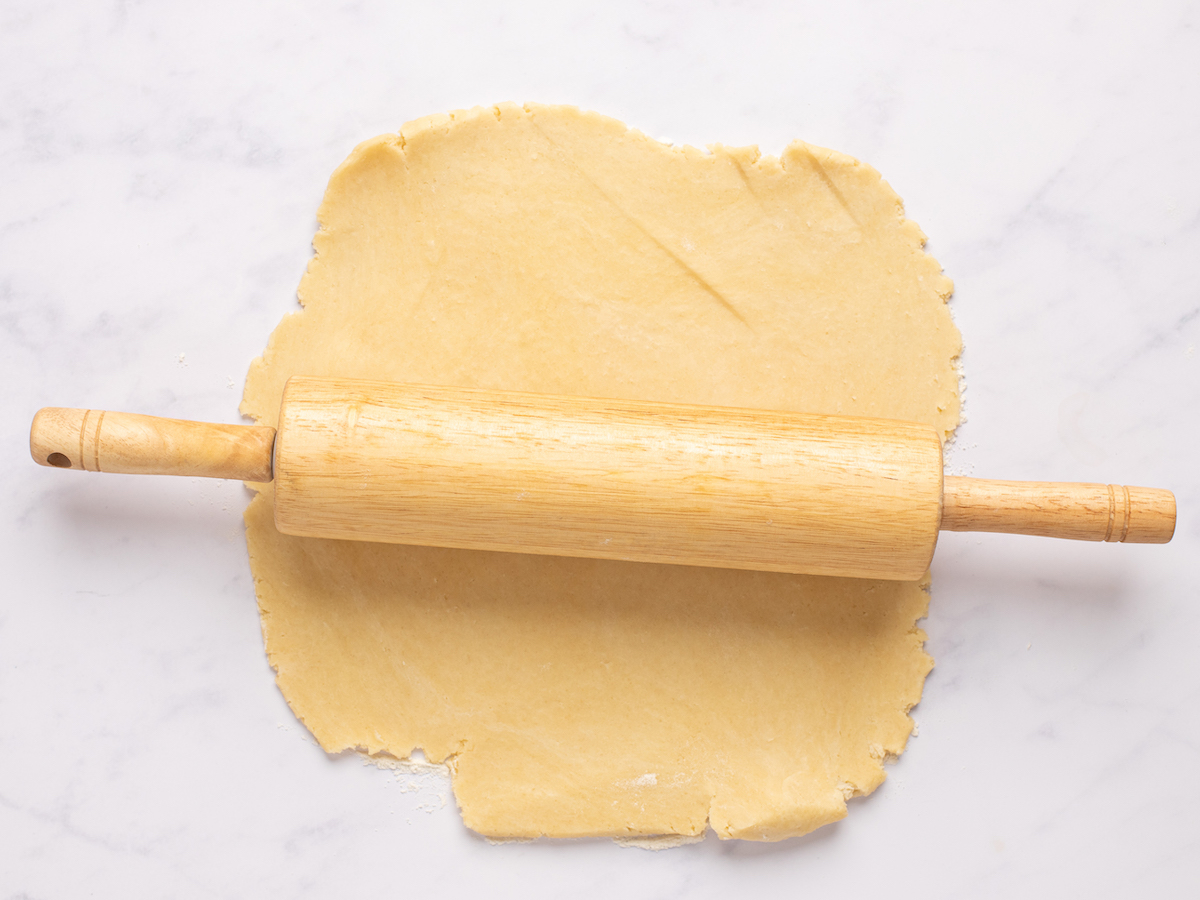
Take the dough from the fridge and unwrap onto a lightly floured work surface. Roll the dough to about ⅛ inch thick, flouring and turning as necessary so it doesn’t stick. Don’t worry about the shape.
Using a 4-inch-diameter cookie or biscuit cutter, cut the dough into as many circles as possible.
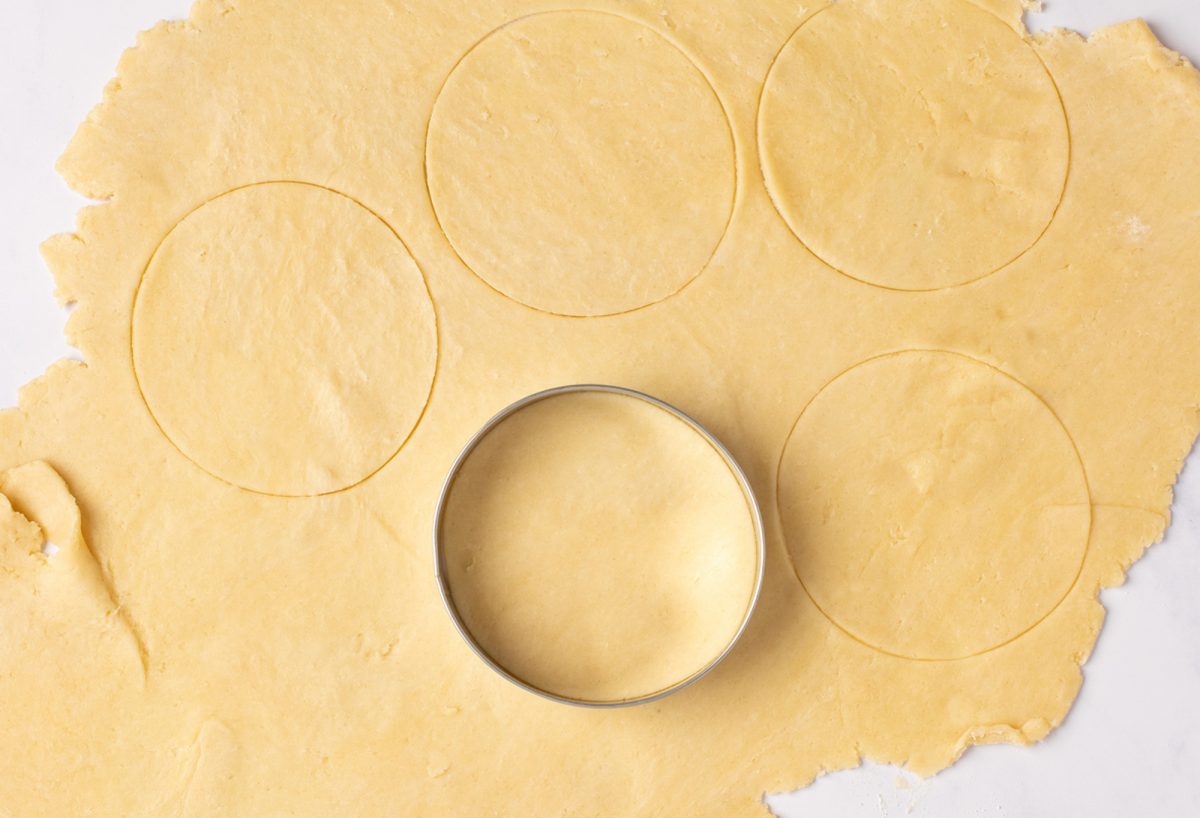
Line each cup of an ungreased standard 12-cup muffin pan with one of the circles, gently nudging it down into the bottom creases of the pan. The top edge of the dough circle should come all the way up to the top of the cup. Gather the scraps and reroll the dough if you need additional circles. Chill the pan in the freezer while you prepare the filling.
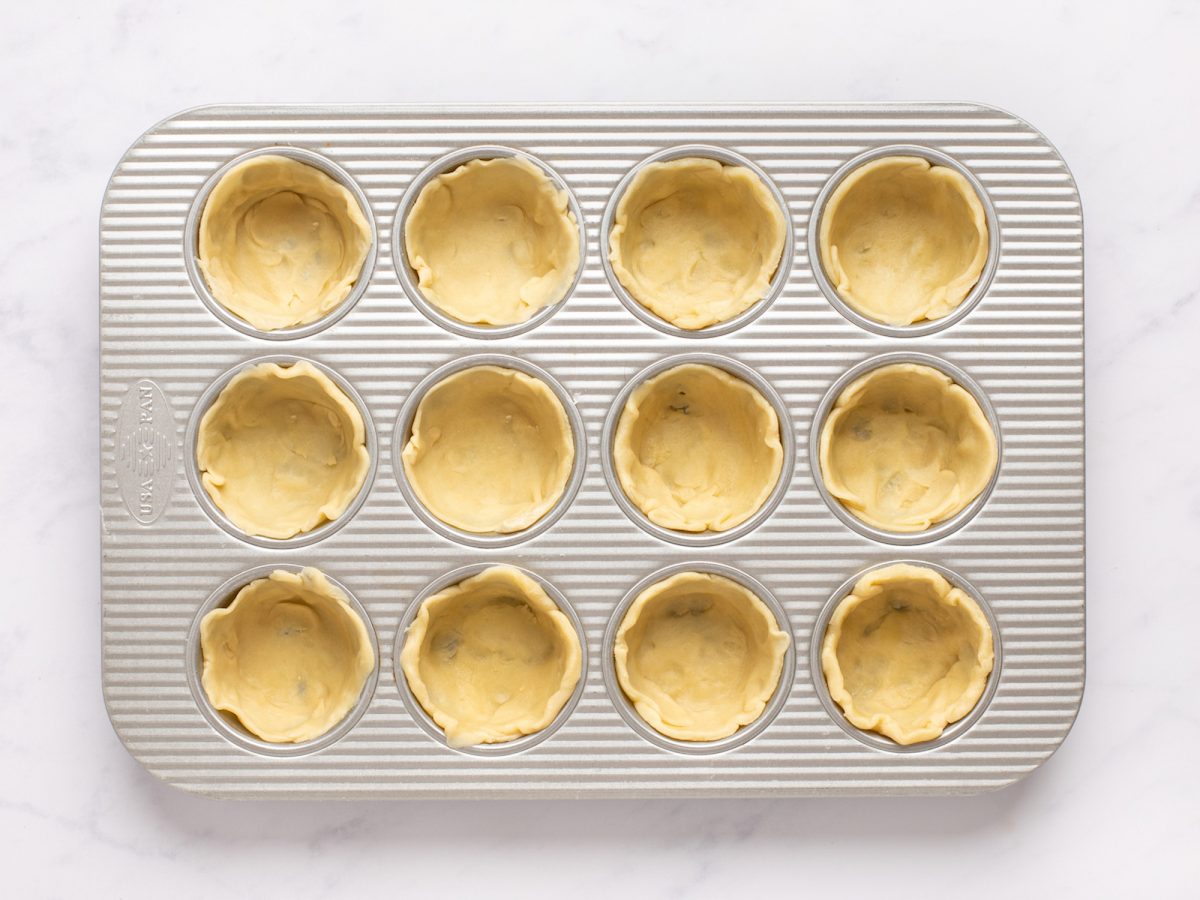
Step 2: Make the Filling
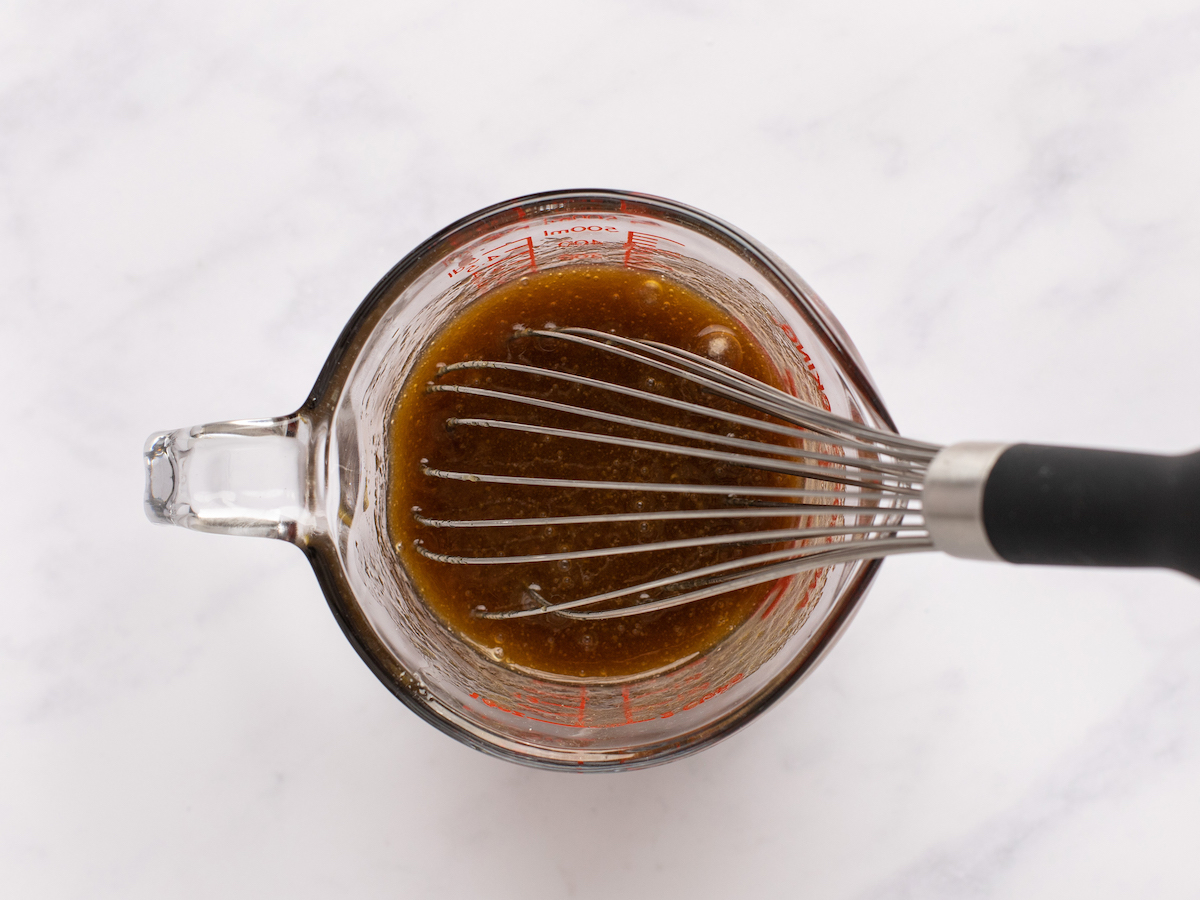
In a medium bowl (preferably with a pouring spout), add the brown sugar, maple syrup, butter, egg, vinegar, vanilla, and salt.
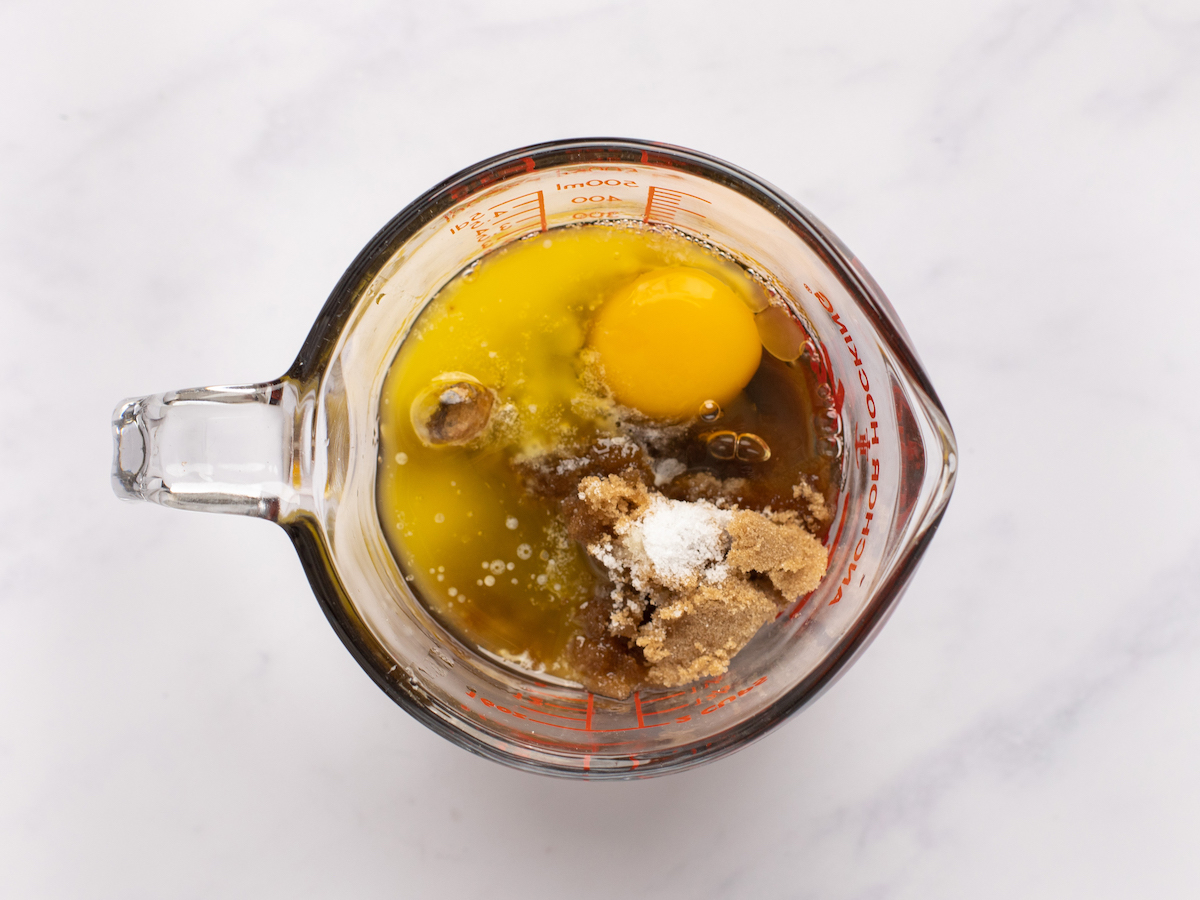
Whisk to combine.
Divide the pecans and raisins (if using), among the pastry-lined muffin cups.
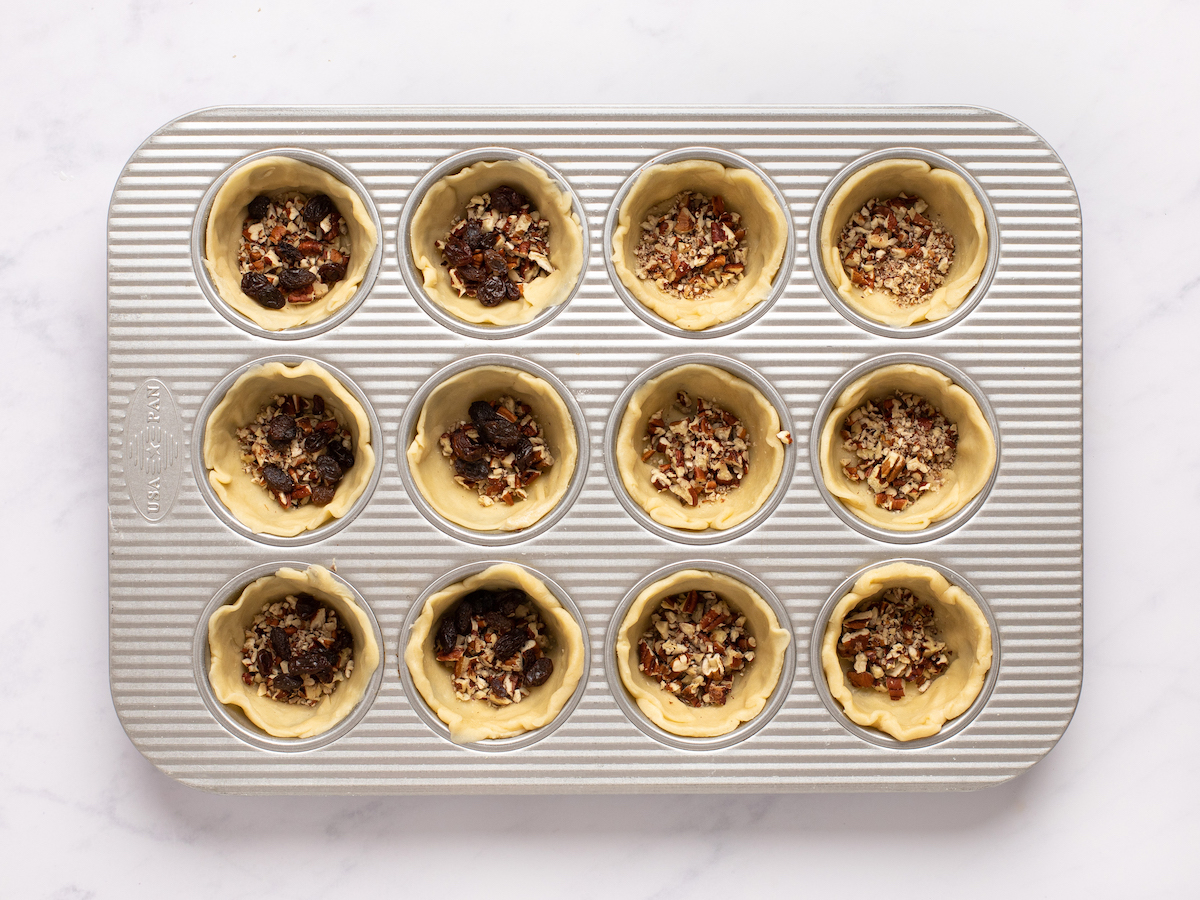
Pour the filling into the muffin cups.
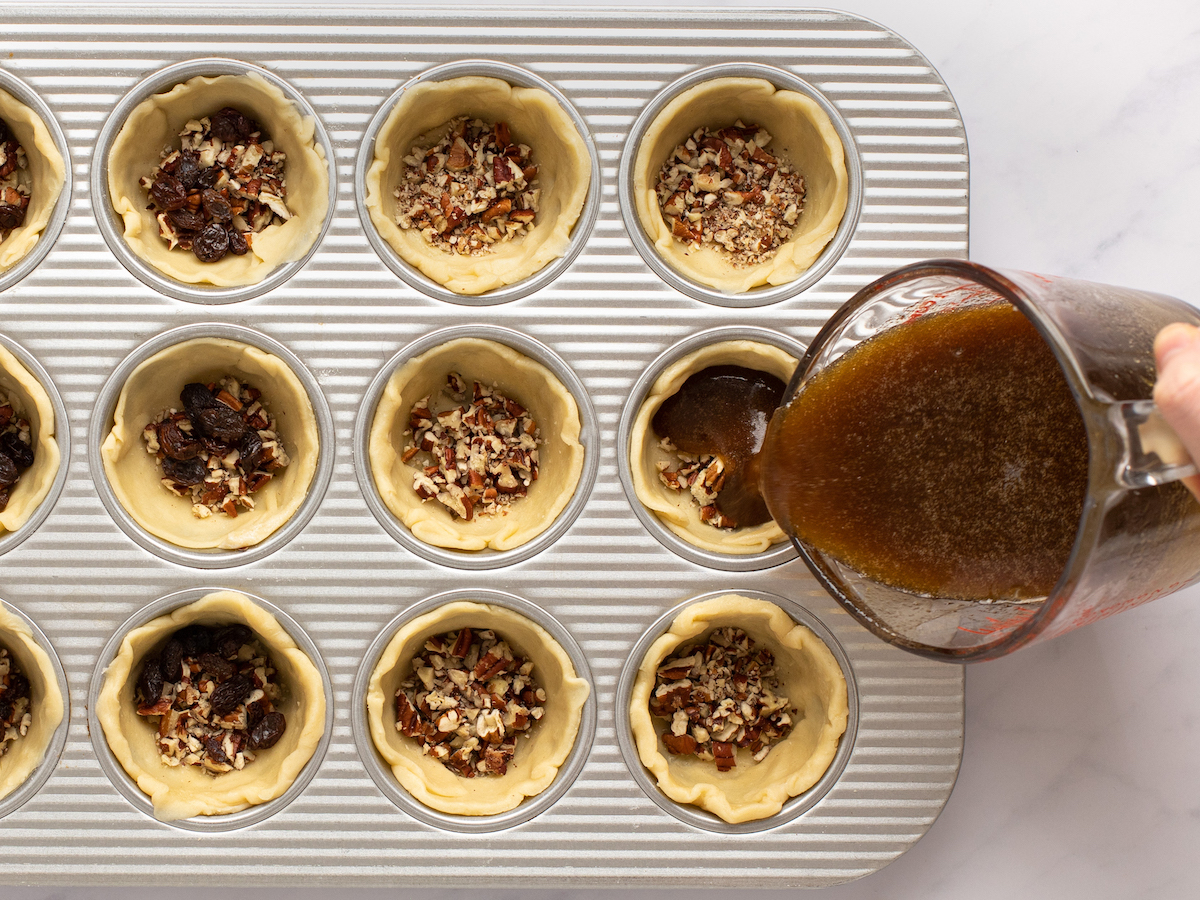
Do your best to fill them evenly.
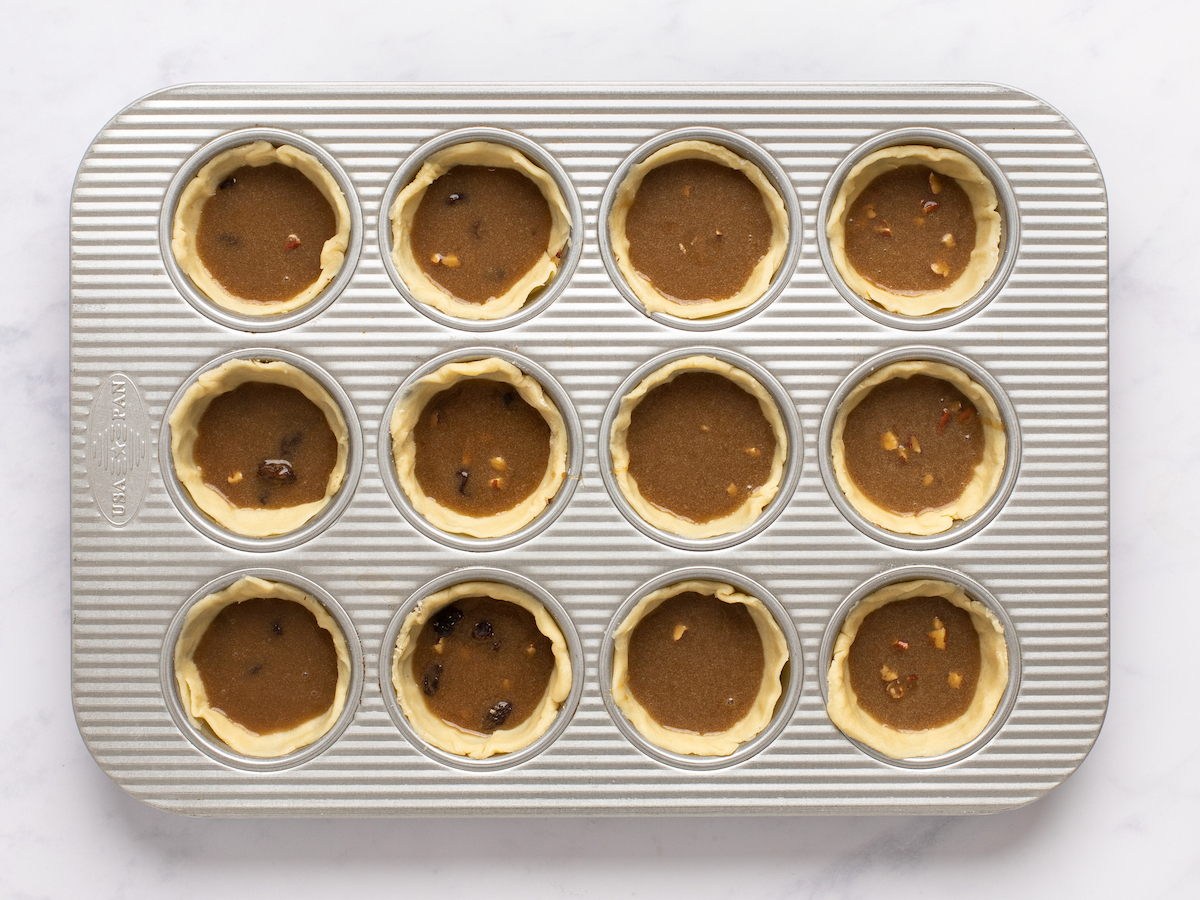
Step 3: Bake
Bake for about 25 minutes, until the tarts are golden brown, bubbling, and set.
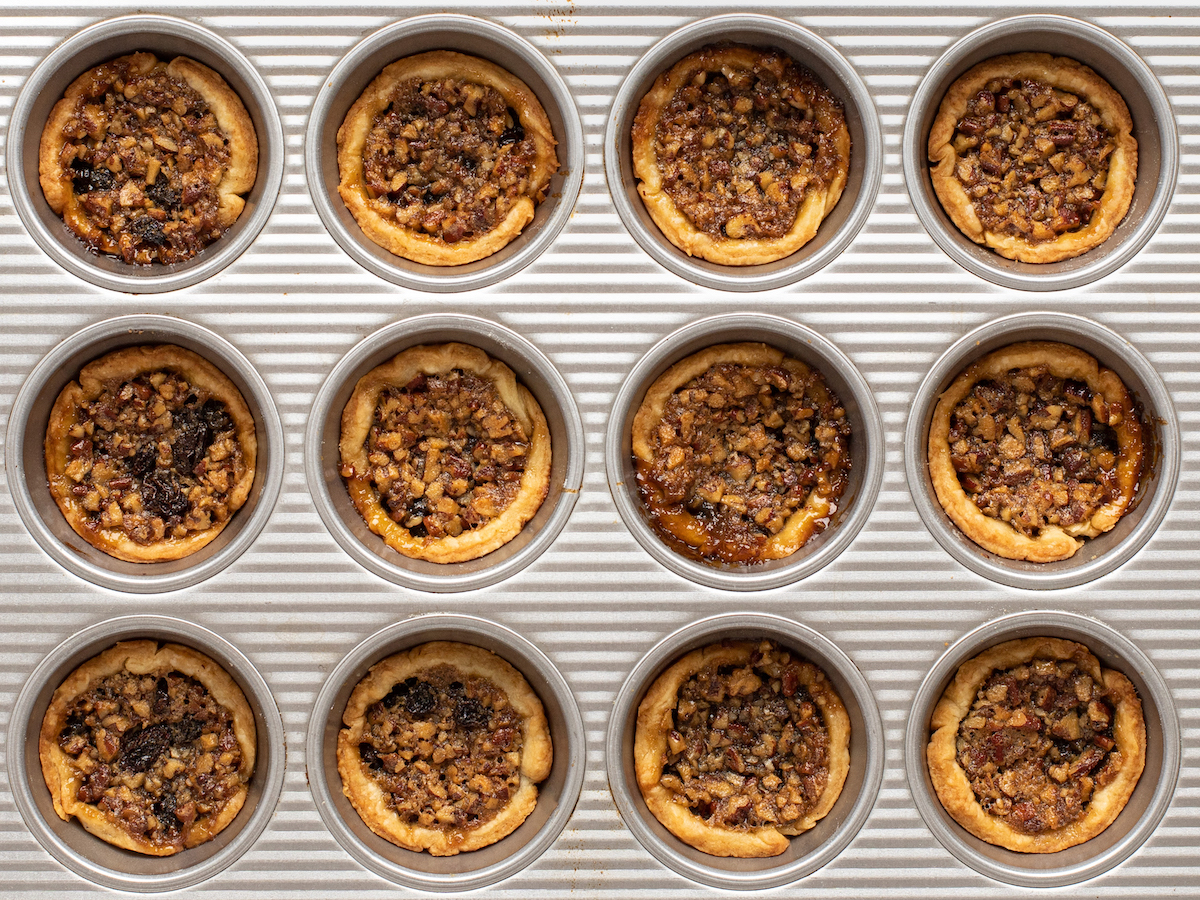
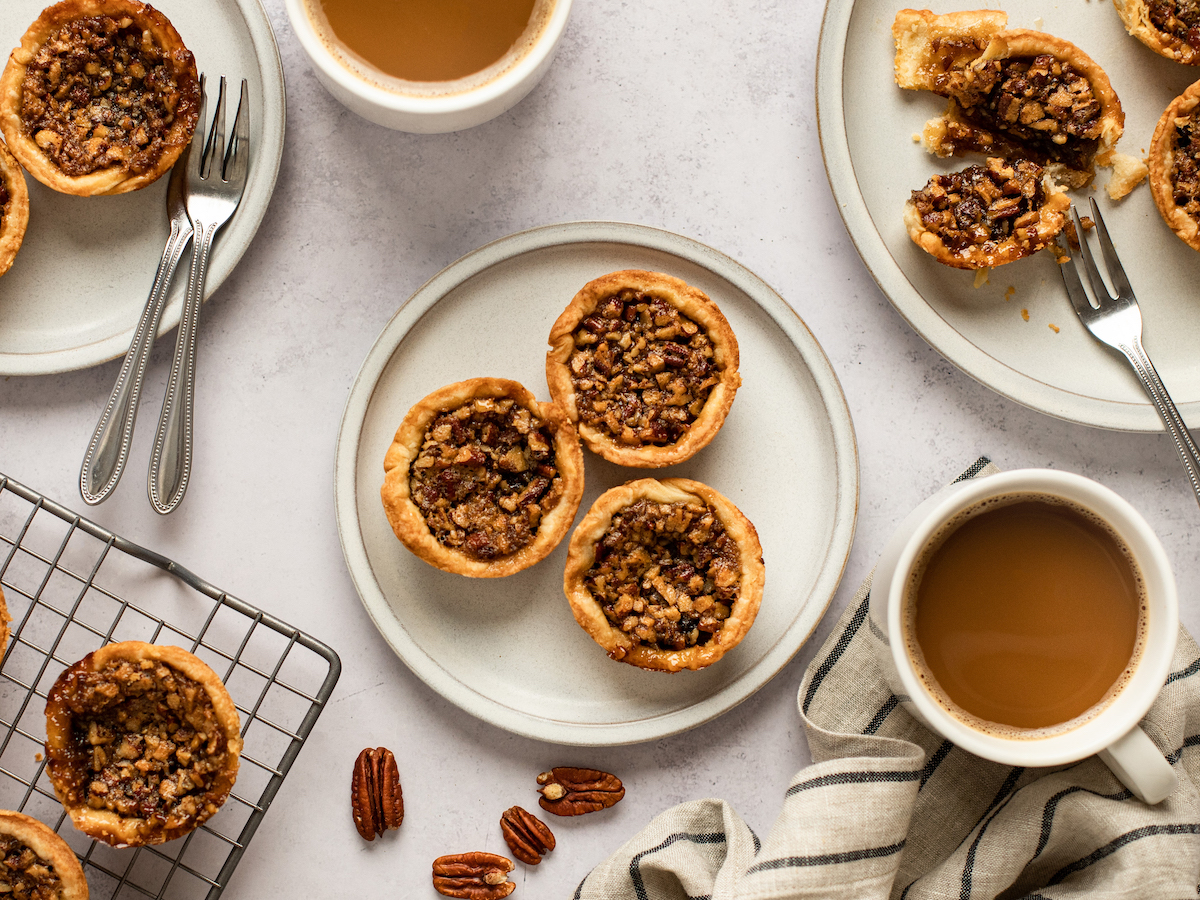
Let cool on a wire rack for a few minutes, then run a butter knife around the edge of each tart to loosen. Let the tarts cool completely in the pan, then remove. Serve at room temperature.
You May Also Like
Canadian Butter Tarts

Ingredients
For the Crust
- 1⅔ cups all-purpose flour, spooned into measuring cup and leveled-off
- ½ teaspoon salt
- 2 tablespoons granulated sugar
- 12 tablespoons (1½ sticks) very cold unsalted butter, cut into 12 pieces
- ¼ cup very cold water
For the Filling
- ¾ cup (packed) dark brown sugar
- ¼ cup maple syrup
- 4 tablespoons unsalted butter, melted and cooled slightly
- 1 large egg
- 1 teaspoon apple cider vinegar
- 1 teaspoon vanilla extract
- ½ teaspoon salt
- ½ cup chopped pecans, (optional but highly recommended)
- 3 tablespoons raisins (optional)
Instructions
- Make the crust: In a food processor fitted with the metal blade, add the flour, salt, and sugar. Pulse briefly to combine. Add the cold butter and process just until you have pea-size clumps of butter, about 8 seconds. Sprinkle the cold water over the mixture and process just until moistened and clumpy, about 8 seconds. Transfer the dough to a lightly floured work surface and knead a few times, just until it comes together into a cohesive ball. Pat and knead the dough into a 6-inch (15-cm) disk, flouring and turning the dough as necessary so it doesn’t stick. Wrap the dough in plastic wrap and refrigerate for at least 30 minutes or up to 3 days.
- Preheat the oven to 375°F (190°C) and set an oven rack in the middle position.
- Take the dough from the fridge and unwrap onto a lightly floured work surface. (If it's been in the fridge for longer than 30 minutes, you may need to knead it just a bit until it's malleable enough to roll.) Roll the dough to about ⅛ inch thick, flouring and turning as necessary so it doesn't stick. Don't worry about the shape. Using a 4-inch (10-cm)-diameter cookie or biscuit cutter, cut the dough into as many circles as possible. Line each cup of an ungreased standard 12-cup muffin pan with one of the circles, gently nudging it down into the bottom creases of the pan. The top edge of the dough circle should come all the way up to the top of the cup. Gather the scraps and reroll the dough if you need additional circles. Chill the pan in the freezer while you prepare the filling.
- Make the Filling: In a medium bowl (preferably with a pouring spout), whisk together the brown sugar, maple syrup, butter, egg, vinegar, vanilla, and salt.
- Divide the pecans and raisins (if using), among the pastry-lined muffin cups. Pour the filling evenly into the muffin cups. Bake for about 25 minutes, until the tarts are golden brown, bubbling, and set. Let cool on a wire rack for a few minutes, then run a butter knife around the edge of each tart to loosen. Let the tarts cool completely in the pan, then remove. Serve at room temperature.
Notes
Nutrition Information
This website is written and produced for informational purposes only. I am not a certified nutritionist and the nutritional data on this site has not been evaluated or approved by a nutritionist or the Food and Drug Administration. Nutritional information is offered as a courtesy and should not be construed as a guarantee. The data is calculated through an online nutritional calculator, Edamam.com. Although I do my best to provide accurate nutritional information, these figures should be considered estimates only. Varying factors such as product types or brands purchased, natural fluctuations in fresh produce, and the way ingredients are processed change the effective nutritional information in any given recipe. Furthermore, different online calculators provide different results depending on their own nutrition fact sources and algorithms. To obtain the most accurate nutritional information in a given recipe, you should calculate the nutritional information with the actual ingredients used in your recipe, using your preferred nutrition calculator.
See more recipes:
Comments
Add a Comment Cancel reply
This site uses Akismet to reduce spam. Learn how your comment data is processed.




Last Christmas, My wife’s cousin brough his girl\firend to dinner. She is Canadian, and brough a dozen tarts liek these along with her. We all ate my wife’s persimmon pudding for desert, and the tarts got left with us.
A day or two later, my wife and I decided to give the tarts a try. I don’t think they lasted two more days.
After that, I decided that I needed to learn to make these. We jsut tried this recipe, and found it to be just as delicious as the genuine North-of-the-border article.
I put the dough rounds into individual 3″ pie tins, and was able to make 14 tarts. I had to make a double batch of filling to get them all filled.
Thanks for another great recipe!
This recipe is hands down the best. Maple syrup instead of corn syrup made a huge difference.
These turned out perfectly and I did not find them too sweet. For Thanksgiving I would like to make them again with pecans but in a jumbo muffin tin so people could half them. I probably will need a 6″ circle of pastry. Do you think this will work? Many thanks for all your work. Much appreciated!
Hi Barbara, These would be difficult to halve (I think the filling is a little too soft for that). For the best results I’d stick to the standard muffin tin-size. Sorry!
Thanks I will stick with muffin size. Another mini pie question would this pastry work with mini pumpkin pies as today I made some as a trial with my regular butter/shortening pastry and the pastry was too flaky and some of it broke getting the tartlets out of the pan. They taste good and will not be wasted but not for guests!
Sure, Barbara, that should work. 😊
One word: Amazing!! ‘Nuff said.