

This post may contain affiliate links. Read my full disclosure policy.
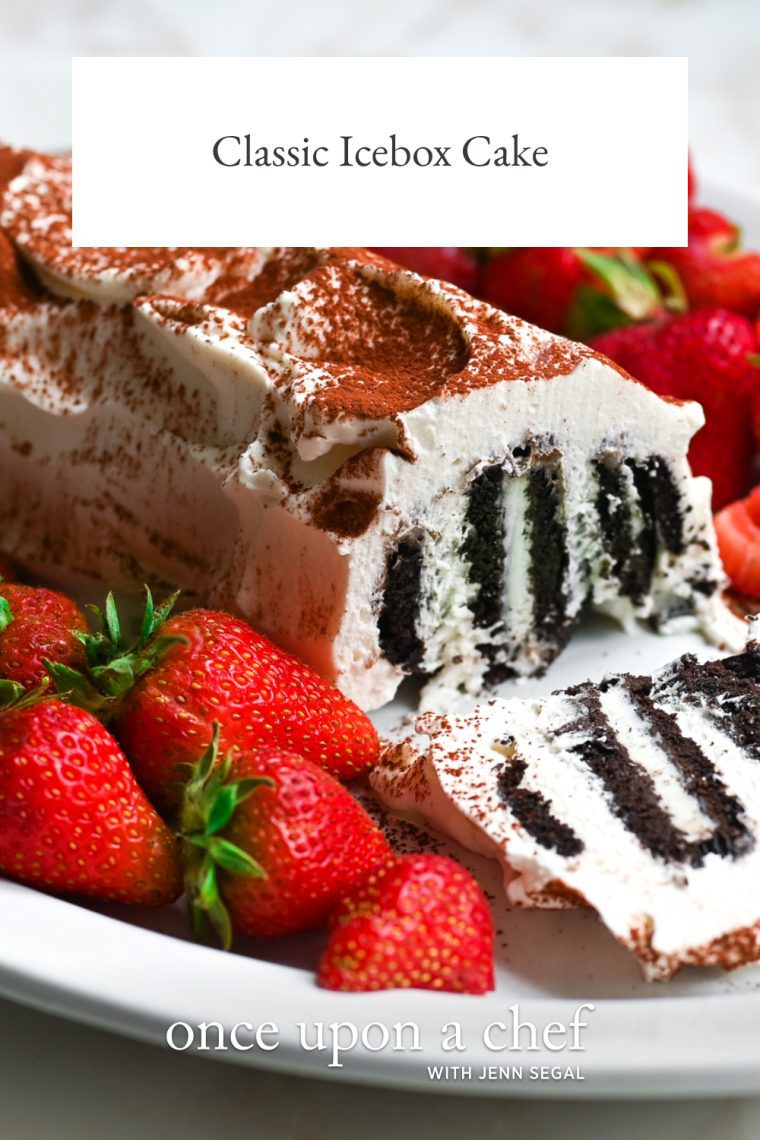
This no-bake icebox cake is pure magic: chocolate cookies, whipped cream, and the easiest “baking” project ever. Perfect for beginners, fun to make with kids, and totally make-ahead.
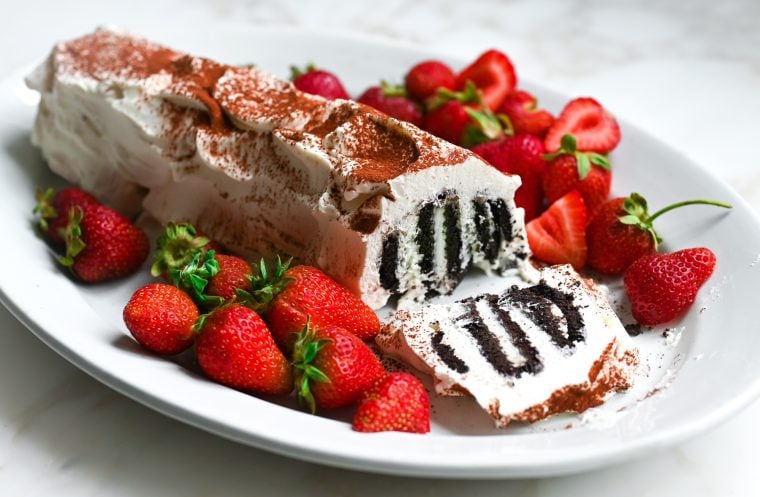
When I was 14, my grandmother taught me how to make the classic icebox cake with Nabisco chocolate wafers and whipped cream. It felt like magic: stack the cookies sideways with clouds of whipped cream, cover the whole thing with more cream, and pop it in the fridge. A few hours later, the crisp cookies had softened into tender, cake-like layers. And when you sliced the cake on the diagonal, voilà: zebra stripes! It quickly became a mainstay of my teenage baking repertoire (although, of course, it doesn’t actually involve any baking).
An icebox cake is simply a no-bake dessert made by layering crisp cookies or wafers with whipped cream, then chilling it until the cookies soften into tender, cake-like layers. The name is a throwback to the days when refrigerators were called “iceboxes.”
The classic icebox cake recipe appeared on the Nabisco Famous Chocolate Wafers box for generations, but sadly, the cookies were discontinued a few years ago. The good news is that Oreo Thins make a fabulous substitute, and you don’t even have to scrape off the filling. This nostalgic no-bake dessert is incredibly easy and just as much fun to make with kids as it is to serve to adults—because really, who doesn’t love cookies and cream?
“I made this with my 7-year-old daughter yesterday and we enjoyed it for dessert. She was so proud of her “fancy” creation – it looked just like the picture!”
What You’ll Need To Make A Classic Icebox Cake
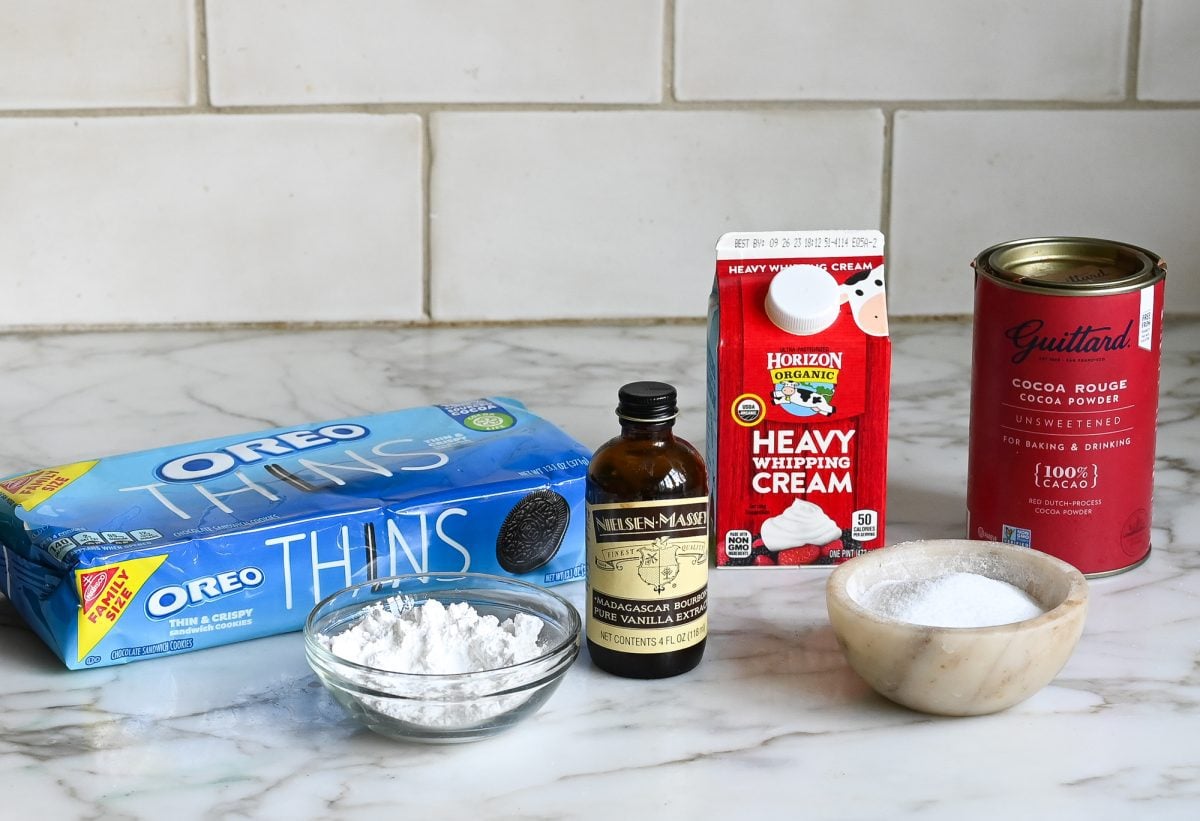
- Heavy cream: The base of the filling. For the best volume, use cold heavy cream and chill the bowl first.
- Confectioners’ sugar: Sweetens the whipped cream and dissolves easily, keeping the texture smooth. It also helps stabilize the cream slightly as the cake chills.
- Vanilla extract: Adds warmth and depth to the whipped cream. A pinch of salt balances the sweetness.
- Oreo Thins: The stand-in for the now-discontinued Nabisco Famous Chocolate Wafers. Their thin, crisp texture allows them to absorb the whipped cream and soften into cake-like layers as they chill. No need to remove the filling.
- Cocoa powder: A light dusting just before serving gives the cake a pretty finish and reinforces the chocolate flavor.
- Jump to the printable recipe for precise measurements
How To Make IceBox Cake
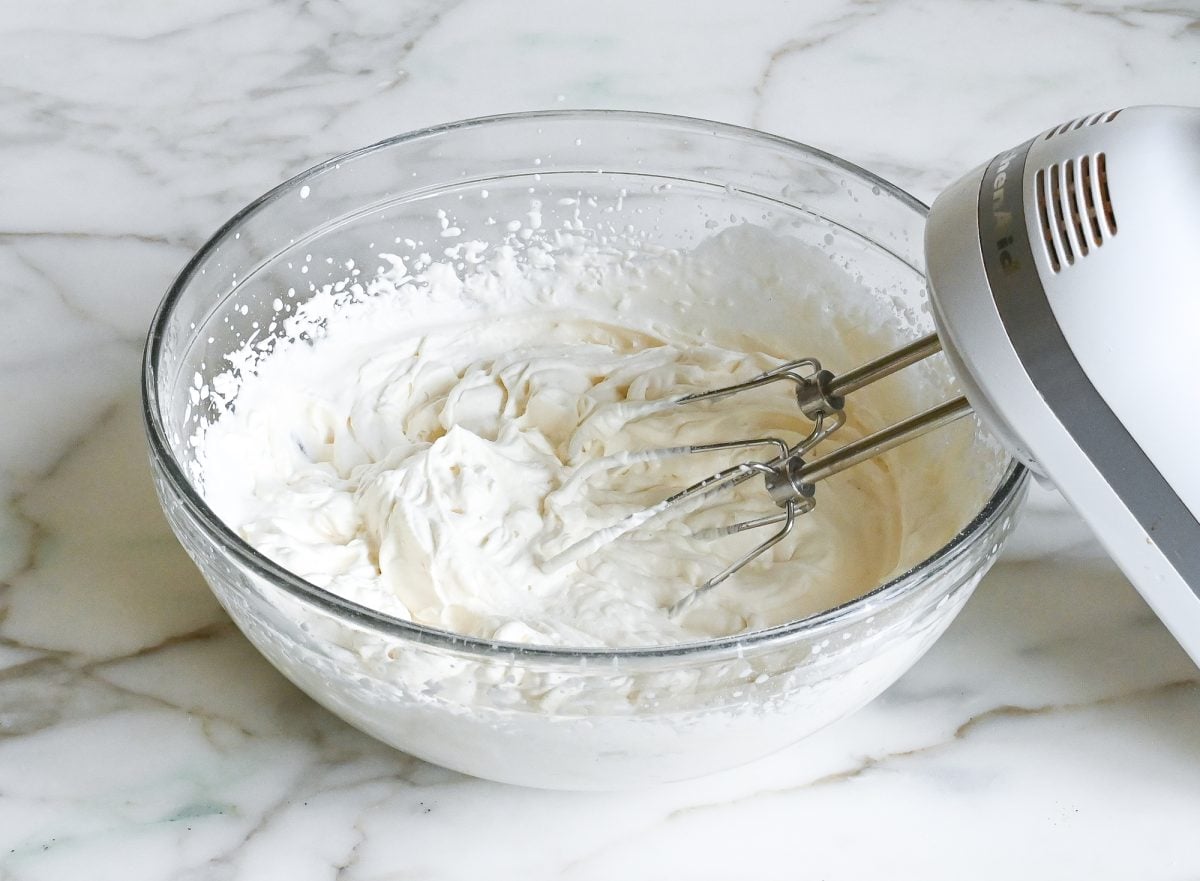
Step 1: Whip the cream. Beat the heavy cream on medium speed until soft peaks form. Add the sugar, vanilla, and salt, then continue whipping until medium-stiff peaks form. It happens quickly, so keep an eye on it—the cream should be smooth and billowy and hold soft dollops. If you’re unsure, finish by hand with a whisk to avoid over-whipping.
Step 2: Assemble the cake. Set aside some of the whipped cream for topping the cake. Spread the remaining cream between the cookies, then stack them sideways on a long platter to form a log. The cream acts like glue to hold everything together. Be sure to use a long platter; the finished cake is surprisingly long!
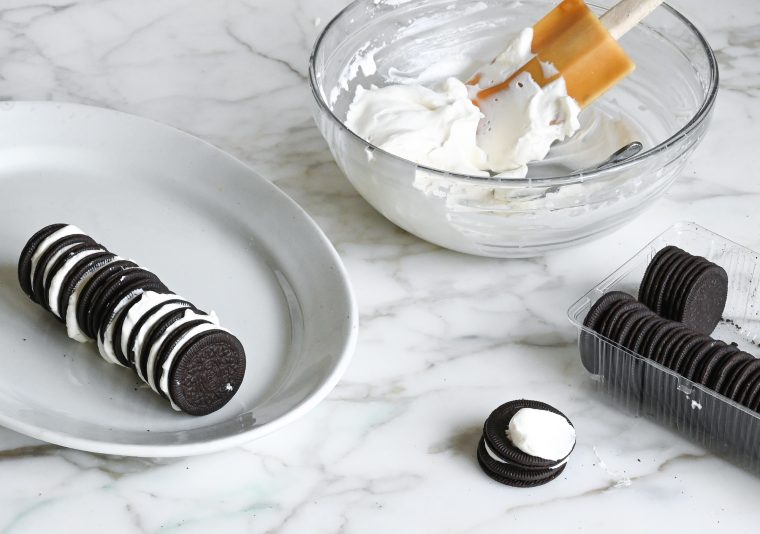
Step 3: Cover the cake. Spread the reserved whipped cream all over the top and sides of the cookie log, covering it completely. Don’t worry about making it perfect—a few swoops and swirls give the cake its charm.
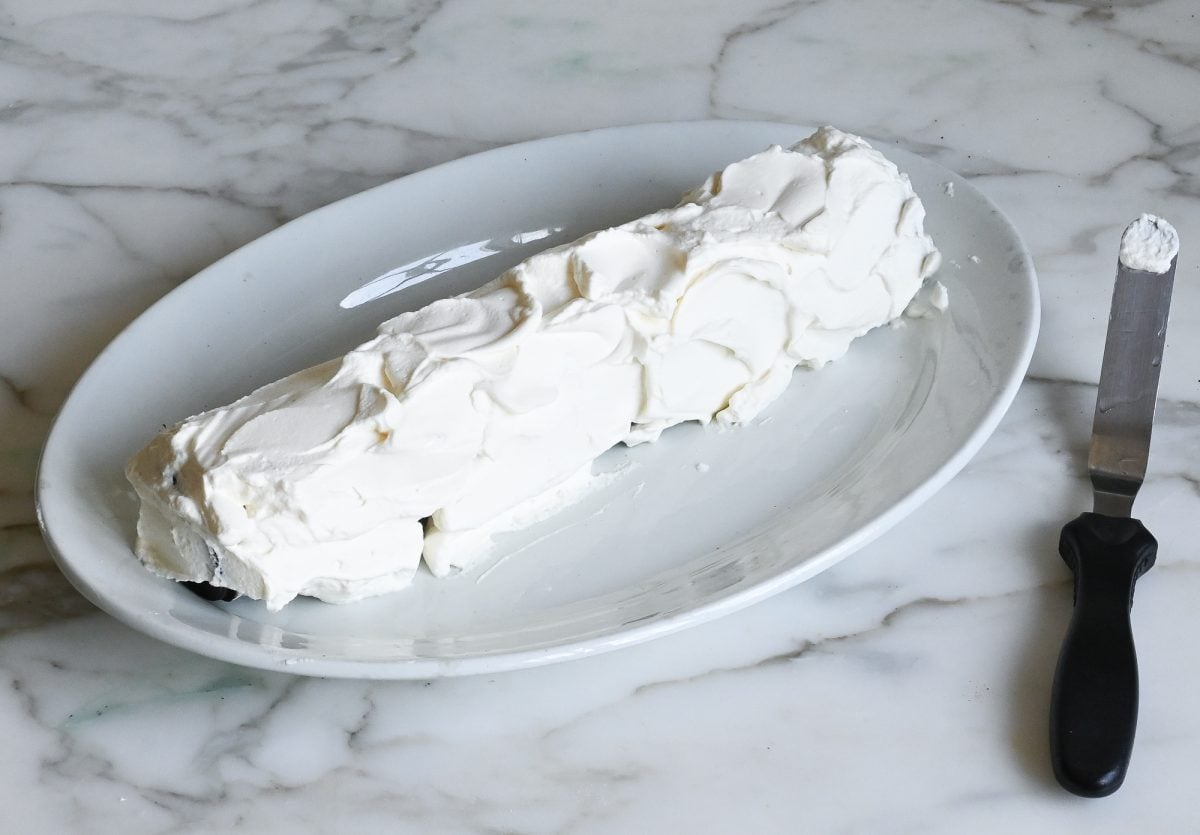
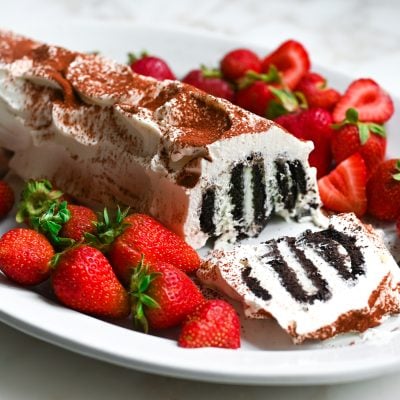
Step 4: Chill and Slice. Pop the cake in the fridge for at least 5 hours or overnight. The longer it chills, the more the cookies soak up the cream and turn soft and cakey. Right before serving, give the cake a light dusting of cocoa powder, then slice it on the diagonal to show off those fun zebra stripes. Add some fresh berries on the side if you’d like—and dig in!
More No-Bake Desserts You’ll Love



Classic Icebox Cake
Ingredients
- 1 cup heavy cream
- ¼ cup confectioners’ sugar
- ½ teaspoon vanilla extract
- Pinch salt
- 25 Oreo Thins, from 1 package
- Cocoa powder, for decorating
Instructions
- Place the heavy cream in the bowl of an electric mixer fitted with the whisk attachment or beaters. Beat on medium speed until soft peaks form. Add the sugar, vanilla, and salt and beat until medium-stiff peaks form. Do not over-whip. (Tip: When whipping cream, keep a close eye on it – it’s always done before you think it is, and it goes from perfectly smooth and billowy to grainy and curdled in an instant. Whipped cream should have a smooth, creamy texture and dollops should just barely hold their shape. If you’re nervous about over-whipping it, when it’s close to done, finish whipping by hand.)
- Set aside about 1½ cups of the whipped cream. Place about a ½ tablespoon of the remaining whipped cream on each cookie, and stack sideways on a long platter about ¼ inch apart to make one long roll. (The whipped cream is essentially acting as a glue to hold the cookies together.) Spread the reserved whipped cream over the top and sides of the roll. Chill in refrigerator for at least 5 hours or overnight.
- Using a fine sieve, dust the top of the cake cocoa powder and slice diagonally at a 45-degree angle. Serve with fresh berries, if desired.
Notes
Nutrition Information
This website is written and produced for informational purposes only. I am not a certified nutritionist and the nutritional data on this site has not been evaluated or approved by a nutritionist or the Food and Drug Administration. Nutritional information is offered as a courtesy and should not be construed as a guarantee. The data is calculated through an online nutritional calculator, Edamam.com. Although I do my best to provide accurate nutritional information, these figures should be considered estimates only. Varying factors such as product types or brands purchased, natural fluctuations in fresh produce, and the way ingredients are processed change the effective nutritional information in any given recipe. Furthermore, different online calculators provide different results depending on their own nutrition fact sources and algorithms. To obtain the most accurate nutritional information in a given recipe, you should calculate the nutritional information with the actual ingredients used in your recipe, using your preferred nutrition calculator.
I used to make icebox cakes with my grandmother as kid, so I loved sharing this nostalgic recipe with my kids. It was so easy, they could basically do it on their own. While they enjoyed the cake, I found it to be too sweet with the Oreo thins. I’ll try it another time with a regular chocolate wafer cookie (if I can find one).
I’ve made this a second time, this time cutting the confectioner’s sugar by half. My husband and I both preferred this level of sweetness, since the Oreo filling has so much sugar already. Still a winner with the kids!
Hi, I just wanted to say that Dewey’s Bakery makes a brownie crisp thin cookie that works very well for this and it is more brownie than dark chocolate, now a company called Pizzelle makes a dark chocolate naturally flavored wafer Italian style that works very well for a bigger icebox cake. Thank you for listening.
Delicious and so easy!!
I tried another substitute for this recipe. Ikea sells thin crispy ginger cookies, I used those instead, sprinkled with cinnamon and brown sugar ontop of whipped cream log and it now takes on a new fall flavor.