Homemade Pesto Recipe

This post may contain affiliate links. Read my full disclosure policy.
Once you see how quick and flavorful homemade pesto is, you’ll never want to buy the jarred kind again. It’s perfect for everything from pasta and pizza to grilled chicken, vegetables, and sandwiches—and it freezes beautifully.
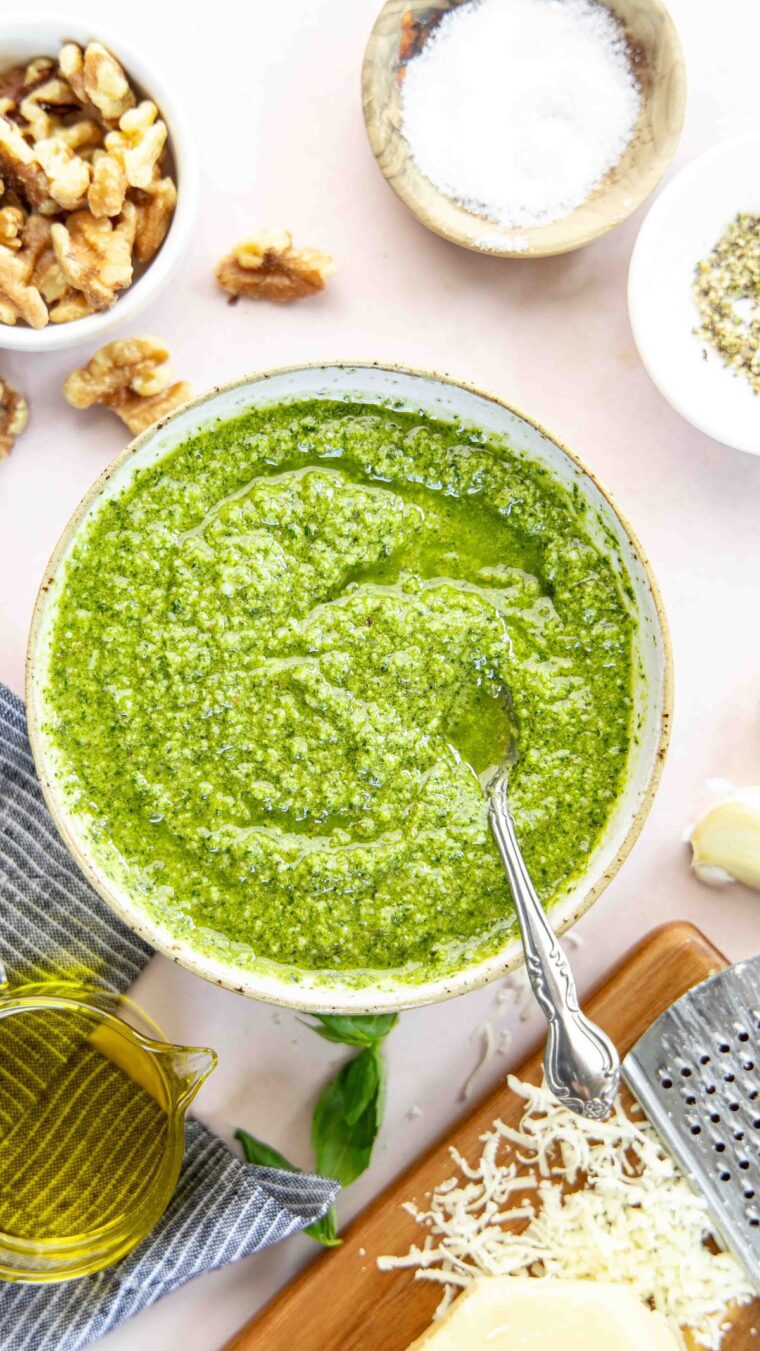
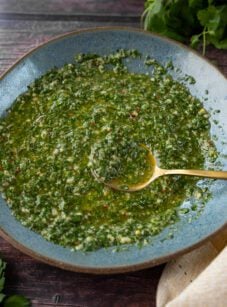
Pesto, or pesto alla Genovese, is a vibrant, garlicky green sauce from Genoa, Italy. Made with fresh basil, nuts, garlic, Parmigiano-Reggiano, and olive oil, it’s one of the easiest—and most versatile—sauces you can make at home. While pesto is traditionally made with a mortar and pestle, a food processor makes quick work of it. Toss it with noodles, homemade pasta, spread it on sandwiches, spoon it over grilled meats and fish, or drizzle it over veggies.
This homemade pesto recipe uses walnuts instead of the traditional pine nuts, making it more affordable without sacrificing flavor. It’s one of my go-to summer recipes, and since it freezes beautifully, you can enjoy a taste of summer long after the season is over.
“Simply, my favorite pesto recipe!”
What You’ll Need To Make Pesto Sauce
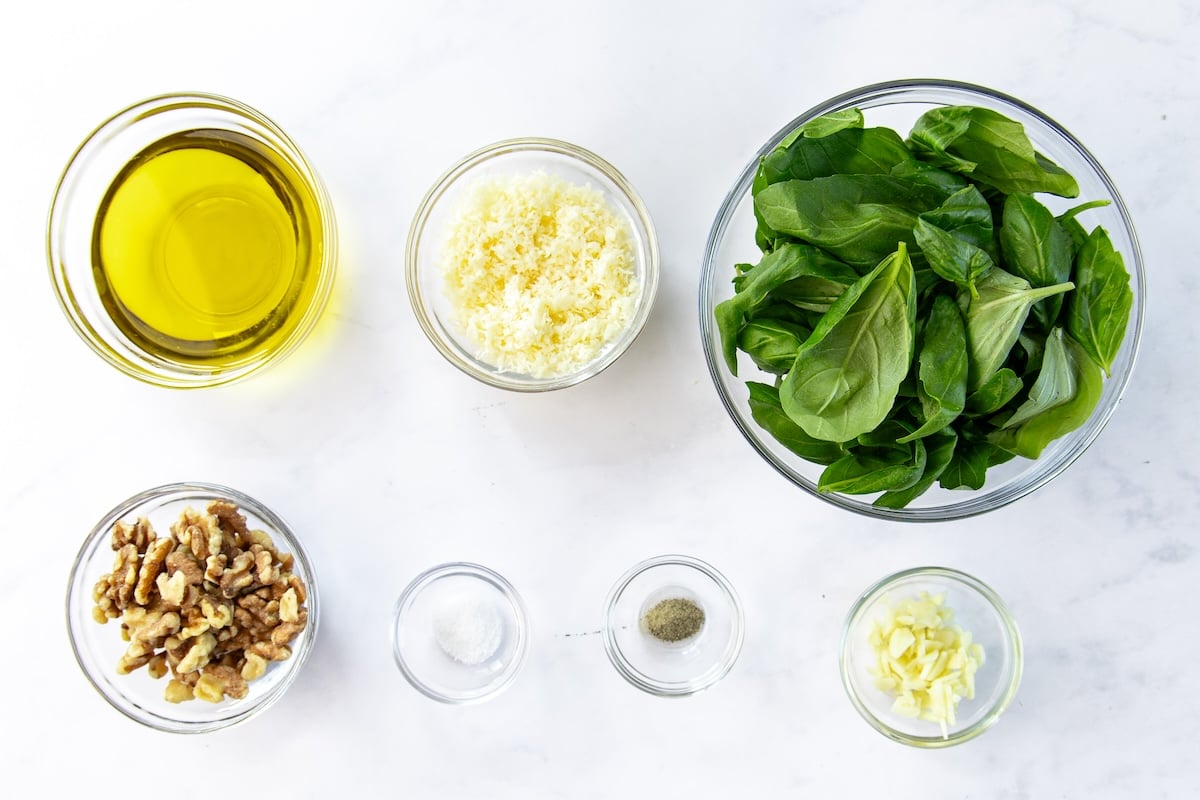
- Walnuts: Traditional pesto is made with pine nuts, but I almost always reach for walnuts. They’re easier to find, much less expensive, and have a rich, buttery flavor that works beautifully.
Almonds, pecans, and pistachios work well too. Pro tip: Toast the nuts in the oven or a dry skillet for a few minutes to deepen their flavor. - Garlic Cloves: Bring bold, punchy flavor that is key to the flavor of pesto.
- Fresh Basil Leaves: Use vibrant, fragrant leaves with no dark spots. Be sure to wash and dry them thoroughly—wet basil can dilute the pesto and dull the flavor.
- Extra Virgin Olive Oil: Binds everything together and adds smooth, fruity richness. Use one you enjoy the flavor of since it’s a major component of the sauce.
- Grated Parmigiano-Reggiano: Adds salty, nutty flavor. Always use authentic Parmigiano-Reggiano from Italy—look for the name stamped on the rind or clearly labeled on pre-grated packages. Avoid shelf-stable grated cheese or anything labeled “Parmesan” or “Parmesan cheese.”
- Jump to the printable recipe for precise measurements
Step-by-Step Instructions
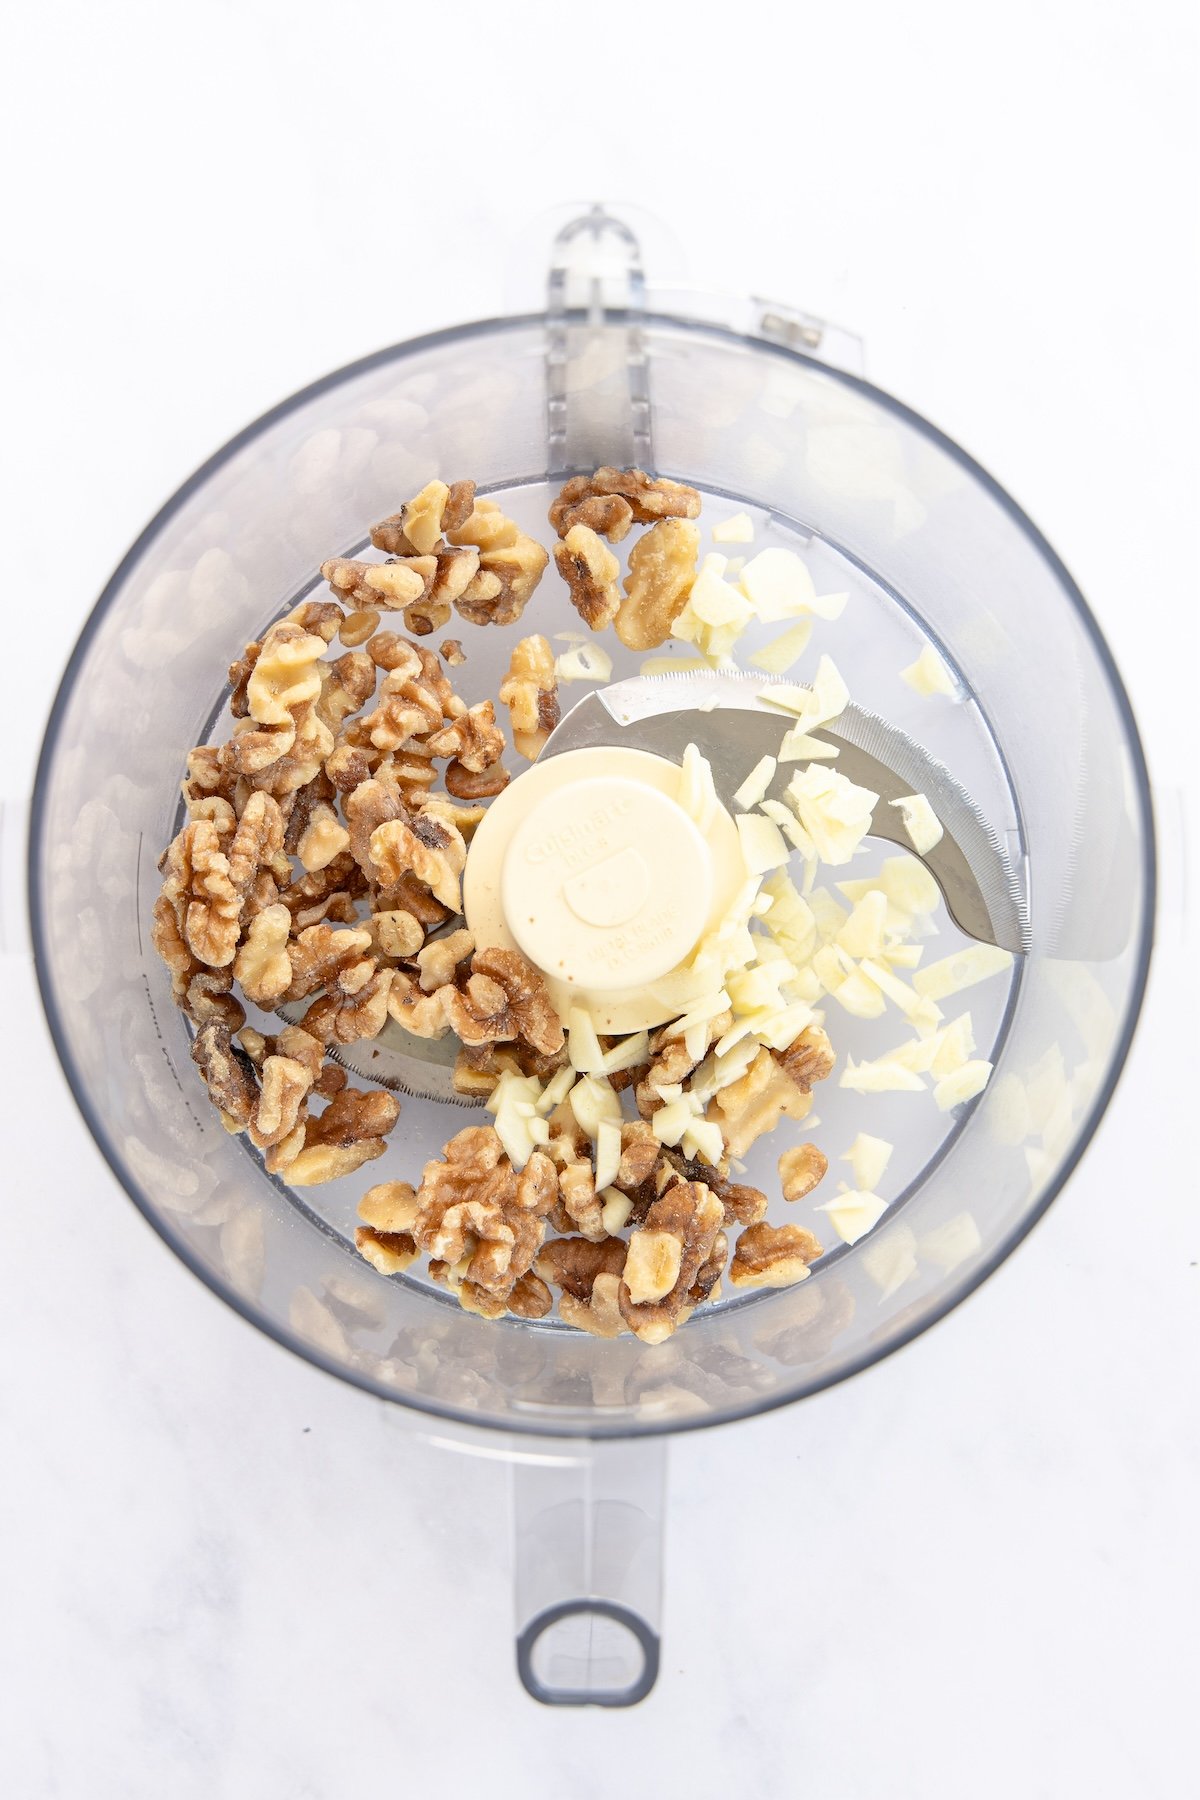
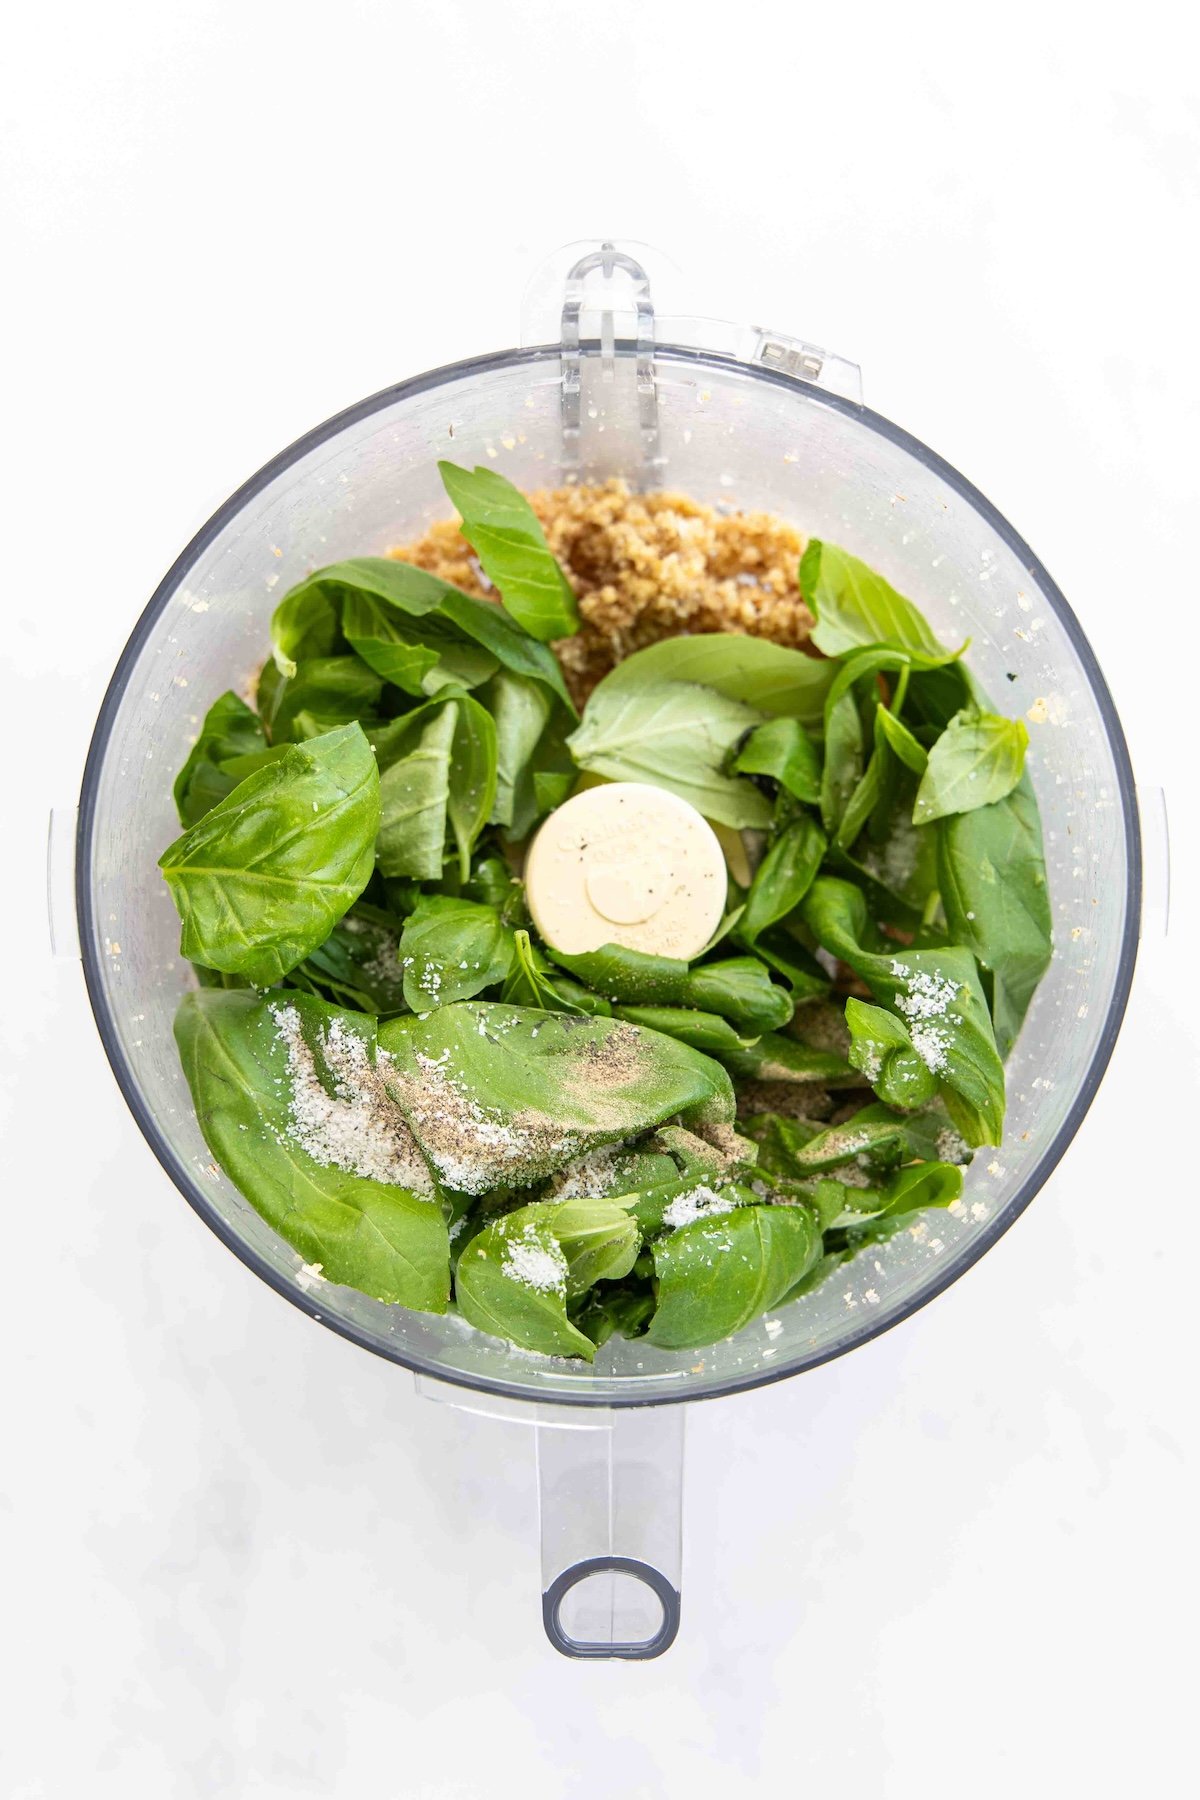
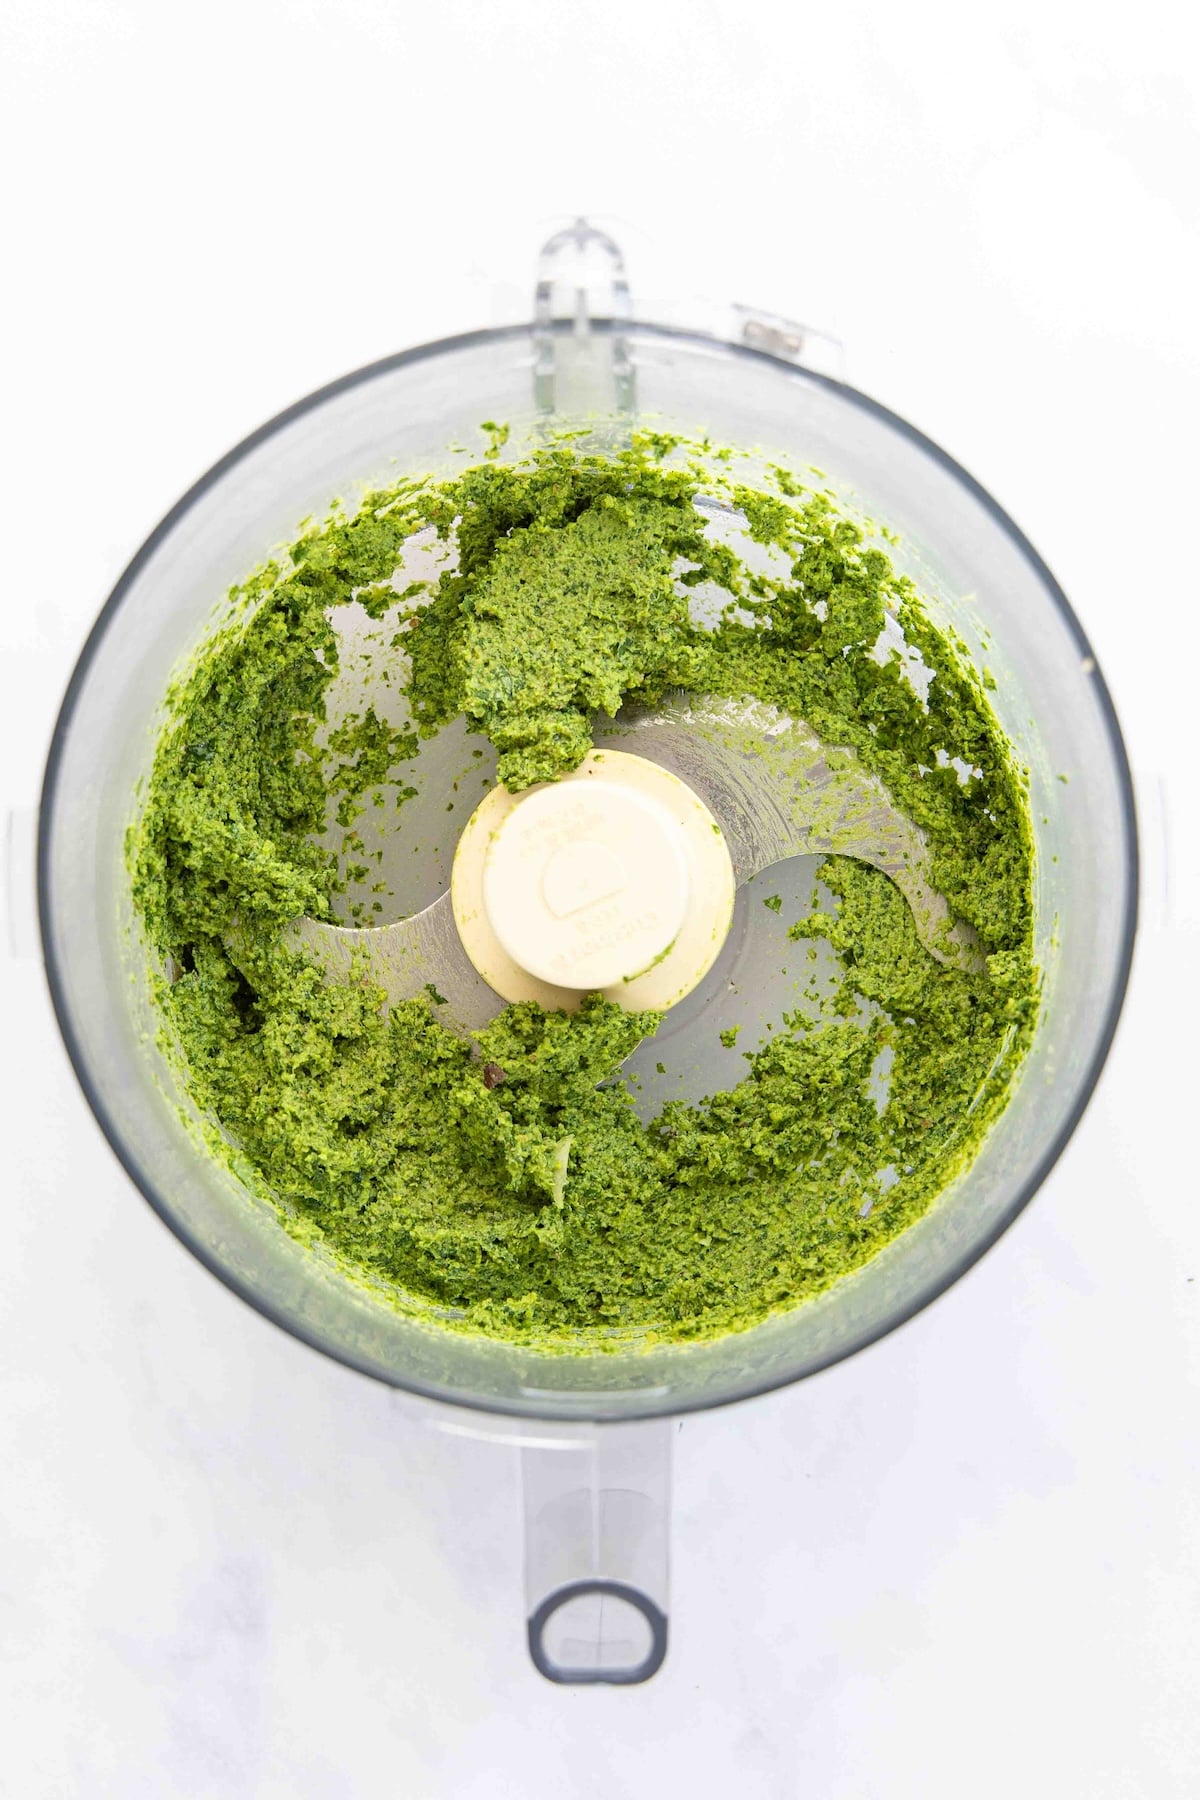
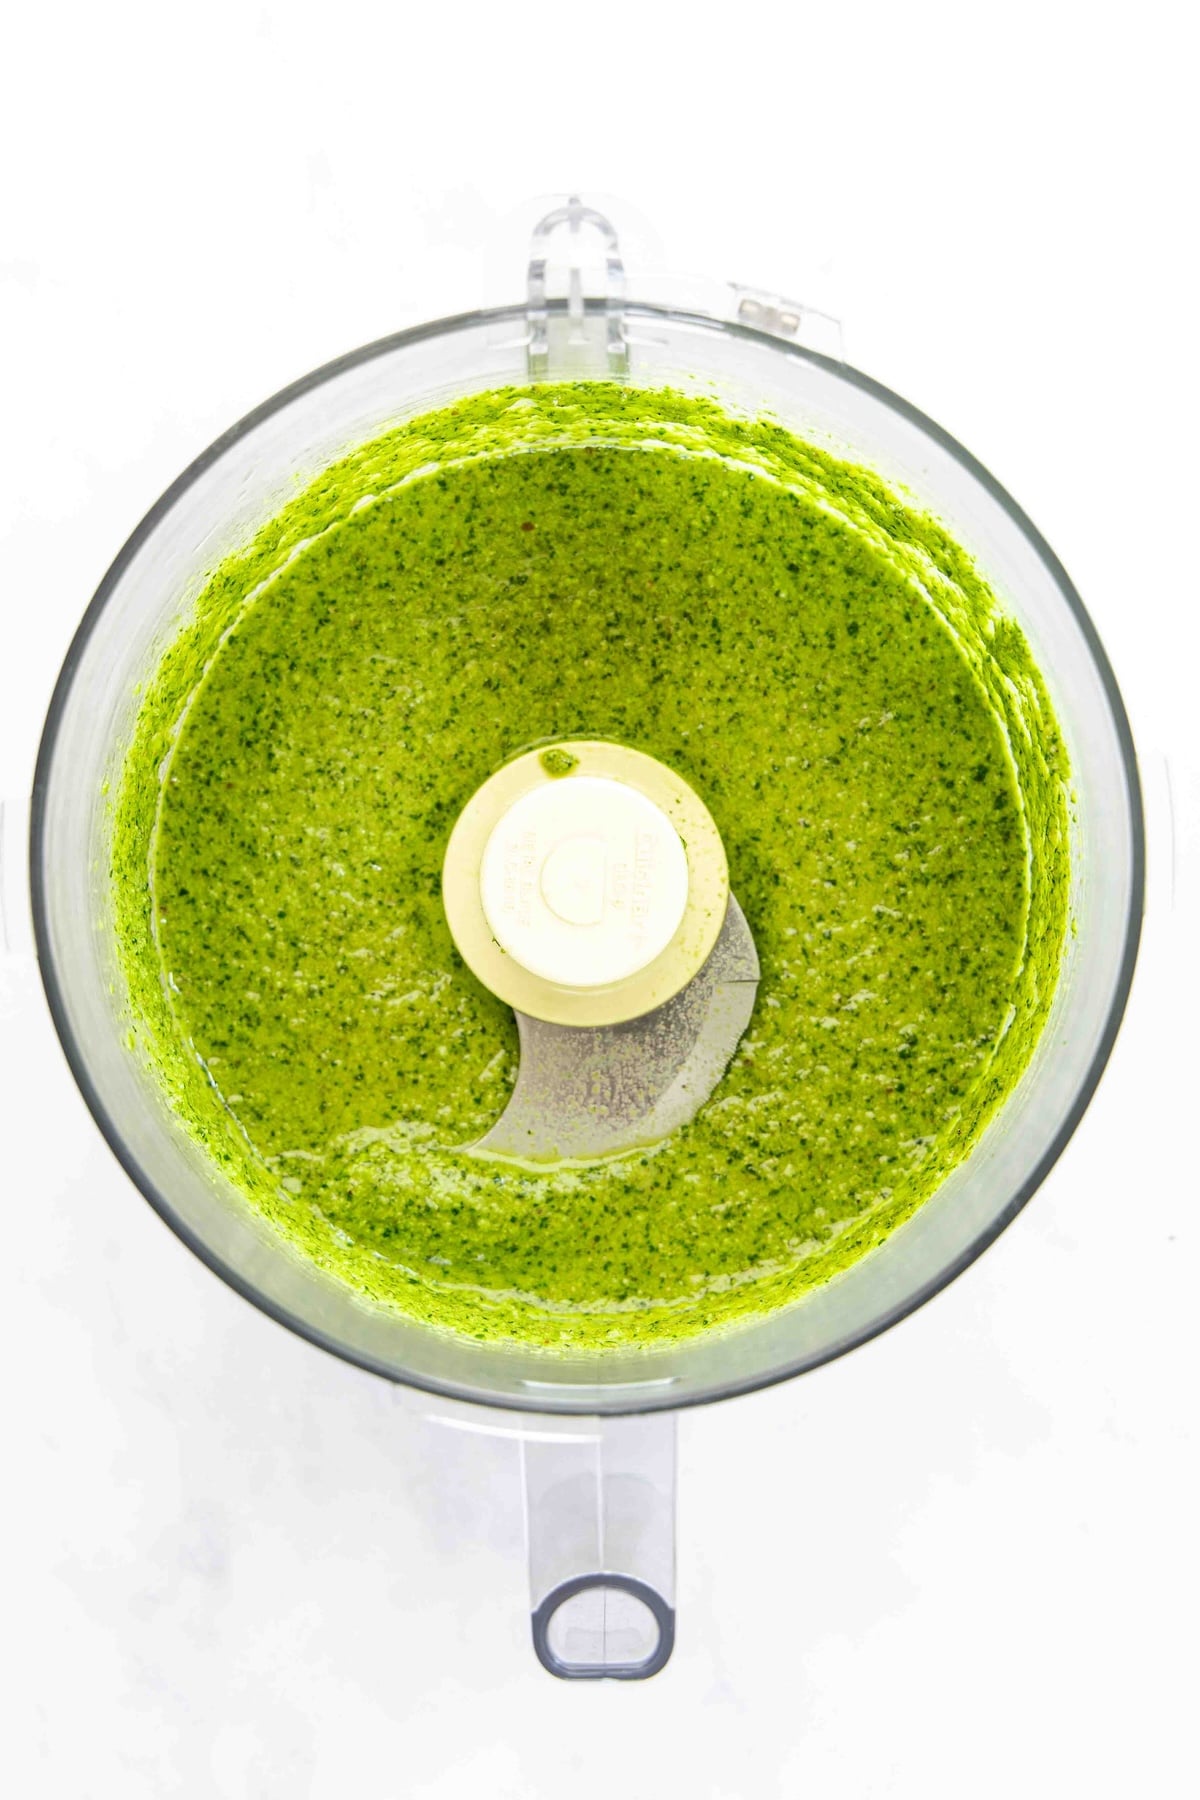
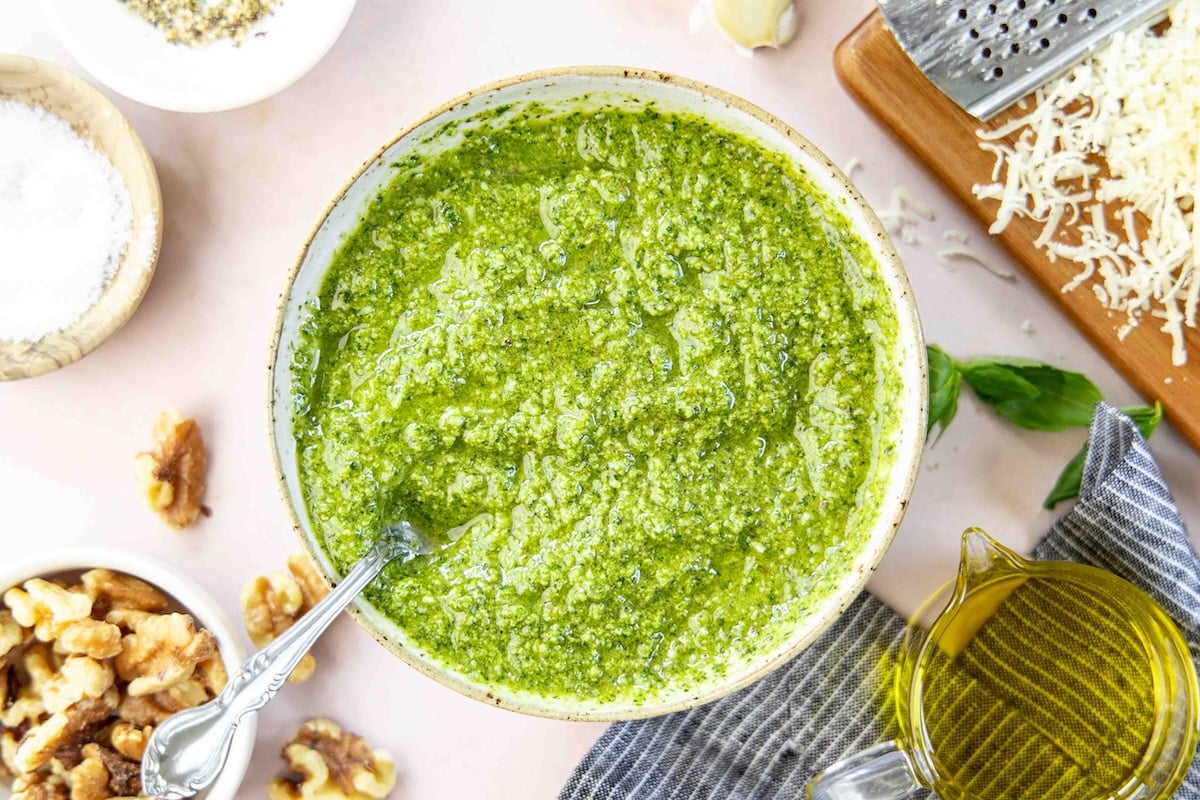
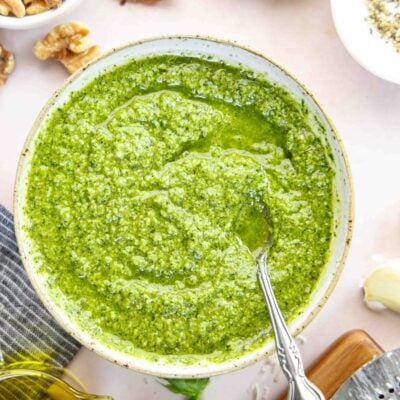
Step 1: Start the pesto. Add the walnuts and garlic to the bowl of a food processor and pulse until they’re coarsely chopped. Add the basil, salt, and pepper, then process until the basil is finely chopped. With the machine running, slowly stream in the olive oil through the feed tube until the mixture comes together into a smooth sauce. Pouring the oil in gradually helps the pesto emulsify, giving it a silky, cohesive texture.
Pro Tip: If you don’t have a food processor, a blender works too, though you may need to stop and scrape down the sides a few times to keep everything moving.
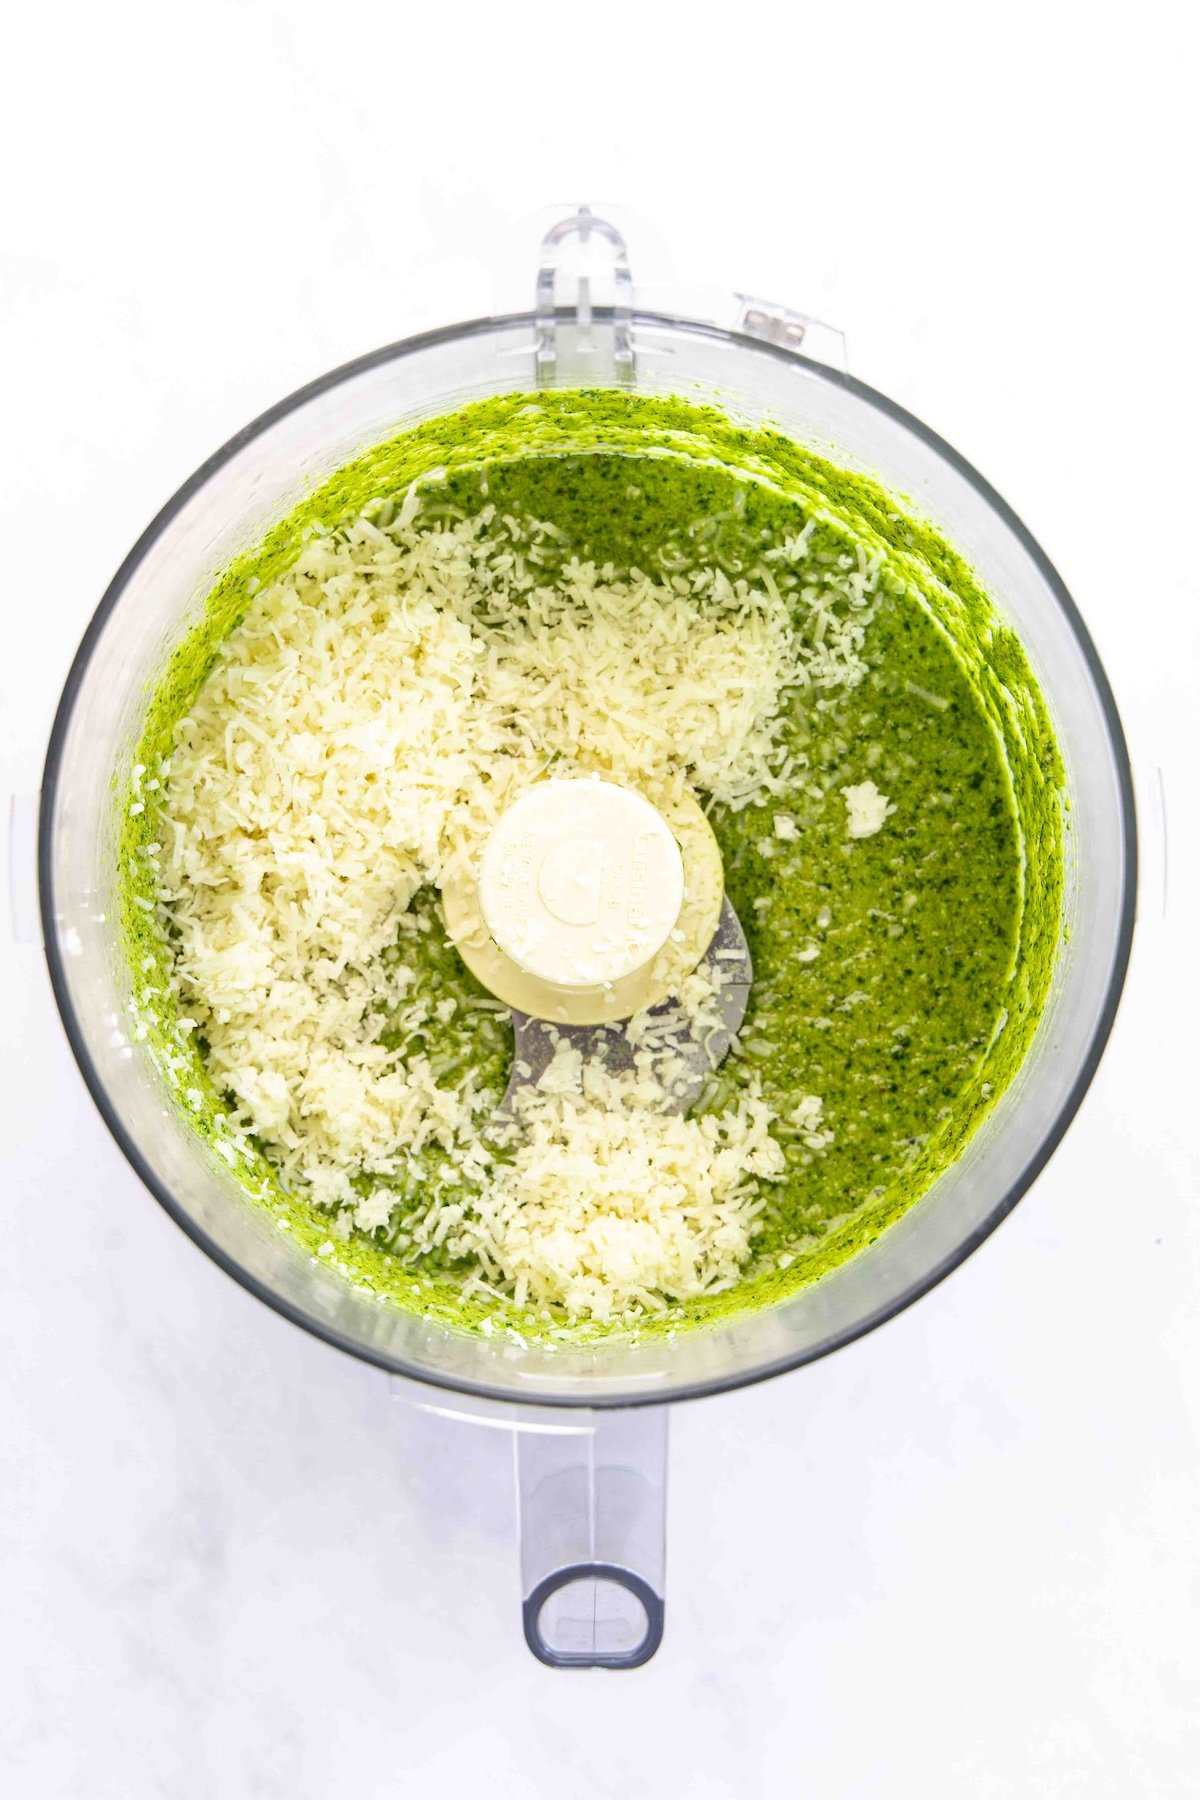
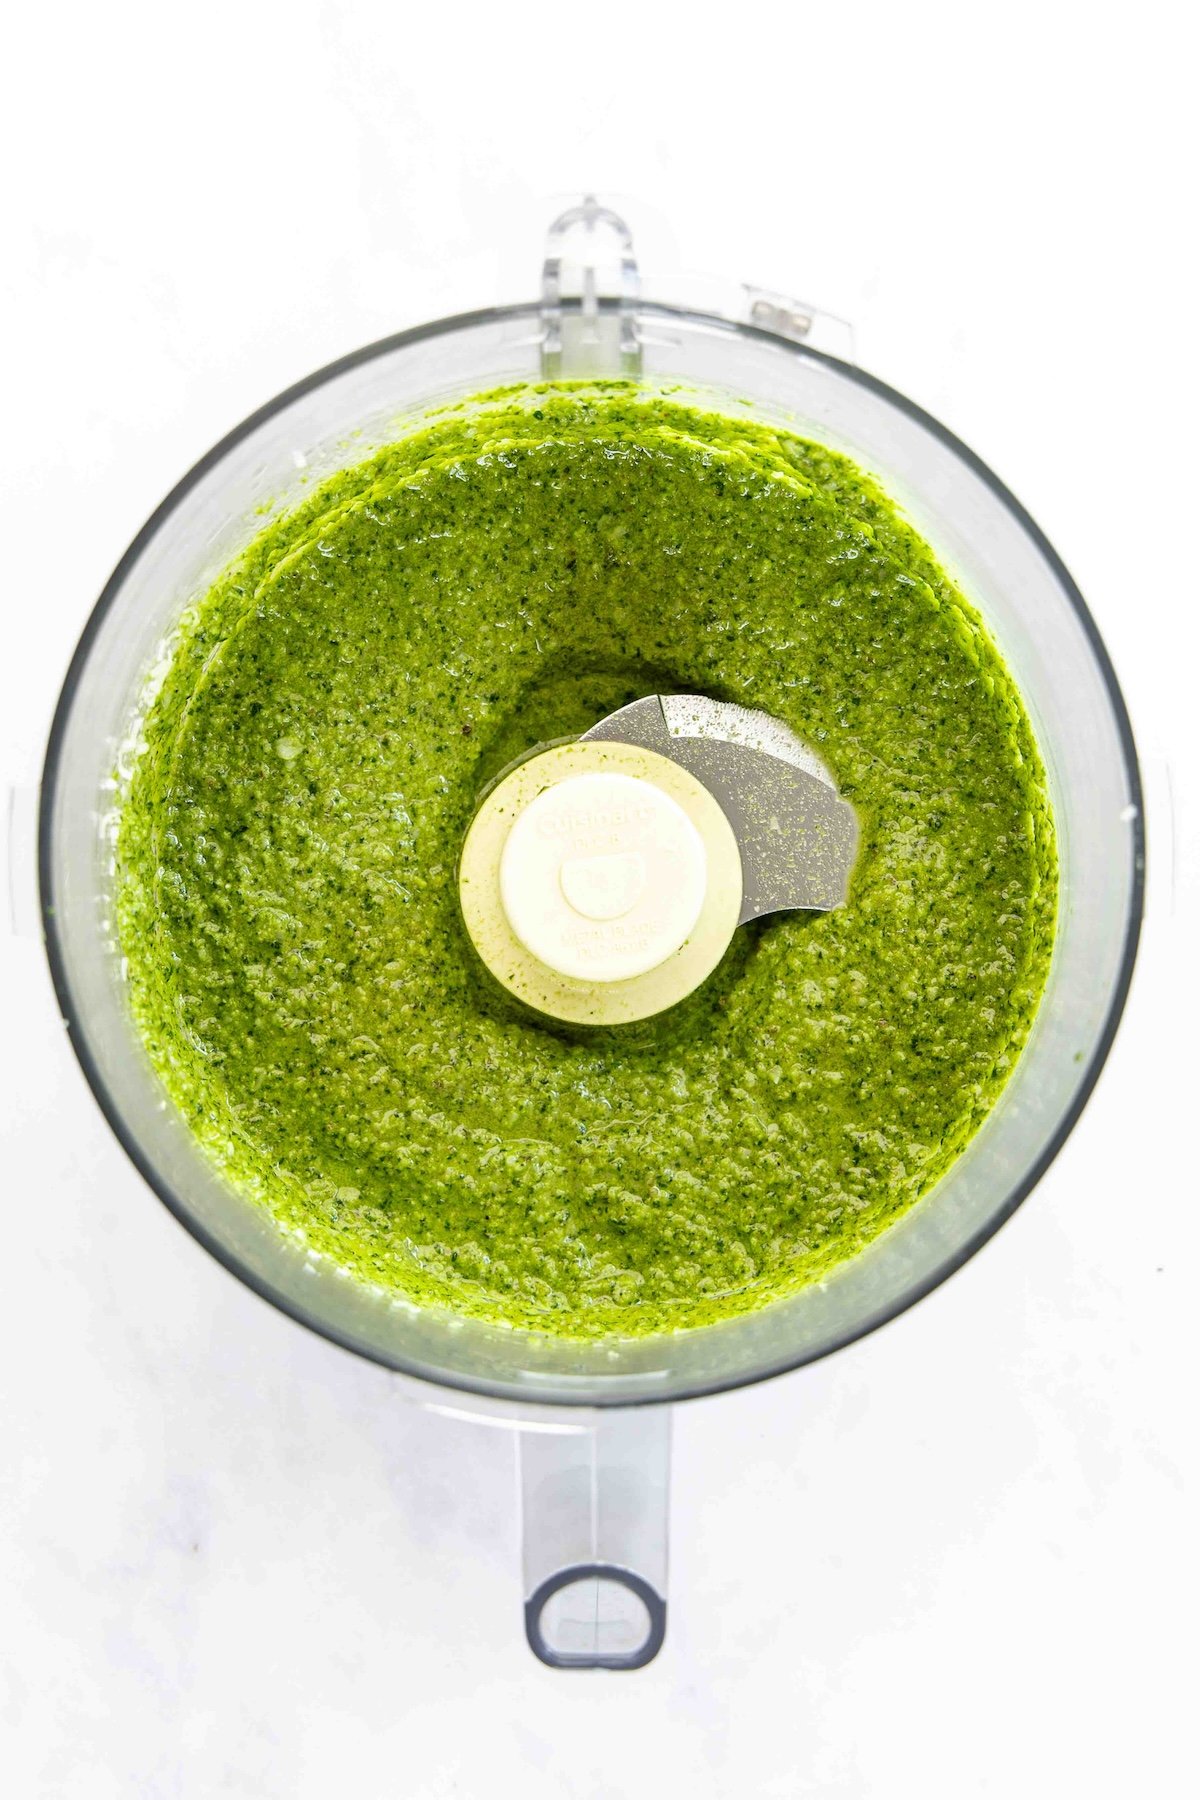
Step 2: Finish the pesto. Add the Parmigiano-Reggiano and process just until it’s incorporated. The cheese adds the signature salty, nutty flavor that brings everything together.
How To Store & Freeze Pesto
Pesto keeps well in the refrigerator for about a week. To help prevent browning, smooth the surface and pour a thin layer of olive oil over the top before refrigerating (this seals out the air and prevents the sauce from oxidizing).
For longer storage, freeze pesto in ice cube trays. Once frozen, transfer the cubes to a freezer bag so you can thaw exactly as much as you need.
Best Ways to Use Homemade Pesto
Homemade pesto is far more versatile than just pasta. Here are some of my favorite ways to use it:
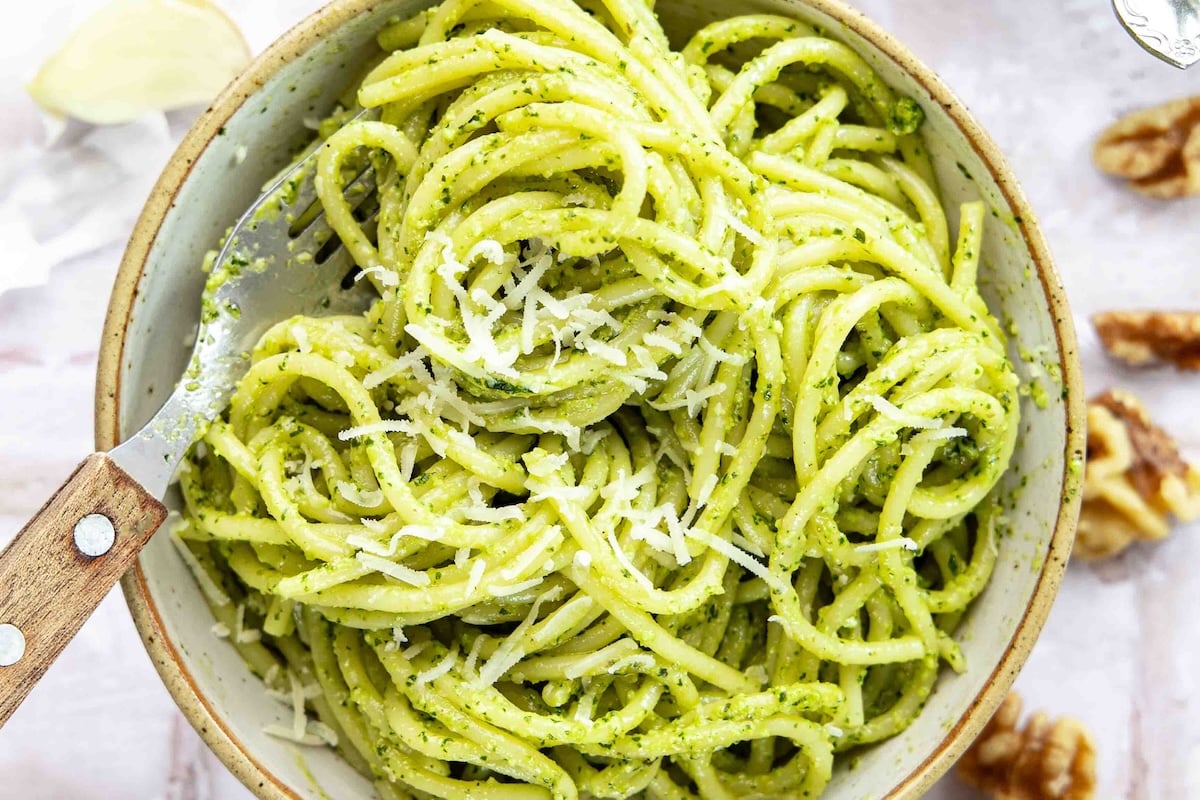
- Make pesto pasta or toss with zucchini noodles
- Spoon over grilled chicken, shrimp, salmon, or steak
- Spread on focaccia, sandwiches and smash burgers
- Drizzle over roasted vegetables
- Stir into minestrone or vegetable soup
- Spread on pizza instead of tomato sauce
- Swirl into scrambled eggs or omelettes
- Mix into mayonnaise for sandwiches
- Spoon onto burrata with fresh tomatoes
- Drizzle over baked potatoes
Video Tutorial
You May Also Like

Homemade Pesto Recipe
Ingredients
- ⅓ cup walnuts, toasted if desired (see note)
- 2 large cloves garlic, roughly chopped
- 2 cups packed fresh basil leaves
- ½ teaspoon salt
- ¼ teaspoon freshly ground black pepper
- ⅔ cup extra-virgin olive oil
- ½ cup grated Parmigiano-Reggiano
Instructions
- Place the walnuts and garlic in the bowl of a food processor fitted with a steel blade. Process until coarsely chopped, about 10 seconds. Add the basil leaves, salt, and pepper and process until mixture resembles a paste, about 1 minute. With the processor running, slowly pour the olive oil through the feed tube and process until the pesto is thoroughly blended. Add the Parmesan and process a minute more. Use pesto immediately or store in a tightly sealed jar or air-tight plastic container, covered with a thin layer of olive oil (this seals out the air and prevents the pesto from oxidizing, which would turn it an unappetizing brown color). It will keep in the refrigerator for about a week.
Notes
- Toasting the walnuts isn't essential, but it brings out their flavor. To toast them, preheat the oven to 350°F. Arrange the walnuts on a baking sheet in a single layer. Bake, checking frequently, until lightly toasted and fragrant, 6 to 8 minutes. Transfer immediately to a plate to cool.
- Freezing Instructions: Pesto can be frozen in an airtight container for up to 6 months. You can also divide your prepared pesto into the compartments of an ice cube tray and freeze. Once it’s frozen, remove the pesto cubes from the tray and put in a sealable plastic bag or an airtight container. You can add the defrosted pesto cubes to soups, pasta dishes, eggs, sandwiches, and potatoes.
Nutrition Information
This website is written and produced for informational purposes only. I am not a certified nutritionist and the nutritional data on this site has not been evaluated or approved by a nutritionist or the Food and Drug Administration. Nutritional information is offered as a courtesy and should not be construed as a guarantee. The data is calculated through an online nutritional calculator, Edamam.com. Although I do my best to provide accurate nutritional information, these figures should be considered estimates only. Varying factors such as product types or brands purchased, natural fluctuations in fresh produce, and the way ingredients are processed change the effective nutritional information in any given recipe. Furthermore, different online calculators provide different results depending on their own nutrition fact sources and algorithms. To obtain the most accurate nutritional information in a given recipe, you should calculate the nutritional information with the actual ingredients used in your recipe, using your preferred nutrition calculator.
Gluten-Free Adaptable Note
To the best of my knowledge, all of the ingredients used in this recipe are gluten-free or widely available in gluten-free versions. There is hidden gluten in many foods; if you're following a gluten-free diet or cooking for someone with gluten allergies, always read the labels of your ingredients to verify that they are gluten-free.
Hi Jenn, would this pesto recipe cover about 1lb of pasta, more? less? Thanks!
Yes, it should be appropriate for one pound. Enjoy!
perfect! thank you!!
Great recipe , made it twice now , although without toasting the walnuts and turns out perfect. I add a squeeze of fresh lemon juice at the end . Thanks 🙏🏻
Amazing! Flavor was fabulous, will make this all summer long!
I make this pesto recipe as is, at least once a month served over pasta, chicken and sundried tomatoes. It’s one of my family’s favorite meals. Always fighting over leftovers. Delicious!!
Added juice from 1/2 a lemon and the acid really pulled all that richness of the cheese and toasted walnuts together. Then used it as a sauce for homemade pizza with mozzarella, pancetta lardons and sliced Roma tomatoes on top. 🤌🏻
Super simple pesto recipe, but 1/2 t of salt is too much (and I had not added the cheese yet). Would suggest 1/4 t and add more if needed. To fix the saltiness, I added sugar and lemon juice – then it was just right. I also added a pinch of red pepper flakes for a bit of zing.