
Crispy Baked Chicken Thighs


This post may contain affiliate links. Read my full disclosure policy.
These baked chicken thighs are juicy and flavorful with irresistibly paper-thin, crackly skin.
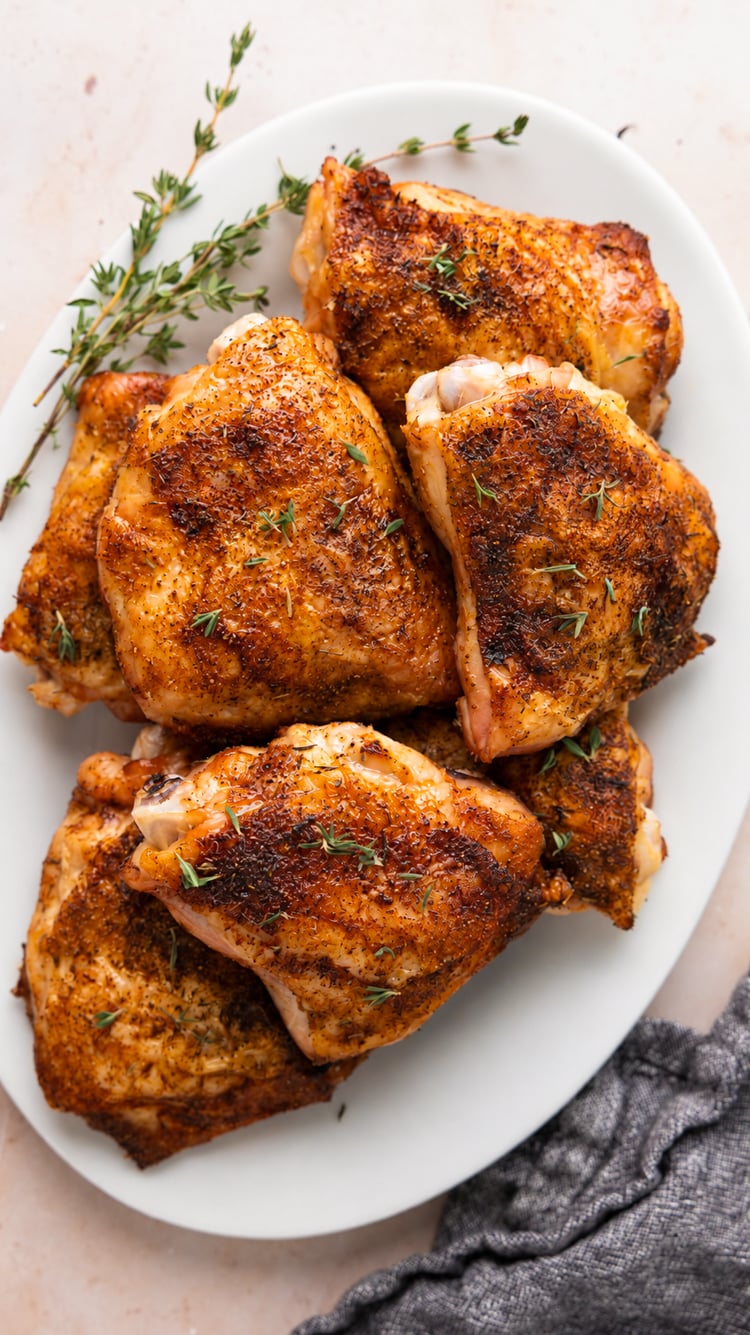
Bone-in, skin-on chicken thighs are one of my favorite cuts of chicken to cook. They’re affordable, forgiving, and especially well suited to baking. This baked chicken thigh recipe uses two simple techniques to get the most out of them: an overnight dry brine seasons the meat throughout and helps dry the skin, while a hot oven finishes the job. The result is juicy, well-seasoned chicken beneath beautifully crisp, golden skin.
The overnight rest requires a little planning, but the hands-on prep takes just 10 minutes, and once the chicken goes into the oven, there’s very little to do. Pair it with green beans and crispy roasted sweet potatoes for a simple family dinner.
What You’ll Need To Make Baked Chicken Thighs
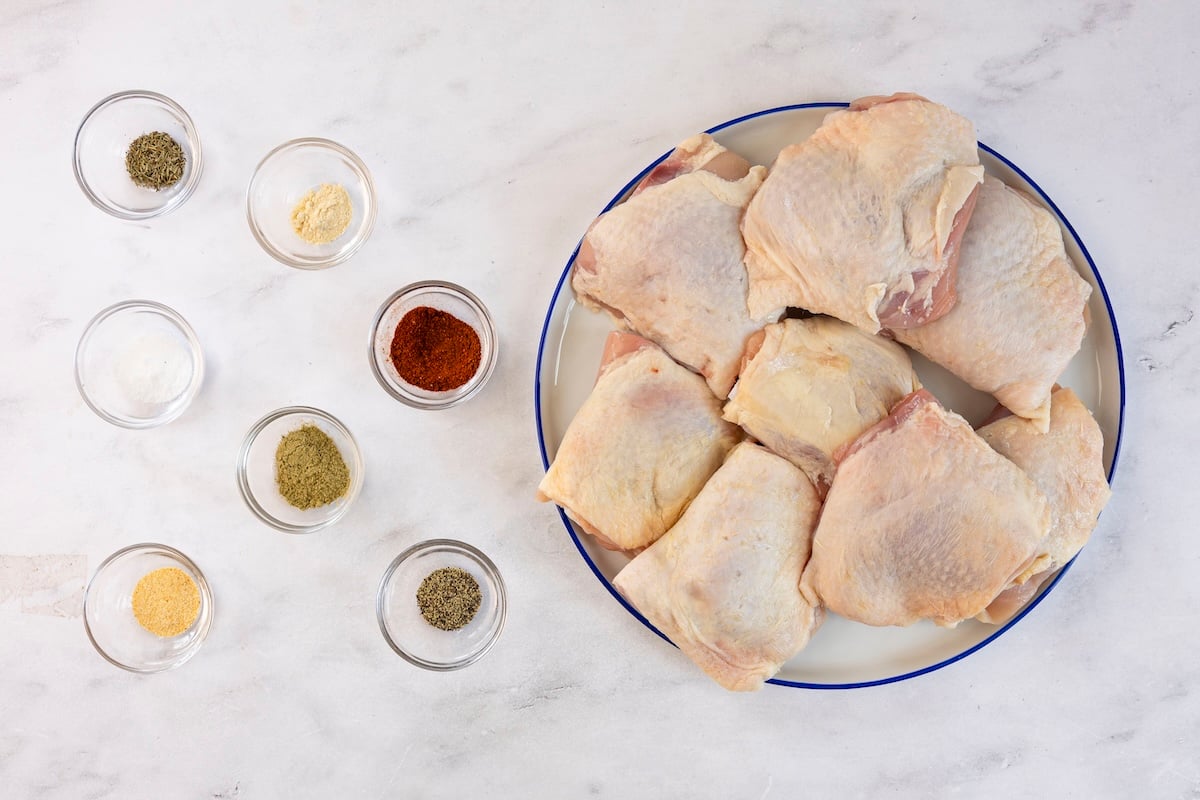
- Salt: Seasons the chicken more deeply as it rests and helps draw moisture from the skin, so it bakes up crisp and crackly.
- Paprika, Sage, Thyme, Black Pepper, Garlic Powder & Onion Powder: This savory blend gives the chicken plenty of flavor, with paprika for warmth, herbs for earthiness, and garlic and onion powders for depth.
- Bone-In, Skin-On Chicken Thighs: Both the skin and bone are important here—the skin turns thin and crackly in the oven, while the bone helps protect the meat as the thighs roast to 185°F, when the fat and connective tissue have had time to render and the meat becomes especially tender.
- Jump to the printable recipe for precise measurements
How To Make Baked Chicken Thighs
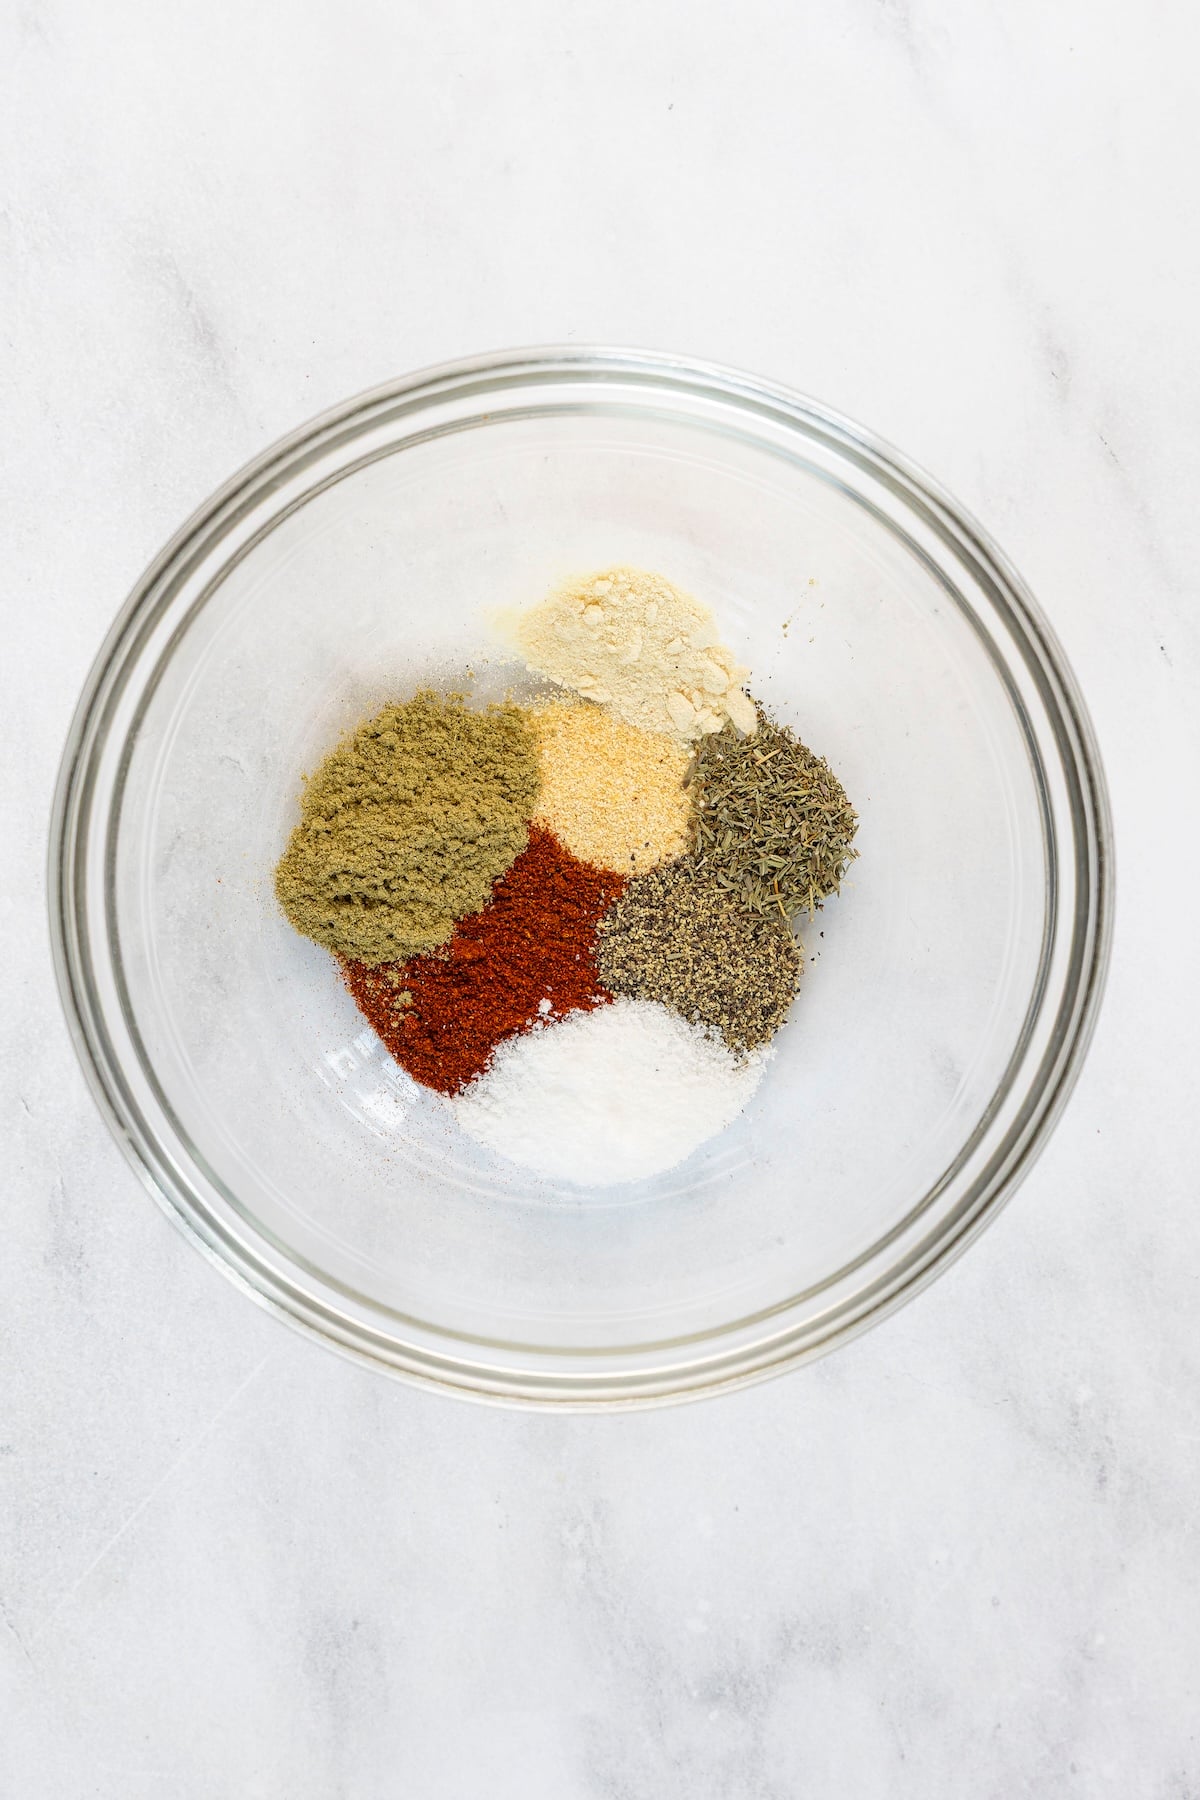
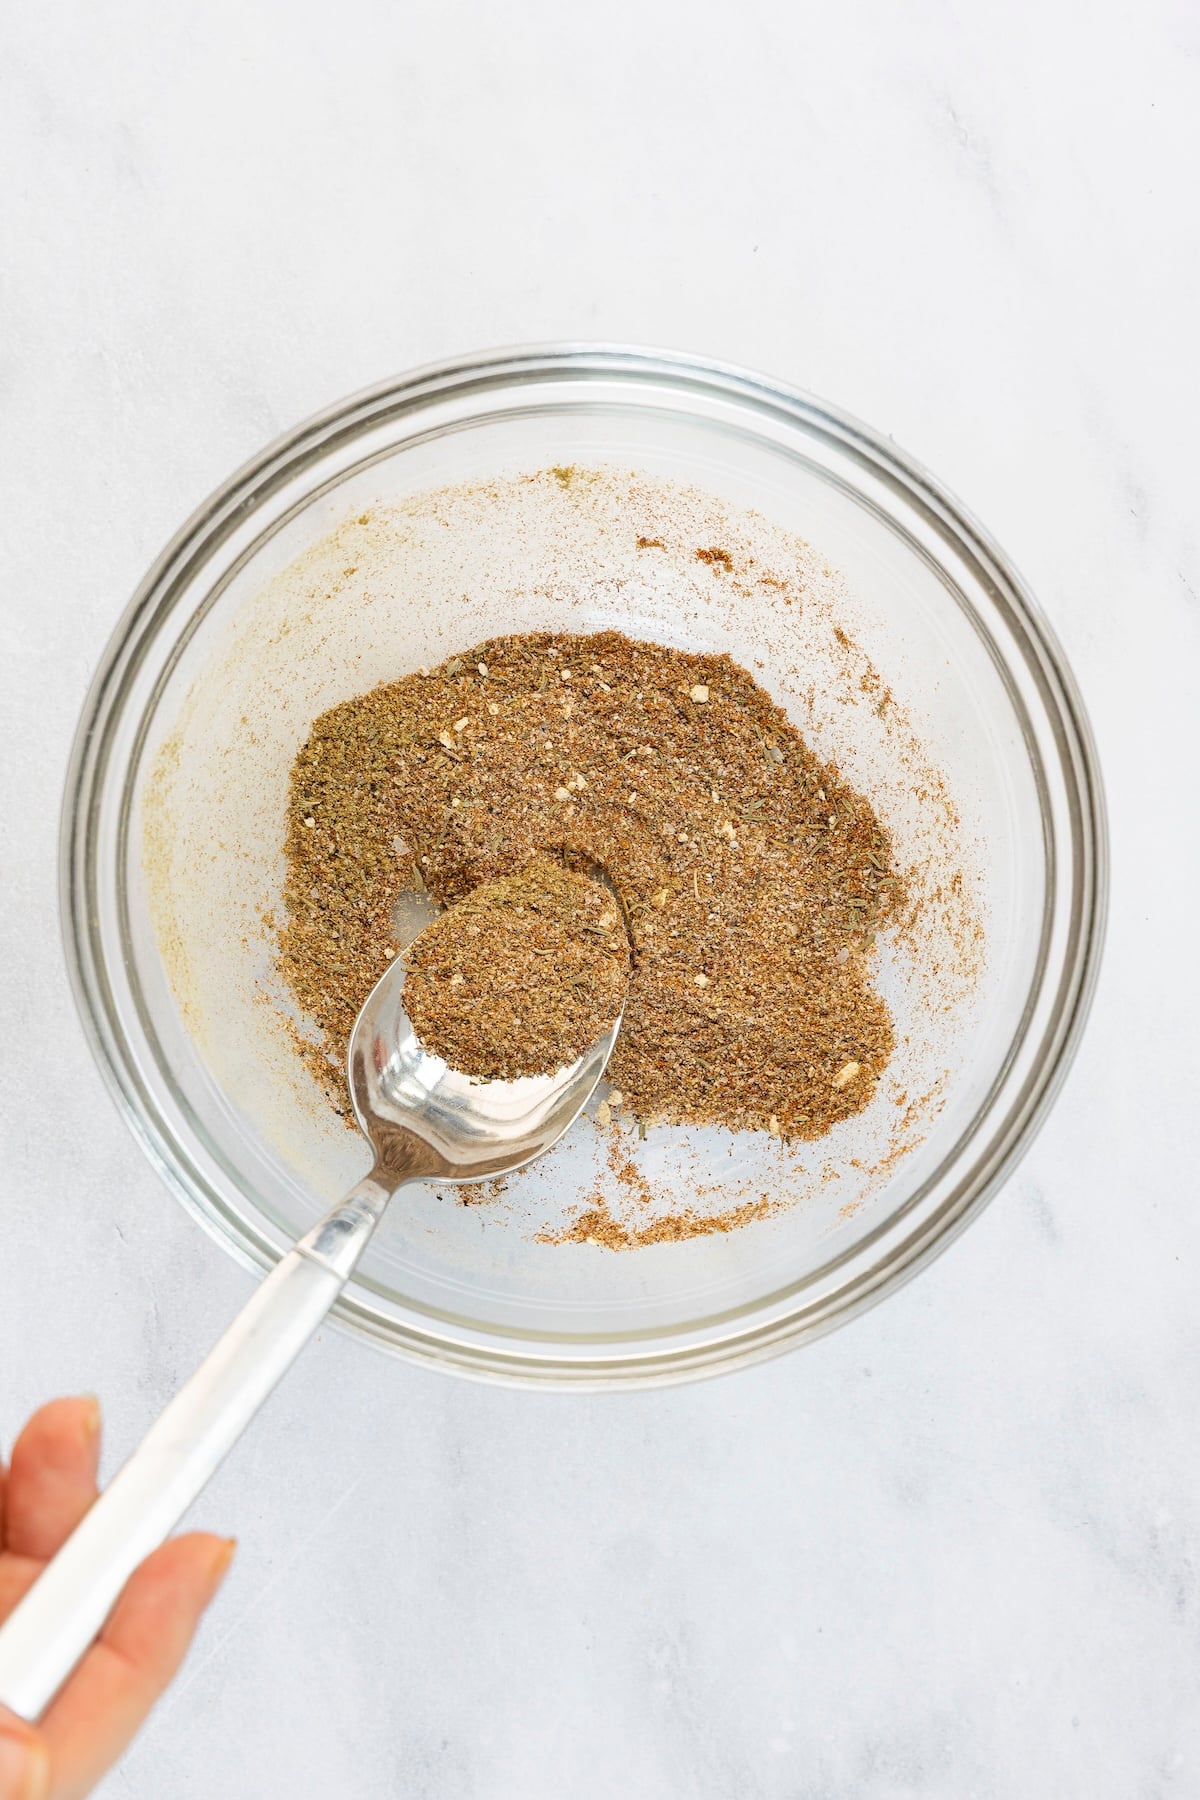
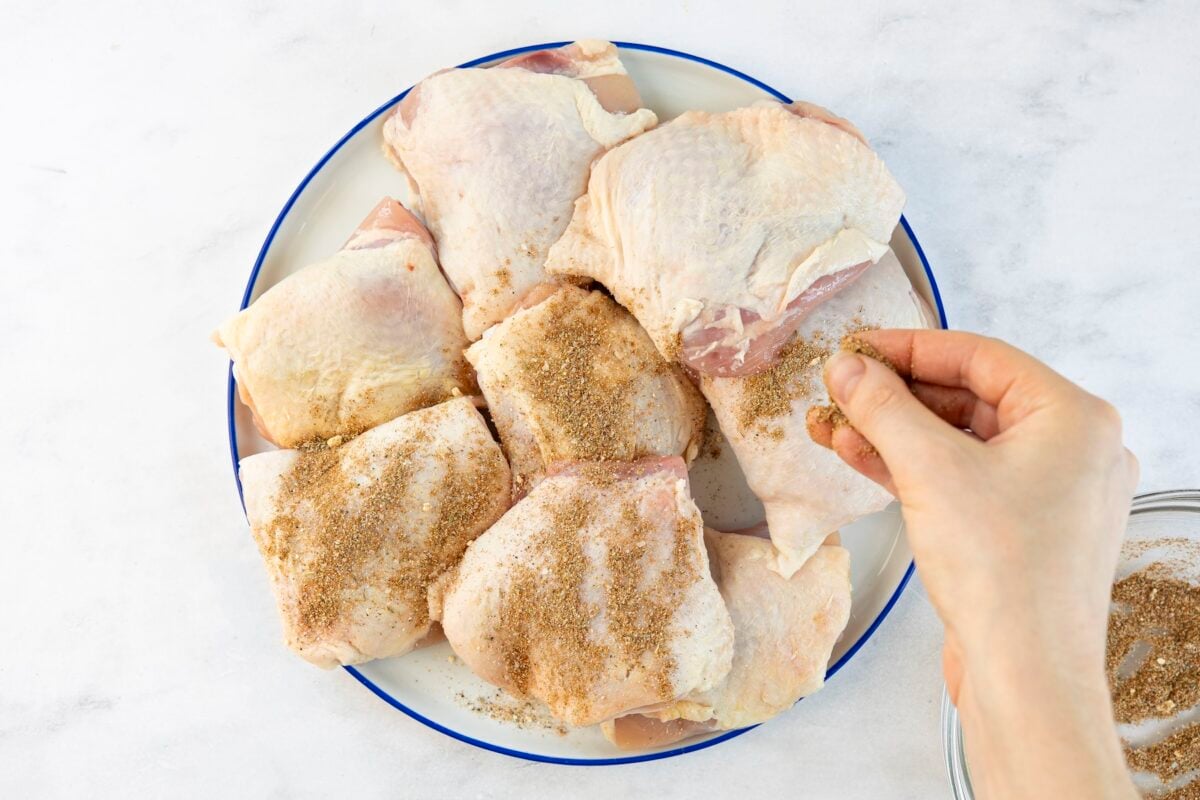
Step 1: Season and dry-brine the chicken. Mix the seasonings together, then pat the chicken thighs very dry and season them evenly on both sides. Arrange the thighs skin-side up on a wire rack set over a foil-lined baking sheet and refrigerate uncovered for at least 12 hours or up to 24 hours. Don’t skip the uncovered rest—it gives the seasoning time to work its way into the meat while drying out the skin, which is key to getting it really crisp in the oven.
Pro tip: If your fridge is too narrow to accommodate a baking sheet, you can set the wire rack over a piece of heavy-duty foil.
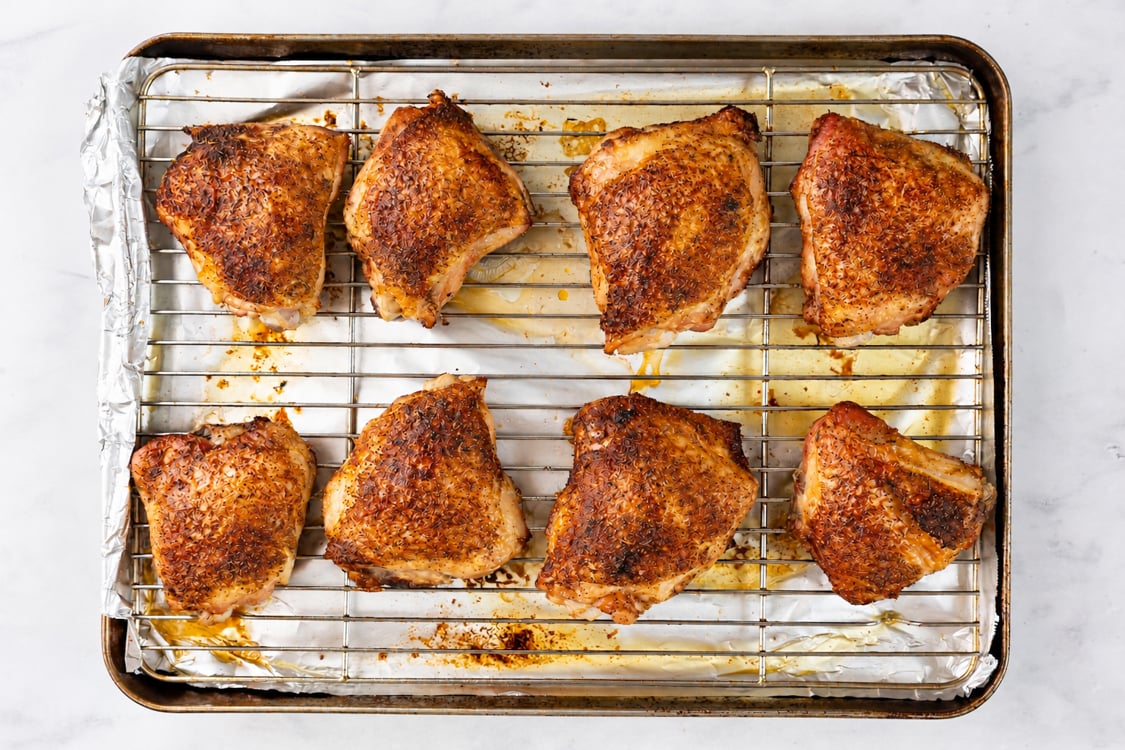
Step 2: Roast the chicken. Keeping the thighs on the wire rack, roast until the skin is crisp and the thickest part of the meat reaches 185°F, about 40 minutes. Go by temperature rather than the clock here; taking thighs to 185°F gives the fat and connective tissue time to render, so the meat turns tender and juicy. If the skin is getting too dark before the chicken is done, loosely tent it with foil for the remainder of the cooking time.
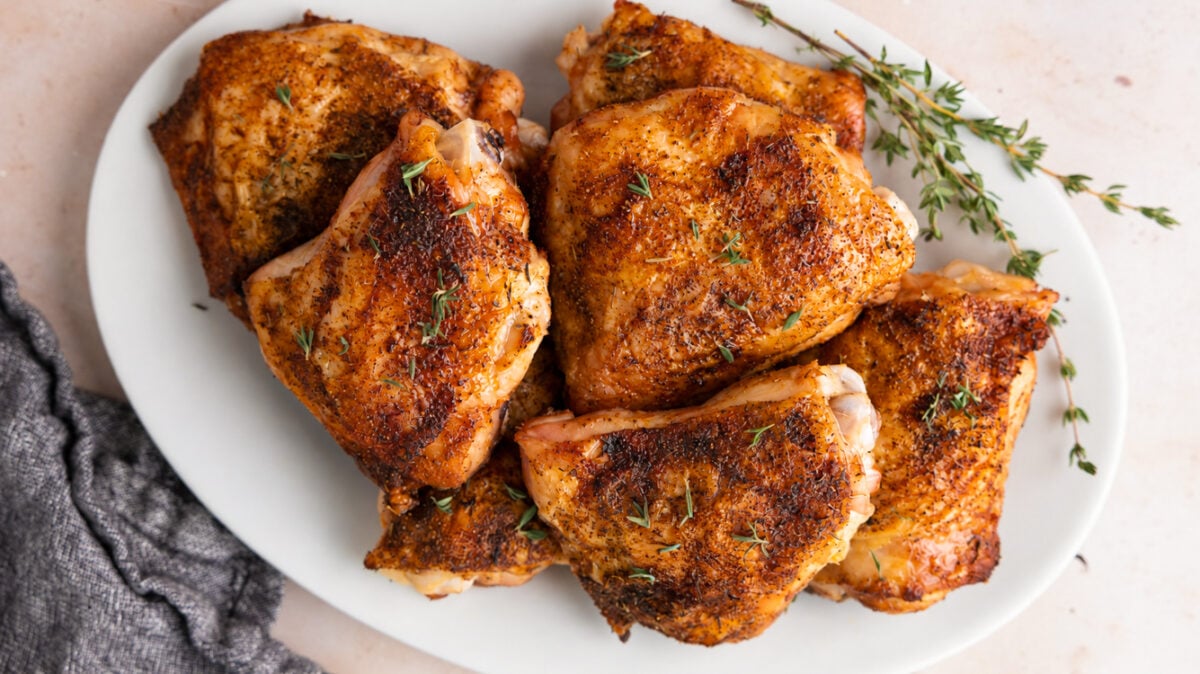
Step 3: Serve. Let the chicken rest for about 5 minutes before serving. Keep it on the rack while it rests so the bottom isn’t sitting in the rendered juices and the skin stays crisp. Transfer to a serving platter and enjoy.
More Chicken Recipes You’ll Love




Crispy Baked Chicken Thighs

Ingredients
- 1¼ teaspoons salt
- 1¼ teaspoons paprika
- 1 teaspoon ground sage (or 1½ teaspoons dried sage leaves)
- ½ teaspoon dried thyme
- ½ teaspoon freshly ground black pepper
- ½ teaspoon garlic powder
- ½ teaspoon onion powder
- 3 lb bone-in, skin-on chicken thighs, trimmed of excess skin
Instructions
- In a small bowl, mix the salt, paprika, sage, thyme, pepper, garlic powder, and onion powder until evenly combined. Pat the chicken thighs dry with paper towels. Sprinkle the seasoning evenly over both sides of the chicken and arrange skin-side up on a wire rack set over a foil-lined baking sheet. Refrigerate uncovered for at least 12 hours, or up to 24 hours.(A heads-up: you will smell the savory dry brine when you open the fridge. That’s normal—the chicken needs to stay uncovered so the skin can dry out and crisp up beautifully in the oven.)
- Preheat the oven to 425°F (220°C) and set an oven rack in the middle position.
- Keep the chicken on the wire rack set over the baking sheet and bake for 35 to 45 minutes, or until the thickest thigh registers 185°F (85°C) on an instant-read thermometer. If the skin browns faster than the meat cooks, loosely tent the chicken with foil until the thighs are done. Let the chicken rest for 5 minutes before serving.
Notes
- Bone-in, skin-on thighs are best: The skin is essential for achieving the paper-thin, crackly crust, while the bone helps keep the meat juicy during roasting.
- Cook to temperature, not time: Chicken thighs are at their best around 185°F (85°C), when the fat and connective tissue have had time to fully render.
- Don't skip the dry brine: Refrigerating the chicken uncovered seasons the meat all the way through and dries the skin, helping it crisp beautifully in the oven.

Nutrition Information
This website is written and produced for informational purposes only. I am not a certified nutritionist and the nutritional data on this site has not been evaluated or approved by a nutritionist or the Food and Drug Administration. Nutritional information is offered as a courtesy and should not be construed as a guarantee. The data is calculated through an online nutritional calculator, Edamam.com. Although I do my best to provide accurate nutritional information, these figures should be considered estimates only. Varying factors such as product types or brands purchased, natural fluctuations in fresh produce, and the way ingredients are processed change the effective nutritional information in any given recipe. Furthermore, different online calculators provide different results depending on their own nutrition fact sources and algorithms. To obtain the most accurate nutritional information in a given recipe, you should calculate the nutritional information with the actual ingredients used in your recipe, using your preferred nutrition calculator.
Gluten-Free Adaptable Note
To the best of my knowledge, all of the ingredients used in this recipe are gluten-free or widely available in gluten-free versions. There is hidden gluten in many foods; if you're following a gluten-free diet or cooking for someone with gluten allergies, always read the labels of your ingredients to verify that they are gluten-free.
Add a Comment