
Fried Chicken Sandwiches


This post may contain affiliate links. Read my full disclosure policy.
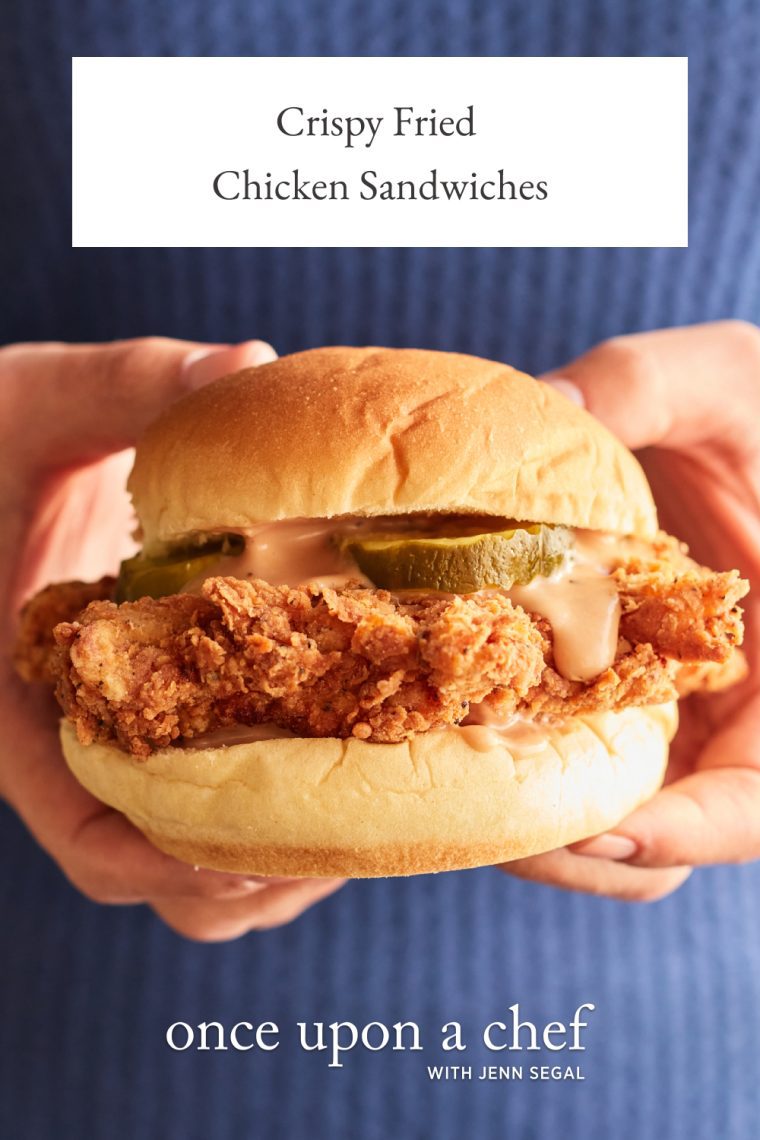
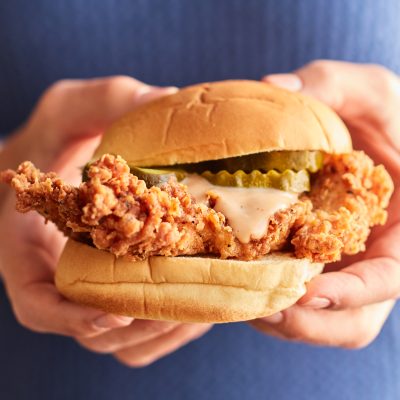
Crispy and juicy beyond compare, these fried chicken sandwiches are a mash-up of your favorite fast food versions.
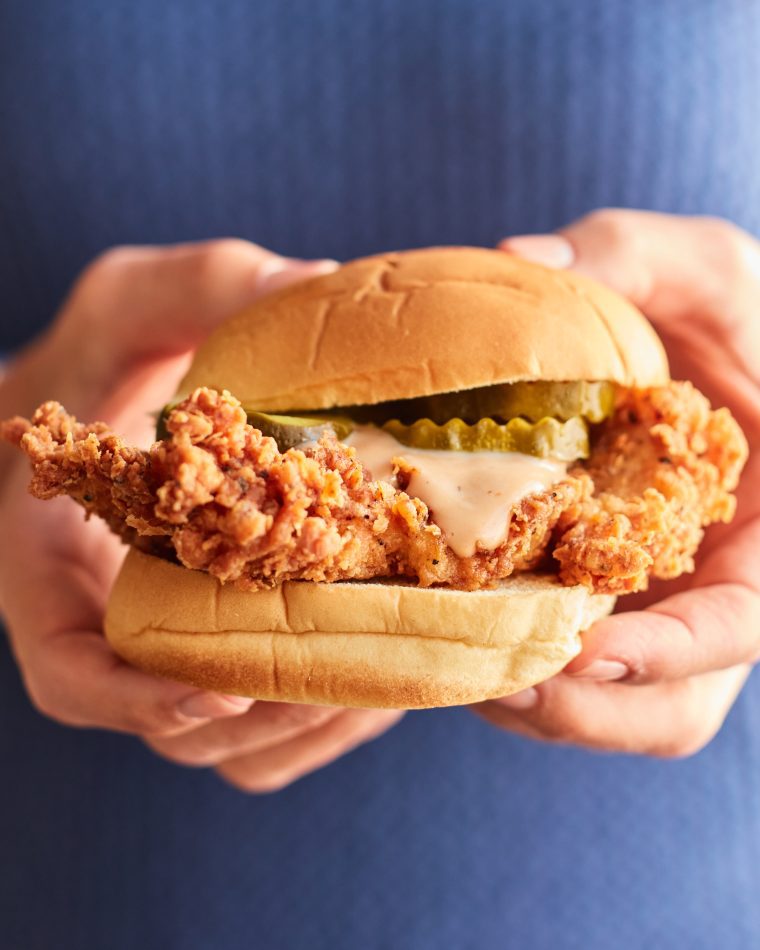
While I was writing my second cookbook, my daughter, who occasionally grows weary of being my guinea pig taste tester, challenged me to come up with a mash-up version of her favorite fast-food crispy chicken sandwiches (yes, I’m talking about Chick-fil-A and Popeyes). This mission involved several trips to the drive-through, four quarts of oil, a mountain of fried chicken sandwiches, and exhaustive critiques from my kids and their friends (aka the experts). It took me a while, but I finally cracked the code. All I can say is, get ready to be showered with praise—your family will be talking about this fried chicken sandwich recipe for days.
P.S. If you’re looking to try your hand at classic bone-in fried chicken, try my fried chicken recipe for juicy meat with a crisp, craggy crust.
“This recipe is ahhhhhhmaaaaazing!! I can’t believe how it literally tastes exactly like a Chic-Fil-A sandwich…My kids were blown away!”
What You’ll Need To Make Fried Chicken Sandwiches
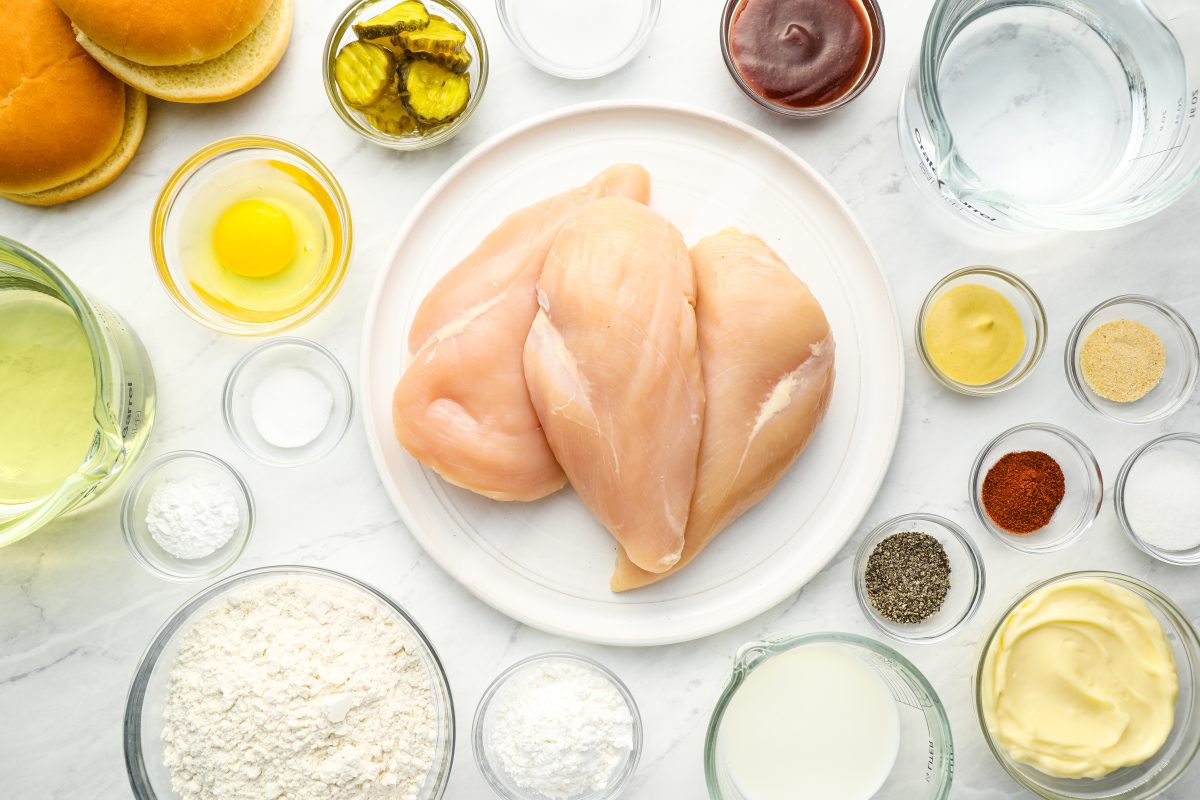
- Chicken breasts: Sliced in half horizontally and pounded thin, this ensures quick, even cooking and the ideal chicken-to-bun ratio.
- Water, salt, and sugar (for the brine): A simple saltwater brine keeps the chicken juicy and well-seasoned all the way through—don’t skip this step, even though it adds time.
- Egg and milk: Forms the wet base that helps the flour mixture cling to the chicken and create those signature craggy, crispy bits.
- All-purpose flour and cornstarch: The combination is key to the crunch—cornstarch fries up lighter and crispier than flour alone.
- Baking powder: Helps the coating puff slightly as it fries, adding extra texture and crunch.
- Garlic powder, pepper, and paprika: Build the savory, well-seasoned flavor in the crust.
- Accent (MSG flavor enhancer): Adds a boost of umami that’s a hallmark of great fried chicken. It’s optional—see the Notes section for a substitution.
- Vegetable or peanut oil: For frying. Either works well; peanut oil has a higher smoke point and a neutral flavor that won’t compete with the seasonings.
- Mayonnaise, barbecue sauce, and Dijon mustard (for the sauce): A quick, tangy-sweet sauce that ties the whole sandwich together—it’s the “secret” that makes these taste like your favorite fast-food version.
- Hamburger buns: Standard buns work great, but a few readers have used sesame brioche buns with excellent results if you want something a little richer.
- Bread and butter pickles: Adds the sweet-tangy crunch that’s essential to a proper fried chicken sandwich.
- Jump to the printable recipe for precise measurements
Step-by-Step Instructions
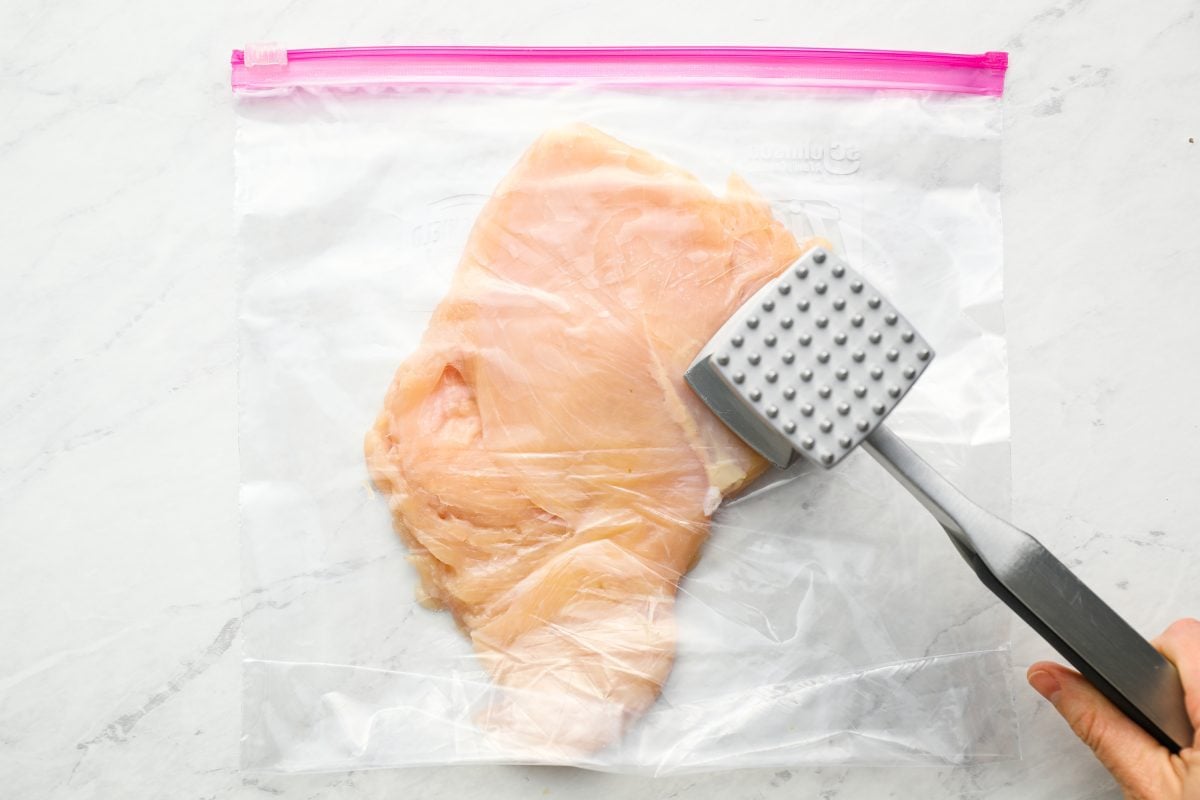
Step 1: Prepare the chicken. Slice each chicken breast in half horizontally to create two thin cutlets. Gently pound the cutlets to an even thickness, then cut each one in half vertically to make four small, thin pieces per breast. This helps the chicken cook quickly and evenly and prevents the breading from getting too dark before the chicken is cooked through.

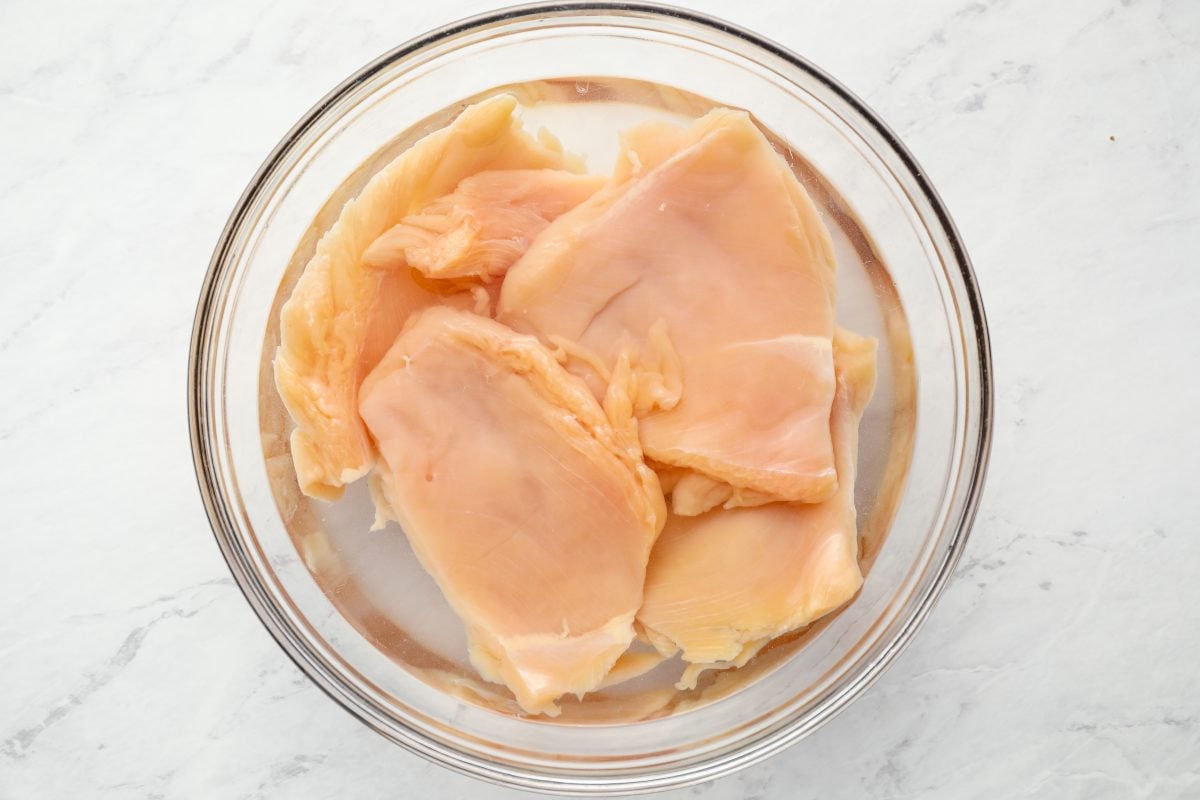
Step 2: Brine the chicken. Soak the chicken pieces in the brine for at least 4 hours or overnight. This simple step seasons the meat throughout and helps it stay juicy during frying. When the chicken is finished brining, pat it very dry so the coating adheres well.
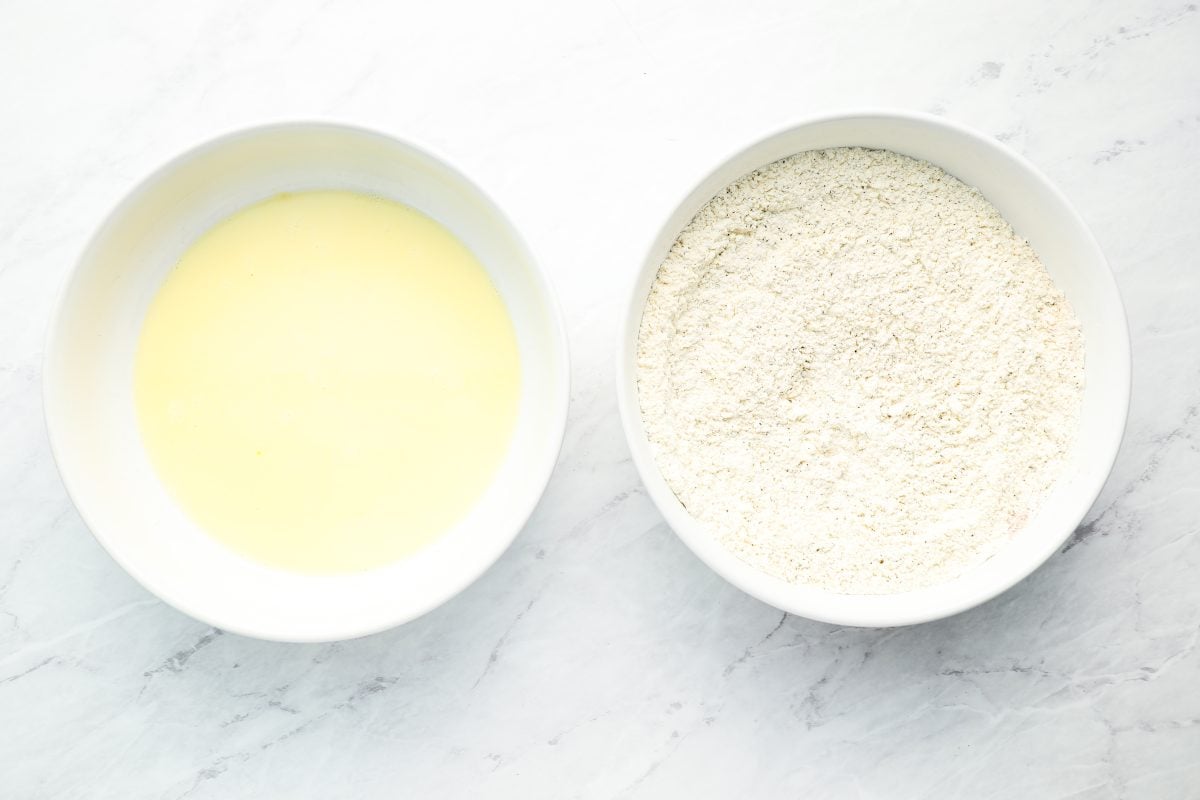
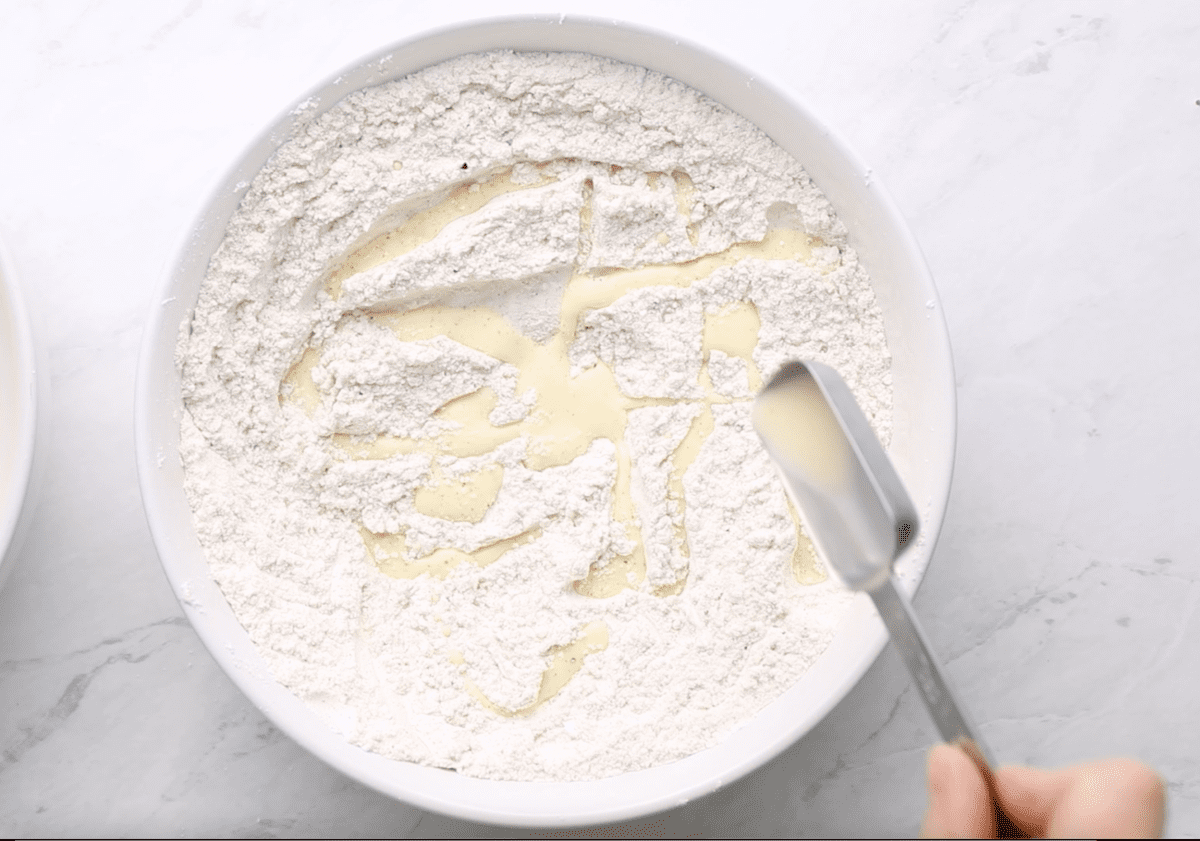
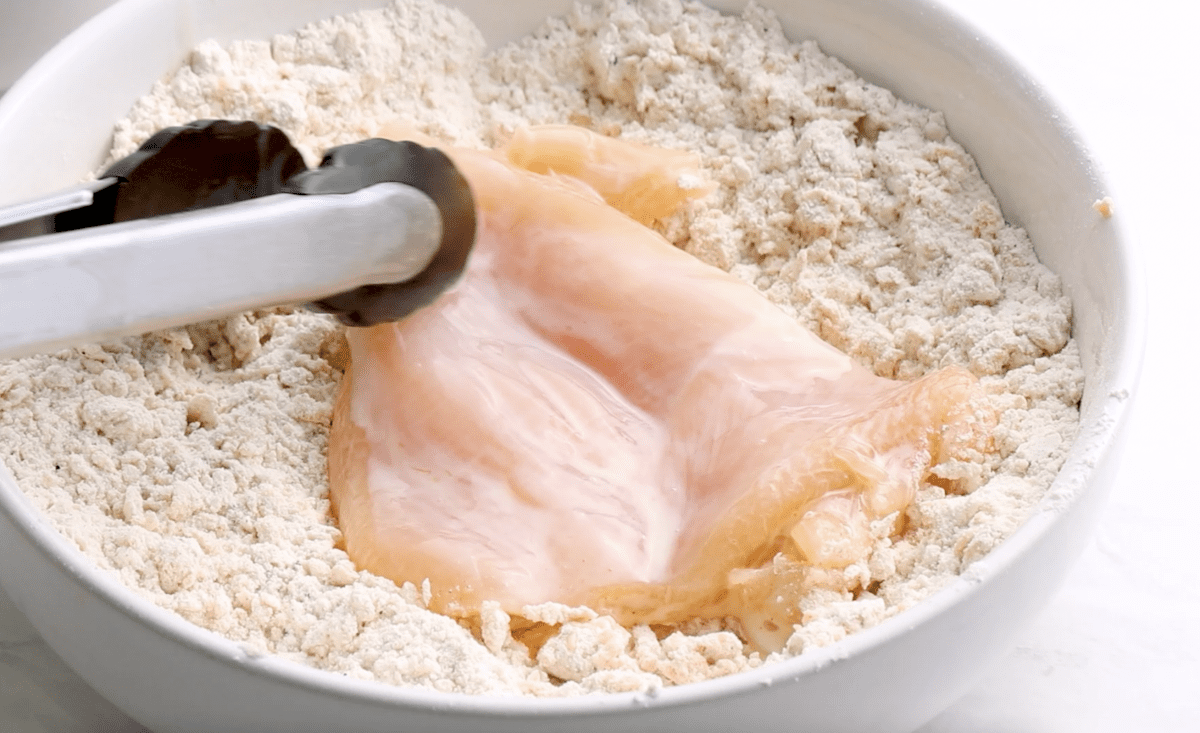
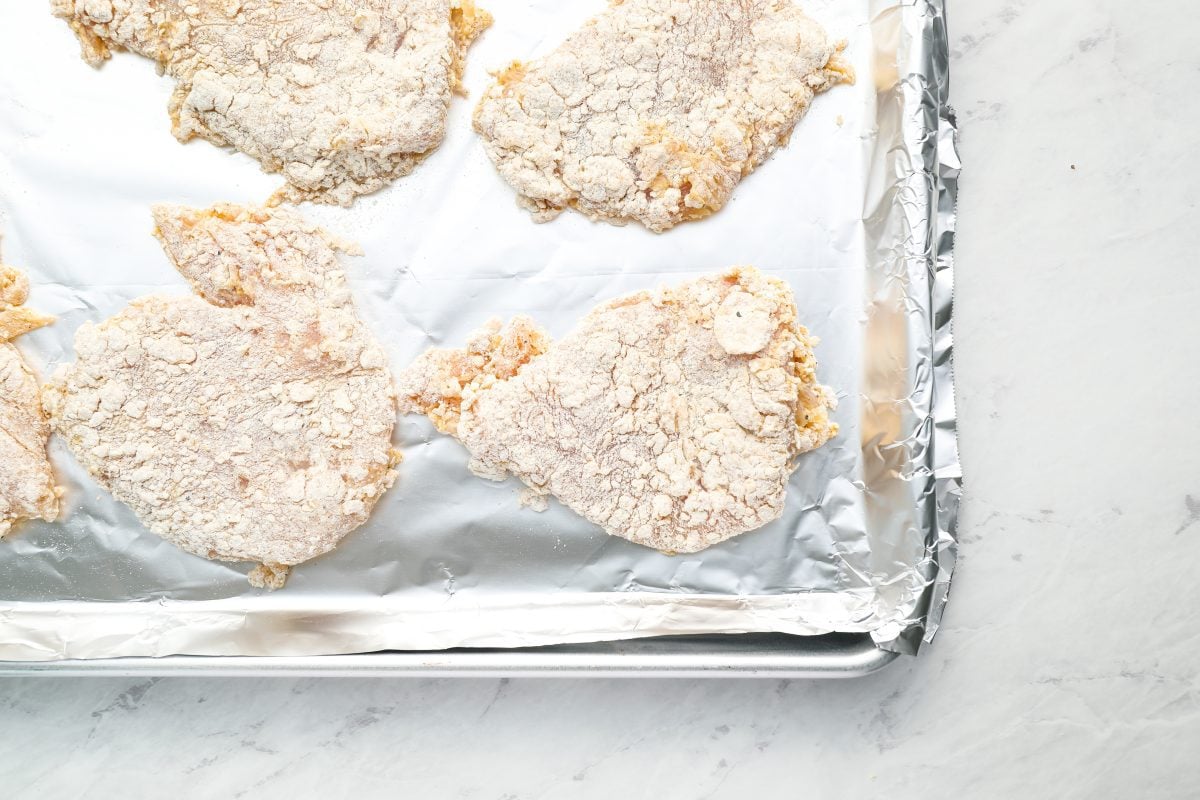
Step 3: Bread the chicken. Whisk together the wet ingredients in one bowl and the dry ingredients in another. Drizzle a little of the wet mixture into the flour mixture and work it in with your fingertips to create small clumps—these become the extra-crispy, craggy bits when fried. Working one piece at a time, dip the chicken into the wet mixture, then dredge it in the flour mixture, pressing the coating firmly onto the chicken so it adheres well.
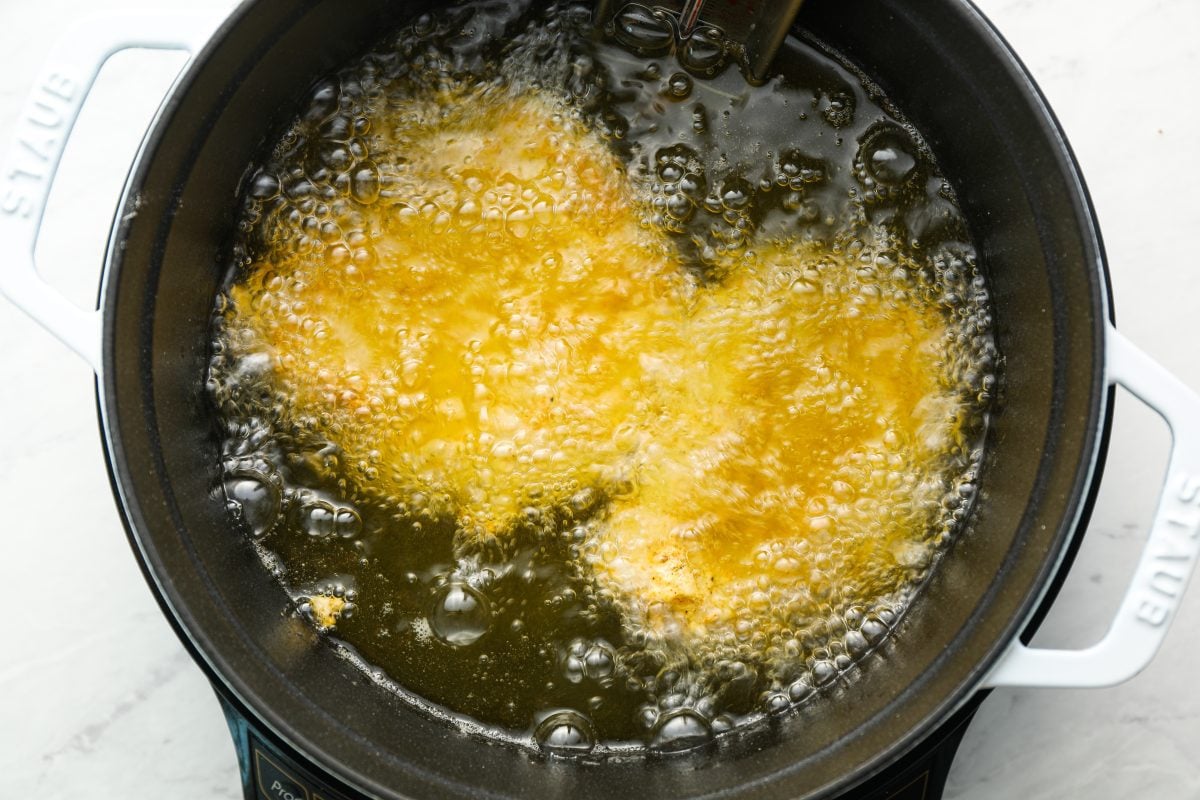
Step 4: Fry until crisp and golden. Keep an eye on the oil temperature as you fry; it will drop when the chicken goes in and rise again as it cooks. Adjust the heat as needed so the coating becomes deeply golden and crisp without browning too quickly. Transfer the fried chicken to a paper towel-lined plate to drain.
Pro Tip: The oil temperature will drop each time you add chicken, so keep an eye on it between batches and adjust the heat as needed to maintain a steady fry.

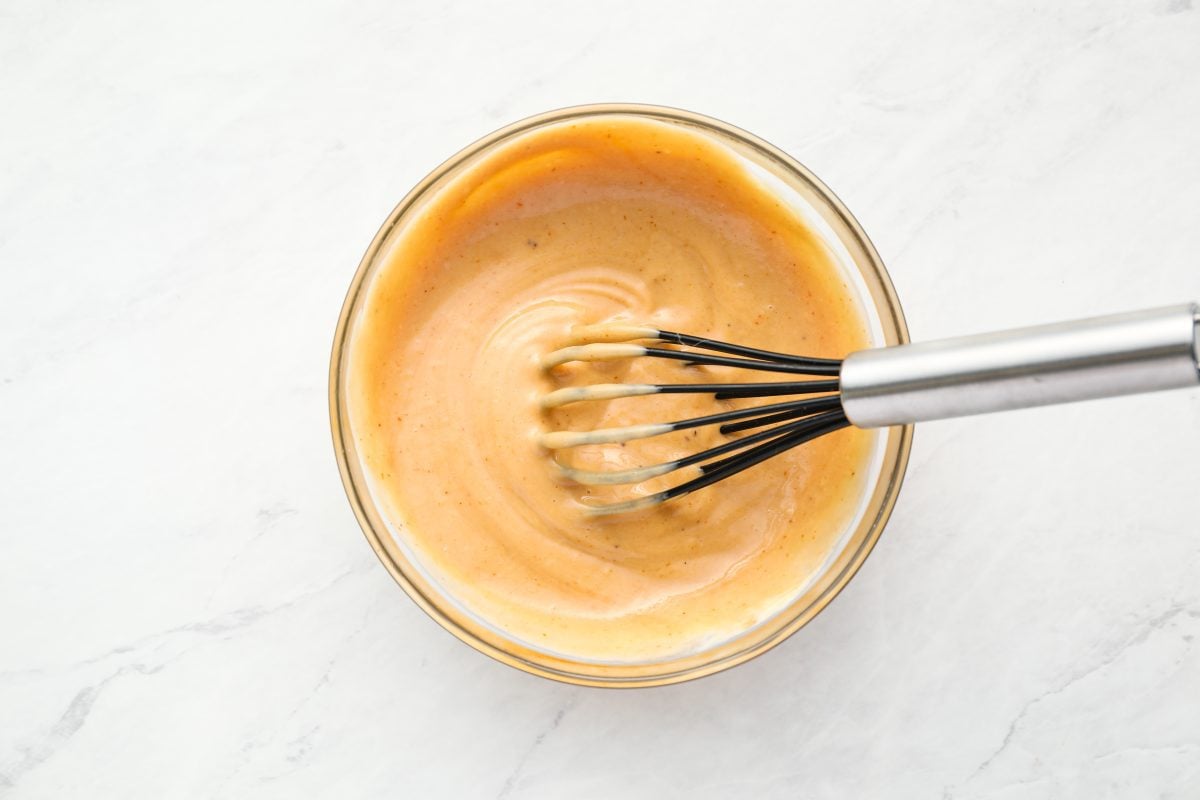
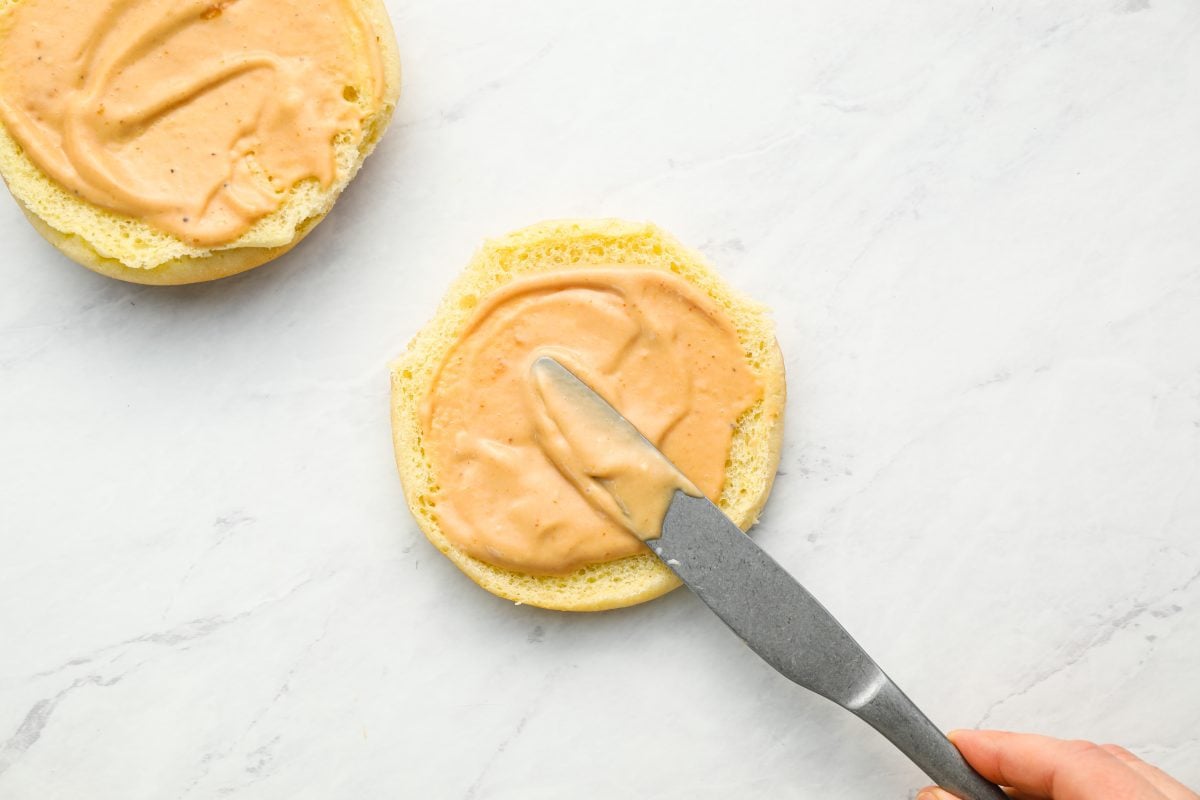
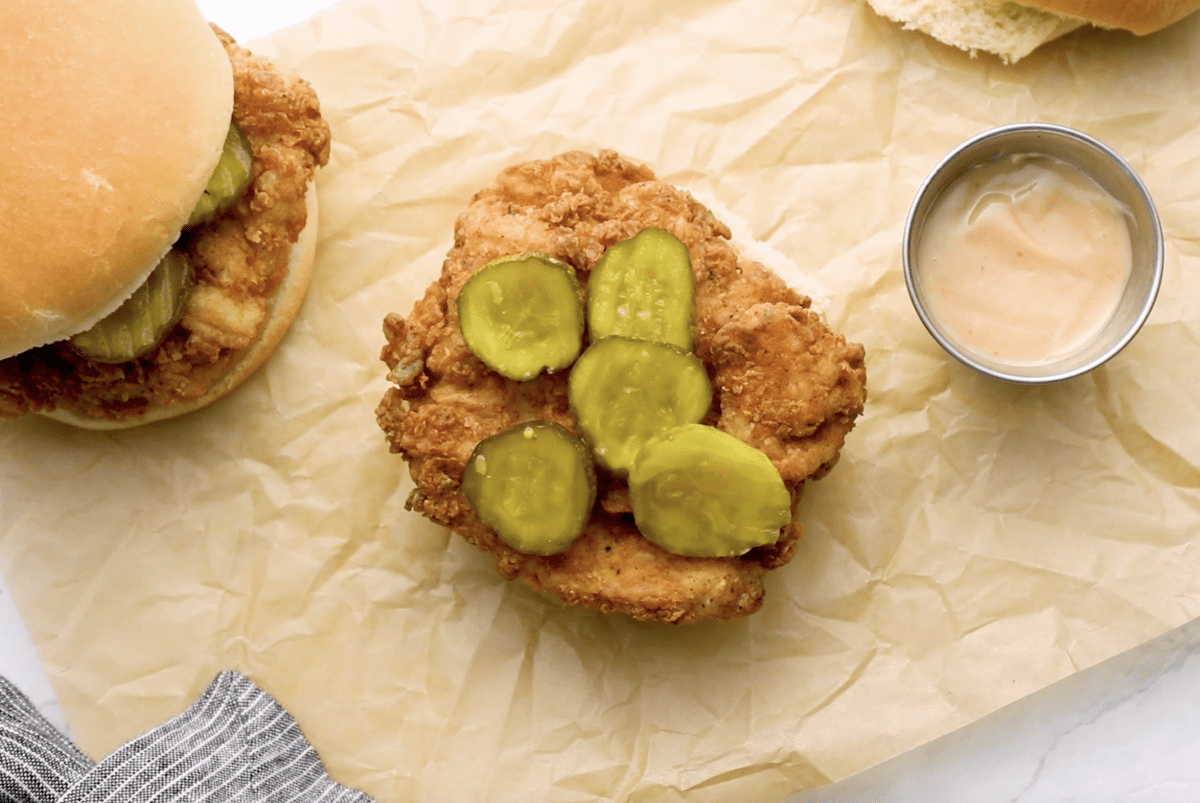
Step 5: Make the sauce and assemble. Stir together the mayonnaise, BBQ sauce, and mustard until smooth. Spread the sauce on the buns, then top with the crispy chicken and pickles. Serve right away while the chicken is hot and the coating is at its crispiest. For a complete meal, serve the sandwiches with coleslaw, French fries, or potato salad.
Frequently Asked Questions
Can I use chicken thighs instead of chicken breasts?
Yes. Boneless, skinless chicken thighs work well and make an especially juicy sandwich. Because thighs vary in size and thickness, pound or trim them as needed so they’re relatively even, and cook until they reach at least 165°F in the center.
Can I make this in an air fryer?
I don’t recommend it for this recipe. The breading here is designed for deep frying and relies on being fully submerged in hot oil to get that signature crispy, craggy texture—an air fryer won’t produce the same result.
Video Tutorial
You May Also Like



Crispy Fried Chicken Sandwiches
Ingredients
For the Chicken
- 3 boneless, skinless chicken breasts (about 1⅓ lbs)
- 2 cups cold water
- 2 tablespoons + ¾ teaspoon salt
- 2 teaspoons sugar
- 4 to 6 cups vegetable or peanut oil, for frying
- 1 large egg
- ½ cup milk
- 1½ cups all-purpose flour
- 3 tablespoons cornstarch
- 1½ teaspoons baking powder
- ¾ teaspoon garlic powder
- 1 tablespoon freshly ground black pepper
- 1 teaspoon Accent flavor enhancer (see note)
- 1 teaspoon paprika
For the Sauce
- ½ cup mayonnaise, best-quality such as Hellmann's or Duke's
- 3 tablespoons store-bought barbecue sauce
- 2 teaspoons Dijon mustard
For the Sandwiches
- 6 hamburger buns
- Bread and butter pickles
Instructions
- Make the chicken: One at a time, place the chicken breasts in a resealable freezer bag; using a meat mallet or rolling pin, pound them to an even ¼-in (6-mm) thickness. Cut each pounded breast in half. (If the pieces seem too large to fit in a bun, trim off the pointy ends; you can cook those as chicken nuggets at the same time you're cooking the breasts.)
- Pour the cold water into a medium bowl; add the 2 tablespoons of the salt and the sugar and whisk until dissolved. Place the chicken breasts in the brine, cover the bowl, and refrigerate for at least 4 hours or overnight (the longer you brine, the saltier the chicken will be).
- Line a plate with a few layers of paper towels and set it next to the stove. Pour the oil into a large, high-sided pot or Dutch oven until it reaches a depth of about 1 in (2.5 cm). Heat the oil over medium-high heat until shimmering (about 350°F/175°C). (If the end of a wooden spoon or cube of bread sizzles vigorously when you dip it in, the oil is hot enough.)
- In a medium bowl, whisk the egg and milk until evenly combined.
- In another medium bowl, whisk the flour, cornstarch, baking powder, garlic powder, pepper, Accent, paprika, and the remaining ¾ teaspoon salt. Drizzle 4 tablespoons of the egg mixture into the flour mixture and mix with a fork until the flour mixture is evenly clumpy.
- Line a baking sheet with aluminum foil for easy cleanup. Remove the chicken from the brine and pat dry with paper towels. One at a time, dip each breast into the egg mixture, letting any excess drip off, and then into the flour mixture, turning a few times and pressing firmly so that the clumps adhere. Set the breaded chicken on the lined baking sheet and repeat with the remaining breasts.
- Carefully place a few pieces of breaded chicken into the hot oil without crowding the pot. Cook, turning a few times, until golden brown and crispy on both sides, 4 to 5 minutes total. Place the cooked chicken on the paper towel-lined plate to drain. Fry the remaining breasts in the same manner, adjusting the heat as necessary to maintain the temperature of the oil.
- Make the sauce: In a small bowl, whisk together the mayoanniase, barbecue sauce, and mustard.
- Assemble the sandwiches: Spread some of the sauce on each top and bottom bun. Top each bottom bun with a piece of crispy chicken and a few pickles. Close the sandwiches and serve immediately.
Notes
- Accent is an MSG flavor enhancer that enhances the savory, umami flavors of foods. You can find it in the spice section of the supermarket. I love the flavor it adds, but if you would prefer, you can omit it and increase the salt in the breading to one heaping teaspoon
- A deep-frying thermometer isn’t a must, but it really does help maintain the proper temperature for frying, which ensures that the breading is crispy and sticks to the chicken.
- Nutritional information was calculated assuming that approximately ¼ cup (60 ml) of the oil is absorbed into the chicken tenders when frying.
- Make-Ahead/Freezing Instructions: The sauce can be made 3 days ahead and refrigerated.

Nutrition Information
This website is written and produced for informational purposes only. I am not a certified nutritionist and the nutritional data on this site has not been evaluated or approved by a nutritionist or the Food and Drug Administration. Nutritional information is offered as a courtesy and should not be construed as a guarantee. The data is calculated through an online nutritional calculator, Edamam.com. Although I do my best to provide accurate nutritional information, these figures should be considered estimates only. Varying factors such as product types or brands purchased, natural fluctuations in fresh produce, and the way ingredients are processed change the effective nutritional information in any given recipe. Furthermore, different online calculators provide different results depending on their own nutrition fact sources and algorithms. To obtain the most accurate nutritional information in a given recipe, you should calculate the nutritional information with the actual ingredients used in your recipe, using your preferred nutrition calculator.
Jen, I am a huge fan of your recipes, and this one was no exception! The sandwiches were delicious. I’ll be adding the recipe to my rotation. Thanks for sharing!
Technique was fantastic – yielded crispy and juicy chicken, as promised. It was a tad saltier than I would have liked (brined for only 5 hours) so I might cut back just a little next time. Otherwise, this will be my go-to chicken sandwich recipe.
Was so happy to see this recipe. Made it for my family and it was enjoyed by everyone. I didn’t find it too difficult to manage just wished my coating was more golden brown like the picture. I will definitely be making this again and maybe I will do it as chicken strips. A definite winner.
As expected, my family and I loved this recipe. I left the chicken in the brine an extra day so it was saltier than I would like, will follow Jenn’s brine time down the road. I expect my family will ask for these sandwiches again and again.
These are dangerously good! I wouldn’t typically make something like this, but I knew my kids would love it and boy was I right!! They asked if I would make them every week! 😊 The chicken is moist on the inside and delicately crunchy on the exterior. The sauce is simple but delicious, and topping the sandwiches with a few pickles REALLY made it taste like what you get at Chick Fil-a. I’m not sure we’ll ever need to go back there. Jenn, you knocked it out of the park (yet again) — my happy family thanks you!!
I tried this tonight. I would describe it as so so. The meat seemed overly salty. Maybe I let the chicken brine too long (two days). I could not get the batter to look like your picture, and I’m not sure how to do it differently than what you described in your recipe. My batter came out thin once the chicken was done frying.
I’ll have to try it again soon.
You didn’t follow directions and then rated the recipe poorly? Brining meat for 2 days is going to produce salty meat. That’s how brining works.
I somehow managed to run out of table salt. Is 2.5 Tablespoons of Kosher salt the correct amount for the brine? Thank you for yet another recipe I can’t wait to try!
Actually, according to this chart, you’ll need 2 tablespoons plus 1.5 teaspoons. Hope you enjoy the sandwiches!
I cooked this tonight and was getting something from the kitchen as the family started dinner. All I heard was “Oh wow Mum!”. It made me smile!
😊
Hi there, could I use a different oil for frying? Such as avocado, coconut or olive oil? I don’t have peanut oil and ideally would like to use an oil I have handy.
Hi Ashley, If you have vegetable or canola oil, that would be best. If not, I’d go with the avocado oil. Hope you enjoy!
I made this for dinner the other night – SO GOOD!!! I only ended up with 3.5 hours for the brine and the chicken still turned out juicy and delish! Thank you so much! I also wasn’t able to get a hold of Accent, so I added some onion powder and cajun seasoning and it worked out really well – so flavorful!!