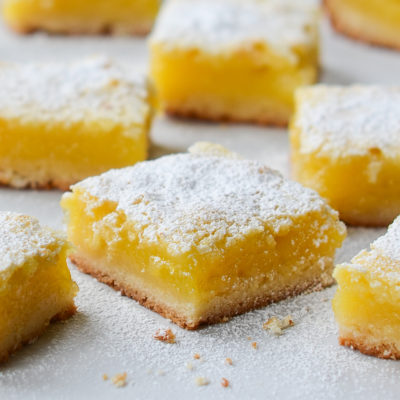
Lemon Bars


This post may contain affiliate links. Read my full disclosure policy.
Bring these lemon bars to your next get-together and watch them disappear—they’re bright, buttery, and the perfect balance of tart and sweet.
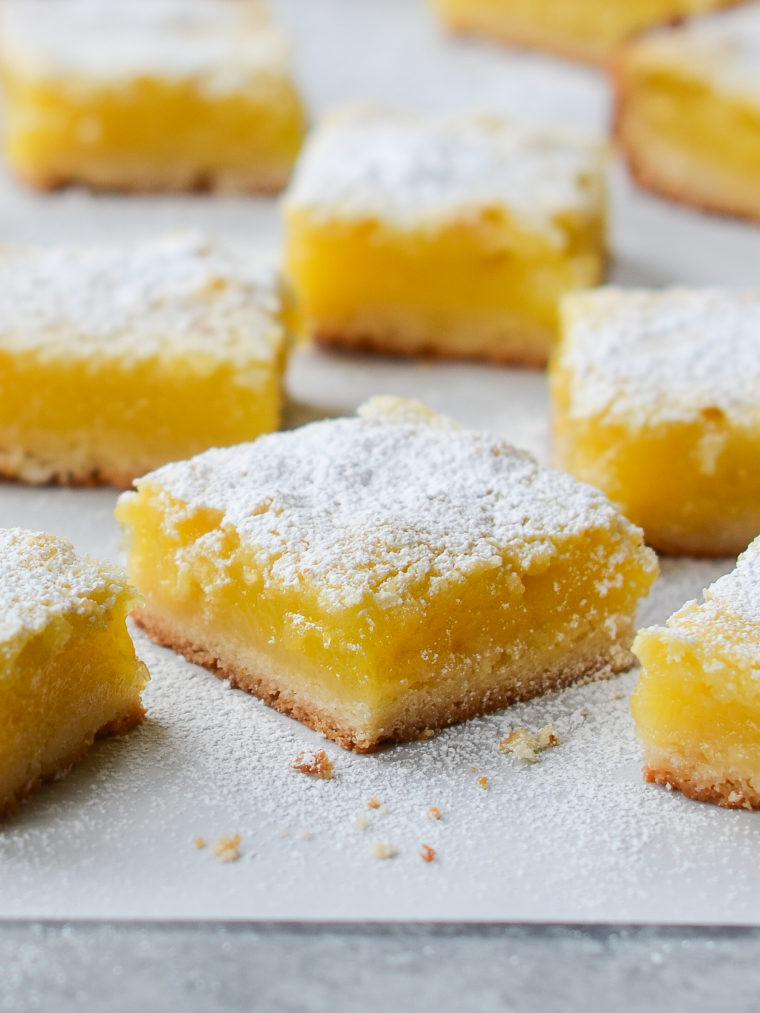
When the weather warms up—or I’m just in the mood for something sunny and bright—I always come back to this old-fashioned lemon bars recipe. With a buttery shortbread crust and a tangy citrus filling, they’re a little slice of summer and one of my favorite treats to keep in the fridge (or freezer).
They’re also incredibly easy to make—just eight simple ingredients, most of which you probably already have in your pantry. And here’s my secret to the best lemon bars: a touch of cornstarch in the crust. It’s a pastry-chef trick that gives the shortbread a tender, crisp texture all the way through.
These lemon bars keep and freeze beautifully, so they’re perfect for making ahead for picnics, potlucks, or anytime a lemon craving strikes.
“Simply the best lemon bars you’ll ever eat.”
What You’ll Need To Make Lemon Bars
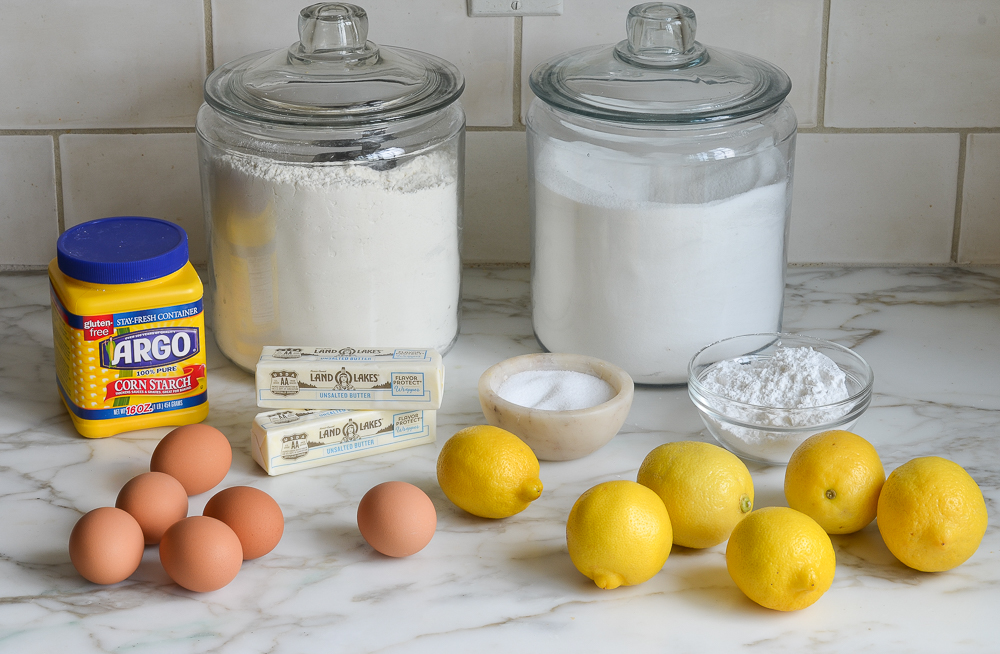
- All-purpose flour & Cornstarch: The flour gives the crust structure and also helps thicken the lemon topping so it sets nicely. The cornstarch is the secret to that tender-crisp texture that makes the shortbread layer so good.
- Confectioners’ sugar: Sweetens the crust and helps give it that crisp, delicate texture. A light dusting over the top of the finished bars also makes them look as pretty as they taste.
- Butter: Adds richness and flakiness to the crust, giving it a shortbread-like texture and flavor. Keep it cold until ready to make the crust.
- Eggs: The base of the topping, giving it structure and richness.
- Granulated sugar: Sweetens the lemon layer and balances the tartness of the lemon juice.
- Lemon zest & Fresh Lemon Juice: The zest adds concentrated lemon flavor, while the juice brings brightness and tang. Use a microplane to zest the lemons—just the yellow part, not the bitter white pith—and always zest before you juice.
- Jump to the printable recipe for precise measurements
How to Make Classic Lemon Bars
To get started, gather all your ingredients, adjust the oven rack to the middle position, preheat the oven to 350°F, line a 9×13 metal baking pan with heavy-duty aluminum foil, and spray with nonstick cooking spray.
Step 1: Combine crust ingredients. Place the flour, cornstarch, salt and confectioners’ sugar in the bowl of a food processor fitted with the blade attachment. Mix for 15 seconds to blend together, then add the chunks of cold butter.
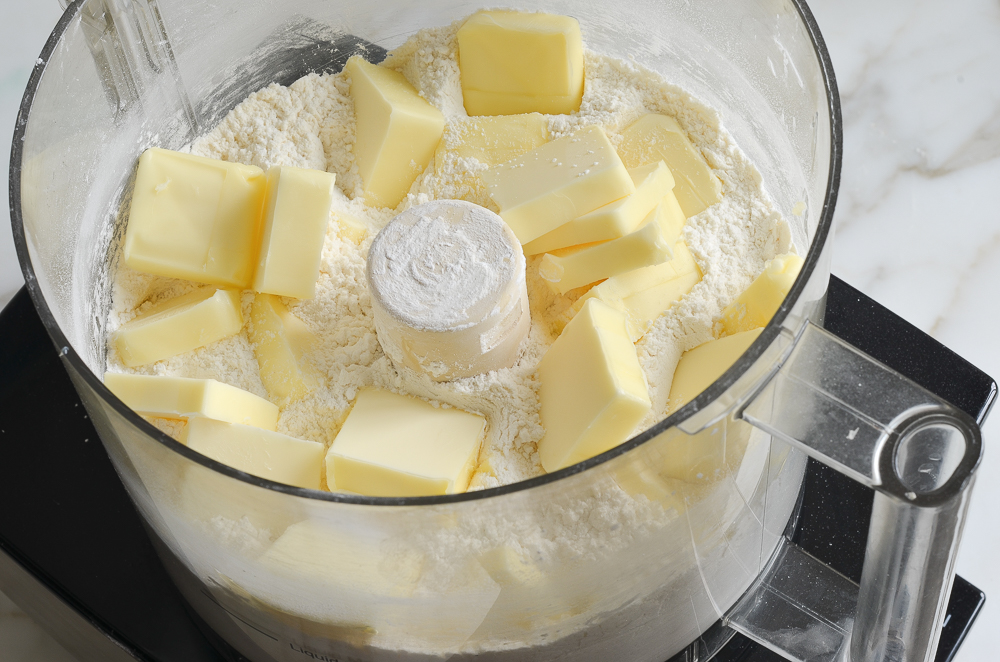
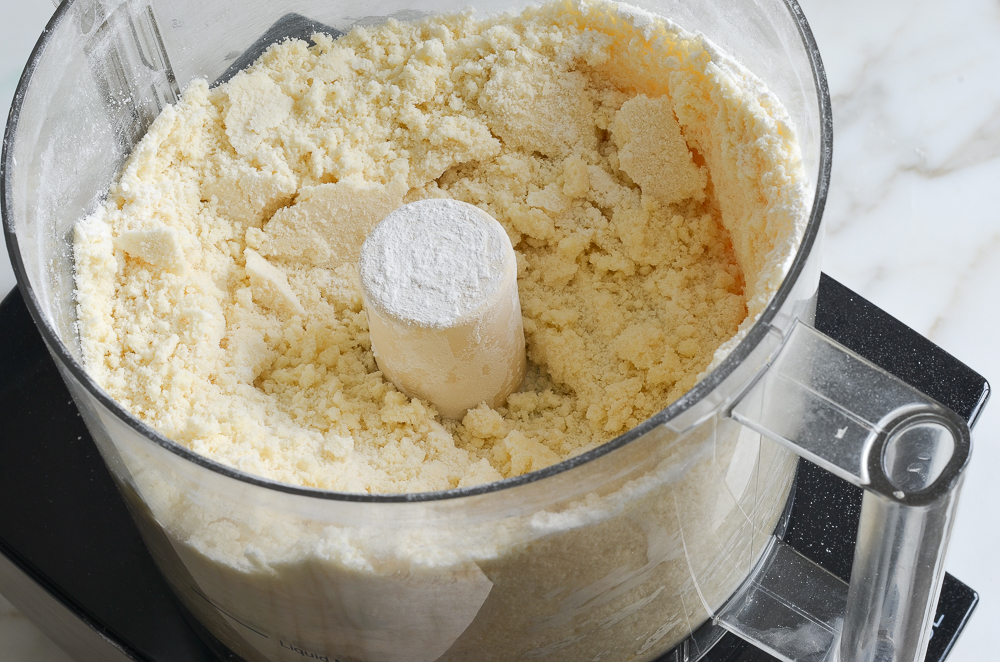
Step 2: Mix the crust. Pulse to breakdown the butter until the mixture resembles a coarse meal. This should take 10 to 15 seconds.
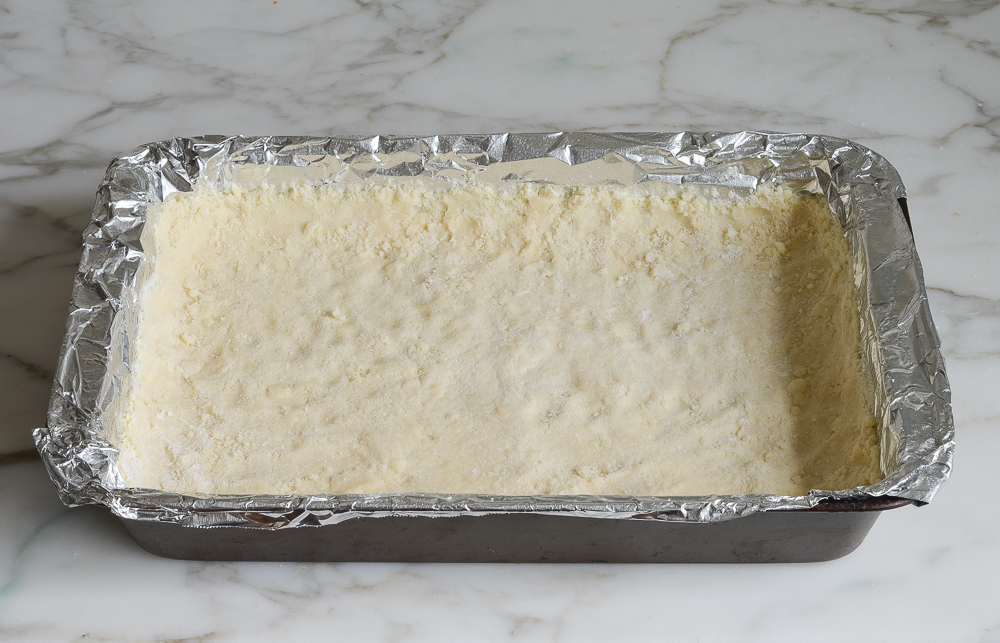
Step 3: Form the crust. Place the mixture into your prepared pan. Press the mixture firmly with your fingers into an even layer, building up a thin edge around the sides. Refrigerate the crust for 30 minutes or freeze for 15 minutes.
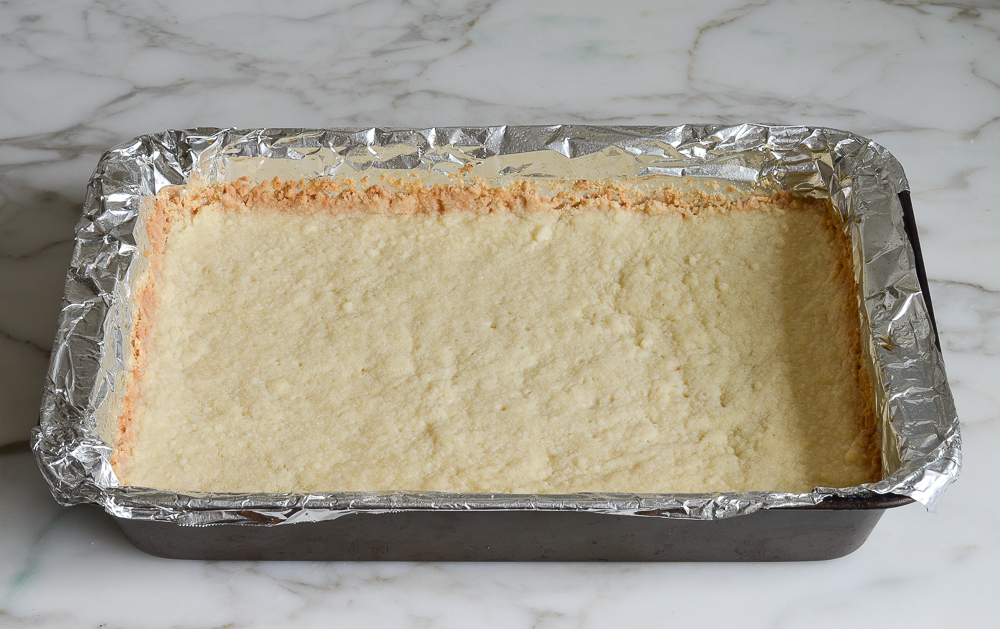
Step 4: Bake. Bake the crust until lightly golden—it will take 15 to 20 minutes.
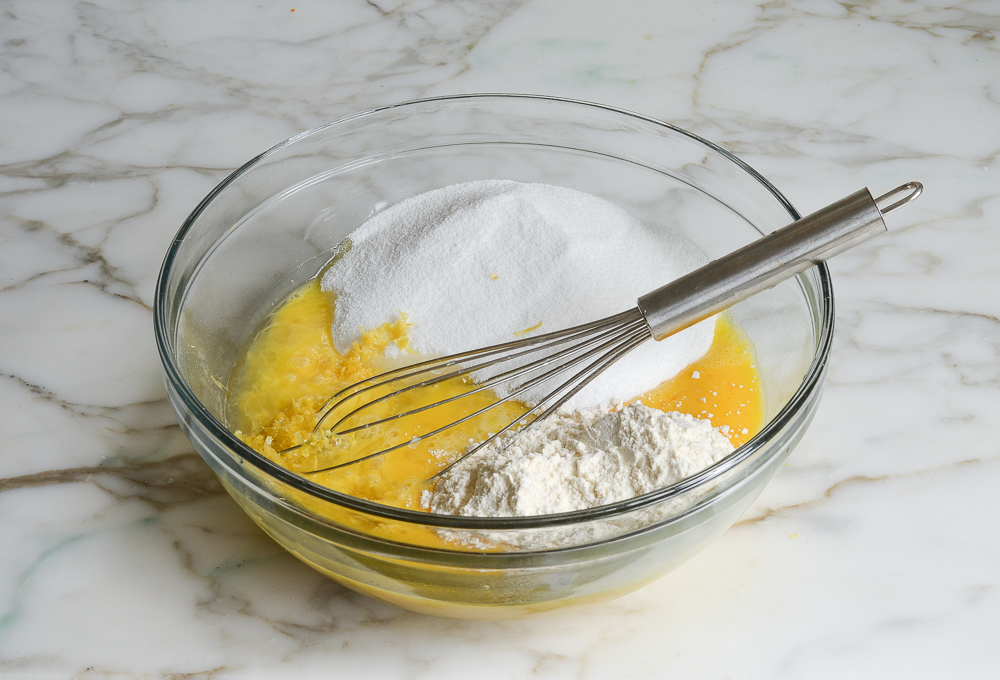
Step 5: Make the filling. Whisk the eggs in a large bowl. Add the sugar, lemon juice, lemon zest, and flour. Whisk the mixture well, making sure no lumps of flour remain.
Step 6: Add to crust. Pour the filling into the baked crust.
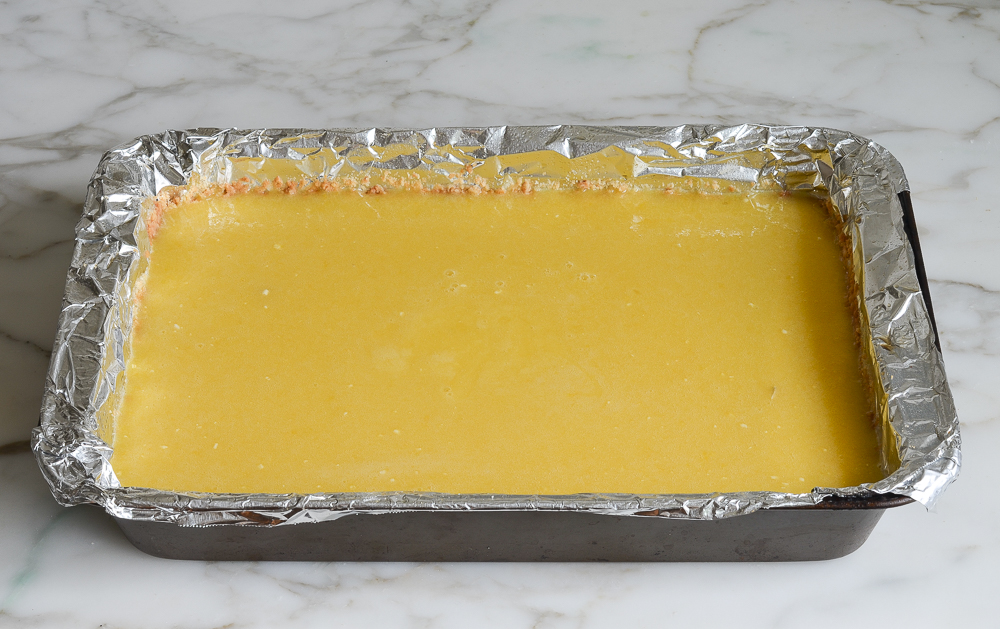
Step 7: Bake lemon bars. Return the pan to the oven and bake another 30 to 35 minutes, or until the topping is set and firm. Let the bars cool on a rack to room temperature.
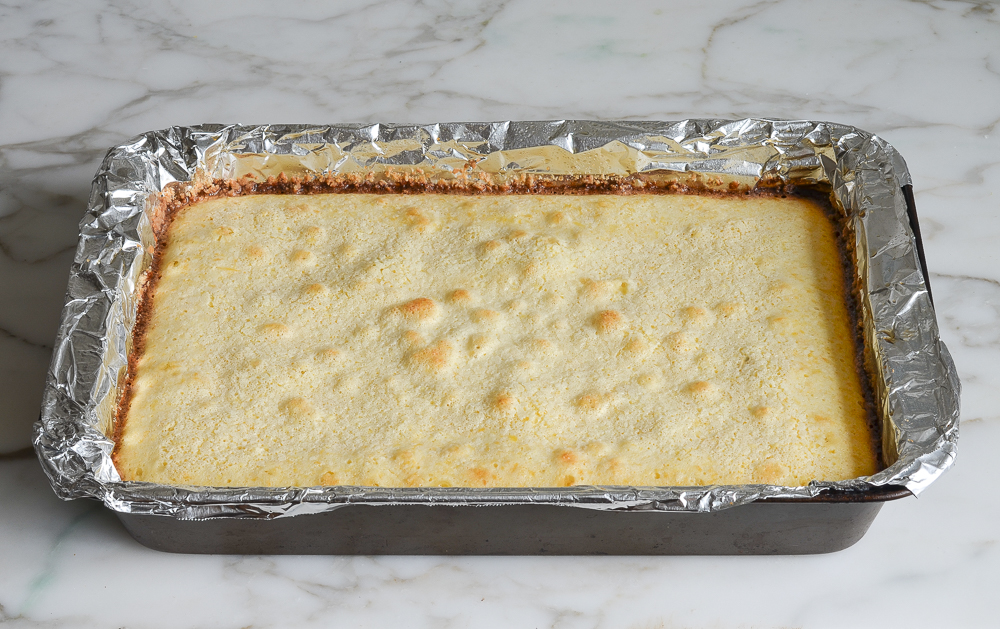
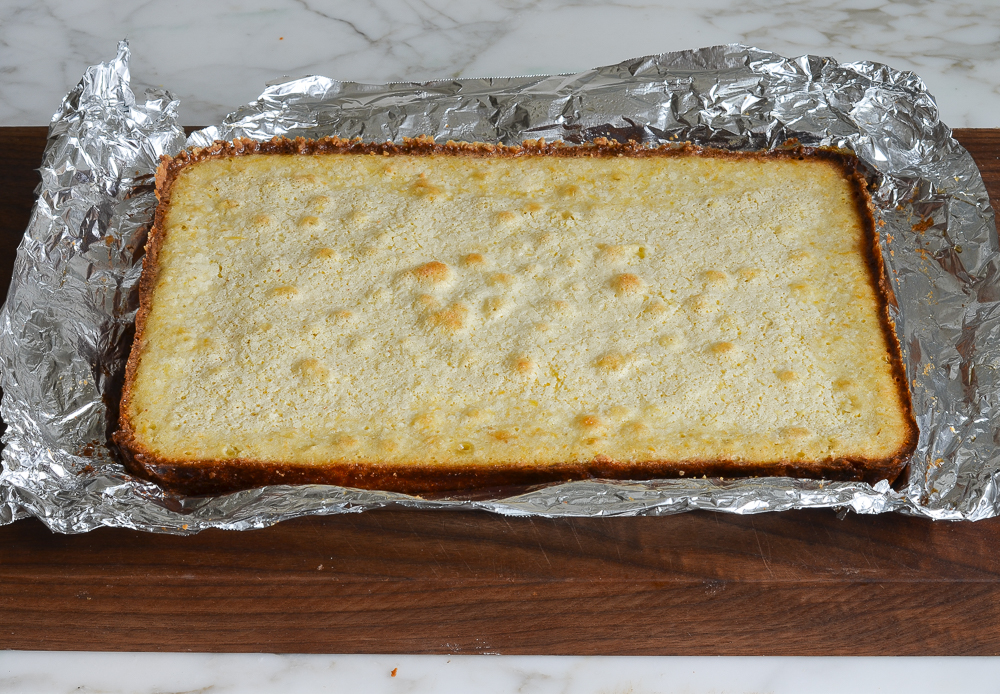
Step 8: Remove from pan. Use the foil overhang to lift the baked lemon squares out of pan and onto a cutting board. Carefully loosen the foil from the edges of the crust.
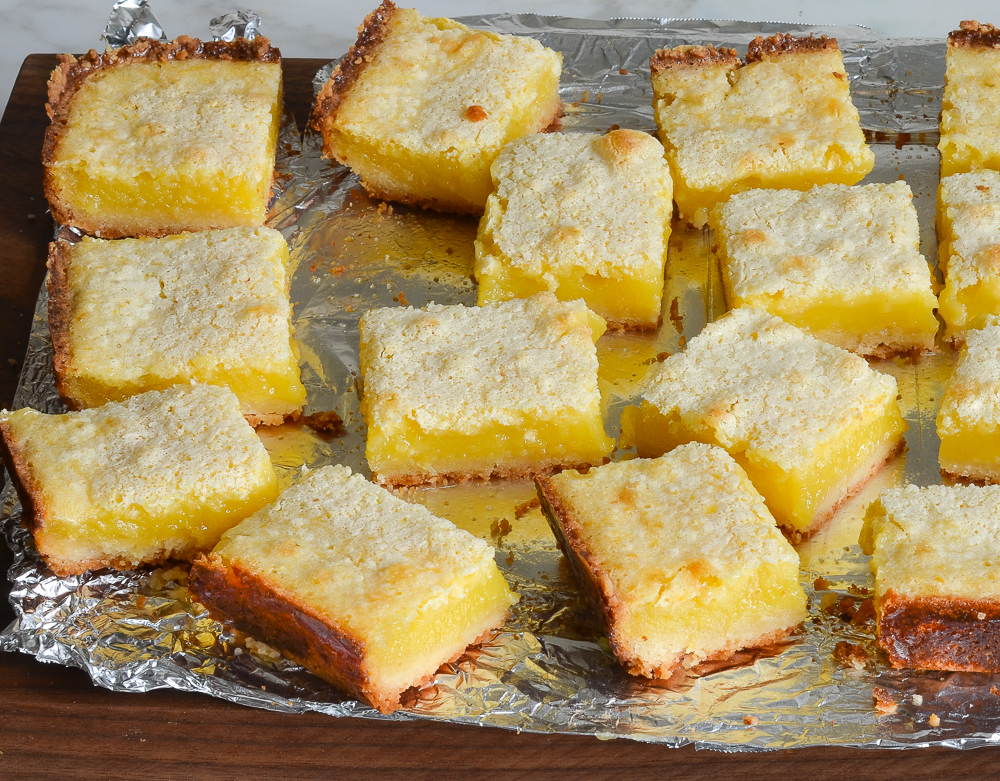
Step 9: Cut and serve. Once completely cool, use a sharp knife and cut your homemade lemon bars into squares or triangles. Right before serving, dust the top with confectioners’ sugar. Keep the bars in a covered container in the fridge for up to 4 days, or freeze for longer storage.
Video Tutorial
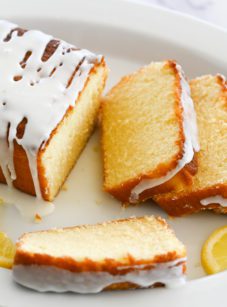
More Lemon Dessert Recipes You May Like

Luscious Lemon Bars
Ingredients
For the Crust
- 1¾ cups all-purpose flour, spooned into measuring cup and leveled-off
- ¼ cup cornstarch
- 1 teaspoon salt
- 1 cup confectioners' sugar, plus more to decorate finished bars
- 1 cup (2 sticks) cold unsalted butter, cut into ½-in (13-mm) pieces
For the Lemon Topping
- 6 large eggs
- 3 cups granulated sugar
- 2 tablespoons lemon zest (be sure to zest the lemons before juicing)
- ⅔ cup freshly squeezed lemon juice, from 5 to 6 lemons
- ⅔ cup all-purpose flour, spooned into measuring cup and leveled-off
Instructions
Make the Crust
- Adjust an oven rack to the middle position and preheat the oven to 350°F (175°C).
- Cover a 9 x 13-in (23 x 33-cm) metal baking pan with heavy-duty aluminum foil (see note below). Push the foil neatly into the corners and up the sides of the pan, using two pieces if necessary to ensure that the foil overlaps all edges (the overhang will help removal from the pan). Spray the foiled pan with nonstick cooking spray.
- Place the flour, cornstarch, salt, and confectioners' sugar in the bowl of a food processor fitted with the blade attachment and mix for a few seconds. Add the butter and mix to blend until the mixture resembles coarse meal, 10 to 15 seconds. Sprinkle the mixture into the prepared pan and press firmly with your fingers into an even layer, building up a thin ¾-inch (2-cm) edge around the sides (this keeps the filling from spilling beneath the crust). Refrigerate for 30 minutes or freeze for 15 minutes.
- Bake the crust until lightly golden, 15 to 20 minutes.
Make the Filling
- In a large bowl, whisk together the eggs, sugar, lemon juice, lemon zest, and flour. Be sure no lumps of flour remain.
- When the crust is ready, give lemon mixture a quick final stir and then pour over top. Immediately return the pan to the oven and bake another 30 to 35 minutes, or until the topping is set and firm. Let the bars cool on a rack to room temperature; it will take several hours.
- To cut, use the foil overhang to lift the baked square out of pan and onto a cutting board. Carefully loosen the foil from the edges of the crust, using a knife if necessary. Using a sharp knife, cut into squares or triangles. Use a fine sieve to dust the squares with confectioners' sugar. Store the bars in a covered container in the refrigerator for up to 4 days. Serve chilled or room temperature.
Notes
- Be sure to use heavy-duty aluminum foil; regular aluminum foil may stick. Parchment paper can also be used to line the pan.
- Freezing Instructions: The bars can be frozen for up to 3 months. After they are completely cooled, freeze the batch whole, covered tightly with aluminum foil or plastic freezer wrap. Before serving, remove them from the freezer and let them thaw overnight in the refrigerator. Cut the bars and then sprinkle with confectioners’ sugar before serving.
Nutrition Information
This website is written and produced for informational purposes only. I am not a certified nutritionist and the nutritional data on this site has not been evaluated or approved by a nutritionist or the Food and Drug Administration. Nutritional information is offered as a courtesy and should not be construed as a guarantee. The data is calculated through an online nutritional calculator, Edamam.com. Although I do my best to provide accurate nutritional information, these figures should be considered estimates only. Varying factors such as product types or brands purchased, natural fluctuations in fresh produce, and the way ingredients are processed change the effective nutritional information in any given recipe. Furthermore, different online calculators provide different results depending on their own nutrition fact sources and algorithms. To obtain the most accurate nutritional information in a given recipe, you should calculate the nutritional information with the actual ingredients used in your recipe, using your preferred nutrition calculator.
I am looking forward to trying them this weekend – but will try to reduce the sugar, as over 1/2 kg seems a lot! Have you played around with the sugar content, will it just be lass sweet or change consistency as well?
I haven’t, Sabine, but it should be fine to reduce it a bit.
too sweet for me
Have you tried to refrigerate the bars before cutting to keep the edges smooth? I do this with brownies and use an electric knife to cut. It makes brownies more attractive and you don’t have to bake them longer to make them easier to cut. Would like your advice if this would work. Thanks, Eileen
Hi Eileen, These cut pretty easily but you can definitely refrigerate or freeze them first if that makes it easier.
Hi Jenn,
I am going to try these, wondering if lining with parchment paper works, metal or glass pan?
Thank you
Hi Joyce, Parchment paper will work well and I’d use a metal pan for best results. Hope you enjoy!
Would it be ok to put these in the refrigerator to get them to cool quicker?
Yep, that’s fine. 🙂
These were unbelievably good! I’ve never made lemon bars before, so when I was mixing up the filling I was quite skeptical because it seemed so ‘eggy’; I thought I was going to end up with an omelette! But the magic happened in the oven and the final product was to die for!! So lemony, and the crust was so great; crispy and golden and delicious. They also cut beautifully and looked so pretty with their dusting of sugar. I read many recipes before deciding which one to try and I’m so glad I chose this one! Thank you for this fab recipe 🙂
This recipe garners rave reviews taste-wise in fact, they are my spouse’s favorite dessert but, for some reason my squares turn out flat…. do you have any suggestions?
Hi Laurie, I just recently updated this recipe so the bars are thicker. Did you make the new version or old?
The Luscious Lemon recipe… the new one I believe. That’s interesting because I didn’t realize it was a “new” recipe the last few times I made it. Never noticed the old recipe going flat. 🧐 Maybe I’ll have to make another batch of each to compare and contrast…😁
Hi Laurie, I’m sorry for the confusion! The new recipe was just added last week, so you may have made the old recipe. This version has more height.
Jenn, I love your old lemon bar recipe that was made in a smaller pan. I think it was exactly half these ingredients, but I can’t seem to find the copy that I printed out and now I’m not sure. Could you direct me to a link to your original lemon bar recipe that was made in an 8X8 or 9X9 pan? Thanks so much! – Alison
Hi Alison, If you scroll down to the bottom the post, right on top of the last photo, you’ll find a link to download the old recipe. Hope that helps!
These lemon bars are so exquisitely delicious that I decided to make them while traveling. The first batch disappeared so quickly as I shared them with all the neighbors. A week later I made another batch before heading to the airport. I’m still getting compliments on these lemon squares! Thank you Jenn for sharing your delicious recipes! I simply adore your book! 😊
Hi Jenn,
Can I use a glass pan for these?
Hi Tamara, Yes but I’d reduce the oven temp by 25°F. Hope you enjoy them!
Very helpful- I have old glass pans for everything and didn’t realize I would need to adjust times! Thanks.
Just perfect! thanks