Lemon Pudding Cakes

This post may contain affiliate links. Read my full disclosure policy.
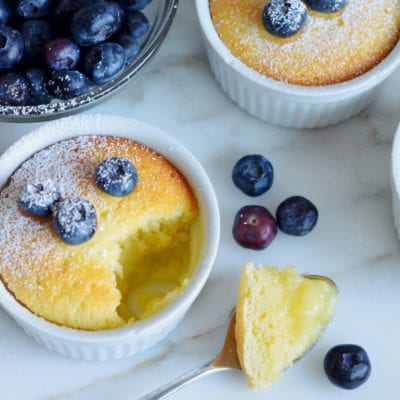
A dessert that bakes into two dreamy layers—fluffy cake on top, silky lemon pudding underneath. One spoonful of these lemon pudding cakes, and you’ll be hooked!
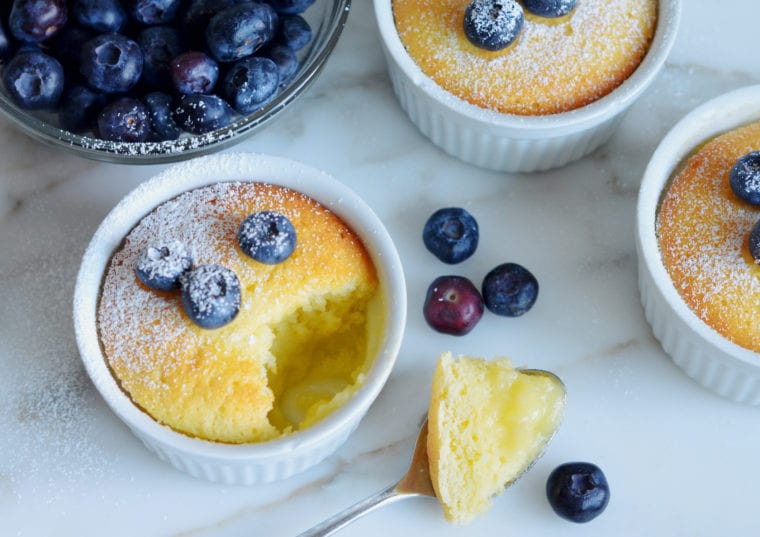
As someone who cooks for a living, I’m always mindful of dessert portion sizes—but I make an exception for these irresistible lemon pudding cakes. They’re refreshingly light and practically guilt-free, with a built-in surprise: during baking, the batter magically separates into a fluffy cake layer on top and a luscious lemon pudding beneath.
If you don’t have ramekins on hand, no worries! An 8-inch square pan or a 2-quart baking dish works just as well, with about the same baking time.
Love citrusy desserts? You might also enjoy my lemon bars or lemon pound cake—both bright, tangy, and perfect for lemon lovers.
“Absolutely delicious and really easy! Makes such an elegant dessert…I get rave reviews when I serve this.”
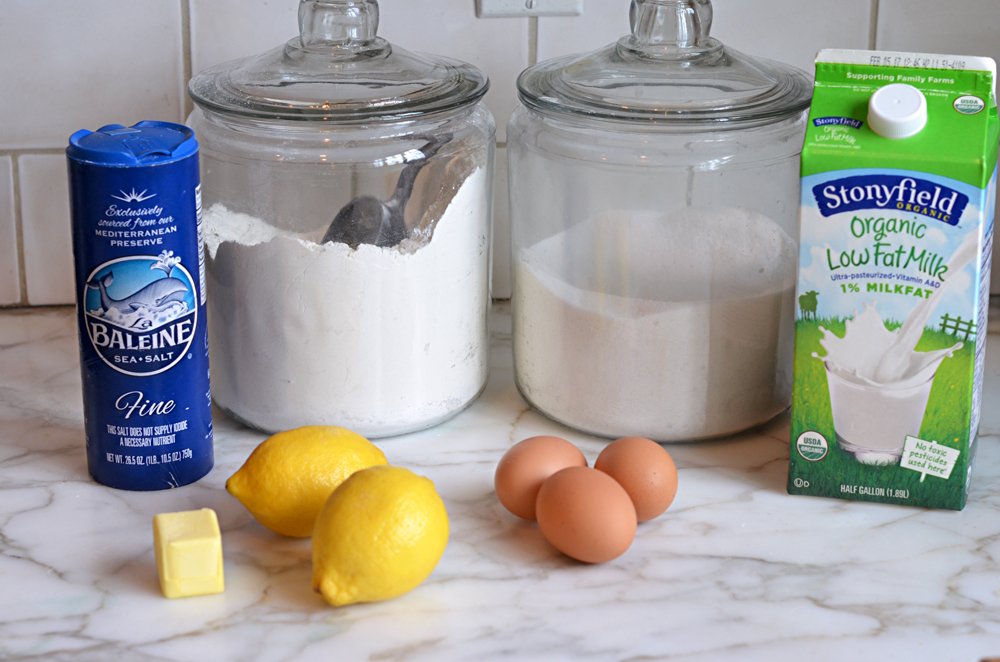
What You’ll Need To Make Lemon Pudding Cakes
Step-by-Step Instructions
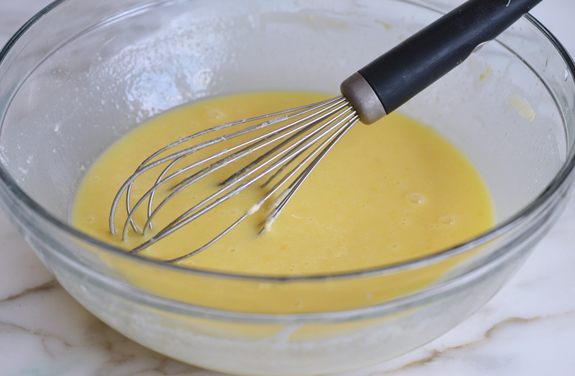
First, spray six (6-oz) ramekins with nonstick cooking spray then make the batter by whisking the egg yolks, milk, lemon zest, lemon juice, melted butter, salt, and flour in a large bowl.
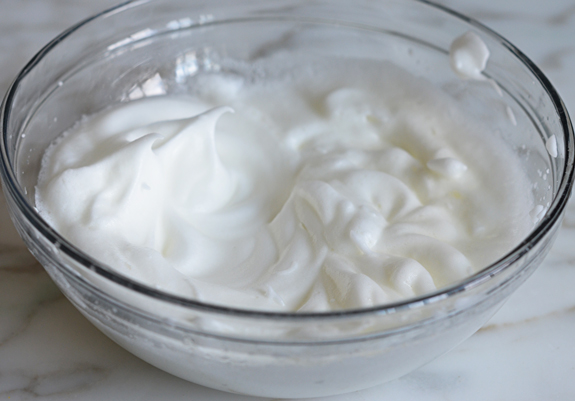
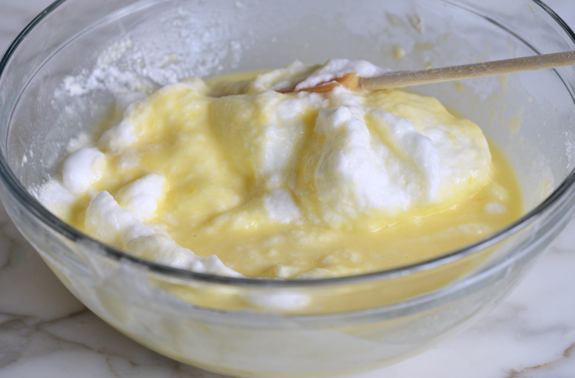
In a separate bowl, beat the egg whites until soft peaks form. When you lift the beaters out, the peaks should curl.
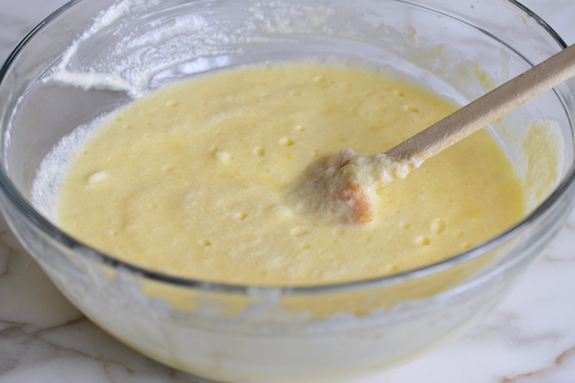
Whisk a bit of the beaten eggs into the lemon mixture to lighten it. Then add the remaining beaten egg whites to the mixture. Gently fold with a rubber spatula until the mixture is smooth.
The batter will be light, foamy, and liquidy.
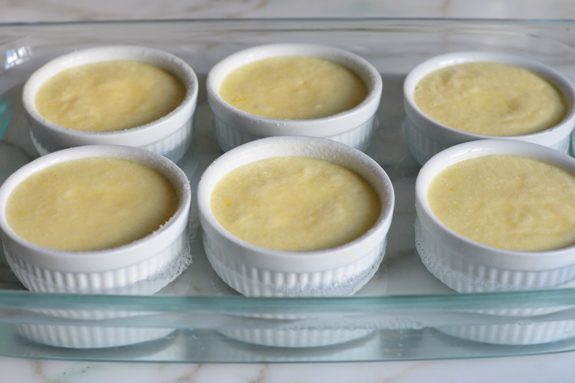
Place the prepared ramekins inside a 9-by-13-inch baking dish. Ladle the batter evenly into the 6-ounce ramekins, filling them almost to the top. Then, using a teapot or pitcher, carefully pour room-temperature water into the baking dish until it reaches halfway up the sides of the ramekins. This water bath (or bain-marie) helps the cakes bake gently, ensuring the custard-like pudding layer forms perfectly.
Carefully place the baking pan in the oven and bake for about 45 minutes, or until the cakes are puffy and lightly golden on top.

Using tongs, carefully remove the lemon pudding cakes from the baking dish and let cool on a rack for about 20 minutes before serving. (They will sink a bit as they cool; that’s totally normal.) Dust the cakes with powdered sugar and serve with berries, if you like. Enjoy!
You May Also Like


Lemon Pudding Cakes
Ingredients
- 3 large eggs, separated
- 1 cup milk (low-fat or whole)
- 2 teaspoons lemon zest, from 2 lemons
- 6 tablespoons fresh lemon juice, from 2 lemons
- 2 tablespoons unsalted butter, melted
- ¼ teaspoon salt
- 6 tablespoons all-purpose flour
- 1 cup sugar
- Fresh berries and confectioners' sugar, for serving (optional)
Instructions
- Preheat the oven to 350°F (175°C) and set a rack in the middle position. Spray six (6-oz/177-ml) ramekins with nonstick cooking spray.
- In a large bowl, whisk together the egg yolks, milk, lemon zest, lemon juice, butter, and salt. Add the flour and sugar and whisk until smooth.
- In the bowl of an electric mixer, beat the egg whites until soft peaks form. (The peaks should curl when you lift the beaters out of the bowl.) Spoon about ¼ of the egg whites into the lemon mixture and whisk until smooth. Add the remaining egg whites and, using a rubber spatula, gently fold into the lemon mixture until smooth. The batter will be light, foamy, and liquidy.
- Place the prepared ramekins into a 9 x 13-in (23 x 33-cm) baking dish. Ladle the batter evenly into the ramekins (it will come almost to the top). Using a teapot or pitcher, pour room temperature water into the pan to reach halfway up the sides of the ramekins. Carefully place the baking pan in the oven and bake for 45 to 50 minutes, or until the cakes are puffy and lightly golden on top. Using tongs, carefully remove the ramekins from the baking dish and let cool on a rack for about 20 minutes before serving. (They will sink a bit as they cool; that's okay.) Dust with confectioners' sugar and serve with berries, if desired.
Notes
Nutrition Information
This website is written and produced for informational purposes only. I am not a certified nutritionist and the nutritional data on this site has not been evaluated or approved by a nutritionist or the Food and Drug Administration. Nutritional information is offered as a courtesy and should not be construed as a guarantee. The data is calculated through an online nutritional calculator, Edamam.com. Although I do my best to provide accurate nutritional information, these figures should be considered estimates only. Varying factors such as product types or brands purchased, natural fluctuations in fresh produce, and the way ingredients are processed change the effective nutritional information in any given recipe. Furthermore, different online calculators provide different results depending on their own nutrition fact sources and algorithms. To obtain the most accurate nutritional information in a given recipe, you should calculate the nutritional information with the actual ingredients used in your recipe, using your preferred nutrition calculator.
Looks delicious, Can this recipe be doubled and if so is the cooking time the same? Thanks
Yes and yes. 😊
Tasty little treat!
Can i make this in one dish rather than individual ramekins. Will it after cooking time?
Yes, you can bake this in an 8-inch square pan/2-quart baking dish. The bake time should be about the same. Enjoy!
Hi Jen, these look amazing and I’m looking forward to trying them. If I make them in the 8 by 8 inch cake pan, how do you get it out of the pan so it can be serve a little like a cake? Ie can you get it out of the pan or do you need to cut slices out to serve?
Hi SM, you’ll need to cut it into slices to serve. It’s not sturdy enough to remove from the pan. Hope everyone enjoys!