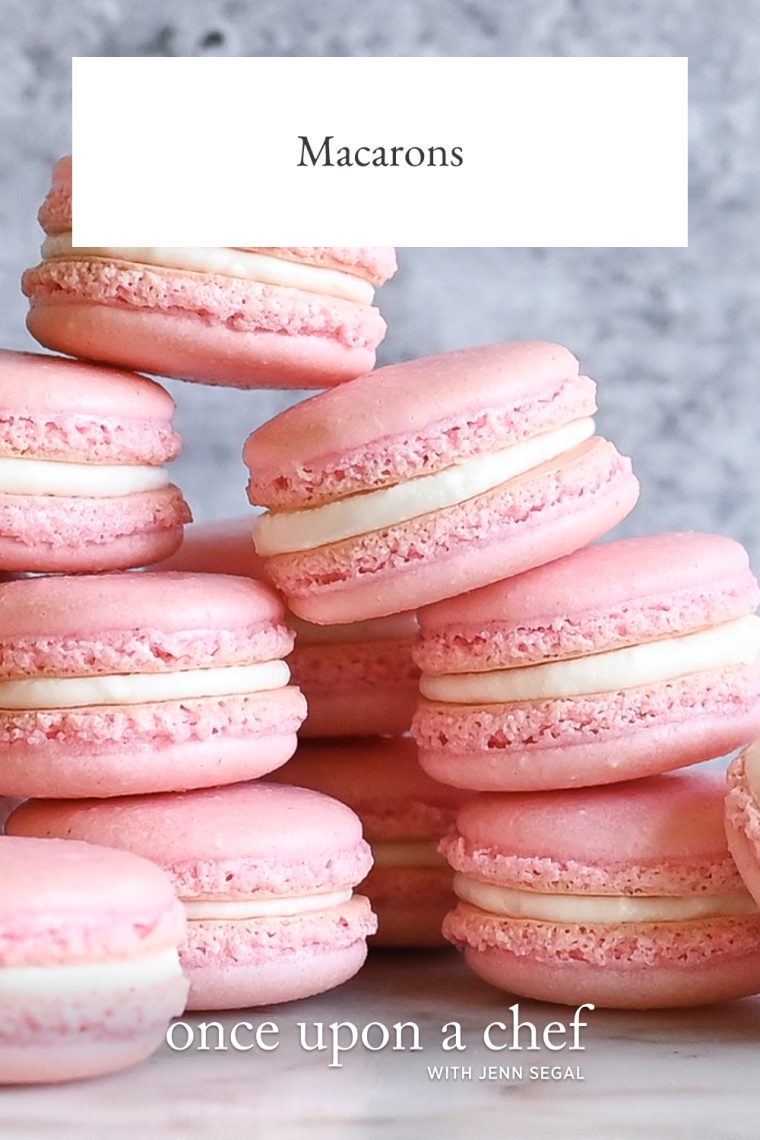
French Macarons

This post may contain affiliate links. Read my full disclosure policy.
Learn to make classic French macarons with this easy recipe, complete with all the tips you need to create the most joyful cookies on the planet.
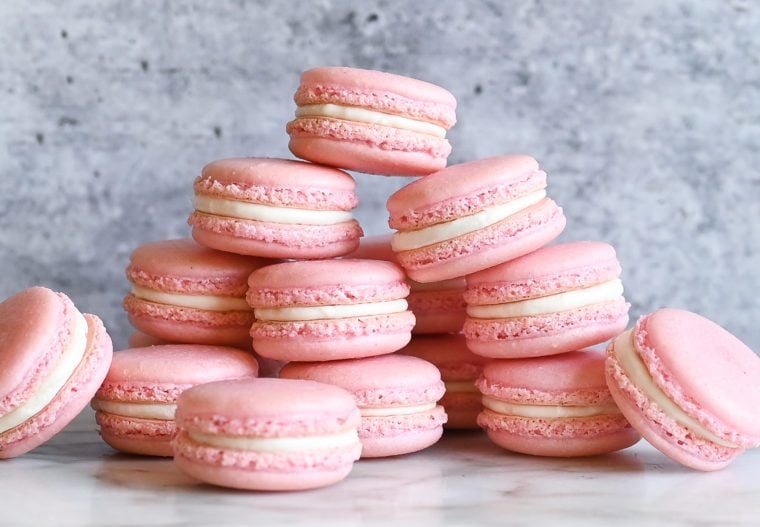
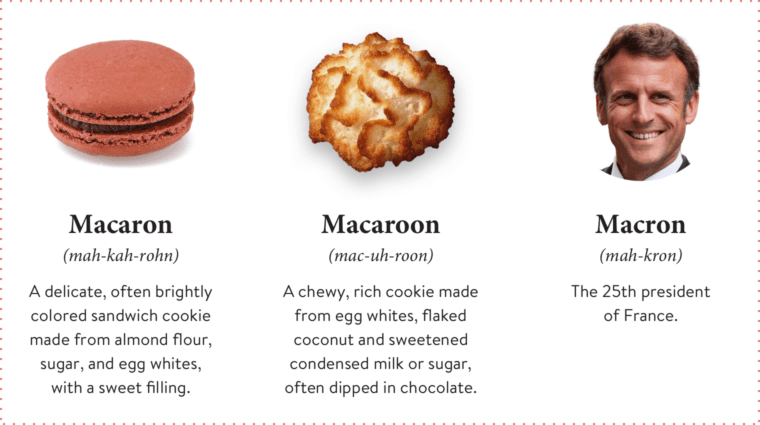
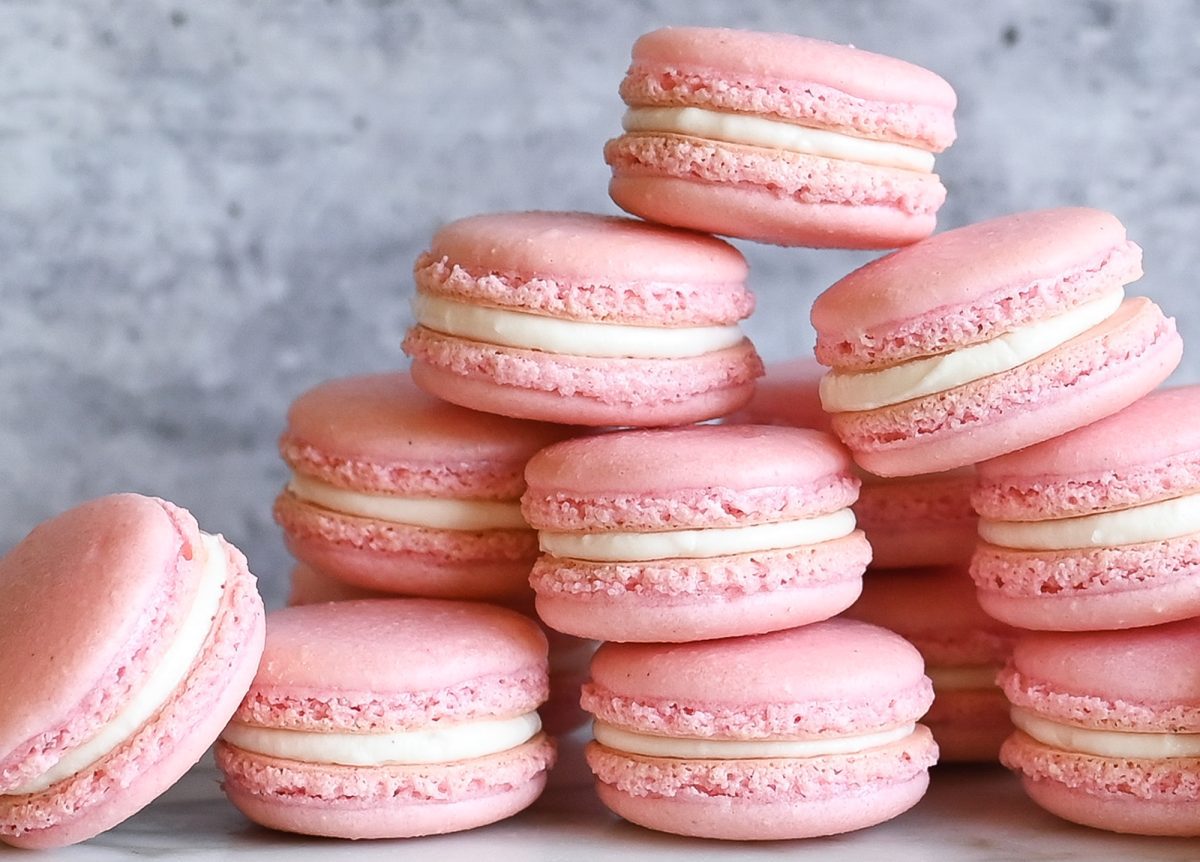
Macarons (mah-kah-rons) are whimsical Parisian-style cookies, with two delicate almond meringue shells cradling a sweet filling. The shells have a light, crisp exterior and a chewy interior, and their vibrant colors make them as pretty to look at as they are delicious to eat. The cookies are not to be confused with American macaroons (mac-uh-roons), which are coconut-based meringue cookies, or Emmanuel Macron, the 25th president of France!
“After trying several times with another recipe and mediocre results, nailed it on Take 1 with your recipe!”
Know Your Cookie: Macarons VS Macaroons
Making French Macarons
Given their temperamental nature, French macarons require precise measurements. This recipe provides metric measurements only because, to achieve success, you must weigh your ingredients using a digital scale. However, once you master the basics of making macaron shells, the creative options are endless. You can marble the color of the shells, vary the sweet fillings, roll the edges in nonpareils, or dip them in chocolate. This recipe guides you in creating classic vanilla-flavored macarons, but if you’re ready for a fun twist, be sure to check out my chocolate macarons recipe next!
What You’ll Need To Make Macarons
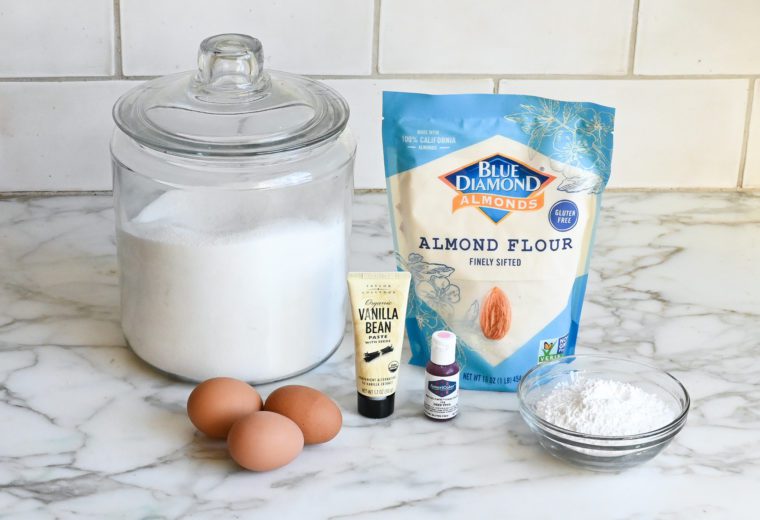
- Almond Flour: Provides the base and structure of the macaron shells, and also gives macarons their distinctive flavor and texture.
- Confectioners’ Sugar: Adds sweetness and helps in binding the almond flour to create a smooth, fine batter. It also contributes to the texture of the macaron shell.
- Egg Whites: Whipped with granulated sugar to create the meringue, which gives macarons their light and airy structure. Be sure no egg yolks get into the whites, as even a small amount will prevent them from whipping properly and achieving the necessary volume.
- Granulated Sugar: Stabilizes the whipped egg whites by helping to form a strong and stable meringue that holds its shape when piped.
- Vanilla paste: Adds flavor to the macarons. Vanilla bean paste is preferred over extract for its more intense and pure vanilla flavor and the specks of real vanilla bean; also will not add excess liquid to the batter.
- Gel food coloring: Provides vibrant, concentrated color to the macaron shells without adding excess liquid, which could affect the consistency of the batter.
- Jump to the printable recipe for precise measurements
Macaron Filling Options
You can fill macarons with anything, from cream cheese frosting and Swiss meringue buttercream to lemon curd, jam, and chocolate ganache. My favorite filling for vanilla macarons is Swiss meringue buttercream because it’s not too sweet — the macaron shells are plenty sweet on their own.
Step-by-Step Instructions
Step 1: Set up your workspace. Fill a small saucepan with about 1 inch of water and bring to a simmer over medium-low heat. Line two 13×18-inch baking sheets with parchment paper or Silpat mats. Place a pastry bag fitted with a ½-inch round piping tip in a wide glass with the tip facing up and the bag cuffed over the rim to make filling it easier.
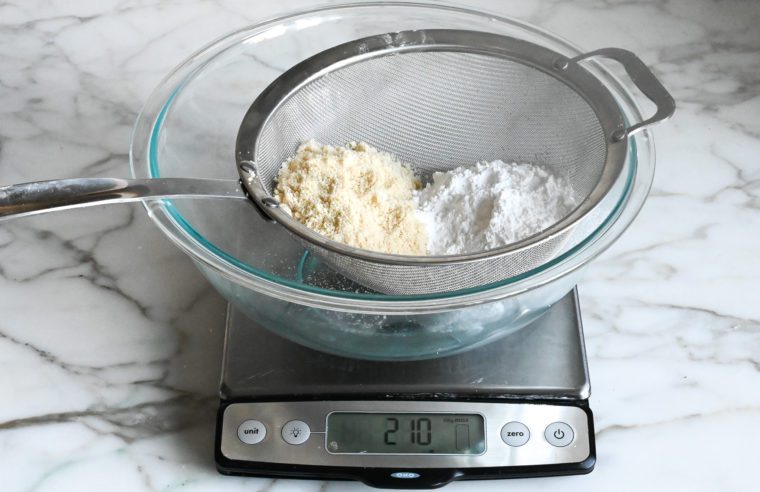
Step 2: Sift the dry ingredients. Place the almond flour and confectioners’ sugar in a fine mesh sieve over a large bowl and sift together. If the almond flour is too coarse to sift, whisk both ingredients in a bowl, breaking up any lumps with your fingers.
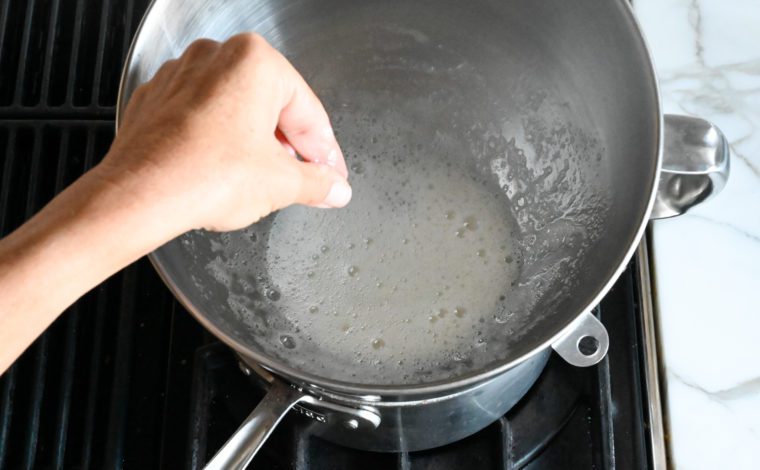
Step 3: Warm the egg whites and sugar. Add the egg whites and granulated sugar to the bowl of a stand mixer and whisk to combine. Set the bowl over the saucepan of simmering water, making sure the bottom doesn’t touch the water. Whisk constantly until the sugar is fully dissolved and the egg whites feel very warm, about 2 minutes. Rub a little between your fingers—it should feel smooth, not gritty.
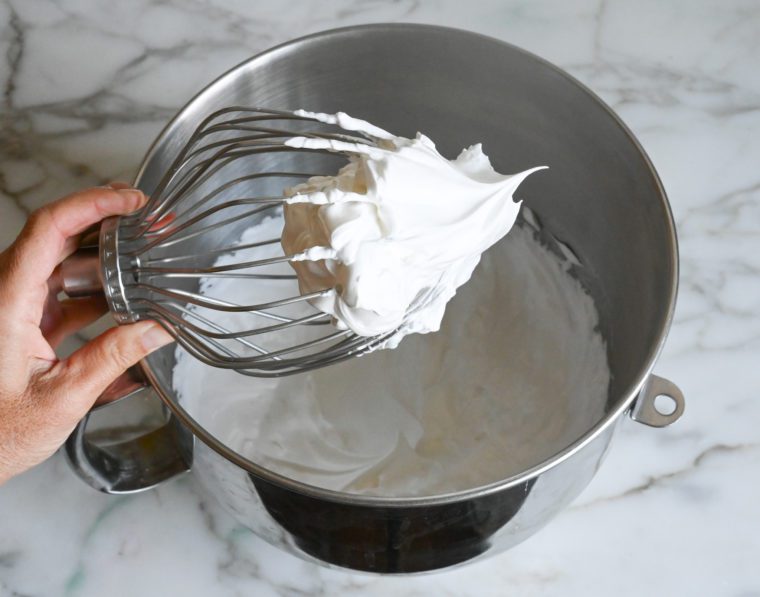
Step 4: Make the meringue. Attach the bowl to the stand mixer with the whisk attachment. Beat on medium-high (speed 8) until the meringue holds glossy, stiff peaks, about 6 to 8 minutes depending on your mixer. You’ll know it’s ready when you lift the whisk out of the bowl and the peaks stand straight up.
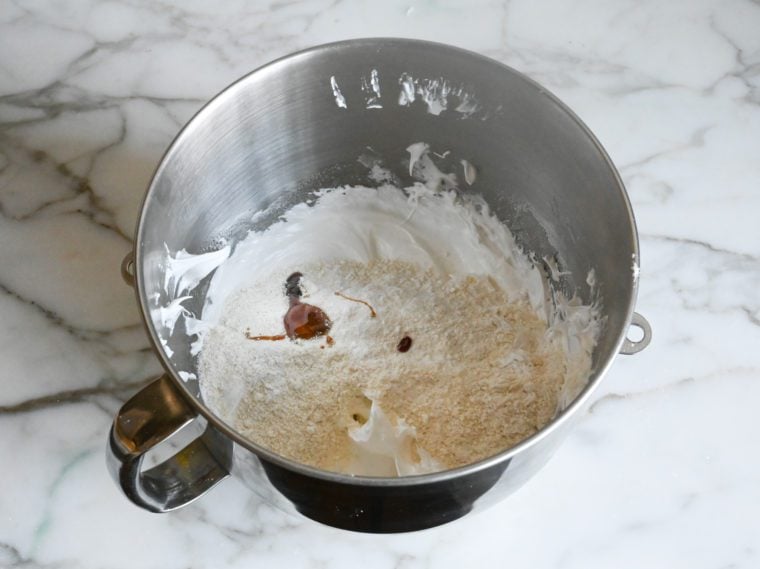
Step 5: Add the almond flour mixture and flavoring. Pour the sifted almond flour and confectioners’ sugar mixture into the meringue. Add the vanilla bean paste and food coloring.
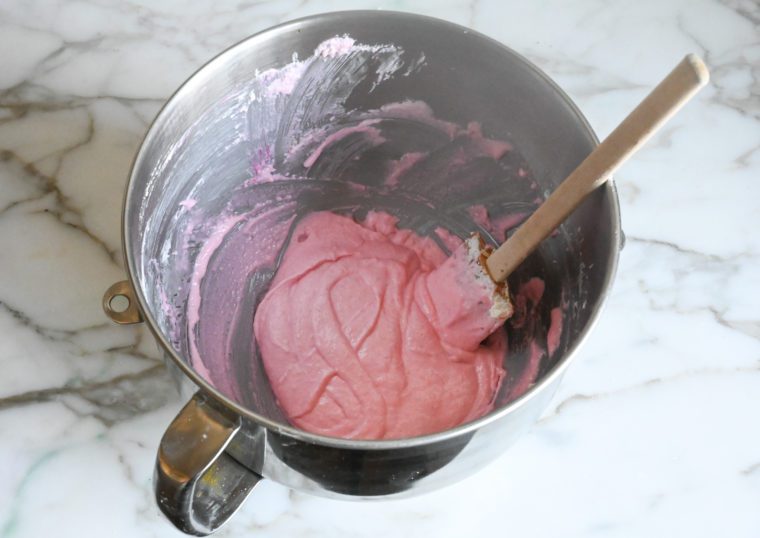
Step 6: Fold to combine. Use a rubber spatula to gently fold the ingredients together. At first, the batter will be very thick. Keep on folding, occasionally pressing the batter against the sides of the bowl to deflate it.
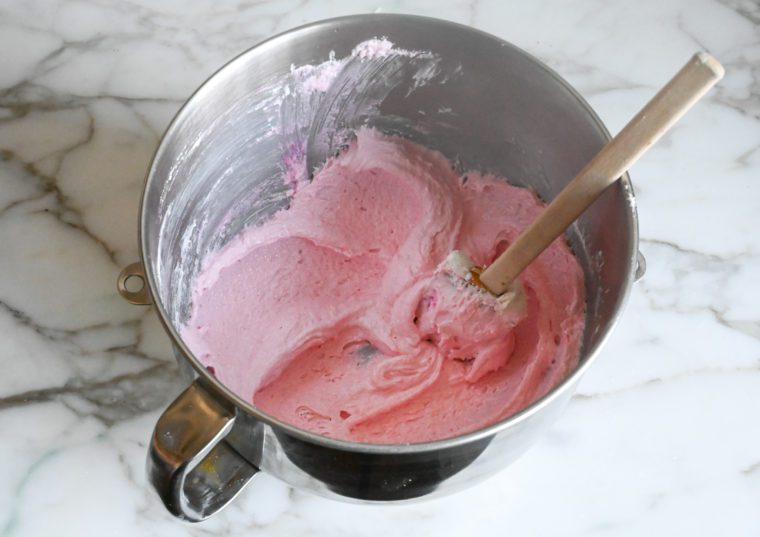
This process is called macronage. The time it takes to reach the proper consistency varies, but usually takes me 5 to 8 minutes (it’s an arm workout!). You’ll know the batter is ready when it’s glossy with a lava-like consistency, and you can lift up the spatula and slowly form several figure 8s with the batter without the ribbon breaking.The ribbons should blend back into the mixture in 10 to 15 seconds. Be careful not to overmix—it’s better to test early and often until you’ve gotten to the proper consistency.
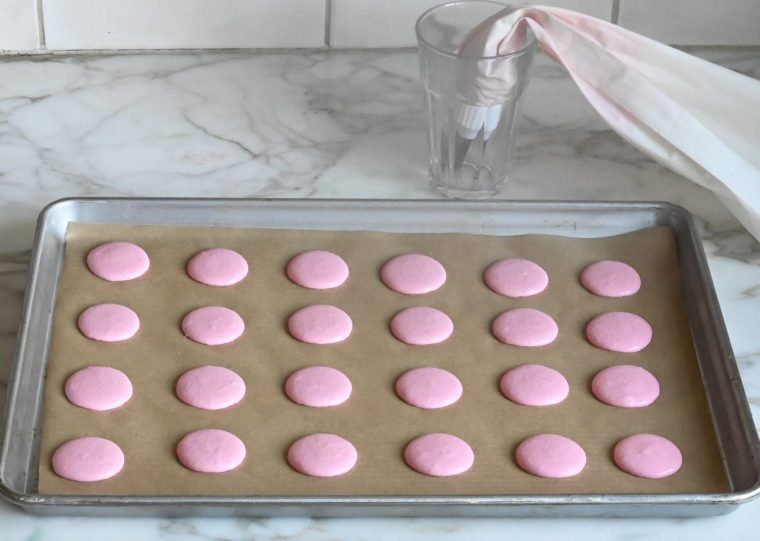
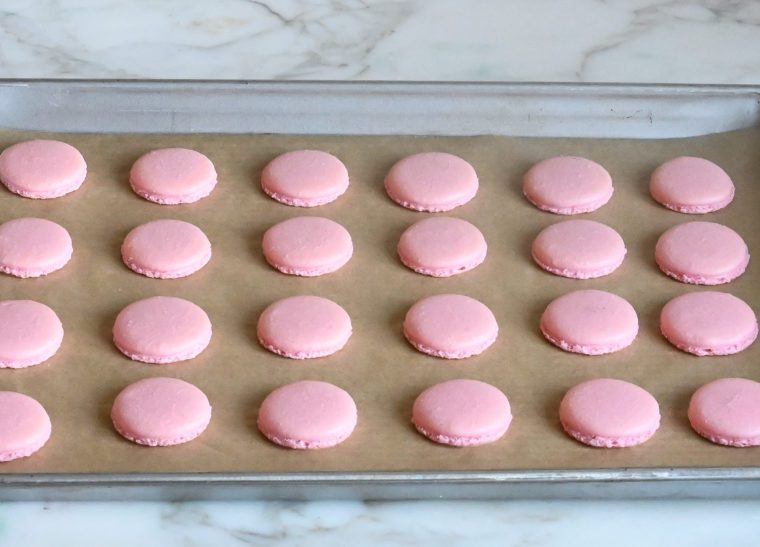
Step 7: Pipe the shells. Transfer the batter to the prepared piping bag. Holding the bag about ½ inch above and perpendicular to the baking sheet, pipe 1¼-inch mounds onto the parchment/mats, spacing slightly apart. I eyeball it, but if you prefer a template, you can use macaron silpat baking mats, which have a template to guide you. To finish each shell cleanly, stop squeezing and quickly twist your wrist upward.
Tap the trays firmly on the counter several times to release air bubbles, then use a toothpick to pop any remaining bubbles on the surface. Let the trays rest for about 20 minutes, or until the tops feel dry to the touch. Meanwhile, preheat the oven to 325°F and set an oven rack in the middle position.
Step 8: Bake and cool. Bake one pan at a time, for 12 to 14 minutes, or until the tops are shiny and crisp. Set the pans on wire racks and let cool completely. Store the shells in a covered container in the refrigerator. (It’s fine to stack the shells; just be gentle with them.) You can also freeze the shells in a tightly sealed container for about two weeks.
Step 9. Fill and finish. Prepare your filling of choice. Turn half the shells upside down and pipe or spoon about 2 teaspoons of filling onto each one. Top with the remaining shells and press gently. Store in a covered container in the fridge for up to 2 days, and bring to room temperature before serving.
Pro Tips For Macaron Success
- Let your egg whites age: If you’ve got time, separate your eggs a day or two in advance and store the whites in the fridge. Bring them to room temperature before using. Aged whites whip up more predictably and are a little more forgiving, which really helps with macarons.
- Weigh your ingredients: Even a small measuring error can throw things off with macarons. A kitchen scale takes the guesswork out—especially for almond flour and confectioners’ sugar.
- Humidity matters: If it’s super humid in your kitchen, your shells might struggle to dry properly before baking. Running the AC, a dehumidifier, or even a fan near the resting trays can help the tops form that crucial skin.
- Check your oven temperature: Macarons are picky about heat—too hot and they crack, too cool and they don’t rise. If your oven tends to run hot or uneven, an inexpensive oven thermometer is worth keeping around.
- Rotate the baking sheet: If your oven has hot spots, rotate the tray halfway through baking to help the shells bake evenly. Just be quick about it—you don’t want the heat escaping for long.
- Skip the parchment if you’re struggling: If your shells spread too much or get lopsided, try switching to silicone mats designed for macarons. They hold the shape better and give a more even base.
- Give them time: Macarons are best when they’ve had a few days to “age” in the fridge, which allows the shells and filling to meld together into one cohesive cookie. Place the assembled macarons inside an airtight container, refrigerate them for 1 to 2 days, and then let them come to room temperature before serving.
- Don’t fill warm shells: Let the shells cool completely before adding any filling or you’ll risk melting it and ending up with a gooey mess.
- Cracked tops or hollow centers? That usually means under-mixed meringue, over-mixed batter, or shells that didn’t rest long enough before baking. Keep notes and don’t get discouraged—it’s all part of the process.
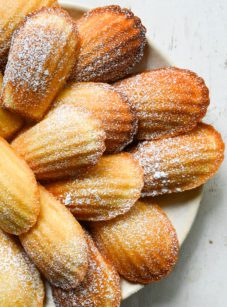
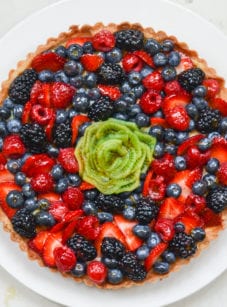
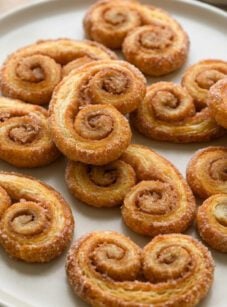
More French Desserts You’ll Love

French Macarons

Ingredients
- 105 grams finely sifted or super-fine almond flour
- 105 grams confectioners' sugar
- 100 grams egg whites, from approximately 3 large eggs
- 100 grams granulated sugar
- 1 teaspoon vanilla bean paste (available in the baking aisle of most supermarkets)
- 1 to 2 drops gel paste food color
- Filling of choice such as Swiss meringue buttercream, cream cheese frosting, or chocolate ganache
Special Equipment
- Heavy-duty stand mixer
- Digital scale
- Pastry bag with a ¼ or ½-in (6 or 13-mm) tip
- Parchment paper or Silpat baking mat/template
Instructions
- Fill a small saucepan with about 1 in (2.5 cm) of water. Bring to a simmer on the stove over medium-low heat. Line two 13 x 18-in (33 x 46-cm) baking sheets with parchment paper or Silpat baking mats. Place a pastry bag fitted with a ¼ or ½-in (6 or 13-mm) tip in a wide glass with the tip at the bottom of the glass but facing up (this prevents the batter from spilling out when you fill the bag). Fold the bag over the rim of the glass to form a cuff.
- In a large bowl, sift the almond flour and confectioners' sugar together through a fine sieve. Alternatively, if your almond flour is too coarse to go through the sieve, whisk the confectioners sugar and almond flour in a bowl, rubbing out any stubborn lumps with your fingers.
- Add the egg whites and granulated sugar to the bowl of a stand mixer; whisk to combine. Place the bowl over the saucepan of simmering water, making sure the bottom of the bowl is not touching the water. Whisk constantly until the sugar is completely dissolved and the egg whites are very warm to the touch, about 2 minutes. (To see if it's ready, rub the mixture between your fingers; you shouldn't be able to feel any sugar granules.)
- Remove the bowl from the heat and attach to the stand mixer fitted with the whisk attachment. Mix on medium-high speed (speed 8) until the meringue is glossy and holds stiff peaks. For me, this takes 6 to 8 minutes, but the time will vary depending on the wattage and size of your mixer. You'll know it's ready when you lift the whisk out of the bowl and the peaks stand straight up.
- Pour the sifted almond flour and confectioners' sugar mixture into the bowl with the meringue. Add the vanilla bean paste and food color. Using a rubber spatula, fold until evenly incorporated. At this point, the batter will be very thick. To achieve the right consistency, continue folding, occasionally smearing the batter against the bottom and sides of the bowl, until it is glossy with a lava-like consistency. This process is called "macronage." The time it takes to reach the proper consistency varies, but it usually takes me 5 to 8 minutes (it's an arm workout!). You'll know it's ready when you can lift up the spatula and slowly form several figure 8s with the batter without the ribbon breaking. Additionally, the batter from your figure 8s should dissolve into the batter that’s already in the bowl, just leaving a faint outline, in 10 to 15 seconds. Be careful not to overmix or you'll end up with macaron puddles; it's always best to undermix and test several times until the proper consistency has been achieved.
- Transfer the batter to the pastry bag. Hold the bag straight up and down, perpendicular to the pan, about ½-in (13-mm) above it, and pipe out 1¼-in (3-cm) diameter mounds onto the parchment paper. (To avoid leaving a point on the mounds, finish piping by releasing pressure and pulling up as you quickly twist with a flick of your wrist.) Tap each tray several times on the countertop to pop any air bubbles. Use a toothpick to pop any remaining air bubbles on the surface of the shells. Allow the trays to rest for about 20 minutes, or until the shells have dried out slightly.
- Meanwhile, preheat the oven to 325°F (165°C) and set an oven rack in the middle position.
- Bake one pan at a time, for 12 to 14 minutes, or until the tops are shiny and crisp. Set the pans on wire racks and let cool completely.
- Fill the macarons: Prepare your filling of choice. Remove the macarons from the parchment paper, and turn half of them over. Pipe or spoon about 2 teaspoons of the filling in the center of one upside-down macaron. Top with a second macaron and press gently to spread the filling to the edges. Repeat with the remaining macarons. Store the macarons in a covered container in the refrigerator for up to 2 days; bring to room temperature before serving.
Notes
Nutrition Information
This website is written and produced for informational purposes only. I am not a certified nutritionist and the nutritional data on this site has not been evaluated or approved by a nutritionist or the Food and Drug Administration. Nutritional information is offered as a courtesy and should not be construed as a guarantee. The data is calculated through an online nutritional calculator, Edamam.com. Although I do my best to provide accurate nutritional information, these figures should be considered estimates only. Varying factors such as product types or brands purchased, natural fluctuations in fresh produce, and the way ingredients are processed change the effective nutritional information in any given recipe. Furthermore, different online calculators provide different results depending on their own nutrition fact sources and algorithms. To obtain the most accurate nutritional information in a given recipe, you should calculate the nutritional information with the actual ingredients used in your recipe, using your preferred nutrition calculator.
Gluten-Free Adaptable Note
To the best of my knowledge, all of the ingredients used in this recipe are gluten-free or widely available in gluten-free versions. There is hidden gluten in many foods; if you're following a gluten-free diet or cooking for someone with gluten allergies, always read the labels of your ingredients to verify that they are gluten-free.
I took a cooking class on macarons and this recipe helped me make way better macarons than I did in that class! Thank you Jen! Two small issues, my food coloring is the same brand as yours but the pink color didn’t show with just two drops. I think I had to use 5 drops. Is this normal? Also some of my shells stuck to the silicone mat. Do you think those were undercooked? Thank you for your clear instructions!
Hi Tara, Glad they came out well for you! Regarding the coloring, there may be some variation in the product (perhaps depending on how old it is), and maybe my drops were larger than yours. And, yes, if some of your shells stuck, I suspect they were a bit underbaked.
Jen,
As someone who lives out in the boonies, my grocery store didn’t have vanilla bean paste. Would substituting vanilla extract be ok? Do we use the same amount or a little less and see how the batter takes to it?
Thanks so much!
Hi Chrissy, Yes that should be fine and I would use the same amount.
hi jen, thank you for the beautiful recipes! how much buttercream do i need to fill these macarons? how would i go about making it raspberry flavored and coffee flavored buttercream? thankyou!
Hi Amy, If you’re referring to my Swiss buttercream recipe (and I’d use that instead of American buttercream), you’ll only need a very small amount; definitely no more than a quarter of the recipe if that much. And I’m not sure how you would need to tweak the frosting recipe to make it raspberry or coffee flavored so I think your best bet is to look for recipes specifically for those.
After trying several times with another recipe and mediocre results, nailed it on Take 1 with your recipe! Appreciate having ingredients measured by weight, and it’s helpful that the egg white quantity is exactly 100g, as 3 eggs is usually a little over that for me, and it’s a snap to scale other ingredients so nothing goes to waste. I filled with espresso buttercream – so tasty!
I’ve got buttercream left over, and would love to try a chocolate version with it – do you think I could just add cocoa powder (say 20-25g) with the almond flour & sugar, and would I need to adjust other ingredients to compensate??
Hi Jennifer, So glad you enjoyed them! I actually have a chocolate version. If you’d like it, just email me at jennifer@onceuponachef.com; I’d be happy to share it with you.
Hi! After a couple attempts I finally got beautiful macarons! I was hooting and hollering and my kids thought I was celebrating something more exciting than perfect macarons! 😝 Question: if I use your Swiss meringue recipe it seems like it makes a lot more than I’d need for a batch or two of macarons, true? Should I cut it in half or thirds?
LOL…I get it – it’s a big accomplishment! Yes you’ll have a ton of frosting so I’d make a third.