No-Churn Vietnamese Coffee Ice Cream
- By Jennifer Segal
- Updated April 16, 2025
- 129 Comments
- Leave a Review

This post may contain affiliate links. Read my full disclosure policy.
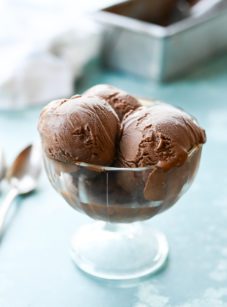
If you love strong coffee and creamy desserts, this no-churn coffee ice cream from Andrea Nguyen is a dream come true.
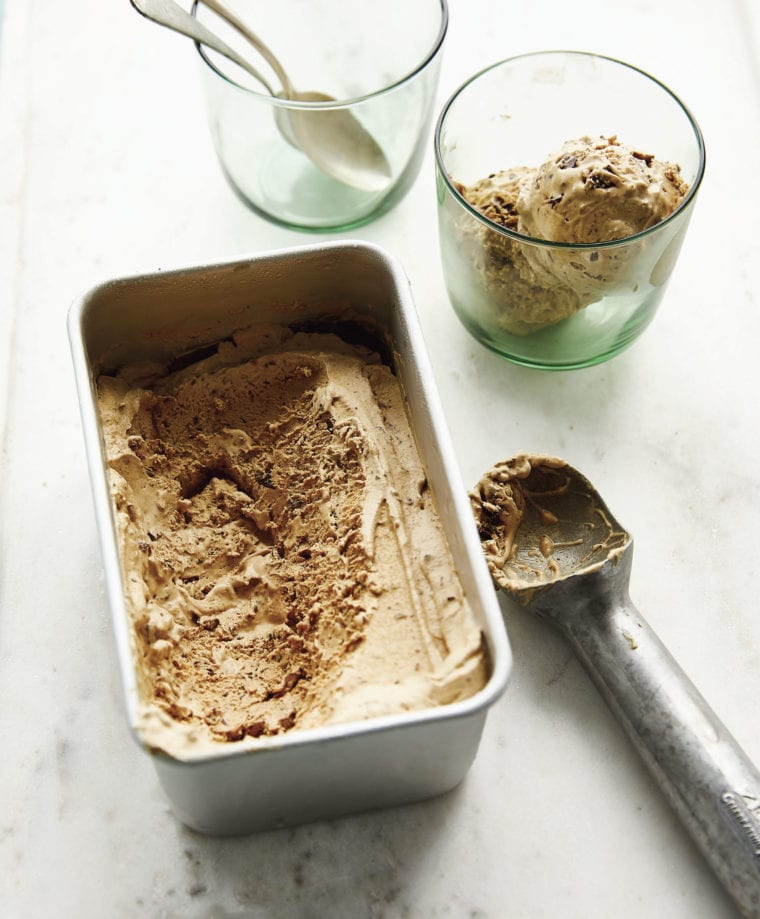
Photography credit: Aubrie Pick © 2019
Vietnamese iced coffee is a traditional Vietnamese drink of brewed dark roast coffee poured over ice and sweetened condensed milk. In her much-acclaimed cookbook, Vietnamese Food Any Day: Simple Recipes for True, Fresh Flavors, Andrea Nguyen translates this classic drink into delicious ice cream. Happily, you don’t need an ice cream machine, just a handheld electric mixer. Simply whip the ingredients together, pop the mixture in the freezer, and a few hours later you’ll have an intensely coffee-flavored, ultra-creamy frozen treat.
Serve the ice cream on its own, or dress it up with a drizzle of hot fudge sauce for a coffeehouse-style hot fudge sundae. It’s great with biscotti or almond cookies on the side, or scooped into profiteroles for an easy, elegant dessert. You can even go affogato-style and pour a shot of hot espresso over top—it melts into a dreamy, bittersweet sauce.
“This is incredible. I made it for a Vietnam-themed dinner. Everyone raved and wanted the recipe. Now that everyone’s gone, I’m sitting here eating it, unable to stop!”
What You’ll Need To Make Vietnamese Coffee Ice Cream
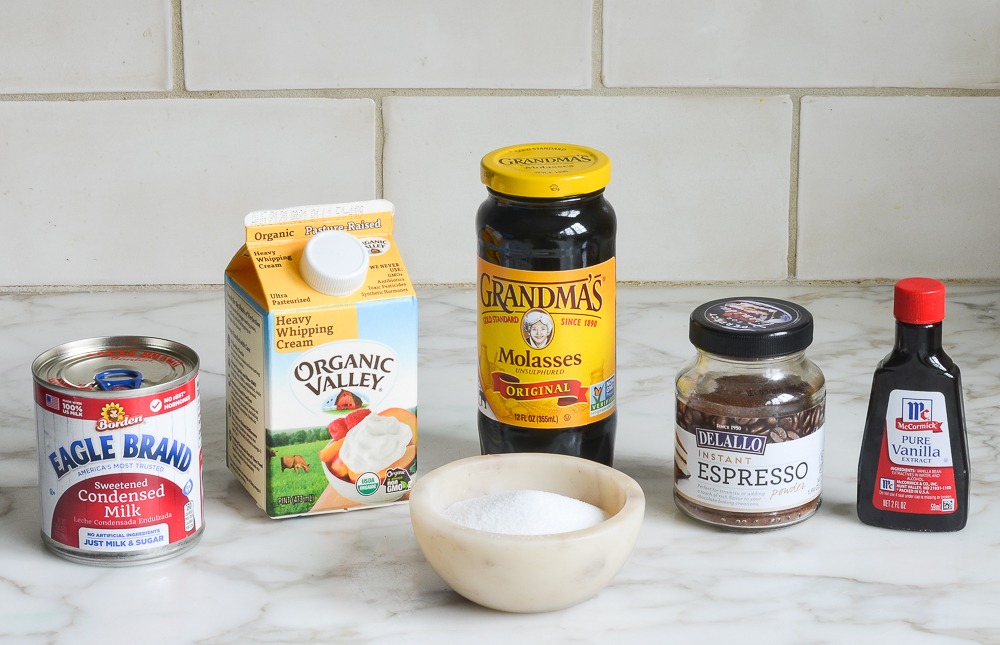
- Vanilla Extract: Adds warmth and rounds out the flavor of the ice cream.
- Instant Espresso Powder: Brings rich coffee flavor without the need to brew a pot. You’ll usually find it in the coffee aisle near the instant coffee.
- Heavy Whipping Cream: Makes the ice cream extra creamy and rich.
- Sweetened Condensed Milk: Sweetens the base and keeps the texture smooth and scoopable. Be sure to use the full-fat kind—any leftovers are great stirred into coffee or tea.
- Molasses: Adds a touch of caramel-like depth that pairs nicely with the coffee flavor.
- Jump to the printable recipe for precise measurements
Step-By-Step Instructions
Step 1: Make the base. In a large bowl, combine the vanilla, espresso powder, and salt; stir until the espresso powder is mostly dissolved.
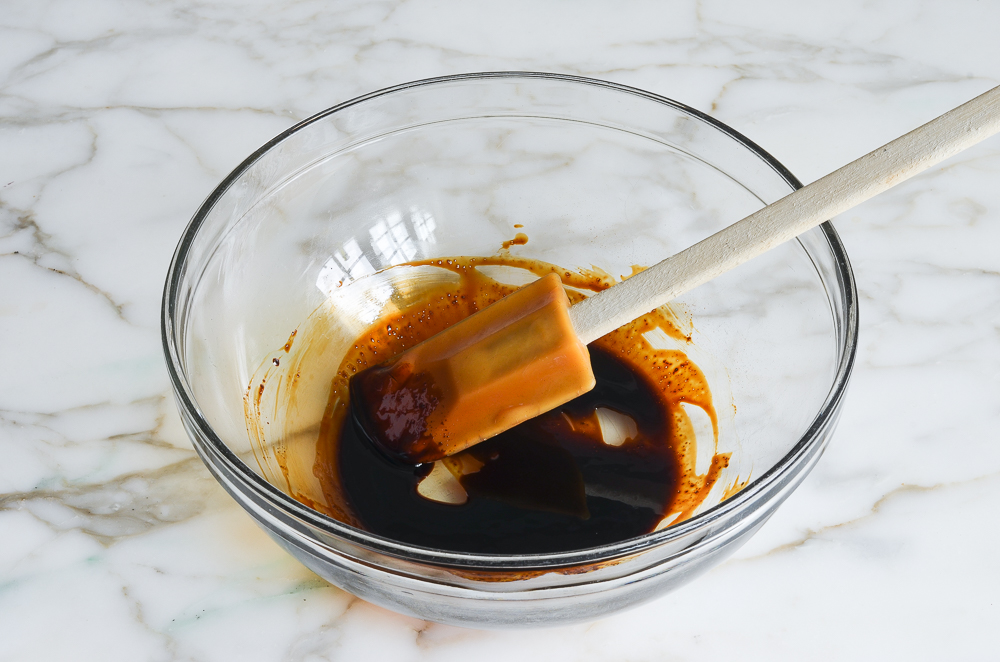
Mix in the cream, condensed milk, and molasses.
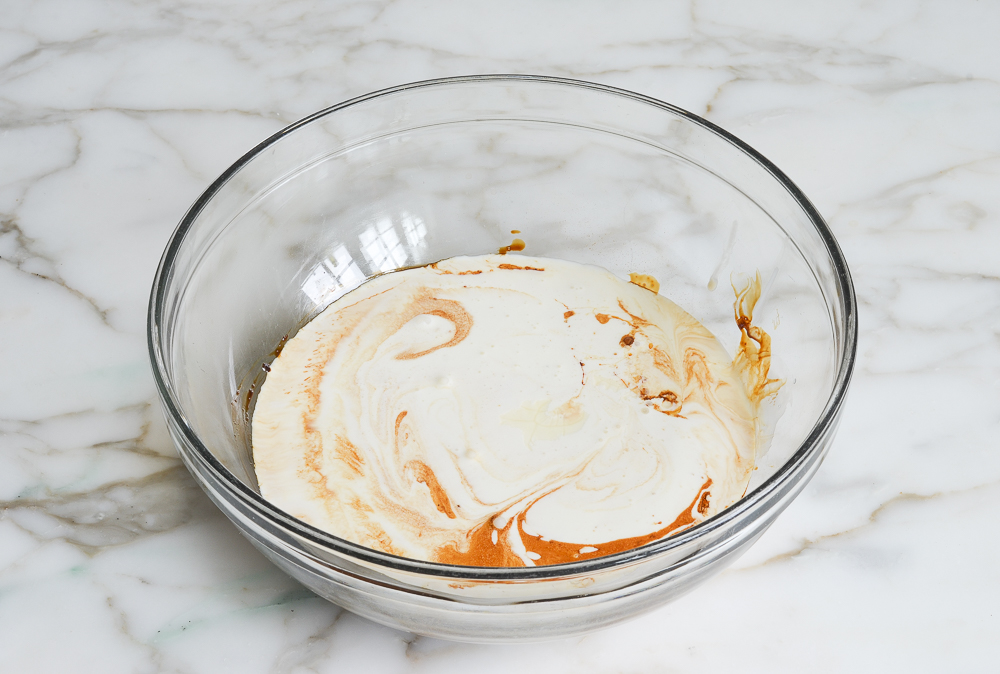
Step 2: Whip. Using an electric handheld mixer fitted with the beaters or whisk attachment, whip the mixture at high speed until just thickened to a fluffy whipped cream-like consistency.
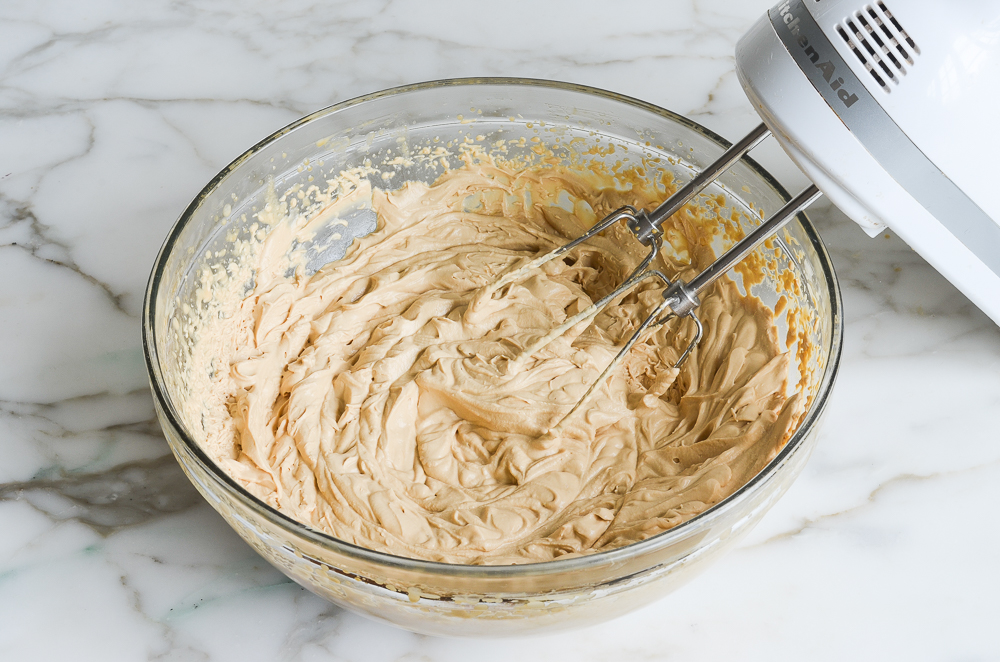
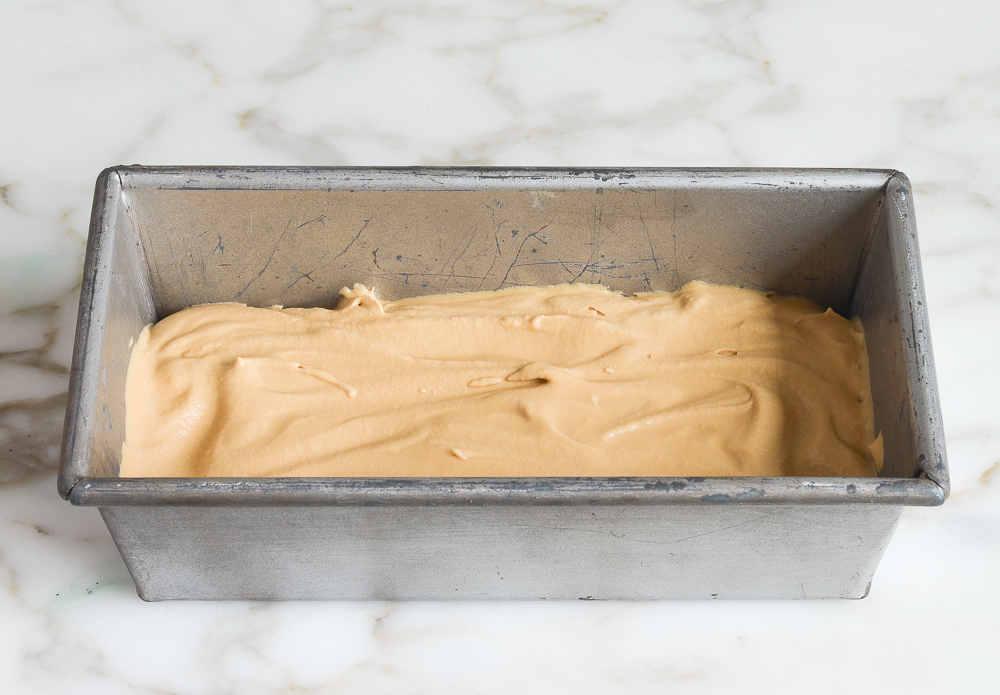
Step 3: Freeze. Transfer the ice cream base to a storage container, cover tightly, and freeze until firm—it should take about 5 hours. The ice cream will keep in the freezer for up to 2 weeks. Let it sit at room temperature for 10 to 15 minutes to soften to a scoopable texture before serving. Enjoy!
You May Also Like
No-Churn Vietnamese Coffee Ice Cream

All the rich, sweet flavor of Vietnamese iced coffee, transformed into an ultra-creamy no-churn ice cream.
Ingredients
- 1½ to 2 teaspoons vanilla extract
- Brimming 2 tablespoons instant espresso powder
- Fine sea salt
- 1 cup heavy whipping cream, cold
- Brimming ⅓ cup full-fat sweetened condensed milk
- Scant 1 tablespoon molasses
Instructions
- In a medium bowl, combine 1½ teaspoons of the vanilla, the espresso, a pinch of salt and stir to mix well; it will seem slightly sludgy. Add the cream, condensed milk, and molasses. Taste and, if you want to boost the flavor a touch, add more vanilla, ¼ teaspoon at a time; the amount required depends on the vanilla and your palate. An extra pinch of salt sometimes helps too.
- With an electric handheld mixer fitted with two beaters or a whisk attachment, whip the mixture at high speed for about 3 minutes (see note), until you get a firm, spreadable texture like fluffy whipped cream or frosting. Transfer to a 3-to 4-cup storage container, cover, and freeze until firm, 5 to 6 hours, or up to 2 weeks.
- Let the ice cream sit at room temperature for 10 to 15 minutes to soften to a scoopable texture before serving.
- Jenn's note: It's important not to over-whip the ice cream mixture, otherwise it will have a heavy, buttery quality. My mixture had the perfect fluffy whipped cream-like consistency between 2½ and 3 minutes.
- Note: For coffee and chocolate ice cream, hand chop 1½ ounces bittersweet or dark chocolate into very small bits so they will disperse well. After whipping up the ice-cream mixture, use a spatula to gently fold in the chocolate. Freeze as directed. Your yield will be a little more than the original recipe.
Nutrition Information
Powered by ![]()
- Per serving (4 servings)
- Calories: 309
- Fat: 24 g
- Saturated fat: 15 g
- Carbohydrates: 20 g
- Sugar: 20 g
- Fiber: 0 g
- Protein: 3 g
- Sodium: 95 mg
- Cholesterol: 90 mg
This website is written and produced for informational purposes only. I am not a certified nutritionist and the nutritional data on this site has not been evaluated or approved by a nutritionist or the Food and Drug Administration. Nutritional information is offered as a courtesy and should not be construed as a guarantee. The data is calculated through an online nutritional calculator, Edamam.com. Although I do my best to provide accurate nutritional information, these figures should be considered estimates only. Varying factors such as product types or brands purchased, natural fluctuations in fresh produce, and the way ingredients are processed change the effective nutritional information in any given recipe. Furthermore, different online calculators provide different results depending on their own nutrition fact sources and algorithms. To obtain the most accurate nutritional information in a given recipe, you should calculate the nutritional information with the actual ingredients used in your recipe, using your preferred nutrition calculator.
See more recipes:
Comments
Add a Comment Cancel reply
This site uses Akismet to reduce spam. Learn how your comment data is processed.


Unfortunately, this didn’t work. We whipped and whipped using a stand mixer, watching it all the time. It remained liquid for 10 min, got slightly soft, then suddenly got grainy and curdled. No in between consistency like in your picture. I’m an experienced baker and know how to whip cream, so I’m wondering what happened here or what I did wrong. If I’d stopped before it curdled, it would have still been very liquidly. Normal cool house close to sea level – any ideas?
Hi Megan, I’m sorry you had a problem with this! Is there any chance you used evaporated milk instead of sweetened condensed milk? Did you make any ingredient substitutes or changes to the recipe?
This is a delicious dessert! So simple to prepare. It was a real hit with my guests!
OMG! I just made this and chopped Lindt 70% chocolate to fold into it! Delicious! I cannot wait to share it with a friend who also loves coffee ice cream. It is so creamy and has a lot of flavor.