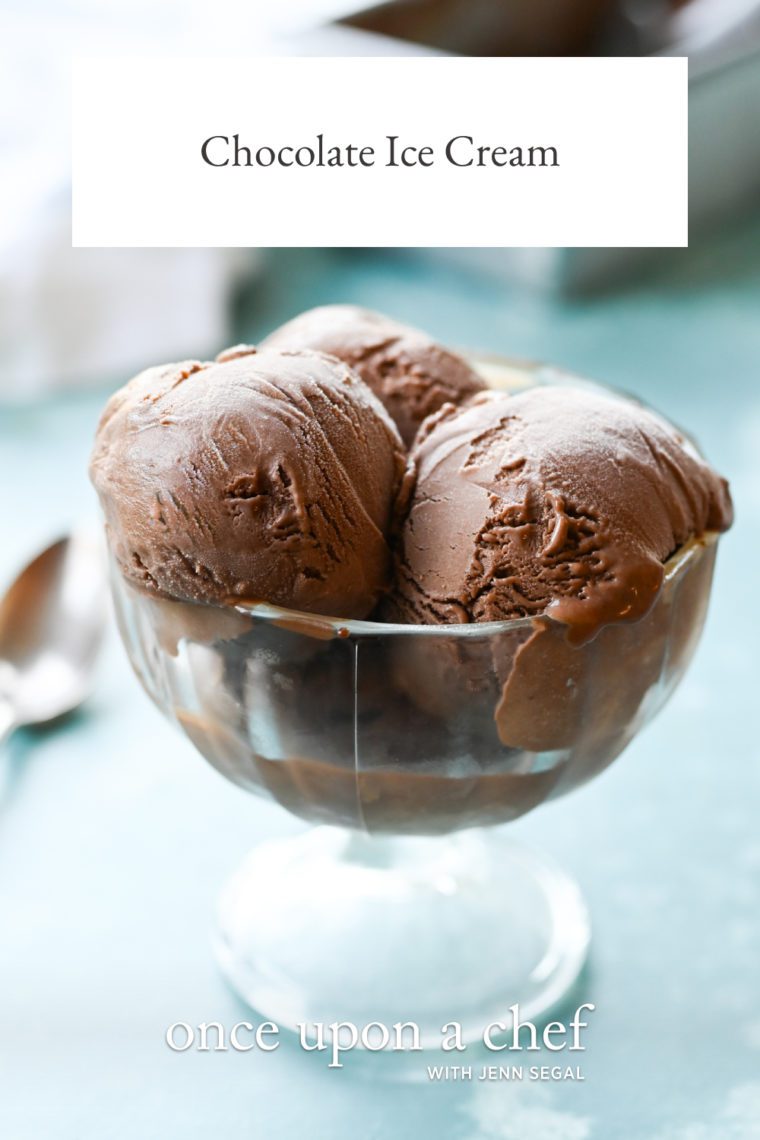
Chocolate Ice Cream
- By Jennifer Segal
- Updated January 18, 2025
- 42 Comments
- Leave a Review

This post may contain affiliate links. Read my full disclosure policy.
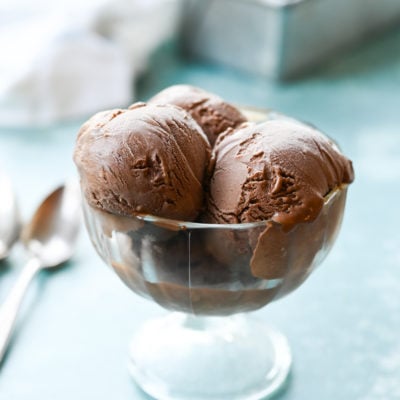
Get ready to indulge—this homemade chocolate ice cream recipe combines three kinds of chocolate for a flavor that’s rich, fudgy, and unforgettable.
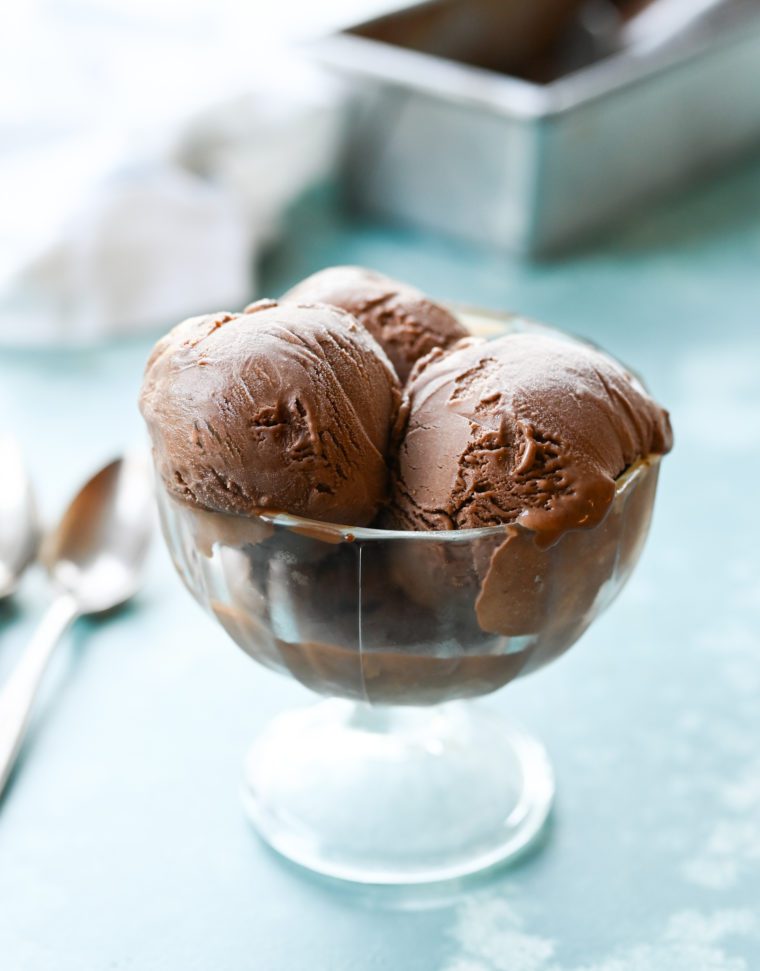
Picture the richness of a milk chocolate bar, but cooler and creamier—that’s the magic of this chocolate ice cream, adapted from Hello, My Name Is Ice Cream: The Art and Science of the Scoop by pastry chef Dana Cree. Trust me when I say it will ruin you for all other chocolate ice creams—even the premium store-bought brands.
So, what makes it so special? This recipe combines the fudgy depth of American chocolate ice cream with the creamy, luxurious texture of European gelato. While American-style ice creams often rely on cocoa powder, European gelato takes it up a notch with melted chocolate. But this recipe goes even further, using three types of chocolate—cocoa powder, dark chocolate, and milk chocolate—for an ultra-rich flavor that’s hard to beat.
“l made the recipe today and my grandson said this was the best chocolate ice cream he’s ever had, and this kid is a chocolate fiend!”
What You’ll Need To Make Homemade Chocolate Ice Cream
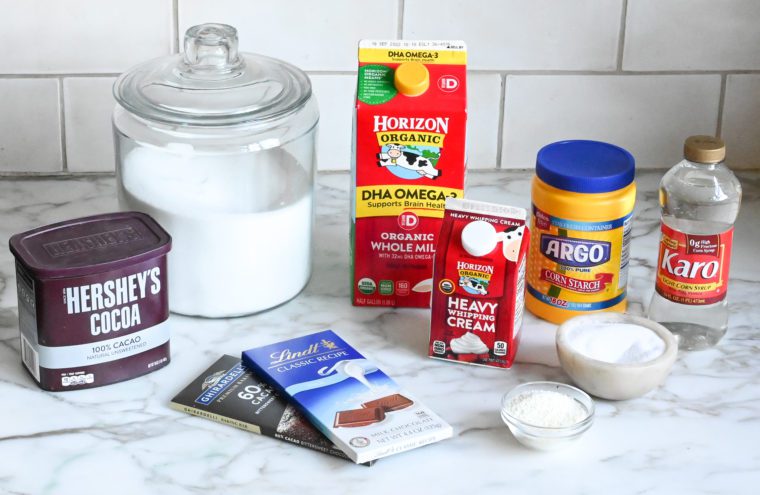
- Milk Chocolate & Bittersweet Chocolate: Adds depth and richness with a slightly bitter undertone to balance the sweetness of the milk chocolate. For the best flavor, be sure to use good quality chocolate, such as Ghirardelli, Guittard, or Lindt. If you’d like a deeper chocolate flavor, you can replace the milk chocolate with more bittersweet chocolate.
- Unsweetened Natural Cocoa Powder: Intensifies the chocolate flavor without adding extra sweetness.
- Milk Powder: Also referred to as dry milk. Enhances creaminess and adds depth to the flavor.
- Sugar: Sweetens the ice cream base, balancing the bitterness of the cocoa and bittersweet chocolate.
- Cornstarch: Acts as a thickening agent, contributing to the ice cream’s smooth and creamy texture.
- Corn Syrup: Adds sweetness and helps prevent crystallization, resulting in a smoother ice cream.
- Whole Milk: Provides creaminess to the ice cream base.
- Heavy Cream: Adds richness and contributes to the smooth, creamy texture of the ice cream.
- Jump to the printable recipe for precise measurements
Step-By-Step Instructions
In a medium bowl large enough to hold the entire ice cream mixture, combine the milk and bittersweet chocolates. Microwave in 20-second intervals, stirring between each, until about 75% melted. Then stir until fully melted from the residual heat. (You can also melt the chocolate in a bowl over a double boiler if you prefer.) Once melted, mix in the cocoa powder and salt until smooth.


In a small bowl, mix the milk powder and sugar. In another bowl, stir the cornstarch with 2 tablespoons of cold milk until smooth (dissolving cornstarch in cold liquid prevents lumps). Set both aside.


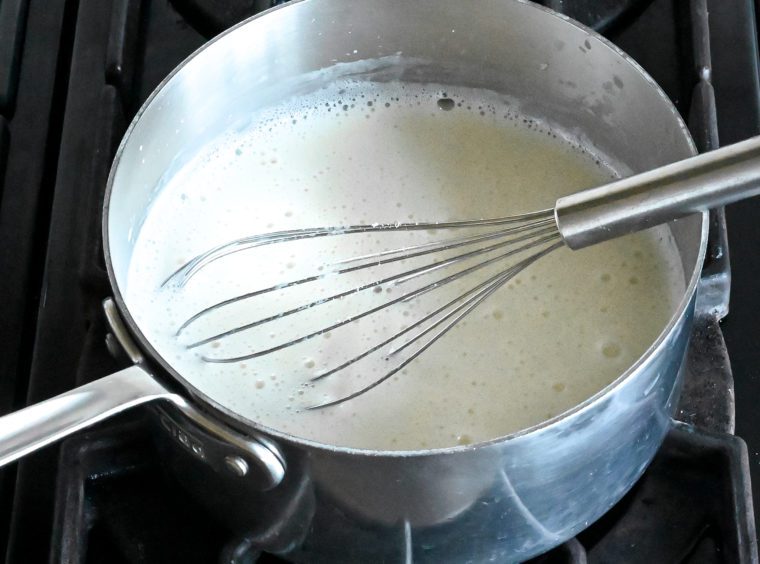
In a medium saucepan over medium-high heat, cook the remaining 2 1/4 cups of milk, cream, and corn syrup, whisking occasionally, until it boils. Whisk in the milk powder and sugar mixture, then lower the heat to a simmer and cook for 2 minutes, whisking often. Stir in the cornstarch slurry and cook for 1 more minute.
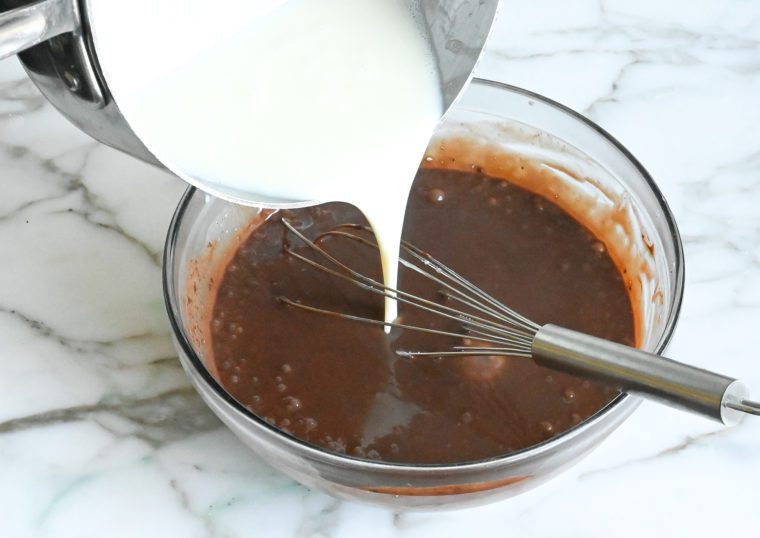
Pour about a third of the hot milk mixture into the melted chocolate and whisk until smooth. Gradually add the rest, whisking well after each addition to ensure it’s fully incorporated. Adding the milk mixture slowly prevents unmixed chocolate flecks, which can turn grainy when frozen.
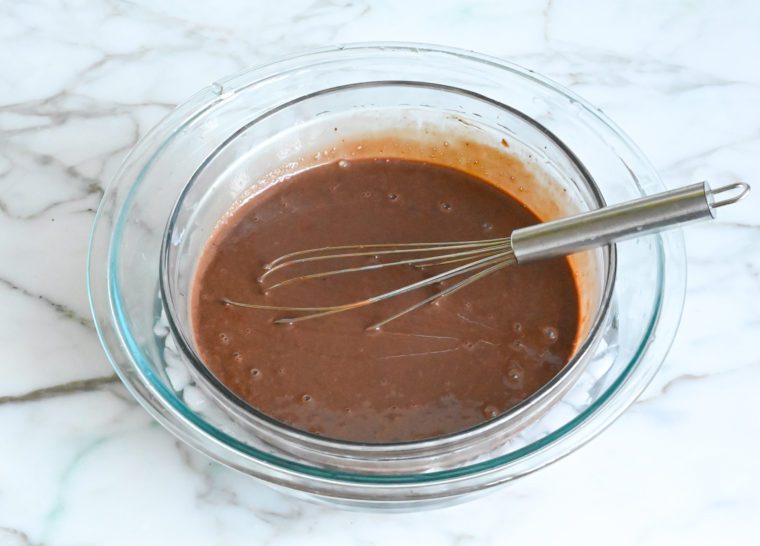
Fill a large bowl with crushed ice and a little cold water, a few inches deep. Place the warm chocolate ice cream base into the ice bath and stir occasionally for 15 to 20 minutes, until it cools to room temperature. Make sure the bowl is stable. Once cooled, cover the base with plastic wrap and refrigerate for at least 4 hours or overnight. The colder the base, the better it will churn.
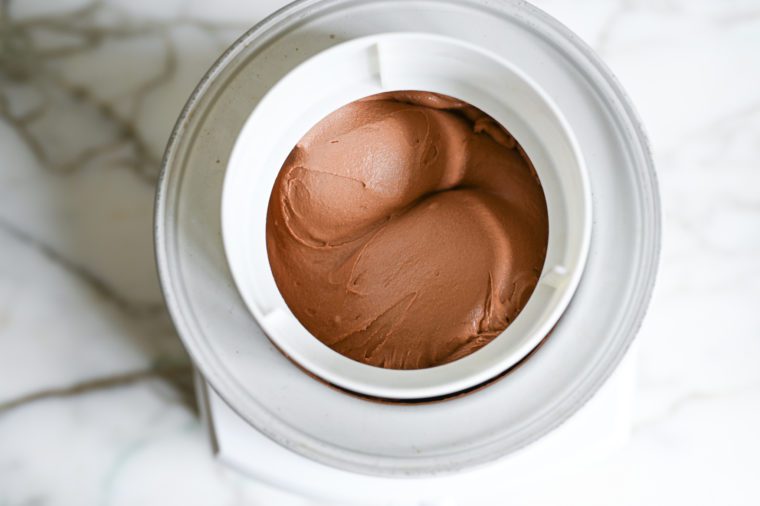
Pour the chilled mixture into your ice cream machine and churn according to the manufacturer’s instructions. It’s ready when it reaches a soft-serve consistency and holds its shape, about 25 minutes, depending on your machine.
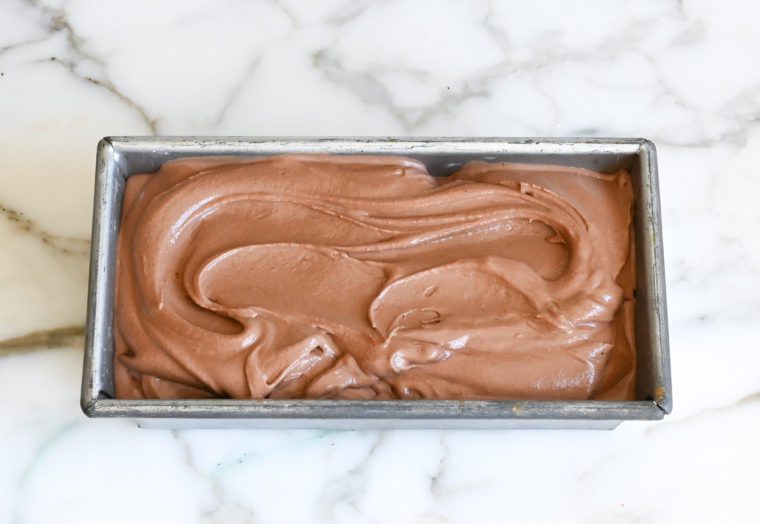
Transfer the ice cream to an airtight container and press plastic wrap directly onto the surface to prevent ice crystals. Cover and freeze until fully hardened, 6 to 12 hours. The ice cream will keep for up to 1 week if tightly sealed. Before serving, let it sit at room temperature for a few minutes to soften for easy scooping.
You May Also Like
Best Homemade Chocolate Ice Cream
Ingredients
- 2 oz milk chocolate, chopped (see note)
- 2 oz bittersweet chocolate, chopped (see note)
- 3 tablespoons natural unsweetened cocoa powder, such as Hershey's
- ¼ teaspoon salt
- 3 tablespoons milk powder (dry milk)
- ¾ cup sugar
- 1 tablespoon + 1 teaspoon cornstarch
- 2¼ cups + 2 tablespoons whole milk, divided
- ¾ cup heavy cream
- ¼ cup corn syrup
Instructions
- Melt the Chocolate: In a medium bowl (large enough to hold the entire ice cream mixture), combine the milk chocolate and bittersweet chocolate. Melt the chocolate in the microwave in 20-second intervals, stirring in between, until about 75% melted. Stir, allowing the residual heat in the bowl to melt the chocolate completely. (Alternatively, place the chocolate in a heatproof bowl and place over a saucepan containing about 1 inch of barely simmering water. Stir until the chocolate is melted and the mixture is smooth.) Add the cocoa powder and salt and stir until completely smooth.
- In a small bowl, stir together the milk powder and sugar. Set aside.
- In another small bowl, combine the cornstarch with 2 tablespoons of cold milk and stir until completely smooth. Set aside.
- In a medium saucepan over medium-high heat, cook the remaining 2¼ cups (540 ml) milk, the cream, and corn syrup, whisking occasionally to prevent scorching, until it comes to a rolling boil.
- Whisk the milk powder and sugar mixture into the pot, reduce the heat to a low simmer, and continue cooking for 2 minutes, whisking frequently to prevent scorching. Add the cornstarch mixture and continue cooking and whisking for 1 minute more.
- Pour about one-third of the hot milk mixture into the melted chocolate; whisk until completely smooth. Gradually pour in the remaining milk mixture, stopping to whisk until smooth as you go, until fully incorporated (adding the milk mixture slowly prevents flecks of unmixed chocolate in the ice cream, which turn grainy when frozen).
- Fill a large bowl with crushed ice and a bit of cold water, a few inches deep. Next, place the warm chocolate ice cream base into the ice bath, stirring occasionally until it reaches a cool room temperature, 15 to 20 minutes. (These ice baths can be a little wobbly; be sure your bowl is stable. It's fine to use less ice and water if necessary.)
- Remove the chocolate ice cream base from the ice bath, cover with plastic wrap, and refrigerate for at least 4 hours or overnight. (The colder the mixture is when you churn it, the better.)
- Pour the ice cream mixture into the bowl of an ice cream machine and churn according to the manufacturer's instructions. The ice cream is ready when it reaches a soft-serve consistency and holds its shape; it should take 20 to 30 minutes, depending on the machine.
- Immediately transfer the ice cream to a container with an airtight lid. Press plastic wrap on the surface of the ice cream to prevent ice crystals from forming, cover, and freeze until it hardens completely, 6 to 12 hours. Scoop and serve.
Notes
Nutrition Information
This website is written and produced for informational purposes only. I am not a certified nutritionist and the nutritional data on this site has not been evaluated or approved by a nutritionist or the Food and Drug Administration. Nutritional information is offered as a courtesy and should not be construed as a guarantee. The data is calculated through an online nutritional calculator, Edamam.com. Although I do my best to provide accurate nutritional information, these figures should be considered estimates only. Varying factors such as product types or brands purchased, natural fluctuations in fresh produce, and the way ingredients are processed change the effective nutritional information in any given recipe. Furthermore, different online calculators provide different results depending on their own nutrition fact sources and algorithms. To obtain the most accurate nutritional information in a given recipe, you should calculate the nutritional information with the actual ingredients used in your recipe, using your preferred nutrition calculator.
See more recipes:
Comments
Add a Comment Cancel reply
This site uses Akismet to reduce spam. Learn how your comment data is processed.


I’d love to try this recipe, but my ice cream maker is a Ninja Creami, which operates differently. I was curious if Jenn or any readers have tried making it with the Ninja. Also, I want to take a moment to thank Jenn for the many recipes I’ve made from her site that have led to my family saying, “This is the best [dish] they’ve ever had.” Ever since I found this amazing site, cooking has become something I truly enjoy.
Hi Ellen, thanks for your very sweet words – so glad you like the recipes! I’m not familiar with a Ninja Creami so I can’t say confidently whether or not it would work. Perhaps another reader can weigh in. Sorry I can’t be more helpful!
I’m pleased to report that this recipe works great with the Ninja Creami. (And I’m now spoiled for life by this recipe.) To use the Creami, instead of the refrigeration step, freeze the mixture in Creami pint containers for 24 hours (which is the standard procedure). Then, process it on the ice cream setting. As in your recipe, it results in a soft-serve consistency, so if a firmer texture is preferred, you can return it to the freezer as in your instructions.
Hi Jenn,
I love your recipes! But now I have a question…Instead of cocoa powder, can I use the cacao powder as there is so much of it in my pantry. Also, can a bit of espresso powder be added to the mixture to enhance the chocolate flavor?
Thank you so much. S.
Hi Susan, so glad you like the recipes! I’ve never worked with cacao powder so I don’t know how it will impact the flavor of the ice cream –sorry I can’t be more helpful! I do think you can add a bit of espresso powder though. 😊
Jenn,
Thank you for all your wonderful recipes. It enhances our life so. Would you mind sharing the kind of ice cream maker you like to use? I’ve tried so many over the years many many thanks
Andree
Hi Andree, Thanks for your very kind words — so glad you like the recipes! I have a Cuisinart 1.5 quart ice cream maker and I’m very happy with it. 😊
This sounds amazing. Do you think that a Ninja Creamii could be used for the final step in this recipe?
Hi Anita, I wish I could weigh in, but I’m not familiar with the Ninja Creamii so I’m not sure — I’m sorry!
Hi Jen,
Could I substitute the corn syrup? I try to avoid it. Thank you!
Hi Eugenia, You really need the corn syrup here — sorry!
UGH! Finally committed to making this and followed the recipe exactly. Everything looked good until I took the ice cream base out of the freezer to churn (I chilled it overnight) and it was frozen rock hard. The recipe says pour the mixture into ice cream machine to churn but I can’t even scoop it it’s so hard. Any suggestions/thoughts are appreciated!
Hi Michelle, sorry you had a problem with this! The problem was due to the fact that you put the ice cream base in the freezer as opposed to the fridge to chill.
I am wondering why you use corn syrup and sugar. Could I use only corn syrup for the sweetness ?
Hi Heather, I don’t recommend using just corn syrup as I’m not sure how it would impact the final product (ice cream can be kind of finicky). Hope you enjoy!
Hi Jen,
Could you add almonds to this recipe? When would be the best time to add them in the process?
Sure, Stefanie, that should be fine. I’d add them at the end while the ice cream is churning. Enjoy!
Hi Jenn, can the dry milk powder be replaced with malted milk powder? All I have on hand
Hi Kim, I wouldn’t recommend it – sorry!
Similar recipes use xanthum gum in the recipe to help with ice crystals. Can xanthum gum be incorporated with the milk powder in your recipe?
Hi Virginia, I believe you could add 1/4 teaspoon to the chilled base. According to the author of the book, the best way to incorporate it is to add it to the cold base in a blender and blend for 1 minute, then proceed with freezing.
I cannot wait to try this! If I would like to add peanut butter for a chunky chocolate peanut butter, when would I add the peanut butter and do i freeze scoops first?
Sounds good! I’d freeze little scoops of peanut butter and add it toward the end of the churning time. Please LMK how it turns out!