

This post may contain affiliate links. Read my full disclosure policy.
After more than 25 years of cooking professionally—and hosting plenty of Thanksgivings—I’ve made a lot of pumpkin pies. This is the one I make every year, and the one my family looks forward to most.
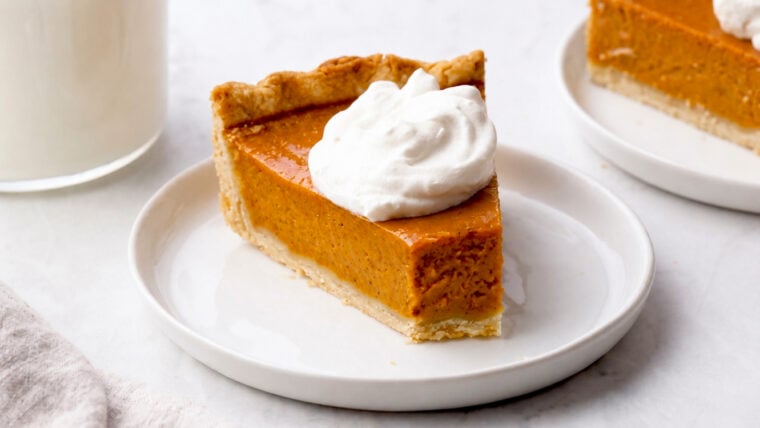
Pumpkin pie is a Thanksgiving classic, and when it’s made well, it’s hard to beat—a silky, warmly spiced pumpkin filling baked into a buttery, flaky crust. But for a dessert that seems so simple, pumpkin pie can be surprisingly finicky. Over the years, I’ve tried at least a dozen recipes and run into just about every issue: fillings that won’t set, unsightly cracks, and soggy crusts. Let’s just say the person who coined the phrase “easy as pie” had clearly never baked a pumpkin pie!
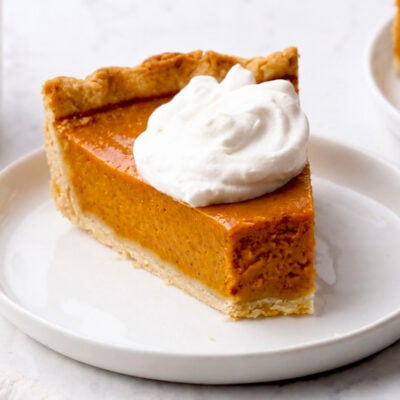
The good news is that all that testing paid off. This pumpkin pie recipe turns out beautifully, with a flaky crust, rich pumpkin filling, and smooth, crack-free top. And the best part? It’s truly easy to make.
If you’re planning your holiday dessert lineup, don’t miss my pecan pie, sweet potato pie, and apple pie—they’re all wonderful alongside this pumpkin pie.
“I’ve been baking pumpkin pie for what seems like an eternity. The custard always cracks. Not this time…it’s absolutely delicious!”
What You’ll Need To Make Homemade Pumpkin Pie
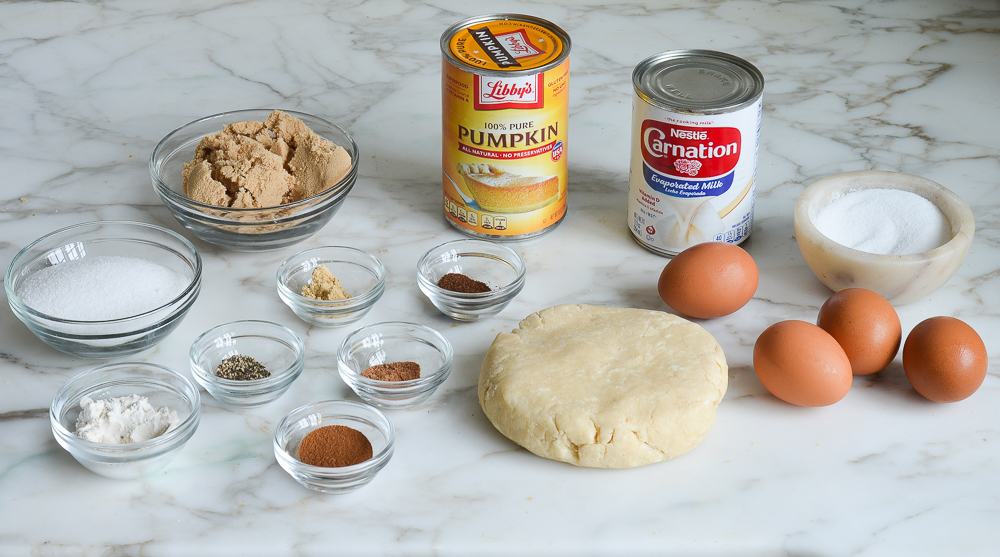
- Pie Crust: Use a homemade pie crust or store-bought—whichever you prefer. If using store-bought, opt for the frozen kind in an aluminum pie pan; it’s easier to blind bake and less likely to shrink.
- Pumpkin: For the best results, I recommend Libby’s canned pumpkin purée.
- Egg & Egg Yolks: The whole egg helps set the filling, while the extra yolks add richness and give it a silky texture.
- Granulated Sugar & Light Brown Sugar: Using both gives the filling a more complex sweetness, with a subtle molasses note from the brown sugar.
- All-Purpose Flour: Slightly thickens and stabilizes the filling, which helps prevent cracks.
- Spices (ground cinnamon, ginger, nutmeg, cloves & black pepper): This classic blend gives the pie its warm, spiced flavor, with just a hint of heat from the black pepper.
- Evaporated Milk: Gives the filling its rich, creamy texture without making it too heavy.
- Jump to the printable recipe for precise measurements
How To Make Pumpkin Pie
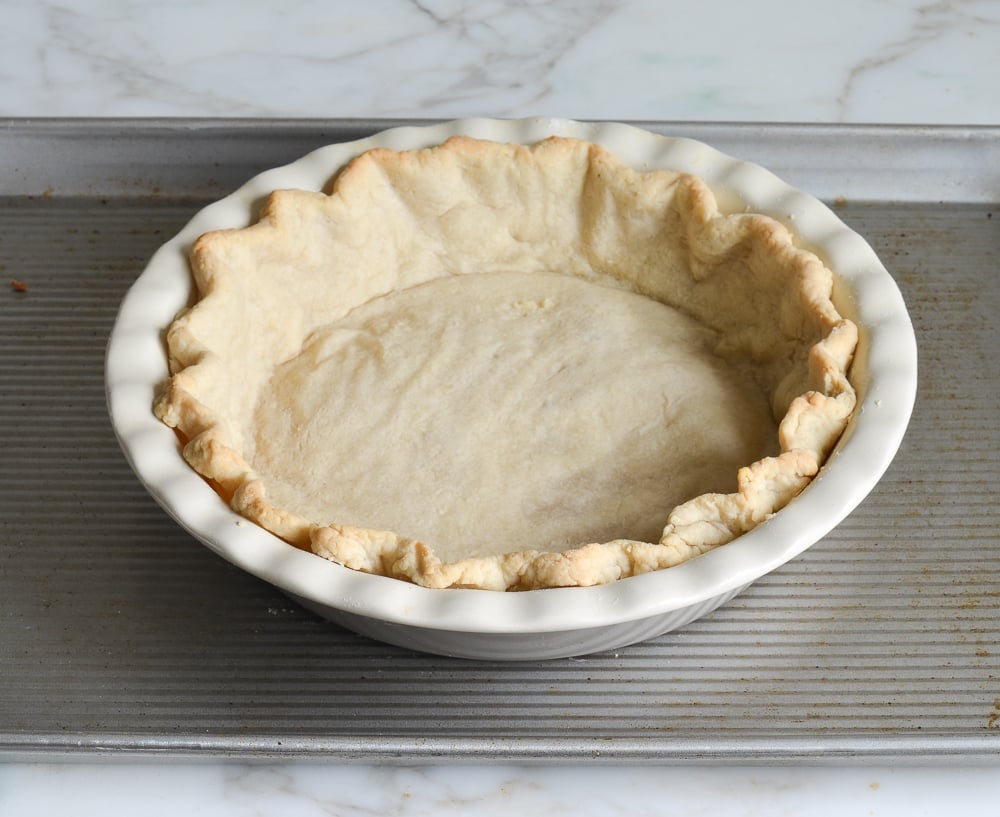
Blind bake the crust: If using a store-bought crust, follow the package directions for pre-baking the crust. For homemade dough, fit it into a deep-dish pie pan and chill it. Line the chilled crust with parchment, fill it with pie weights (or dried beans), and bake until the edges look set.
Remove the weights and bake a bit longer until the bottom looks dry and lightly golden. If the crust puffs up, gently press it back down with a flat spatula. Blind baking gives the crust a head start so it stays nice and crisp once the wet pumpkin filling is added.


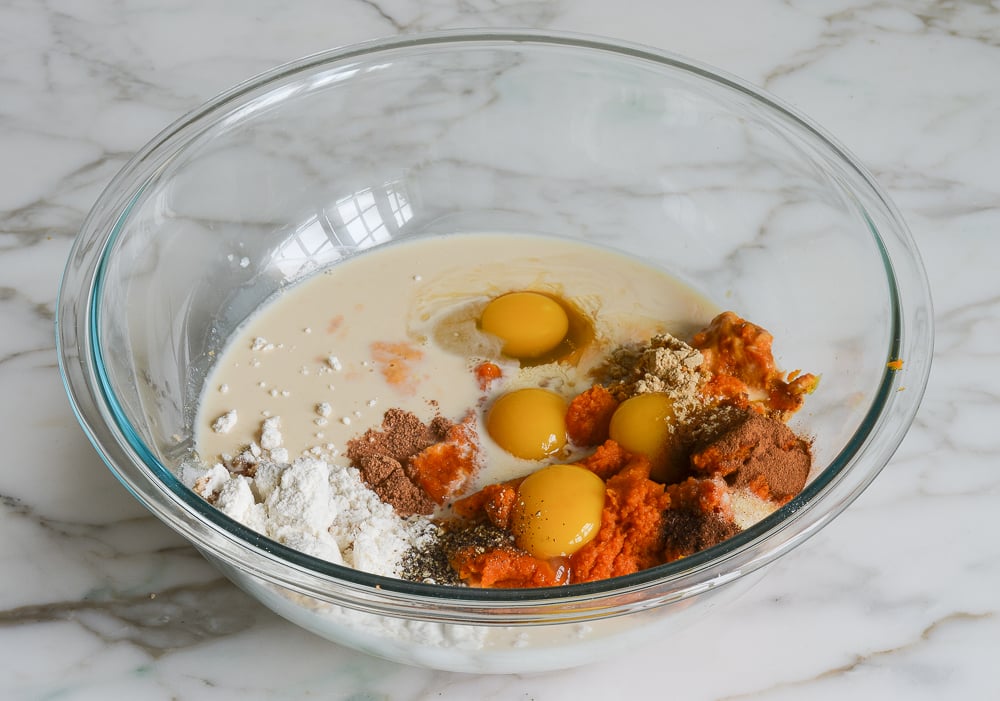
Make the filling: Whisk the filling ingredients together until completely smooth, making sure there are no pockets of flour or spices. Pour the filling into the pre-baked crust.
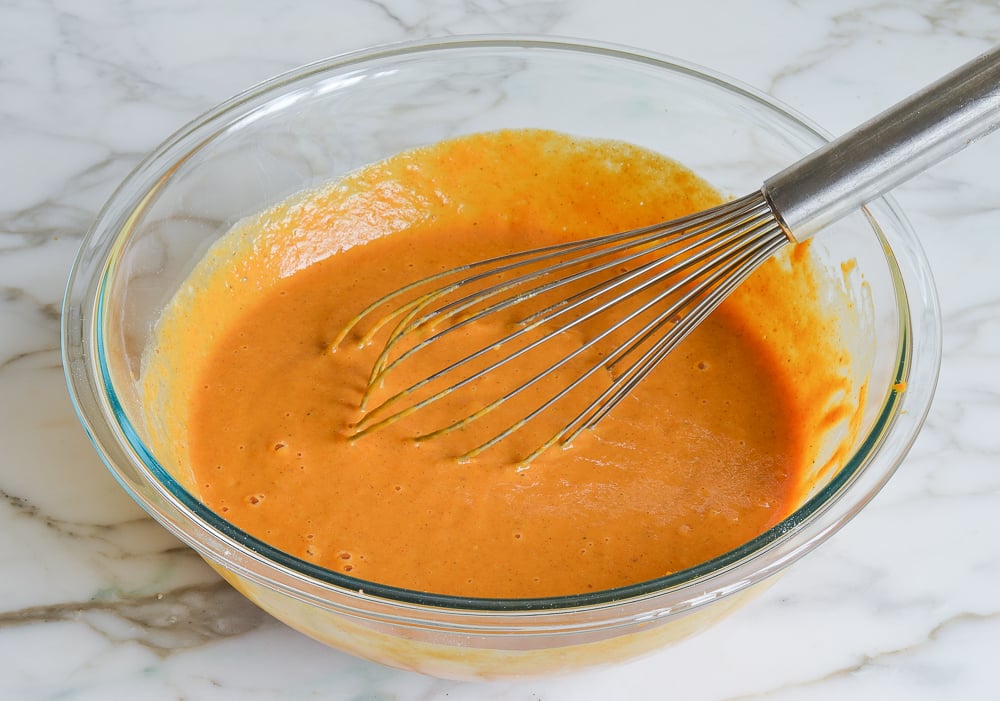
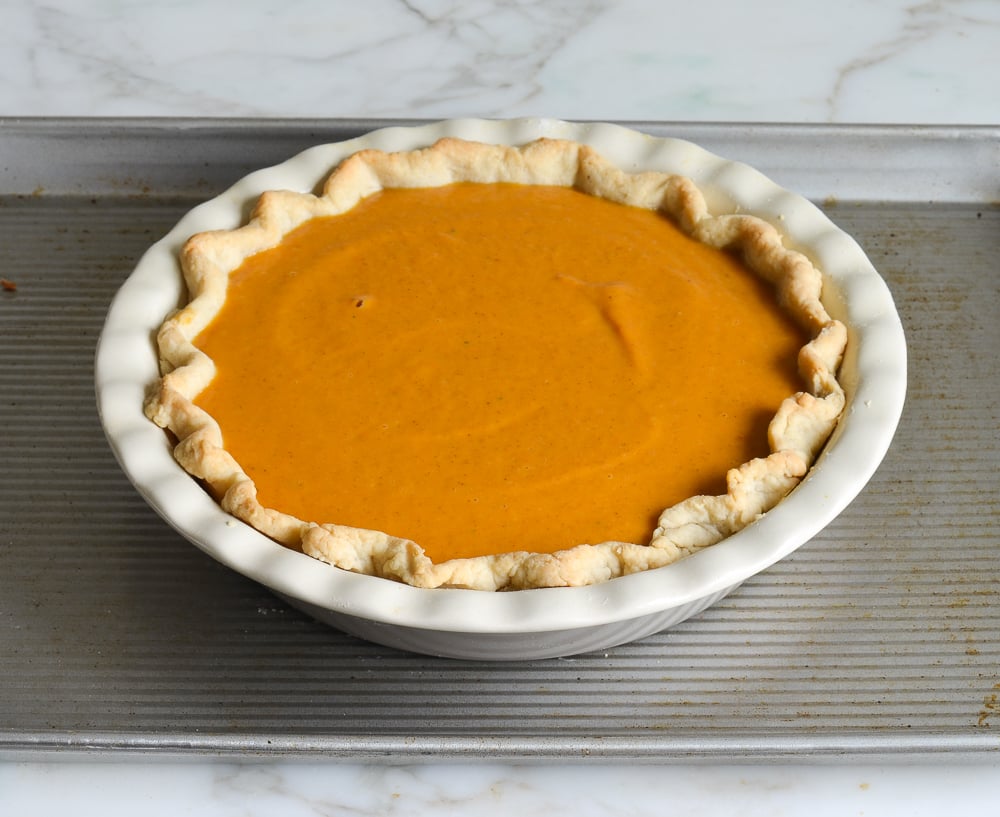
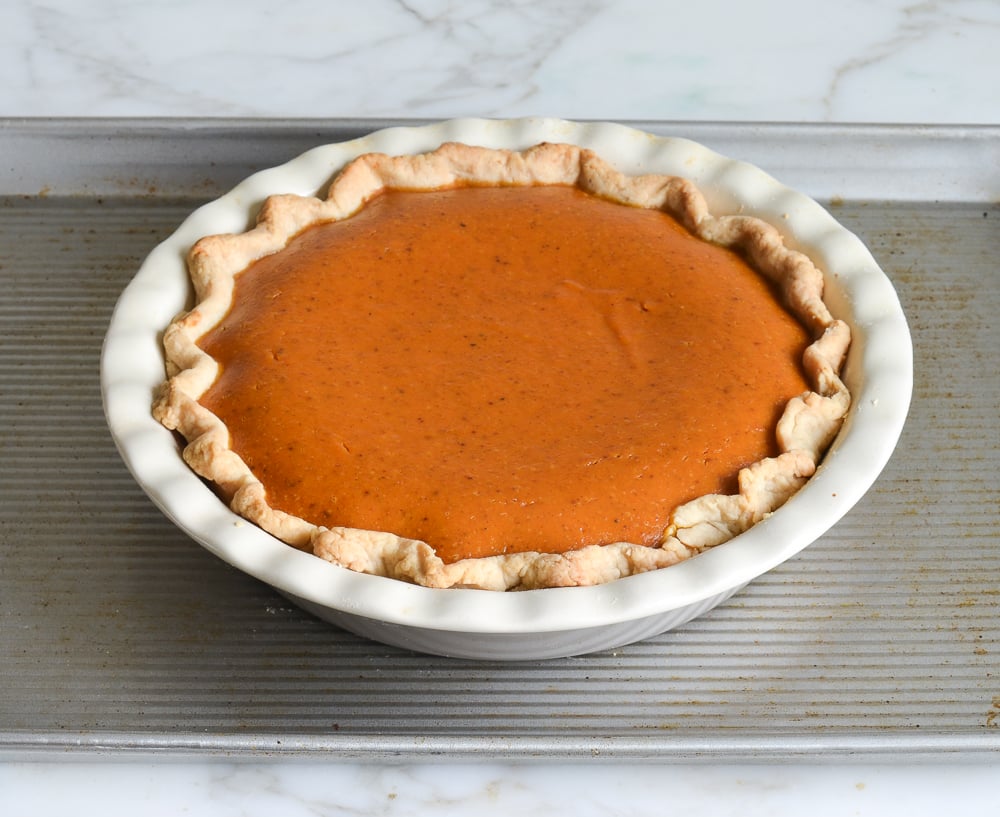
Bake and serve: Bake the pie at 325°F so the custard cooks gently and evenly. It’s done when the filling looks set and dry around the edges but still has a slight jiggle in the center when you nudge the pan—don’t worry, it will continue to set as it cools. If the crust edges start to brown too much before the filling is done, loosely cover them with foil.
Let the pie cool completely before slicing. Serve at room temperature or chilled, with whipped cream if you like.
Make-Ahead Instructions
Pumpkin pie is ideal for making ahead. You can bake it a day before serving, let it cool completely, then cover and refrigerate it overnight. For longer storage, the baked pie can also be frozen; see the recipe card below for full freezing instructions.
Video Tutorial
More Holiday Desserts You’ll Love


Perfect Pumpkin Pie
Ingredients
- 1 homemade pie crust or 9-in (23-cm) deep-dish frozen pie crust shell thawed
- 1 (15-oz) can pure pumpkin (about 1¾ cups)
- 1 large egg
- 3 large egg yolks
- ½ cup granulated sugar
- ½ cup (packed) light brown sugar
- 2 tablespoons all-purpose flour
- ½ teaspoon salt
- 1 teaspoon ground cinnamon
- 1 teaspoon ground ginger
- ½ teaspoon ground nutmeg
- ⅛ teaspoon teaspoon ground cloves
- ⅛ teaspoon teaspoon ground black pepper
- 1¼ cups evaporated milk (you'll need one 12-oz (340-g) can but you won't use all of it)
Instructions
- Blind Bake the Crust: If you’re using a store-bought frozen crust, follow the pre-baking instructions on the package. If you’re using a homemade crust, roll out the dough and gently fit it into a 9-in (23-cm) deep-dish pie pan, making sure it’s snug against the bottom and sides. Chill the crust for at least 30 minutes.Meanwhile, preheat the oven to 375°F (190°C) and set an oven rack in the middle position. Place the chilled crust on a baking sheet (it makes it much easier to move in and out of the oven). Line the crust with a piece of parchment paper and fill it about three-quarters full with dried beans or pie weights.Bake for 20 minutes. Remove the crust from the oven, lift out the parchment and weights, and tent the edges with a few strips of foil folded in half lengthwise to keep them from getting too dark. Return the crust to the oven and bake for another 15 to 20 minutes, until the bottom looks dry and lightly golden. If it puffs up a bit, just press it down gently with a flat spatula—try not to puncture it. Remove the foil, but keep it nearby in case you need it again later.After blind-baking the crust, reduce the oven temperature to 325°F (165°C).
- Make the Filling: In a large bowl, combine the pumpkin, egg, egg yolks, granulated sugar, brown sugar, flour, salt, cinnamon, ginger, nutmeg, cloves, pepper, and evaporated milk. Whisk until smooth, then pour the filling into the pre-baked crust.
- Bake and cool: Bake the pie for 50 to 60 minutes (at 325°F/165°C), until the filling is just set. It should look dry around the edges, but the center should jiggle just slightly if you nudge the pan. Keep a close eye on the pie as it bakes; if ever the crust looks like it's browning too quickly, tent the edges with foil strips. Let the pie cool on a rack (leave it on the baking sheet) to room temperature, a few hours. Slice or refrigerate until ready to serve.
Notes
Nutrition Information
This website is written and produced for informational purposes only. I am not a certified nutritionist and the nutritional data on this site has not been evaluated or approved by a nutritionist or the Food and Drug Administration. Nutritional information is offered as a courtesy and should not be construed as a guarantee. The data is calculated through an online nutritional calculator, Edamam.com. Although I do my best to provide accurate nutritional information, these figures should be considered estimates only. Varying factors such as product types or brands purchased, natural fluctuations in fresh produce, and the way ingredients are processed change the effective nutritional information in any given recipe. Furthermore, different online calculators provide different results depending on their own nutrition fact sources and algorithms. To obtain the most accurate nutritional information in a given recipe, you should calculate the nutritional information with the actual ingredients used in your recipe, using your preferred nutrition calculator.
SUCH A HIT JENN!! I followed the recipe exactly & trusted you & the other reviewers & added the black pepper! You can’t actually taste it but it brings this pie to another level. Perfectly spiced! I’m a Jewish grandma who takes great pride in making very tasty food & you have made me look really great! I have made many of your delicious recipes (including Brie en croute also for Thanksgiving) and I come out looking like a rock star! I feel like wearing an apron that says “YOU MAY THANK JENN SEGAL!” From the bottom of my heart, I thank you for all the hard work you have put into your passion. ❤️ Your dedication, precision & passion SHINE through. YOU ARE SPECIAL 🥰 There’s only one thing on my wish list for Hanukkah, and that’s your cookbook! 😍
Thanks for your incredibly sweet words, Linda! So glad you like the recipes! ❤️
I previously posted on 11/25 saying I had made my pie dough but only had used 2 T. of water instead of the 4 in the recipe. I blind baked the crust before filling and it did not shrink and the bottom never puffed up. It was the perfect pie crust. When I made the filling, since I am diabetic, I substituted Swerve granulated and brown sugars for the regular sugars. I also didn’t have all the spices called for so I just used about 2 1/2 tsp. of pumpkin pie spice. This worked out perfectly but I did have to cook my pie about 20-30 minutes longer as the custard was fairly wobbly when I took it from the oven. Once it cooled off, it was set and was the perfect consistency. And it was delicious! Today I wrapped 3 individual pieces of pie in Saran Wrap then put in a freezer bag and put in my freezer for later. For those who are diabetic and may choose to use Swerve, I couldn’t taste a difference in that from regular sugar which is a good thing. I feared taking my number this morning since I had eaten the pie as well as stuffing with gravy at our Thanksgiving meal. Imagine my surprise when I got up this morning and my number was only 112. This is the first time I’ve used Swerve in a pie. This is a wonderful recipe. I loved the crust and the custard was delicious. Thank you Jenn for this delicious recipe. I’ll definitely be making this again.
Made this for Thanksgiving this year and it is by far the best pumpkin pie I have ever made.
Thanks for sharing the recipe and technique. I will never use another recipe. Love all of your recipes.
Hi – I love all the photos! And I am so glad I read this all the way through…however I can not see any suggested oven temperature in the receipe. Let me know – I am standing by and would love to make it next weekend for my husband’s birthday.
Thanks And Cheers!
Christian Gruye
cgruye@me.com
Hi Christian, You’ll bake the crust at 375°F/190°C and then reduce the oven temp to 325°F/165°C when you bake the fully assembled pie. Hope you enjoy!
This was a really delicious, traditional pumpkin pie which is what I love! I may have overworked the dough a bit so was a little tougher than I wanted, but that’s my fault and will try again. The dough was very easy to work with. The filling was perfectly spiced, didn’t crack and great texture. Can’t wait for another slice today!
Have never eaten or made a pumpkin pie! Not sure what I was thinking when I said I would……made for the first time yesterday and it didn’t crack and everyone LOVED it. Was told it was the best they had ever had. THANK YOU!!!!
This really is the perfect pumpkin pie. Sometimes I make the pumpkin pie filling and just bake that off in a round deep dish oven proof dish. I scoop the cooled filling into bowls and top with whipped cream.
I live in a country that doesn’t have a lot of dairy products, so I ended up using a substitute for evaporated milk (part melted butter, part milk and blended together.) Even with this change, the pie turned out wonderfully! My husband said it’s the best pumpkin pie he’s ever eaten. Highly recommend this recipe!
I made this today for Thanksgiving. (I used my own pie crust recipe.) This pumpkin filling is the best. Never again will I just use the recipe on the pumpkin can! The flavor and texture of this pie was divine.
We made this pie last night and it turned out BEAUTIFULLY! I had a brief moment of panic when I realized we didn’t have shortening for making the crust, but we substituted room-temperature coconut oil and crossed our fingers. The crust turned out sooooo delicious- like a flaky shortbread cookie. I will be using this recipe every year from now on, thank you!!