

This post may contain affiliate links. Read my full disclosure policy.
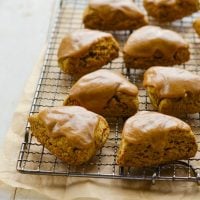
Tender, warmly spiced, and topped with a sweet pumpkin glaze, these homemade pumpkin scones are a fall favorite.
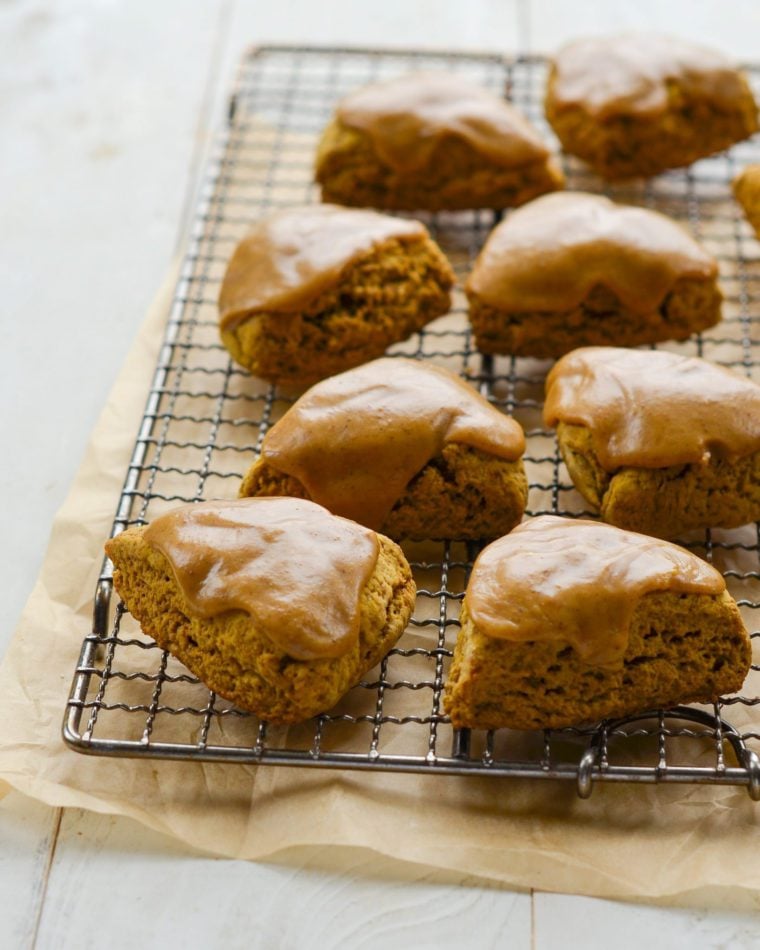
Inspired by the pumpkin scones Starbucks used to sell, this pumpkin scone recipe is packed with pumpkin flavor and warmly spiced with cinnamon, ginger, cloves, and nutmeg. Pumpkin purée and a touch of molasses make the scones especially tender—almost like pumpkin bread in scone form.
The spiced pumpkin glaze adds just the right amount of sweetness and an extra boost of pumpkin flavor. And don’t be put off by the long ingredient list; it’s mostly spices, many of which are used in both the scones and the glaze.
If you’re a scone lover, be sure to try my cream scones, blueberry scones and butterscotch pecan scones for more flavors.
“These are even better than Starbucks! The scones have amazing pumpkin pie flavor and are so light in texture!”
What You’ll Need To Make Pumpkin Scones
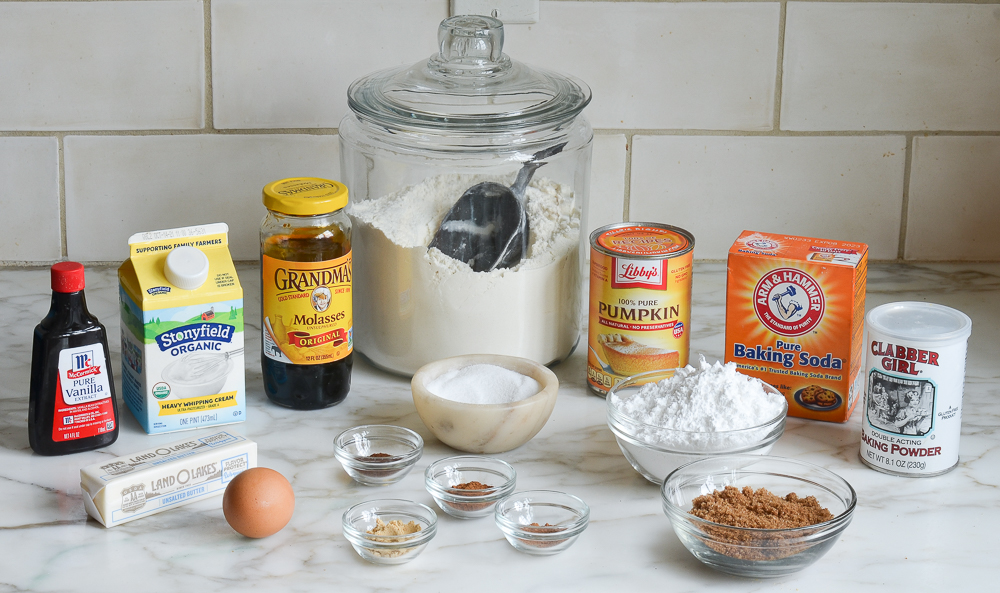
- Canned Pumpkin Purée: Adds moisture and pumpkin flavor to both the scones and the glaze. Be sure to use 100% pure pumpkin, not pumpkin pie filling, which is already sweetened and spiced. For more ways to use up the can, check out my favorite pumpkin recipes.
- Egg & Heavy Cream: Add richness and moisture and help give the scones their tender texture.
- Molasses & Vanilla Extract: Molasses adds a subtle caramel-like depth that complements the pumpkin and warm spices; vanilla rounds out the flavor. Avoid blackstrap molasses, which is too strong and bitter here.
- All-Purpose Flour: Provides the structure for the scones. For the most accurate measurement, spoon the flour into the measuring cup and level it off rather than scooping directly from the bag.
- Unsalted Butter: Gives the scones their rich, buttery flavor and flaky texture. Keep it cold until you’re ready to use it; cold butter creates little pockets of steam as the scones bake, helping them rise and form flaky layers.
- Dark Brown Sugar: Sweetens the scones and adds moisture and a deeper caramel flavor.
- Baking Powder & Baking Soda: Give the scones lift and help them bake up light and tender.
- Cinnamon, Ginger, Cloves & Nutmeg: The warm spices that give the scones their classic pumpkin-spice flavor. They’re used in both the dough and the glaze. (You can sub an equal amount of pumpkin pie spice if you prefer.)
- Confectioners’ Sugar: Forms the base of the pumpkin glaze and gives it a smooth, pourable consistency.
- Jump to the printable recipe for precise measurements
How To Make Pumpkin Scones
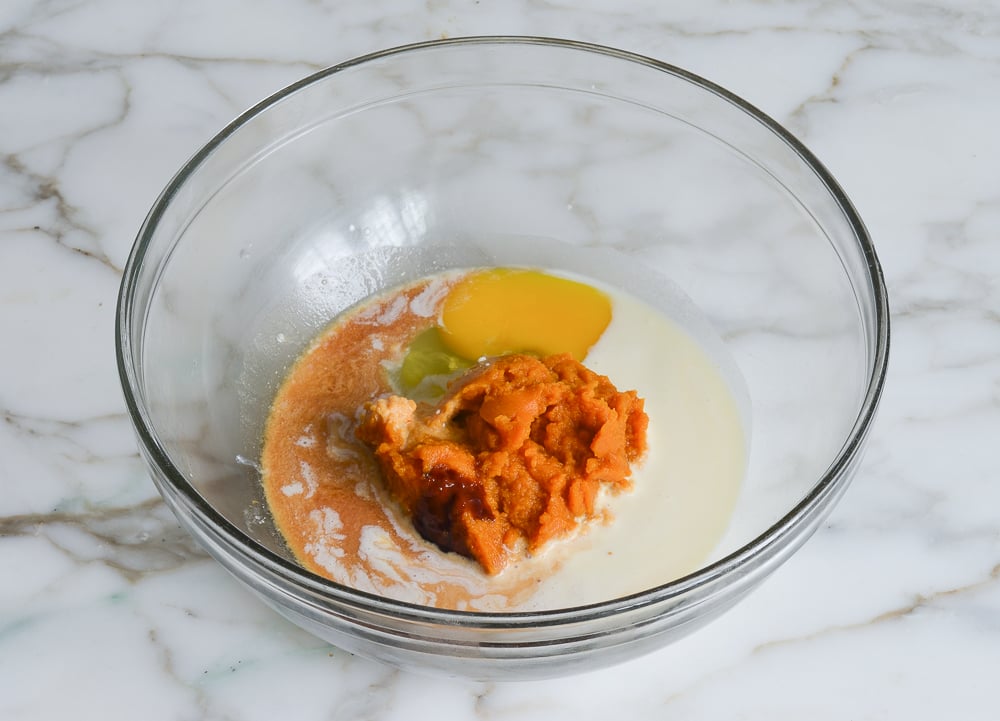
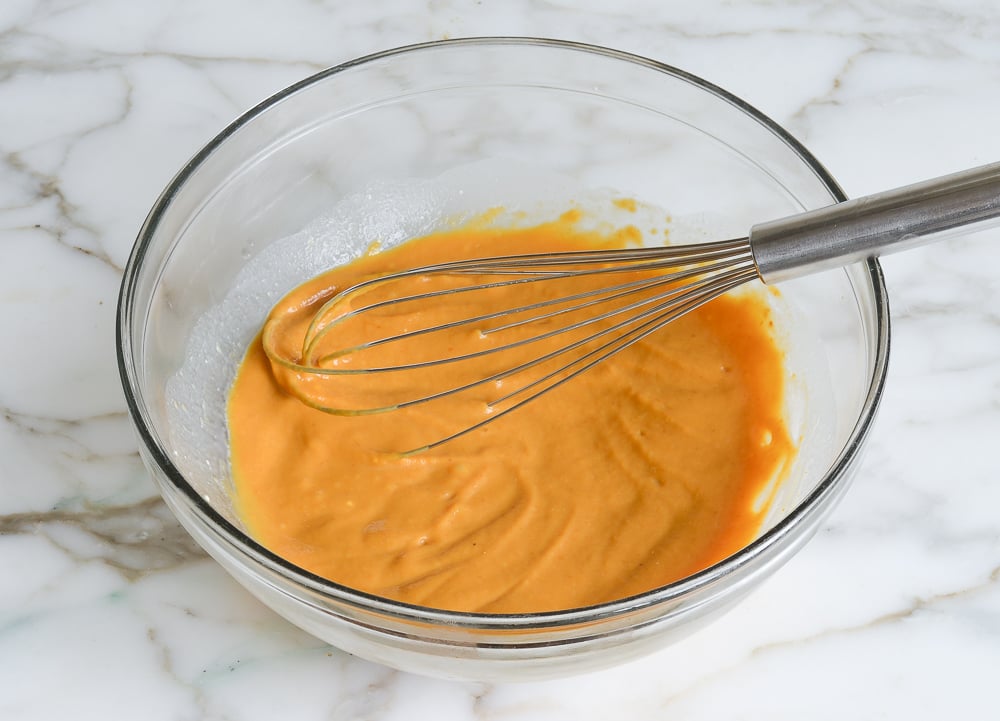
Step 1: Mix the wet ingredients. Combine the pumpkin, heavy cream, egg, molasses, and vanilla in a medium bowl and whisk until smooth.
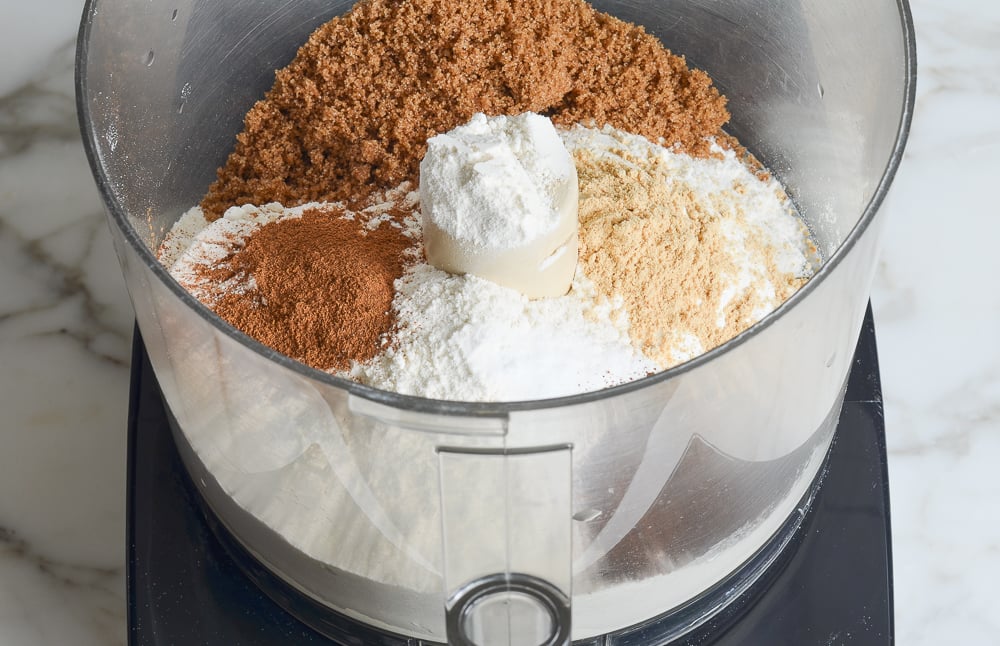
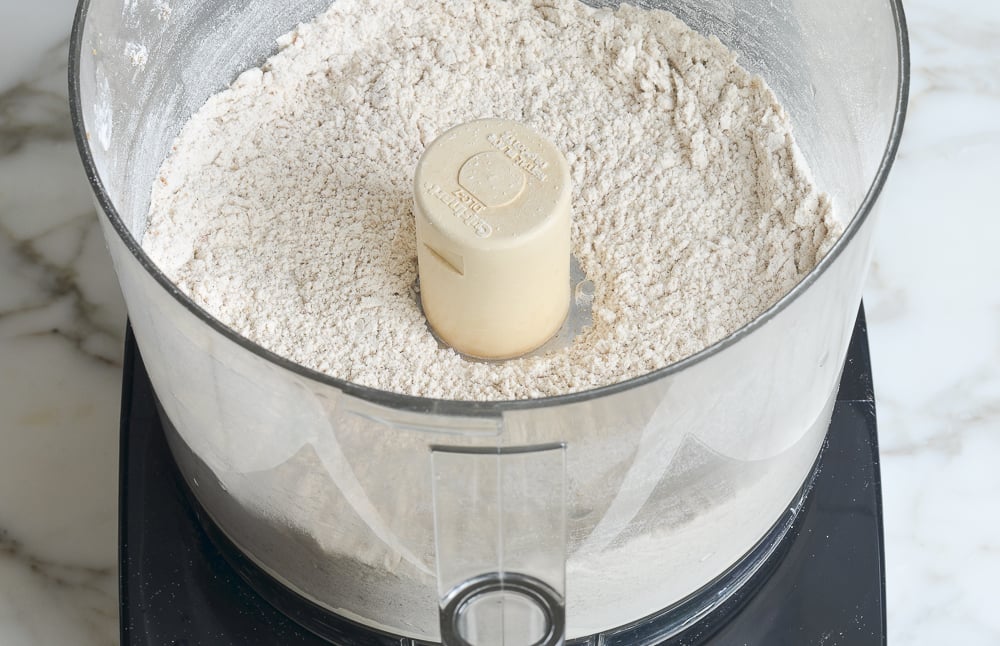
Step 2: Mix the dry ingredients. Combine the flour, brown sugar, baking powder, baking soda, salt and spices in the bowl of a food processor and pulse until evenly combined.
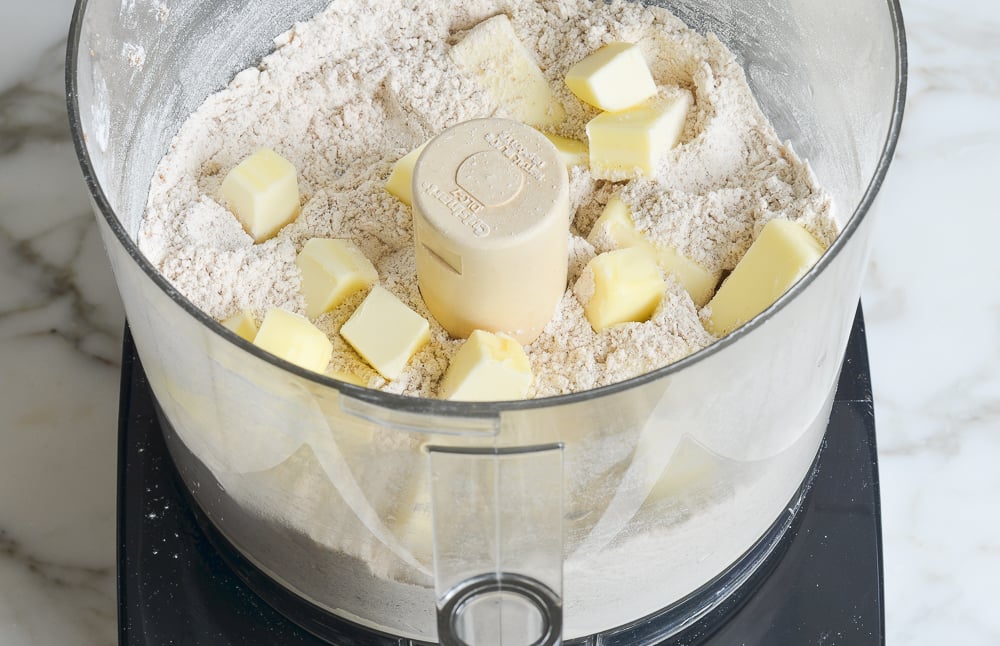
Step 3: Cut in the butter. AAdd the cold butter and pulse until the mixture looks crumbly, with some pea-sized pieces of butter still visible. Those little pockets of butter help the scones bake up light and flaky.
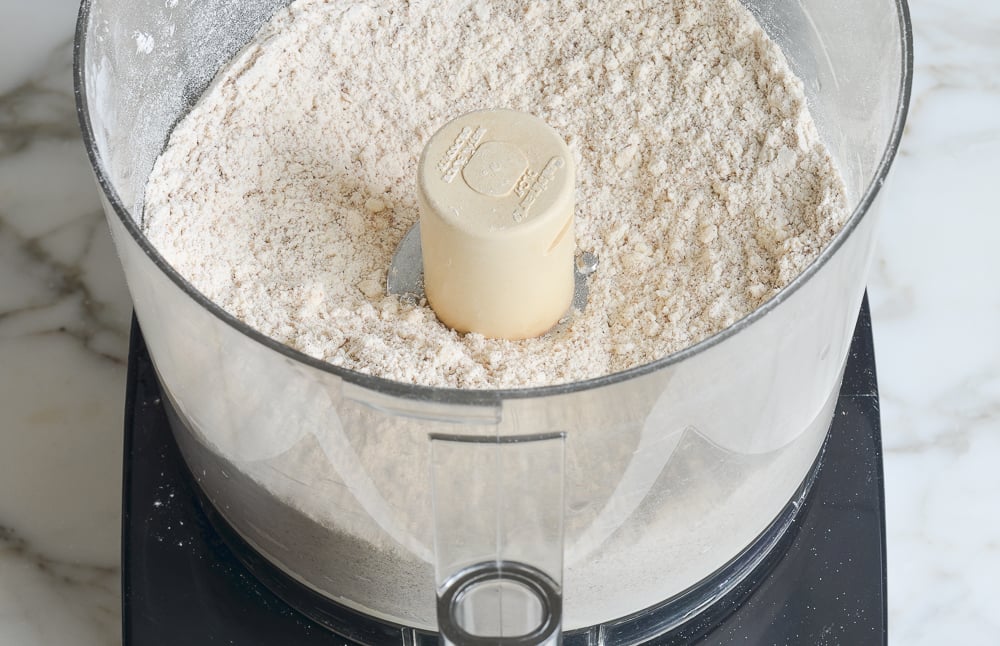
Step 4: Mix everything together. Add the pumpkin mixture and pulse just until the dough comes together. It will be quite sticky, and you should still see a few pieces of butter—don’t overmix.
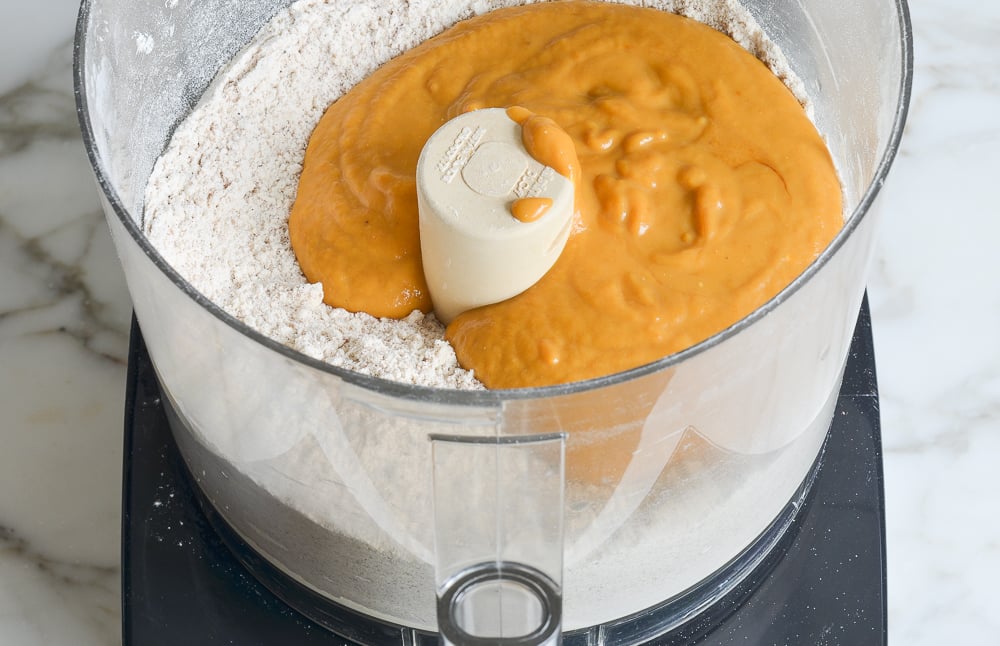
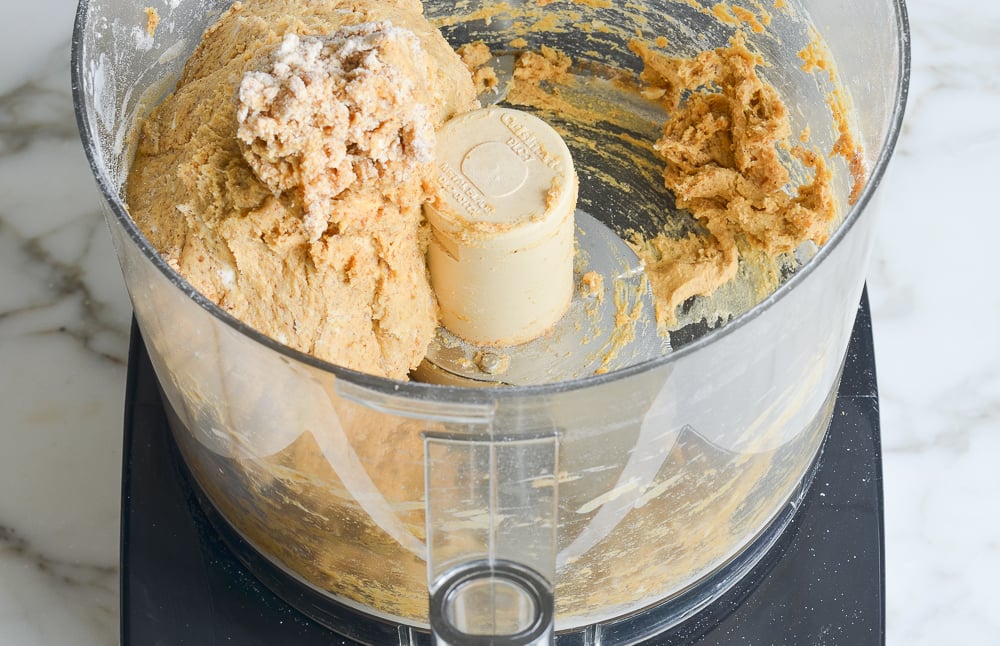
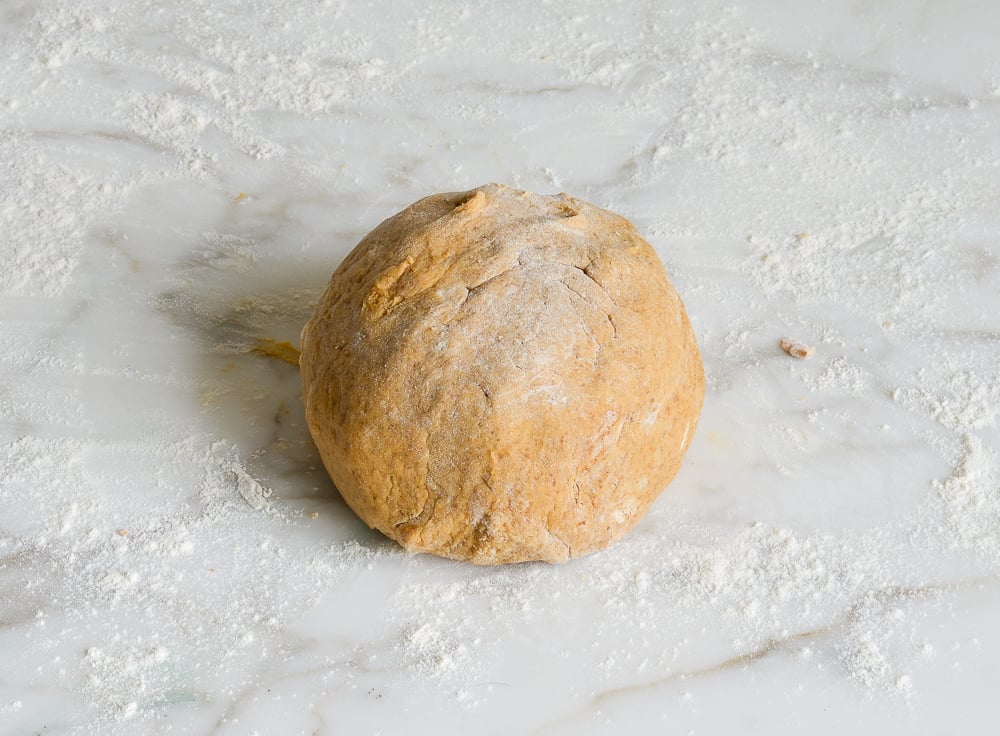
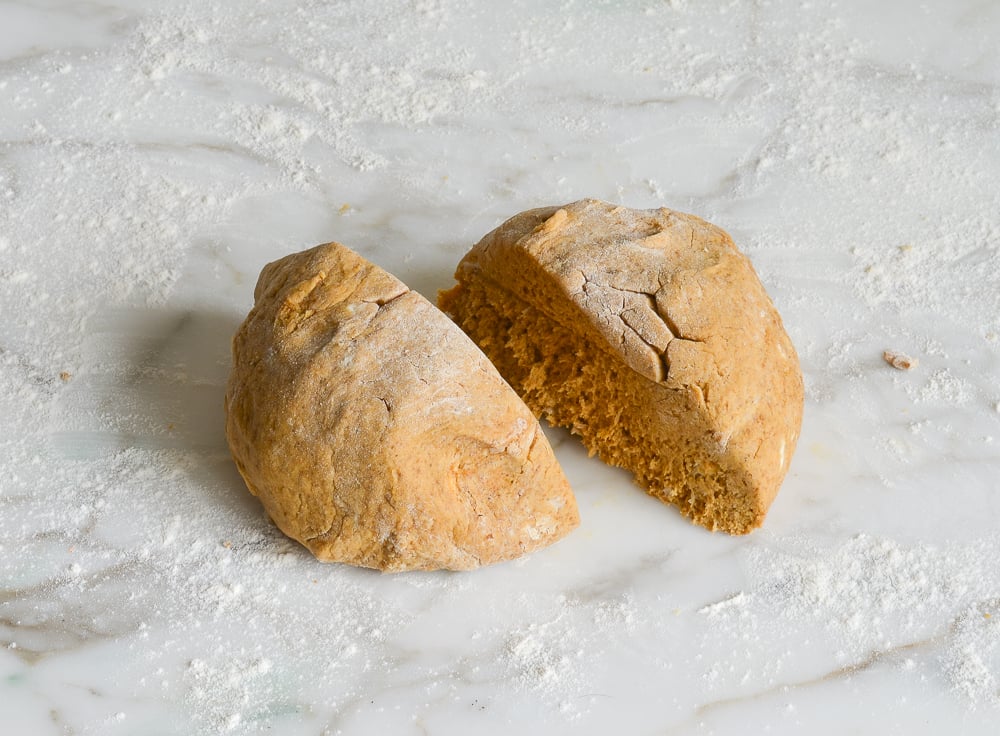
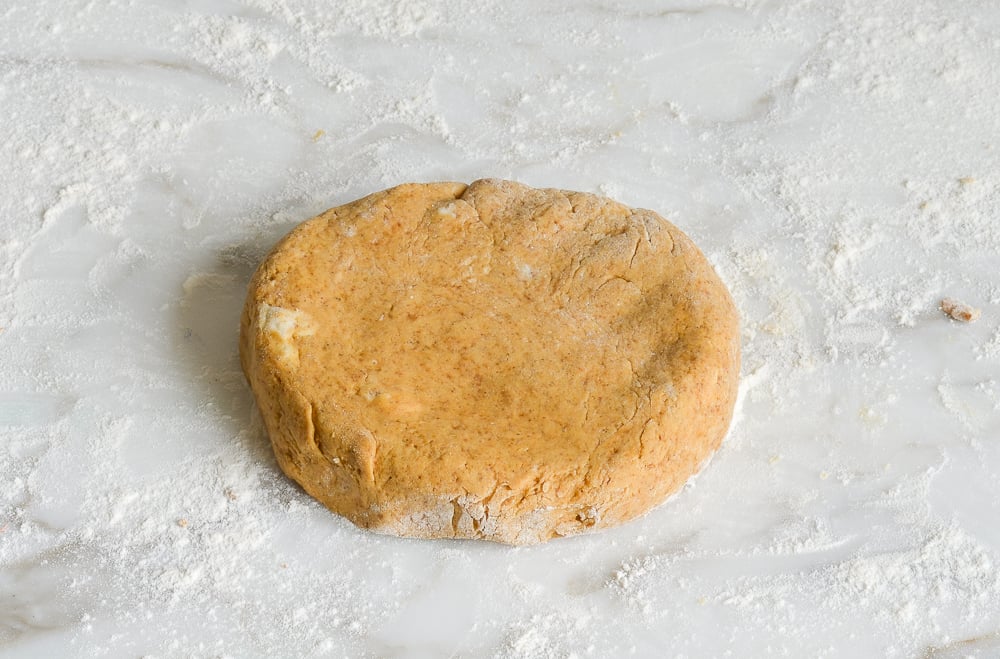
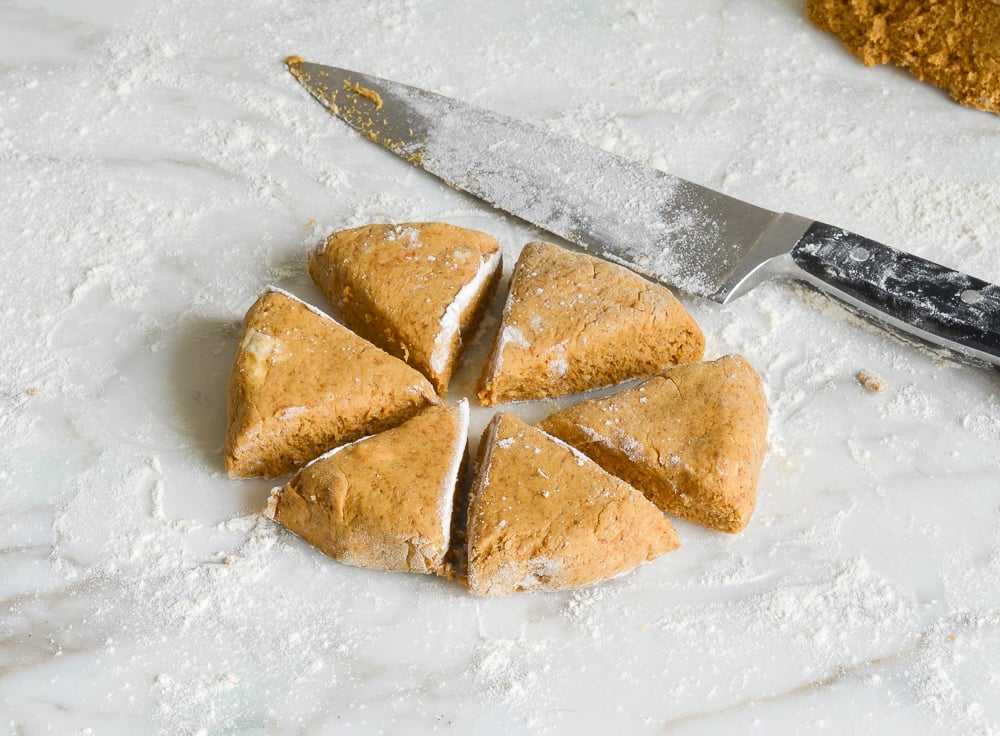
Step 5: Form the scones. Turn the dough onto a lightly floured surface and dust the top with a little flour. Gently knead it just enough to bring it together, then divide it in half. Shape each half into a 5-inch round and cut into six wedges.
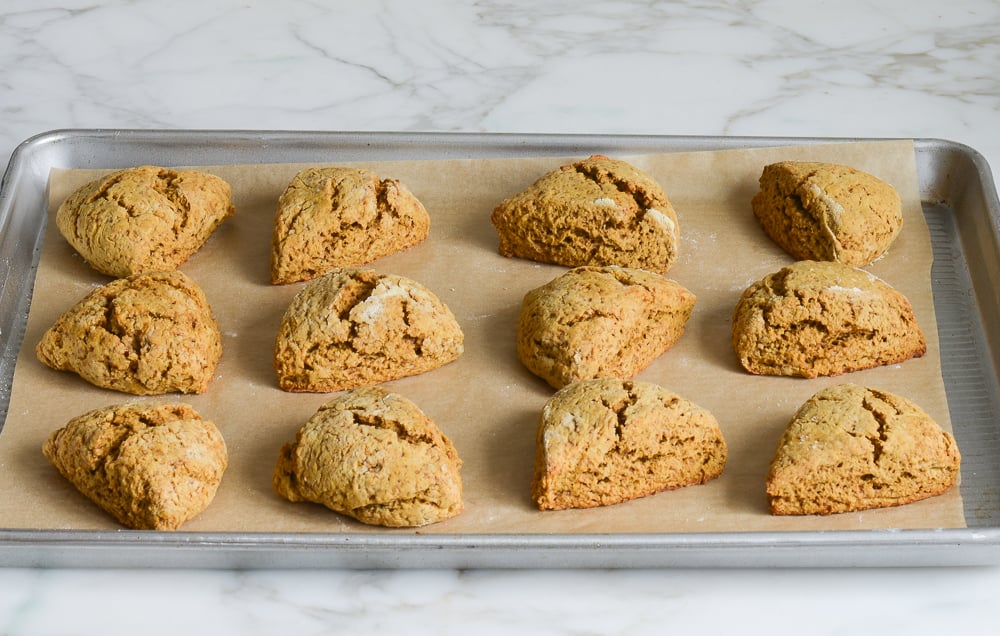
Step 6: Bake. Arrange the scones on a parchment-lined baking sheet and bake until set and lightly browned on the bottoms, 12 to 15 minutes. Let cool for about 15 minutes.
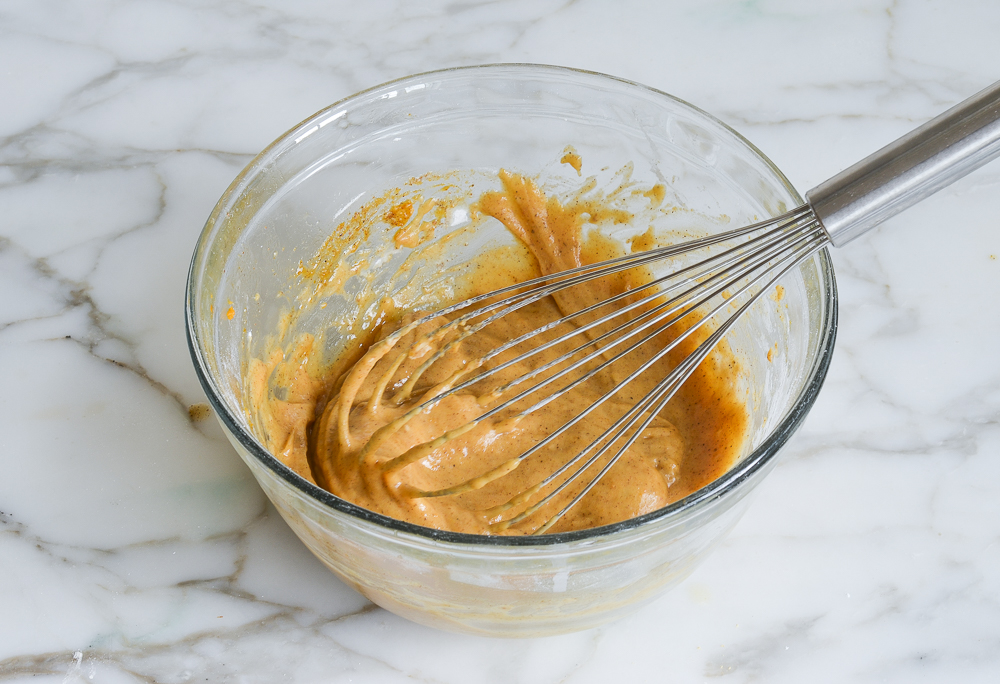
Step 7: Make the glaze. Combine the confectioners’ sugar, pumpkin purée, water, and spices in a medium bowl and whisk until smooth—it should be thick.
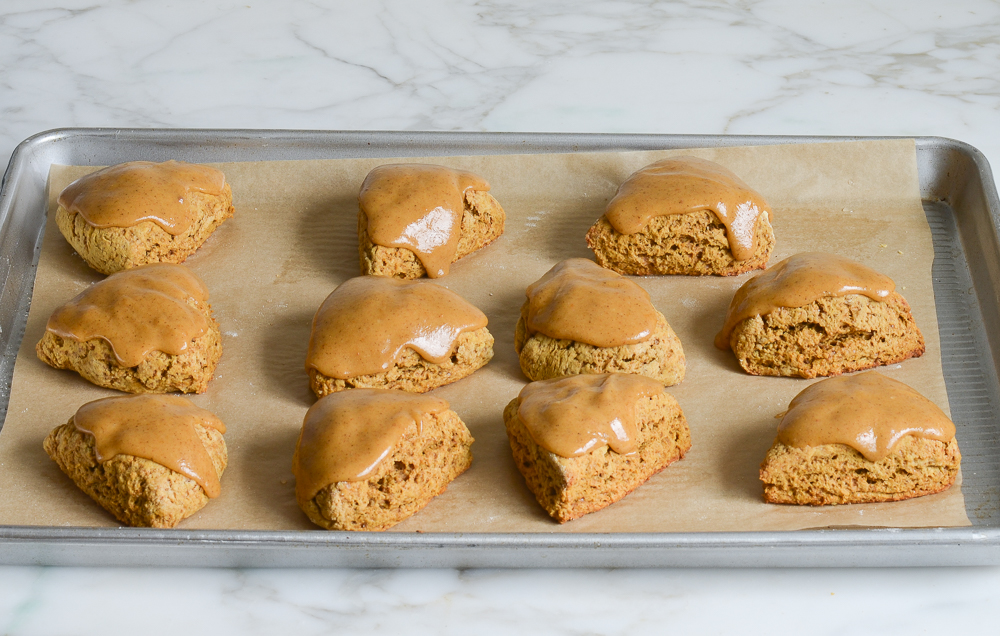
Step 8: Glaze the scones. Spoon the glaze over the scones, letting some drip down the sides. Let the glaze set for about 30 minutes before serving. Enjoy!
More Pumpkin Recipes For Fall

Pumpkin Scones
Ingredients
For the Scones
- ½ cup canned pumpkin purée, such as Libby's
- 1 large egg
- 3 tablespoons heavy cream
- 1 tablespoon molasses, such as Grandma’s Original
- 2 teaspoons vanilla extract
- 2 cups all-purpose flour spooned into measuring cup and leveled-off, plus more for dusting
- ¼ cup + 2 tablespoons (packed) dark brown sugar
- 1 teaspoon baking powder
- ½ teaspoon baking soda
- ½ teaspoon salt
- 1 teaspoon ground cinnamon
- ¾ teaspoon ground ginger
- ¾ teaspoon ground cloves
- ½ teaspoon ground nutmeg
- ½ cup (1 stick) cold unsalted butter
For the Glaze
- 1½ cups confectioners' sugar
- 3 tablespoons canned pumpkin purée
- 1 tablespoon water
- ¼ teaspoon ground cinnamon
- ¼ teaspoon ground ginger
- ¼ teaspoon ground cloves
- ¼ teaspoon ground nutmeg
Instructions
- Preheat the oven to 400°F (205°C). Line a baking sheet with parchment paper.
- In a medium bowl, whisk together the pumpkin, egg, heavy cream, molasses, and vanilla. Set aside.
- In the bowl of a food processor fitted with the blade attachment, combine the flour, brown sugar, baking powder, baking soda, salt, and spices. Process for about 20 seconds to combine; be sure no lumps of brown sugar remain.
- Cut the cold butter into ½-in (13-mm) chunks. Add to the food processor and pulse until the mixture resembles coarse meal – it should look unevenly crumbly with some pea-size chunks of butter within. Add the pumpkin mixture and pulse just until the mixture comes together. The dough will be very sticky, and you should still be able to see some pea-size clumps of butter.
- Lightly flour a countertop or work surface. Dump the sticky scone dough onto the floured surface and dust the top lightly with more flour. Using your hands, gently knead the dough until it comes together into a smooth ball. Divide the dough in half. Dust your work surface with flour again and form each half into a 5-in (13-cm) circle, about ¾-in (2-cm) thick. Using a sharp knife dusted with flour, slice each circle into 6 even wedges (cut each circle in half, then cut each half into thirds). If the dough starts to stick to the knife, dust the knife with more flour. Place the wedges on the prepared baking sheet.
- Bake the scones for 12 to 15 minutes. To see if they are done, peek at the bottoms; they should be slightly browned. Let the scones cool on the baking sheet for about 15 minutes.
- Meanwhile, make the glaze: In a medium bowl, whisk together the Confectioners’ sugar, pumpkin, water, cinnamon, ginger, cloves, and nutmeg until smooth. The glaze should be thick.
- Spoon about 1 tablespoon of the glaze over each scone, letting it drip a bit down the sides. Wait about 30 minutes for the glaze to set, then serve.
Notes
- The scones are best served fresh on the day they are made, but will keep well in a covered container for two days.
- Freezing Instructions: The dough can be frozen for up to 3 months. Put the dough wedges on a baking sheet, let set in the freezer, then place in a sealable bag and press out as much air as possible. Bake as needed directly from the freezer. (Allow 1 to 2 minutes longer in the oven.) To freeze after baking, let the scones cool completely and store in an airtight container, separating layers with parchment paper or aluminum foil. Before serving, remove the scones from the container and let them come to room temperature. (For best results, glaze after defrosting.) **If you have the option to freeze the scones before or after baking them, you will get the best results if you freeze them before baking.
Nutrition Information
This website is written and produced for informational purposes only. I am not a certified nutritionist and the nutritional data on this site has not been evaluated or approved by a nutritionist or the Food and Drug Administration. Nutritional information is offered as a courtesy and should not be construed as a guarantee. The data is calculated through an online nutritional calculator, Edamam.com. Although I do my best to provide accurate nutritional information, these figures should be considered estimates only. Varying factors such as product types or brands purchased, natural fluctuations in fresh produce, and the way ingredients are processed change the effective nutritional information in any given recipe. Furthermore, different online calculators provide different results depending on their own nutrition fact sources and algorithms. To obtain the most accurate nutritional information in a given recipe, you should calculate the nutritional information with the actual ingredients used in your recipe, using your preferred nutrition calculator.
These turned out really good! I actually cut each scone in half so I had 24 mini scones to bring to work. It has a really great pumpkin flavor. My daughter says it tastes just like pumpkin pie. They are tender with a bit of crisp from the bottom. The glaze, I probably used less than the recommendation from putting on mini scones. I would recommend not waiting the full 15mins of the first cool down before glazing, or your glaze won’t warm up and spread (we were busy enjoying the first batch and I let the second batch cool long enough to be warm, which made the glaze not really spread or deepen to that lovely amber color of glaze you see in the photo)
My most frustrating baking experience. “I have made many scones before but this dough was so sticky and unmanageable. Could not form a ball and could not cut it. Just plopped it on the sheet in lumps. Even if they taste good I will not be making them again. Sorry.
Baked these from frozen, worked beautifully. Great flavour and very flaky. I don’t have a food processor so used pastry cutter without any problems. I prefer less glaze, will make 1/2 batch of glaze for full scone recipe when I make this again. Delicious – thanks for recipe.
The glaze has a bit too much pumpkin purée – I would reduce to 1 tablespoon the next time I make this!
I find these actually taste better than the Starbucks scones, in Canada anyway! They were easy to make and so delicious! I recommend preparing your spice mix (separately) for the glaze and the scones ahead of time, it considerably cuts down on prep time the day you decide to make them! The only thing is even though I did let my scones cool for the recommended period, and stored my glaze in the fridge while waiting, it was still pretty runny. Next time I’m thinking of not adding the tablespoon of water? Or maybe adding more sugar? LL
So glad you like them! Yes, next time you make the glaze, just add a bit more sugar to thicken it up.
Good morning Jenn,
I’d like to bake these for an event, but I need to drop them off two days before they will be consumed. Will they still be fresh and amazing or would it be preferable to bake your streusel topped pumpkin muffins?
Hi Elizabeth, these will keep well in a covered container for up to two days so I think you could get away with it. As always, scones are best served on the day they are made.
I made these amazing pumpkin scones on a fall afternoon. I did double the recipe as it only makes 12. They are delicious! They do take a little bit of time but well worth the effort. I will definitely make them again. They remind me of fall.
A magnificent recipe! I used Bob’s Red Mill Gluten Free 1 to 1 baking flour, & they were scrumptious! I even prefer them without the glaze! Thanks for a rainy-afternoon-winner of a recipe!
Hello Jen!
I am making stuffed pumpkins for a large group of people. The recipe calls for Gruyere cheese and. I .need a lot of it. Is there another cheese you could recommend using because Gruyere is so expensive and is not in our budget.
Thank you.
Hi Virginia, you could go with Emmental, Fontina, or Cheddar. 🙂
This was absolutely delicious! Tasted like cider mill donuts with pumpkin flavor! We loved it. I love all of your recipes, thanks a million.