Red Velvet Cupcakes

This post may contain affiliate links. Read my full disclosure policy.
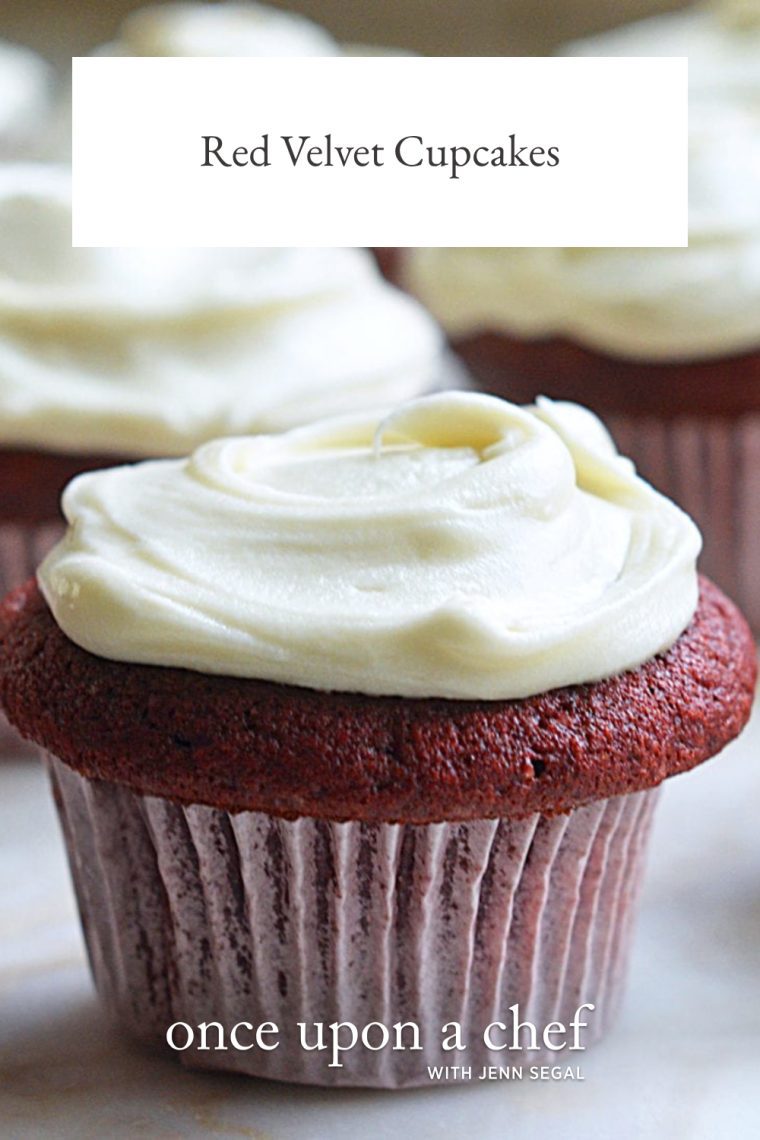
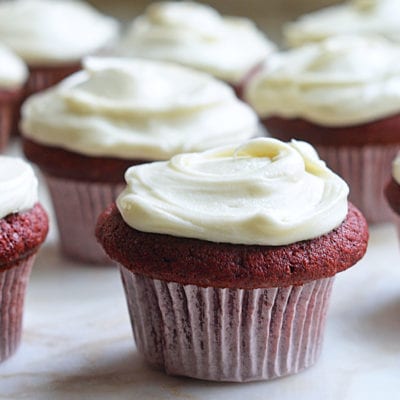
Charming? Check. Kitschy? Absolutely. But who can resist red velvet cupcakes with their subtle chocolate flavor, gorgeous hue, and lavish swirl of cream cheese frosting on top?

The best quote about the allure of red velvet cake comes from Southern food writer Angie Mosier, who said, “It’s the Dolly Parton of cakes—a little bit tacky, but you love her.” It’s true: the cake is sometimes appallingly red, but I don’t know anyone who can resist it.
This version, modestly adapted from Dam Good Sweet: Desserts to Satisfy Your Sweet Tooth, New Orleans Style by David Guas and Raquel Pelzel, is my all-time favorite red velvet cupcake recipe. The cupcakes have a mellow chocolate base, deep mahogany color, and just the right amount of tangy cream cheese frosting to balance the sweetness.
You should know right off the bat that these cupcakes are made with a lot of food coloring. After all, the color is the main idea! There are many theories as to why the cake is red, but no one knows for sure; to read about it, check out this wonderful New York Times article.
“Delicious, moist, just the right amount of sweet, and absolutely lovely!”
What You’ll Need To Make Red Velvet Cupcakes
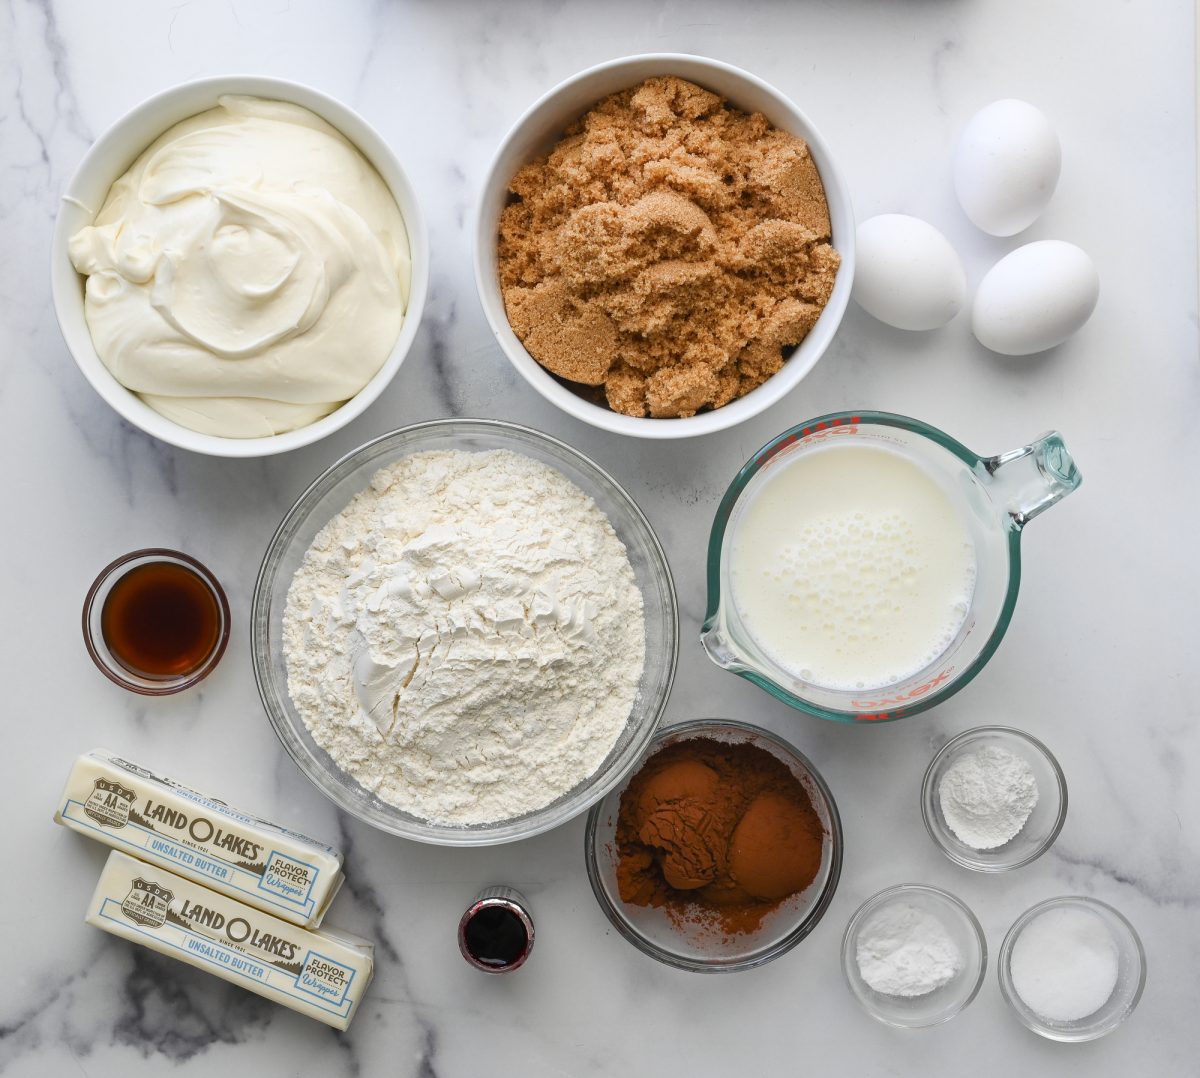
- All-purpose flour, cocoa powder, baking soda, baking powder & salt: The dry mix that gives the cupcakes structure, subtle chocolate flavor, and just the right rise. The recipe calls for Dutch-process cocoa powder; natural cocoa powder can also be used, but the cupcakes won’t be quite as chocolaty.
- Unsalted butter, light brown sugar, vanilla & eggs: This combo brings moisture, sweetness, a hint of richness, and helps the batter come together smoothly. The butter is also used to grease the pans to prevent sticking.
- Red Food Coloring: I recommend gel food coloring because it’s more concentrated than the liquid kind. You’ll get that deep, vibrant red with less, which helps keep the batter from getting runny or tasting bitter (red can be especially tricky). I use Wilton’s Red (No-taste) Icing Color. You can find it in the cake decorating section at craft stores or online.
- Buttermilk: Moistens the batter and reacts with the baking soda to help the cupcakes rise. If you don’t want to buy a whole carton, see my easy method for how to make buttermilk with milk and lemon juice or vinegar.
- Cream cheese frosting: A creamy, slightly tangy topping made with cream cheese, butter, powdered sugar, and vanilla—perfect for cutting through the sweetness of the cupcakes.
- Jump to the printable recipe for precise measurements
Step-By-Step Instructions
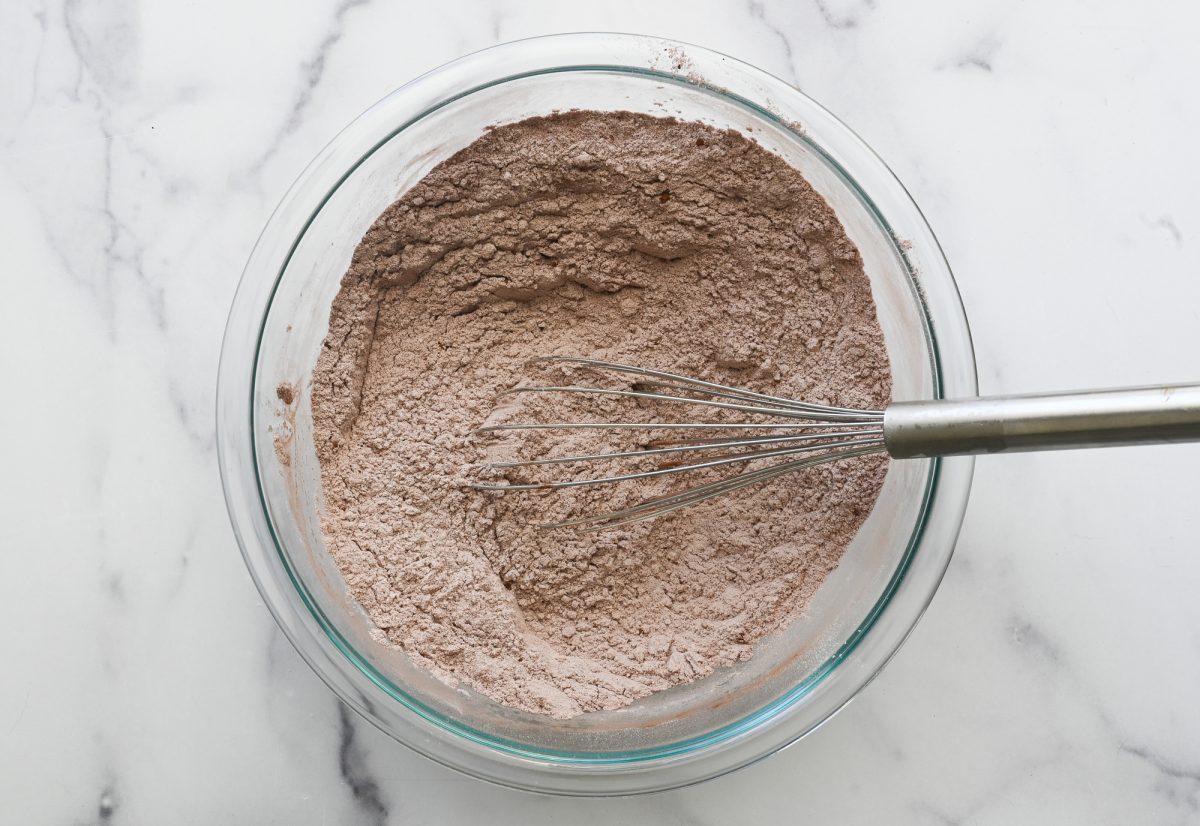
Step 1. Combine the dry ingredients. In a medium bowl, whisk together the flour, cocoa powder, baking powder, baking soda, and salt until well combined. Set aside.
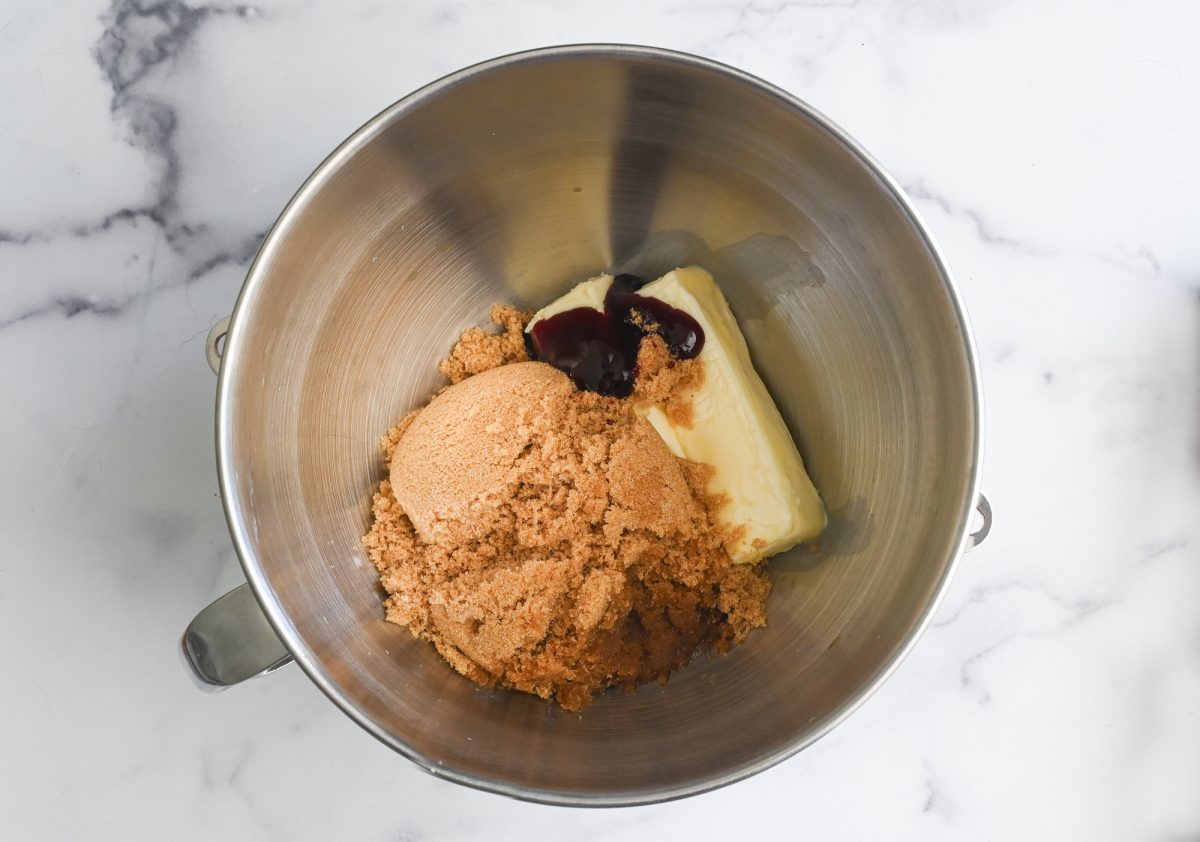
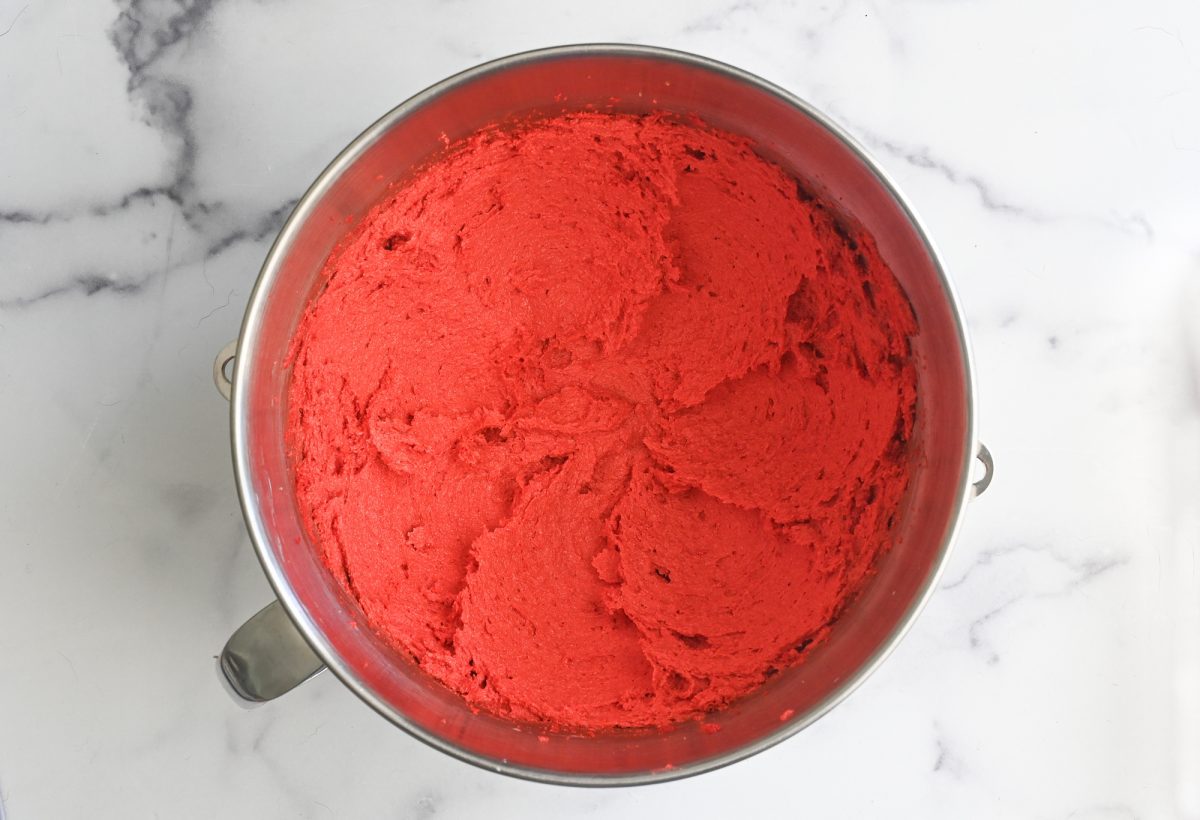
Step 2. Add the wet ingredients to the mixer. In the bowl of a stand mixer fitted with the paddle attachment, combine the butter, light brown sugar, vanilla extract, and red food coloring.
Pro Tip: Be careful—gel food coloring can stain countertops and hands, so work over parchment or a paper towel, and use gloves if you’re worried about red fingers.
Step 3. Cream the mixture. Mix on low speed until just combined (go easy—you don’t want red splatter everywhere), then increase the speed and beat until light and aerated, about 2 minutes.
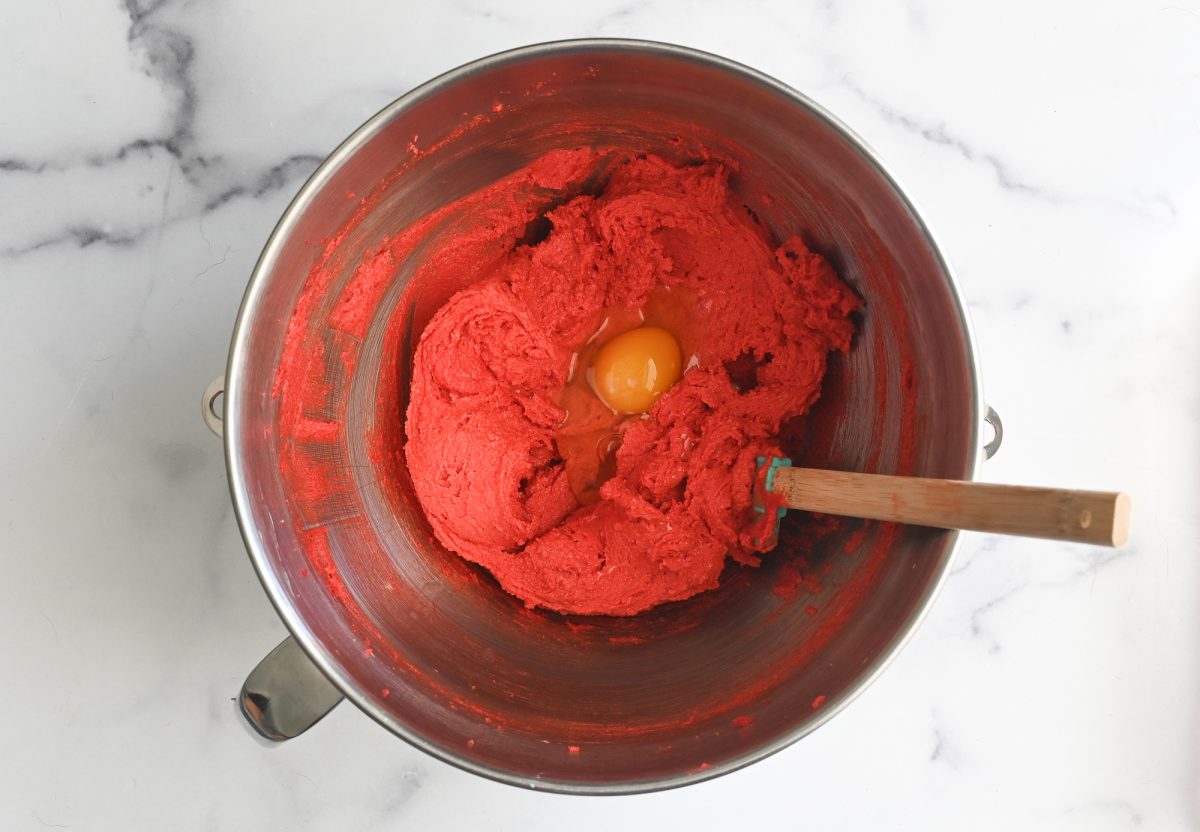
Step 4. Add the eggs. Scrape down the bowl and beat in the eggs one at a time.
Step 5. Begin alternating the dry and wet ingredients. Mix in one-third of the flour mixture. (Alternating the wet and dry ingredients helps the batter absorb them without breaking or curdling.)

Step 6. Add the buttermilk. Follow with half of the buttermilk and mix to combine.
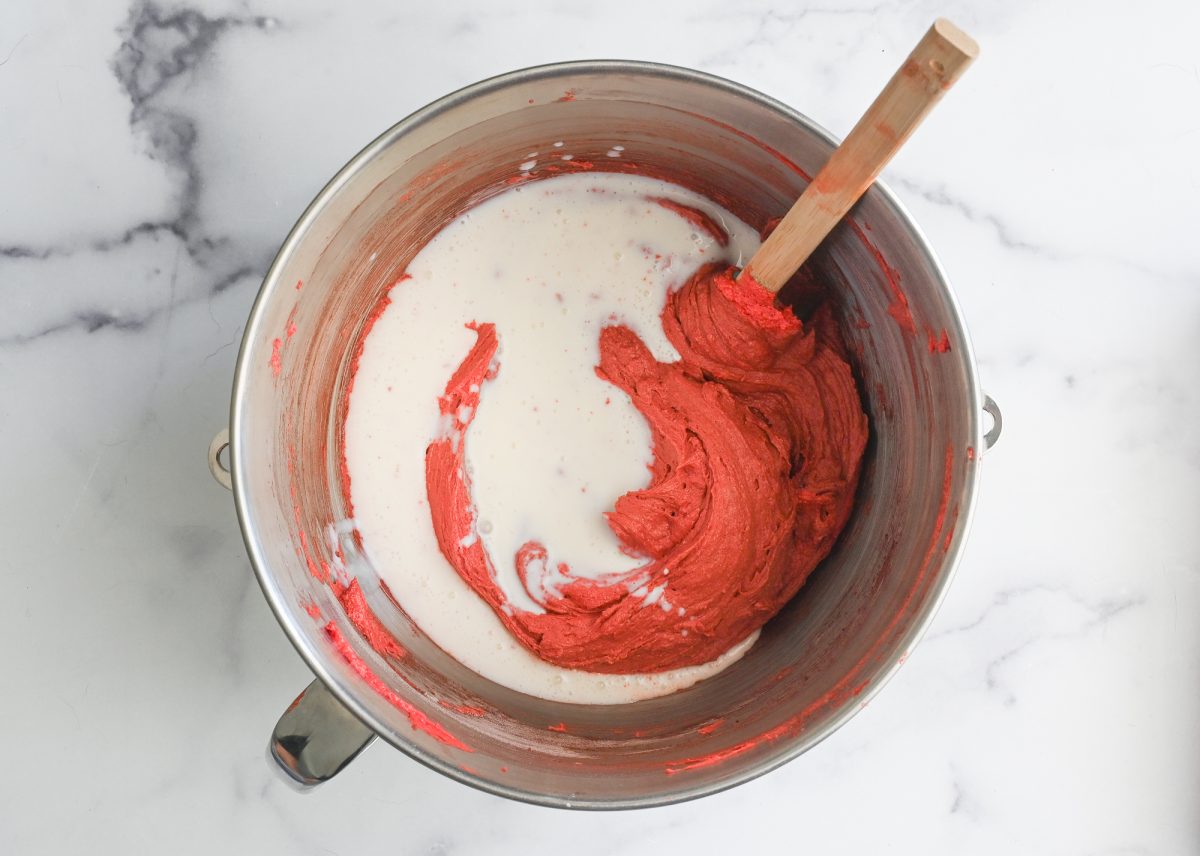
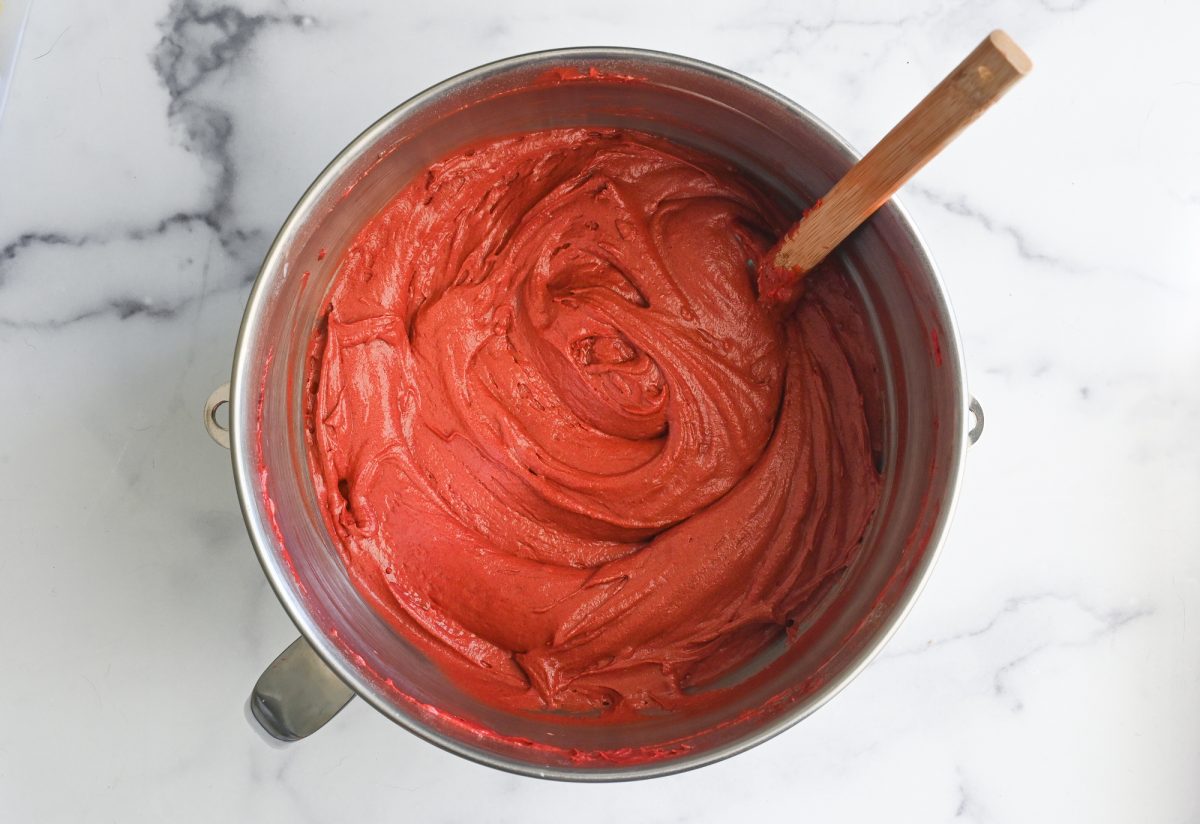
Step 7. Finish the batter. Add another third of the flour, then the remaining buttermilk, and finally the rest of the flour, mixing between each addition.
Pro Tip: Avoid overmixing—once you add the flour, mix just until the batter comes together; overmixing can lead to dense cupcakes.
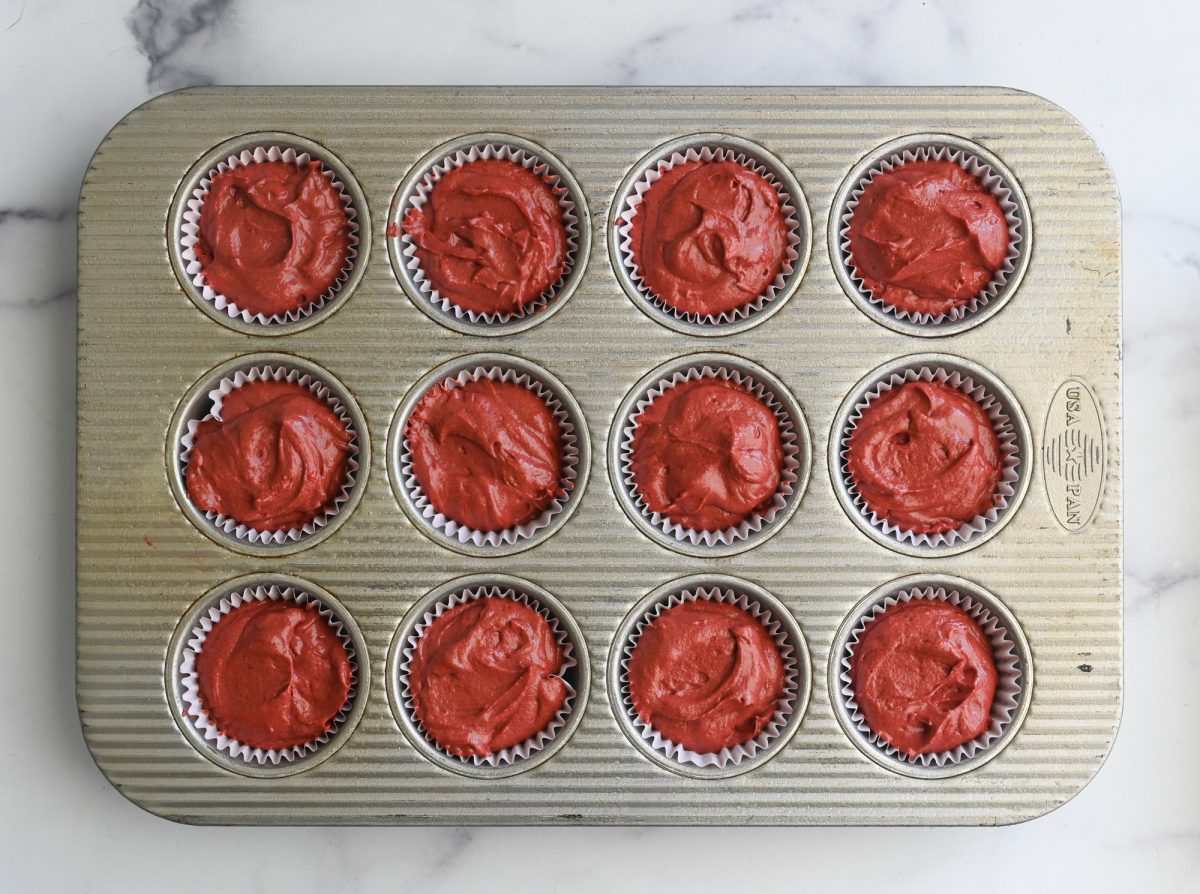
Step 8. Fill the cupcake pan. Line each cupcake pan with cupcake liners and lightly grease the tops of the pans with butter or nonstick cooking spray (it’s fine if some spray gets inside the liners). Spoon the batter into the liners, filling each almost to the top.
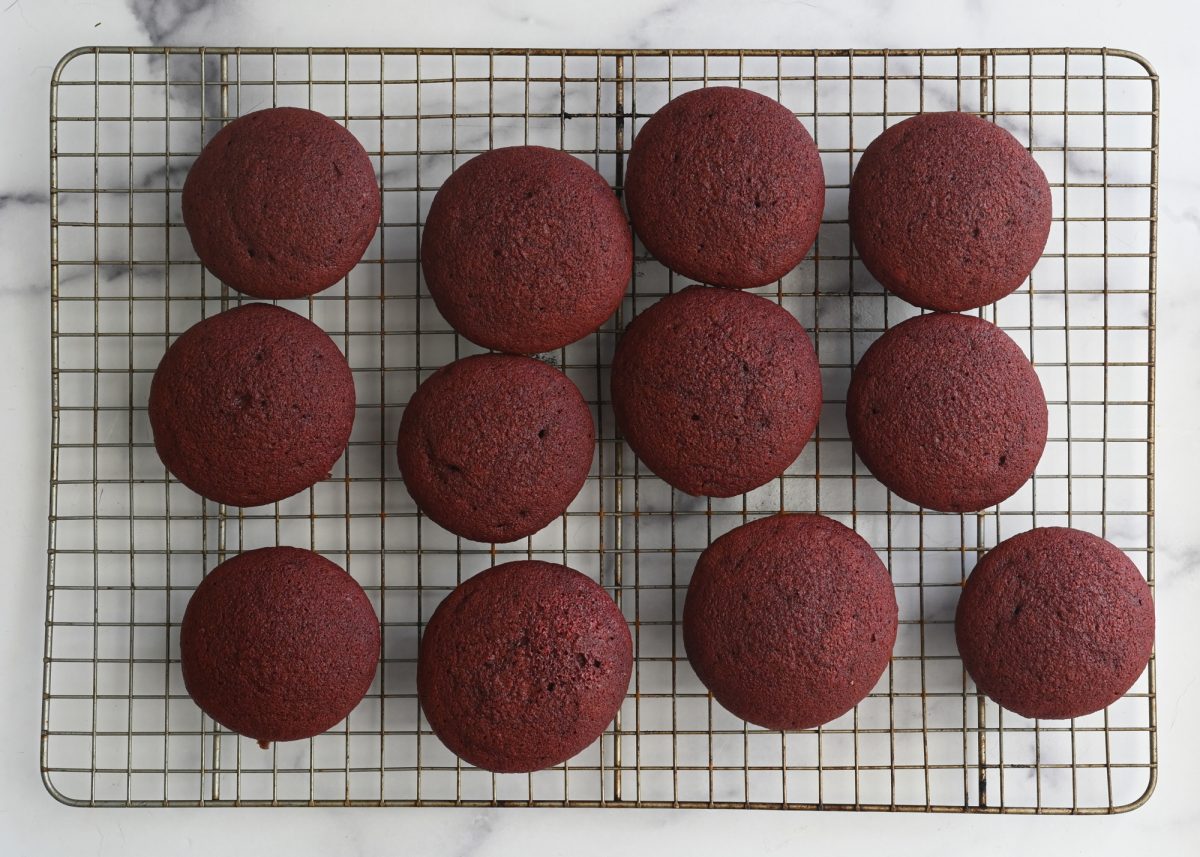
Step 9. Bake the cupcakes. Bake in a 350°F oven for 22 to 24 minutes, until the tops are set and a cake tester comes out clean. Let the cupcakes cool on a wire rack.
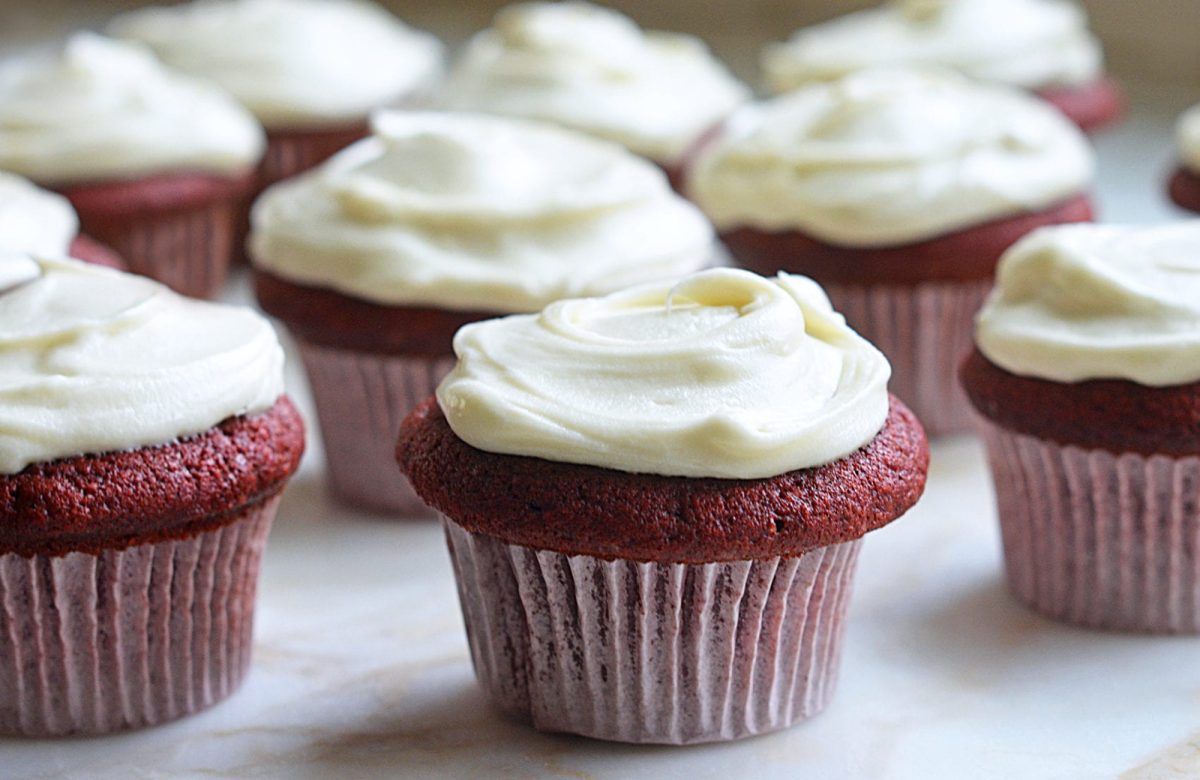
Step 10. Frost and serve. While the cupcakes cool, make the cream cheese frosting. Use a butter knife or offset spatula to swirl the frosting over each one. These cupcakes are best enjoyed fresh the same day.
Pro Tips — What To Know Before You Bake
- Bring your butter to the right temp. Room temperature butter is key—it should give slightly when pressed but still hold its shape. Too cold and it won’t cream properly; too soft and it’ll turn greasy.
- Cream until fluffy. Take the time to beat the butter and sugar until it’s pale and fluffy—this step adds air to the batter, helping the cupcakes rise with a tender crumb.
- Use a scoop for even cupcakes. While totally optional, a spring-loaded ice cream scoop makes portioning easier and helps your cupcakes bake evenly.
- Want to turn it into a cake? Absolutely. This recipe makes enough batter for two 9-inch round pans. Bake the layers for about 30 minutes, or until a cake tester comes out clean.
- Yep, you can freeze them. Let the cupcakes cool completely, then wrap them individually in plastic wrap and foil. Thaw at room temperature overnight, and wait until they’re fully defrosted before frosting.
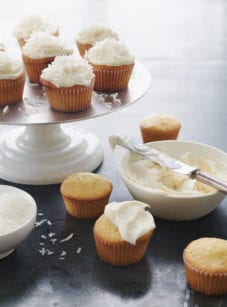
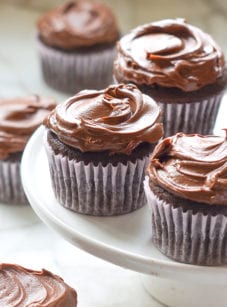
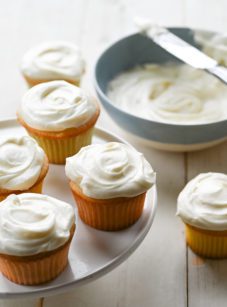
More Cupcake Recipes You May Like

Red Velvet Cupcakes
Ingredients
For the Cupcakes
- 3 cups all-purpose flour, spooned into measuring cup and leveled-off
- ¼ cup + 2 tablespoons Dutch-process cocoa powder (see note)
- 1 teaspoon baking soda
- 1½ teaspoons baking powder
- ½ teaspoon salt
- 1 cup (2 sticks) unsalted butter, at room temperature, plus more for greasing the pans
- 2¼ cups (packed) light brown sugar
- 2 teaspoons Wilton Concentrated Red (no-taste) Gel Icing Color, or 3 tablespoons normal liquid red food coloring (see note)
- 2½ teaspoons vanilla extract
- 3 large eggs, at room temperature
- 1¾ cups buttermilk (see note)
- Cream Cheese Frosting
Instructions
- Preheat the oven to 350°F (175°). Line two cupcake pans with paper liners. Lightly grease the tops of the pans with butter or nonstick cooking spray (it's okay if the nonstick spray gets inside of the paper liners).
- In a large bowl, combine the flour, cocoa powder, baking soda, baking powder and salt. Whisk until well combined and set aside.
- In the bowl of a stand mixer fitted with the paddle attachment (or large bowl if using a hand mixer), mix the butter, brown sugar, food coloring, and vanilla on low speed until combined (take care to mix slowly—you don't want the red food coloring to splatter all over your kitchen). Once blended, increase the speed to medium-high and beat until aerated and pale, about 2 minutes. Use a rubber spatula to scrape down the sides of the bowl.
- Add the eggs, one at a time, beating well after each addition and scraping down the sides of the bowl as necessary. Reduce the speed to low and add one-third of the flour mixture, followed by half of the buttermilk. Add another third of the flour, followed by the remaining buttermilk. Finish with the final third of the flour mixture and mix until just combined. Scrape down the sides of the bowl, then spoon the batter evenly into the prepared cupcake pans, filling almost to the top of the liners.
- Bake for 22 to 24 minutes, or until the cupcakes are set and a toothpick inserted into the center comes out clean. Let cool on a wire rack for about 15 minutes, then remove the cupcakes from the pans and set on a wire rack to cool completely.
- When the cupcakes are cool, use a butter knife or small offset spatula to spread the frosting lavishly over top. The cupcakes are best enjoyed fresh on the day that they are baked.
Notes
- In baked goods, Dutch-processed cocoa powder has a richer, more chocolatey flavor and darker color than natural unsweetened cocoa powder. It's worth getting for this recipe, but natural unsweetened cocoa powder may be substituted if necessary; just increase the cocoa powder to ½ cup and decrease the flour by 2 tablespoons. Keep in mind that the chocolate taste won't be quite as pronounced, and your cupcakes will be a brighter red.
- If you’d prefer not to buy it, check out some easy guidance on how to make buttermilk using milk and lemon juice or vinegar.
- Red (no-taste) concentrated gel icing color is made by Wilton and sold at craft stores (such as Michael's or AC Moore) in the cake decorating section. It is superior to ordinary liquid red food coloring, which can taste bitter when used in large quantities.
- Freezing Instructions: The cupcakes can be frozen without the frosting for up to 3 months. Let them cool completely, wrap them individually in plastic wrap, and then in foil. Thaw overnight on the countertop before serving. (Wait until the cupcakes are defrosted to ice them.)
Nutrition Information
This website is written and produced for informational purposes only. I am not a certified nutritionist and the nutritional data on this site has not been evaluated or approved by a nutritionist or the Food and Drug Administration. Nutritional information is offered as a courtesy and should not be construed as a guarantee. The data is calculated through an online nutritional calculator, Edamam.com. Although I do my best to provide accurate nutritional information, these figures should be considered estimates only. Varying factors such as product types or brands purchased, natural fluctuations in fresh produce, and the way ingredients are processed change the effective nutritional information in any given recipe. Furthermore, different online calculators provide different results depending on their own nutrition fact sources and algorithms. To obtain the most accurate nutritional information in a given recipe, you should calculate the nutritional information with the actual ingredients used in your recipe, using your preferred nutrition calculator.
My first attempt at red velvet cupcakes; this is an excellent and easy to follow recipe.
OMG!!! Amazing. These were a hit on New Years Eve 2021. We had to celebrate the end of 2020 with something fantastic & these did not disappoint. The frosting is so good you will want to put it on everything. The cupcakes were so moist and delicious. My family eats gluten free and I was able to substitute GF flour (I use King Arthur) cup for cup without any issue and without compromising taste. I would absolutely recommend and will make again.
Hi Jenn,
I am new to baking and am going to attempt to make these for a girls’ night in themed party for my friend’s 24th birthday. I got icing pipettes and am going to try to make some floral designs. Every YouTube video focuses on buttercream for decorating, but I want to keep my designs fairly simple – just a swirl. Do you think the cream cheese icing will work to make rose designs with a pipette?
Hi Lindsay, Unfortunately, I don’t think this frosting is thick enough to get the look you’re going for. Sorry!
Hi Jenn,
I would like to make a red velvet layer cake using this recipe. Any advice on baking times, pan sizes and oven temp? Thanks.
Hi Rachel, I’d keep the oven temp the same and use two 9-inch round pans. Bake time would be around 30-35 minutes. Hope you enjoy!
Hello Jenn,
Can you give me a better measurement of the flour, cocoa and coloring if I do only half a batch of this recipe please.
Thank you!
Joyce
Hi Joyce, you’d just need to cut all the ingredients in half. Hope you enjoy the cupcakes!
I read your advice on measuring 1/2 ingredients if one wishes to make a smaller batch of cup cakes. What is your advice regarding half of 3 eggs?
Hi Mary, For the 3rd egg, beat it in a measuring cup, discard half of it, and use the remaining half. Hope that helps!
Hi there! You mentioned that the cupcakes can be frozen – I was just wondering if the batter can be frozen and used at a later date to bake more cupcakes. Additionally, can the cream cheese frosting be frozen? thank you
Hi Shobna, I don’t recommend freezing the batter or the frosting. Sorry!
Thank you for your quick response. Would it then be ok to halve this recipe? Or would it compromise the taste… thank you
Hi Shobna, It’s perfectly fine to halve the recipe. Enjoy!
my daughter wants a red velvet cake for her 5 year old birthday! i’m going to try this. we love your recipes. i am going to use 2 — 9 inch round cake pans, but can’t figure out how to adjust the frosting to cover. also, any natural red dye alternatives you think could work well?
Hi Annie, two 9-inch pans would be fine and you should have enough frosting. And, I don’t think any natural alternatives for the red food coloring will give you that same intensity — sorry! Hope your daughter enjoys!
This is a fantastic recipe and rivals our local bakery. I was unable to get the Wilton color, but found and used Lorann Professional Kitchen Red Velvet Bakery Emulsion( sold at Hobby Lobby). The cupcakes had good flavor and the frosting put it over the top. Thank you!
Hi Jenn,
I made these and they were amazing! So delicious and I even sent them out to my coworkers. However, the frosting came out very liquidy rather than like a glaze which makes it drip across the sides. Any way I can find a fix for this? Thanks!
Hi Enzo, Sorry to hear you had a problem with the frosting. Did you make any adjustments to the recipe? Did you use reduced-fat cream cheese? If not, it could be that you slightly overbeat the frosting which can use it to be runny.
Can I use Hershey Dark Cocoa Powder? How much food coloring do I put if this powder is ok to use.
Hi Joyce, you really need Dutch-processed cocoa powder here — sorry!
Ok thank you
I made this recipe and loved it! They turned out perfectly. I love the way you broke down everything and how it all came together. Will keep this recipe for future use.
Delicious! They were enjoyed!! Thank you! I’m forever keeping this recipe.