

This post may contain affiliate links. Read my full disclosure policy.
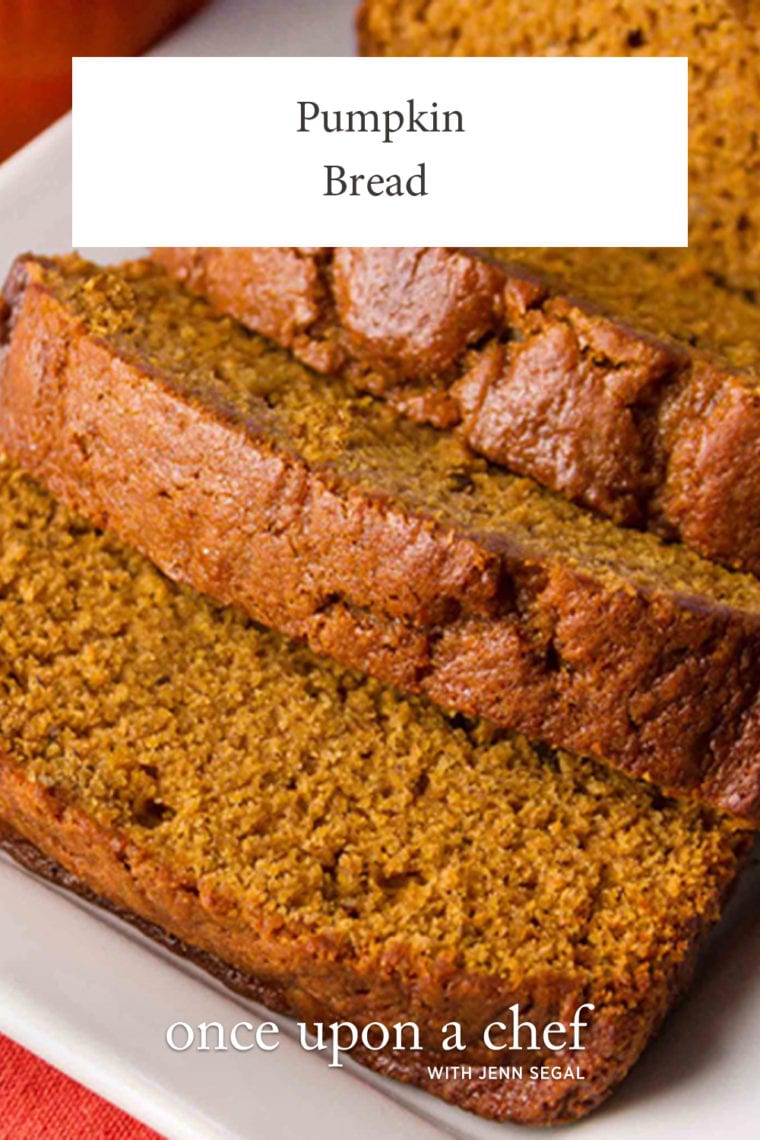
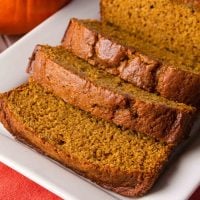
My family’s treasured pumpkin bread recipe is incredibly moist, perfectly spiced, and easy to make with canned pumpkin. It’s been a reader favorite for years—and for good reason.
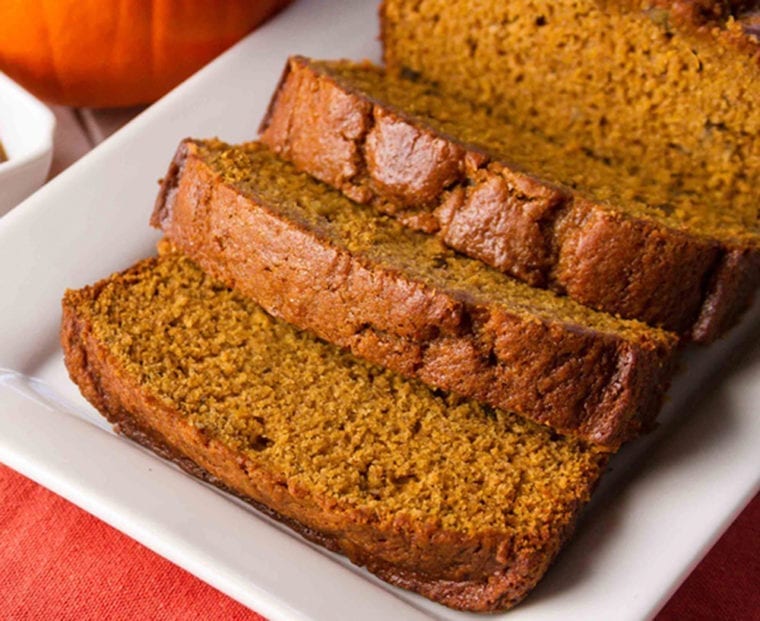
My grandmother clipped this pumpkin bread recipe from a magazine over 50 years ago, and it is my most-cherished family recipe. One of my clearest childhood memories is baking the loaves with my mom and carting them off to every neighborhood potluck and holiday party.
Now I bake pumpkin bread with my own kids, and it’s just as wonderful today as it was back then. It’s easy to make—just a bit of mixing and stirring, pop it in the oven, and, in about an hour, you’ll have a house smelling of sweet autumn spices and two scrumptious, pumpkiny loaves.
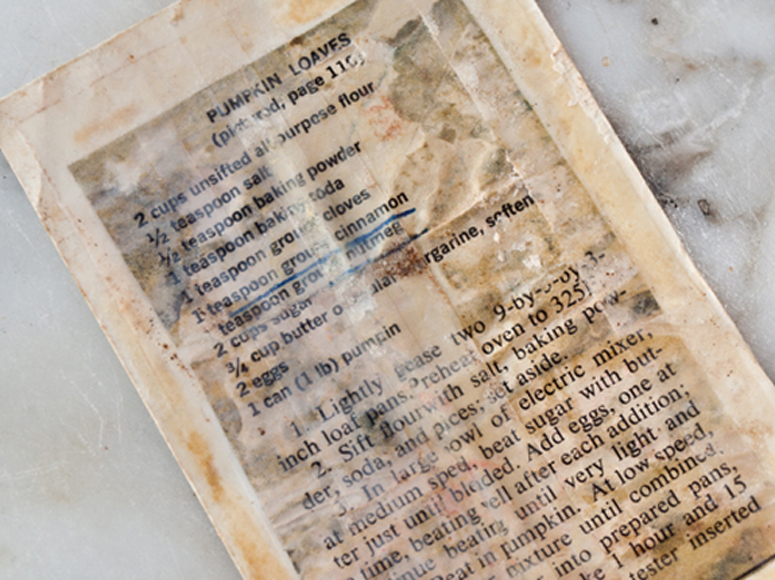
Above, you can see the original recipe from my grandmother’s recipe box—it’s definitely seen its share of spills! After a bit of research, I discovered that the recipe was first published in the McCalls Cook Book (Random House, 1963). The batter can also often be used to make muffins—my pumpkin muffins are nearly identical to this bread, but with the addition of a pecan streusel topping.
“This will be my family’s only pumpkin bread recipe from here on out. Thank you!”
What You’ll Need To Make Pumpkin Bread
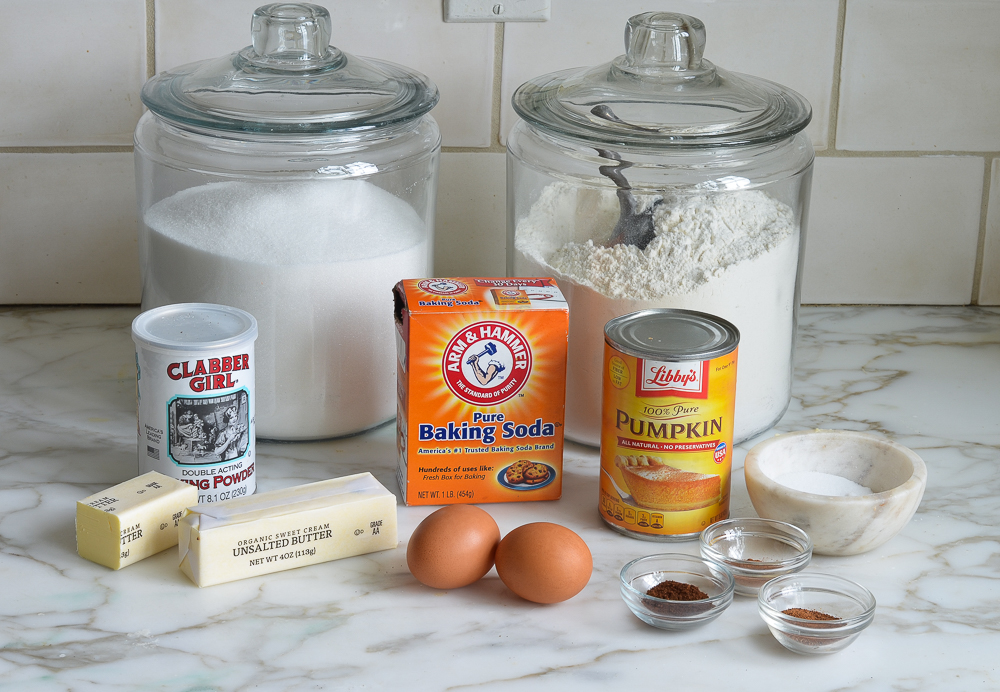
- All-purpose flour: Be sure to spoon the flour into your measuring cup and level it off with a knife. Scooping directly from the bag can pack in too much flour, resulting in dry, dense bread.
- Baking soda, baking powder, and salt: The baking soda and baking powder work together to give the bread a nice rise, while the salt balances the sweetness.
- Ground cinnamon, cloves, and nutmeg: This classic blend gives the bread its signature cozy pumpkin spice flavor. If your spices have been sitting in the pantry for a few years, it’s worth replacing them—fresh spices make a noticeable difference.
- Unsalted butter: Softened butter creams more easily with the sugar, creating a light, tender crumb. It should give slightly when pressed but still hold its shape.
- Sugar: Besides sweetening the bread, sugar helps keep it moist and contributes to its beautifully golden crust.
- Large Eggs: Bind the batter together and add richness and structure to the finished loaf.
- 100% pure pumpkin purée: Be sure to use pure pumpkin purée, not pumpkin pie filling, which contains added sugar and spices. I always use Libby’s because it has a consistent texture and rich pumpkin flavor.
- Jump to the printable recipe for precise measurements
How To Make Pumpkin Bread
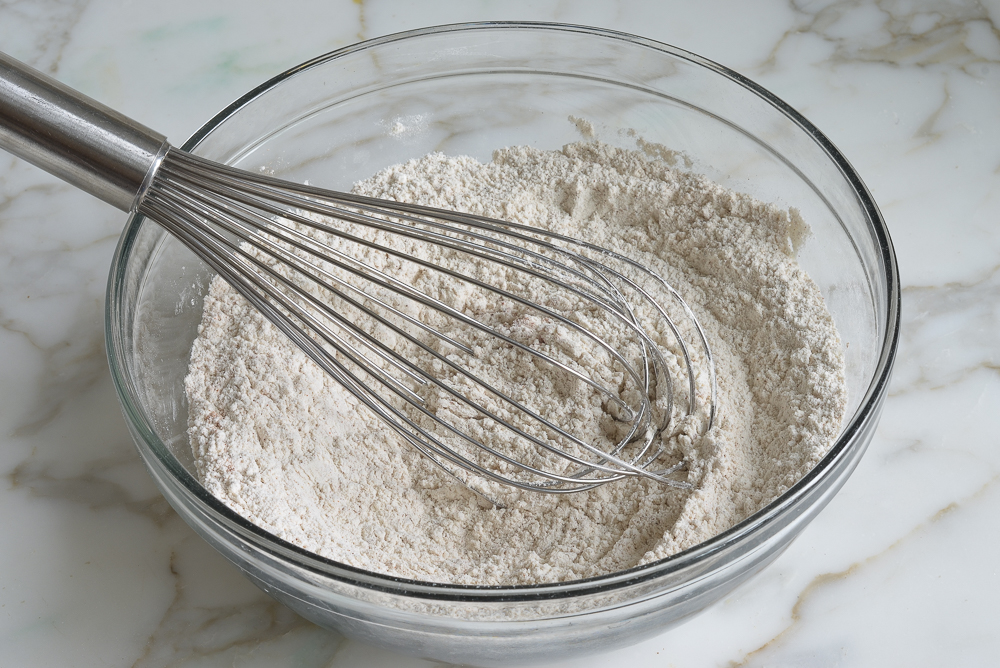
Step 1: Mix the dry ingredients. In a medium bowl, whisk together the flour, salt, baking soda, baking powder, cloves, cinnamon, and nutmeg until well combined. Whisking the dry ingredients first distributes everything evenly and helps prevent overmixing later, so every slice bakes up light, tender, and perfectly spiced.
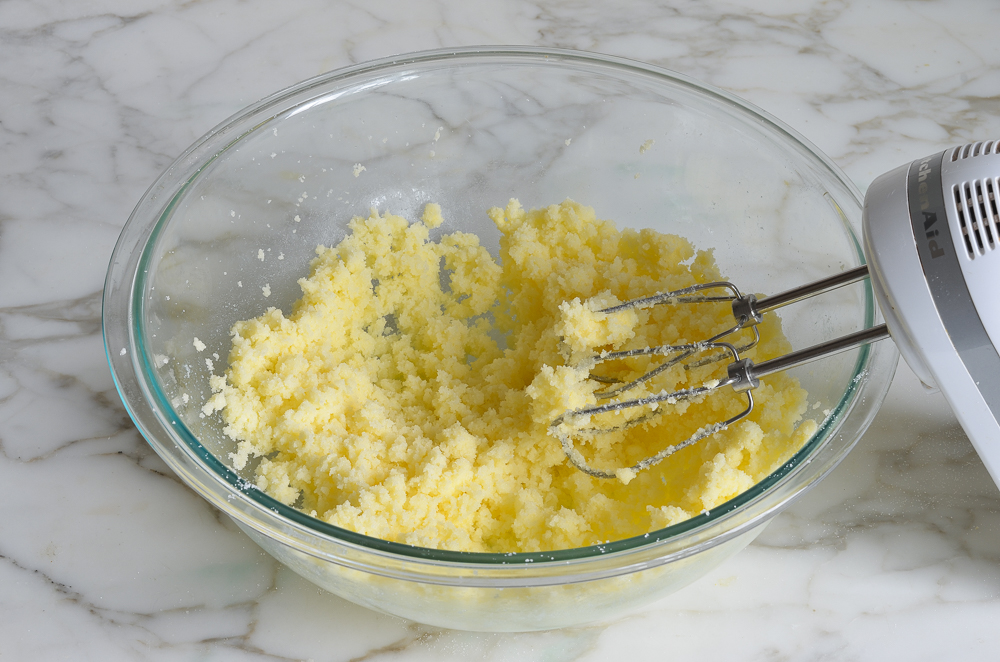
Step 2: Cream the butter and sugar. In the bowl of an electric mixer, beat the butter and sugar until just combined. Don’t worry if the mixture looks a little sandy or crumbly at this stage—that’s completely normal.
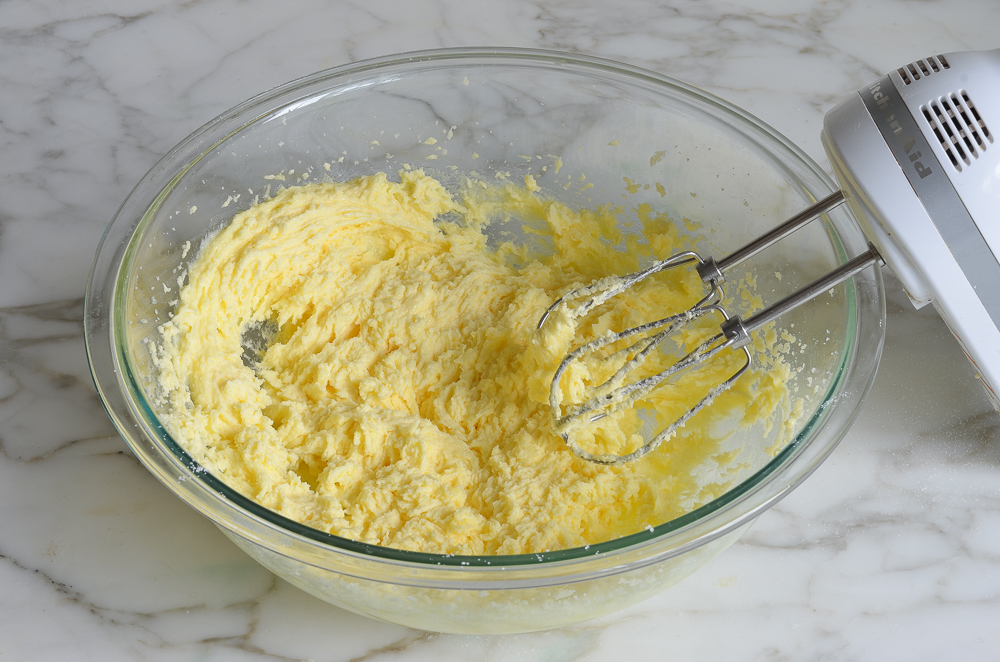
Step 3: Add the eggs. Beat in the eggs one at a time, then continue mixing until the mixture is light, pale, and fluffy. This extra mixing incorporates air into the batter, giving the finished bread a tender, delicate crumb.
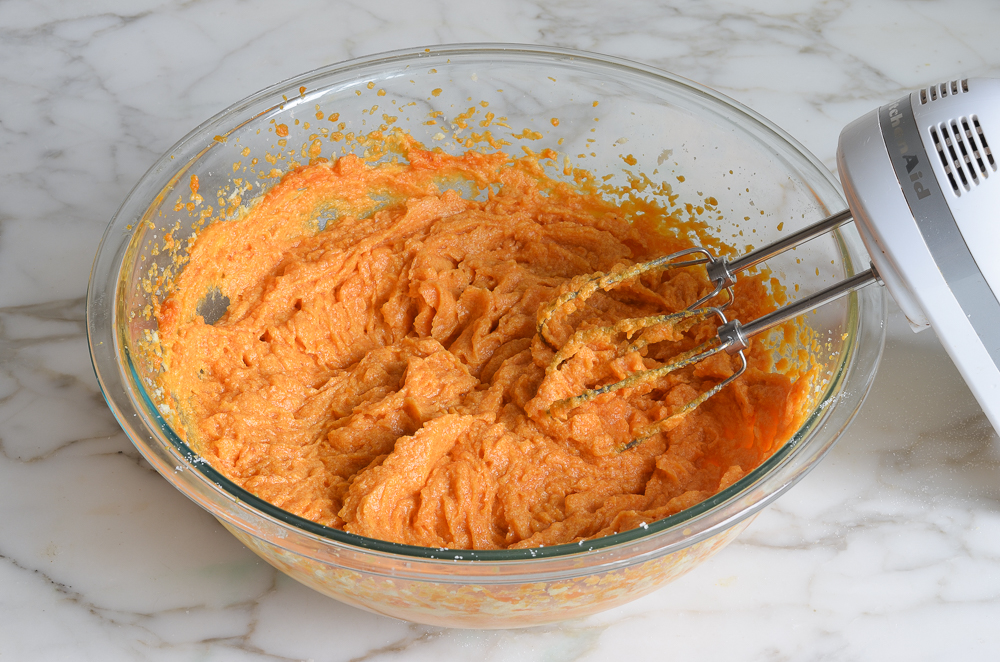
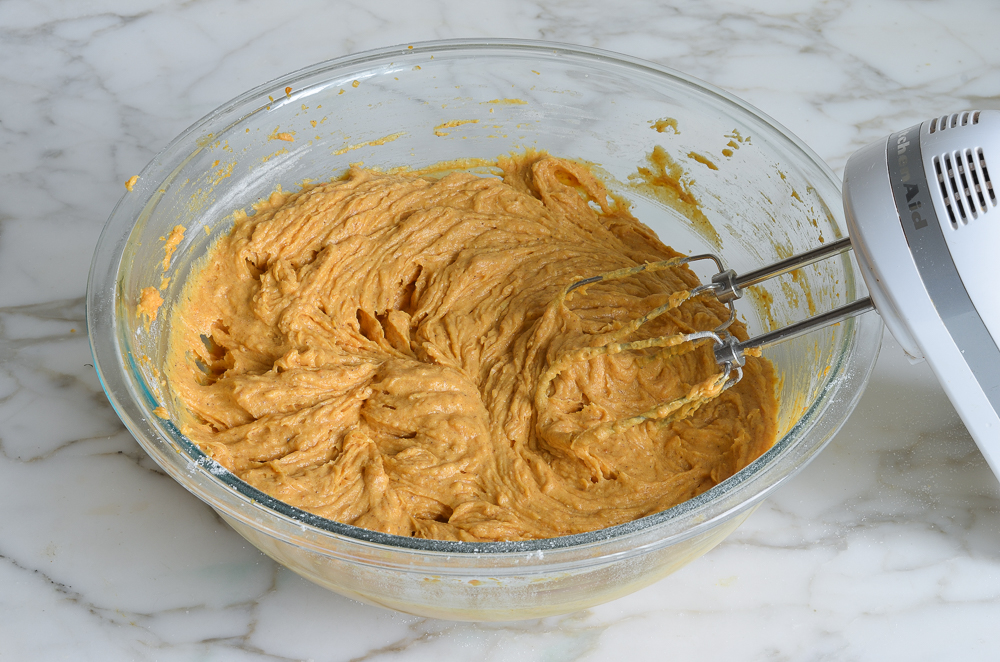
Step 4: Add the pumpkin. Mix in the pumpkin purée until combined. The batter may look slightly curdled at this point, but don’t worry—it will come together once the dry ingredients are added.
Step 5: Add the dry ingredients. Mix on low speed just until the flour disappears into the batter. Be careful not to overmix, or the bread can become tough instead of soft and tender.
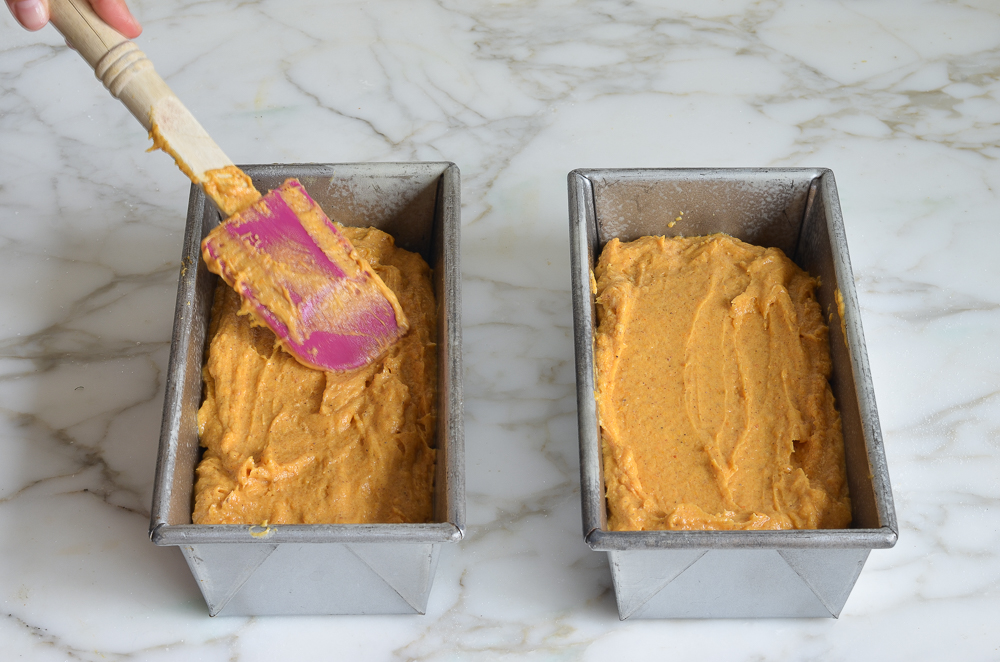
Step 6: Fill the loaf pans. Divide the batter evenly between the prepared loaf pans and smooth the tops with a rubber spatula, offset spatula, or even the back of a spoon. This helps the loaves rise evenly as they bake.
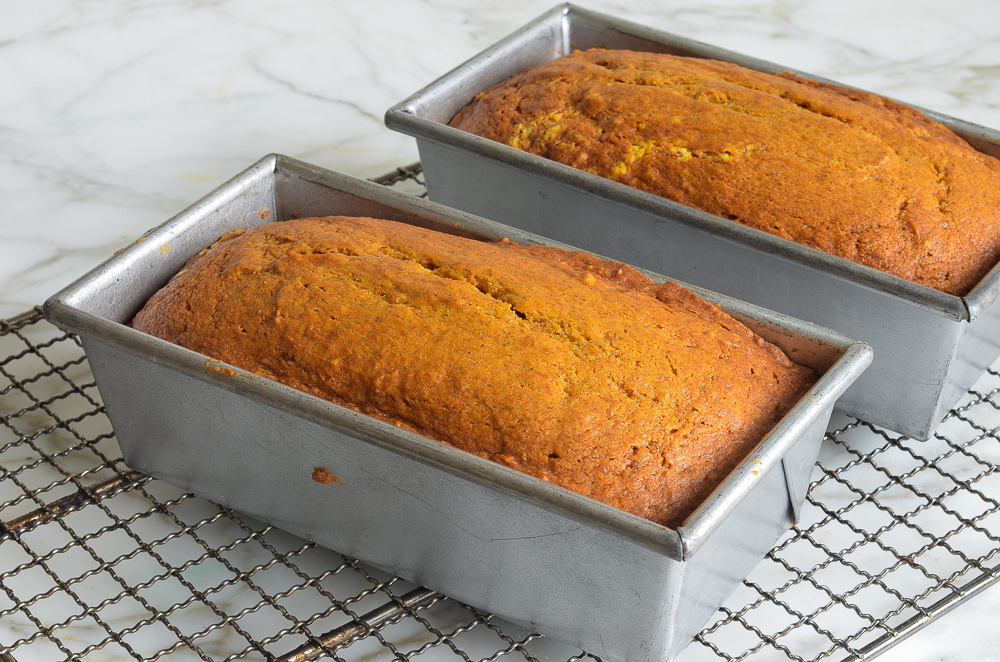
Step 7: Bake. Bake until the loaves are beautifully domed and a cake tester inserted into the center comes out clean or with just a few moist crumbs attached. Your kitchen will smell amazing long before they’re done!
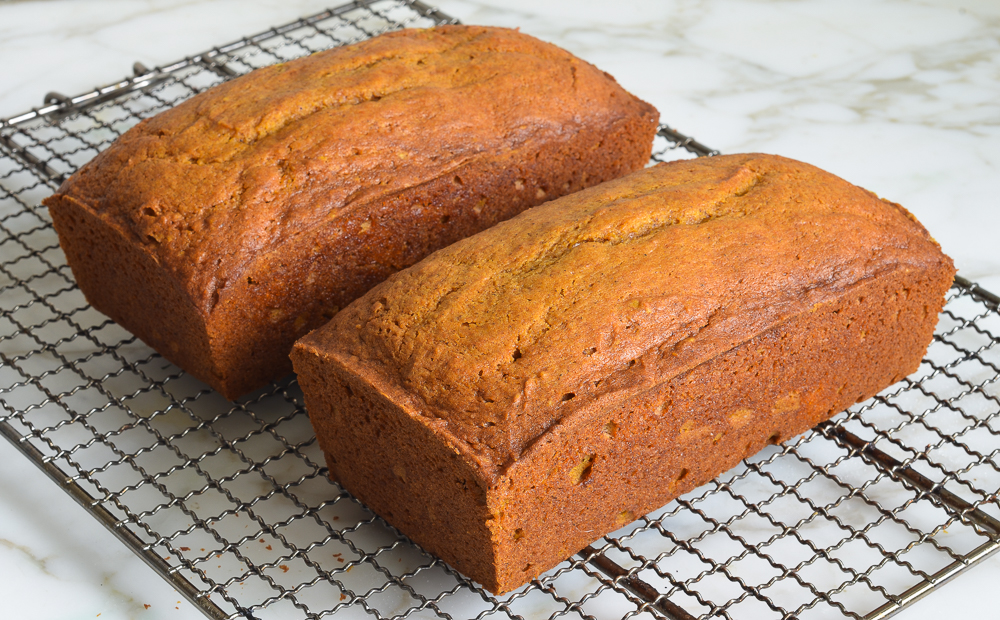
Step 8: Cool and serve. Let the loaves cool in the pans for about 10 minutes before turning them out onto a wire rack to cool completely. They continue to set up as they cool, making them easier to slice without crumbling.
Storage & Freezing
If you’re lucky enough to have leftovers, cover the bread loosely with aluminum foil or store it in a cake keeper at room temperature for up to 3 days. To freeze, let the bread cool completely, then wrap it securely in aluminum foil or freezer wrap, or place it in a freezer bag. Freeze for up to 3 months and thaw overnight in the refrigerator before serving.
The bread has a deliciously crisp crust when freshly baked. After the first day, simply toast individual slices for that fresh-baked effect.
Video Tutorial
Pumpkin Bread
Ingredients
- 2 cups all-purpose flour, spooned into measuring cup and leveled-off
- ½ teaspoon salt
- 1 teaspoon baking soda
- ½ teaspoon baking powder
- 1 teaspoon ground cloves
- 1 teaspoon ground cinnamon
- 1 teaspoon ground nutmeg
- ¾ cup (1½ sticks) unsalted butter, softened
- 2 cups sugar
- 2 large eggs
- 1 (15-oz) can 100% pure pumpkin (I use Libby's)
Instructions
- Preheat the oven to 325°F (165°C )and set an oven rack in the middle position. Generously grease two 8 x 4-in (20 x 10-cm) loaf pans with butter and dust with flour (alternatively, use a baking spray with flour in it, such as Pam with Flour or Baker's Joy).
- In a medium bowl, combine the flour, salt, baking soda, baking powder, cloves, cinnamon, and nutmeg. Whisk until well combined; set aside.
- In a large bowl of an electric mixer, beat the butter and sugar on medium speed until just blended. Add the eggs one at a time, beating well after each addition. Continue beating until very light and fluffy, a few minutes.
- Beat in the pumpkin. The mixture might look grainy and curdled at this point—that's okay.
- Add the flour mixture and mix on low speed until combined.
- Turn the batter into the prepared pans, dividing evenly, and bake for 65 to 75 minutes, or until a cake tester inserted into the center comes out clean.
- Let the loaves cool in the pans for about 10 minutes, then turn out onto a wire rack to cool completely.
Nutrition Information
This website is written and produced for informational purposes only. I am not a certified nutritionist and the nutritional data on this site has not been evaluated or approved by a nutritionist or the Food and Drug Administration. Nutritional information is offered as a courtesy and should not be construed as a guarantee. The data is calculated through an online nutritional calculator, Edamam.com. Although I do my best to provide accurate nutritional information, these figures should be considered estimates only. Varying factors such as product types or brands purchased, natural fluctuations in fresh produce, and the way ingredients are processed change the effective nutritional information in any given recipe. Furthermore, different online calculators provide different results depending on their own nutrition fact sources and algorithms. To obtain the most accurate nutritional information in a given recipe, you should calculate the nutritional information with the actual ingredients used in your recipe, using your preferred nutrition calculator.

Hi I’ve used this recipe for years but it says it was updated July 2026, may I ask please what did you update? Was it less sugar? Thank you.
Hi Lillie, I just updated some formatting on the page – nothing about the recipe changed. Enjoy!
Thank you 😊
It looks so wonderful 🤩🍂Can I make the puré from scratch?
Sure!
Sooo good – it turns out perfect every time! This is my second year using this recipe. I add a tsp of vanilla, a cup of walnuts, and sprinkle brown sugar on top before I bake. I also add semisweet chocolate chips to one of the loafs before baking. Thanks for sharing your recipe!
I have used this recipe now for years! It’s so delicious and moist!! It’s become such a favorite in my family now!!! Thank you for sharing
The amount of clove ground needs to be adjusted. It was very over powering when I made it. Otherwise good 😊
Do you have the measurements and ingredients for crumble that you mentioned
Hi Kathryn, I’m not sure what crumble you’re referring to. Might it be the streusel on top of these pumpkin muffins? If not, if you can be more specific about where you saw it on the website, I’d be happy to help!
Obsessed with this recipe, but would love to try it in muffin form. How would I adjust the baking time?
Glad you like it! For muffins, I’d follow the guidance in this recipe.
Dear Jenn,
Every year when pumpkin bread is popular, you bring out this tattered recipe. And it makes my heart so happy! a recipe saved for 50 years! It doesn’t change it doesn’t have to. It’s perfect. And honestly, I love that you do this!
The recipe is in my top 10 of all times, so thank you for doing it again!🎃
Hello,
I haven’t made the recipe as of yet. My lovely teacher made it. I am wondering if I could use an sugar substitute like monk fruit or swerve? Would it still turn out okay?
Hi Brittney, I’ve never made this with anything but sugar, but a number of people have weighed in that they’ve made it with a sugar substitute and have been happy with the results, so I think it’s worth a try. I’d love to hear how it comes out!
Baking this right now — third time in two weeks. Followed exact but half the sugar. Perfect!!
I just made this recipe. I live at 5300 feet, and the loaves barely rose. However, they have a good texture and taste good as well. Do you have any advice for those of us who live at high altitude on how to produce loaves that will rise as high as the loaves in your photo? Thank you.
Hi Luann, these are more like a cake than a bread and don’t rise a ton. That said, the altitude may have made them even shorter. I don’t have any personal experience baking at high altitudes, but you may find the tips in this post helpful (see #14 – Make Adjustments at High Altitude). Hope you find them useful!