
Blondies

This post may contain affiliate links. Read my full disclosure policy.
Buttery, chewy, and loaded with chocolate chips, these blondies are everything you want in a classic bar cookie.

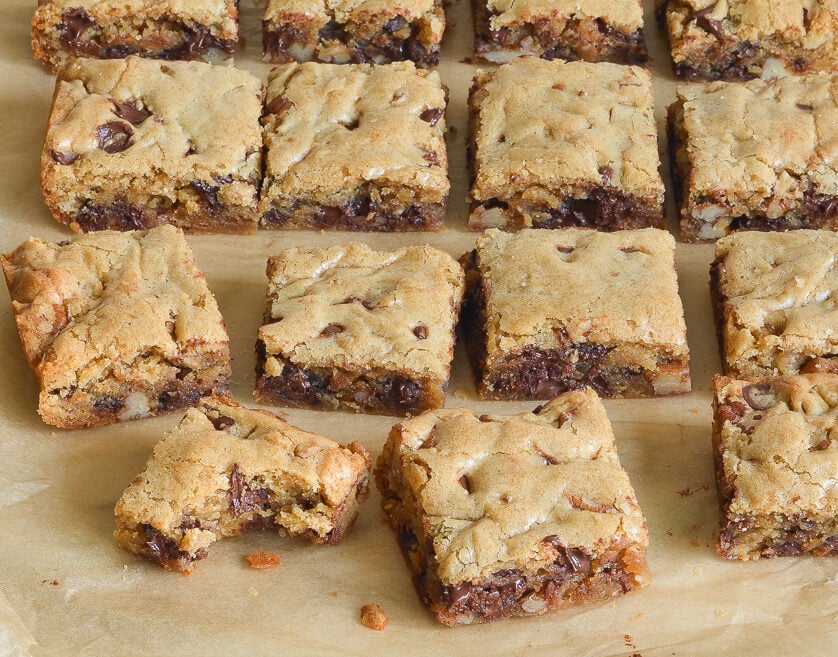
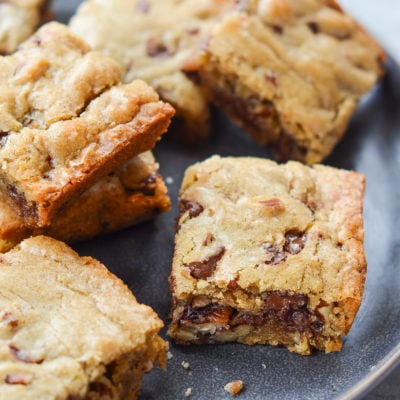
A good blondie should have crisp golden edges, a chewy center, and plenty of buttery, caramel-like flavor from brown sugar. This blondie recipe checks all those boxes, with lots of chocolate chips and optional pecans for crunch. It’s been a longtime family favorite and, best of all, the batter comes together in one bowl.
“Best blondie recipe I have made and my go-to for a quick and delicious dessert.”
Blondie Ingredients
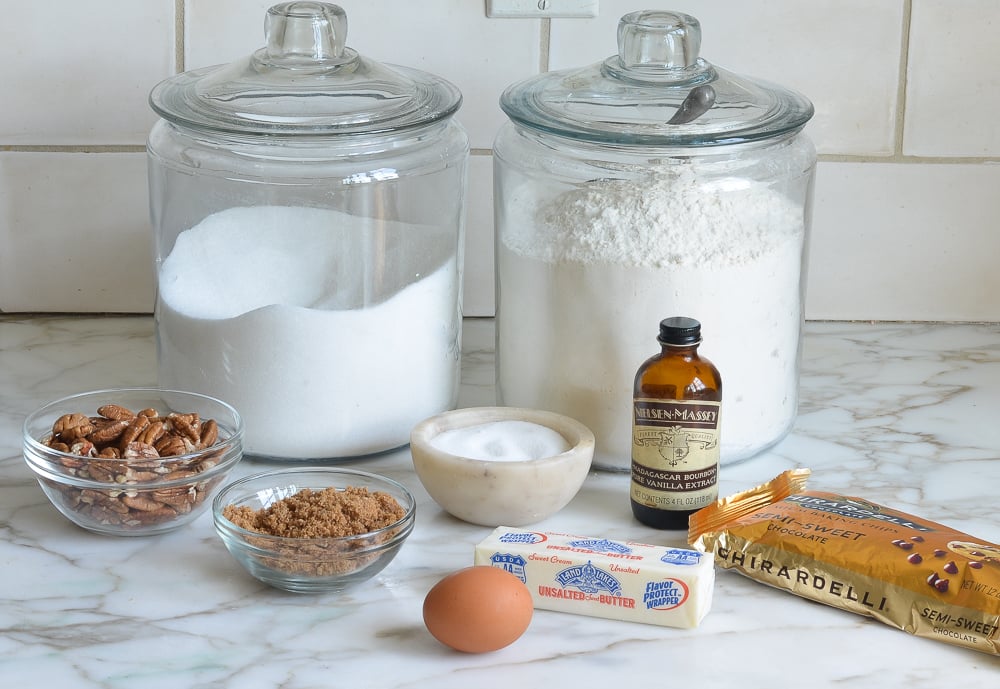
- Melted Butter: Melted butter gives the blondies their rich flavor and dense, chewy texture.
- Brown Sugar & Granulated Sugar: Brown sugar gives the blondies their caramel-like flavor and helps keep them chewy, while granulated sugar contributes sweetness and crisp edges.
- Egg & Vanilla Extract: The egg binds everything together, while vanilla adds warm, aromatic flavor.
- All-Purpose Flour: Provides structure for the blondies. For the most accurate measurement, use the spoon-and-level method: spoon the flour into your measuring cup and level it off with a straight edge—don’t scoop directly from the bag, which can pack in too much flour.
- Semisweet Chocolate Chips & Chopped Pecans: Semisweet chocolate chips add pockets of melted chocolate, while pecans add crunch and are entirely optional.
- Jump to the printable recipe for precise measurements
How to Make Blondies
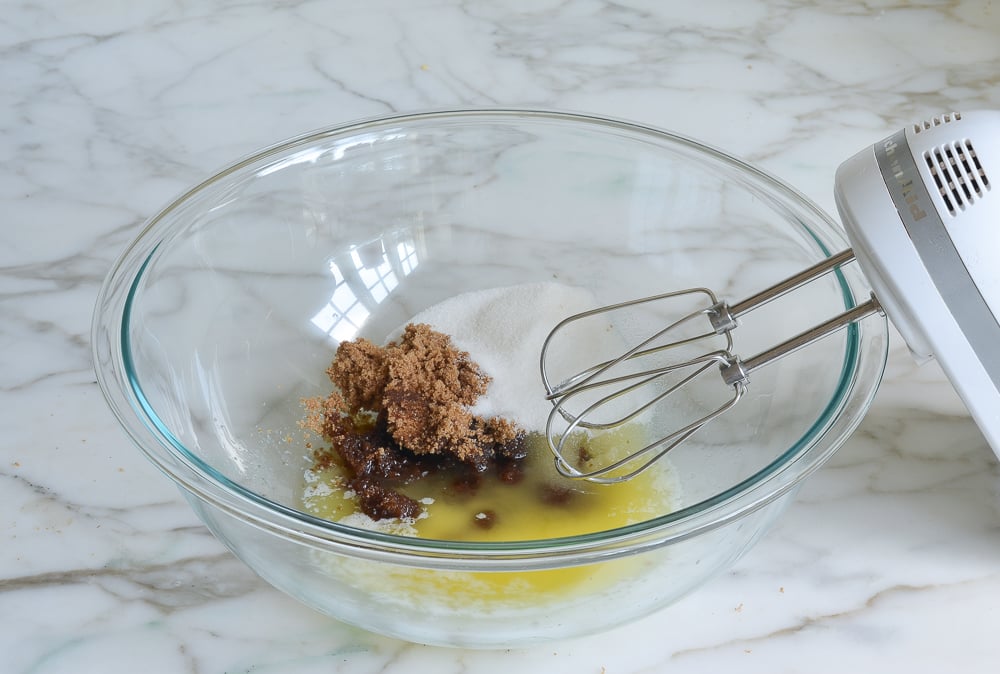
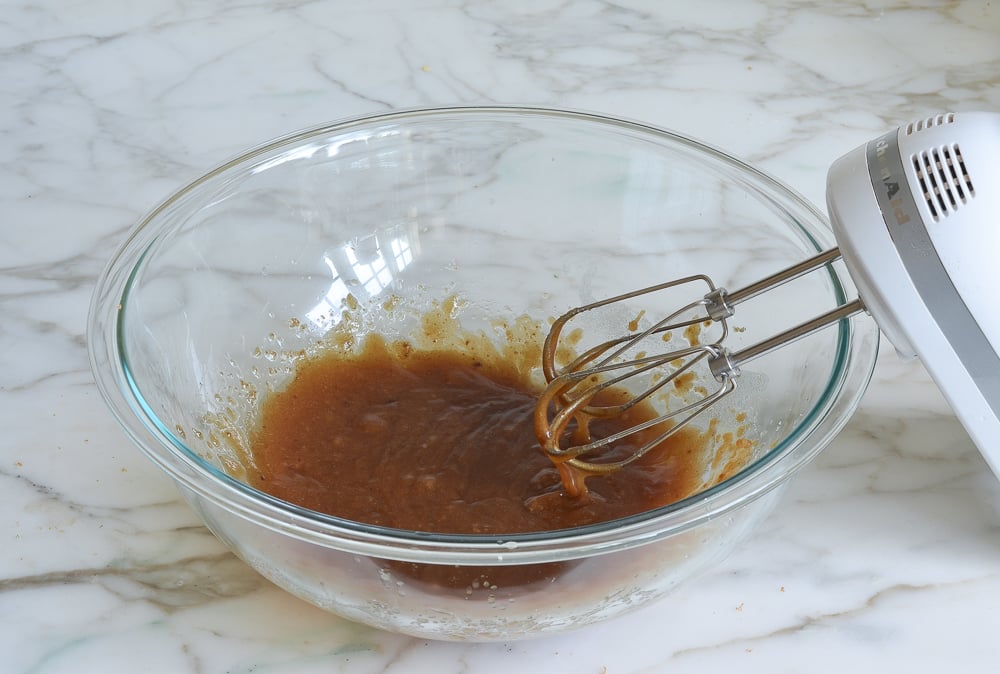
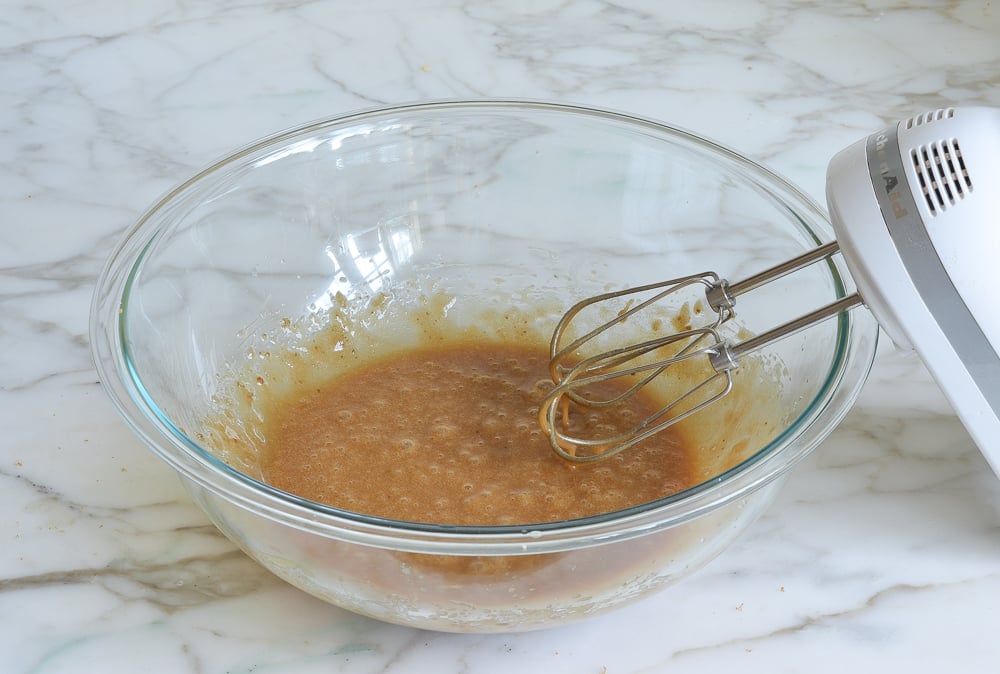
Mix the butter and sugars: Beat the melted butter with both sugars until the mixture looks smooth—this is what helps create that shiny, crackly top later on.
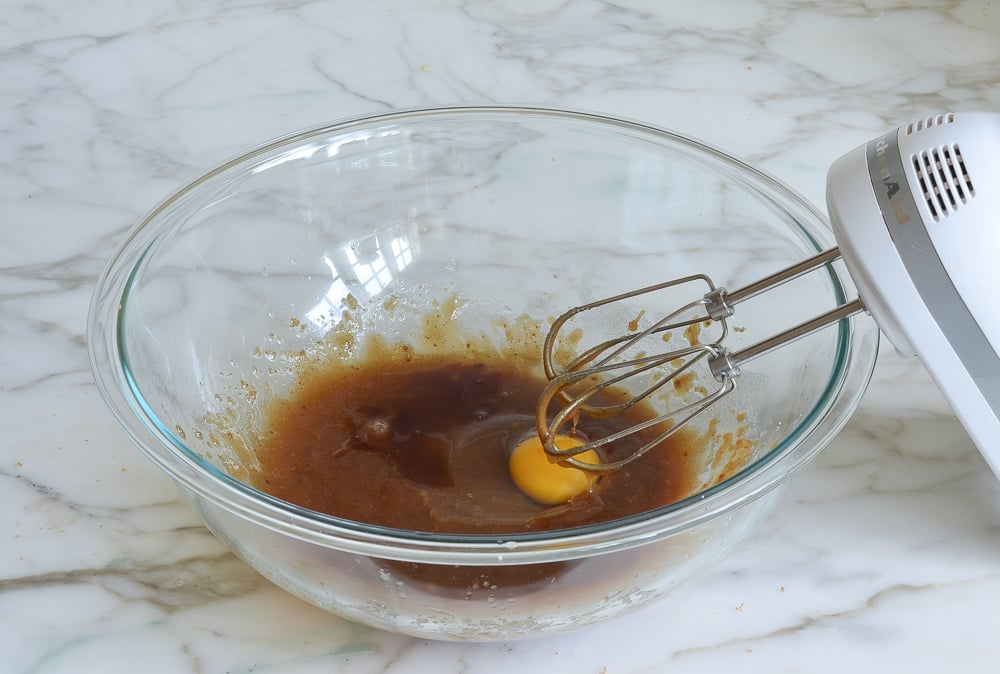
Add the egg and vanilla: Beat until the batter looks smooth and cohesive.
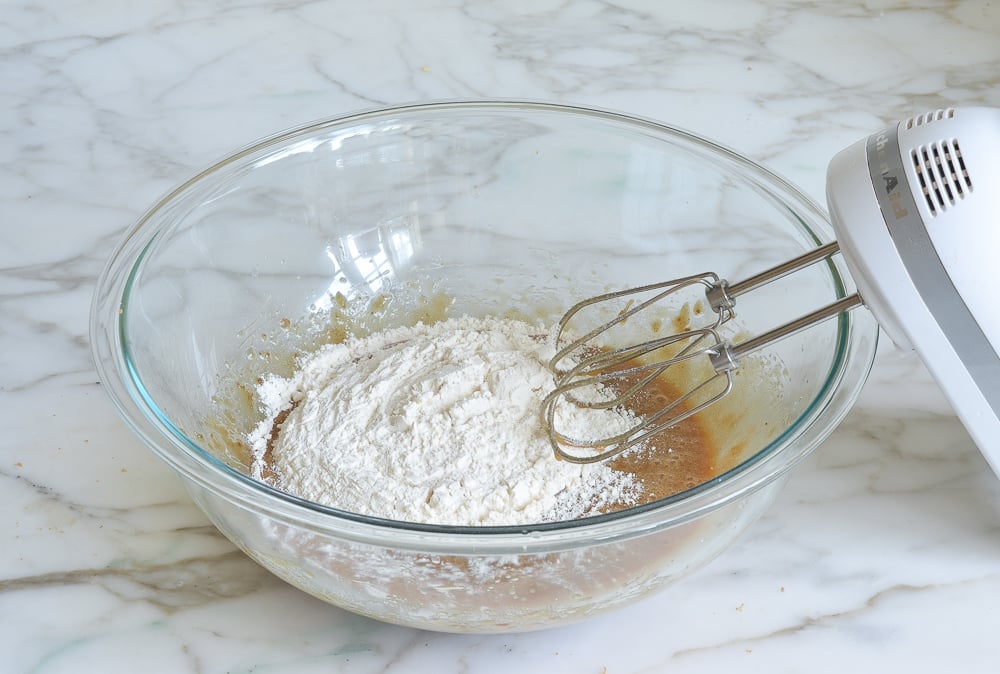
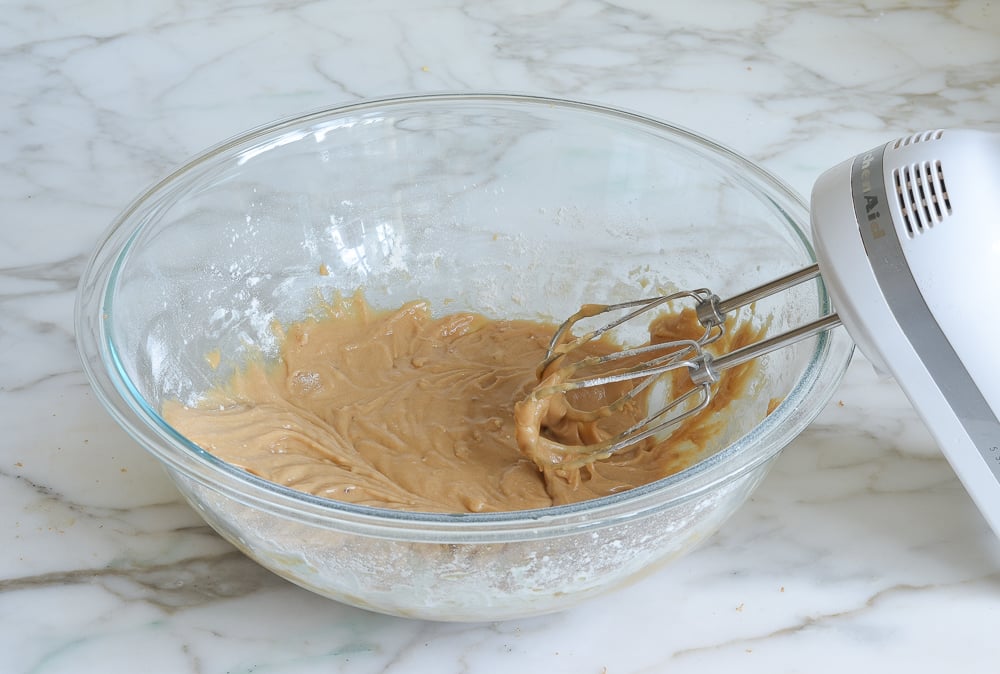
Mix in the dry ingredients: Add the flour and salt on low speed, stopping as soon as you no longer see dry streaks. Overmixing can make the blondies tough rather than tender and chewy.
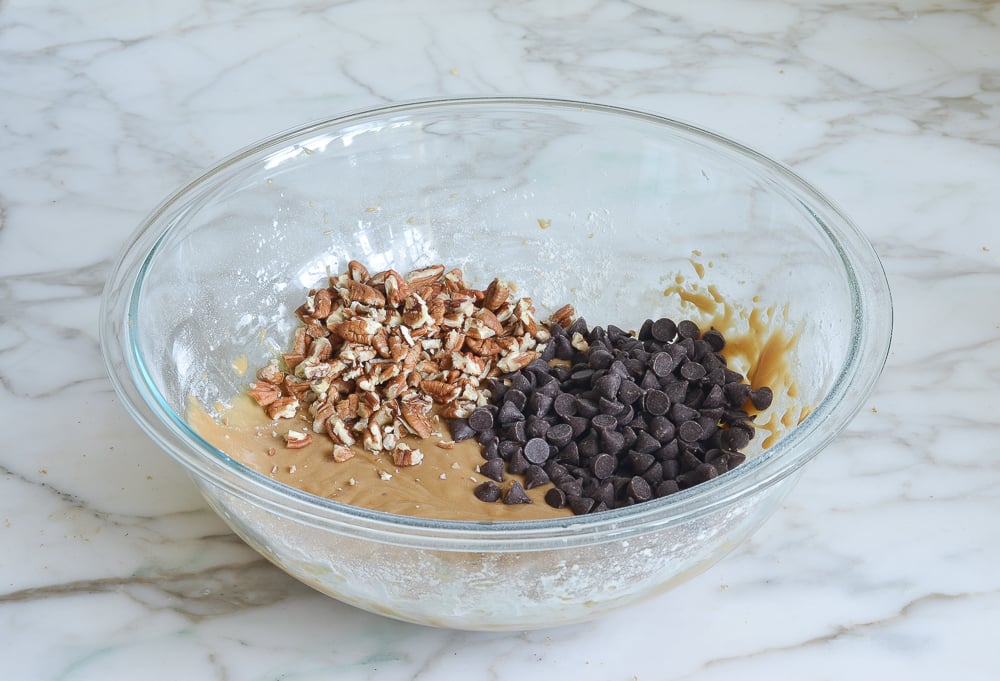
Fold in the chocolate chips and nuts: The batter will be quite thick at this point — that’s normal. If you’re skipping the nuts, a few extra chocolate chips in their place works well.
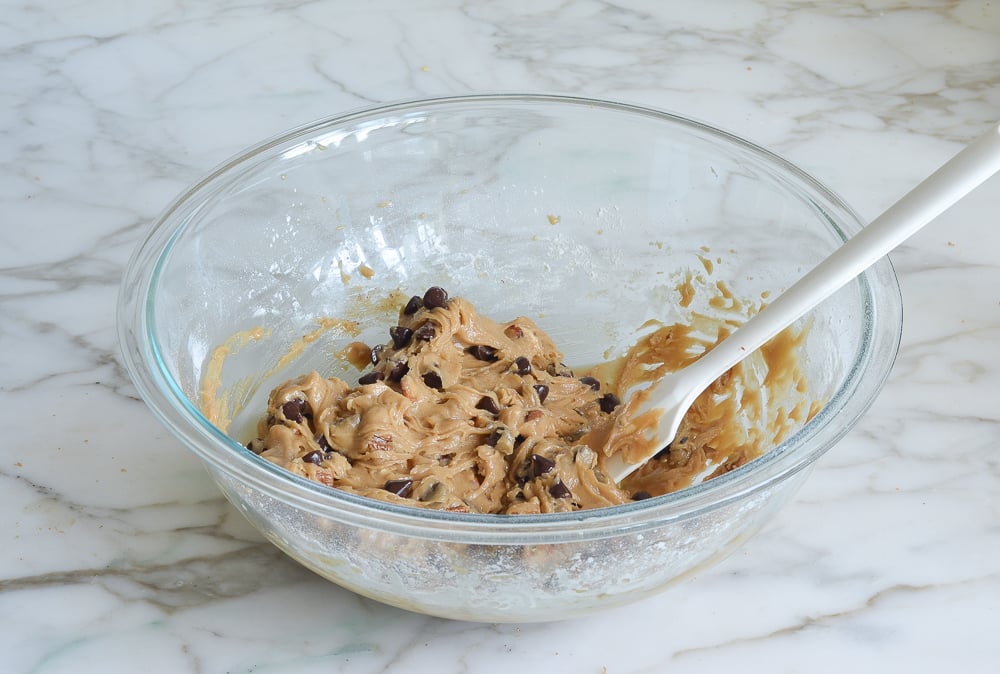
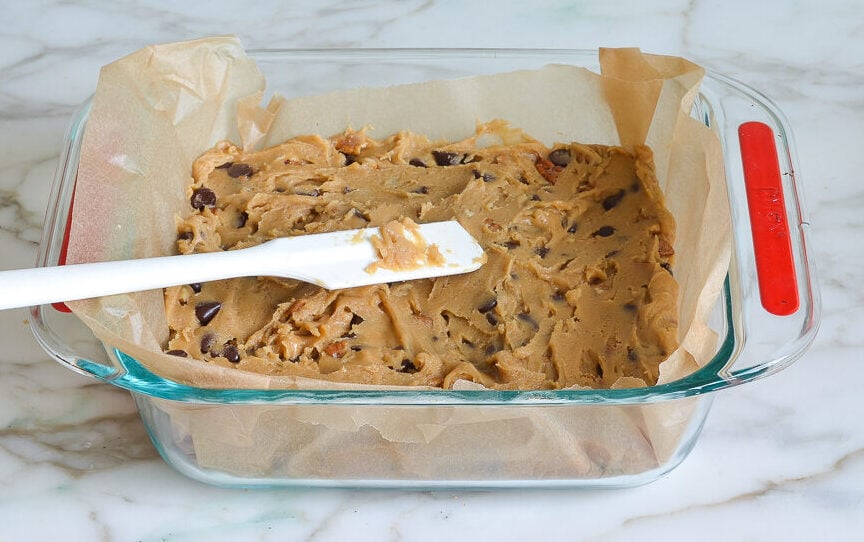
Spread into the pan and bake: Transfer the batter to a greased pan and spread evenly. Bake until the top looks set and lightly golden, with edges just starting to darken. The center may still look a little soft—that’s exactly what you want
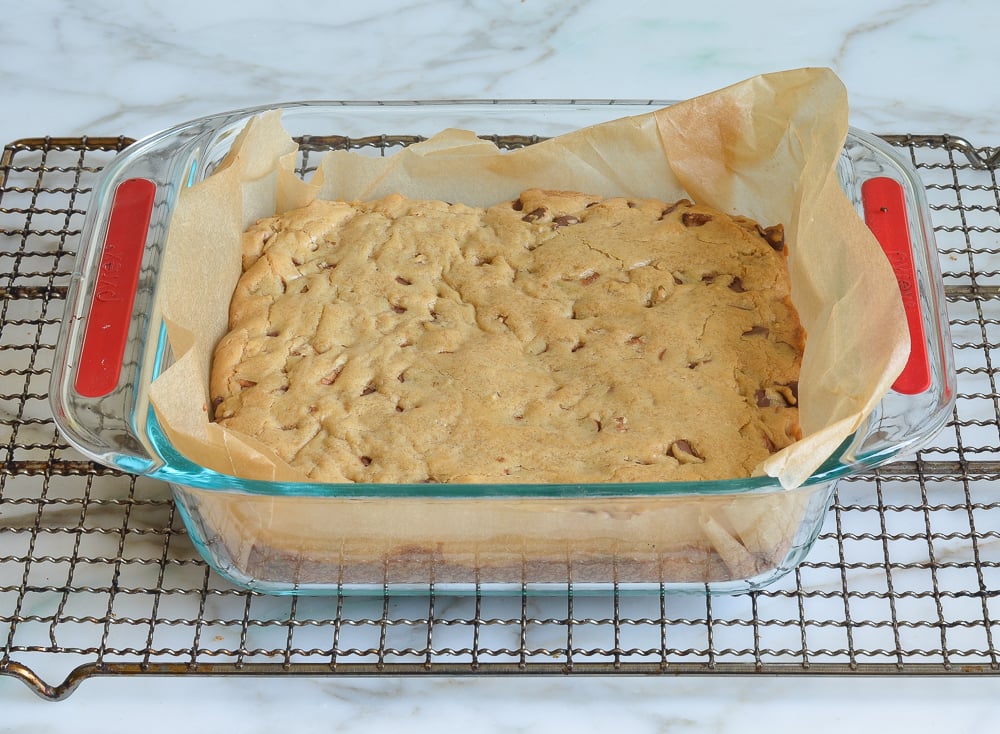
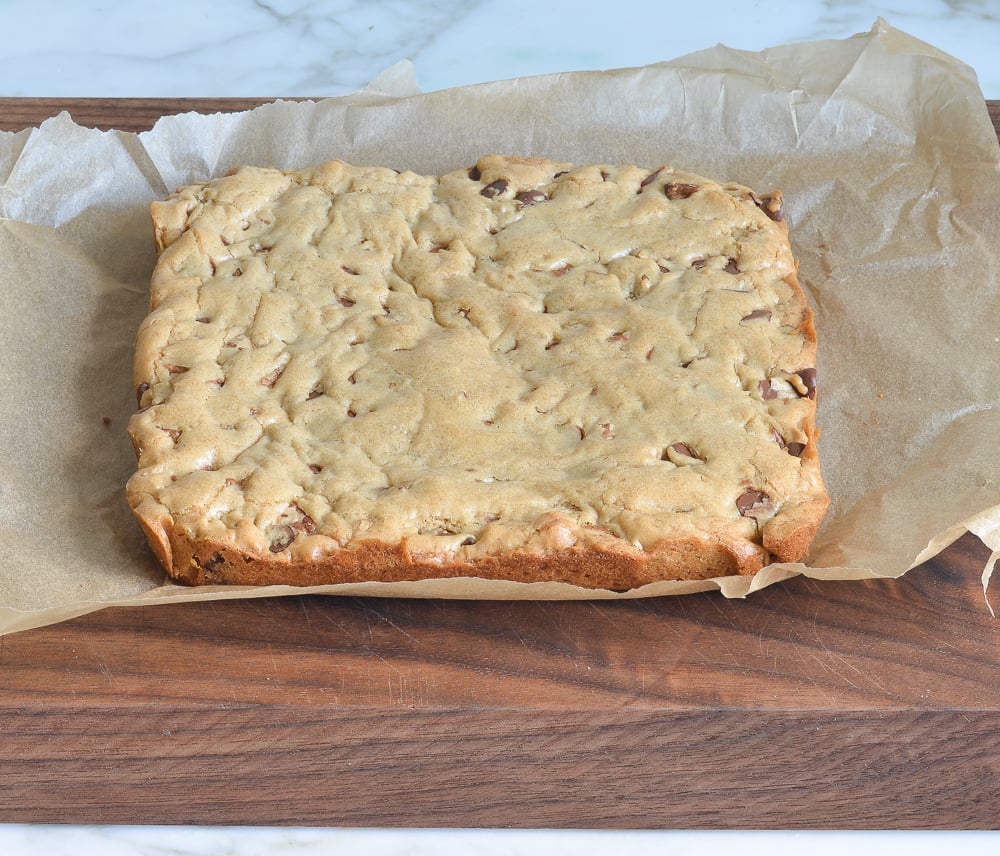
Cool, then slice: Lift the blondies from the pan and transfer to a cutting board. Cut into squares and serve warm or room temperature. The bars will keep nicely for a few days stored in an airtight container at room temperature; freeze for longer storage.
Pro Tips And blondie Variations
- Swap the mix-ins: Swap all or half the chocolate chips with white chocolate chips, change the nuts or leave them out, or even add some dried cranberries. Just keep the amount of mix-ins you add to 1¼ cups.
- Line your pan with parchment paper: It makes removing the blondies a breeze and ensures cleaner slices. Be sure to leave an overhang on two sides so you can lift the whole slab out of the pan once cooled.
- Don’t be tempted to add baking powder or baking soda. This recipe is designed to bake up dense and chewy with crisp edges. Adding a leavener will give the blondies a lighter, cakey texture.
- Want to double the recipe? This blondie recipe works great doubled and baked in a 9 x 13 pan. You may need to add a few minutes to the bake time.
More Bar Cookie Recipes You’LL Love


Chocolate Chip Blondies
Ingredients
- ½ cup (1 stick) unsalted butter, melted
- ½ cup (packed) dark brown sugar
- ⅓ cup granulated sugar
- 1 large egg
- 1 teaspoon vanilla extract
- 1 cup all-purpose flour, spooned into measuring cup and leveled-off
- ½ teaspoon salt
- ¾ cup semisweet chocolate chips
- ½ cup chopped pecans (optional)
Instructions
- Preheat the oven to 350°F (175°C). Line an 8-inch (20-cm) square baking pan with an 8 x 11-inch (20 x 28-cm) piece of parchment paper, leaving a 2-inch (5-cm) overhang on two sides. You'll have to create seams in the corners and along the edges of the pan to get it to stay put (you can always add a few dots of butter underneath if necessary).
- In a large bowl of an electric mixer, beat the melted butter with the brown sugar and granulated sugar until well combined, about 2 minutes. Beat in the egg and vanilla. On low speed, mix in the flour and salt until just blended. Stir in the chocolate chips and nuts. Transfer the batter to the prepared pan and spread evenly with a rubber spatula.
- Bake for 25 to 30 minutes, until the top is set and lightly golden. Set the pan on a wire rack to cool. Using the parchment overhang, lift the blondie “cake” from the pan and transfer it to a cutting board; cut into 16 squares. Store the blondies in an airtight container at room temperature or freeze for longer storage.
Notes
Nutrition Information
This website is written and produced for informational purposes only. I am not a certified nutritionist and the nutritional data on this site has not been evaluated or approved by a nutritionist or the Food and Drug Administration. Nutritional information is offered as a courtesy and should not be construed as a guarantee. The data is calculated through an online nutritional calculator, Edamam.com. Although I do my best to provide accurate nutritional information, these figures should be considered estimates only. Varying factors such as product types or brands purchased, natural fluctuations in fresh produce, and the way ingredients are processed change the effective nutritional information in any given recipe. Furthermore, different online calculators provide different results depending on their own nutrition fact sources and algorithms. To obtain the most accurate nutritional information in a given recipe, you should calculate the nutritional information with the actual ingredients used in your recipe, using your preferred nutrition calculator.
Hi Jenn, did you doubled the recipe because your blondies look much thicker in the picture than mine after baking,but taste was very good.
Kay
Could this be made in mini muffin tins for bite size for a shower? I’ve made the recipe as is before and they were perfect so I am afraid to mess with perfection.
Sure, Patty – just reduce the cook time. I’d start checking around 12 to 15 minutes.
Just to follow up, I made the blondies in mini muffin tins and baked for 13 minutes. They were perfect. Thank you!
That is a great idea! Some people want only a bite of something sweet and will leave a whole bar, so this is the answer to that. Anyone who wants more can take more. Can’t wait to make them!
Excellent tasting squares.
Easy to make, fail proof, freeze well.
Always a hit.
This is the best Blondie recipe I have ever found. I make it frequently for my teenaged son who loves them. They are moist, easy to make. I make them for potlucks & bring home an empty plate everytime. Thanks for a 5 star recipe!
I made these today to bring to a birthday celebration for a gentleman who was turning 84 years old. He absolutely loved them. I think that he told me four times “these are really good”. Everyone loved them. I did use dark chocolate chips because I like them. Other than that, I made no changes. Thanks for another great recipe Jenn!
Hubby loved them!
This recipe is so good. It literally takes 10 minutes to throw together the ingredients. The blondies are absolutely delicious. I used chopped bittersweet chocolate instead of chips.
Delicious and so easy to make!
Loved them!
Hi, Jenn. I baked these blondies early this morning. I doubled the recipe and baked them in a 13×9 pan, but I cut back on the butter and shouldn’t have (you know best!).
With the reduced butter, the bars were too firm on top and too dry on the edges, but I baked them a little too long and my oven runs hot (someone is coming Monday to re-calibrate it). Nevertheless, the centers were tender and perfectly gooey from the chocolate chips. I trimmed the dry edges and cut them into two-bite pieces and layered them with parchment between each layer. This made them easy to transport. I gave them to my doctor and his staff, and everyone raved about them! They were one of the least time-consuming things I have ever baked. They will make nice birthday, holiday and all-occasion gifts packed in decorative gift tins and tied with beautiful ribbon.