
Buttermilk Fried Chicken Tenders


This post may contain affiliate links. Read my full disclosure policy.
This fried chicken tenders recipe has everything you want: a crispy, craggy crust with juicy, tender chicken underneath.
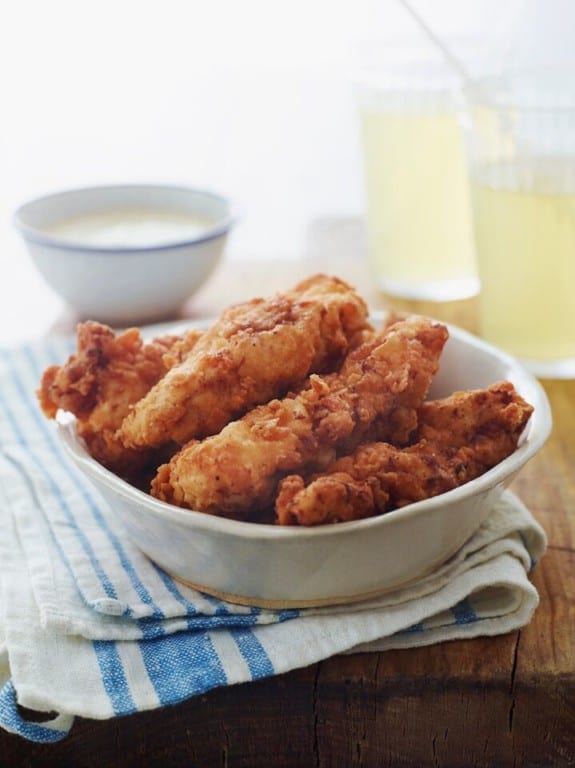
Photo by Alexandra Grablewski (Chronicle Books, 2018)
When my daughter was little, she was a champion picky eater, and unsurprisingly, chicken tenders were always at the top of her very short list of acceptable foods. Needless to say, I made them a lot! These fried chicken tenders became a family favorite, and while her list has most definitely expanded, she still loves them today. We all do.
The secret is in the coating: I mix a little buttermilk into the seasoned flour to create small clumps, which cling to the chicken and fry up into all those crunchy, craggy bits. The chicken gets a long soak in seasoned buttermilk first, so it stays tender and flavorful beneath that crisp crust.
Serve the tenders with honey mustard sauce, BBQ sauce or ranch dressing for dipping—or add them to a salad.
“This is THE BEST fried chicken tender recipe that you will find. It comes out perfectly every single time! And the honey mustard sauce is beyond yummy.”
What you’ll need To Make Buttermilk Fried Chicken Tenders
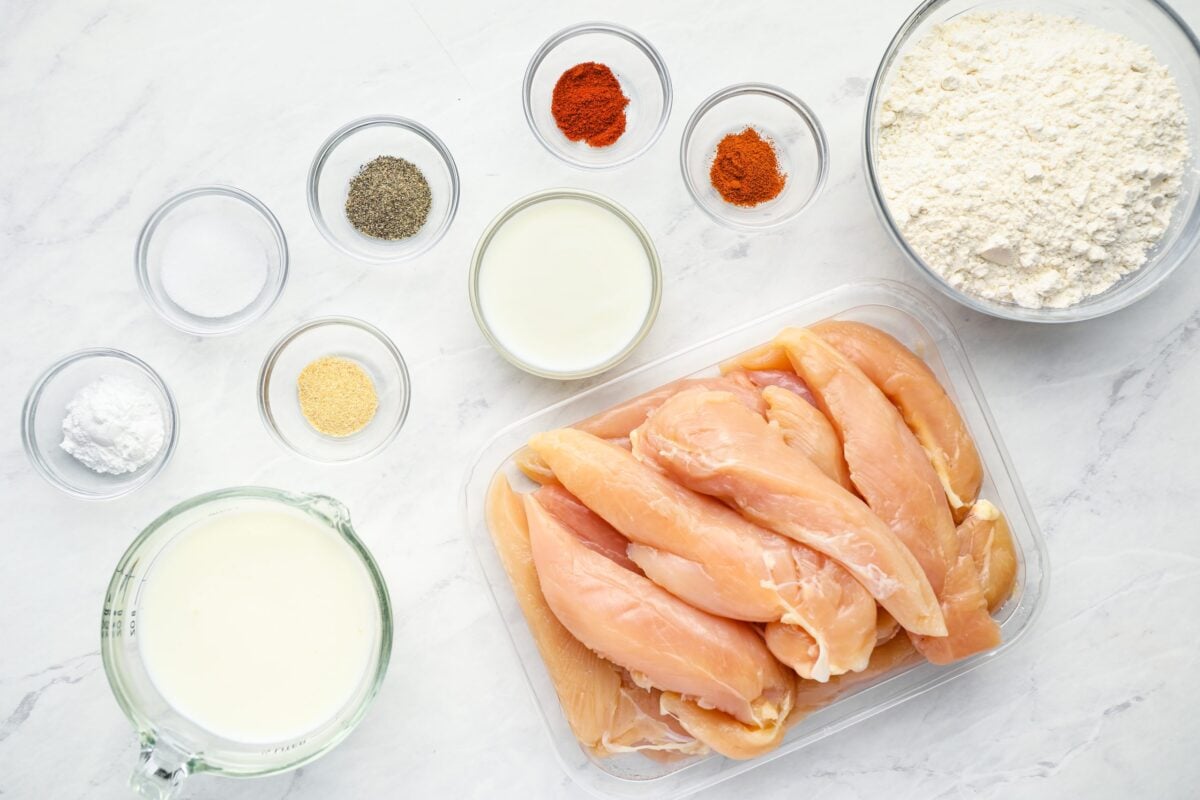
- Chicken tenderloins: Naturally tender and just the right size for frying. If the white tendon sticks out from the end, you can snip it off or trim it flush with the meat.
- Buttermilk: Tenderizes the chicken and adds a subtle tang. You’ll also use a little in the breading to create the craggy bits that get extra-crispy when fried.
- Paprika, garlic powder, cayenne, salt, and pepper: Season both the chicken and the breading so the tenders are flavorful throughout.
- Flour and baking powder: Form the crisp, golden coating. The baking powder helps give the crust a lighter, crunchier texture.
- Vegetable oil: A neutral oil that works well for frying at high heat.
- Jump to the printable recipe for precise measurements
How To Make Fried Chicken Tenders
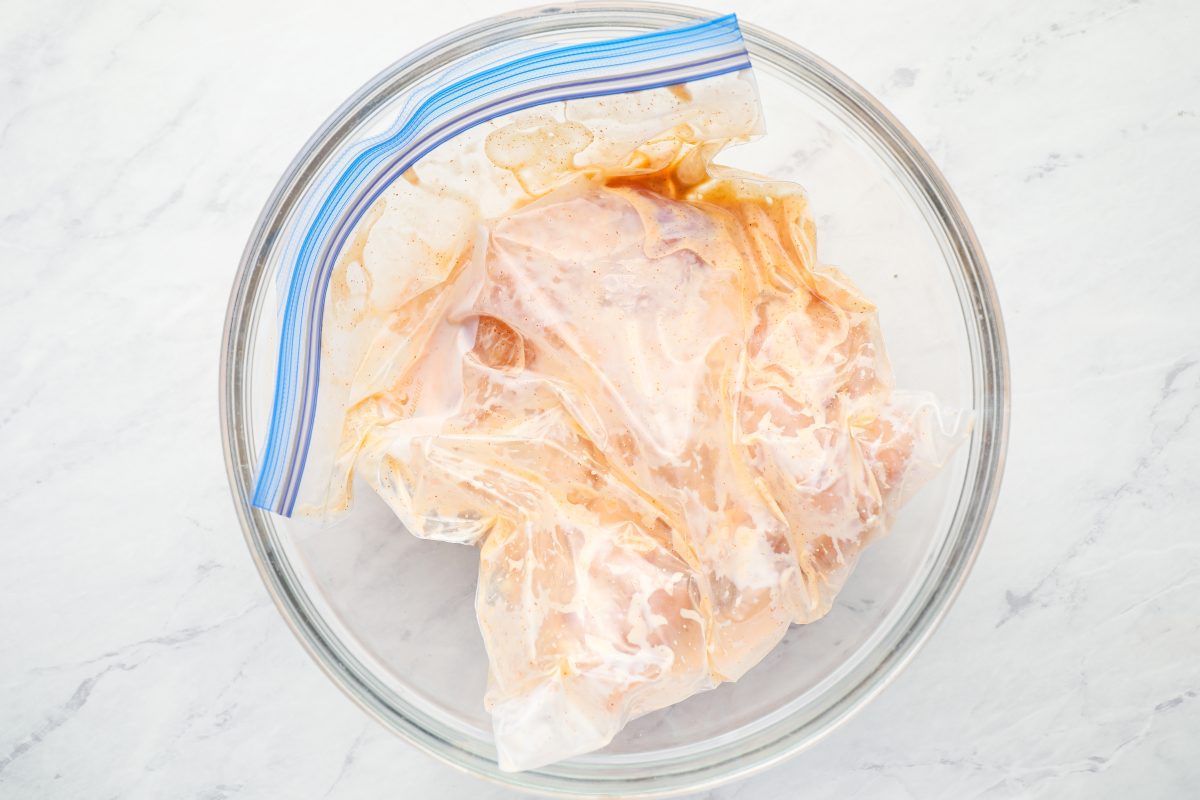
Marinate the chicken: Combine the buttermilk with the seasonings, then add the chicken and toss to coat. Cover and refrigerate for at least 4 hours or up to a day—the longer it sits, the more flavorful the chicken will be.
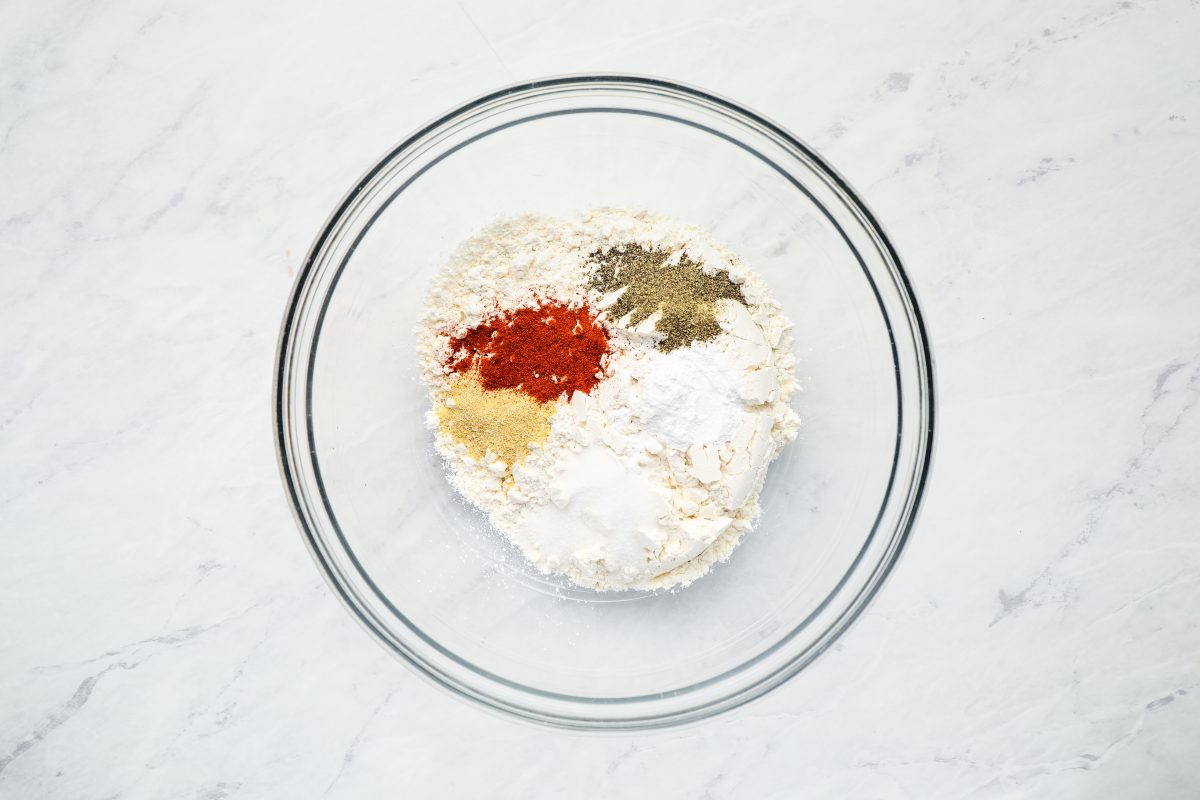
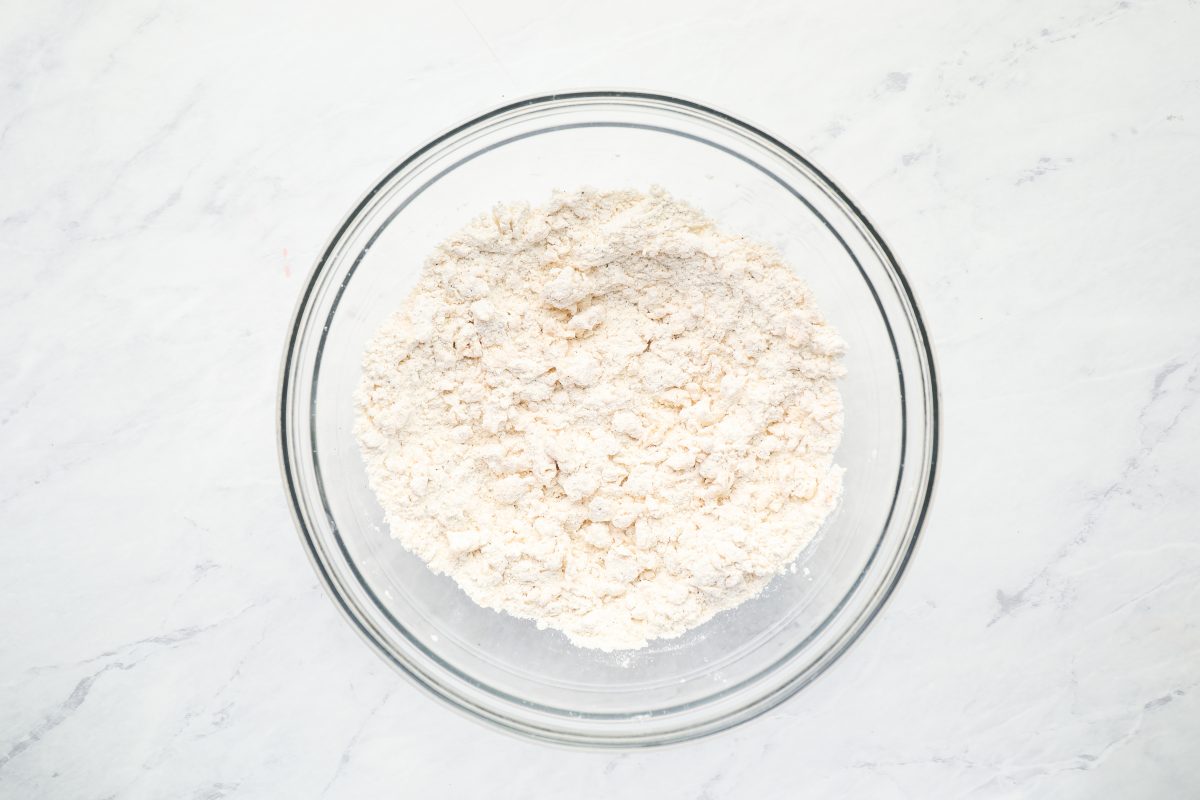
Make the breading: Whisk together the flour, baking powder, and seasonings. Drizzle in a little buttermilk and stir with a fork until small clumps form throughout. These are what create all those crunchy, craggy bits when the chicken fries.
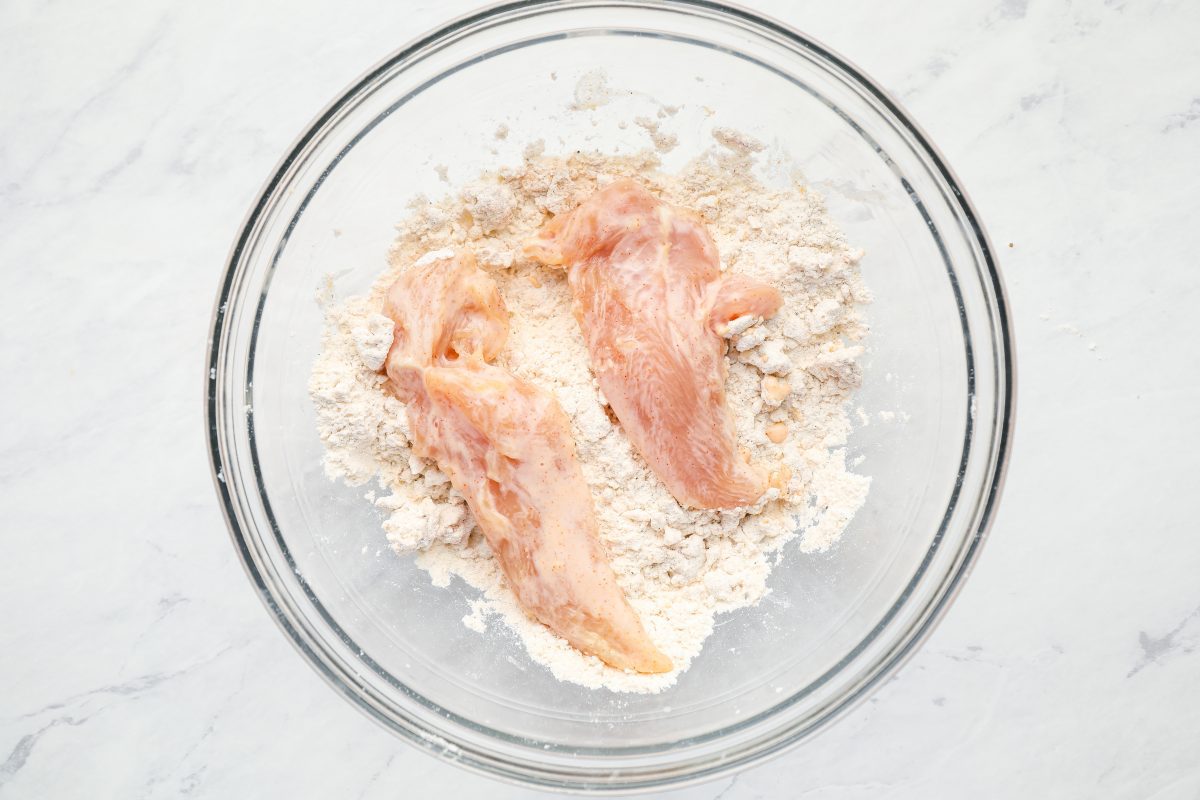
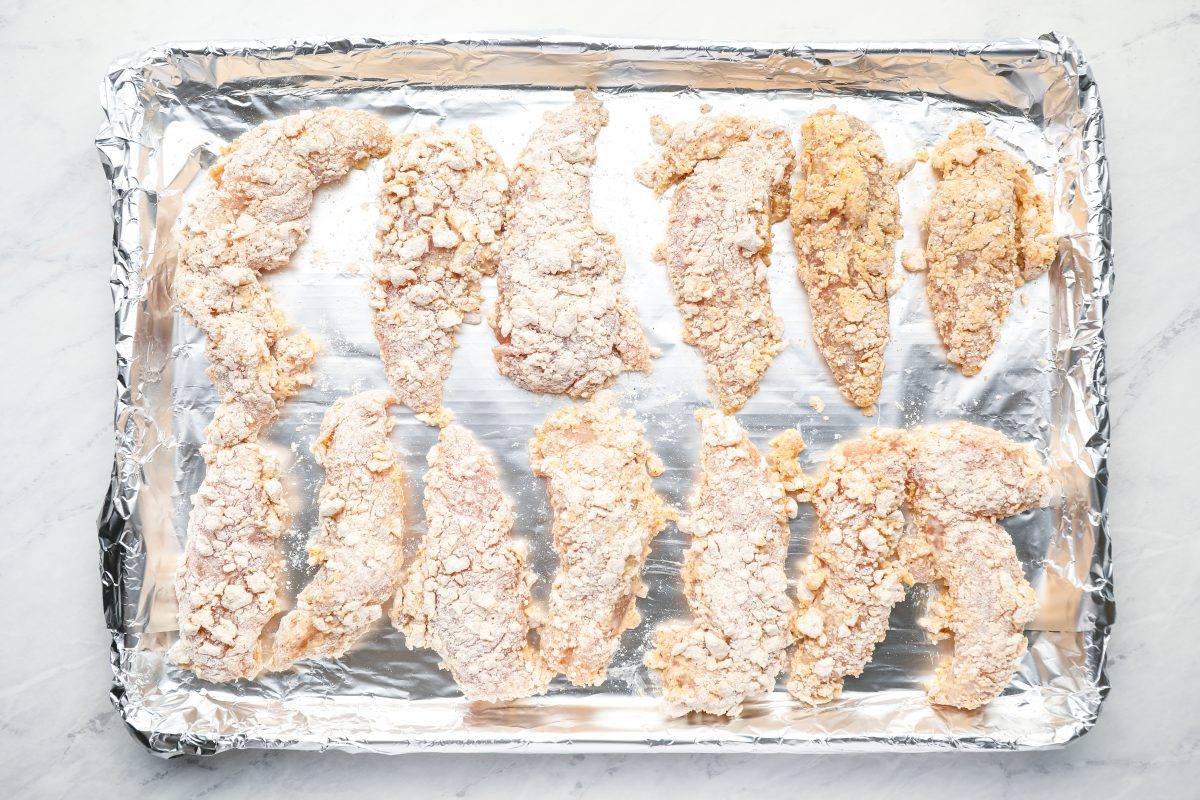
Coat the chicken: Working one piece at a time, lift the chicken from the marinade and press it firmly into the flour mixture so the coating really adheres. Using one hand for the wet chicken and the other for the flour helps keep things from getting too messy.
Fry the chicken: Heat the oil to 350°F. Fry the tenders in batches, without crowding the pan, until they’re crisp and golden brown and the chicken is cooked through. Keep an eye on the oil temperature as you go and adjust the heat as needed.
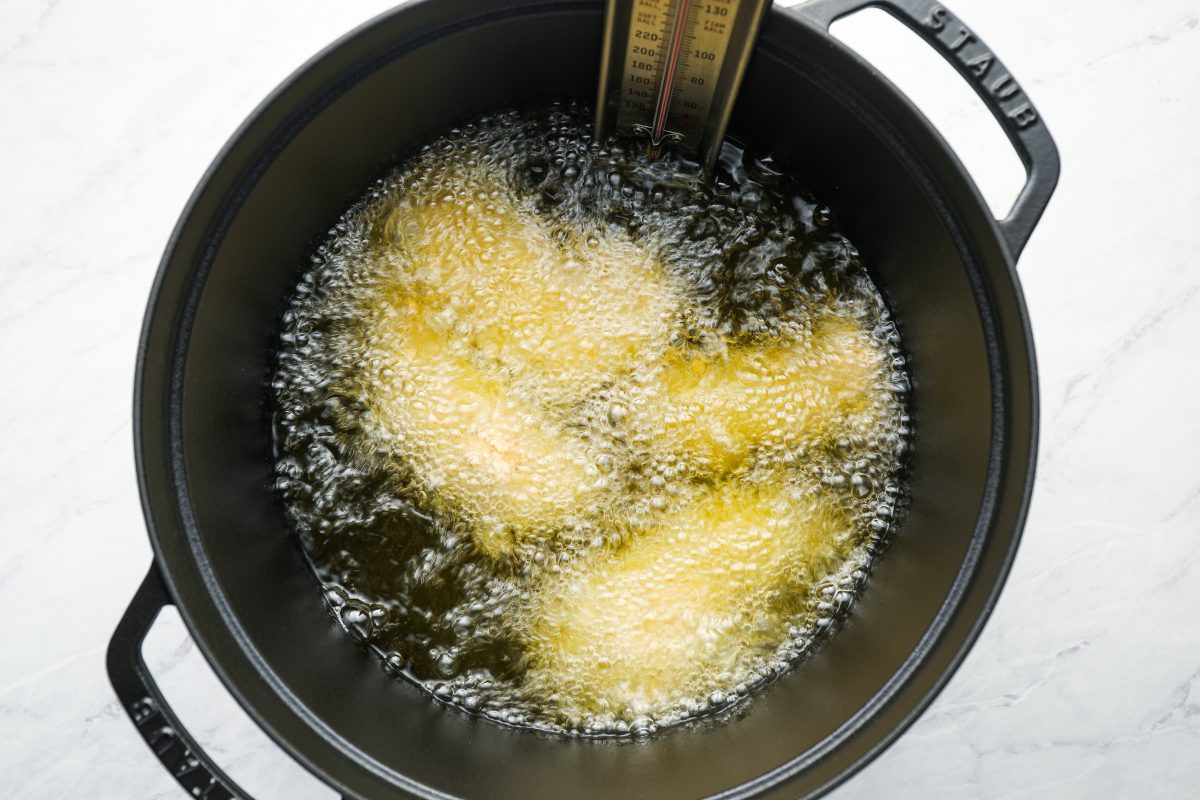
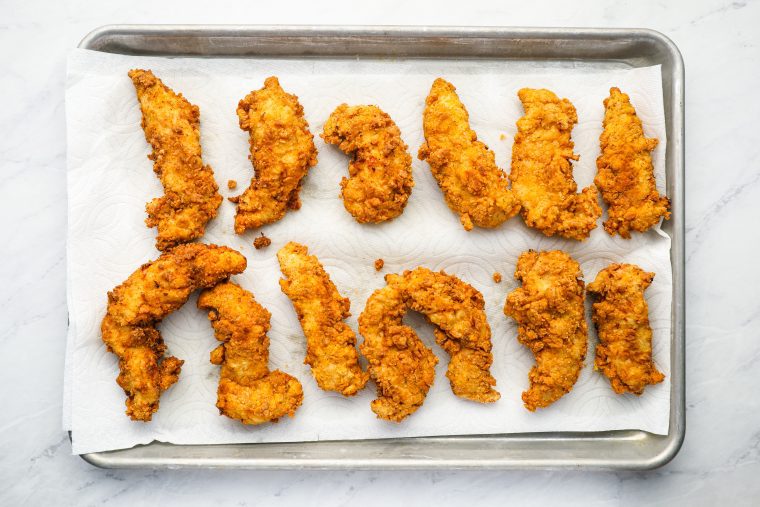
Drain and serve: Transfer the tenders to a paper towel-lined plate to drain. Keep in mind that fried chicken looks lighter while it’s submerged in the oil, so lift a piece out if you want to check its true color. Serve hot with your favorite dipping sauce.
Video Tutorial
More Crispy Chicken Recipes You May Like
Buttermilk Fried Chicken Tenders

Ingredients
For the Marinade
- 2 pounds chicken tenderloins
- 1 cup buttermilk
- 1½ teaspoons salt
- ¼ teaspoon cayenne pepper
- ¼ teaspoon garlic powder
- ¼ teaspoon paprika
For the Breading
- 1½ cups all-purpose flour
- 1½ teaspoons baking powder
- 1 heaping teaspoon salt
- ¾ teaspoon freshly ground black pepper
- ¾ teaspoon garlic powder
- ¾ teaspoon paprika
- 3 tablespoons buttermilk
For Cooking
- 3 to 4 cups vegetable oil, for cooking
Instructions
- To marinate the chicken: In a large sealable bag, combine the chicken tenders with the marinade ingredients. Seal the bag tightly and massage the chicken until it is evenly coated with buttermilk and seasoning. Place in a bowl (in case of leakage) and refrigerate for at least 4 hours or up to 24 hours.
- To make the breading: In a large bowl, combine the flour, baking powder, salt, pepper, garlic powder, and paprika. Whisk until well blended, then add the buttermilk and stir with a fork until the mixture is evenly clumpy.
- Line a baking sheet with aluminum foil for easy cleanup. Remove the chicken tenders from the marinade a few at a time and toss into the breading mixture. Be sure to press the chicken firmly into the breading so clumps adhere to the meat. (It’s a messy job: use one hand to remove the wet tenders from the bag and the other to toss in the breading.) Set breaded tenders on the prepared baking sheet.
- To fry the chicken: Line another baking sheet with a few layers of paper towels and set next to the stove. Add oil to a large, high-sided pot until the level reaches about ¾-inch (2-cm). Heat over medium-high heat until oil is shimmering (about 350°/175°C). (If a cube of bread sizzles when you drop it in, it's ready.) Using tongs, place several chicken tenders in the hot oil without crowding the pan. Cook until golden brown on the bottom side, a few minutes, then flip and cook until the second side is also golden, a few minutes more. Set the cooked tenders on the paper towel-lined baking sheet to drain. Fry remaining tenders in batches adjusting the heat as necessary (if the tenders are browning too fast, lower the heat). Serve hot.
Notes
- I find that it’s hard to tell how golden the chicken is when it’s immersed in the oil. It may only look lightly golden, but it’s actually a perfect fried chicken golden brown. If you’re unsure, simply pull a tender out of the oil and rest it on the paper towels to see the true color.
- Nutritional information was calculated assuming that approximately ¼ cup of the oil is absorbed into the chicken tenders when frying.
- Freezer-Friendly Instructions: The cooked chicken tenders can be frozen for up to 3 months. To reheat, put the frozen tenders on a wire rack on top of a rimmed baking sheet and warm in a 350°F (175°C) oven until heated through and crisp, about 25 minutes, flipping halfway through.
Pair with
Nutrition Information
This website is written and produced for informational purposes only. I am not a certified nutritionist and the nutritional data on this site has not been evaluated or approved by a nutritionist or the Food and Drug Administration. Nutritional information is offered as a courtesy and should not be construed as a guarantee. The data is calculated through an online nutritional calculator, Edamam.com. Although I do my best to provide accurate nutritional information, these figures should be considered estimates only. Varying factors such as product types or brands purchased, natural fluctuations in fresh produce, and the way ingredients are processed change the effective nutritional information in any given recipe. Furthermore, different online calculators provide different results depending on their own nutrition fact sources and algorithms. To obtain the most accurate nutritional information in a given recipe, you should calculate the nutritional information with the actual ingredients used in your recipe, using your preferred nutrition calculator.
Used 1:1 gluten free flour, turned out perfect and delicious. Followed the recipe for the most part. Added Frank’s hot sauce to the marinade, instead of cayenne. Used smoked paprika and added a little extra garlic powder. Boyfriend and grandson loved them.
Made it but with homemade buttermilk as couldn’t get it locally and the chicken was amazing 💕💕
Not sure if this was answered already. Can these be air fried? Thank you, Jen!
Hi Vivian, I don’t think these will work in an air fryer – sorry!
Does anyone have the original honey mustard sauce recipe that used to be at the bottom of this recipe?
Hi Ellie, you can find the honey mustard with this recipe. 😊
Do you think these could be baked?
Hi Melody, I don’t recommend cooking these in the oven. If you’d like chicken tenders you can bake, I’d recommend this recipe. (While I do prefer them fried, if you want to bake them I’d put them in a 350-degree oven for 15 – 20 minutes.) Enjoy!
I made this recipe tonight and it was a big hit! Thanks so much!
My young boys love this chicken tenders recipe! I used the same recipe for nuggets and it was an even bigger hit. As a single dad, I’m constantly trying to come up with new homemade dinner options and this recipe has moved ahead of pizza and steak. I never leave comments or reviews but I felt this recipe deserved it. Thank you!
Definitely the best fried chicken I’ve had anywhere! Perfectly crisp and crunchy; for sure going to be making a reappearance soon!
This is my go-to recipe now. Absolutely great and my 3 boys love them. The only thing from the recipe I wasn’t sure about was the time. I know a couple is technically 2 but I wasnt sure. I cook them at 350 for 5.5 minutes (Deep Fry) and they are absolutely perfect. Definitely going to try some of your other recipes. Thanks again.
Best tenders we have ever devoured!!! Better than any restaurant! They didn’t even need any dipping sauce. Marinated for 24 hours. Added your classic coleslaw which was outstanding and corn on the cob and we were in comfort food heaven! Thank you again! Beyond 5 stars!
THE BEST chicken fingers I’ve ever made by a mile, and perhaps the best I’ve ever eaten in my entire life. They are sublime. I added a bit more of the spices and salt along the way, and fried in tallow instead of oil, but otherwise followed the recipe exactly. Delicious!
Hands down the best tenders I have ever made or eaten! I can’t wait to try more of your recipes.