Copycat Cheddar Bay Biscuits


This post may contain affiliate links. Read my full disclosure policy.
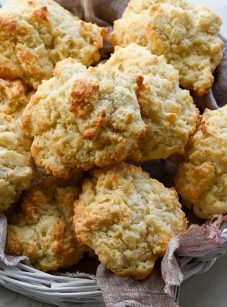
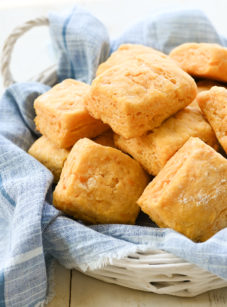
Recreate Red Lobster’s iconic Cheddar Bay biscuits in your own kitchen. Cheesy, garlicky, and herb-flecked, they’ve earned cult-favorite status for good reason. Quick to make and perfect with everything from weeknight dinners to Sunday brunch.
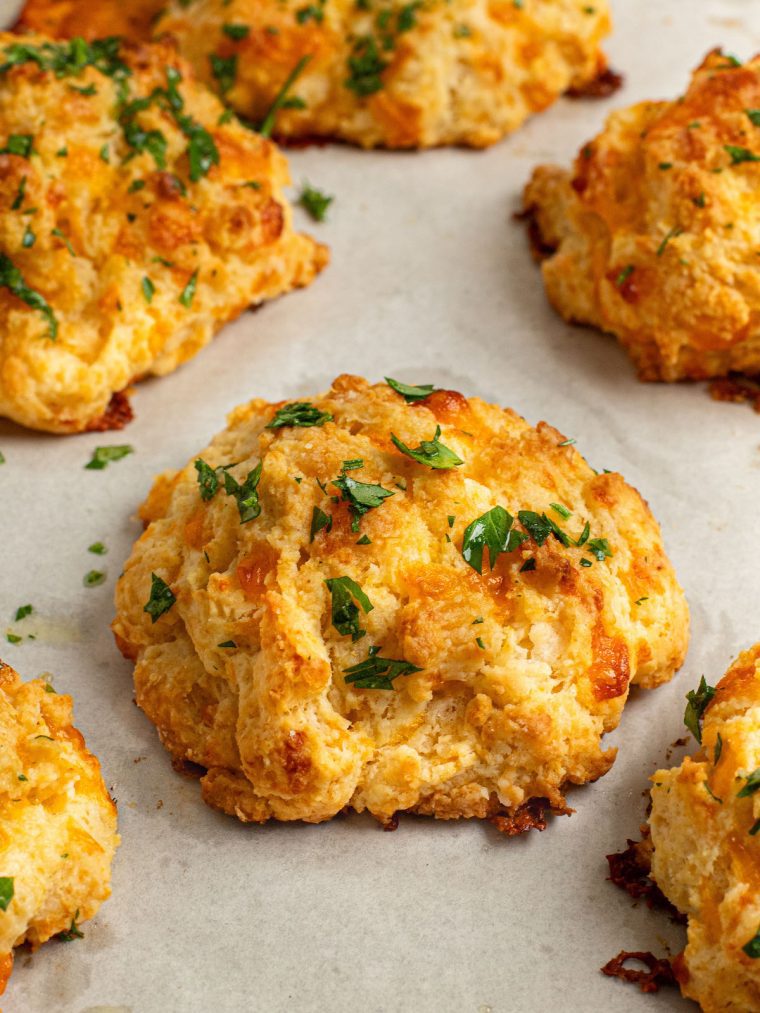
Red Lobster’s Cheddar Bay Biscuits are nothing short of legendary. Originally served to keep diners happy while they waited for their meals, the cheesy, garlicky biscuits quickly stole the show. This easy copycat recipe lets you recreate them at home—and if you hand one to anyone who’s ever been to Red Lobster, you’ll see that instant spark of recognition. That blend of cheddar, garlic, and herbs wrapped in a warm buttermilk biscuit is pure nostalgia.
Here’s a fun (and, yes, slightly disappointing!) tidbit: There’s no actual Cheddar Bay. It’s a clever marketing move by Red Lobster to give their biscuits a little coastal charm. Until 1993, they were simply known as “Cheese Garlic Bread.”
This recipe couldn’t be easier—it follows the drop biscuit method, meaning no rolling or shaping required, just quick scooping for those crave-worthy textured edges. And while these biscuits pair well with just about anything, given their name, it only feels right to serve them with seafood recipes.
“Oh so so good! I’ve tried other recipes but yours tops any. The aroma it sent throughout our home made it very hard to be patient while waiting for them to bake.”
What You’ll Need To Make Cheddar Bay Biscuits
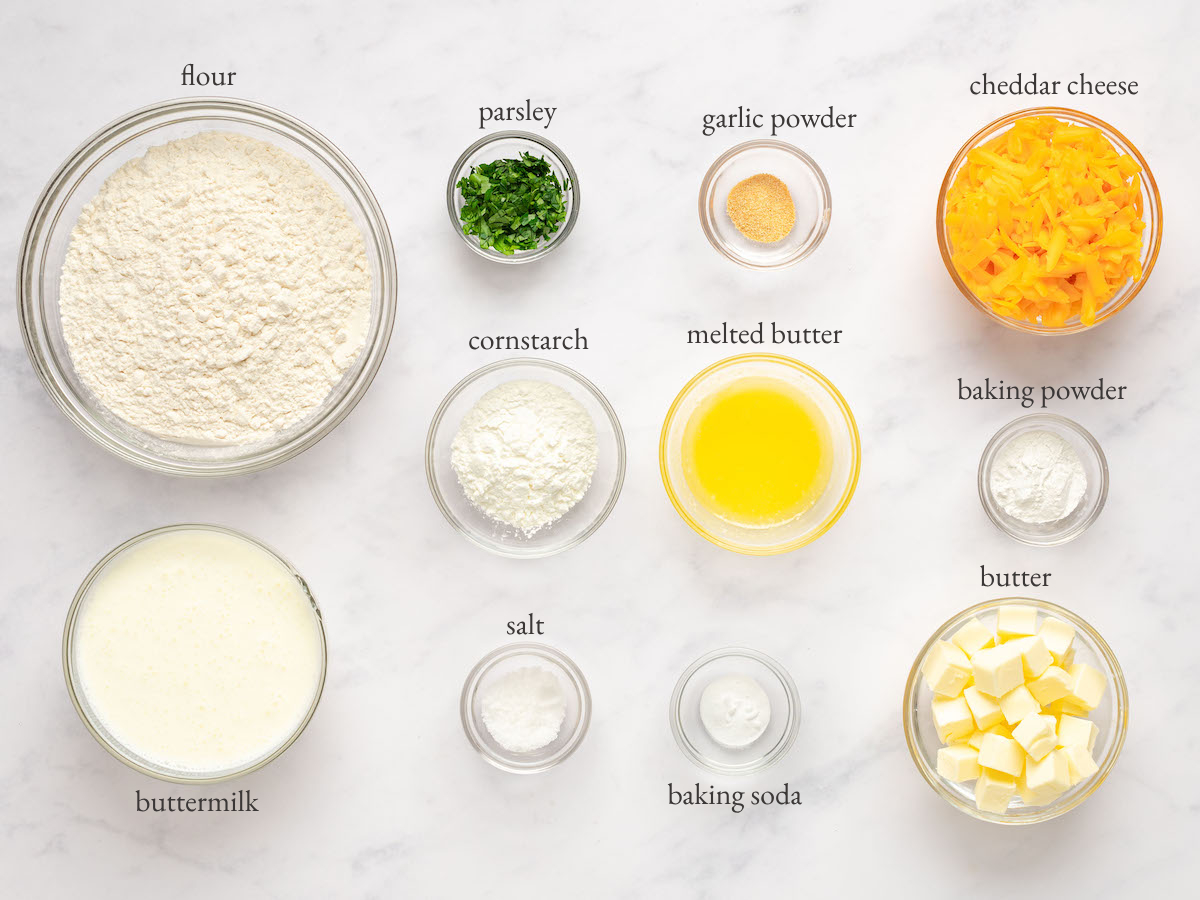
- All-purpose flour: The base of the biscuits. For best results, scoop it into your measuring cup with a spoon and level it off with a knife.
- Cornstarch: Softens the flour’s protein a bit, making the biscuits extra tender.
- Baking powder & baking soda: Team up to help the biscuits rise nice and fluffy.
- Garlic powder: Adds that savory kick in both the biscuit dough and the buttery topping.
- Butter: Gives the biscuits their flaky texture and makes the topping rich and delicious.
- Cheddar cheese: Brings a bold, tangy flavor and melty richness—sharp cheddar is my go-to here.
- Buttermilk: Activates the leavening agent and makes the biscuits tender and flavorful. If you’ve got vinegar or lemon juice and milk, you can make your own buttermilk.
- Fresh parsley: Stirred into the topping for a pop of fresh, herby flavor.
- Jump to the printable recipe for precise measurements
Step-by-Step Instructions
Step 1: Combine the dry ingredients and the butter. In a large bowl, whisk together the flour, cornstarch, baking powder, baking soda, salt, and garlic powder and whisk to combine. Add the butter to the dry ingredients.
Pro Tip: Make sure your butter is straight from the fridge—cold butter creates steam pockets as it bakes, giving you fluffy, tender biscuits.

Step 2: Cut in the butter. Work the butter cubes in with a pastry cutter, two knives, or your fingertips until the mixture looks like coarse crumbs with a few pea-size clumps.

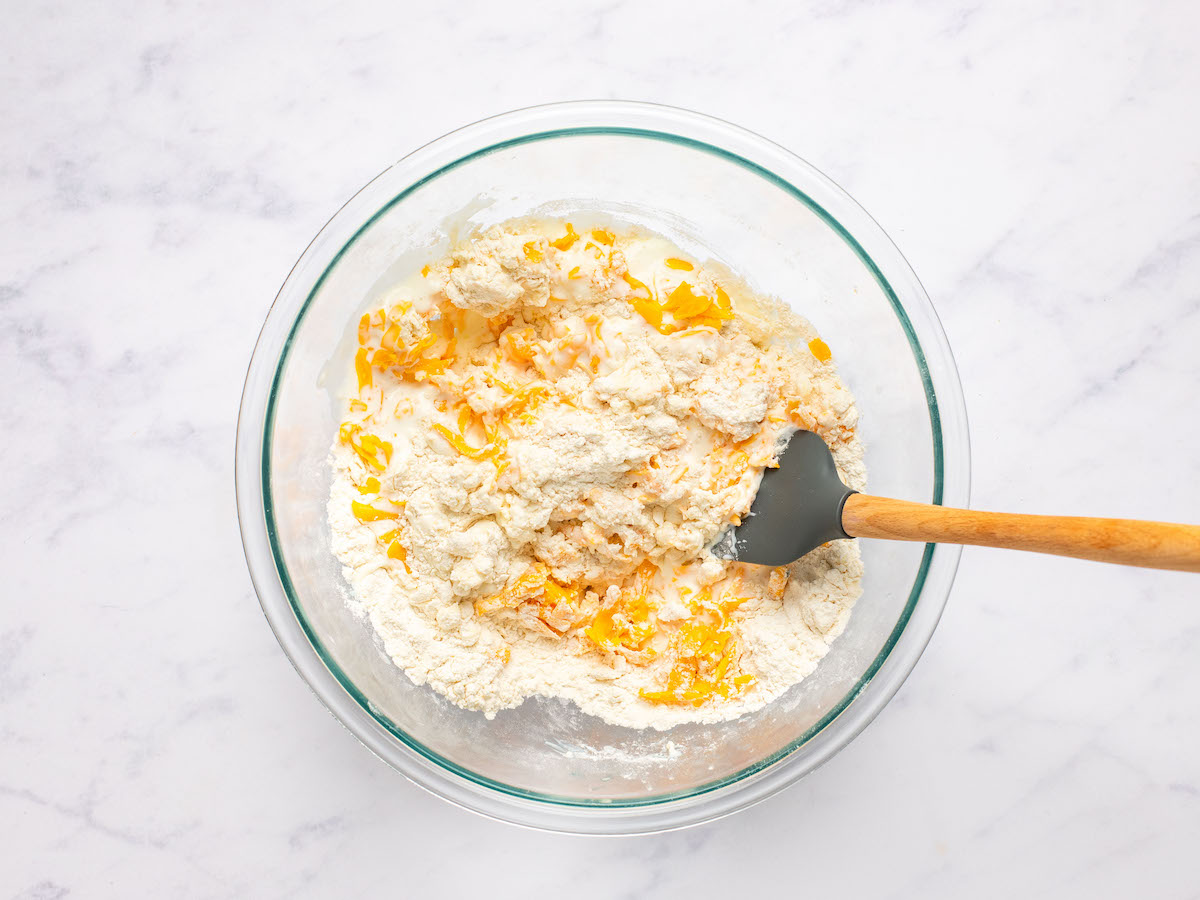
Step 3: Add the cheese and buttermilk. Stir in the shredded cheese and buttermilk with a rubber spatula until you get a shaggy, sticky dough. If it seems too dry, add a splash more buttermilk. Be sure not to overmix—this can make the biscuits dense—a little shagginess is perfectly fine.
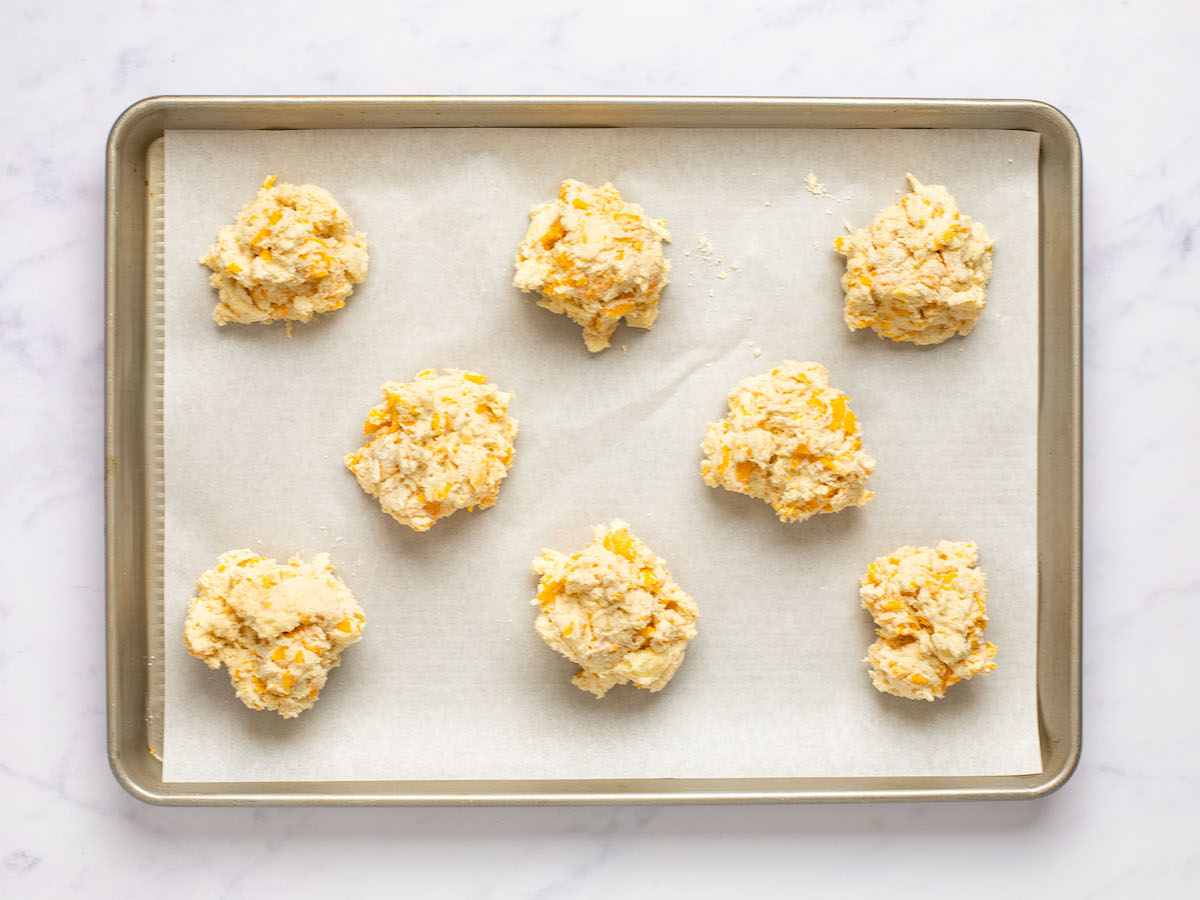
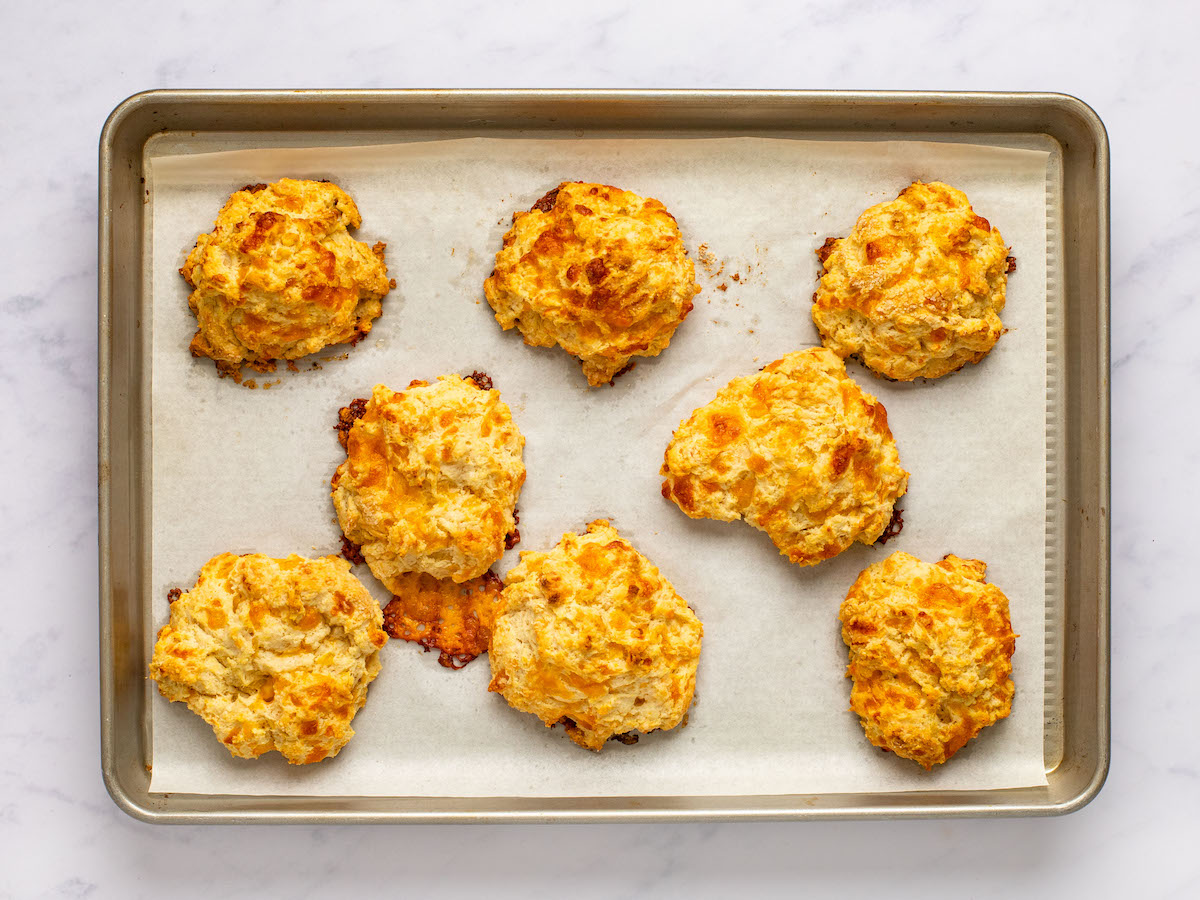
Step 4: Scoop the biscuit dough. Using two soup spoons, scoop 8 roughly peach-sized mounds (about 2½ inches wide) onto a parchment-lined baking sheet. Leave them as-is—craggy edges are a good thing! (At this point, you can freeze the unbaked mounds in an airtight container for up to 3 months.)
Step 5: Bake the biscuits. Pop the baking sheet in a preheated oven and bake for 17 to 20 minutes, until the biscuits are lightly golden. Don’t worry if some of the cheese oozes out—that just means you’ll get crispy, cheesy edges!
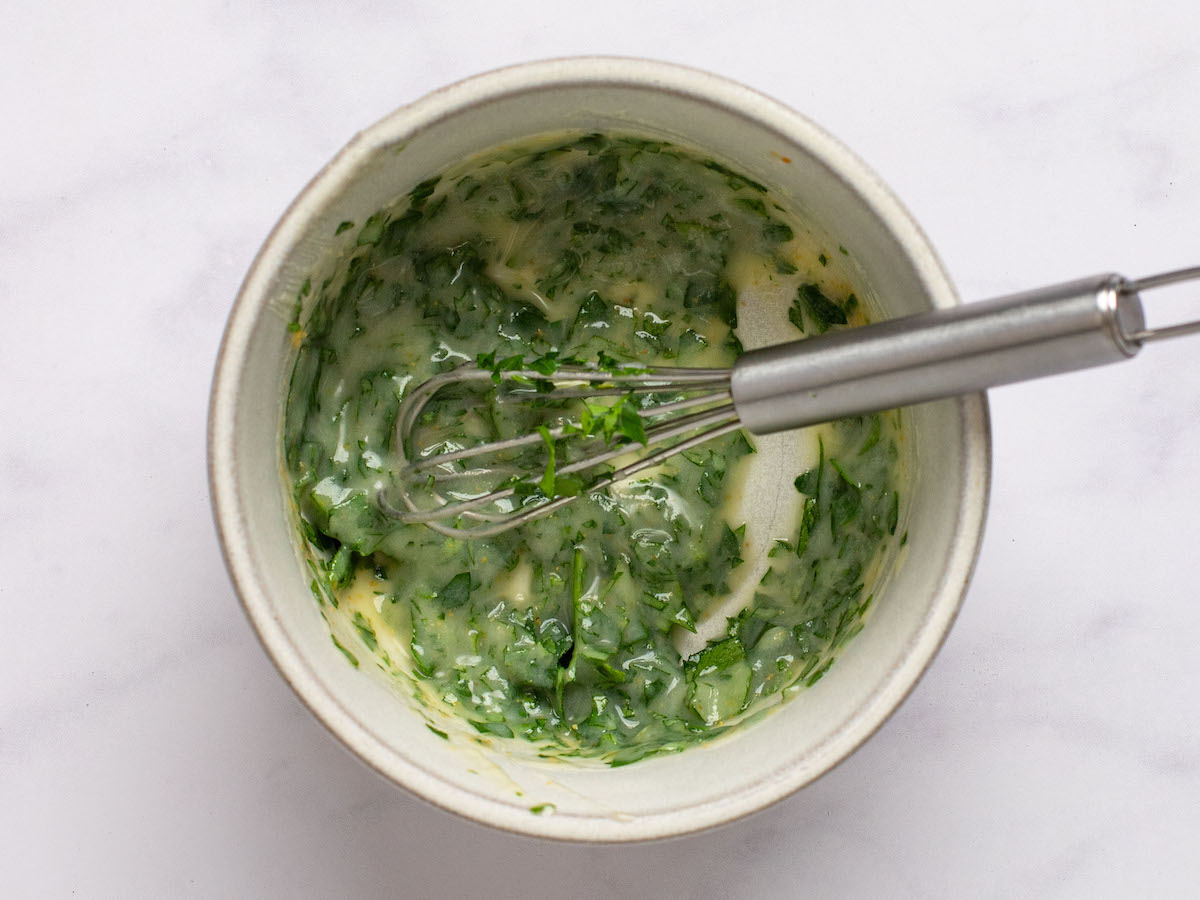
Step 6: Make the garlic butter. While the biscuits bake, stir together melted butter, garlic powder, and chopped parsley in a small bowl.
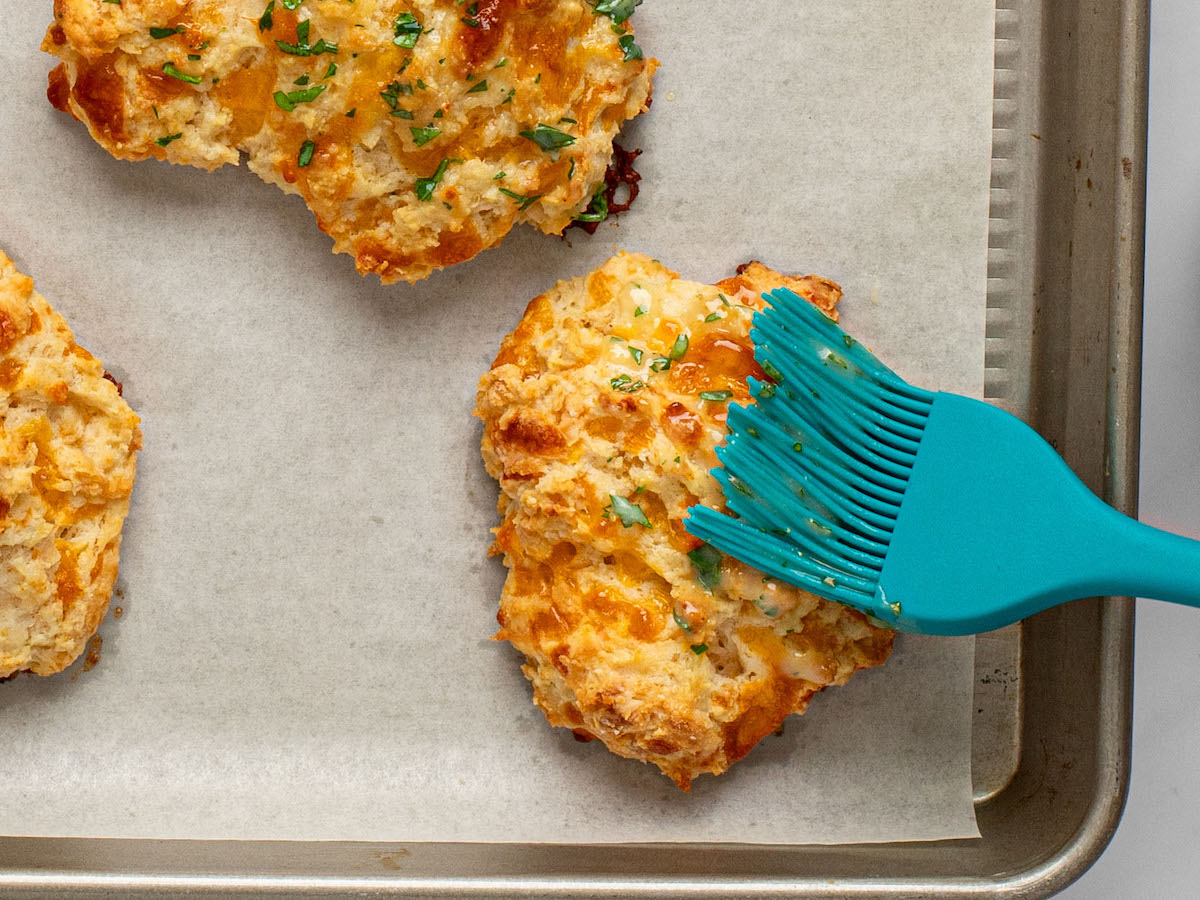
Step 7: Brush and serve. Right when the biscuits come out of the oven, brush the tops generously with the garlic butter. (Brushing while they’re piping hot lets the butter soak in for maximum flavor.) Serve warm.
Serve warm for the best flavor and texture. Keep leftover biscuits in an airtight container at room temp for up to 2 days, or freeze for up to 3 months.
Perfect Pairings for Cheddar Bay Biscuits
More Biscuit and Bread Recipes You May Like


Cheddar Bay Biscuits

Ingredients
For the Biscuits
- 2 cups all-purpose flour, spooned into measuring cup and leveled-off
- 3 tablespoons cornstarch
- 2 teaspoons baking powder
- ½ teaspoon baking soda
- 1 teaspoon salt
- ½ teaspoon garlic powder
- ½ cup (1 stick) cold unsalted butter, cut into ½-inch chunks
- 1 cup thickly shredded Cheddar cheese
- 1 cup buttermilk see note
For the Topping
- 3 tablespoons unsalted butter melted
- ¼ teaspoon garlic powder
- 1 tablespoon finely chopped fresh parsley
Instructions
- Preheat the oven to 425ºF (220°C) and set an oven rack in the middle position. Line a 13x18-inch (33x46-cm) baking sheet with parchment paper.
- In a large bowl, whisk together the flour, cornstarch, baking powder, baking soda, salt, and garlic powder. Add the butter and, using a pastry cutter or two knives, cut the butter into the dry ingredients until the mixture resembles coarse sand with a few pea-sized clumps of butter intact. (Alternatively, you can use your fingertips to rub the butter into the mixture.) Add the cheese and buttermilk and stir with a rubber spatula until the dough comes together into a shaggy, sticky mass. If the dough seems dry, add 1 to 2 tablespoons more buttermilk. Do not over-mix.
- Using two soup spoons, scoop 8 peach-size mounds, about 2½ inches (6 cm) in diameter, of the biscuit dough onto the prepared baking sheet, spacing them evenly apart. Do not compact the mounds or try to make them smooth on top; they are meant to have an irregular shape. Bake for 17 to 20 minutes, until the biscuits are lightly golden.
- Make the Topping: In a small bowl, whisk together the melted butter, garlic powder, and parsley. Brush the tops of the biscuits with the butter mixture and serve warm.
- Freezer-Friendly Instructions: The unbaked biscuits can be stored in the freezer for up to three months. When you're ready to enjoy them, there's no need to thaw—simply bake them a bit longer than usual. If you've already baked some biscuits and have leftovers, let them cool before placing them in the freezer. When ready to enjoy, let thaw at room temperature and then reheat until warm in a 300°F (150°C)-oven.
- Note: If you’d like to make your own buttermilk instead of purchasing a whole carton, see my easy method for how to make buttermilk.
Nutrition Information
This website is written and produced for informational purposes only. I am not a certified nutritionist and the nutritional data on this site has not been evaluated or approved by a nutritionist or the Food and Drug Administration. Nutritional information is offered as a courtesy and should not be construed as a guarantee. The data is calculated through an online nutritional calculator, Edamam.com. Although I do my best to provide accurate nutritional information, these figures should be considered estimates only. Varying factors such as product types or brands purchased, natural fluctuations in fresh produce, and the way ingredients are processed change the effective nutritional information in any given recipe. Furthermore, different online calculators provide different results depending on their own nutrition fact sources and algorithms. To obtain the most accurate nutritional information in a given recipe, you should calculate the nutritional information with the actual ingredients used in your recipe, using your preferred nutrition calculator.
Made these to go with a smoked salmon clam chowder for a light supper last evening. Absolutely perfect! Your recipes never disappoint.
Have made these a few times and they are absolutely delicious. Hands down a favorite in our house!
After making this as written, I am so pleased with the results! Tender, flavorful, and yet it has a wonderful crunch on the outside. Adding the garlic butter after baking will not soften the biscuit. The parsley, as Jenn mentioned, is more appealing to the eye and not necessary for the overall taste. I will make 10 biscuits next time as they are fairly large.
Thank you for such a quality recipe!
These biscuits are fantastic! They’re incredibly light and tender. The cheesy outside crust was so nice and crunchy that I omitted the melted butter in case it softened it. The dough came together in my food processor with just a few pulses. I made 8 biscuits and baked them for 22 minutes. Absolutely the best cheese biscuits I’ve made, and I’ve tried numerous recipes.
Wow! Not only were these biscuits delicious but incredibly easy to make. I made these in addition to your Maryland Crab Cakes (another all around winner) and my family just loved them. Great summer dish! As we were finishing up dinner my daugher said the next time I make these with the crab cakes, she is going to make a Cheddar Bay Biscuit Maryland Crab Sandwich with arugula and tartar sauce. Thank you for your recipes and amazing cookbooks too. Enjoy your summer Jenn!
Sooo amazing!!
My husband makes these and the whole family loves them. They are the second most requested item in our family, the first being mom’s fried chicken. The only thing he does differently is grating the butter while frozen which is what he does for scones.
These are great! Thanks! What is the best way to re-heat these? I will be hosting and plan to to bake them a day before and re-heat them for lunch (Do not have an air fryer- can I reheat them in the oven). Or is it best to bake them on the day of? Thanks!
Glad you like them! Yes, you can reheat them until warm in a 300°F-oven.
Thank you!
I reheat them in the airfryer and they come out with crunchy bits on the top. I actually put them in the airfryer right out of the oven. I’m utterly crazy about these things!
I made these to serve with the Broccoli Cheddar Soup https://www.onceuponachef.com/recipes/broccoli-cheddar-soup.html and everyone LOVED them (and they’re so easy to make).
I’m acutely aware that baking is extremely PRECISE (I personally love the discipline it requires). Anyway, I’m considering increasing the yield to 10 from 8, which will render the biscuits a bit smaller. In doing this I’m wondering if it will allow the biscuits to become a bit more crispy. I don’t want to bake the 8 longer for fear of burning the bottoms. I’d love to hear what you think, Jenn.
Hi Jeffrey, glad you enjoyed the biscuits! You mentioned that you’d like to increase the yield from 10 to 8. I’m assuming you mean you’d like to decrease the yield, which would make the biscuits a bit bigger, not smaller. Assuming that’s the case, I think you’ll be OK baking them a little longer without burning the bottoms – just don’t use a dark baking sheet. Please let me know if I misunderstood your question.
OMG. Brain fart. LOL
That was a good catch. I most definitely meant to say increase the yield from 8 to 10, thus making the biscuits just a bit smaller.
The baking sheets I use are a bit on the darker side as well as being “textured”. And I always bake on parchment, unless the baking instructions specifically say not to.
These biscuits were delicious. I did not have buttermilk. So, I followed Jenn’s tip on making buttermilk. It worked great.
I will definitely make them again!
These biscuits were great. I loved the craggy surface that resulted in a crispy outside with a tender inside. I have made a lot of biscuits, but have never use cornstarch in them before. I understand it is to make the biscuits mre tender. Is there a formula to use to convert other biscuit recipes from flour only to flour and cornstarch? Thanks for a great recipe!
Hi Vivian, so glad you enjoyed the biscuits! While there’s not a one size fits all answer to your question, you can try replacing 2 tablespoons of flour for each cup of flour in your biscuit recipes with 2 tablespoons of cornstarch. I’d love to hear what kind of results you get if you try it!
Thanks so much! I will try it. I love a good kitchen experiment. Will report back.
My experience with cornstarch in baking is that it’s purpose is to absorb the butter. Without the cornstarch, this much butter would be a mistake.