
Texas-Style Chili Con Carne

This post may contain affiliate links. Read my full disclosure policy.
When you want a hearty, satisfying chili, this one delivers: tender beef, a rich, smoky sauce, and a slow simmer that’s well worth the wait. A delicious weekend project.
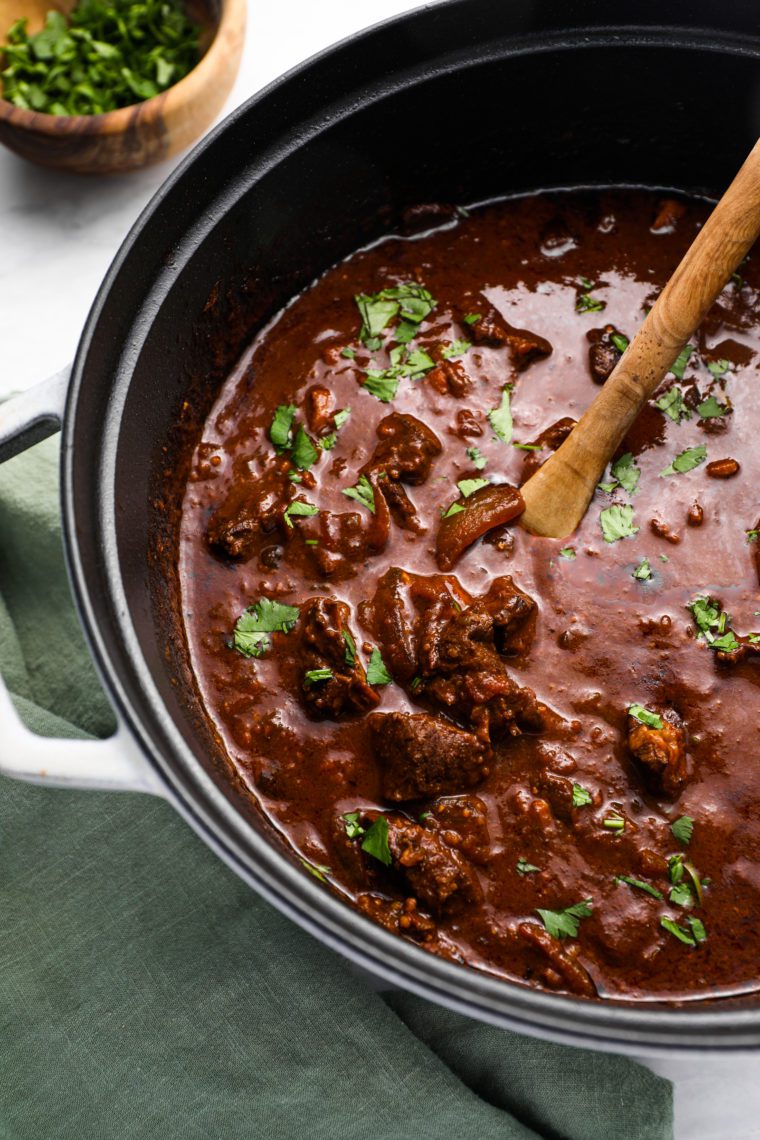
With beef that melts in your mouth and a thick, deeply flavored, smoky sauce, this chili con carne is essentially a chili-spiced beef stew. It’s not the fastest or easiest chili to make (for that, try my ground beef chili recipe), but I think it’s the most authentic. So if you’re looking for a recipe for a chili cook-off, this is the one! What makes it Texas-style? Mainly, it’s made with cubed beef instead of ground beef and no beans. (Some purists skip tomatoes too, but I like the depth they add.)
This recipe requires over an hour of prep and active cooking, plus several hours to simmer on the stove, so it’s best saved for a weekend. I recommend doubling the recipe—you can freeze half for another night or use the leftovers for tacos, burritos, or spooned over rice or baked potatoes. Serve chili con carne with cornbread muffins or cornbread.
“Legit. Great chili.rnrn”
What You’ll Need To Make Texas-Style Chili Con Carne
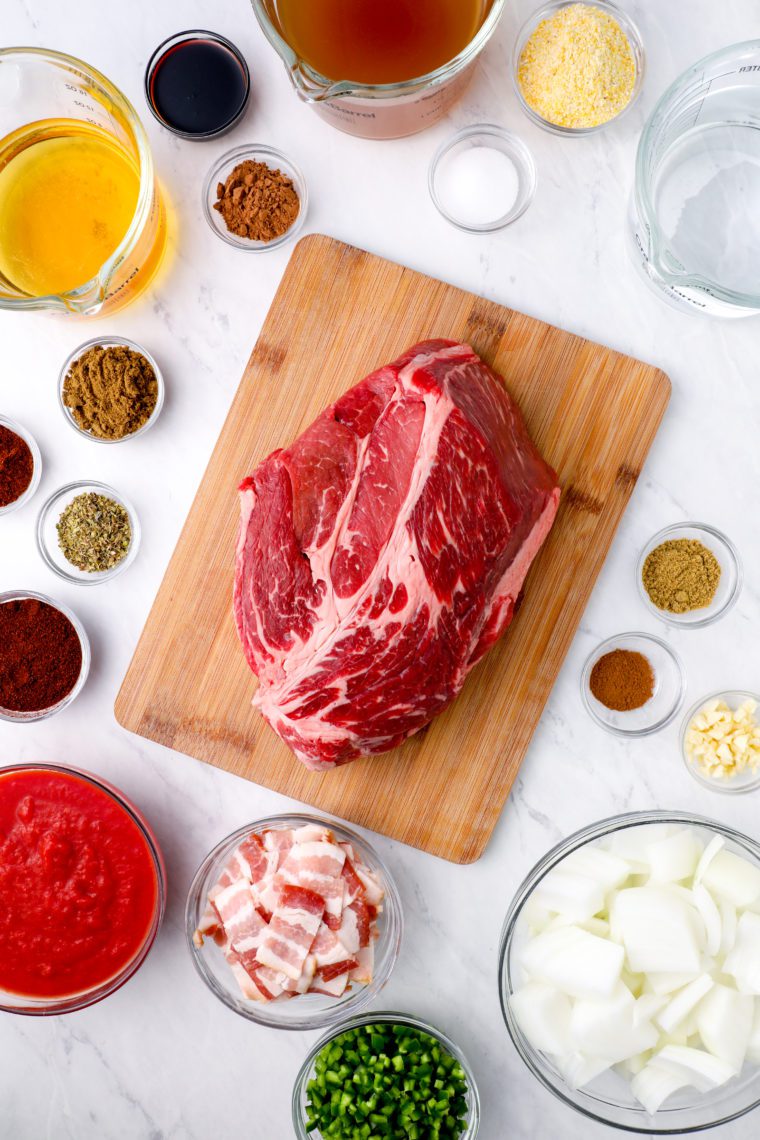
- Spices (Ancho Chile Pepper, Chipotle Chile Pepper, Cumin, Oregano, Coriander, Cinnamon): This bold blend builds the backbone of the chili, layering smoky heat, earthy notes, and a touch of warmth for a deep, well-rounded flavor.
- Cornmeal: A simple thickener that gives the chili extra body and a subtle corn taste.
- Beef chuck roast & bacon: Using chuck roast gives you hearty chunks that get tender as they braise, while bacon adds smoky richness. Together, they give the chili a meaty base and depth. When buying chuck roast, avoid generic “stew meat,” as it won’t get nearly as tender.
- Yellow Onions, Garlic Cloves, Jalapeño Peppers: This trio forms the aromatic base of the dish. (You can dial up the heat of the chili by including some seeds from the jalapeños.)
- Low-sodium beef broth & beer: Together they make up the liquid base, giving the chili both savory depth and a little malty edge. Using low-sodium broth keeps the level of saltiness in check. (If you don’t drink alcohol, just replace the beer with water.)
- Crushed tomatoes, molasses & cocoa powder: This trio balances the chili. Tomatoes give acidity and body, molasses brings a dark sweetness that smooths out the spices, and cocoa powder is a “secret” ingredient in many chili recipes, adding just a hint of bitterness that complements the spices nicely.
- Jump to the printable recipe for precise measurements
Step-by-Step Instructions
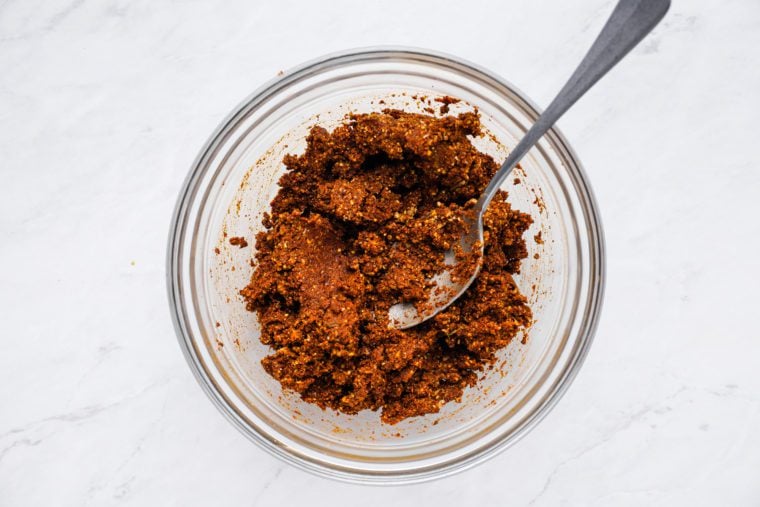
Step 1: Make the chili paste. In a small bowl, combine the spices and cornmeal. Add a bit of water to form a paste and set aside.
Pro Tip: Ground ancho chile pepper, made from dried poblanos, is mild with a sweet, earthy smokiness. Ground chipotle chile pepper, from smoked jalapeños, is spicier with a deeper smokiness and subtle chocolate notes. Used together, they create a layered, complex chili flavor.
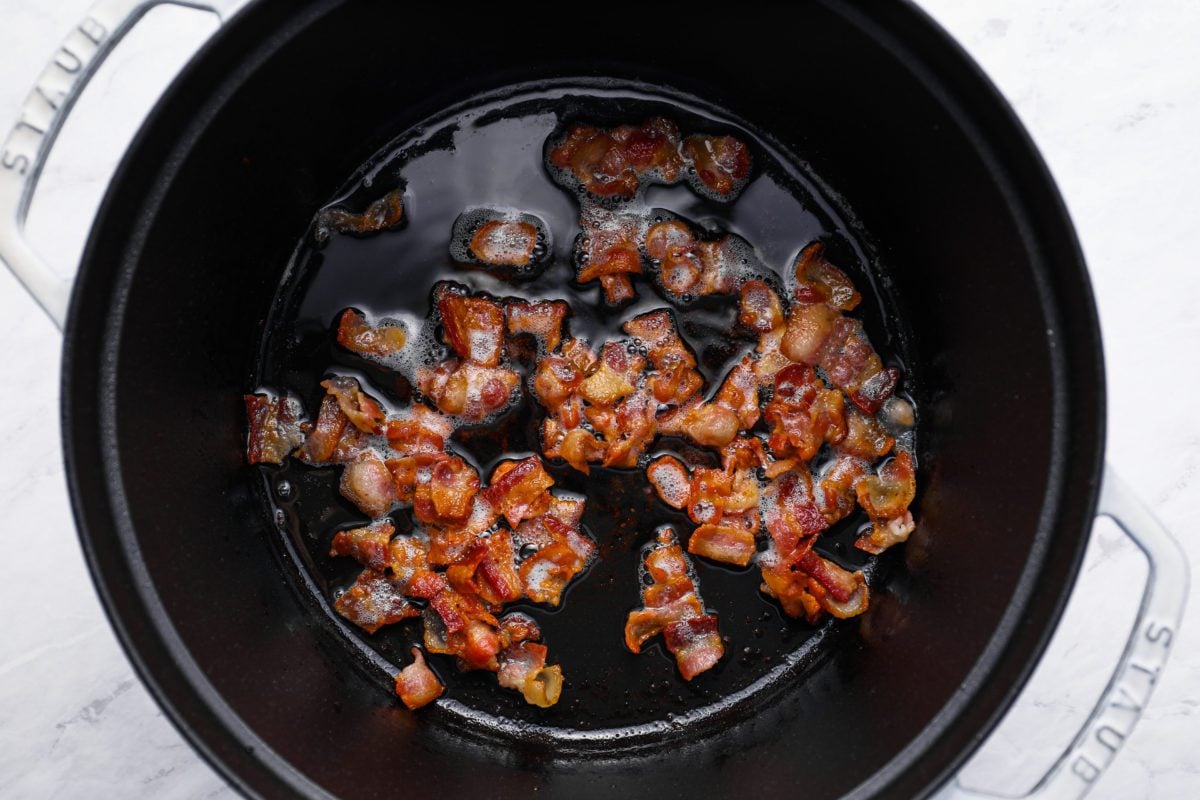
Step 2: Cook the bacon. Fry until the fat has rendered and the bacon is crisp. Transfer to a paper towel–lined plate with a slotted spoon. Pour all but a few teaspoons of the fat into a small bowl.
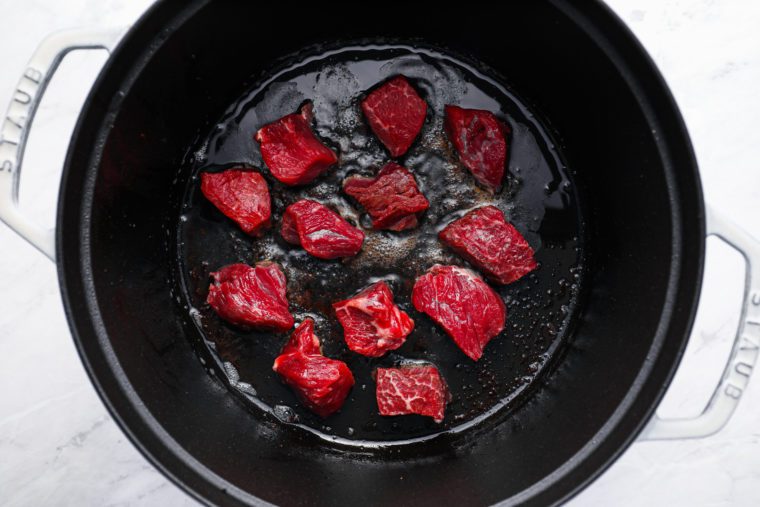
Step 3: Sear the beef. In batches, sear the meat in a single layer until well browned on at least one side, adding more reserved bacon fat as needed.
Pro Tip: Don’t crowd the pan. Browning in batches gives you that crusty edge that builds the base of the chili.
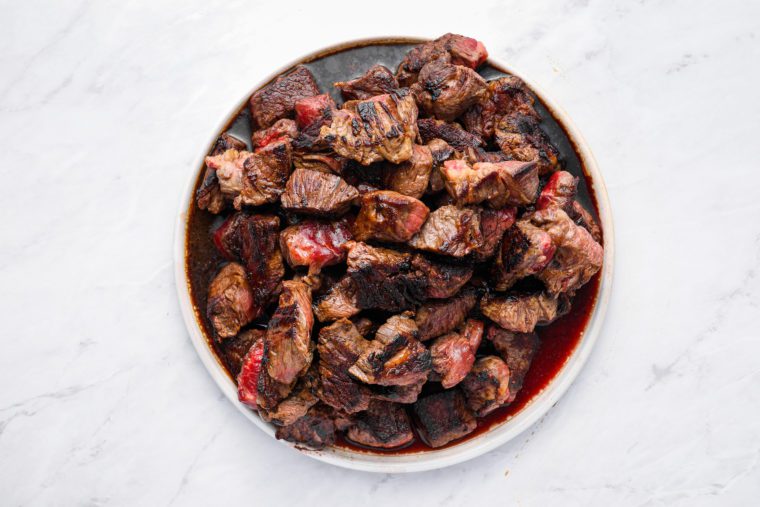
Step 4: Deglaze the pot. Transfer the beef to a plate. Deglaze the pan with a splash of water (it will smoke when you add it), scraping up the brown bits, and then pour the liquid over the beef.
Pro Tip: Those brown bits stuck to the bottom of the pan are called fond. They’re little caramelized pieces left behind by the meat and aromatics, and when you scrape them up with liquid, they dissolve back into the sauce, giving the chili extra depth and richness.
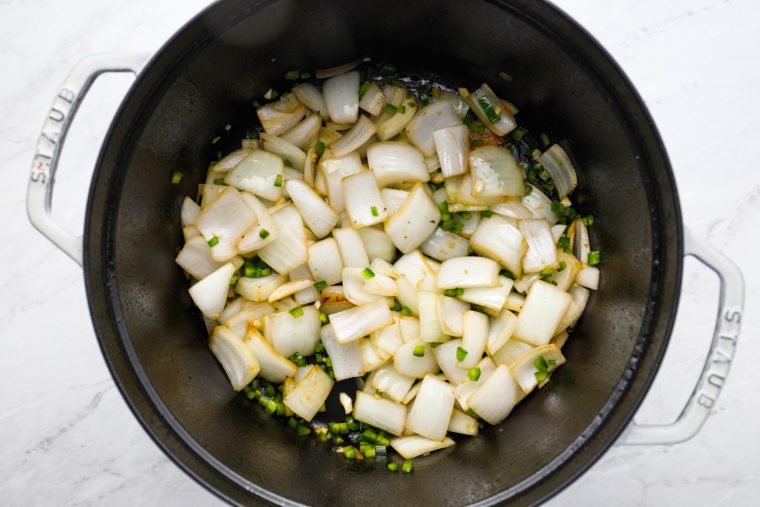
Step 5: Sauté the aromatics. Reduce the heat to medium and add 3 tablespoons reserved bacon fat. Cook the onions, stirring often, until softened, about 5 minutes. Add the garlic and jalapeños; cook 2 minutes more.
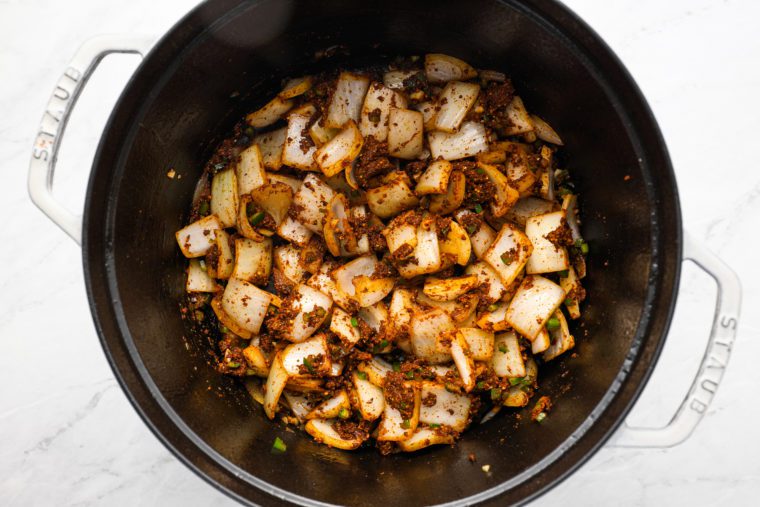
Step 6: Add the chili paste. Stir in the reserved spice paste and cook a few minutes, until fragrant. It may clump or stick to the bottom a bit—that’s okay.
Step 7: Build the broth. Pour in the beef broth and whisk until the spices dissolve. Add the water, beer, crushed tomatoes, molasses, cocoa powder, seared beef, and bacon.
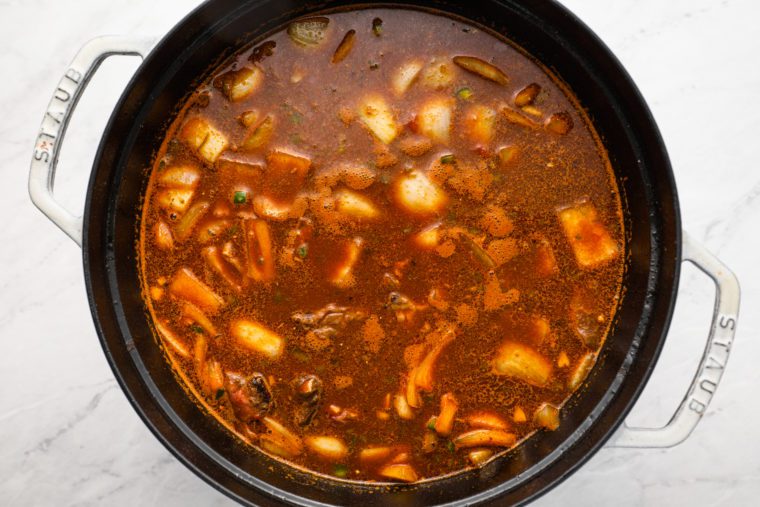
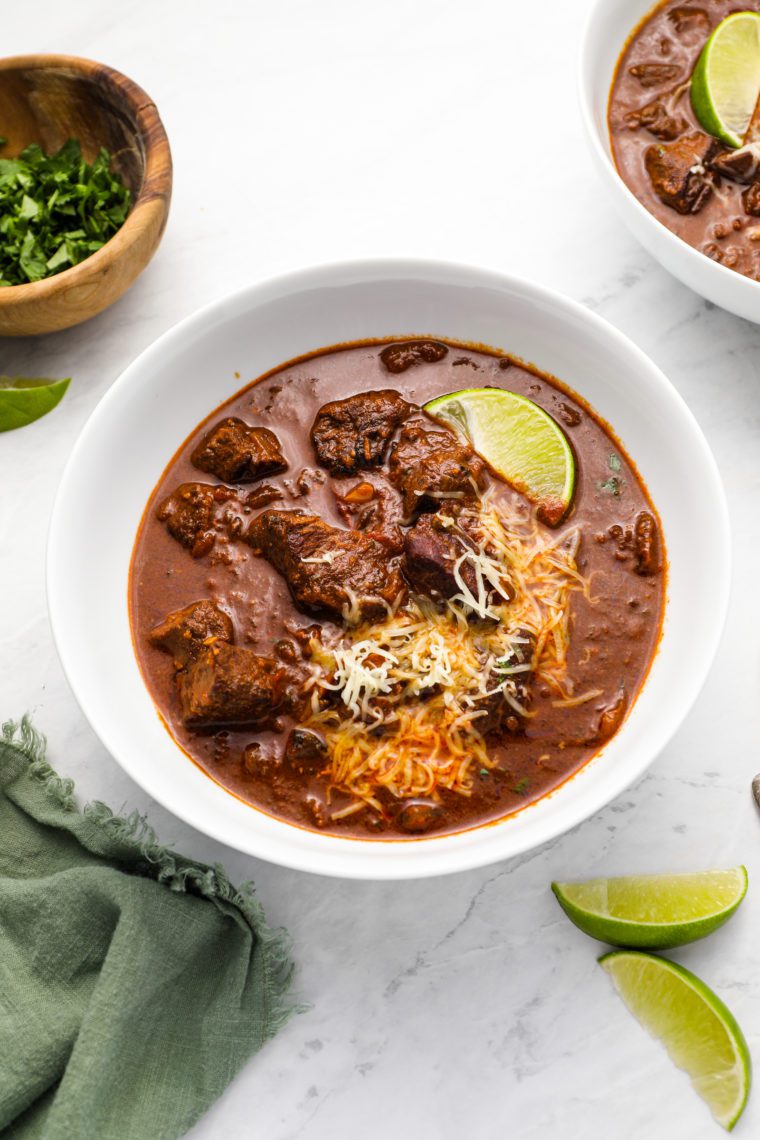
Step 8: Simmer and serve. Bring to a simmer, cover with the lid slightly ajar, and cook for 2½ to 3 hours, until the beef is tender and the sauce is thickened. Ladle into bowls and serve with shredded cheese, cilantro, and lime wedges. The chili can be refrigerated for up to 3 days (and it just keeps getting better as the flavors meld). Freeze for longer storage.
Video Tutorial
More tex-Mex Recipes to Warm You Up




Texas-Style Chili Con Carne
Ingredients
- ¼ cup ground ancho chile pepper
- 1 tablespoon ground chipotle chile pepper
- 2 tablespoons ground cumin
- 2 teaspoons dried oregano
- 1 teaspoon ground coriander
- ½ teaspoon ground cinnamon
- ¼ cup cornmeal
- 1 (4-lb) beef chuck roast, trimmed of excess fat and cut into 1½-in (4-cm) cubes
- 8 oz (about 8 slices) bacon, cut into ¼-in (6-mm) pieces
- 2 teaspoons salt
- 2 small yellow onions, cut into 1-in (2.5-cm) chunks
- 5 cloves garlic, chopped
- 3 jalapeño peppers, cored, seeded and finely diced
- 4 cups low-sodium beef broth
- 2 cups water, plus more for the chili paste and deglazing the pan
- 1¼ cups lager beer
- 1 cup canned crushed tomatoes
- 1 tablespoon molasses, such as Grandma's Original
- 2 teaspoons natural unsweetened cocoa powder
Optional Garnishes
- Fresh chopped cilantro
- Shredded Cheddar or Monterey Jack cheese
- Lime wedges
Instructions
- Mix the chili powders, cumin, oregano, coriander, cinnamon, and cornmeal in a small bowl and stir in ½ cup (120 ml) water to form a thick paste; set aside.
- Season the beef with the salt; set aside.
- In a large pot or Dutch oven, fry the bacon over medium heat, stirring frequently so it doesn't stick, until the fat renders and the bacon crisps, about 10 minutes. Using a slotted spoon, remove the bacon to a paper towel-lined plate. Pour all but a few teaspoons of fat from the pot into a small bowl; set aside.
- Increase the heat to medium-high. Sear the meat in three batches (it should be in a single layer) until well browned on one side, about 4 minutes per batch, adding more of the reserved bacon fat as necessary. (Hint: Once the meat is in the pan, don't stir or touch it – leaving it alone will allow it to develop a nice brown crust on one side.) Place the seared meat on a plate. Add about ¼ cup (60 ml) of water to the pot (it will smoke), and scrape the bottom with a wooden spoon to release all of the flavorful brown bits. Pour the dark liquid over the seared meat.
- Reduce the heat to medium and add 3 tablespoons of the reserved bacon fat to the pot. Add the onions and cook, stirring frequently, until softened, about 5 minutes. Add the garlic and jalapeños and cook 2 minutes more. Add the reserved chili paste and sauté until fragrant, a few minutes (it will look clumpy and stick to the bottom a bit – that's okay).
- Add the beef broth and stir with a whisk until the spice mixture is completely dissolved. Scrape the bottom of the pot with the whisk to release any spices. Stir in the the water, beer, crushed tomatoes, molasses and cocoa powder. Add the reserved bacon and seared beef (along with the juices from the beef on the bottom of the plate) back to the pot and bring to a boil. Reduce the heat to low and cover, leaving the lid just barely ajar. Simmer, stirring occasionally so the bottom doesn't burn, until the meat is meltingly tender and the juices are thickened, 2½ to 3 hours. Taste and adjust seasoning if necessary. Ladle the chile con carne into bowls and serve with cilantro, cheese, and lime wedges.
Notes
- When selecting the meat, be sure not to buy anything generically labeled "stew meat." Also, you will lose about ½ lb (230 g) after trimming the fat, so if you buy the meat already trimmed and cubed, you'll only need about 3½ lb (1.6 kg).
- To make bacon easier to chop, try placing it in the freezer for 15 to 20 minutes first. The colder it is, the easier it is to cut.
- When handling jalapeño peppers, avoid touching your eyes and wash your hands well afterward.
- Make-Ahead/Freezing Instructions: The chili can be made up to 3 days ahead or frozen for up to 3 months. Before serving, defrost it in the refrigerator for 12 hours and then reheat it on the stovetop over medium heat until hot.
Pair with

Nutrition Information
This website is written and produced for informational purposes only. I am not a certified nutritionist and the nutritional data on this site has not been evaluated or approved by a nutritionist or the Food and Drug Administration. Nutritional information is offered as a courtesy and should not be construed as a guarantee. The data is calculated through an online nutritional calculator, Edamam.com. Although I do my best to provide accurate nutritional information, these figures should be considered estimates only. Varying factors such as product types or brands purchased, natural fluctuations in fresh produce, and the way ingredients are processed change the effective nutritional information in any given recipe. Furthermore, different online calculators provide different results depending on their own nutrition fact sources and algorithms. To obtain the most accurate nutritional information in a given recipe, you should calculate the nutritional information with the actual ingredients used in your recipe, using your preferred nutrition calculator.
Bravo! Thank you Jenn for posting this recipe! I made it today and my family devoured it with requests that I make it again this week. The flavor was perfect!
Hi Jenn. My community is having a chili cook off at the beginning of the boating season. Do you mind my using your recipe if I give you credit for it? I’ll let you know if you’re a winner. ?
Definitely– hope it wins :)!
This is the best chili I have ever made! The flavors are so rich and bold…it is just luscious!
My husband said it was the best chili he has ever eaten!
I had to modify just a bit to suit the varying degrees of heat we can tolerate and cut the cinnamon in half but the rest I followed to the letter. This chili is to die for, which doesn’t surprise me. All of Jennifer’s recipes are wonderful. The molasses and chocolate give such a great depth of flavor. This is my new go-to when I want to impress someone with chili. Thanks again, Jennifer!
Hi, made this a few times now and the whole family love it. One of the things I enjoy about cooking your recipes is the challenge of the different ingredient names, eg cilantro = spring onions. Also, when I cook the bacon I get nowhere near the quantity of fat coming out that you describe, I always end up adding more oil later rather than having an excess. Differences in the ingredients I suppose. Never used Ancho chilli powder before but love the levels of flavour and heat you get from adding different chilli powders now. Afraid I had to leave the chipotle out though, when opening the packet it had that distinct “ashtray” odour and I didn’t want to risk it tainting the whole dish. Subbed it for a similar amount of hot chilli powder instead. Love it!
Just realised I got that wrong. It was Scallions that I eventually found out were spring onions, Cilantro is coriander
My husband and I absolutely love this chili. Hands down best. I am planning to make a large batch for a party (and of course we want leftovers). Could I simply double the recipe.
Yes. She says it in the first paragraph.
I made this, and it killed it! Best chili I’ve ever had. 2 modifications that I think definitely improved it:
1. I used Dried Mulato Chiles about 8, reconstituted and blended using beef broth.
2. I used canned Chipotles in adobo sauce. I put in 3, also blended.
Thanks a ton for the recipe
I was delighted to find your recipe, as I was tired of my family recipe for “real chili” and was intrigued by your choice of spices for the paste. It was very good but way too spicy. Jalapeños can vary in heat, so I wish I had gone with my instincts and just added one. The flavor profile was so good, but the heat spoiled it. It was also a bit more complicated than it needs to be. I will definitely use it again, though, with some adaptations. That’s the fun part of cooking – personalization! Love your recipes and website. Thanks for sharing your expertise.
Jenn-
The chili has been simmering on the stove for about 2 hours. It tastes great but isn’t thickening…can I add some cornmeal or do you have another suggestion? I’m not serving it until tomorrow so will it thicken overnight in the fridge? Thanks again for all of the great recipes! Amy
Hi Amy, It should thicken towards the very end, and it will also thicken as it sits after it cooks. But if you’d still like it thicker, go ahead and add some cornmeal or finely crushed tortilla chips and simmer until thickened. 🙂