

This post may contain affiliate links. Read my full disclosure policy.
These crispy baked chicken wings come out beautifully browned and crisp without deep-frying. The secret is a quick parboil before they go into the oven.
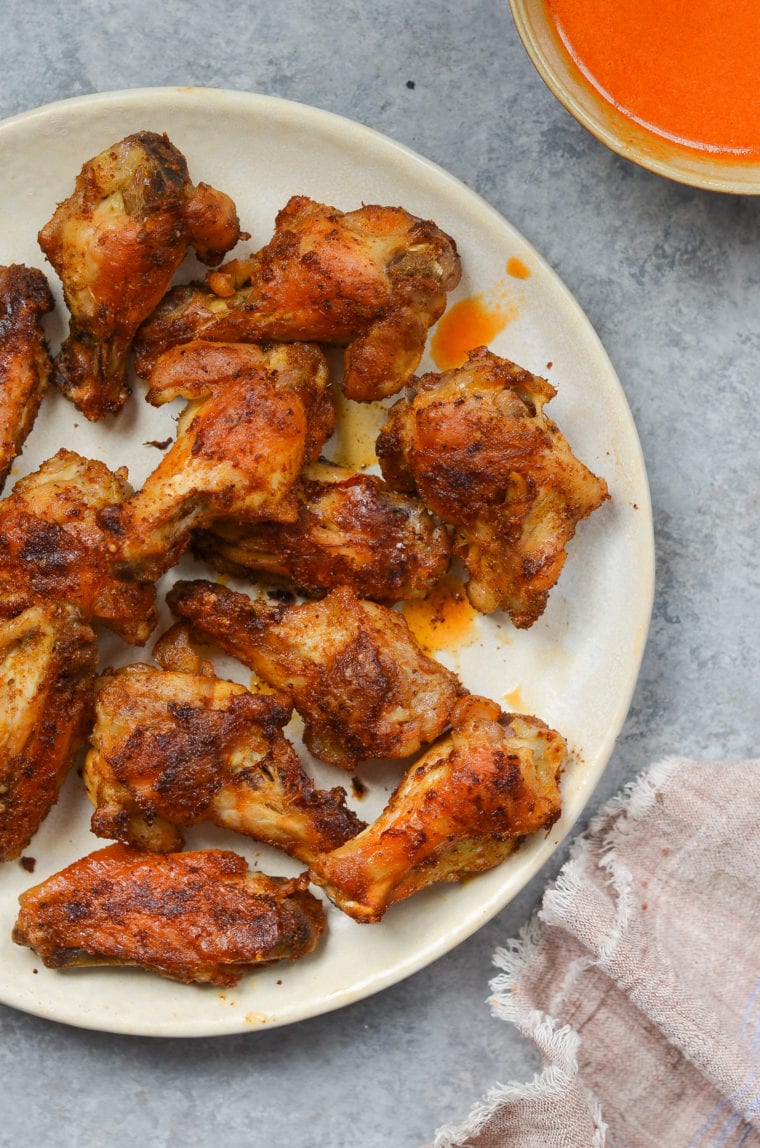
If you’re looking for a baked chicken wings recipe that actually gets crispy, this is the one I swear by. I’ve tried the baking powder method that many recipes use, but I’ve never been happy with the results. My trick is to parboil the wings before they go into the oven. The brief simmer renders some of the excess fat from the skin, helping the wings brown and crisp beautifully as they bake.
Before baking, I toss the wings with a smoky spice rub that gives them plenty of flavor on their own. You can serve them just as they are or with Buffalo sauce, plus blue cheese dressing or ranch dressing.
“Super crispy…My husband, who is a wing nut, loved these. This is the only way I will be making my wings from now on.”
What You’ll Need To Make Baked Chicken Wings
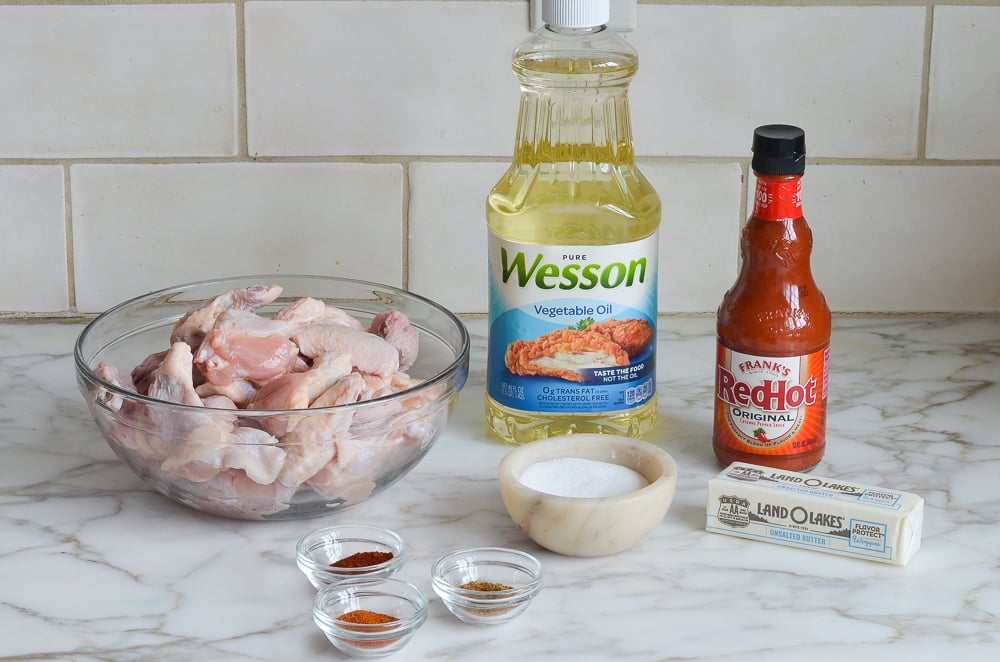
- Chicken wings: Look for wings that are already split into drumettes and flats to save yourself some prep. If you buy whole wings, cut them at the joints and discard the tips or save them for stock.
- Vegetable oil: A neutral, high-heat oil is best for coating the wings before baking.
- Smoked paprika, garlic powder, salt, and black pepper: This simple spice blend gives the wings a smoky, savory flavor and plenty of seasoning even without sauce.
- Frank’s RedHot and butter: For Buffalo-style wings, toss the baked wings with melted butter and Frank’s RedHot Original. Frank’s is my go-to here for that classic Buffalo flavor.
- Jump to the printable recipe for precise measurements
How To Make Crispy Baked Chicken Wings
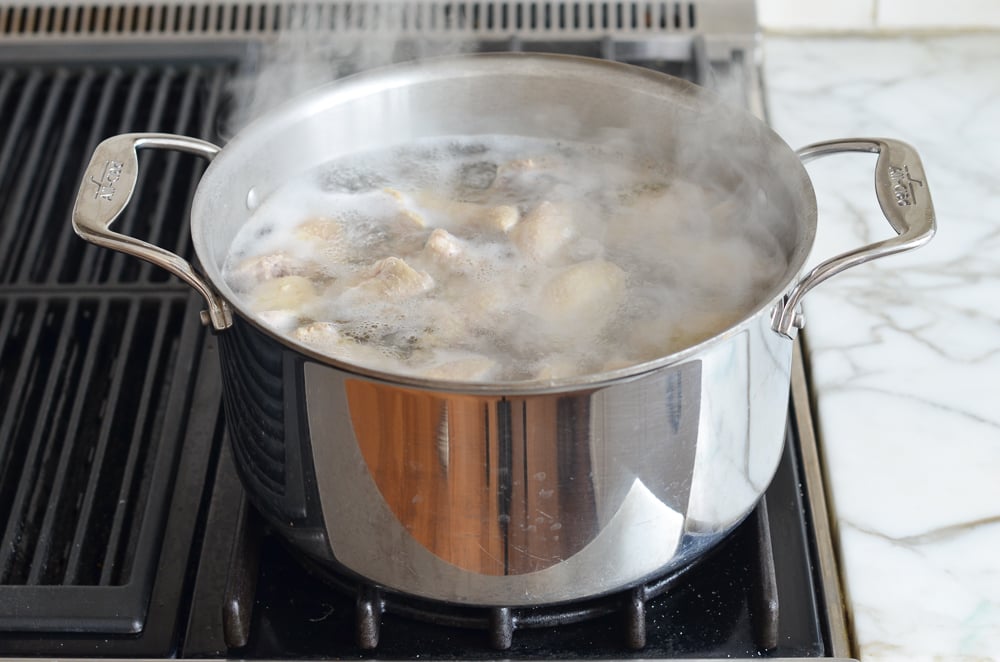
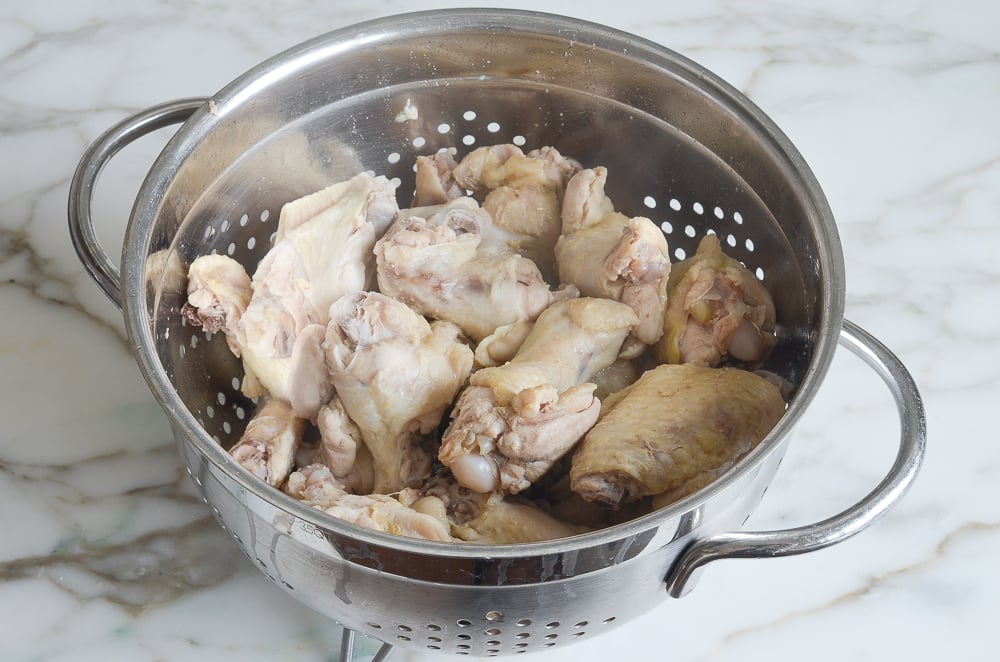
Boil the wings: Bring a large pot of salted water to a boil, add the wings, and boil briefly. This renders some of the fat from the skin, helping the wings crisp up in the oven. Drain the wings thoroughly.
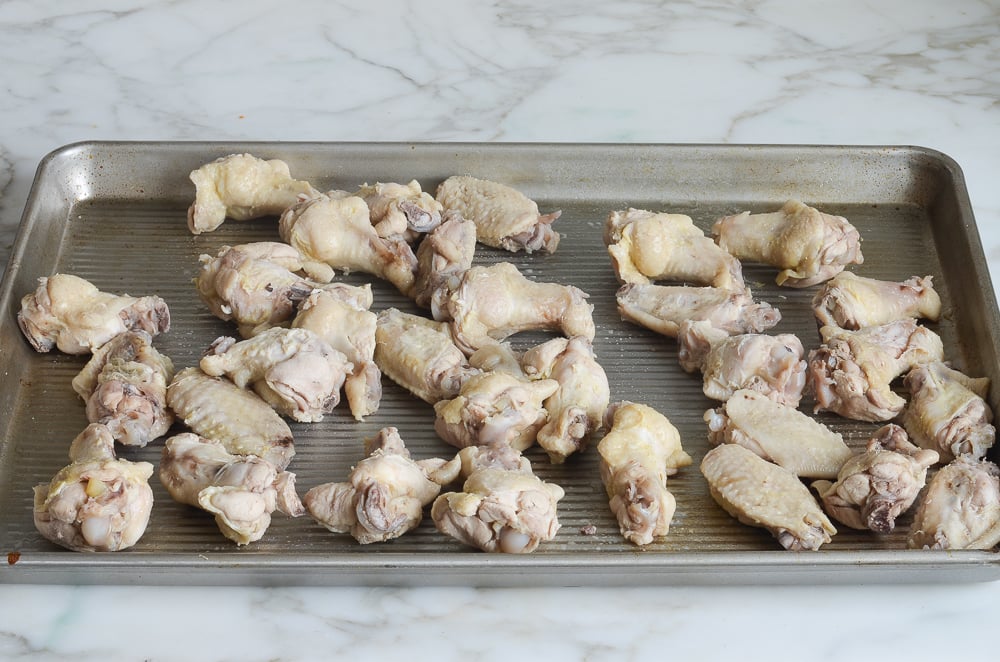
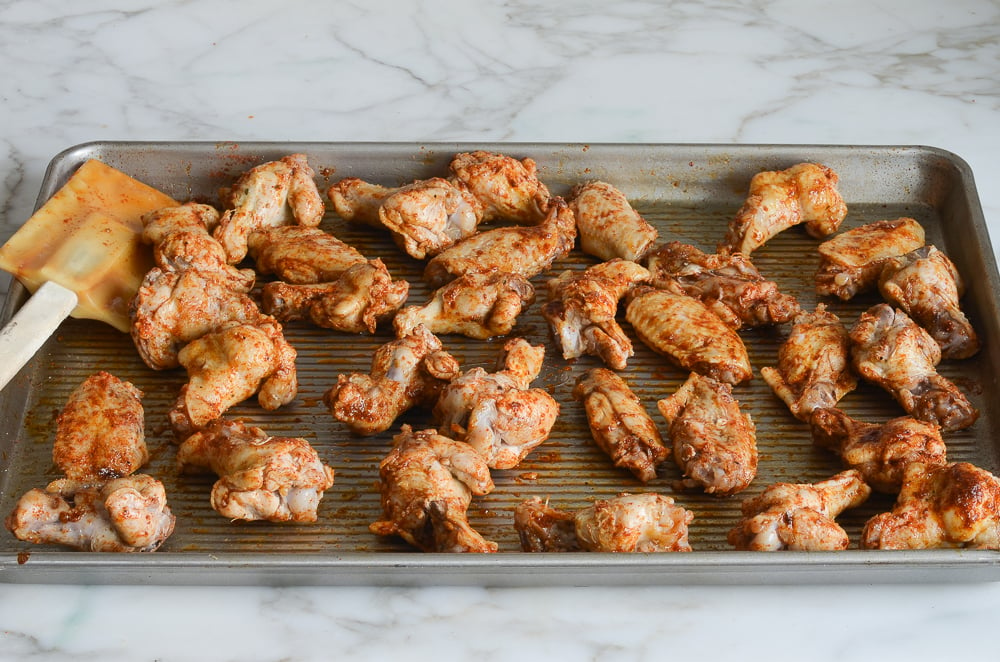
Dry and season the wings: Transfer the wings to a baking sheet and blot them as dry as possible with paper towels, wiping away any moisture on the baking sheet, too. This is important—moisture will cause them to steam rather than crisp up. Drizzle with vegetable oil, sprinkle with the salt and spices, and toss until evenly coated.
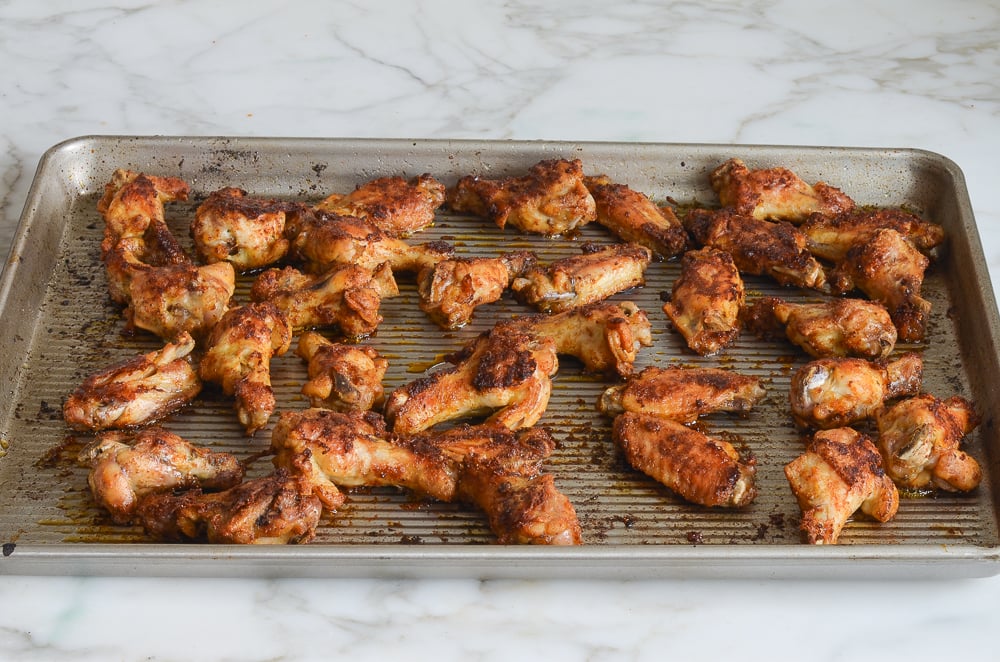
Bake until crisp: Bake the wings in a hot oven, then flip and continue baking until browned and crispy all over.
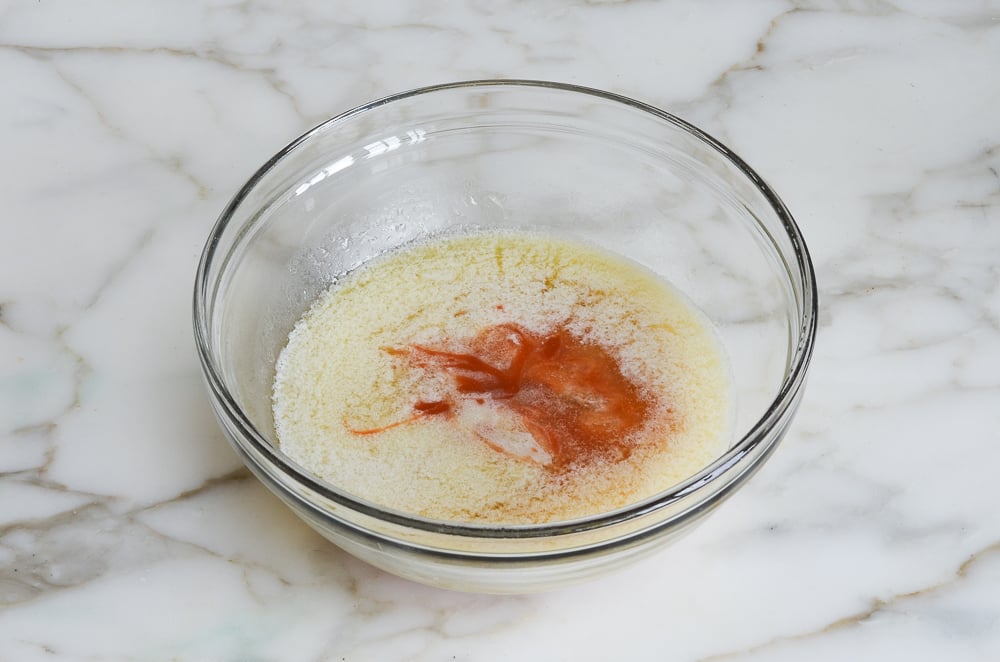
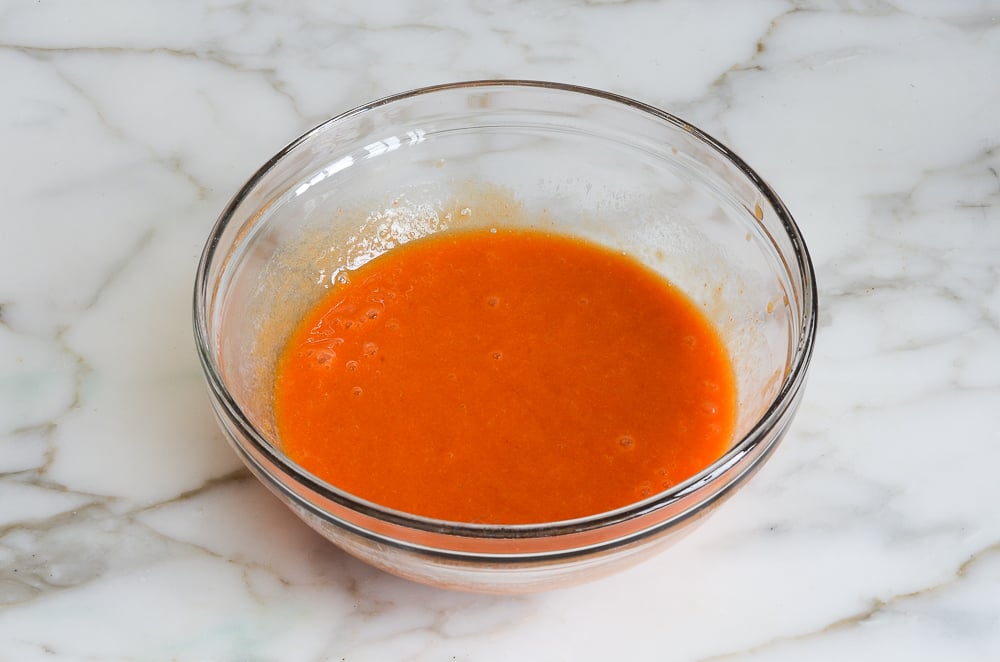
Make the Buffalo sauce, if you like: Whisk together the melted butter and Frank’s RedHot. Serve the sauce on the side with the crispy wings.

Video Tutorial
You May Also Like



Crispy Baked Chicken Wings

Ingredients
For the Chicken Wings
- Salt
- 3 pounds chicken wings, split into drummettes and wings (tips discarded)
- 3 tablespoons vegetable oil
- 1 teaspoon chili powder
- 1 teaspoon ground cumin
- 1 teaspoon smoked paprika
For the Buffalo Sauce (optional)
- 6 tablespoons unsalted butter, melted
- 6 tablespoons Frank’s Red Hot Original Cayenne Pepper Sauce (or similar brand)
Instructions
For the Chicken Wings
- Preheat the oven to 450°F (235°C) and set an oven rack in the middle position.
- In a large pot, bring 4 qts (4L) of water and 1 tablespoon of salt to a rapid boil. Add the chicken wings, return to a boil, and boil them for 7 minutes. Drain the wings thoroughly in a colander.
- Place the wings on a 13 x 18-in (33 x 46-cm) baking sheet. Using a wad of paper towels, blot the wings as dry as possible (wipe off any moisture from the baking sheet, too). Drizzle the oil over the wings and sprinkle with 1 teaspoon salt, the chili powder, cumin, and smoked paprika. Toss with a rubber spatula until the wings are evenly coated. Bake for 15 minutes, then remove the pan from the oven and, using tongs, flip the wings over. Return to the oven and bake for about 10 minutes more, or until the wings are crispy all over. Transfer the wings to a serving platter and serve with the Buffalo sauce on the side, if desired.
For the Buffalo Sauce
- In a small bowl, whisk together the butter and hot sauce. The sauce will solidify as it cools; reheat if necessary.
Notes

Nutrition Information
This website is written and produced for informational purposes only. I am not a certified nutritionist and the nutritional data on this site has not been evaluated or approved by a nutritionist or the Food and Drug Administration. Nutritional information is offered as a courtesy and should not be construed as a guarantee. The data is calculated through an online nutritional calculator, Edamam.com. Although I do my best to provide accurate nutritional information, these figures should be considered estimates only. Varying factors such as product types or brands purchased, natural fluctuations in fresh produce, and the way ingredients are processed change the effective nutritional information in any given recipe. Furthermore, different online calculators provide different results depending on their own nutrition fact sources and algorithms. To obtain the most accurate nutritional information in a given recipe, you should calculate the nutritional information with the actual ingredients used in your recipe, using your preferred nutrition calculator.
Gluten-Free Adaptable Note
To the best of my knowledge, all of the ingredients used in this recipe are gluten-free or widely available in gluten-free versions. There is hidden gluten in many foods; if you’re following a gluten-free diet or cooking for someone with gluten allergies, always read the labels of your ingredients to verify that they are gluten-free.
If I were to add a sauce to these, say honey garlic, when would you recommend adding the sauce? After the 15 minute baking mark, then bake for the additional 10 minutes with the sauce? Thanks!
Hi Kate, I don’t recommend doing that, as it will remove any crispiness from the wings. Instead, I’d serve the sauce on the side (or brush it on right before serving).
OMG!! These are soooo good! I have tried many recipes and by far this is the best one. My husband loves wings and he said they were the best I ever made. Finally a recipe that I will make every time. Thanks Jen.
Great recipe! The tip about parboiling the wings before baking is really interesting—it’s a smart way to get crispy skin without deep frying. I enjoy experimenting with different wing flavors at home, and sometimes I check menu ideas from sites like Wingstop Menu for inspiration on sauces and combinations. Thanks for sharing such a helpful guide!
Delicious. Great recipe. Will be making again. Just be sure to dry the chicken well after boiling. I also probably could’ve used more salt – I used diamond crystal kosher salt so that could have been why I needed more than a teaspoon.
Hands down best wings ever. We make these just about every weekend and always when we have family and friends over – everyone asks for the recipe and agrees they’re way better than any restaurant! We’ve also put them on the green egg grill and they’re outstanding. If baking in the oven, definitely use parchment paper!
was meh, tasty, but nowhere near crispy !
Hi I plan to make these a day ahead and just reheat.
So, according to the recipe, parboil and oven cook to done? Then just reheat?
Or do i parboil and then store in the fridge and oven cook then?
Apologies for my confusion
Hi Jennifer, You’d fully cook them, so boil and bake. Enjoy!
4/5 for me! Although these were the best wings I’ve ever made, I felt they were dry inside. Feels like the skin needs to cook faster so the meat doesn’t dry out. At 25 mins, they didn’t feel crisp enough, so I left them longer. Maybe that was a mistake. But overall very good, way better than I ever achieved with the air fryer.
Hello,
I have made these chicken wings a few times and they are absolutely delicious. I am having a party tomorrow night and have many things to prepare. Do you think I can boil them first and let them dry out in the pan (in the fridge) a few hours before I bake them? I do like to serve them fresh out of the oven so that they stay crispy.
Hi Josephine, I don’t recommend it from a food safety standpoint. Sorry!