

This post may contain affiliate links. Read my full disclosure policy.
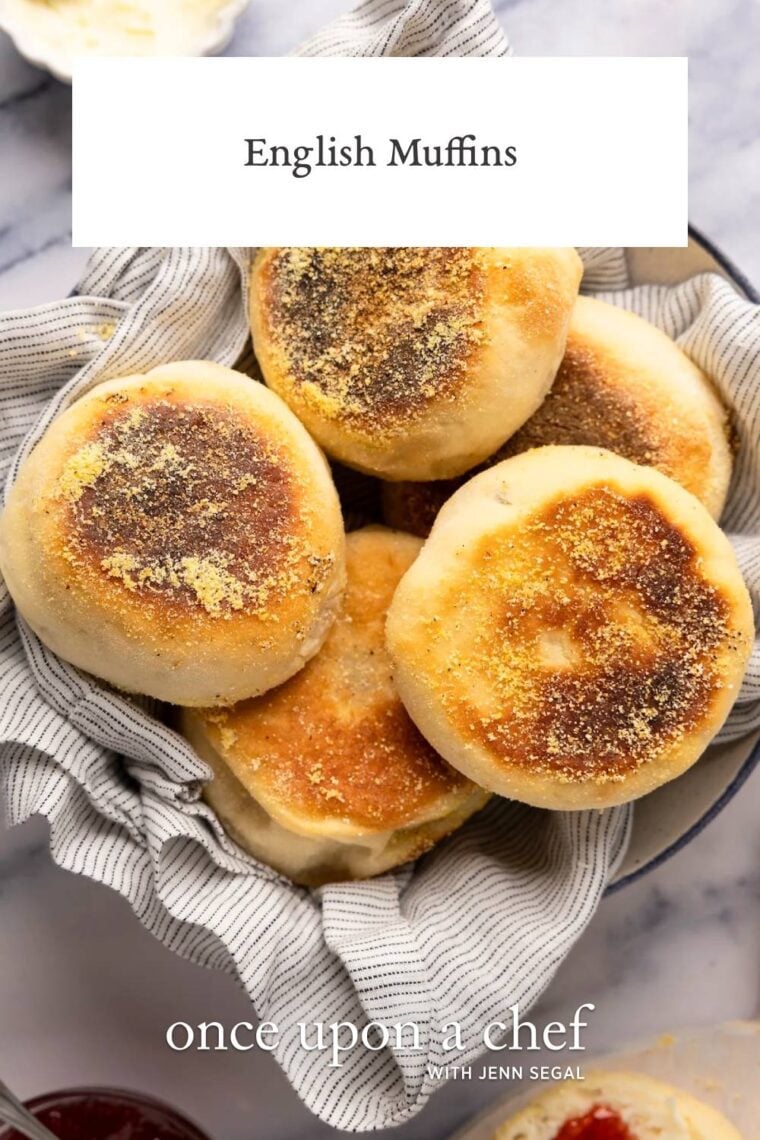
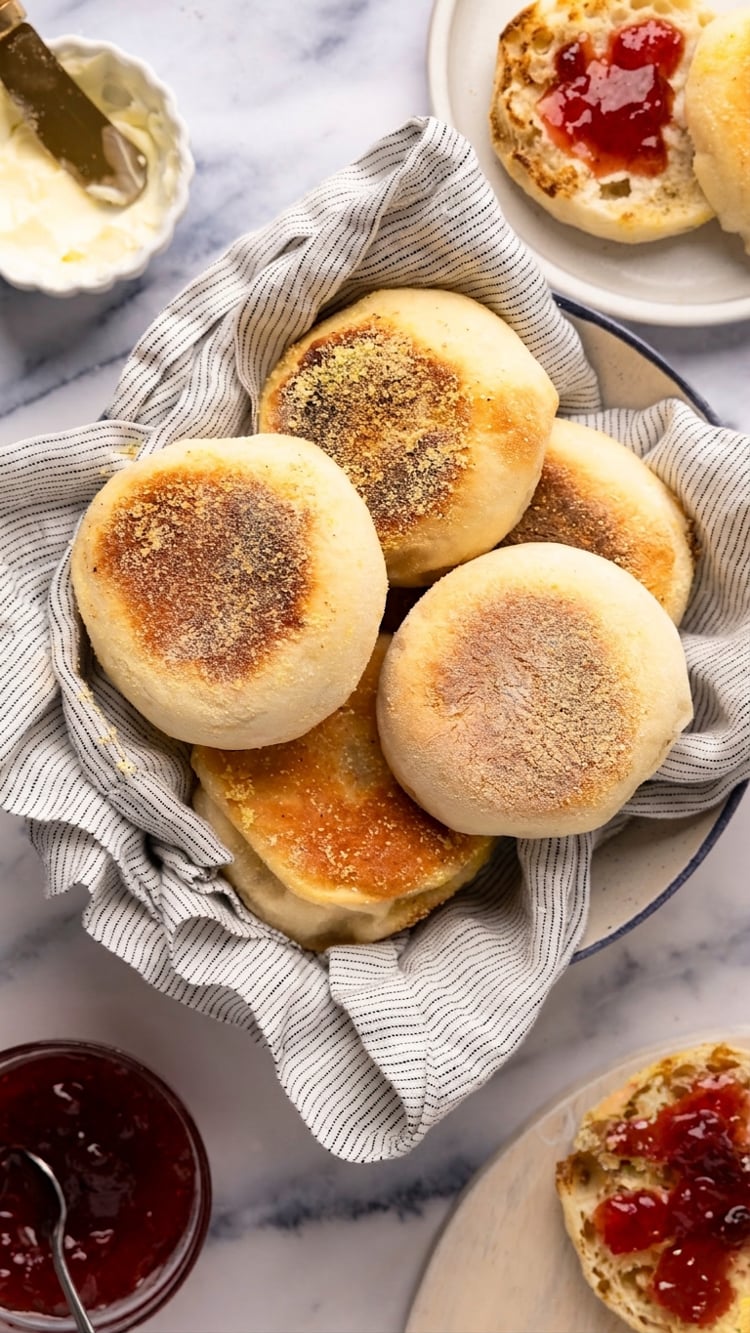
You might be surprised by how easy it is to make English muffins at home! These homemade English muffins are browned on a griddle, then finished in the oven for perfectly cooked centers.
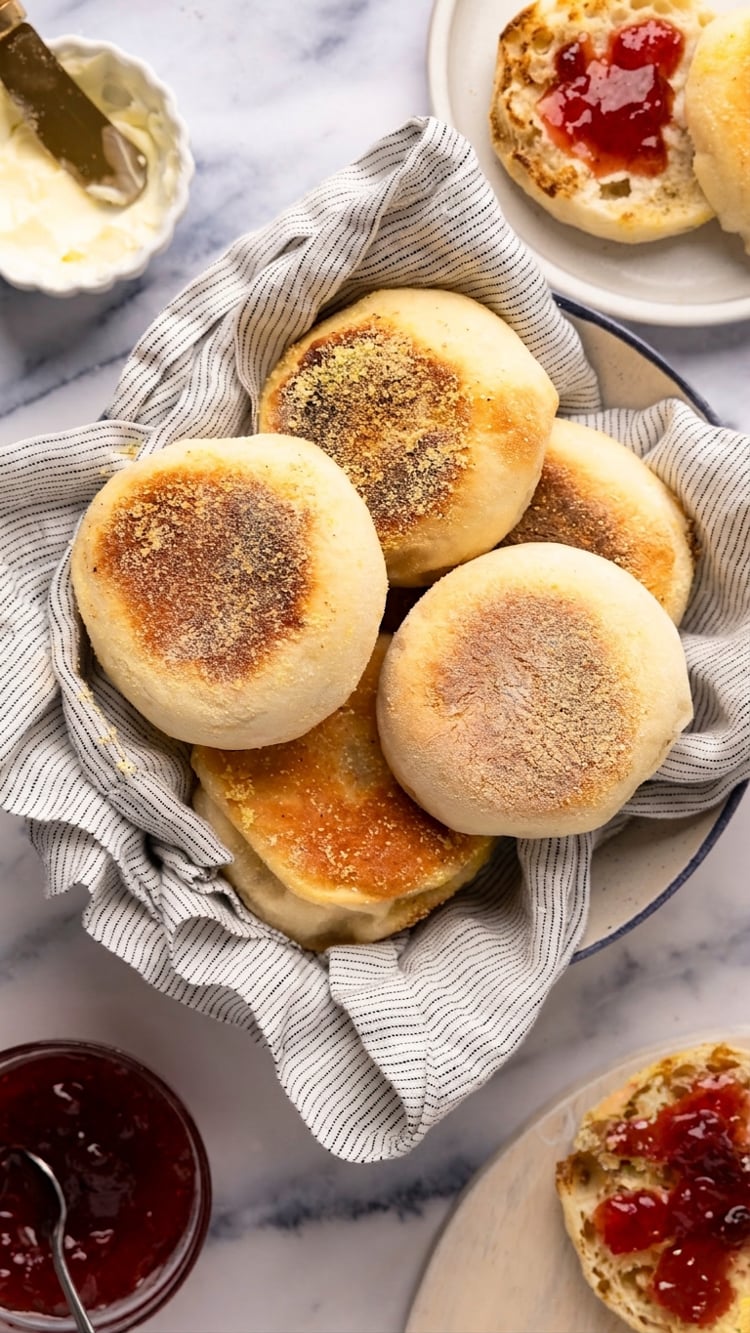
There’s something especially satisfying about making a homemade version of something you’d normally buy at the grocery store, and English muffins are no exception. They’re golden and lightly crisp on the outside, soft and chewy on the inside, with all those wonderful nooks and crannies for melted butter to sink into. And making them from scratch is one of those little kitchen accomplishments that will make you feel really proud of yourself!
For this English muffin recipe, you can make the dough the night before or make the muffins the same day, whichever works best for your schedule. I love them simply toasted with butter, jam, and a sprinkle of flaky salt, but they’re also perfect for eggs Benedict, breakfast sandwiches, or English muffin pizzas.
“I try an English Muffin recipe about once a year. No more trying, this is it! Light, craggly, delicious!”
What You’ll Need To Make English Muffins
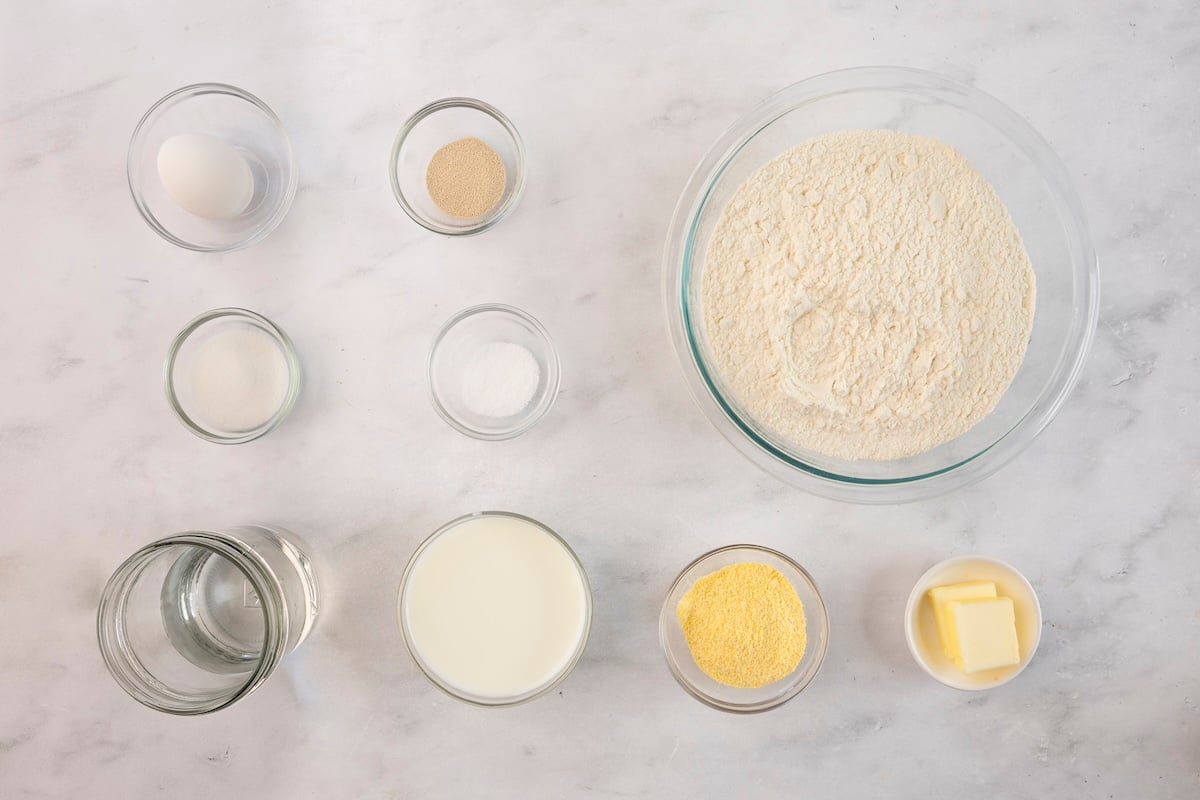
- Bread Flour: I use King Arthur bread flour, which has a higher protein content than all-purpose flour and gives the muffins their signature chewy texture. For accuracy, spoon it into your measuring cup and level it off.
- Salt and sugar: Salt seasons the dough, while sugar adds a hint of sweetness and helps feed the yeast.
- Yeast: Makes the dough rise and creates the air pockets that give English muffins their characteristic texture. If you’re using packets, you’ll need just shy of one packet.
- Unsalted Butter: Adds flavor and helps keep the muffins soft. Make sure it’s softened so it incorporates easily into the dough.
- Water and milk: Water hydrates the flour, while milk adds richness and helps create a softer crumb. Whole milk is my preference, but 2% works well, too. Both liquids should be lukewarm, not hot.
- Egg: Enriches the dough and provides structure. Beat it lightly before adding it to the mixer.
- Cornmeal: Keeps the muffins from sticking to the baking sheets and gives them their traditional slightly crunchy exterior.
- Vegetable Oil: Used to grease the skillet or griddle for browning the muffins. You can also use it, or nonstick cooking spray, to grease the bowl for rising.
- Jump to the printable recipe for precise measurements
How To Make English Muffins
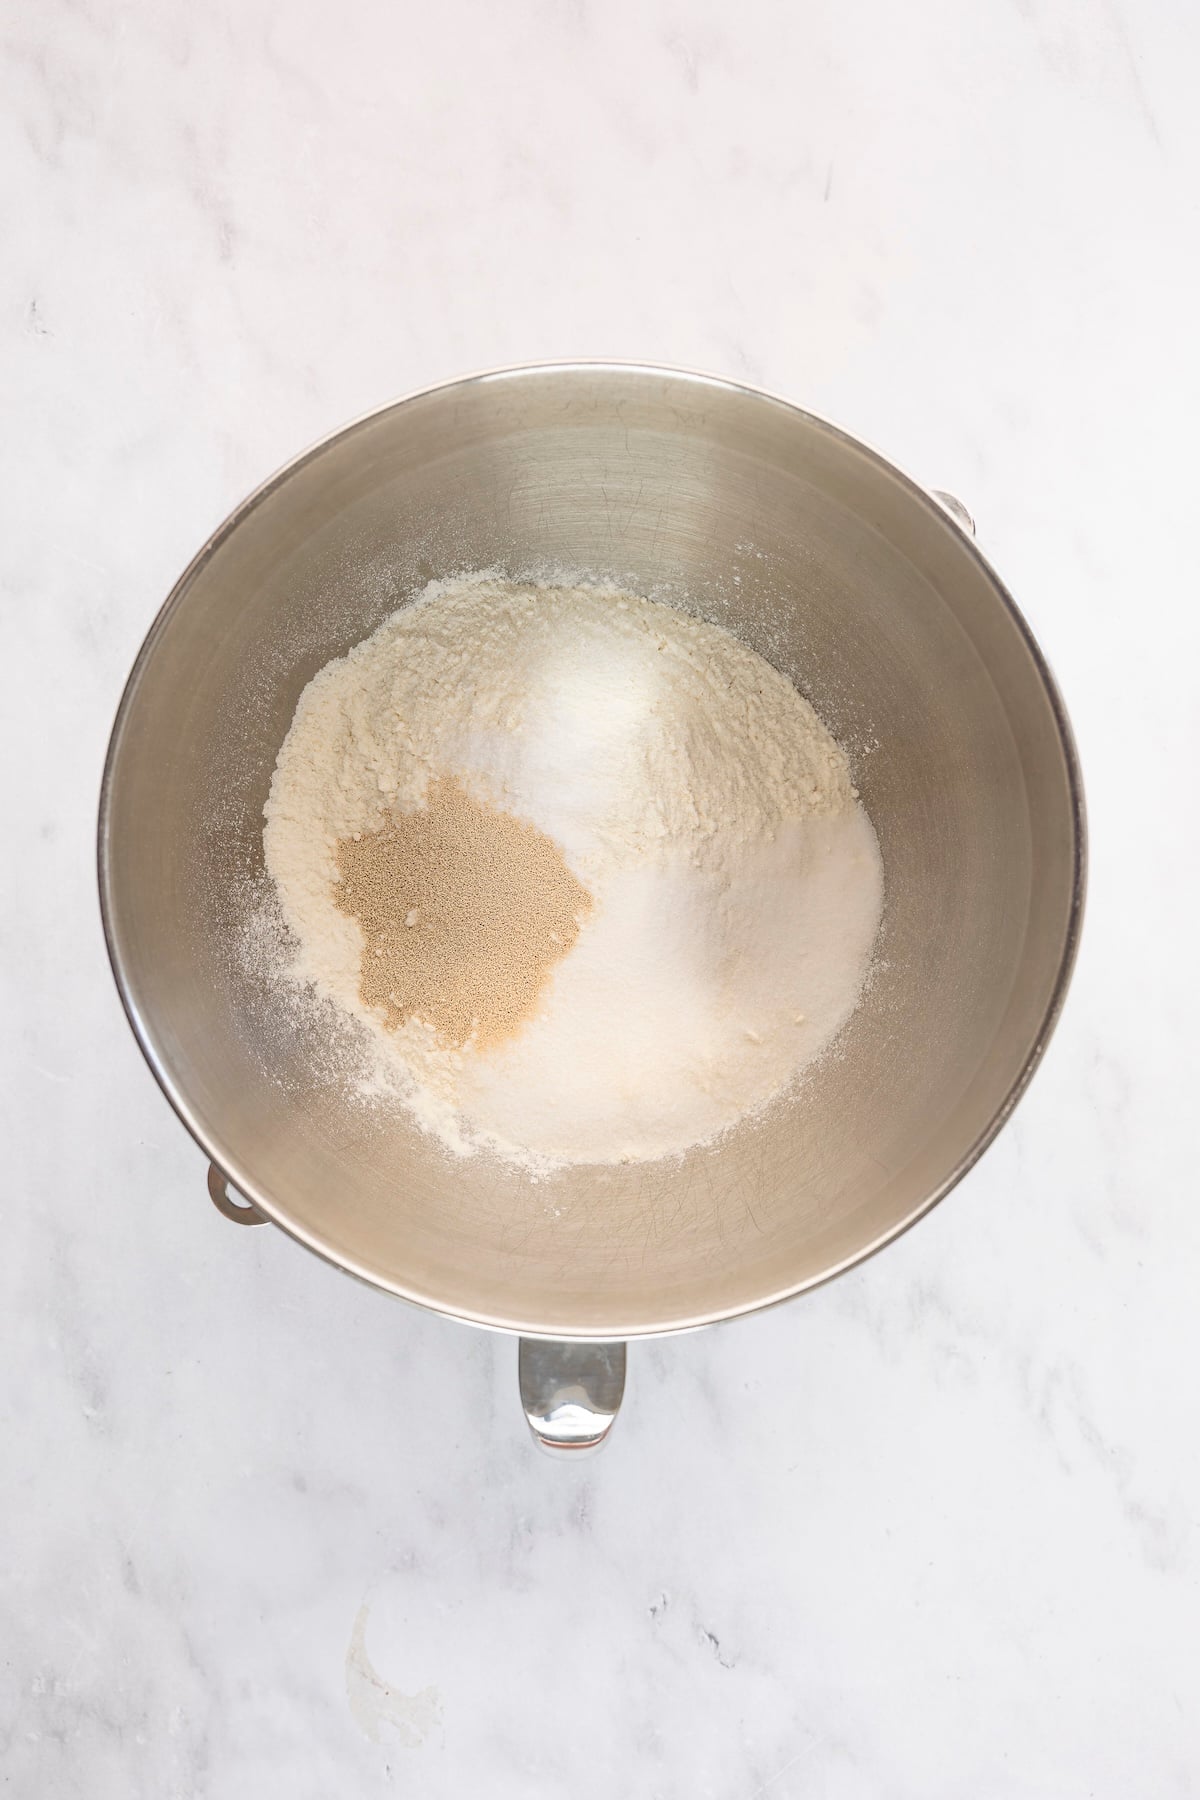
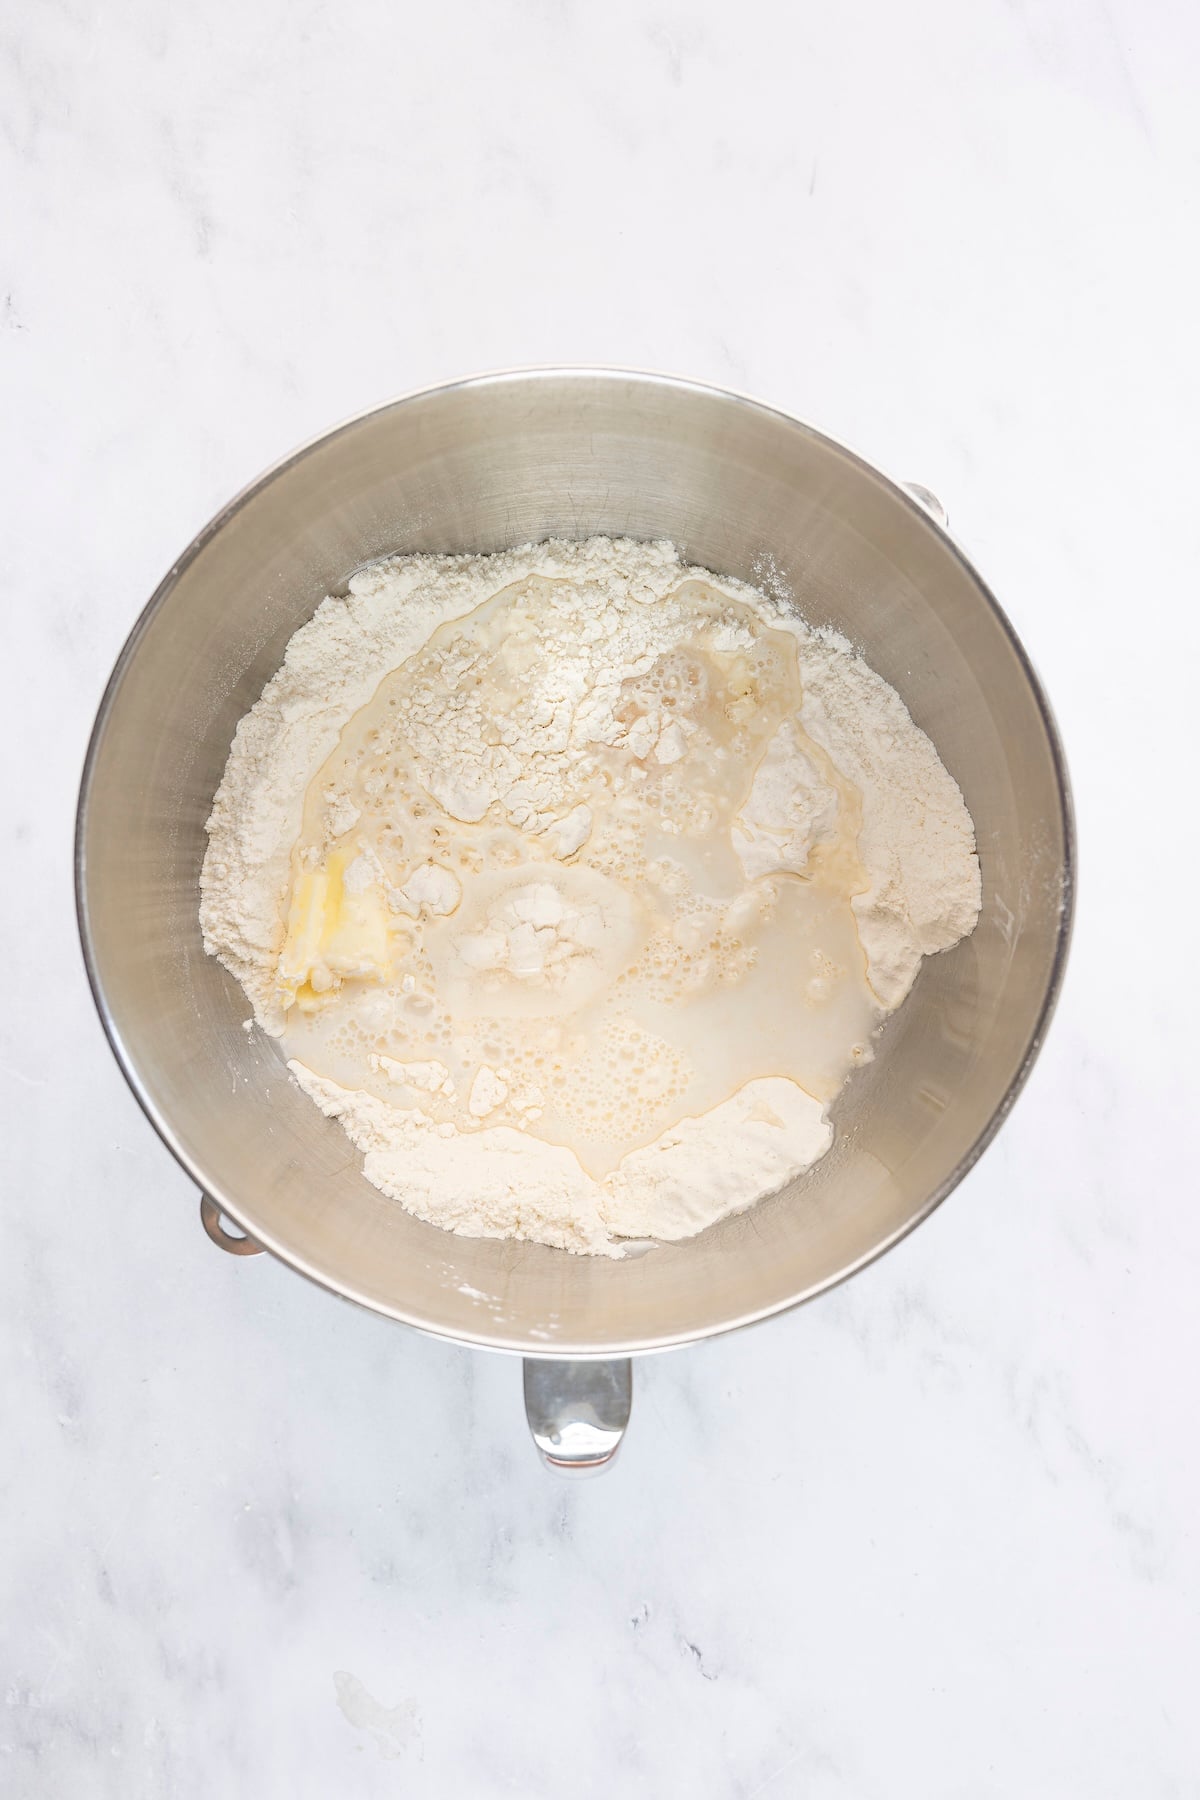
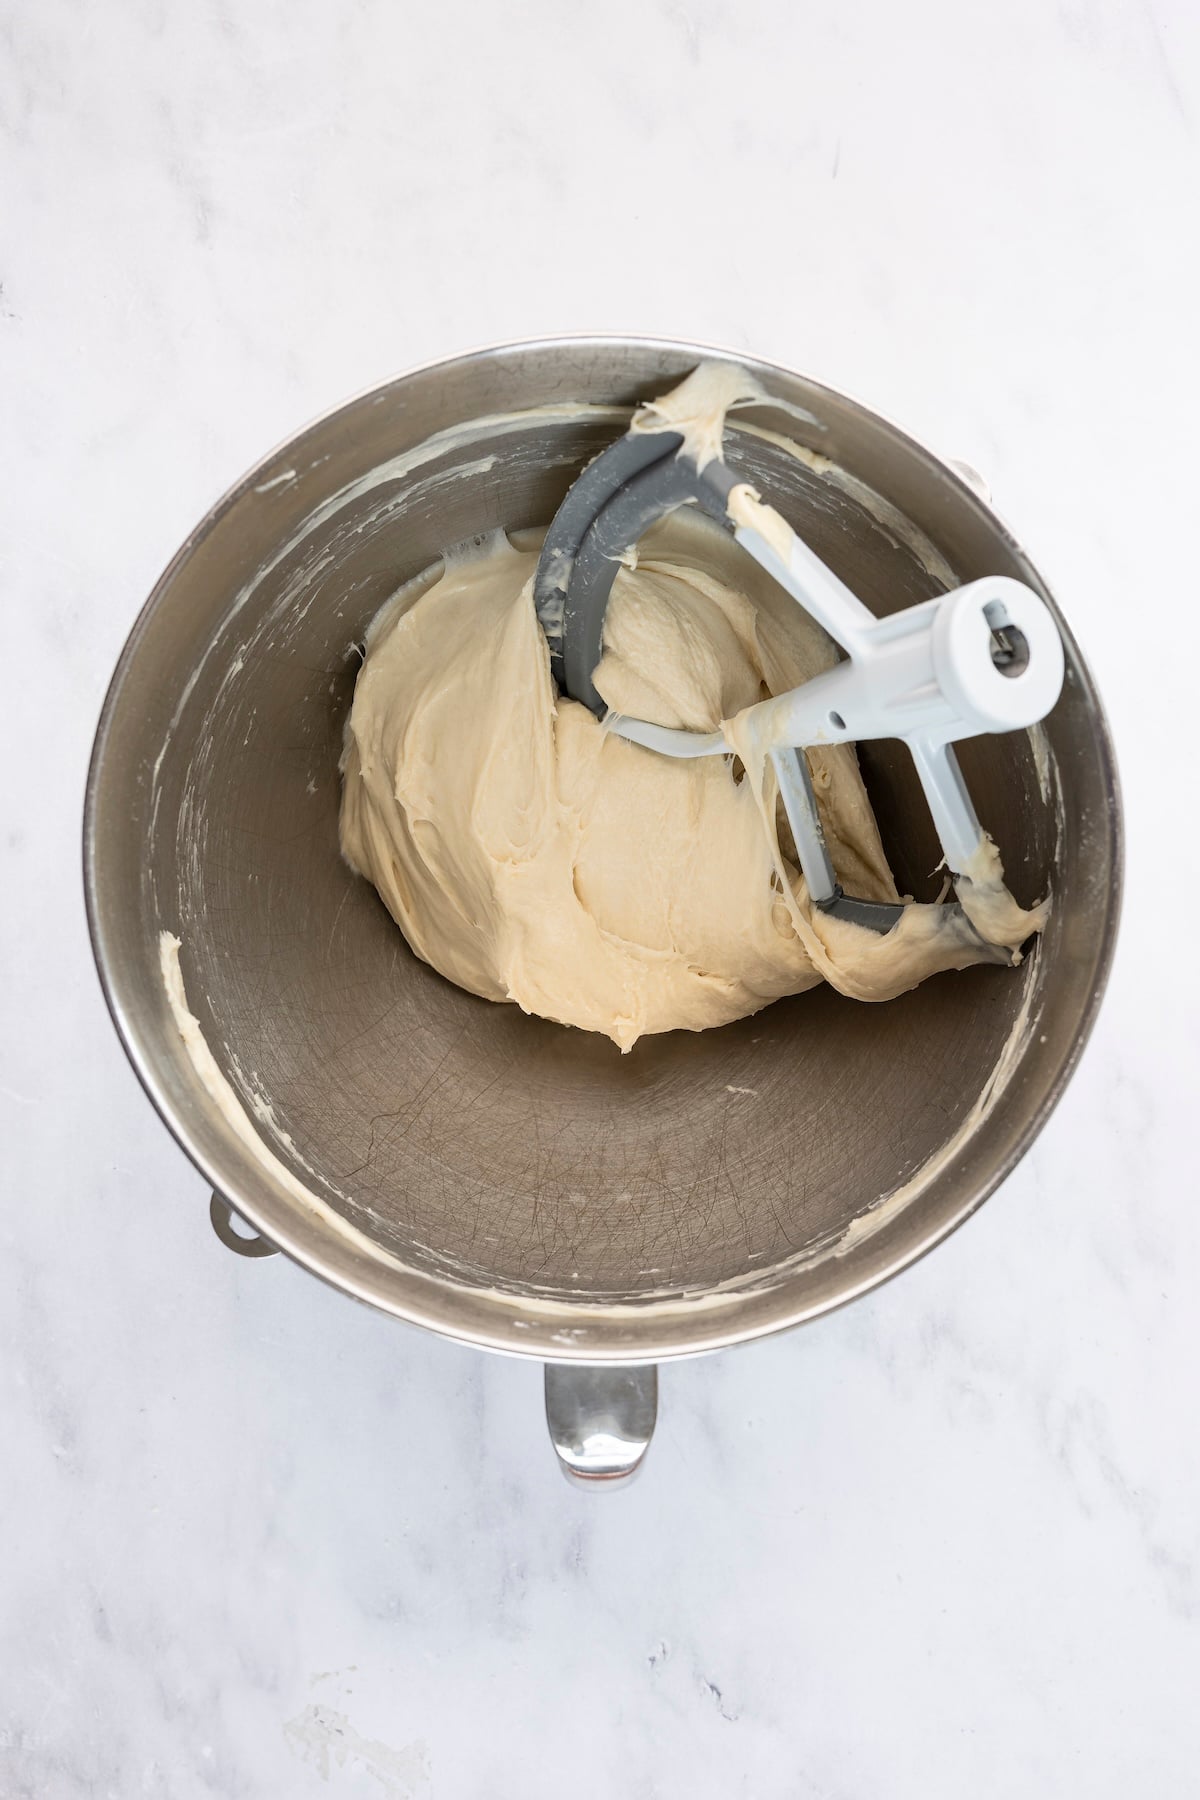
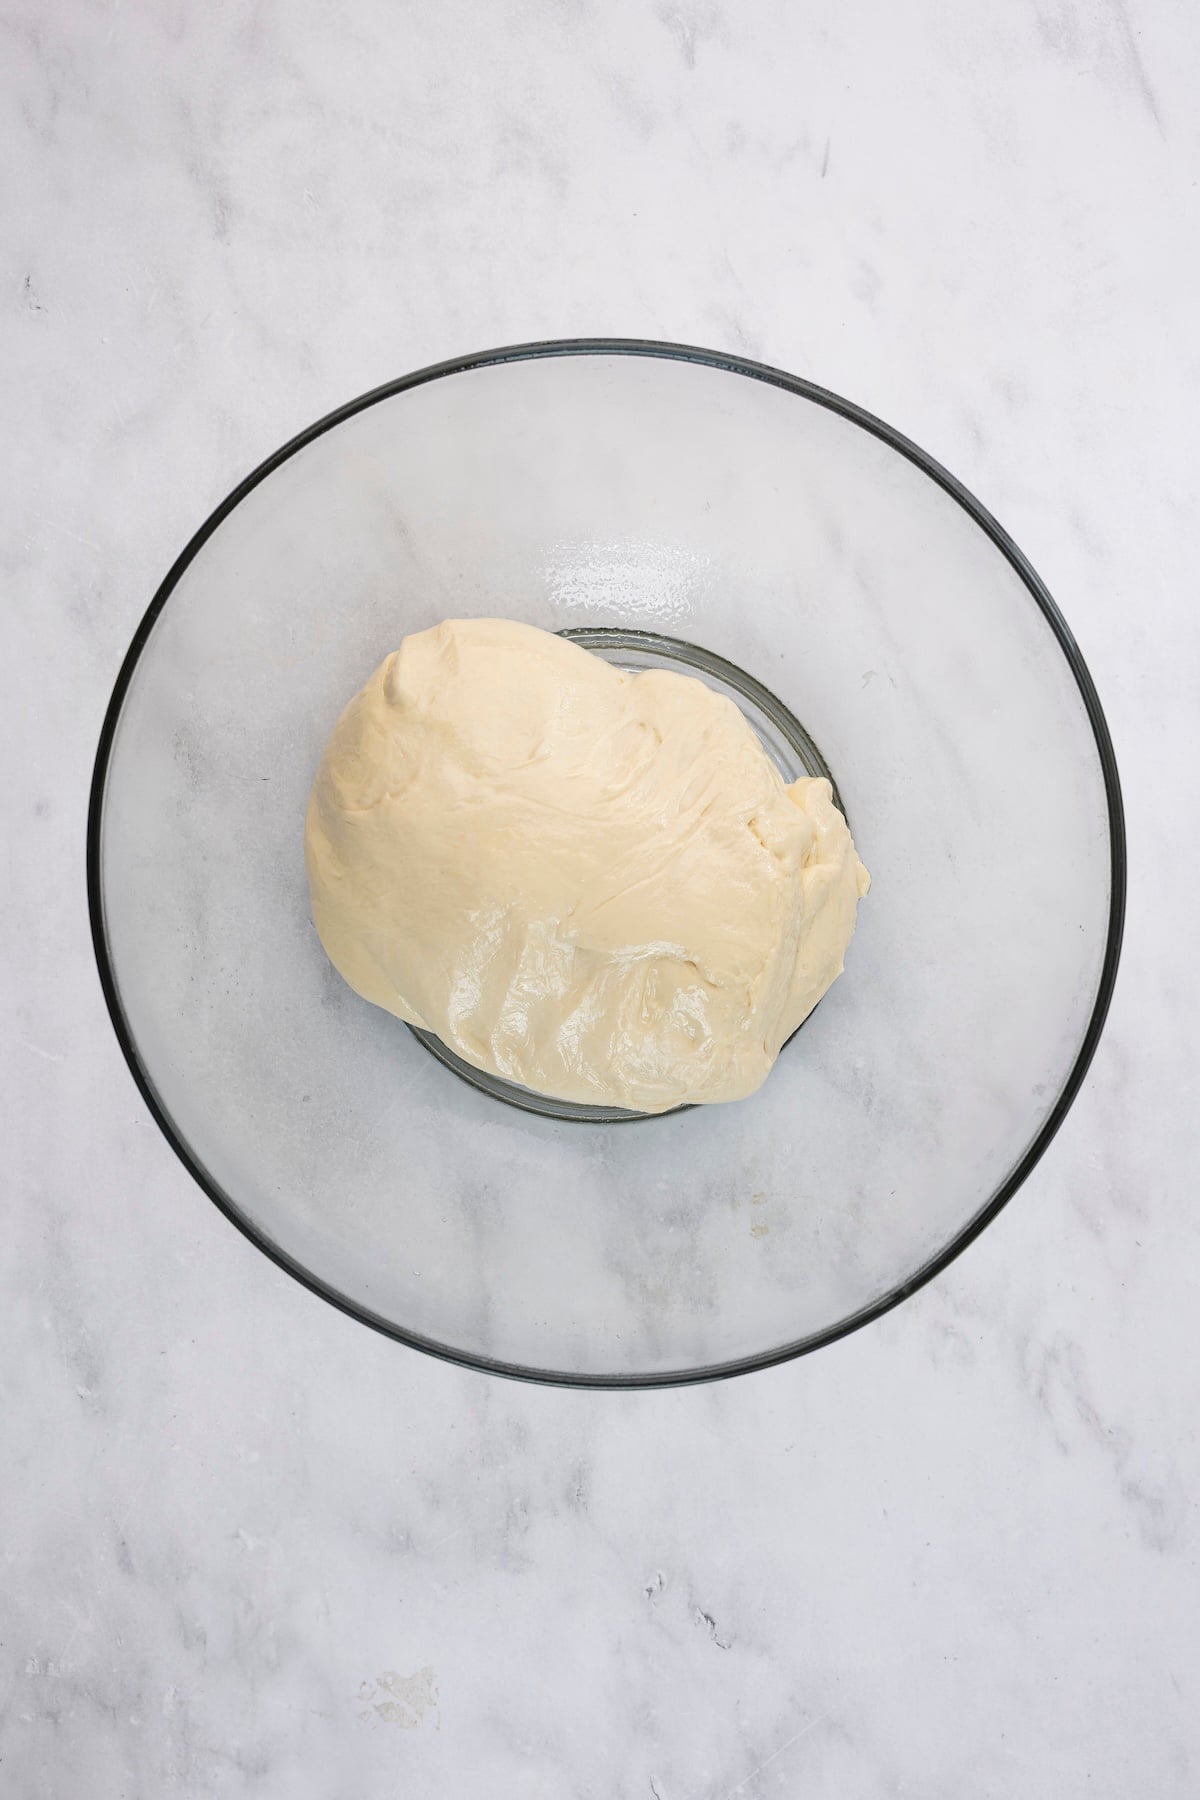
Mix the dough: Add the flour, salt, sugar, and yeast to a stand mixer fitted with the paddle attachment (yes, the paddle—this is a very wet dough!). Add the butter, water, milk, and egg, then beat on medium-high speed for 6 to 10 minutes. Be patient—it takes a while, but the dough will become smooth and shiny and pull away from the sides of the bowl. Transfer the dough to a greased bowl.
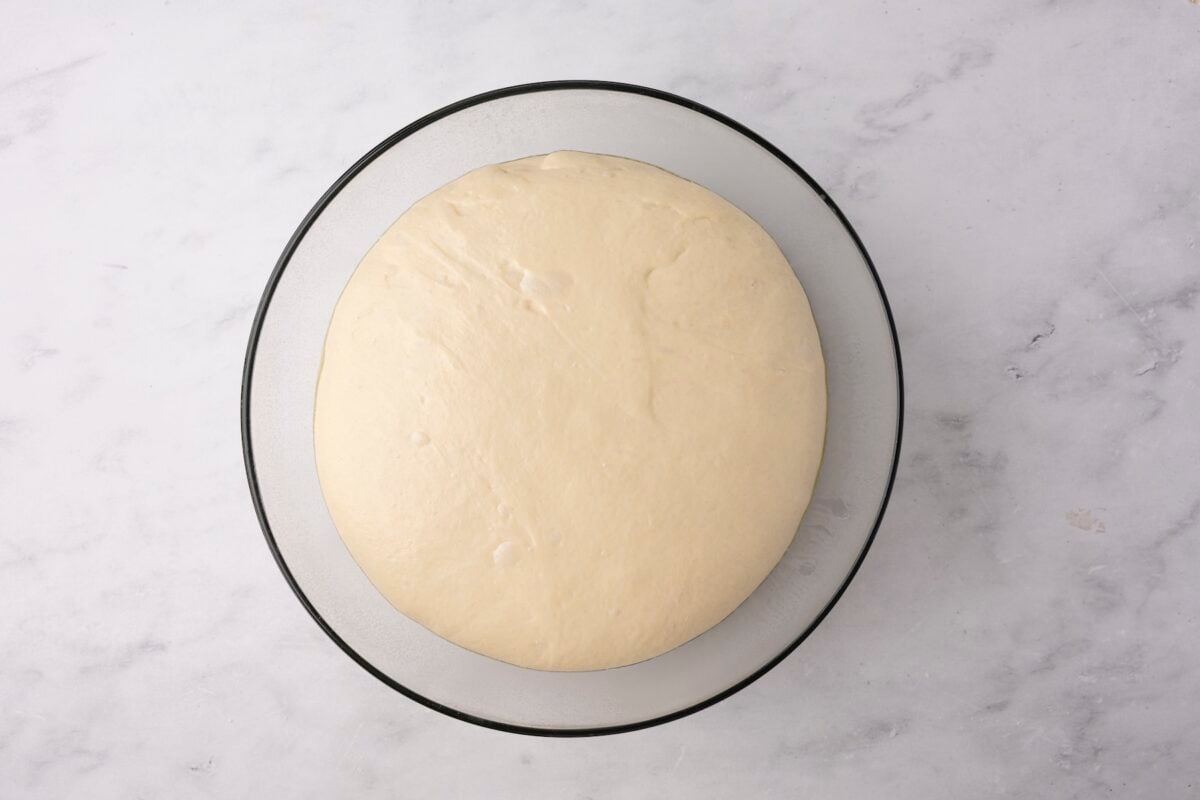
Let the dough rise: Cover the bowl and let the dough rise in a warm spot until doubled—it will take 1 to 1½ hours. Alternatively, if you have time, you can let it rise overnight in the fridge, which develops more flavor and gives the muffins a more open, tender crumb.
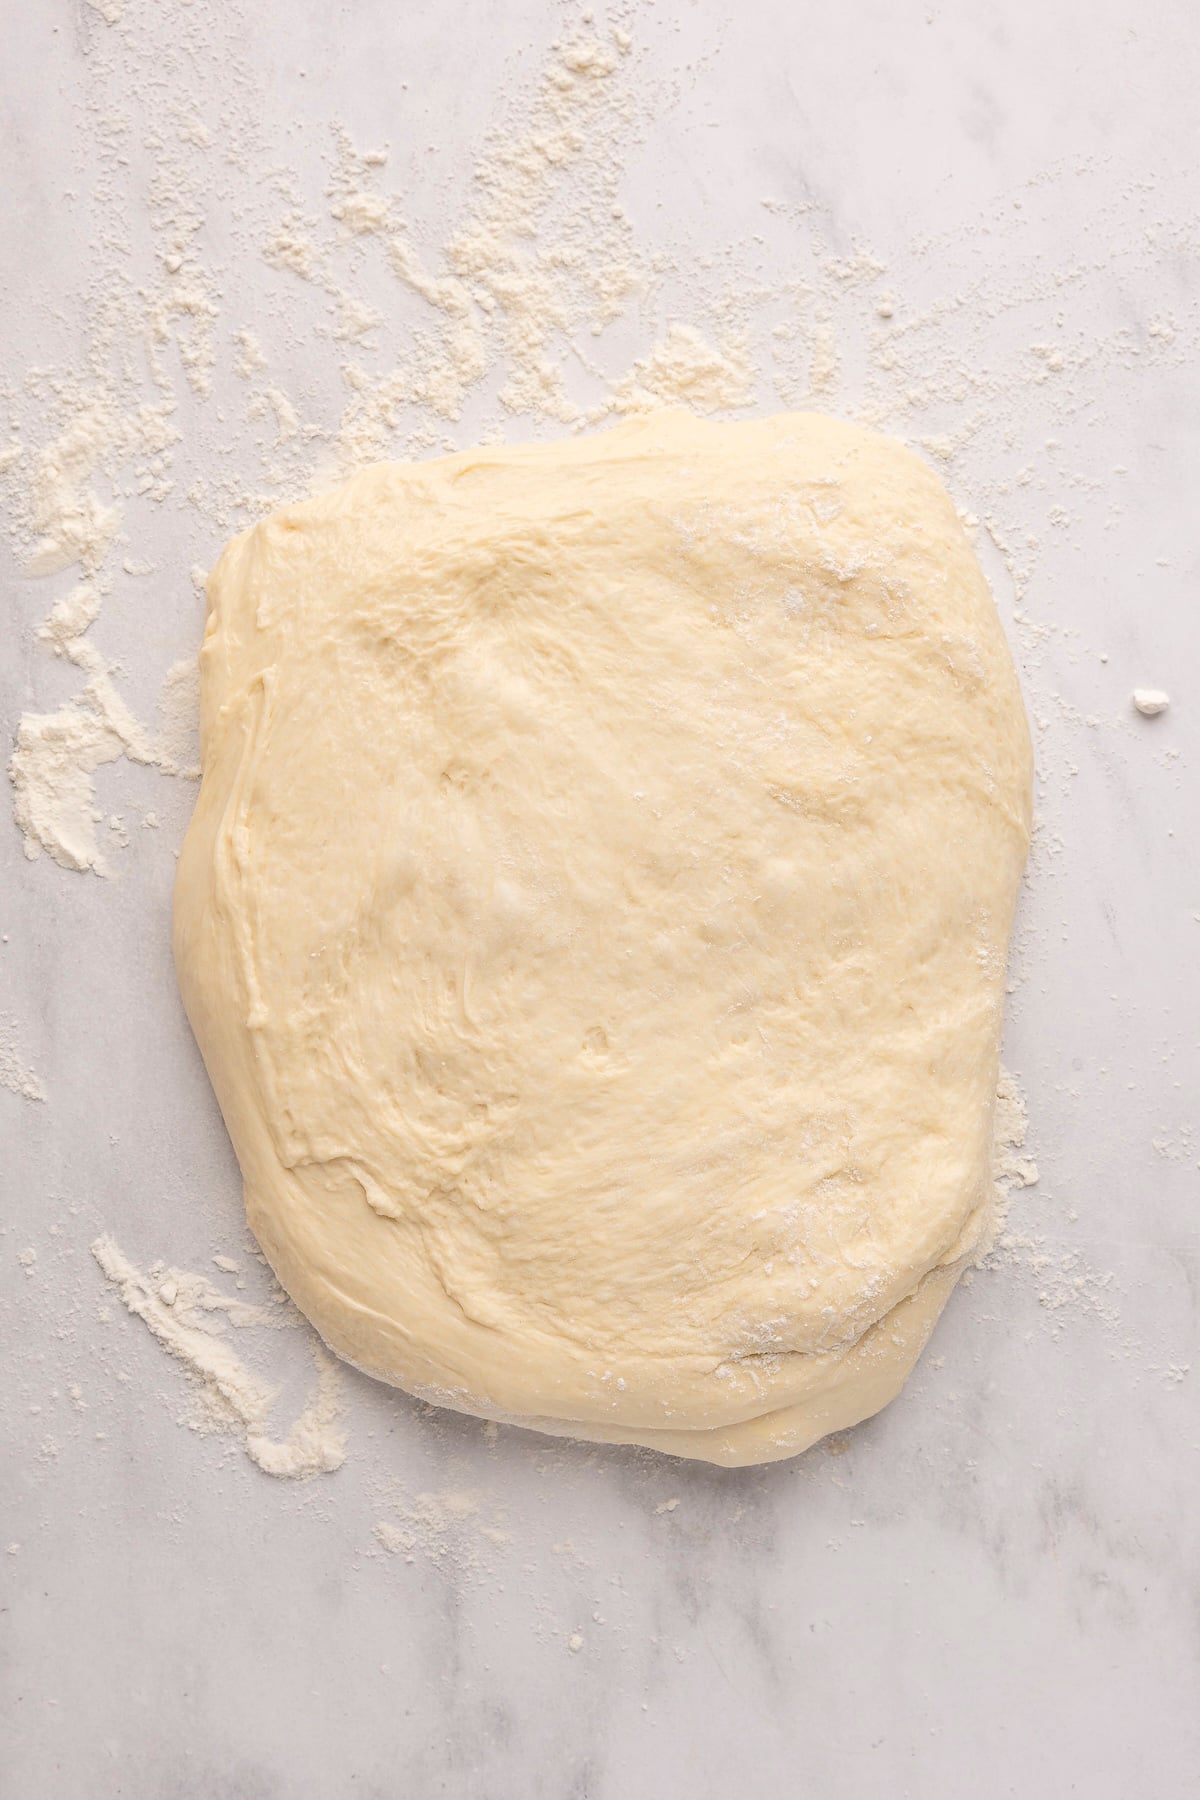
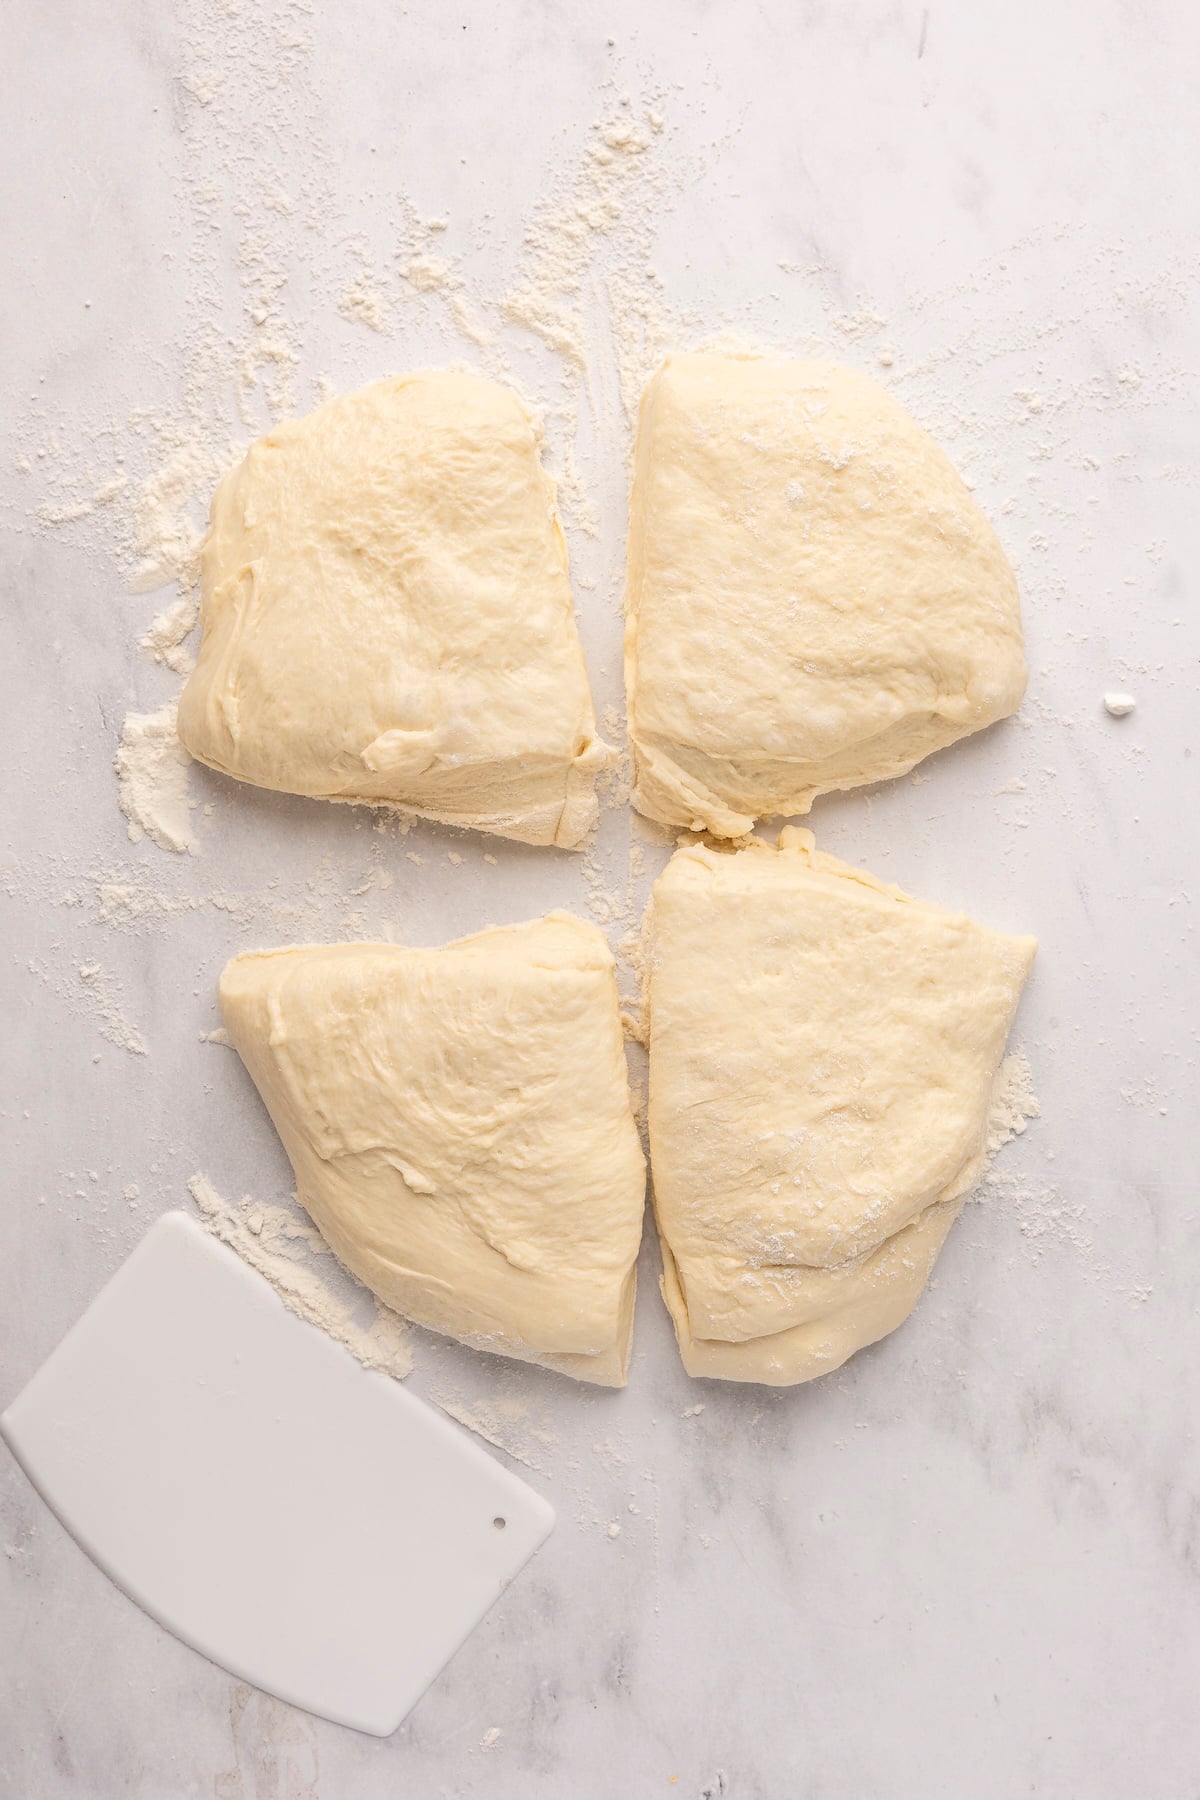
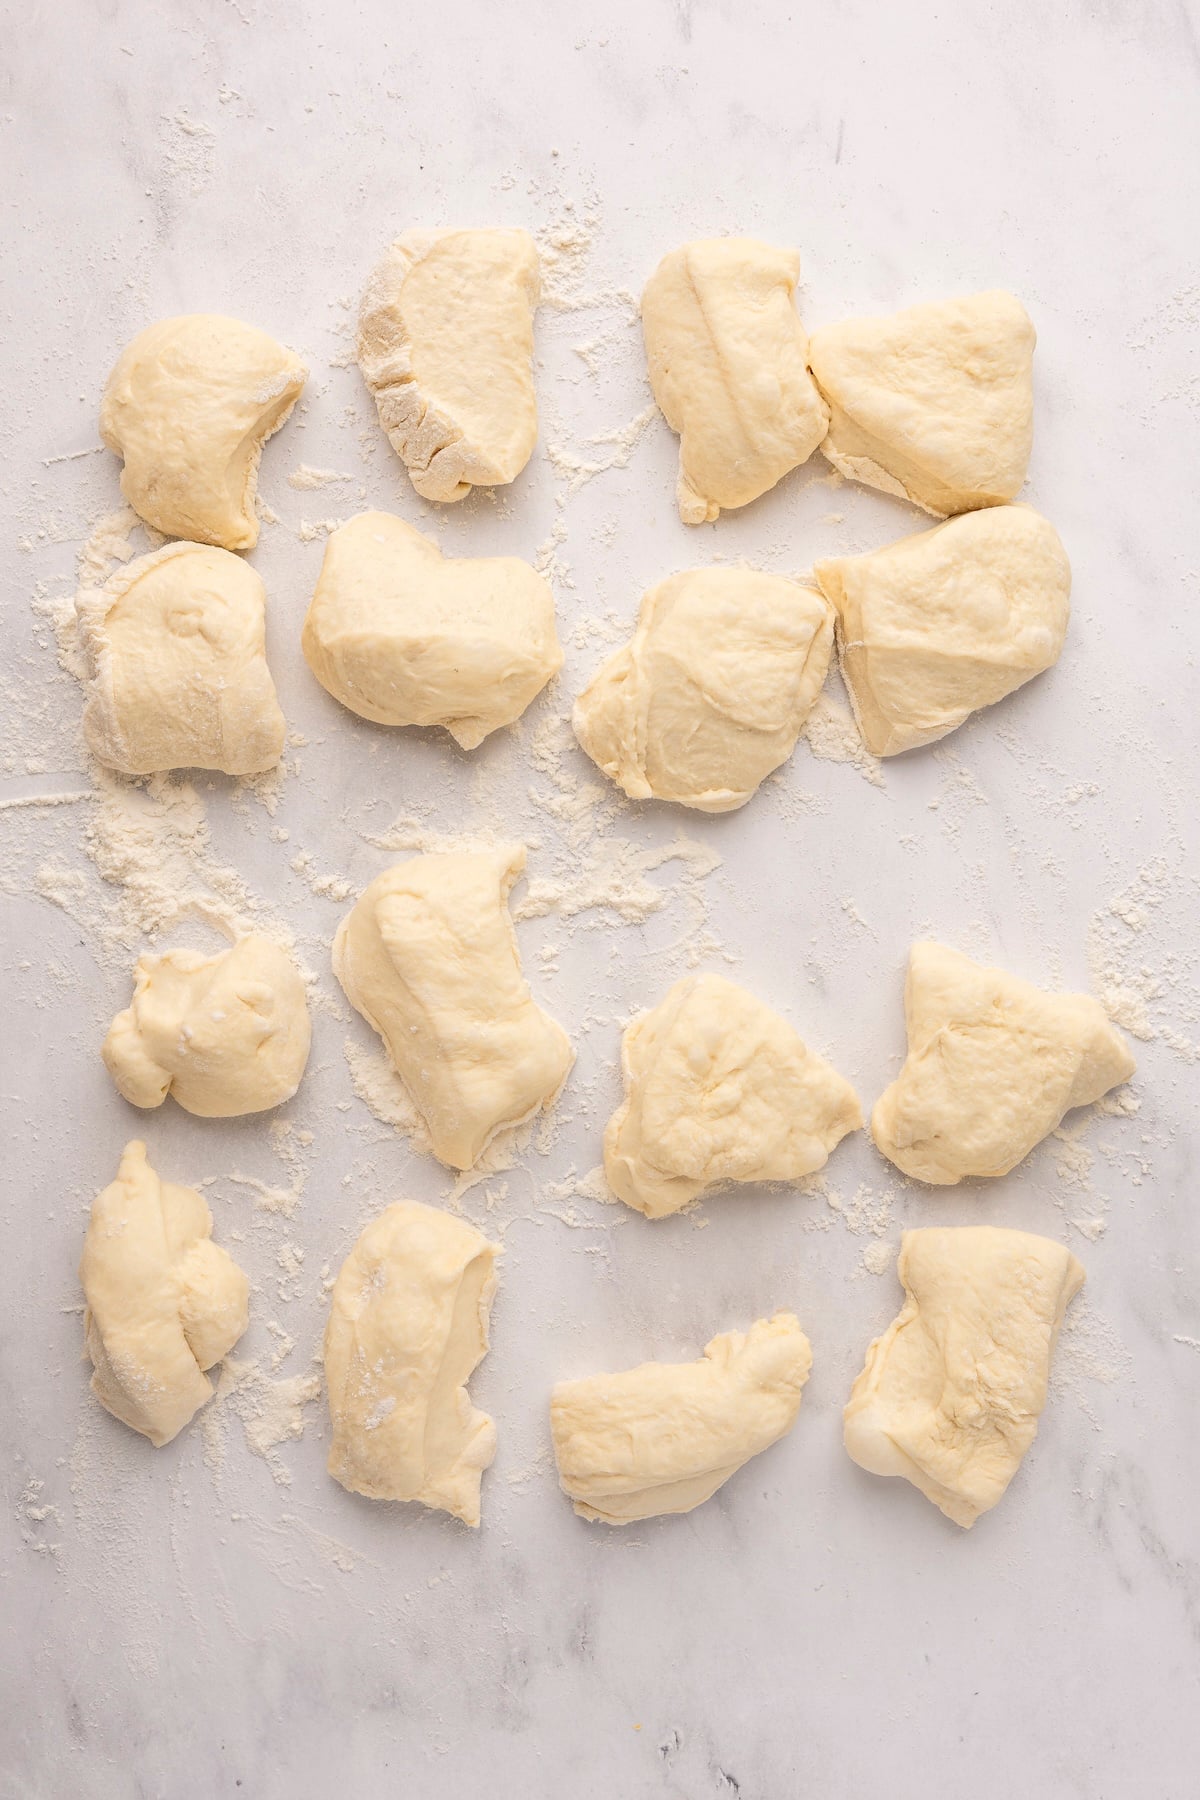
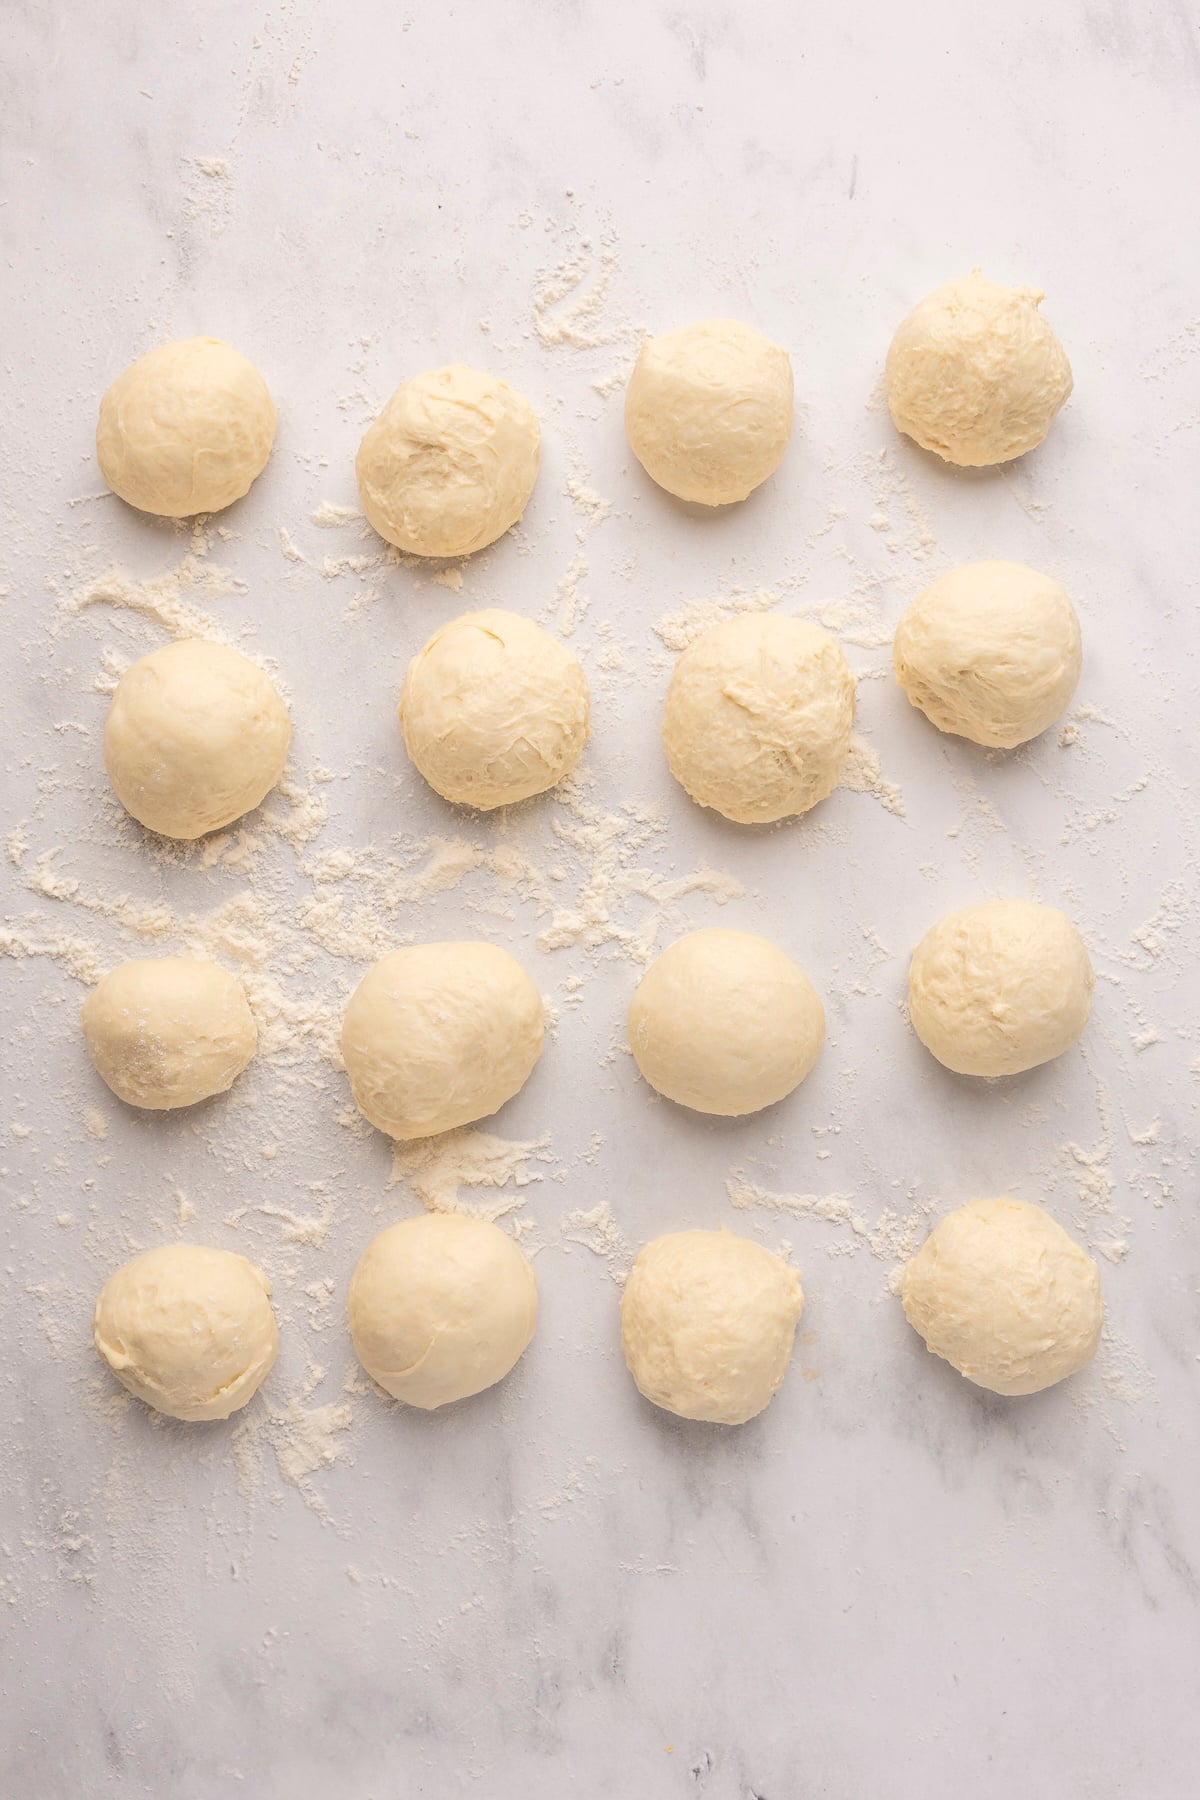
Divide and shape the dough: Turn the dough onto a generously floured surface and gently shape it into a rectangle. Divide it into 4 portions, then cut each into 4 pieces to make 16 total and shape into smooth balls.
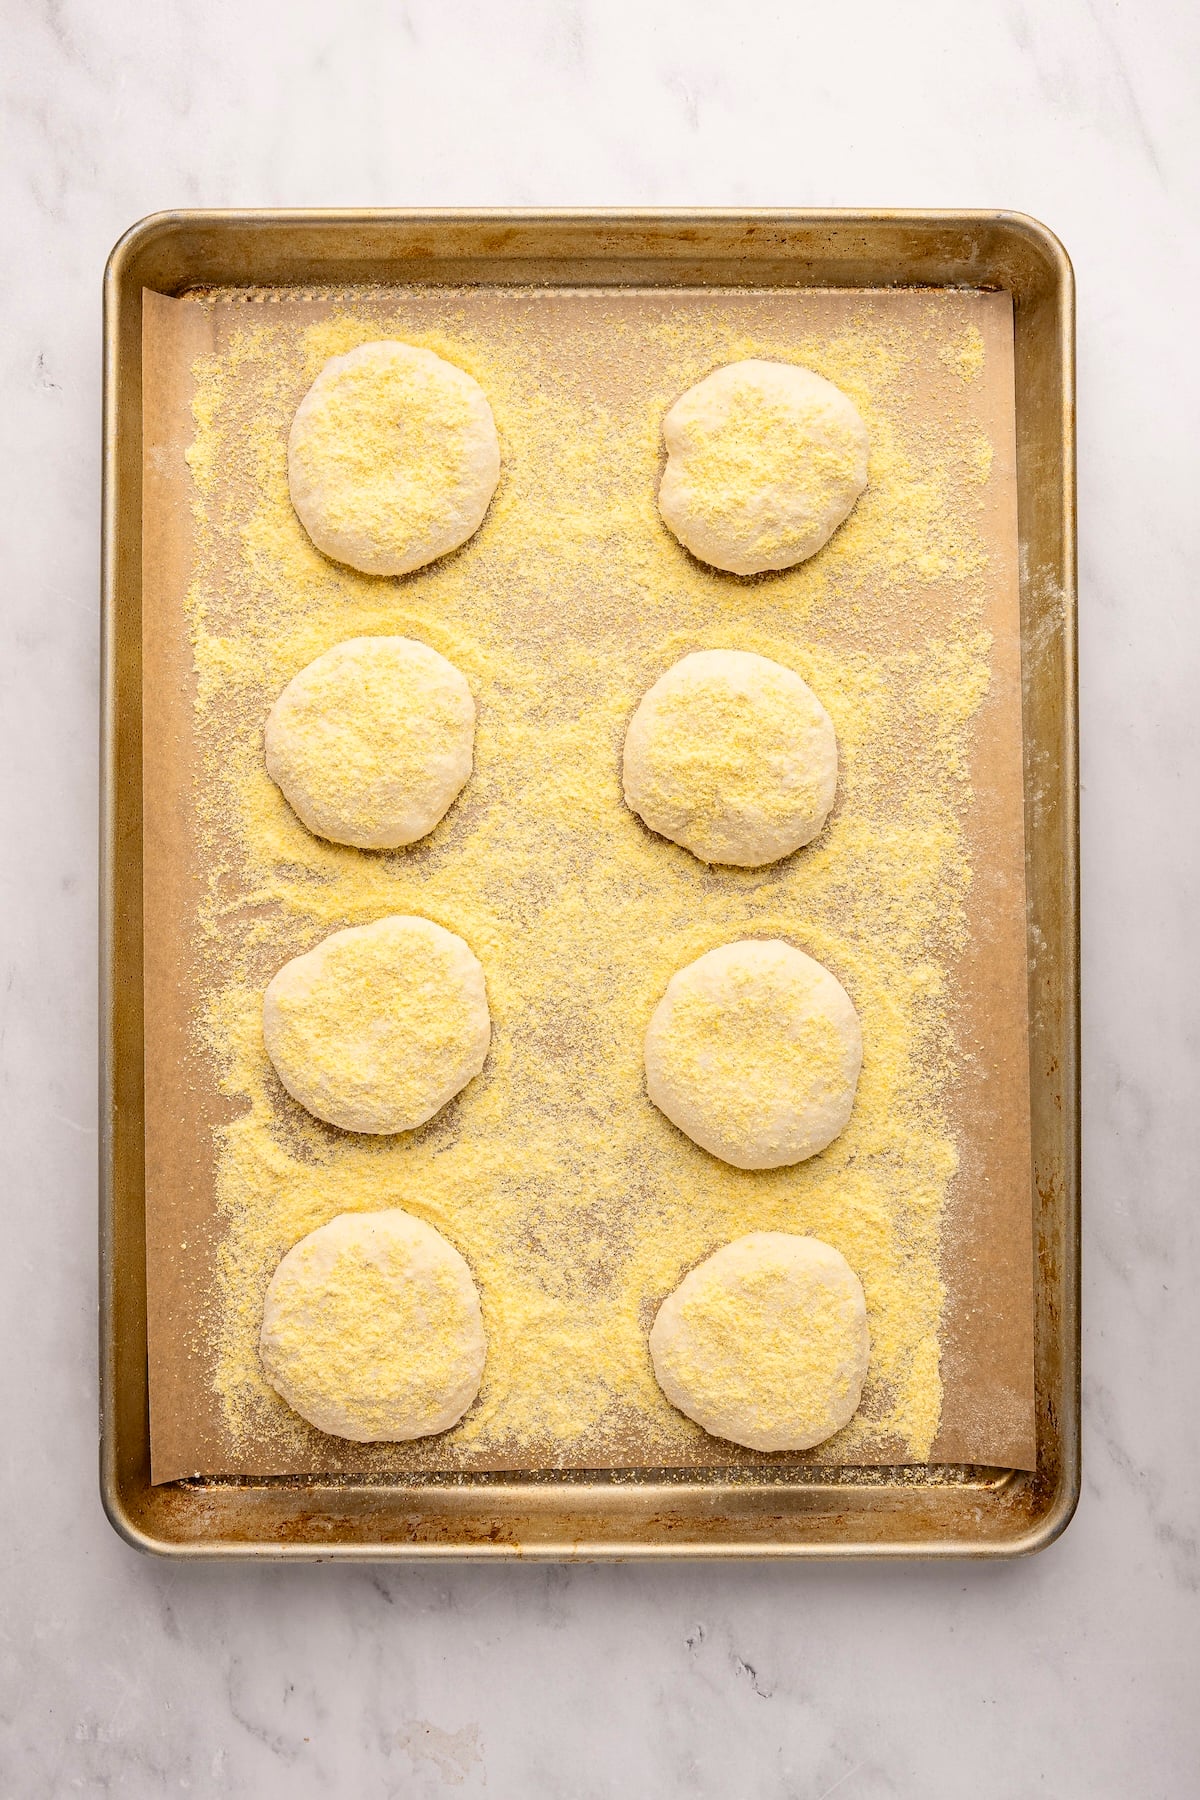
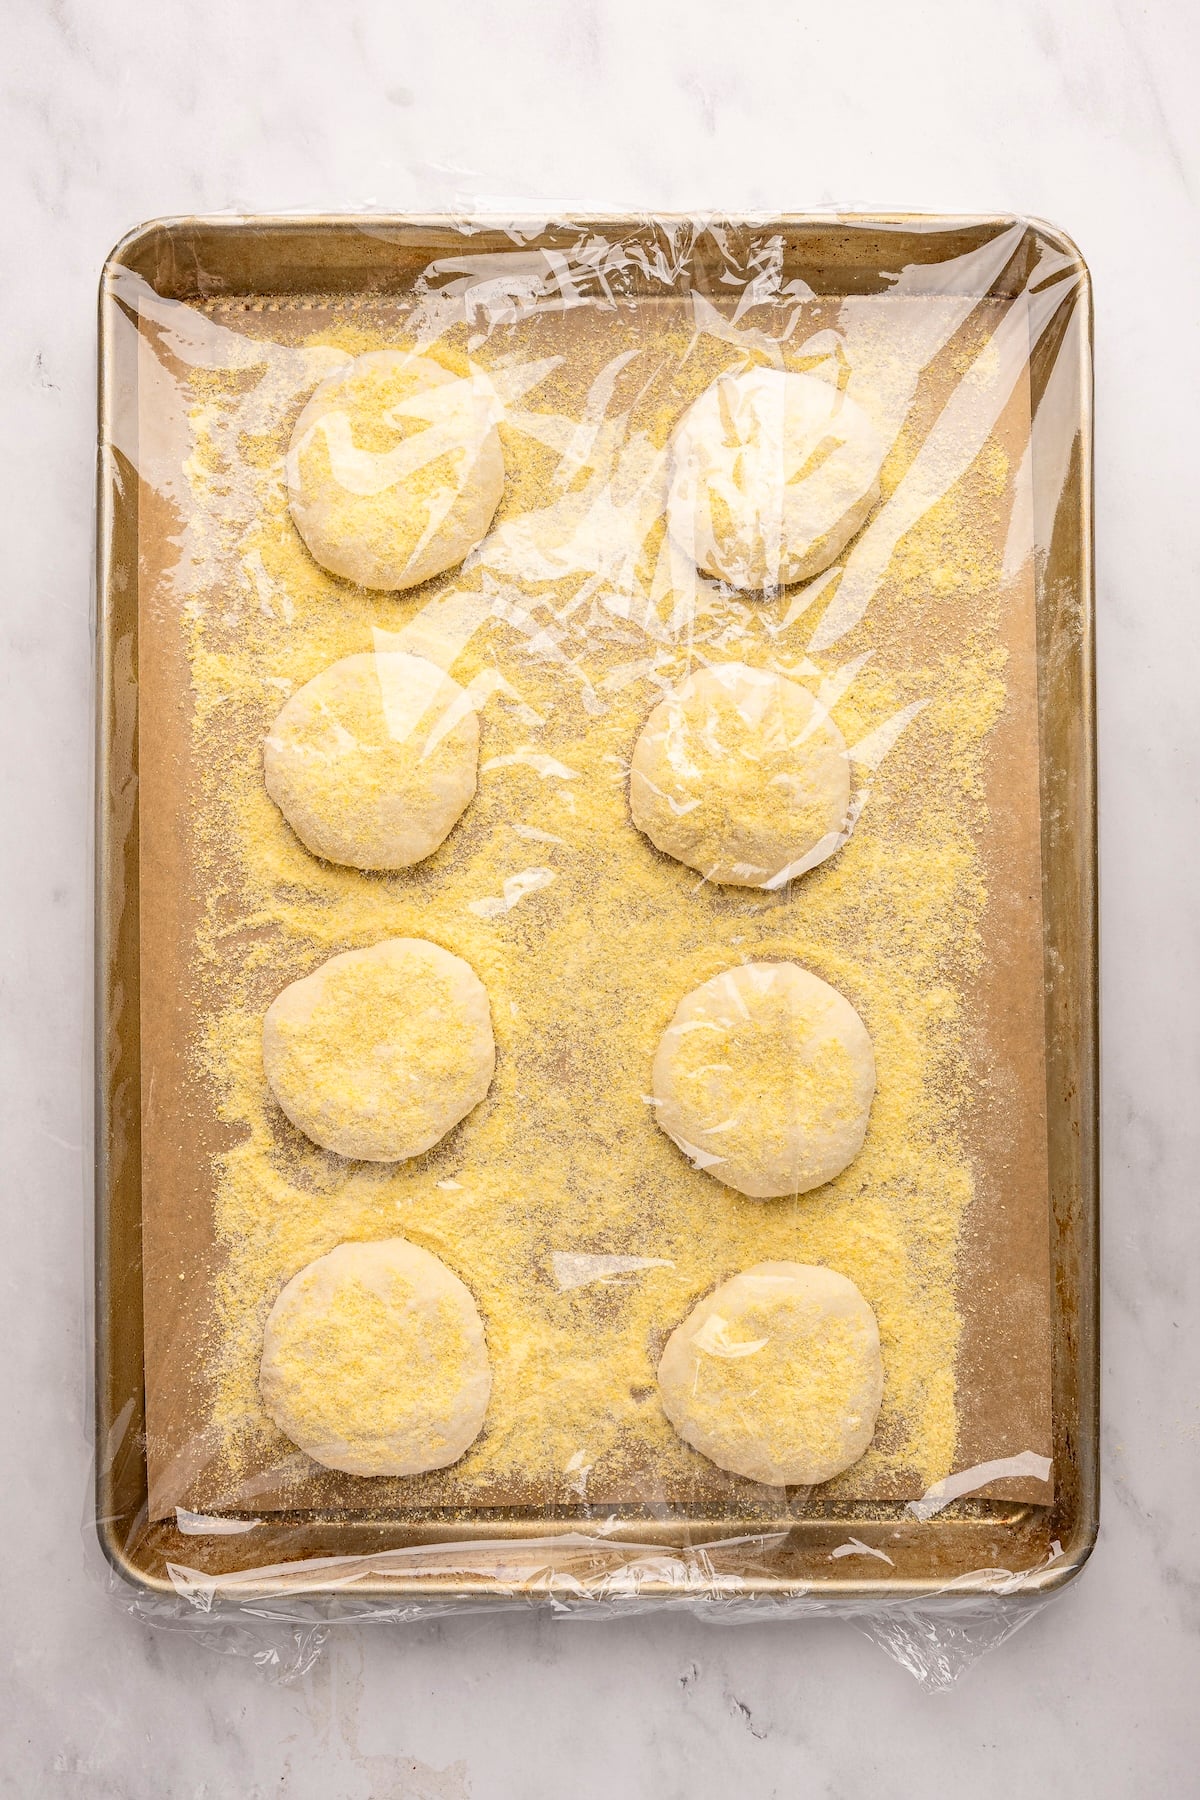
Flatten and rest: Flatten the balls into 3-inch rounds and arrange on two parchment-lined baking sheets dusted with cornmeal. Sprinkle a little more cornmeal on top, cover loosely, and let rest until puffy, 20 to 40 minutes.
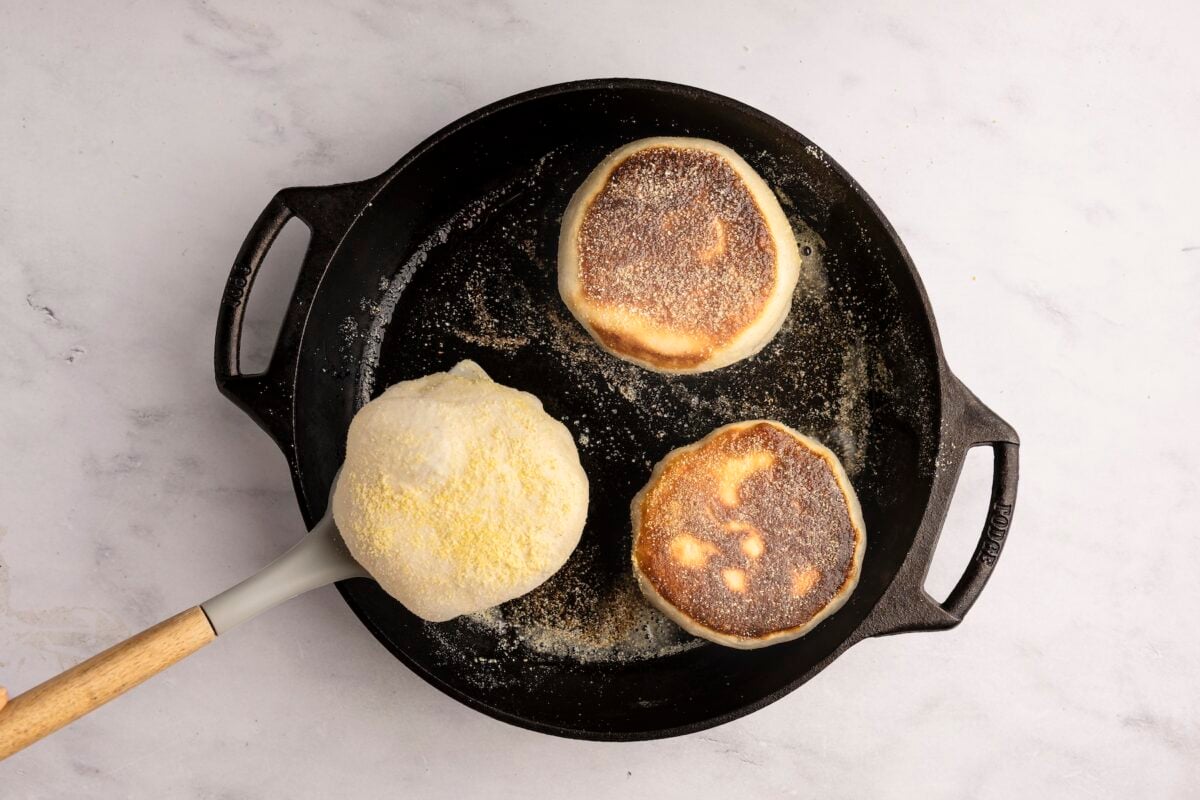
Cook the muffins: Grease a large griddle or skillet with vegetable oil and heat over medium-low. Once hot, add as many muffins as will comfortably fit and cook for about 5 minutes per side, until golden brown.
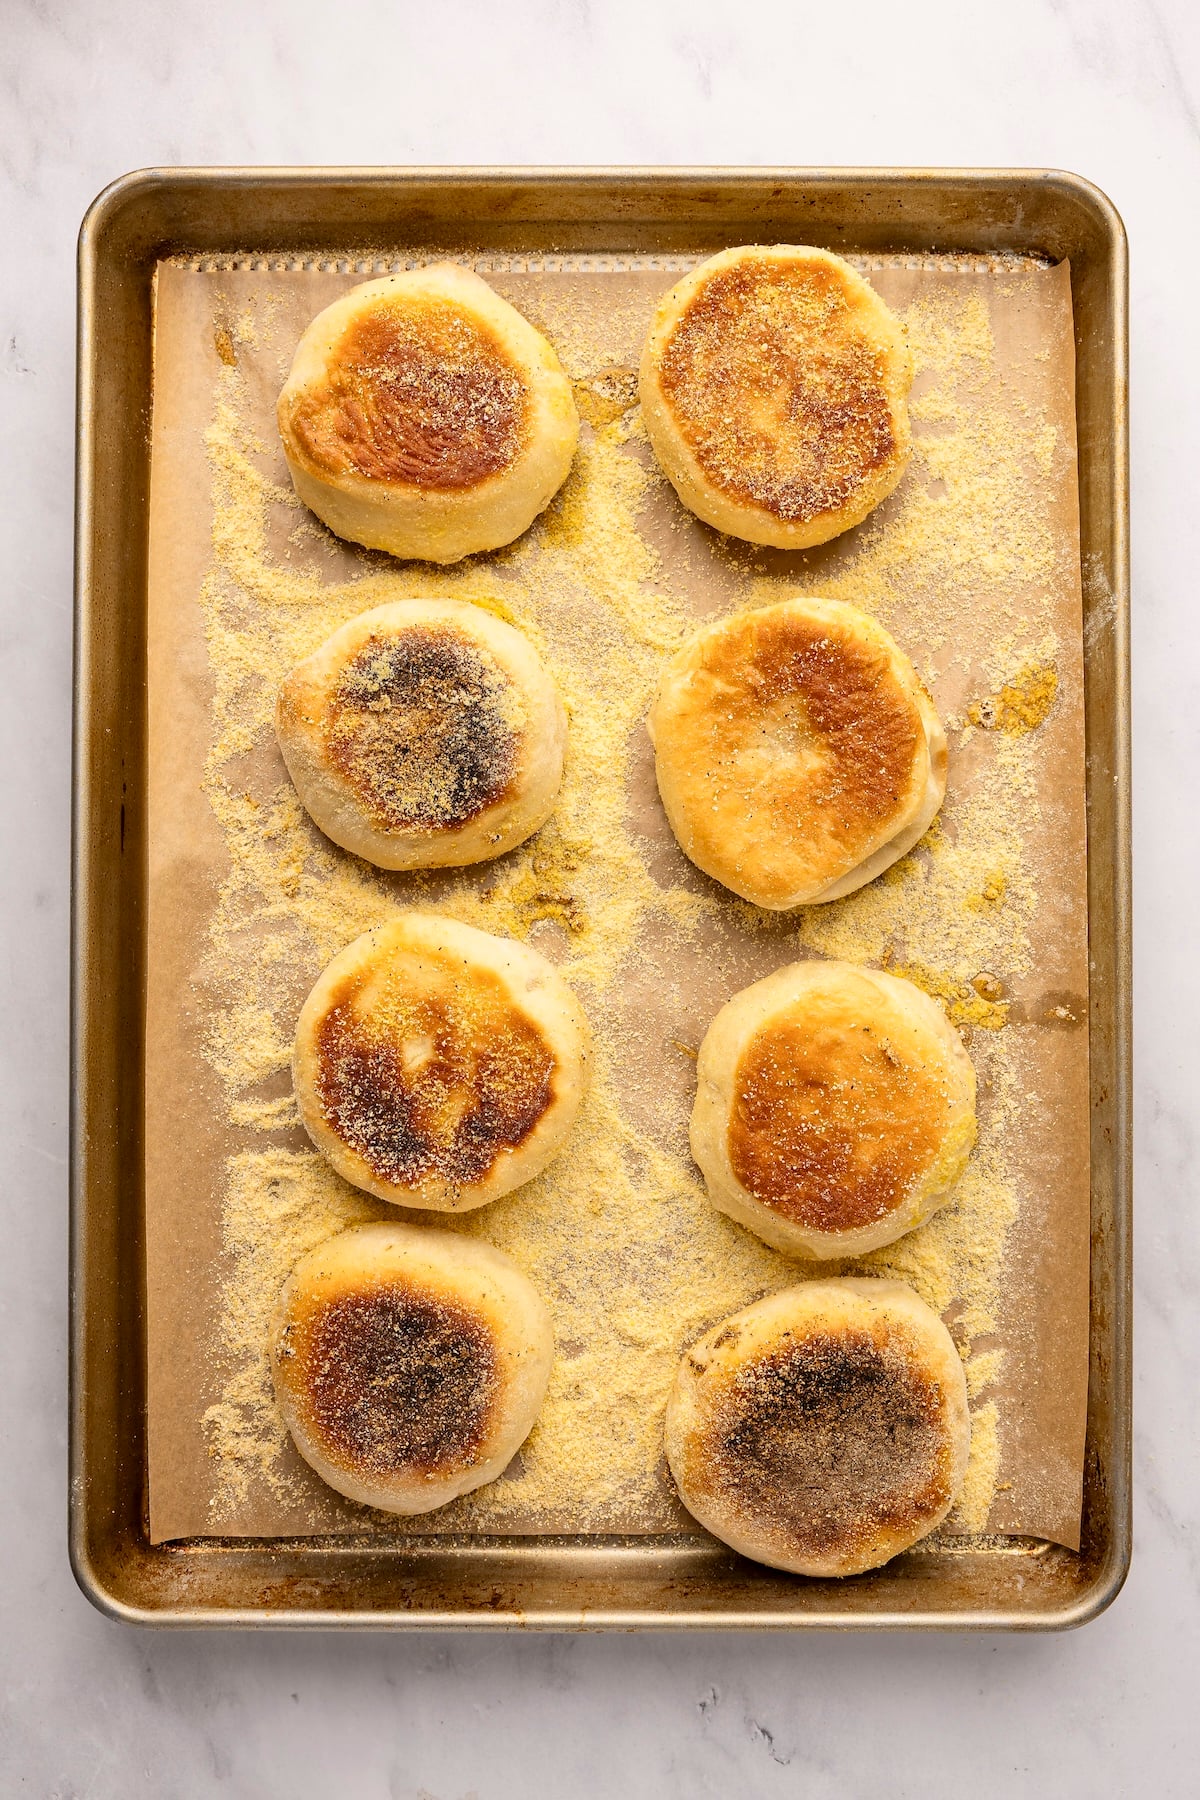
Finish baking and serve: Pop the browned muffins back in the oven for about 10 minutes, until the centers reach 200°F. Let cool for at least 10 minutes to prevent gummy centers. Enjoy warm or lightly toasted.
How To Split English Muffins
Here’s a little trick for getting those wonderful nooks and crannies: instead of slicing your English muffins with a knife, split them with a fork. Insert the tines of a fork into the side of the muffin, working your way around the entire edge. Then gently pull the two halves apart. The uneven, craggy surfaces are perfect for catching melted butter and jam—and they toast up beautifully, too!
How To Store & Freeze English Muffins
English muffins are best enjoyed fresh, but they store and freeze well. Once completely cool, store in an airtight container or resealable bag at room temperature for up to 3 days. For longer storage, split the muffins with a fork and freeze in a freezer-safe bag for up to 3 months, pressing out as much air as possible. When ready to eat, toast the frozen halves—no need to thaw first.
English Muffins
Ingredients
- 4 cups + 2 tablespoons bread flour, spooned into measuring cup and leveled-off
- 1½ teaspoons salt
- 2 tablespoons granulated sugar
- 2 teaspoons instant yeast (this is just shy of one packet)
- 2 tablespoons unsalted butter, softened
- 1 cup water, lukewarm
- ¾ cup whole or 2% milk, lukewarm (whole milk preferred)
- 1 large egg, lightly beaten
- Vegetable oil, for greasing the bowl and oiling the pan
- Cornmeal, for dusting
Instructions
- In the bowl of a stand mixer fitted with the paddle attachment (yes, that’s correct—this is a very wet dough), combine the flour, salt, sugar, and yeast. Mix briefly to combine.
- Add the butter, water, milk, and egg. Beat on medium-high speed for 6 to 10 minutes, until the dough is smooth and shiny, pulls away from the sides of the bowl, and clings to the paddle (it will still stick to the bottom). Be patient—it may take time, but the dough will suddenly pull away. When you lift the beater, the dough should be very sticky and stretchy. Stay close to the mixer, as it may shift on the counter at this speed.
- Grease a large bowl with nonstick cooking spray or oil. Dust your hands with flour, scrape the dough into the bowl, and turn it over so the top is lightly greased.
- Cover with plastic wrap and let rise using one of these two methods (see note): Same day: Let rise in a warm, draft-free spot until puffy and doubled in volume, 1 to 1½ hours.Overnight: Let rise in the refrigerator overnight, up to 24 hours.
- Line two baking sheets with parchment paper and dust lightly with cornmeal.
- Generously flour a work surface and keep some extra flour nearby for your hands and tools. Turn the dough out onto the work surface and, using a floured bench scraper, gently shape it into a rough rectangle.
- Divide the dough into 4 equal portions, then divide each portion into 4 pieces to make 16 pieces total. For the most evenly sized muffins, use a kitchen scale; each piece should weigh 65 to 70 g.
- Shape each piece into a smooth ball, then gently flatten into a round about 3 in (8 cm) in diameter. Divide the rounds between the prepared baking sheets, pressing gently so the cornmeal adheres to the bottom; this prevents sticking and creates a lovely crunchy crust once griddled and baked. Sprinkle the tops lightly with cornmeal as well.
- Cover loosely with plastic wrap and let rest until slightly risen and puffy, 20 to 25 minutes. (If you let the dough rise in the fridge, you'll need to let them rest a bit longer, about 40 minutes.)
- While the muffins are resting, preheat the oven to 350°F (175°C) and set two racks in the centermost positions.
- Grease a large griddle or skillet (preferably nonstick) with 1 tablespoon vegetable oil and set it over medium-low heat. When hot, add as many muffins as will comfortably fit, leaving at least 1 in (2.5 cm) between them. Cook until golden brown, about 5 minutes per side, adjusting the heat as needed so they brown without burning. The muffins will puff up as they cook—that's normal.
- As the muffins brown, return them to the cornmeal-dusted baking sheets. Repeat with the remaining muffins, adding more oil as needed. Once all are browned, transfer the baking sheets to the oven and bake for about 10 minutes, or until the centers register 200°F (93°C) on an instant-read thermometer.
- Let the muffins cool on the baking sheets for at least 10 minutes before splitting (cutting into them while piping hot can make the crumb gummy).
- To split, insert the tines of a fork deeply into the sides of the muffin, almost to the center, repeating all the way around. Gently pull the halves apart to reveal all those nooks and crannies. Enjoy warm as is, or toast lightly if you prefer a crisper English muffin.
Notes
Nutrition Information
This website is written and produced for informational purposes only. I am not a certified nutritionist and the nutritional data on this site has not been evaluated or approved by a nutritionist or the Food and Drug Administration. Nutritional information is offered as a courtesy and should not be construed as a guarantee. The data is calculated through an online nutritional calculator, Edamam.com. Although I do my best to provide accurate nutritional information, these figures should be considered estimates only. Varying factors such as product types or brands purchased, natural fluctuations in fresh produce, and the way ingredients are processed change the effective nutritional information in any given recipe. Furthermore, different online calculators provide different results depending on their own nutrition fact sources and algorithms. To obtain the most accurate nutritional information in a given recipe, you should calculate the nutritional information with the actual ingredients used in your recipe, using your preferred nutrition calculator.



This recipe needs more stars than five! I was always intimidated by the idea of making English muffins, and reluctant to invest in rings, but then I saw your recipe – and yours can always be trusted! Just made them this morning, in a hurry, and then made your Eggs Benedict recipe to try with the beautiful fresh muffins. Omigosh! So yummy! Next time I will use the overnight method as I’m curious to see the comparison.
Browning the muffins on the griddle and then finishing them in the oven is such a smart way to get those fully cooked centers without scorching the outside. I also appreciate the flexibility of making the dough the night before, and the note about using bread flour for that chewy texture and cornmeal for the classic crunchy exterior explains exactly where the nooks and crannies come from.
Any suggestions for making it whole wheat? I LOVE English muffins for traditional breakfast to sandwiches at lunch.
Hi Denise, it’s hard to say without trying it myself, but if you want to give it a try, I’d suggest starting by using half whole wheat and half all-purpose to make sure you like the texture. If you like it, the next time you make them, you can up the ratio of whole wheat to white a bit more. Also, you may want to consider white whole wheat, as it’s lighter and milder tasting than regular whole wheat flour (yet just as nutritious). Keep in mind that I haven’t tested this, so consider it an experiment on your part. 😊
I’d love to hear how they come out if you try it!
Love your recipes Jenn.
I don’t have a paddle mixer, what would be another method to do the mixing?
I really want to make these😀
Hi Chris, so glad you like the recipe! I wish there were an alternative, but because of the nature of the dough (it’s very wet), you really need a paddle mixer for it – I’m sorry!
Hi Jennifer! I love how easy and approachable your recipes are. 🙂
Could active sourdough starter / sourdough discard somehow be substituted for the commercial yeast in this recipe? If so, how would you incorporate it and how much would you use?
Thanks for your kind words – so glad you like the recipes! While sourdough starter may work, it would require a lot of tweaking. I’d recommend using a recipe specifically developed for sourdough English muffins for the best results.
I do not have a mixer with a paddle attachment. Do I use just a regular mixer?
Can you use a bread machine for the mixing part and then follow the directions after letting it rise? TIA PK
Hi Pat, I don’t have experience with a bread machine, so I can’t say for sure, but I’d be hesitant to recommend it. This is a very wet dough that needs quite a bit of beating to develop its structure, and I’m not sure a bread machine would handle it the same way. Sorry!
Ok, I started the dough and thought, no way is this gonna come together…but at 8 minutes, voila! I try an English Muffin recipe about once a year. No more trying, this is it! Light, craggly, delicious! I used my nonstick electric griddle, no oil. Set at 300. Five minutes on each side, perfect! The oven finishes them just right! Thank you!
These turned out amazing. I was surprised by how easy they are to make, wish I had tried making them years ago.
Have you made a whole wheat version? Would you use the same amount of whole wheat flour or adjust? Thank you!
Hi Leona, I haven’t tried them with whole wheat flour, but I think it should work. I would probably use white whole wheat flour or half AP/half whole wheat for best results. Please LMK how they turn out if you try it. 🙂
I’ve been wanting to try making English muffins for a long time. I have always thought they were too difficult-but you make it sound so easy!!!! I’m a big fan of your website and would love to make them.
But, my daughter can’t have anything corn. Is there a substitute for the cornmeal?
Hi Joanne, I’d go with coarse semolina – it has a similar gritty texture to the cornmeal. Keep in mind I haven’t tried it myself. I’d love to hear how the English muffins come out!
Thank you! I will let you know!
Can gluten free flour be substituted for the bread flour in the English muffin recipe?
Unfortunately, I don’t think that will work here, as you really need bread flour to achieve the right texture. Sorry!
These sound delicious, as do all of your recipes. Do you also have a recipe for English Muffin Bread? Thanks
Thanks for your kind words, Peggy! As of now, I don’t have a recipe for English muffin bread – sorry! I’ll keep it in mind, though, as I develop future recipes. 😊