Flourless Chocolate Cake

This post may contain affiliate links. Read my full disclosure policy.
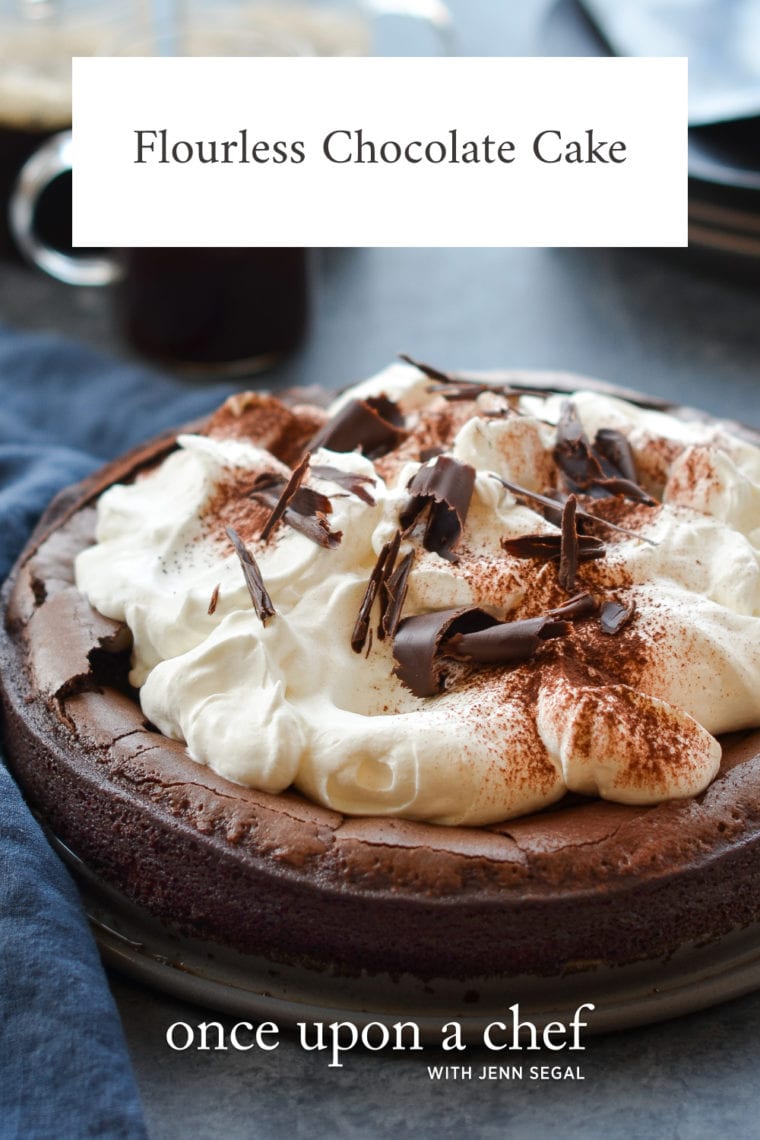
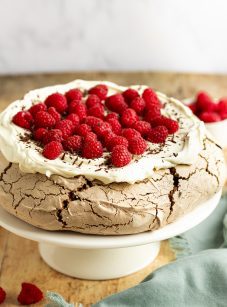
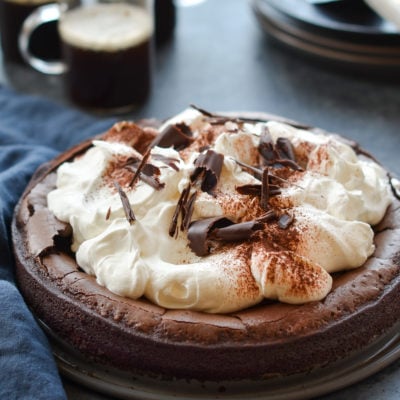
Rich, decadent, and topped with luscious whipped cream and chocolate curls, this one-bowl flourless chocolate cake is perfect for any special occasion.
Everyone should have a go-to recipe for flourless chocolate cake. Not only is it a rich and elegant dessert, but it’s also gluten-free and kosher for Passover, as it contains no flour or leavening. Despite its fancy appearance, this cake is surprisingly quick and easy to make. With just one bowl and an electric mixer, you can whip up the batter in 15 minutes. While baking, the edges and top form a crisp, cracked crust, while the center stays fudgy and brownie-like. It’s simple and delicious!
“I made this and brought it to a dinner party…Nothing but rave reviews from the presentation to the taste.”
What You’ll Need To Make Flourless Chocolate Cake
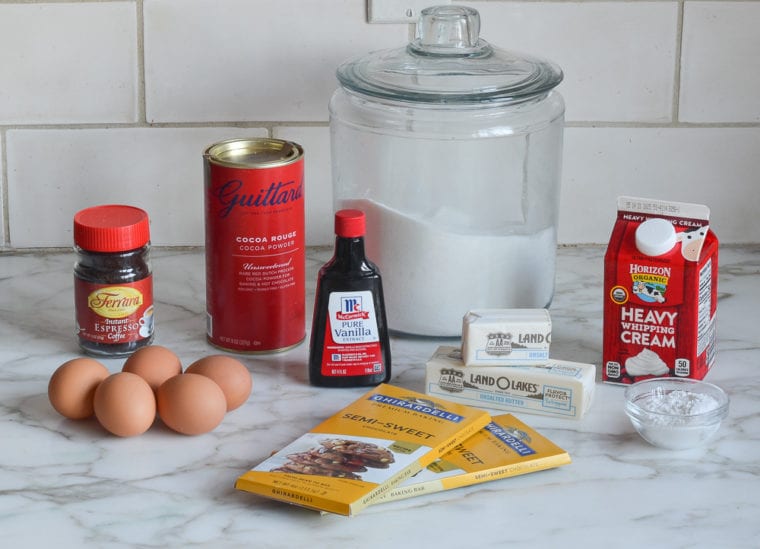
- Unsalted Butter: Adds richness and moisture to the cake.
- Semisweet Chocolate: Provides the primary chocolate flavor and contributes to the fudgy texture.
- Espresso Powder/Instant Espresso: Enhances the chocolate flavor, making it more pronounced and deep.
- Granulated Sugar: Sweetens the cake and affects the texture, helping to create a crisp crust.
- Eggs: Serve as the main structural component since there’s no flour, adding moisture and richness, and help to leaven the cake slightly when beaten.
- Vanilla Extract: Adds flavor depth and enhances the overall sweetness.
- Dutch-process Cocoa Powder: Offers an additional layer of chocolate flavor and contributes to the dry components.
- Heavy Whipping Cream: Whipped to make whipped cream for topping; adds a light, creamy texture that contrasts with the dense cake.
- Confectioners’ Sugar: Sweetens and stabilizes the whipped cream topping.
- Cocoa Powder and/or Chocolate Curls: Used for decorating and adds an extra layer of chocolate flavor.
- Jump to the printable recipe for precise measurements
Step-by-Step Instructions
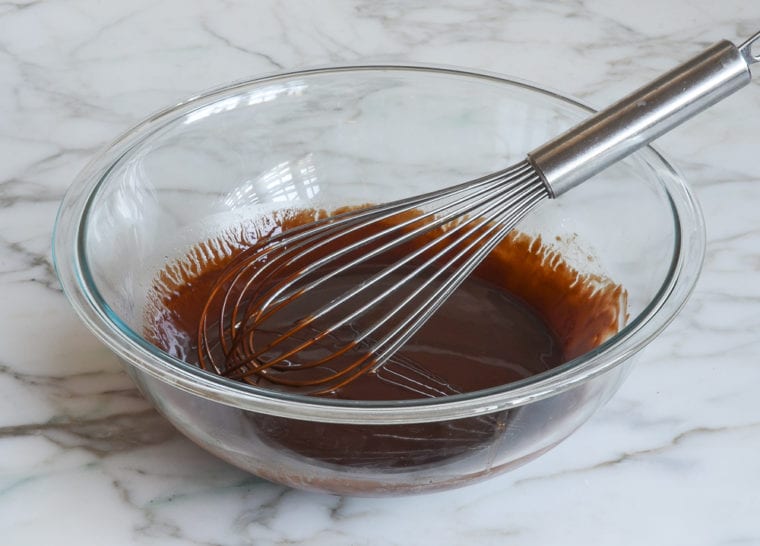
In a large microwave-safe bowl, melt the butter in the microwave until it’s hot and foamy (but be careful not to let it boil, or it’ll splatter everywhere!). Then, add the chocolate and espresso powder.
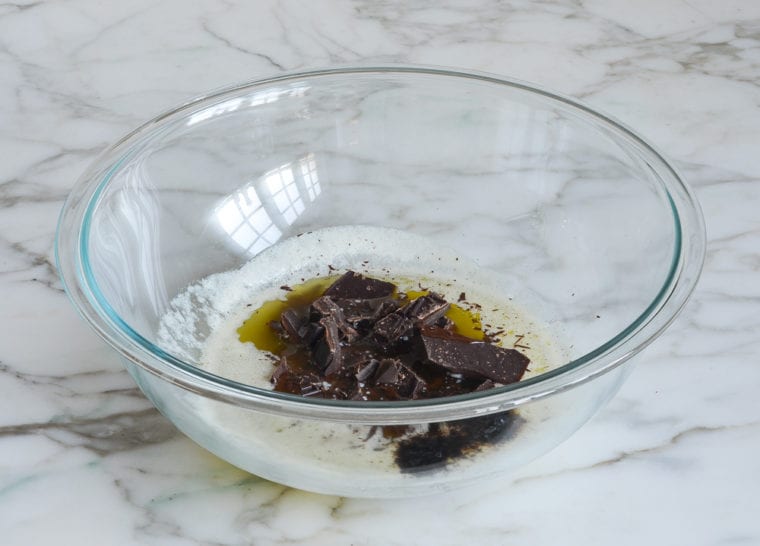
Whisk until the chocolate is completely melted and smooth. If there are any bits of chocolate left, just pop the bowl back in the microwave for 20 seconds to melt them.
Add the granulated sugar to the chocolate and butter mixture.
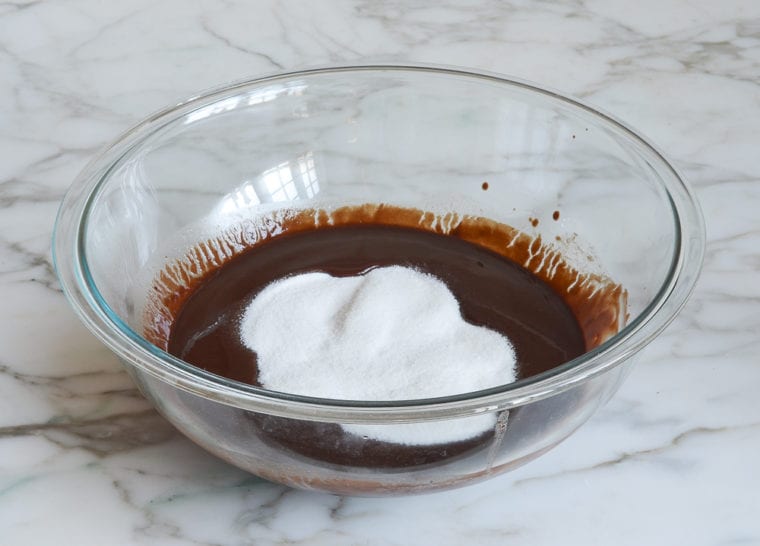
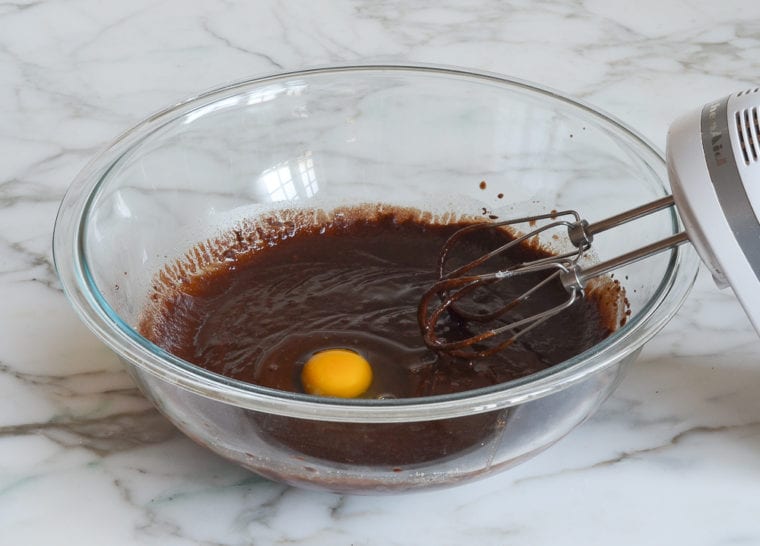
Using an electric mixer, beat on low speed until well combined, about 30 seconds. Add the eggs one at a time, beating on low for about 20 seconds between each addition.
After all of the eggs are incorporated, quickly beat in the vanilla and then add the sifted cocoa powder.
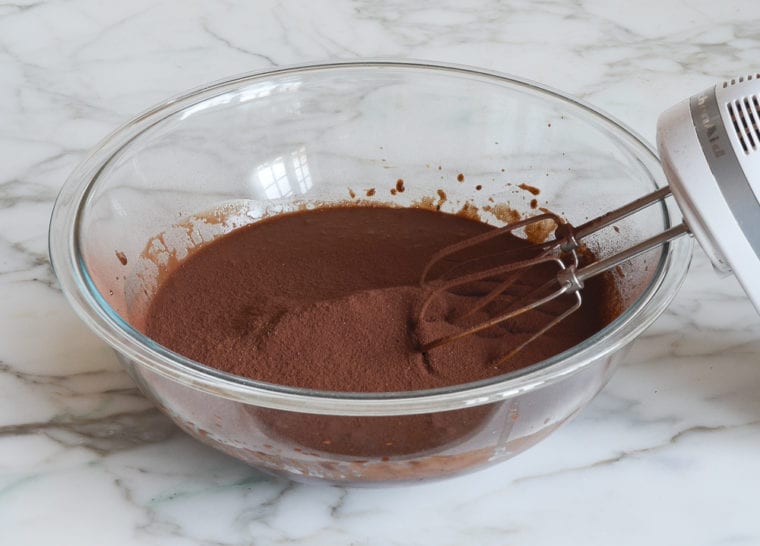
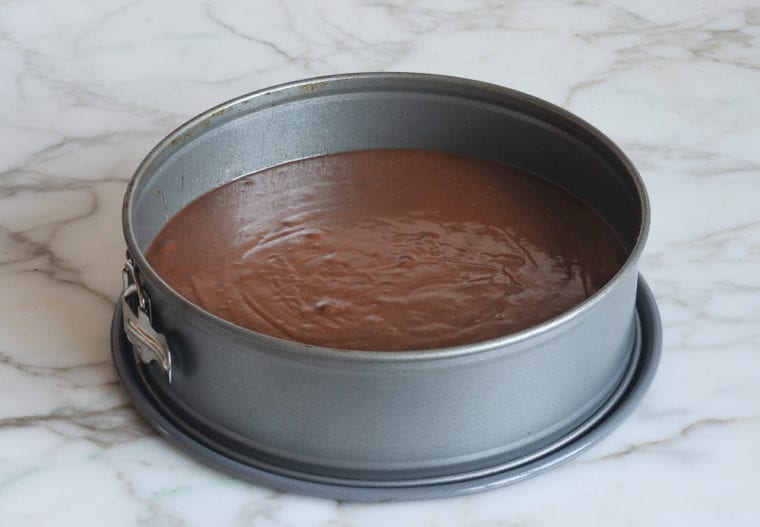
Mix on low speed until the batter is smooth, and then pour the batter into a greased springform pan.
Bake for 32 to 35 minutes, or until the cake is puffed and set (it will likely crack a bit on top, which is totally normal and adds to its charm). Testing for doneness can be tricky, but if you insert a toothpick or cake tester into the center through one of the cracks, you should get wet crumbs.
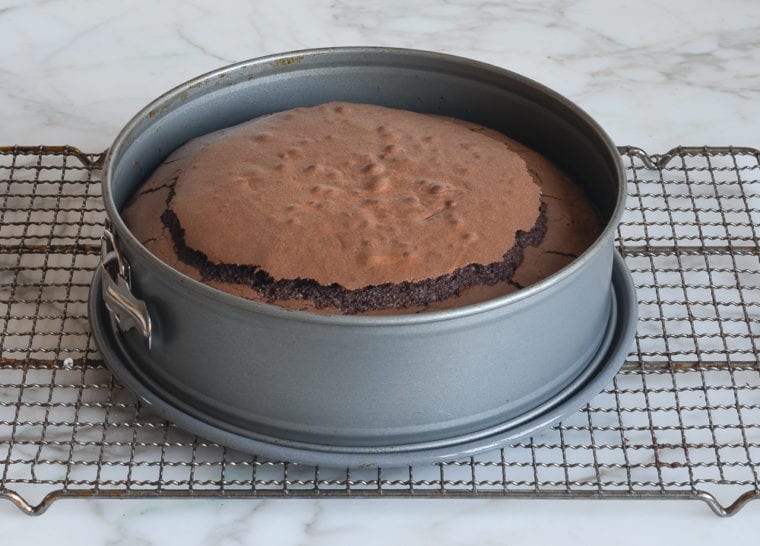
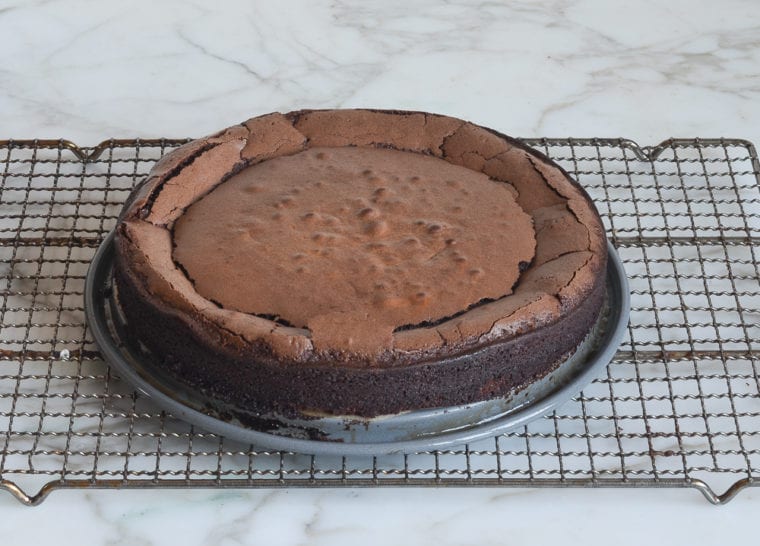
Let the cake cool on a rack for 15 minutes, then remove the ring on the springform pan and allow the cake to cool completely. It will deflate a bit in the center as it cools.
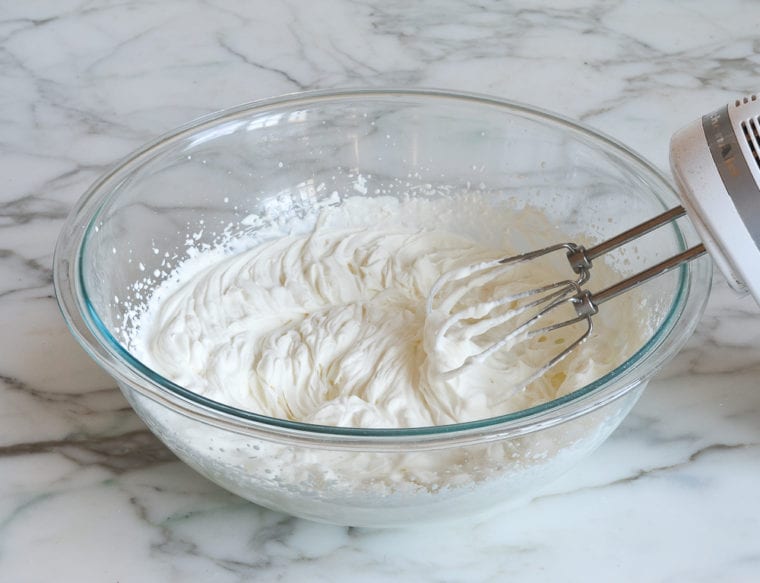
Before serving, make the topping. In a bowl, use an electric mixer with the whisk attachment (or beaters) to whip the heavy cream until it starts to thicken. Then, sprinkle in the confectioners’ sugar and keep beating until soft, pillowy peaks form—just be careful not to overdo it. (If you prefer, you can also whip the cream by hand with a whisk in a deep mixing bowl.)
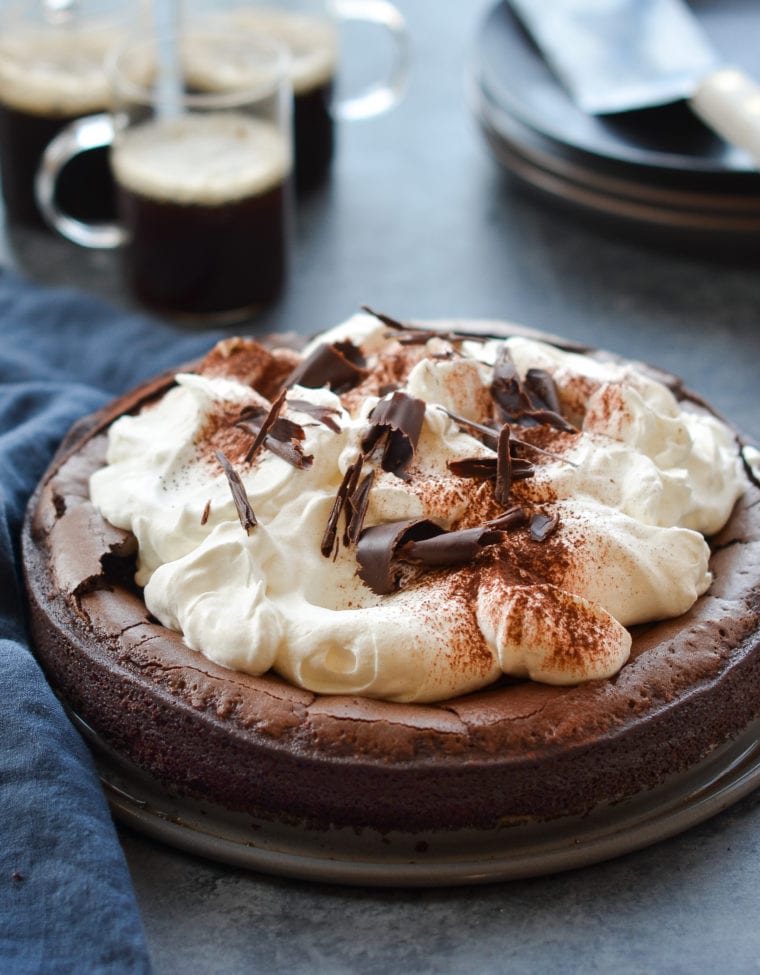
Dollop the whipped cream over the cake and swirl it decoratively. Sift a little cocoa powder on top and, if you’re using them, add chocolate curls for a finishing touch.

You May Also Like
Flourless Chocolate Cake
Ingredients
For the Cake
- 12 tablespoons (1½ sticks) unsalted butter
- 6 oz semi-sweet chocolate, best quality such as Ghiradelli, chopped
- 1 teaspoon espresso powder/instant espresso (optional, for a more intense chocolate flavor)
- 1¼ cups granulated sugar
- 5 large eggs
- 1 teaspoon vanilla extract
- ½ cup Dutch-process cocoa powder, sifted (see note)
For the Topping
- 1½ cups heavy whipping cream, cold
- 3 tablespoons confectioners' sugar
- Cocoa powder and/or chocolate curls, for decorating
Instructions
- Preheat the oven to 350°F (175°C ) and set an oven rack in the middle position. Grease a 9-in (23-cm) springform pan with nonstick cooking spray.
- In a large microwave-safe bowl, melt the butter in the microwave until hot and foamy (careful not to boil it, or it will splatter all over your microwave). Add the chocolate and espresso powder (if using), and whisk until the chocolate is completely melted and smooth. (If necessary, pop the bowl back into the microwave for 20 seconds to melt any remaining bits of chocolate.)
- Add the granulated sugar to the melted chocolate mixture. Using an electric mixer, beat on low speed until well combined, about 30 seconds. Add the eggs one at a time, beating on low speed between each addition for about 20 seconds. Quickly beat in the vanilla. Add the cocoa powder and mix on low speed until evenly incorporated. Pour the batter into the prepared pan and bake for 32 to 35 minutes, or until the cake is puffed and set (it will likely crack a bit on top; that's normal and part of the charm of the cake). It's a little tricky to test for doneness, but if you insert a toothpick or cake tester into the center of the cake through one of the cracks, you should get wet crumbs. Let the cake cool on a rack for 15 minutes, then remove the ring on the springform pan and allow the cake to cool completely.
- No more than 3 hours before serving, make the topping. In the bowl of an electric mixer fitted with the whisk attachment (or beaters), whip the heavy cream until slightly thickened. Sprinkle the confectioners' sugar over the cream and beat until soft, pillowy peaks form. Do not overbeat.
- Dollop and swirl the whipped cream decoratively over the cake. Sift a bit of cocoa powder over the cream and decorate with chocolate curls (if using).
Notes
- The easiest way to sift the cocoa powder is to pass it through a fine mesh sieve when adding it to the cake batter.
- Make-Ahead Instructions: The base of the cake can be made up to one day ahead of time and stored in a covered container in the refrigerator. Allow the cake to come to room temperature before topping with whipped cream and serving. Leftover cake can be stored in a covered container in the refrigerator for up to 3 days (bring to room temperature before serving).
Nutrition Information
This website is written and produced for informational purposes only. I am not a certified nutritionist and the nutritional data on this site has not been evaluated or approved by a nutritionist or the Food and Drug Administration. Nutritional information is offered as a courtesy and should not be construed as a guarantee. The data is calculated through an online nutritional calculator, Edamam.com. Although I do my best to provide accurate nutritional information, these figures should be considered estimates only. Varying factors such as product types or brands purchased, natural fluctuations in fresh produce, and the way ingredients are processed change the effective nutritional information in any given recipe. Furthermore, different online calculators provide different results depending on their own nutrition fact sources and algorithms. To obtain the most accurate nutritional information in a given recipe, you should calculate the nutritional information with the actual ingredients used in your recipe, using your preferred nutrition calculator.
Gluten-Free Adaptable Note
To the best of my knowledge, all of the ingredients used in this recipe are gluten-free or widely available in gluten-free versions. There is hidden gluten in many foods; if you're following a gluten-free diet or cooking for someone with gluten allergies, always read the labels of your ingredients to verify that they are gluten-free.
Hi Jen love this cake ! I’ve made it a couple times. I would like to add those chocolate curls – how are those made?
Thx for all your delicious recipes!!
So glad you like it! To make the chocolate curls, you’d use a good quality chocolate bar and run a vegetable peeler lengthwise along the flat side of the chocolate. It helps to have the chocolate ever so slightly warm—the curls will be a bit more flexible that way. Before peeling, you can pop the chocolate in the microwave for 5 to 10 seconds (it should feel just barely warm). Hope that helps!