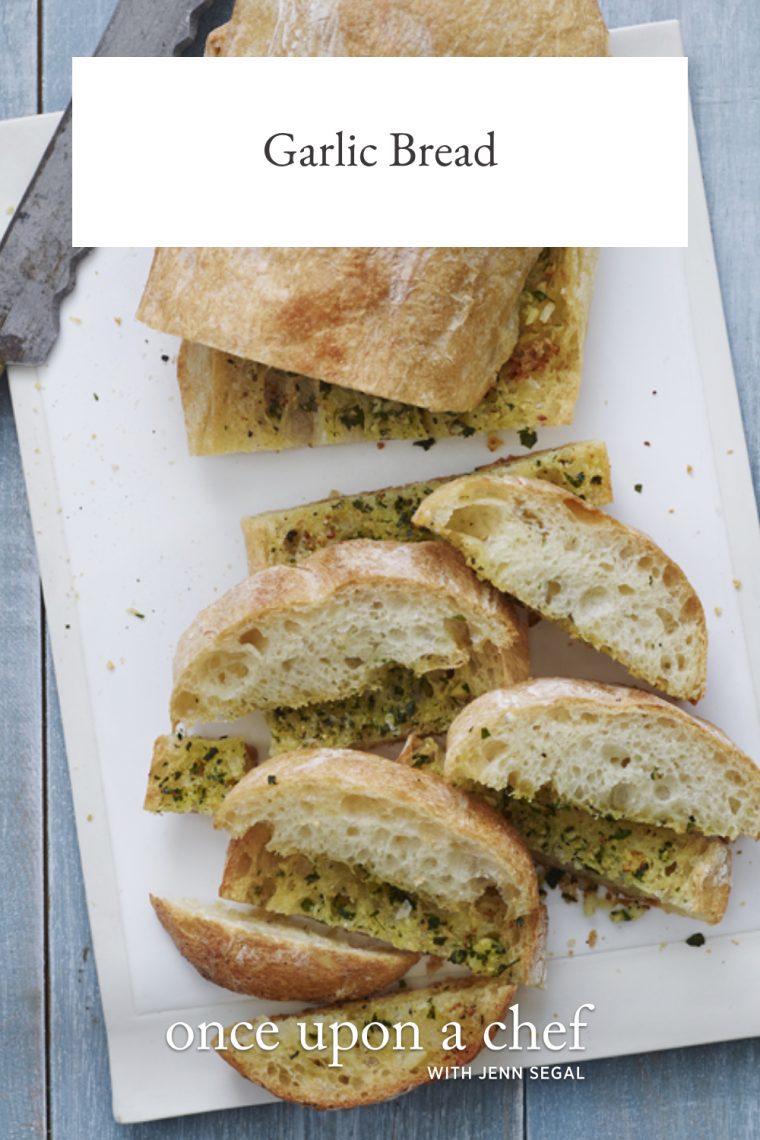
Garlic Bread

This post may contain affiliate links. Read my full disclosure policy.
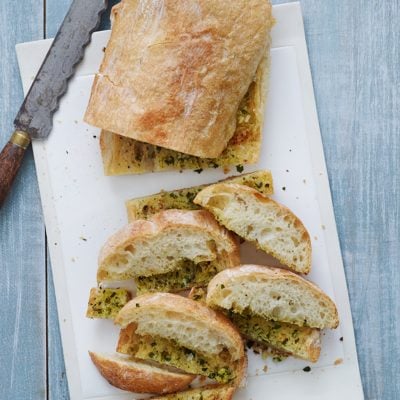
Looking for the perfect garlic bread recipe? This one delivers golden, buttery perfection with just the right amount of garlicky goodness.
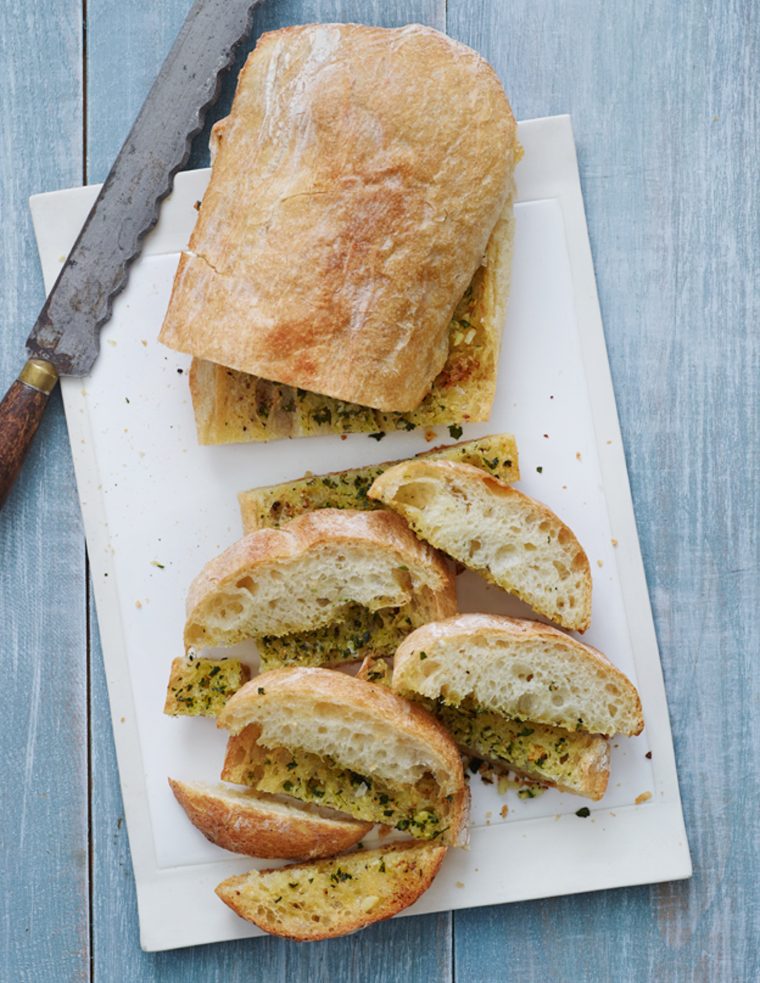
Photo by Alexandra Grablewski (Chronicle Books, 2018)
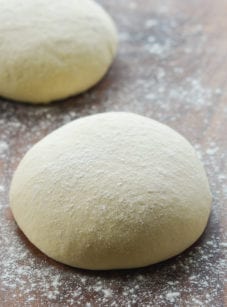
There’s always happiness at my house when garlic bread is on the menu, so this easy recipe is in the regular rotation. I use a store-bought Italian ciabatta (pronounced cha-bah-tah) because it has a crisp crust and a soft, porous texture that soaks up the garlic butter perfectly.
To mellow the sharp bite of raw garlic, I cook the garlic butter on the stovetop before spooning it onto the bread—it’s a simple trick that makes a big difference. Garlic bread should pack a punch, but it shouldn’t knock you out!
“This homemade garlic bread is the best! Wonderful as is, but sometimes we sprinkle on a little Parmesan cheese. I serve this with spaghetti, and my kids and hubby always go back for more!””
What You’ll Need To Make Garlic Bread
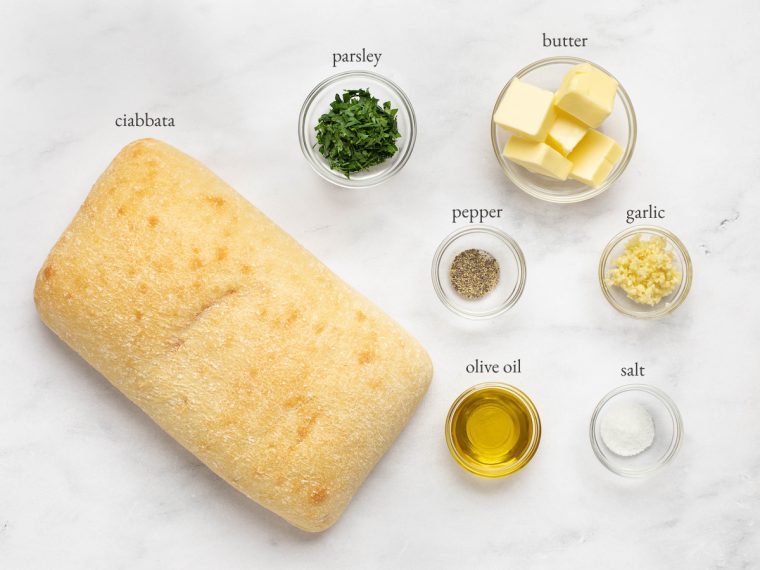
- Extra-virgin olive oil and unsalted butter: Together, they add richness and flavor to the garlic butter mixture.
- Garlic: Fresh minced garlic is key here—it infuses the bread with that classic, craveable aroma and flavor. Cooking the garlic slowly in butter and oil brings out its sweetness without burning.
- Finely chopped fresh parsley: Adds a fresh, herby note and a pop of green.
- Ciabatta bread: Crusty on the outside, soft on the inside—it soaks up the garlic butter like a dream. A baguette works too if that’s what you’ve got.
- Jump to the printable recipe for precise measurements
Step-by-Step Instructions
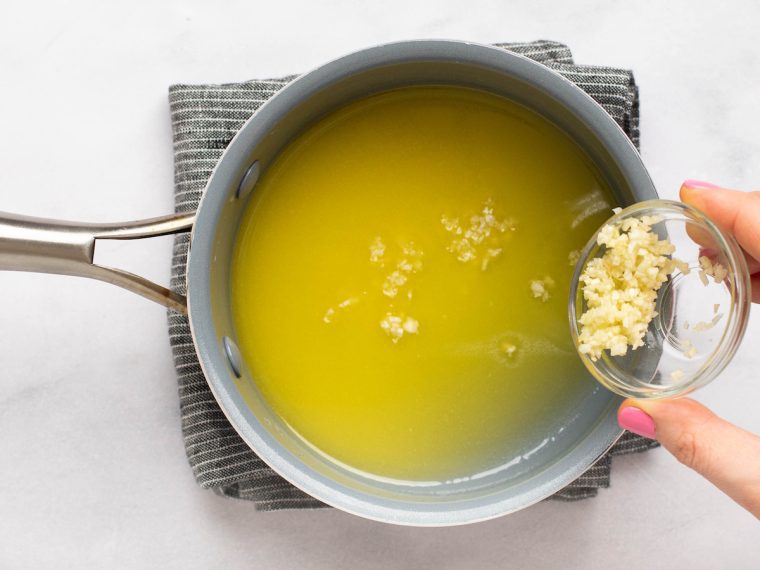
Step 1: Make the garlic butter. In a small saucepan over low heat, melt the butter with the oil. Add the garlic and cook gently for 1 to 2 minutes, stirring occasionally, until soft and fragrant but not browned.
Step 2: Season the butter mixture. Remove from the heat and stir in the salt, pepper, and parsley.

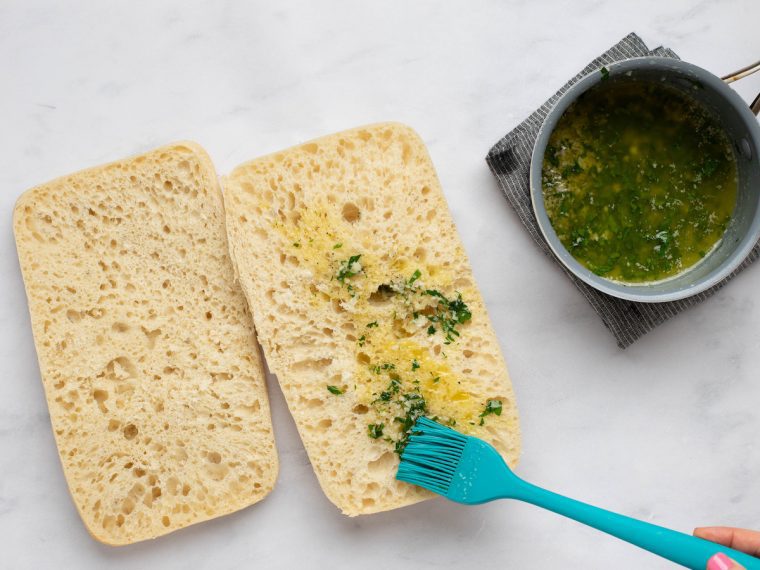
Step 3: Prep the bread. Slice the bread in half horizontally, then brush or spoon the garlic butter all over the cut sides so they’re fully coated. (Take time to make sure it gets into all the nooks and crannies for maximum flavor in each bite.)
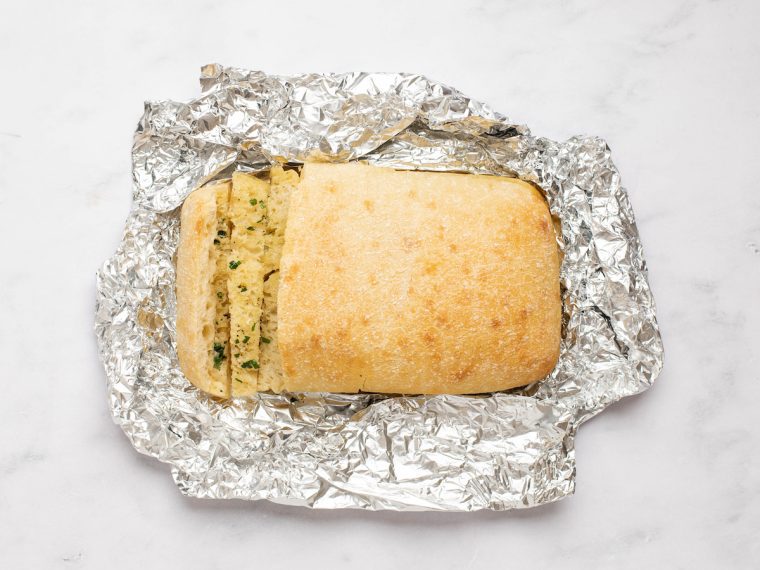
Step 4: Wrap and bake. Put the halves back together, wrap tightly in foil, and bake in at 400°F oven directly on the rack for 10 minutes. Unwrap and bake 5 minutes more, until crisp and golden. Slice, serve warm, and enjoy!
Pro tip: Wrapping in foil steams the bread so it’s soft, but baking it for a few minutes unwrapped will give you that perfect crispy top.
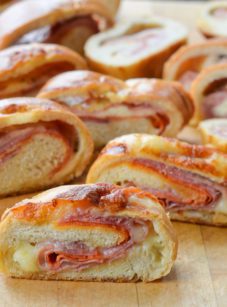
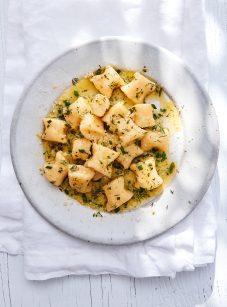
More Italian FAvorites You May Like

Best Garlic Bread
Ingredients
- 2 tablespoons extra-virgin olive oil
- 6 tablespoons unsalted butter
- 3 cloves garlic, minced
- ½ teaspoon salt
- ¼ teaspoon freshly ground black pepper
- 2 tablespoons finely chopped fresh parsley
- 1 (1-lb) loaf ciabatta bread
Instructions
- Preheat the oven to 400°F (200°C) and set an oven rack in the middle position.
- In a small skillet, heat the oil and butter over low heat. When the butter is melted, add the garlic and cook, stirring occasionally, until softened and fragrant but not browned, 1 to 2 minutes. Off the heat, stir in the salt, pepper, and parsley.
- Slice the ciabatta in half horizontally. Brush or spoon the garlic butter mixture over the cut sides of the bread, covering completely. Place the halves back together again and wrap in aluminum foil. Place directly on the oven rack and bake until warm, about 10 minutes. Unwrap the bread and place it back in the oven, with the halves still together, for about 5 minutes, or until toasted and crisp. Cut into slices and serve.
Nutrition Information
This website is written and produced for informational purposes only. I am not a certified nutritionist and the nutritional data on this site has not been evaluated or approved by a nutritionist or the Food and Drug Administration. Nutritional information is offered as a courtesy and should not be construed as a guarantee. The data is calculated through an online nutritional calculator, Edamam.com. Although I do my best to provide accurate nutritional information, these figures should be considered estimates only. Varying factors such as product types or brands purchased, natural fluctuations in fresh produce, and the way ingredients are processed change the effective nutritional information in any given recipe. Furthermore, different online calculators provide different results depending on their own nutrition fact sources and algorithms. To obtain the most accurate nutritional information in a given recipe, you should calculate the nutritional information with the actual ingredients used in your recipe, using your preferred nutrition calculator.
Hi there! If I don’t have fresh garlic can I substitute garlic powder?
Thanks!
I think you could in a pinch, but this is definitely best with fresh garlic.
I use Trader Joe’s ciabatta rolls and this recipe is enough for the 4 pack. My family loves it. Sometimes I get caught without fresh parsley but dried works too for that little bit of color. This is the only garlic bread I ever make and it goes with any meal I put on the table. It’s quick, easy and makes store bought bread taste homemade.
Silly question. When you take it out of the foil, do you put it butter side up or keep it as an “intact loaf” to crisp it up. Thank you.
Hi Kim, I keep the loaf intact after removing it from the foil, but if you’d prefer a crispier inside, you could open it with the butter side up.
This homemade garlic bread is the best! Wonderful as is, but sometimes we sprinkle on a little Parmesan cheese. I serve this with spaghetti. My kids and hubby always go back for more!
I’ve been making garlic bread forever, and didn’t really think I needed a recipe. I decided to follow this anyway, and it was the BEST!!! I’m never going back to my random method. I started with a good ciabatta from Whole Foods and went from there. This will be my forever go-to for the perfect garlic bread.
I should have said, prepared up to the point of baking, wrapped in foil, then frozen.
Yup, that’s what I assumed.