
Hummus

This post may contain affiliate links. Read my full disclosure policy.
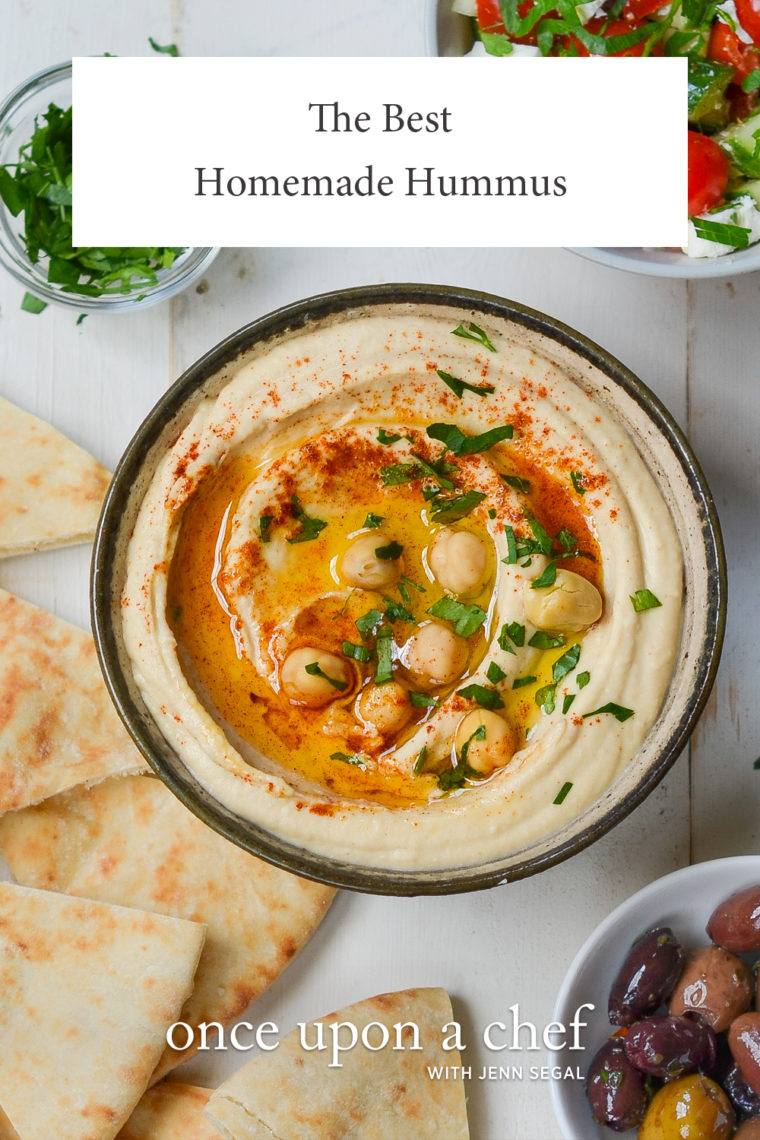
Smooth and creamy with just the right balance of tahini, lemon, and garlic, this is my go-to hummus recipe—without any soaking, peeling, or other fussy steps.
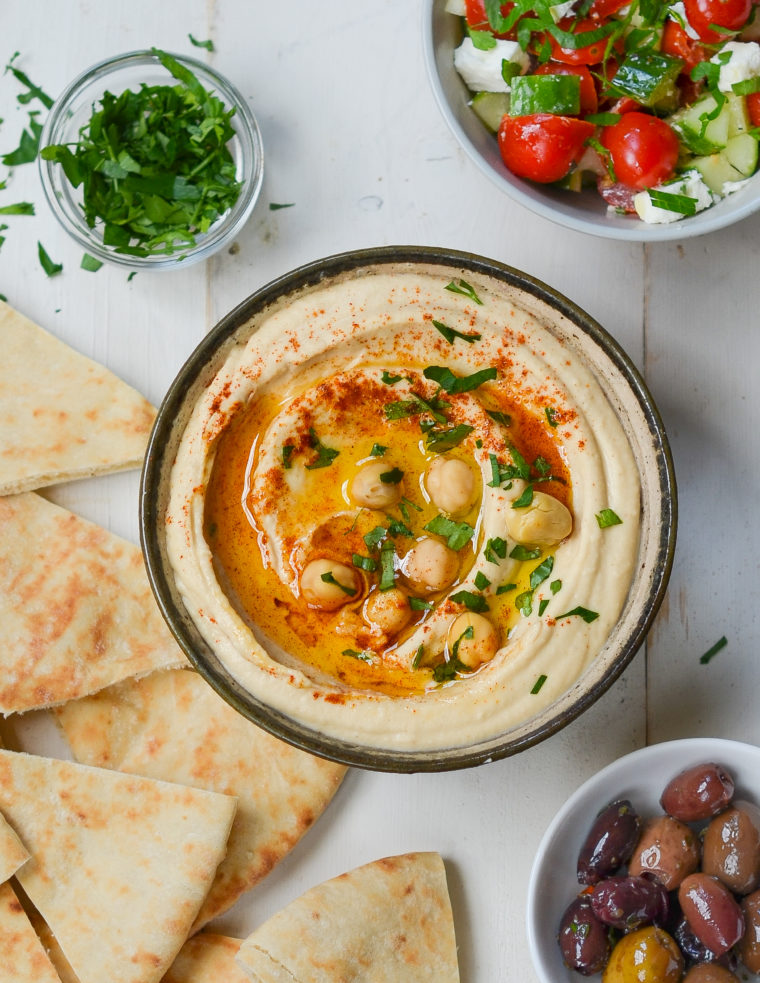
I first traveled to Israel in college, and I’ve been lucky enough to return a few times since. Hummus is practically its own food group there, and on one of my trips, I was fortunate enough to learn this recipe from a kabob maker in the Old City of Jerusalem. It’s been my go-to ever since.
A staple throughout the Middle East, hummus is a simple blend of chickpeas, tahini, lemon, and garlic, but getting the texture and balance just right makes all the difference. Many recipes call for starting with dried chickpeas or peeling them one by one, but after trying those methods myself, I don’t think the extra work is necessary. Canned chickpeas and a few minutes in the food processor give you wonderfully smooth, creamy hummus with a fraction of the effort.
“This hummus recipe is FANTASTIC — the best I have ever had — and also ridiculously easy to make. No more store-bought hummus for me!”
What You’ll Need To Make Hummus
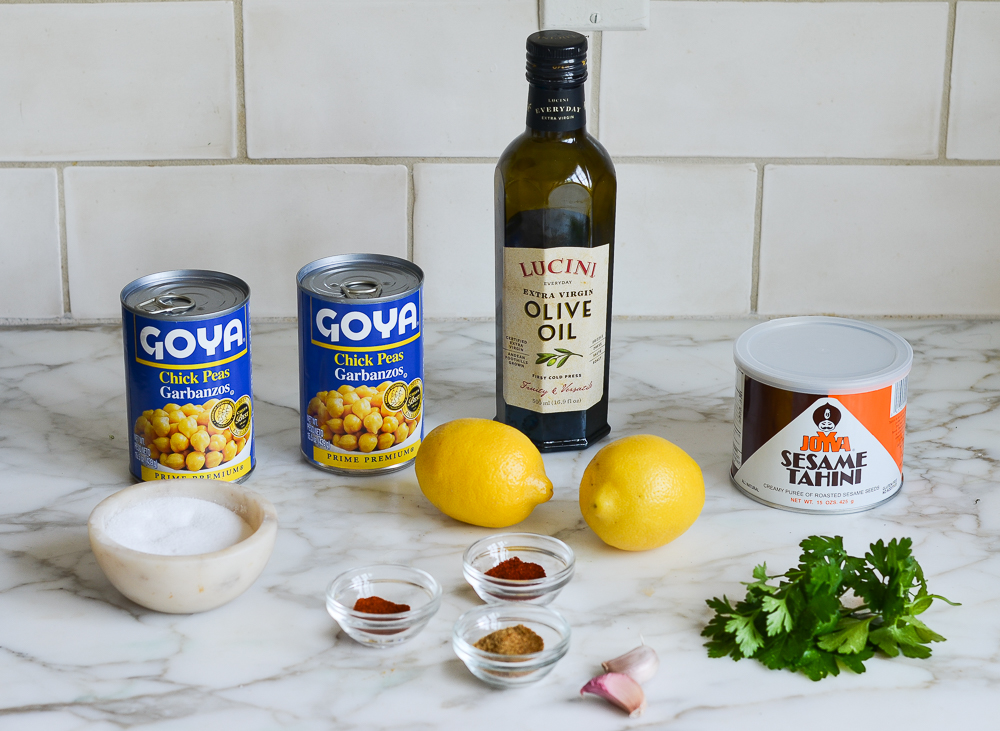
- Chickpeas: Canned chickpeas make this recipe quick and easy, and after experimenting with dried chickpeas, I’ve found the difference in the finished hummus is minimal. Be sure to reserve some of the liquid from the can—you’ll use it to adjust the consistency. If you prefer to start with dried chickpeas, cook them until very tender and use some of the cooking liquid in place of the reserved canning liquid.
- Tahini: This sesame paste gives hummus its distinctive nutty flavor and creamy texture. Tahini naturally separates in the jar, so give it a good stir before measuring.
- Fresh lemon juice: Adds brightness and acidity, balancing the richness of the tahini and olive oil. Freshly squeezed makes a noticeable difference here.
- Garlic: A small amount goes a long way in hummus. Since it’s added raw, its flavor will be quite pronounced, so I wouldn’t be tempted to add extra.
- Extra-virgin olive oil: Adds richness and helps give the hummus a smooth, luscious texture. I also like to drizzle a little over the top for serving.
- Cumin & cayenne: Cumin adds earthy warmth, while a pinch of cayenne gives the hummus a subtle kick without making it spicy.
- Paprika: Adds a pop of color and a subtle, smoky flavor. If you’re looking to switch things up, try sumac or za’atar instead. Sumac is a tangy, lemony spice; za’atar is a spice blend that typically includes thyme, sesame seeds, sumac, and salt.
- Jump to the printable recipe for precise measurements
How To Make Hummus
Drain the chickpeas, then combine them in a food processor with the remaining ingredients and process until smooth and creamy. Let the machine run for several minutes—the extra processing time makes a noticeable difference in the texture.
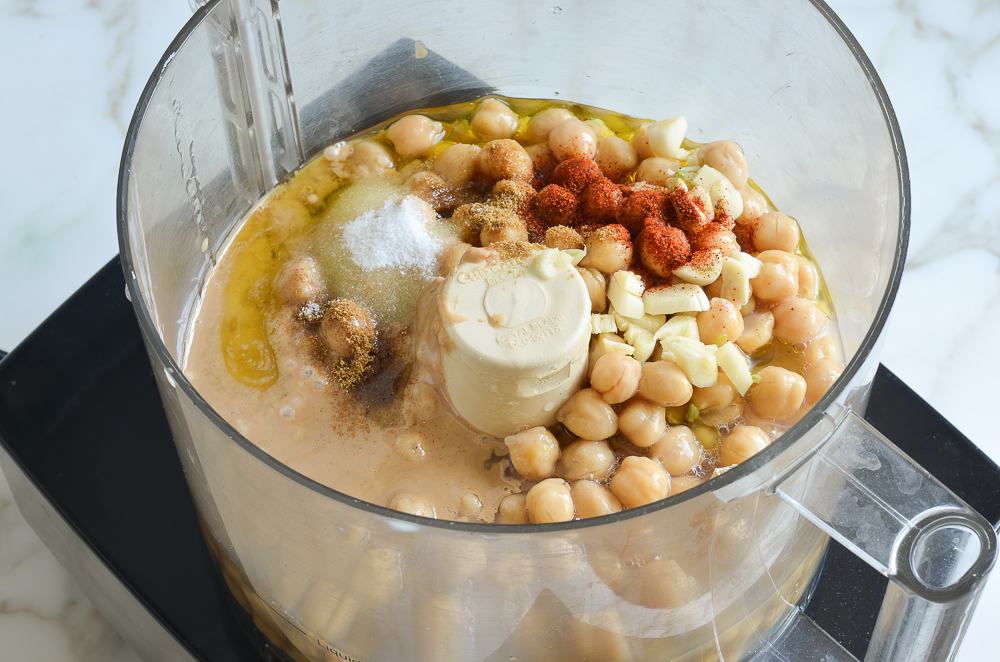
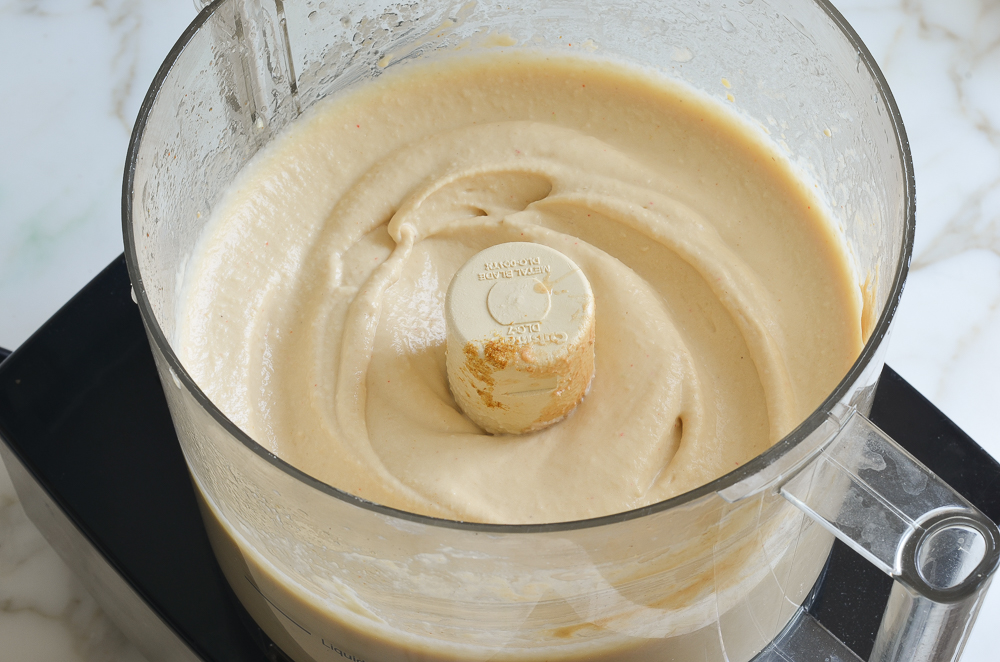
No food processor? A high-powered blender works well, though you may need a little extra chickpea liquid to keep everything moving.
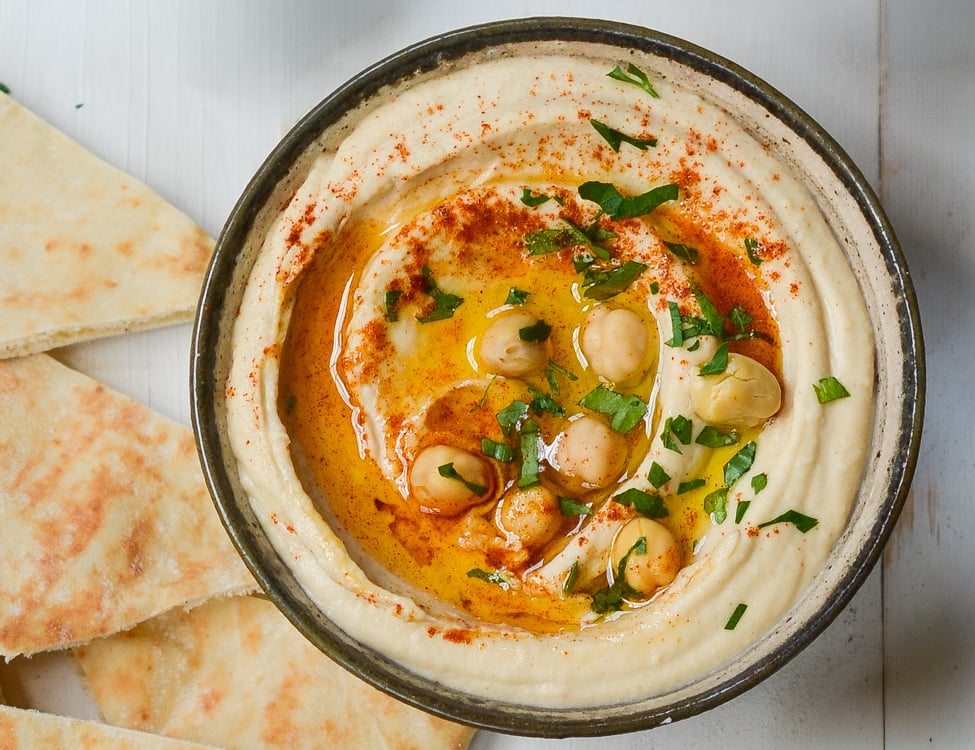
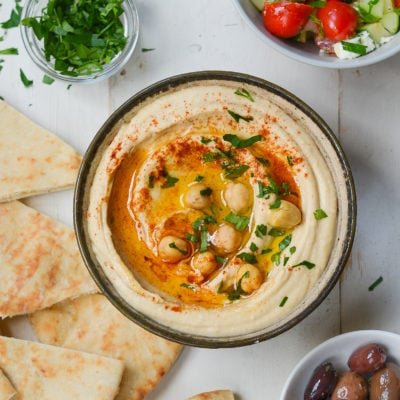
Spoon the hummus into a serving bowl and use the back of a spoon to make a few swirls on top. Drizzle with olive oil and garnish with a few chickpeas and a sprinkle of paprika or fresh parsley. Enjoy!
Once you’ve got the classic down, try my roasted red pepper hummus—it’s just as easy and adds a sweet, smoky twist to the original.
Hummus
Ingredients
- 2 (15½ oz) cans chickpeas
- ¼ cup freshly squeezed lemon juice, from 2 lemons
- ¼ cup sesame tahini, well stirred (preferably Joyva Sesame Tahini)
- 2 small cloves garlic, roughly chopped
- Heaping ¼ teaspoon cumin
- ⅛ teaspoon cayenne pepper
- 1 teaspoon salt
- 3 tablespoons extra-virgin olive oil, plus more for drizzling
- 1 tablespoon freshly chopped parsley, for serving (optional)
- Paprika for serving (optional)
Instructions
- Reserving the liquid from the cans, drain the chickpeas in a colander (no need to rinse them). Set a few chickpeas aside for garnishing the hummus.
- In the bowl of a food processor fitted with metal blade, combine the chickpeas, lemon juice, tahini, garlic, cumin, cayenne pepper, salt, olive oil, and ⅓ cup of the reserved canning liquid. Process for several minutes until smooth and creamy. The hummus should hold its shape when you drag a spoon through it; add more liquid and process again if it seems too thick. Taste and adjust seasoning, if necessary.
- Transfer the hummus to a serving bowl. Use the back of a spoon to swirl a shallow well in the center. Drizzle a little olive oil in the well; sprinkle with parsley and paprika, then garnish with the reserved chickpeas. Serve at room temperature with pita bread, pita chips or crudités.
Notes
Nutrition Information
This website is written and produced for informational purposes only. I am not a certified nutritionist and the nutritional data on this site has not been evaluated or approved by a nutritionist or the Food and Drug Administration. Nutritional information is offered as a courtesy and should not be construed as a guarantee. The data is calculated through an online nutritional calculator, Edamam.com. Although I do my best to provide accurate nutritional information, these figures should be considered estimates only. Varying factors such as product types or brands purchased, natural fluctuations in fresh produce, and the way ingredients are processed change the effective nutritional information in any given recipe. Furthermore, different online calculators provide different results depending on their own nutrition fact sources and algorithms. To obtain the most accurate nutritional information in a given recipe, you should calculate the nutritional information with the actual ingredients used in your recipe, using your preferred nutrition calculator.
Gluten-Free Adaptable Note
To the best of my knowledge, all of the ingredients used in this recipe are gluten-free or widely available in gluten-free versions. There is hidden gluten in many foods; if you’re following a gluten-free diet or cooking for someone with gluten allergies, always read the labels of your ingredients to verify that they are gluten-free.
Can this hummus be frozen for later use? I’ve been making it for my daughter’s school snack to go with her veggies, but as wonderful as it is we never get through it all.
Hi Shannan, I’ve never frozen it, but a few people have commented that they have and that it was still good when thawed, so I think it’s worth a try!
Thank you!
Love this recipe; it’s my go to hummus. Thank you!
Wow. A neighbor told me this recipe was good and I agree. I made it for a gathering and everyone asked about it. Your recipes are always so spot on and delicious. And this was a very fast, easy recipe so thanks for that too!
I know that many people like Goya beans, and some online reviewers praise the brand, but I do wish that other canned brands of beans, and especially garbanzo beans for hummus, would be noted and promoted. Eden Foods has all kinds of ORGANIC beans that are absolutely excellent. They have all kinds of canned and dried beans. The real benefit of not buying or promoting Goya brand though is that the owner has a very particular reputation and his wealth and influence enables him to use that reputation to help people and causes that Jenn Segal and her fans might not want to enable. Try Eden Foods for great beans! (I have no financial or any other connection to Eden Foods, other than as a long-time customer.)
On the other hand, Jenn and her fans MAY want to enable. It’s their choice. I find Goya to be a fine product and I buy the product, not the politics. Same with Ben and Jerry ice cream and many other products. You don’t have to agree with their politics, but if the product is good………
Luckily, we all have that freedom of choice.
Good recipe. I’ve been making it like this for a long time. My variation is to use garlic simmered in olive oil instead of raw garlic, and the olive oil it was simmered in. I usually also add the pepper flakes to the garlic while it cooks. I’ve found that Korean gochugaru chili flakes work great.
Perfect texture but unfortunately too bland for my taste. Next time, I will add more garlic and cumin.
My friend made this. Absolutely delicious! I want to ask what size food processor is best to use for this recipe? I’m in the market for one and can’t decide between the 10 cup or 14 cup sizes.
Glad you liked it! I used highly recommend this one but you could get away with an 11-cup bowl if need be (I wouldn’t go any smaller.) Hope that helps!
I have made many similar hummus recipes, but this is definitely the winner. Just the right amount of everything…thank you for sharing this!
Since I have used and enjoyed so many recipes from your site, I thought that I would return the favor and share this hummus recipe from Zahav restaurant in Philadelphia. A bit more complicated, but truly the best I have ever had…and it freezes well. One secret is the method and the other to outstanding hummus is this brand of tahini, Sooms, from a woman owned company, also I think from Philly. Available directly from their site or Amazon.
ZAHAV’S HUMMUS
INGREDIENTS
• 1 cup dried chickpeas = 3 c. cooked= 2 cans of garbanzo beans
• 2 teaspoons baking soda
• Juice of 1 1/2 large lemons (about 1/3 cup), more to taste
• 2 to 4 cloves garlic, grated
• 1 ¾ teaspoons kosher salt, more to taste
• 1 cup sesame tahini
• 1 teaspoon ground cumin, more to taste
• Paprika, for serving
• Olive oil, for serving
• Chopped fresh parsley, for serving
Email Grocery List
PREPARATION
1. In a bowl, cover chickpeas by at least 2 inches of cold water. Add 1 teaspoon baking soda and let soak at room temperature overnight. Drain and rinse.
In a medium pot, cover soaked chickpeas by at least 4 inches of water. Add the remaining teaspoon baking soda and bring to a boil over high heat. Reduce heat to medium high and let cook at a vigorous simmer until chickpeas are quite soft, 1 to 1 1/2 hours. (Overcooked chickpeas are the secret to creamy hummus, so don’t worry if they start to break down a little.) Drain and gently, lightly rinse to get some of the baking soda water off. (As an alternate try stewing the chick peas with some rhubarb to replace the lemon used later on in the recipe.)
2. While chickpeas are cooking, make the tahini sauce. In a blender or cusinart combine the lemon juice, garlic and 1/4 teaspoon salt. Let mixture sit 10 minutes. Add tahini, remaining 1 1/2 teaspoons salt and the cumin, and blend until a thick paste forms. Then add 1/3 to 2/3 cup ice water while blender is running, a little at a time, until sauce is smooth. (Go a bit less than 2/3 c. as you can add more if you need it in the next step. You’re looking for a perfectly smooth, creamy sauce. Blend about 2 minutes.)
3. Add the warm, drained chickpeas to blender with tahini mixture. Blend until perfectly smooth and not at all grainy, stopping to scrape down sides of bowl occasionally. This blending may take upward of about 2 minutes; just keep going until the mixture is ultra creamy and fluffy, adding a little water if you need it to make the contents of the blender move. Taste for seasonings, adding more salt, lemon juice and/or cumin as needed.
4. To serve, spread the hummus on a plate, dust with paprika, drizzle with olive oil and sprinkle with parsley.
5. My optional changes: if you want to make spicy hummus add about 1/4-1/2 c. Mama Lil’s peppers and a bit of the oil and blend well in the Cuisinart or blender. I often make three different kinds of hummus. Divide mixture into thirds, add Mama Lil’s to 1/3, add sun dried tomatoes to a third and leave a third plain. When you are adding peppers or sun dried tomatoes remember to blend well in the Cuisinart or blender. Three kinds, just one recipe!
Thanks for sharing it! 😊
If you can make this two days ahead, does that mean I can only keep this for two days?
It’s just my husband and me. He doesn’t eat a lot of it. Though he may, judging by all great reviews.
Hi Sunny, Yep, that’s correct. It may last longer than two days, but I always like to err on the conservative side from a food safety perspective.