Labneh
- By Jennifer Segal
- Updated March 31, 2025
- 7 Comments
- Leave a Review

This post may contain affiliate links. Read my full disclosure policy.
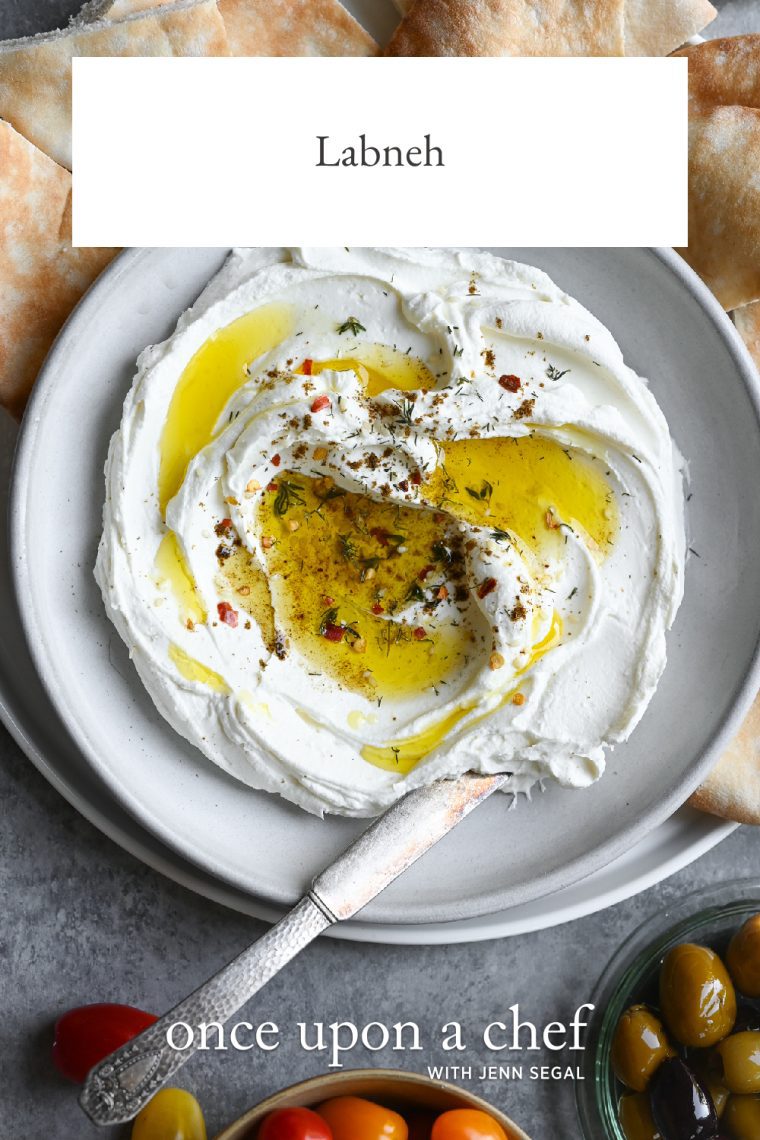
Creamy, tangy, and incredibly easy to make, this labneh recipe is your new go-to for snack boards, spreads, and dips. All it takes is yogurt, salt, and a little patience.
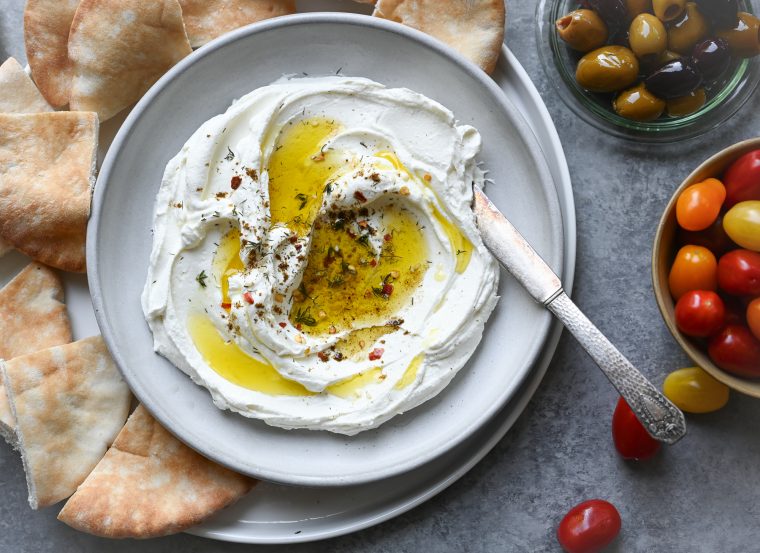
Labneh (pronounced lab-nay), also known as lebnah, labne, labni, or labaneh, is a Middle Eastern dairy product made by straining yogurt to remove most of its whey, or liquid. If you’ve tried Greek yogurt, another form of yogurt that undergoes a similar process, you’ll find labneh even thicker, akin to soft cream cheese in consistency, with a distinctive tang. In fact, it is often referred to as “yogurt cheese.”
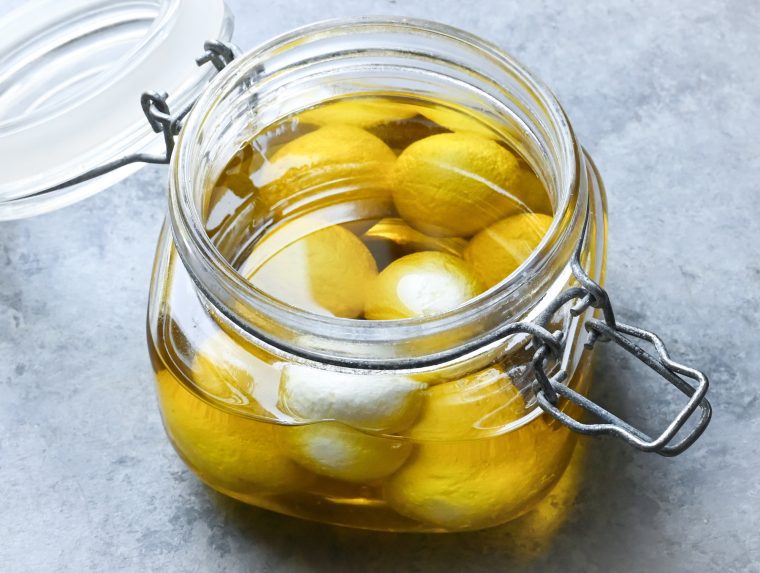
While labneh is versatile, it’s most commonly served as part of a mezze (appetizer) spread with bread and fresh vegetables, garnished with various toppings like olive oil, herbs, or spices, similar in presentation to hummus. In some variations, it’s further thickened and rolled into balls, then preserved in jars of olive oil.
“”This recipe is so ridiculously easy and tasty that I’m looking forward to trying it again with different combinations of herbs and spices.””
Traditional Method For Making Labneh
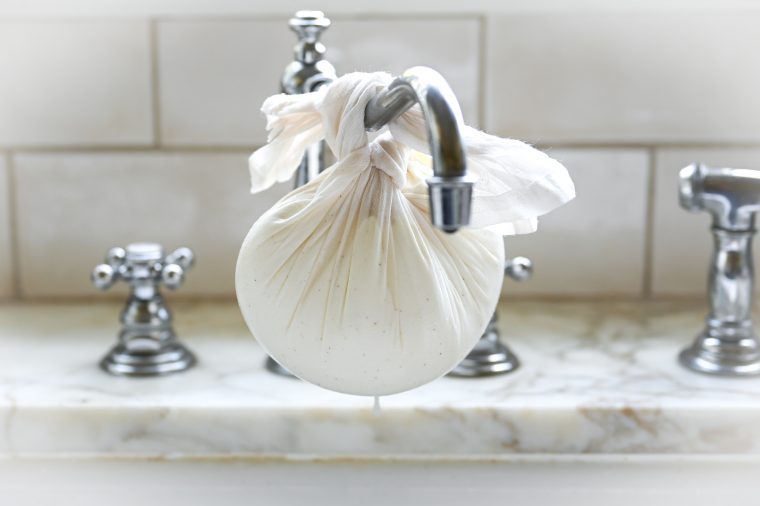
In the Middle East, labneh is traditionally made by tying up yogurt in a cloth and hanging it from the kitchen faucet, letting the whey slowly drip away and concentrate the flavor and texture. It’s an age-old technique that’s been used for generations, and thanks to the salt and acidity in the yogurt (natural preservatives), it keeps well as it strains.
That said, if you’d rather strain it in the fridge to keep things extra fresh, I’ll show you how to do that below.
Common Uses For Labneh
- Drizzle with olive oil and sprinkle with herbs (like za’atar or mint) and serve as a dip with pita bread or fresh vegetables.
- Spread on toast or sandwiches, or accompany with olives, tomatoes, or cucumbers.
- Savor alongside jams or honey for breakfast; pair with fresh fruits, nuts, granola, and a drizzle of honey.
- Dollop onto salads for a creamy addition.
What You’ll Need To Make Labneh
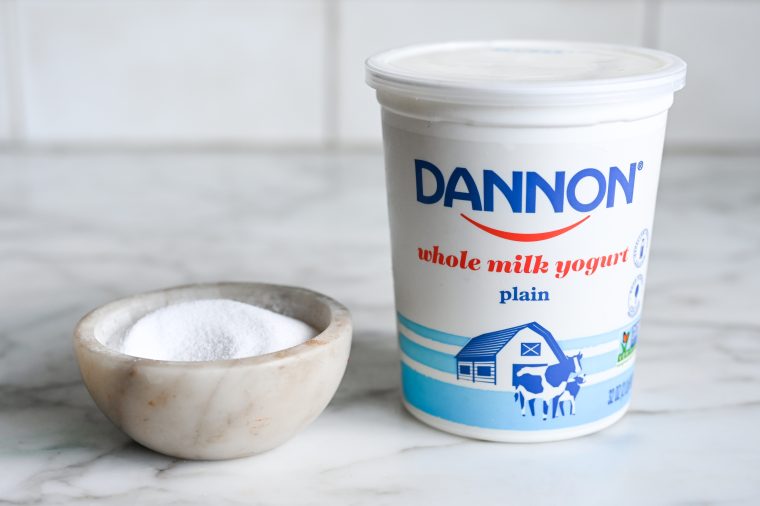
- Whole Milk Plain Yogurt: The base of labneh, strained to remove excess whey, creating a thick, creamy, and tangy spread.
- Salt: Enhances the flavor and helps draw out moisture during the straining process.
- Olive Oil, Herbs, And Spices (Optional): A classic finishing touch that adds richness, color, and flavor—perfect for serving labneh as a dip or spread.
- Jump to the printable recipe for precise measurements
Step-by-Step Instructions
Prep: First, decide how you want to strain the labneh: hanging it or letting it sit in a colander over a bowl. For the hanging method, you’ve got a few options—tie the bundle to your sink faucet, a wooden spoon balanced over a bowl (just make sure there’s space underneath for the liquid to collect), or any hook or handle where it can hang freely.
If you’re using the bowl method, set a medium mesh colander over a bowl and line it with cheesecloth. (No cheesecloth? You can also use a few layers of sturdy paper towels or coffee filters in a pinch. Just avoid scented paper towels, as they can impact the flavor.)
Mix: In a large bowl, whisk together the yogurt and salt until fully combined.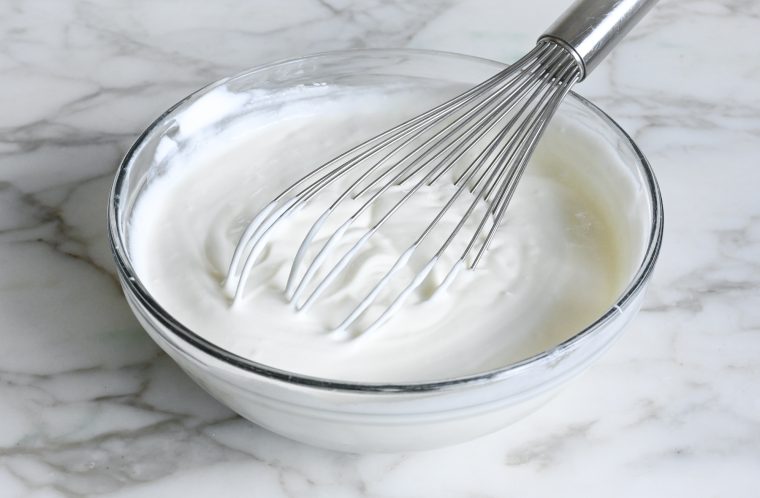
Strain: Pour the yogurt mixture into the cheesecloth-lined colander. Use a rubber spatula to gently spread the yogurt into an even layer inside the cloth—this encourages more uniform draining.
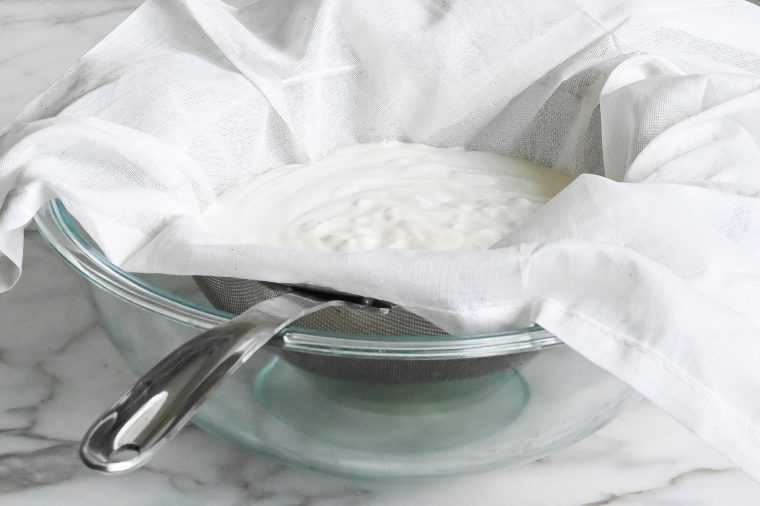
Gather up the edges of the cloth, ensuring you have enough material on two opposite ends to tie securely into a knot. Hang the bundle over a bowl or sink, or let it rest in the colander over the bowl.
You can let the yogurt strain at room temperature (over the sink works well) for a more traditional approach, or pop it in the fridge if you prefer. It’ll need anywhere from 12 to 24 hours, depending on how thick you want your labneh. (The longer it drains, the more whey is removed—and the thicker and creamier it gets.)

Once the desired texture is achieved, transfer the labneh to a bowl and stir until smooth. (Use a flexible spatula to scrape the labneh from the cloth—it may stick a bit, so take your time to get every bit.)
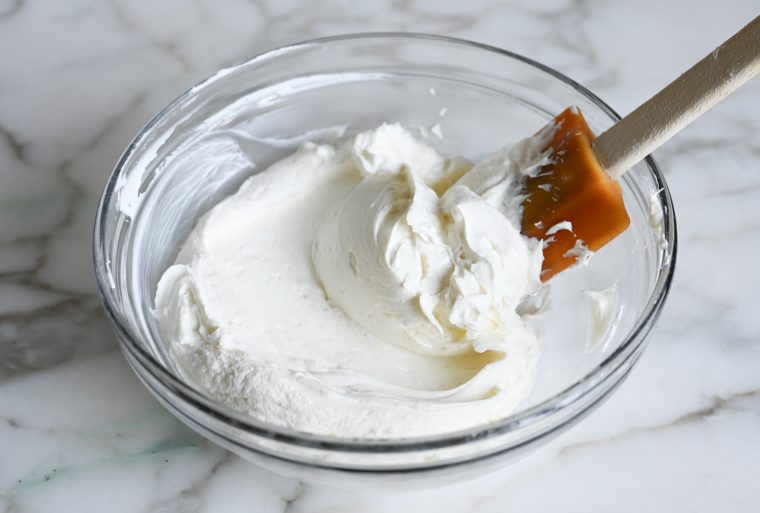
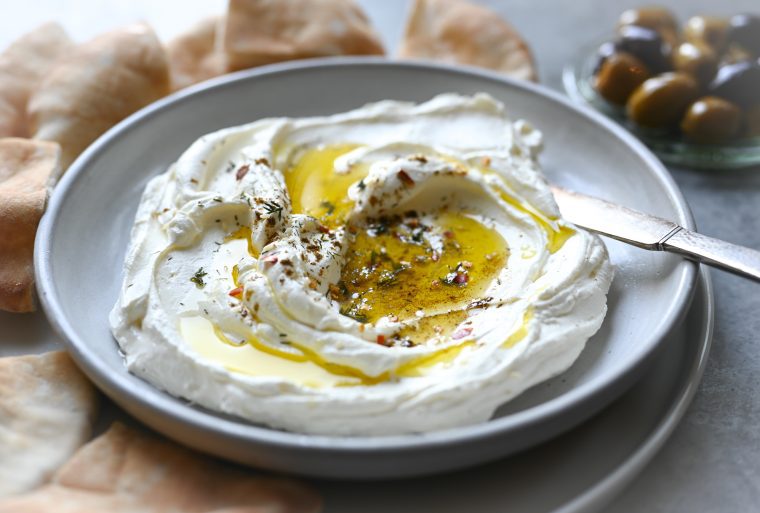
Swirl the labneh onto a plate, drizzle with olive oil, and sprinkle with fresh herbs or spices. Enjoy!
How To Make Labneh Balls (Labneh Korat)
For longer storage, shape the thickened labneh into small balls and preserve them in olive oil. These labneh balls, or “labneh korat,” are great on antipasto platters, in salads, or spread on bread and crackers. They also pair well with fresh herbs, spices, and olives.
For best results, strain the yogurt in the fridge for up to 48 hours until very thick. You can also start with Greek yogurt for a thicker base, but regular whole milk yogurt gives the best flavor and creaminess. Once shaped and stored in oil, the labneh balls will keep in the fridge for 2 to 3 weeks. Add aromatics like rosemary sprigs, garlic cloves, or chili flakes to the oil for extra flavor.
More Middle Eastern Recipes You May Like
Labneh

Labneh: Thick, tangy, and endlessly versatile—this Middle Eastern favorite starts with just a tub of yogurt.
Ingredients
- 1 (32-oz) container whole milk plain yogurt (4 cups)
- 1 teaspoon salt
- Olive oil, herbs, and spices, for serving (optional)
Instructions
- Prep: Decide if you're going to hang the labneh or strain it in a colander over a bowl. For hanging, you have several options: over the sink faucet, tied to a wooden spoon set over a bowl (ensuring there's a few inches of space underneath for the liquid to collect), or any suitable hook or handle where it can hang freely. If you're opting for the bowl method, set up a medium mesh colander over a bowl. Regardless of the chosen method, to prepare the labneh for straining, line a colander with cheesecloth and set over a bowl. (If using the bowl method, if you don't have cheesecloth, multiple layers of sturdy paper towels or coffee filters can also be used.)
- Mix: In a large bowl, whisk together the yogurt and salt until fully combined.
- Strain: Pour the yogurt mixture onto the cheesecloth in the colander. Gather up the edges of the cloth, ensuring you have enough material on two opposite ends to tie securely into a knot. If using the hanging method, hang the bundle using your chosen method from step 1, ensuring it's placed above a bowl or directly over the sink. If you're using the bowl method, simply let it strain over the colander into the bowl. Allow the yogurt mixture to drain. This can be done at room temperature (i.e., over the sink) for a traditional approach, or in the refrigerator if you prefer. The draining process can range from 12 to 24 hours, depending on your desired labneh consistency. (The draining process removes whey from the yogurt, thickening its texture. The longer it drains, the thicker your labneh will be. The salt and acidity in the yogurt act as natural preservatives, making room temperature draining safe.)
- Serve: Once the desired texture is achieved, transfer the labneh to a bowl and stir to smooth out. Swirl the labneh onto a plate, drizzle with olive oil, and sprinkle with fresh herbs and spices, if you like.
- Make-Ahead Instructions: Labneh will keep for about 2 weeks stored in a covered container in the refrigerator. It can also be formed into balls and preserved in olive oil for longer shelf life (about 1 month). These labneh balls, or "labneh korat," are perfect for antipasto platters, salads, or as a spread on bread and crackers. They also pair well with fresh herbs, spices, and olives. If you're considering this method, it's best to strain the yogurt for up to 48 hours so that it's thick enough to shape. Alternatively, you could start with Greek yogurt as it results in a thicker consistency. However, for the standard labneh preparation, regular whole milk yogurt is preferable due to its creamier texture and richer taste.
Gluten-Free Adaptable Note
To the best of my knowledge, all of the ingredients used in this recipe are gluten-free or widely available in gluten-free versions. There is hidden gluten in many foods; if you're following a gluten-free diet or cooking for someone with gluten allergies, always read the labels of your ingredients to verify that they are gluten-free.
See more recipes:
Comments
Add a Comment Cancel reply
This site uses Akismet to reduce spam. Learn how your comment data is processed.



Jumping in here (again) to say how much I love-love-LOVE this recipe. I don’t even measure any more, because I make a variation of it every week, using anything from whole milk plain to fat-free Greek yogurt. The latter produces a tangier version, but still creamy, delicious, and mostly guilt-free. To serve, I mince fresh garlic and cover it with olive oil in a small ramekin before heating in the microwave to soften the “raw” bite and infuse the flavors. When the oil cools, I pour it over the labneh, add a pinch of za’atar (or Italian or Greek or…) seasoning, and serve with both crackers and veggies. So simple, so quick, and so delicious! Thank you, Jenn!
Hi, Jenn. My first experience with labneh was at a farmers market this summer. In that case the labneh was flavored with garlic and herbs. It was fantastic! Any suggestions on how we might incorporate those flavors in your recipe? Fresh vs roasted garlic? Fresh vs dried herbs? Thank you.
Hi Laura, That sounds yummy! I’d go with fresh herbs and roasted garlic. I’d love to hear how it turns out!
Hi, Jenn. I tried two variations of the garlic and herb idea. I did one with minced fresh garlic (too much bite for me) and one with garlic cloves that had been gently simmered in olive oil for a few minutes until soft and mashable. The main thing I learned is that I need way more garlic and herbs than I expected, so I’ll be trying again to amp up the flavor. But the big bonus is that now I have some absolutely fantastic garlic-infused oil for drizzling.
This recipe is so ridiculously easy and tasty that I’m looking forward to trying it again with different combinations of herbs and spices.
Thank you for sharing, for educating us all, and for encouraging my experimentation.
Thank you Jenn. Labneh is just wonderful. I sometimes roll the balls in Zaatar before putting them in oil.
Interesting. Sounds Delicisous! Thoughts about using non-fat yogurt(for those of us who need to watch our calories?)
Hi Mark, I wouldn’t go with non-fat but low-fat will work well.