Maple Muffins

This post may contain affiliate links. Read my full disclosure policy.
Sweetened entirely with maple syrup, these divine maple muffins fill your kitchen with the most intoxicating buttery-maple scent as they bake.
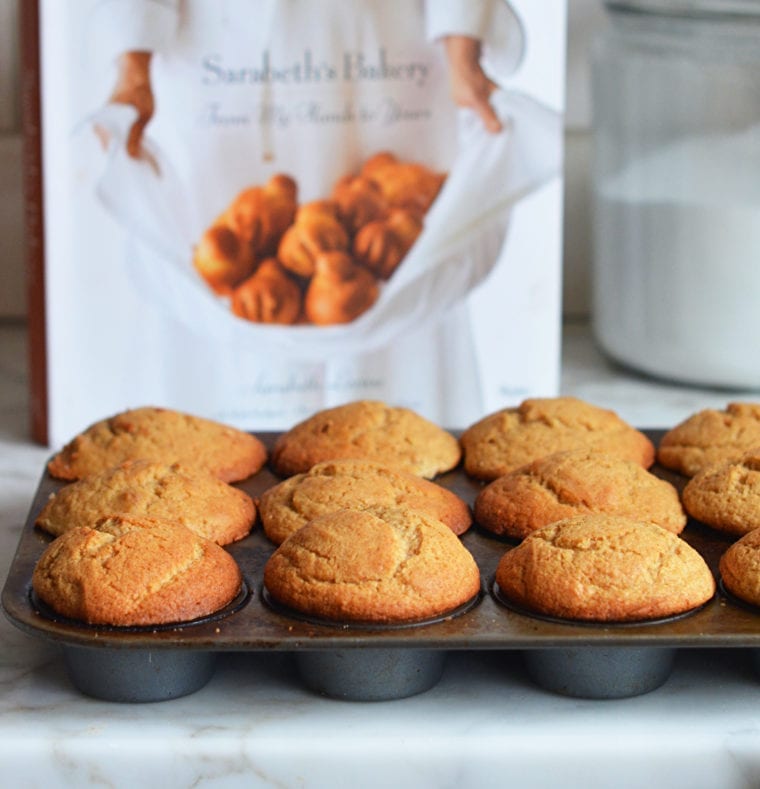
Whenever I visit my sister in NYC, we walk over to Sarabeth’s Bakery in Chelsea Market, the massive foodie mecca housed in the former Nabisco factory near her apartment. I’m not one for crowds — in fact, my sister teases me that I’m a hermit — but I’ll brave the throngs of hungry tourists for breakfast at Sarabeth’s because they have some of the best baked goods on the planet. These maple muffins are from Sarabeth’s Bakery: From My Hands to Yours. They are wonderful.
In the book, Sarabeth writes: “This recipe was literally forced upon me by a customer who said her family had made these muffins for more than a hundred years. She promised they would be fantastic, and she was right!” I love them because they are sweetened entirely with maple syrup — there’s absolutely no sugar in them. And as they bake in the oven, they fill your kitchen with the most intoxicating buttery maple scent.
What You’ll Need To Make Maple Muffins
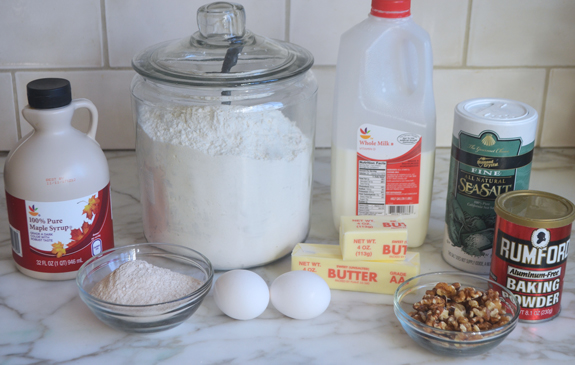
While Grade A maple syrup works fine too, I prefer Grade B for the muffins was it has a more intense maple flavor.
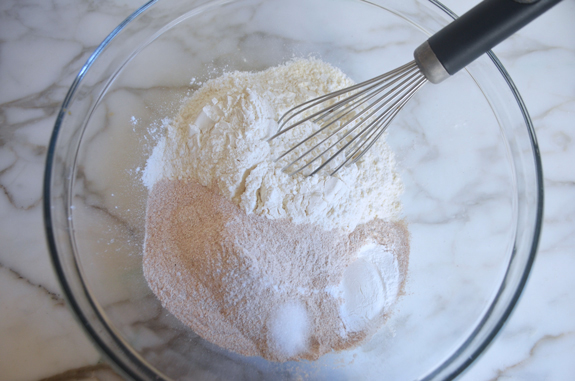
Step-by-Step Instructions
Begin by combining the all-purpose flour, whole wheat flour, salt, and baking powder. I always place the ingredients in the bowl so I can see them — this way, I don’t forget what I’ve already added, which unfortunately happens all too often!
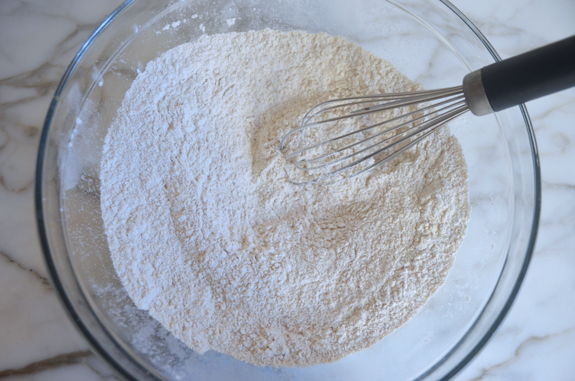
Whisk the dry ingredients together and set aside.
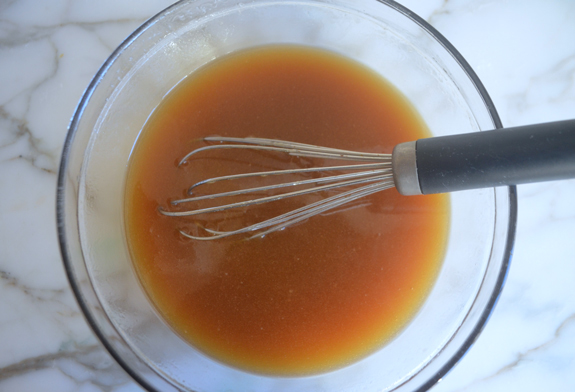
In another bowl, whisk together the melted butter and maple syrup.
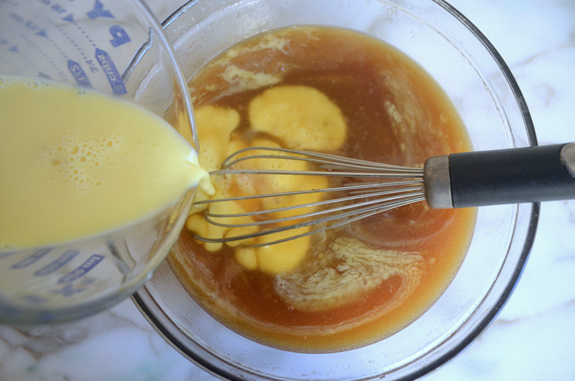
Whisk in the milk, followed by the eggs and egg yolk.
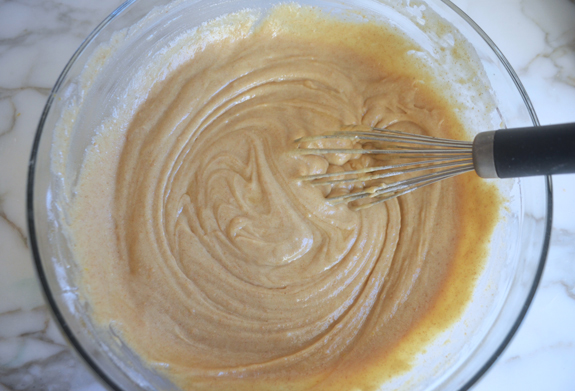
Add the dry ingredients to the liquid ingredients.
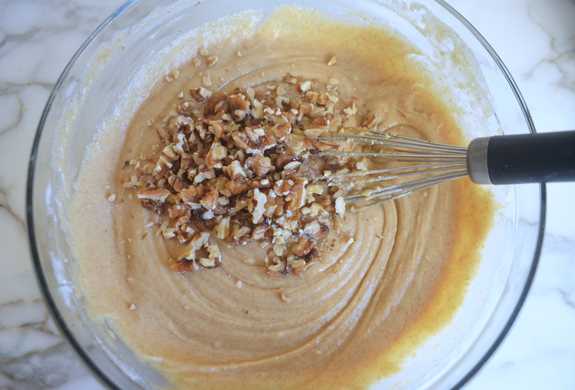
Stir in the nuts, if using.
Let the mixture sit for about 5 minutes, while you grease the pan. Then fill the muffin cups with the batter.
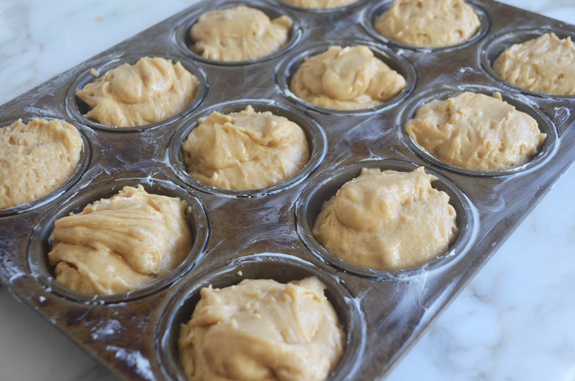
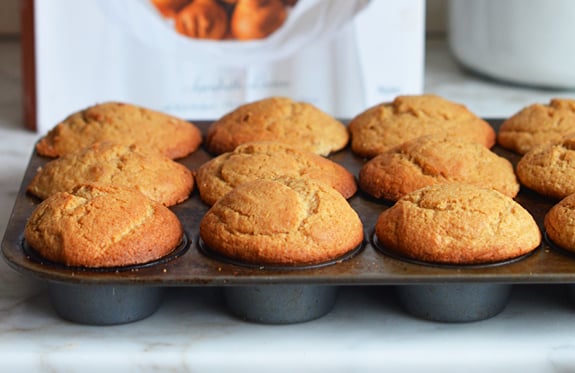
Bake at 400°F for 10 minutes, then reduce the heat to 375°F and bake 15 minutes more. Let the muffins cool in the pan for about 5 minutes, then remove from the pan and serve warm.
You May Also Like


Maple Muffins

Ingredients
- 2¼ cups all purpose flour, spooned into measuring cup and leveled-off
- ¾ cup whole wheat flour, spooned into measuring cup and leveled-off
- 1 tablespoon baking powder
- ½ teaspoon salt
- 1½ cups pure maple syrup, preferably Grade B (Grade A works fine too)
- 12 tablespoons (1½ sticks) unsalted butter, melted and cooled slightly, plus more for greasing the muffin tin
- ½ cup whole milk
- 1 large egg
- 1 large egg yolk
- 1 cup coarsely chopped walnuts, toasted if desired, optional
- Softened butter, for greasing the pan
Instructions
- Set a rack in the center of the oven and preheat to 400°F (205°C).
- In a large bowl, whisk together the all purpose flour, whole wheat flour, baking powder and salt. Set aside.
- In a medium bowl, whisk together the maple syrup and melted butter. Whisk in the milk, followed by the egg and egg yolk. Add to the dry ingredients and whisk until just smooth. Stir in the walnuts, if using. Let the batter rest for 5 minutes.
- Meanwhile, grease the muffin pan generously with softened butter (see note about the muffin pan below).
- Spoon the batter evenly into the prepared pan. The cups will be almost full. Bake for 10 minutes, then reduce the temperature to 375°F (190°C) and bake for about 15 minutes more, or until the muffins are golden and a cake tester inserted into the center of a muffin comes out clean.
- Cool in the pan for 5 minutes, then remove muffins from the pan. Serve warm with butter, or place on a rack to cool.
Notes
- These muffins have a tendency to stick. To prevent that, let the muffins cool for only 5 minutes before removing them from the pan. Run a butter knife or offset spatula around the edges, then invert the pan and tap it gently on the counter until they drop out. Alternatively, use paper liners and remember to grease the top of the pan.
- Without the nuts, this recipe fits perfectly into 12 muffin cups. Adding nuts can cause the muffins to spread and stick together, so consider baking 13 muffins across two pans—filling 6 cups in one and 7 in the other—for easier removal.
- Freezing Instructions: The muffins can be frozen in an airtight container or sealable plastic bag for up to 3 months. Thaw for 3 to 4 hours on the countertop before serving. To reheat, wrap individual muffins in aluminum foil and place in a preheated 350°F oven until warm.
Nutrition Information
This website is written and produced for informational purposes only. I am not a certified nutritionist and the nutritional data on this site has not been evaluated or approved by a nutritionist or the Food and Drug Administration. Nutritional information is offered as a courtesy and should not be construed as a guarantee. The data is calculated through an online nutritional calculator, Edamam.com. Although I do my best to provide accurate nutritional information, these figures should be considered estimates only. Varying factors such as product types or brands purchased, natural fluctuations in fresh produce, and the way ingredients are processed change the effective nutritional information in any given recipe. Furthermore, different online calculators provide different results depending on their own nutrition fact sources and algorithms. To obtain the most accurate nutritional information in a given recipe, you should calculate the nutritional information with the actual ingredients used in your recipe, using your preferred nutrition calculator.
Fantastic! Maple walnut heaven! I didn’t butter the tins, but used parchment liners instead (was giving most away).
Also, I live at 6,000 ft, and didn’t make any flour/water adjustments…but should I have?
Hi Patty, So glad they turned out well. I don’t know much about high-altitude baking but I’d say if they turned out well, no need to make any adjustments. 🙂
do you recommend adding any frozen berries or do you think it will not allow the muffins to rise?
Hi Aleaha, I’ve never tried adding berries to this muffin so I’d suggest using my blueberry or strawberry muffins recipes instead.
These muffins are quick and easy to make and perfect for a grab-and-go breakfast or lunchbox treat since they’re not too sweet. I did not add nuts since we have a nut allergy in the house, but sometimes I’ll add course sugar to the top to change it up or I’ll whip up a cinnamon butter and add a pat to warm muffins. Lovely with a cup of tea!
Hello! I was wondering, can you switch out the all purpose flour for mochiko flour? I wasn’t sure if it would rise the same way. Thanks!
Hi Sara, I’m not familiar with mochiko flour (I just googled it and see that it’s rice flour). While I can’t say for sure it would be a problem, I’d suggest sticking with the all-purpose and whole wheat flours for the best results. Sorry!
If this is rice flour, I would say not. Rice flour makes no gluten which would affect how the muffin holds together.
These were Great! I did make a maple glaze with 1/4 cup unsalted butter, 1/2 cup maple syrup, and a cup of confectionary sugar (melt butter and syrup together). It added another maple layer. Glaze does make a bit, so now I am making some sugar cookies, but that doesn’t seem like a hardship… : )
Hi Jenn,
I plan to make mini muffins (with raisins); what temp should I cook, and for how long? Recipe says to start at 400, then reduce to 375 after 10 min. I can’t figure out how to adapt this to mini muffins?
Thank you,
Debbie
Hi Debbie, I’d cook at 375°F for the whole time – I’d start checking around 12 to 15 minutes.
These Maple Muffins are awesome! As New Englanders transplanted to Ohio, real maple syrup remains a pantry staple. Can’t believe I’ve never had Maple muffins before. The recipe was easy and yummy and these will be showing up frequently on our breakfast table.
We have also tried the pumpkin cornbread muffins…a perfect fall recipe. I don’t know which one we liked best.
I followed the recipe exactly and it’s true, the fragrance that fills your kitchen is incredible, and they come out amazingly rich and tender. They’re delicious by themselves, with butter, or with jam, but try one toasted with peanut butter – I swooned!
I couldn’t wait to try these enjoyed fresh out of the oven. I used TJ’s organic dark amber Grade A maple syrup and it had a subtle maple flavor; the wheat flour really made this muffin special.
I was able to get 16 muffins with walnuts from this recipe.
The texture of these muffins is great: cake-like and fluffy with a perfectly crunchy top. They’re fairly sweet, with just a bit of maple flavor. (If you want an intense maple taste, I’d try adding a bit of maple flavoring.) They’re quick and easy to put together — no creaming or odd ingredients — and I baked 15 in paper liners with no spillover on to the pan top, which made removal perfectly easy!