
Apple Pie


This post may contain affiliate links. Read my full disclosure policy.
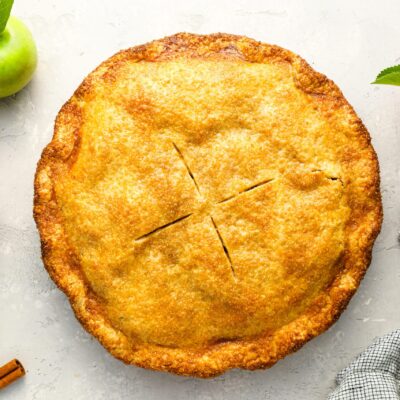
This classic apple pie recipe pairs a flaky, buttery crust with cinnamon-spiced apples and a rich, cider-like filling that’s never runny.
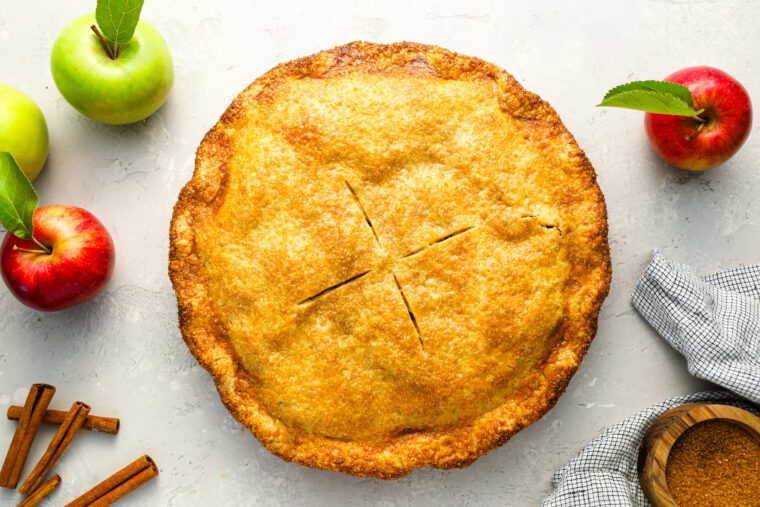
Over my 25 years of professional cooking, I’ve tested countless apple pie recipes and landed on a few simple techniques that make all the difference. This classic apple pie recipe has a flaky, buttery crust and tender, cinnamon-spiced apples in a rich, cider-like filling.
The secret is cooking the apples before assembling the pie, which concentrates their flavor, helps the filling set beautifully, and keeps the bottom crust crisp. I’ll walk you through the process step by step, from making and rolling the dough to assembling and baking the pie.
Serve this homemade apple pie on its own or with a scoop of vanilla ice cream, a dollop of whipped cream, or a drizzle of caramel sauce. And if you’d like to get a head start, my apple pie filling can be made ahead of time.
“Apple is my husband’s favorite. He walked out the door this morning and said it was the best I’ve made!”
What You’ll Need To Make Apple Pie

- Pie crust: Made from all-purpose flour, sugar, salt, a touch of baking powder, cold butter, and ice water. The cold butter and water are key to creating a flaky, tender crust.
- Apples: Use firm baking apples that hold their shape when cooked. Granny Smith, Honeycrisp, Jonagold, Braeburn, and Golden Delicious are all good choices; a mix gives the filling more complex flavor.
- Dark brown sugar: Adds sweetness along with a rich, caramel-like flavor.Lemon juice: Brightens the filling and balances the sweetness of the apples.
- Cinnamon: Adds just enough warmth and spice without overpowering the apples.
- Flour & cornstarch: Work together to thicken the apple juices so the filling sets beautifully when sliced.
- Egg, cream, or milk: Brushed over the top crust to help it brown beautifully.
- Turbinado or granulated sugar: Adds a sweet, lightly crunchy finish to the crust.
- Jump to the printable recipe for precise measurements
How To Make Apple Pie
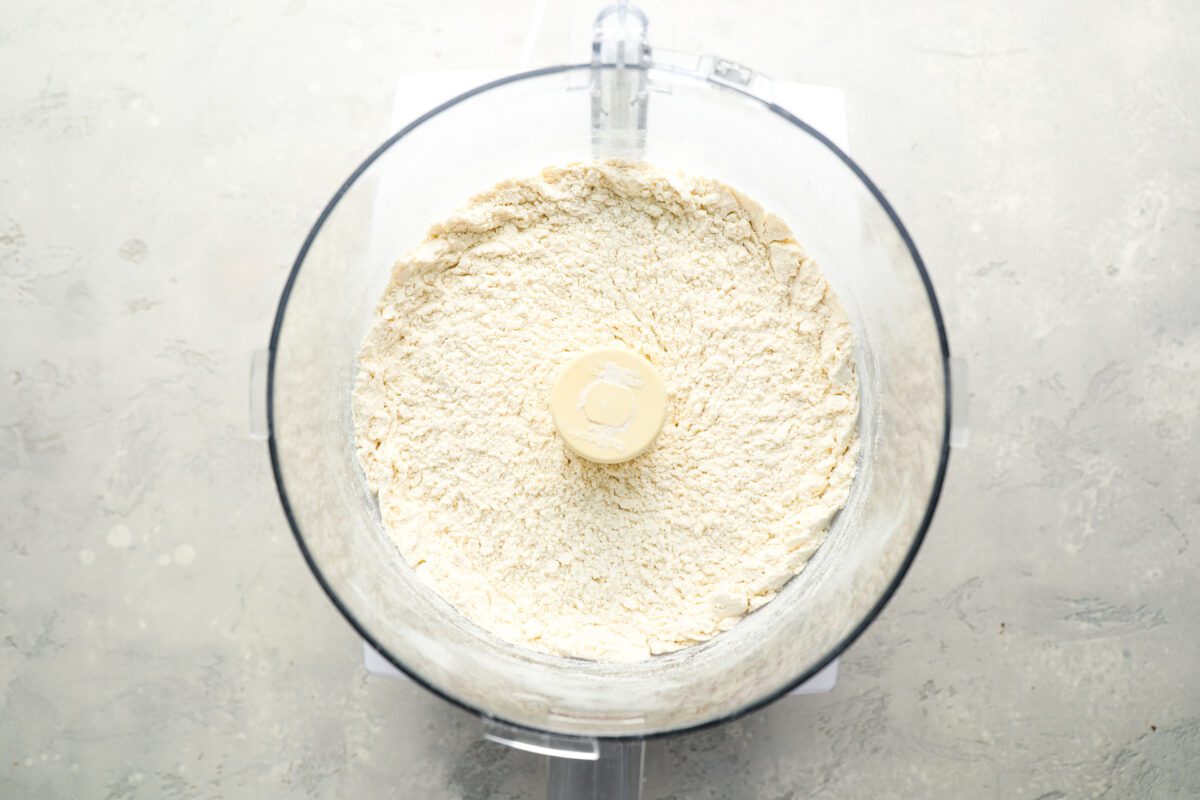
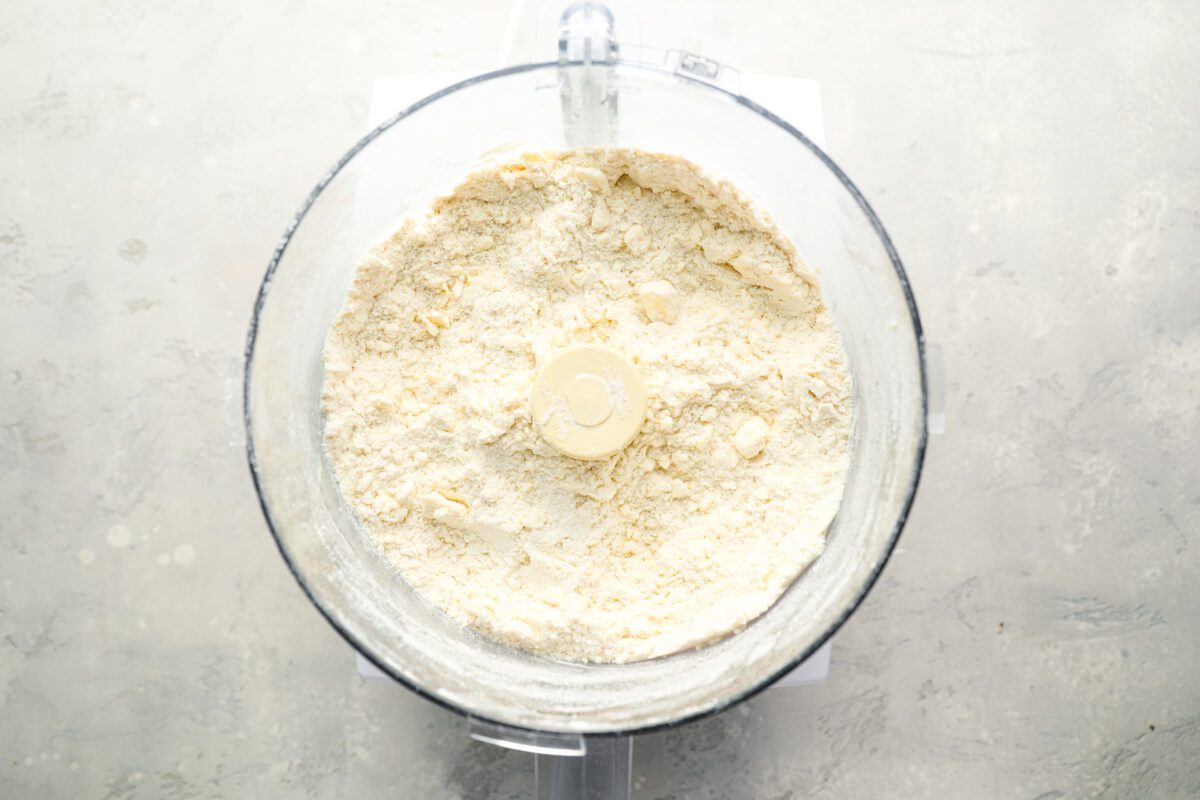
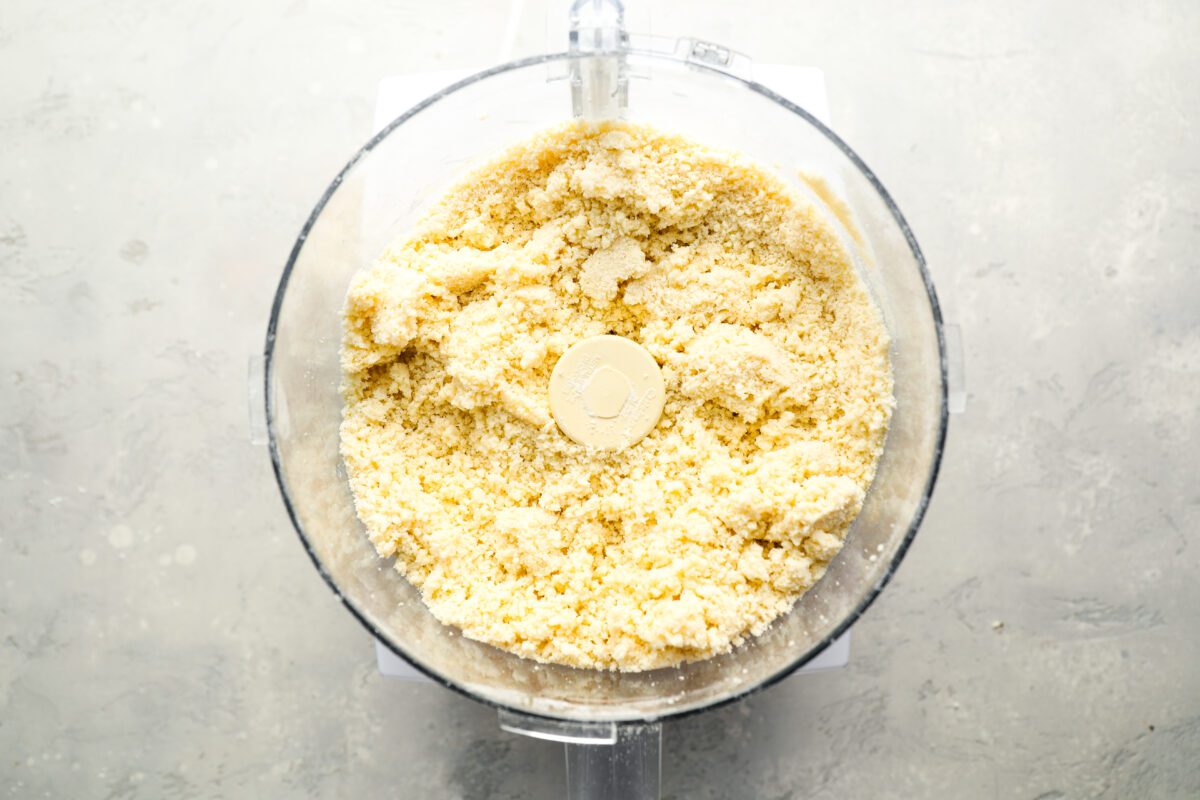
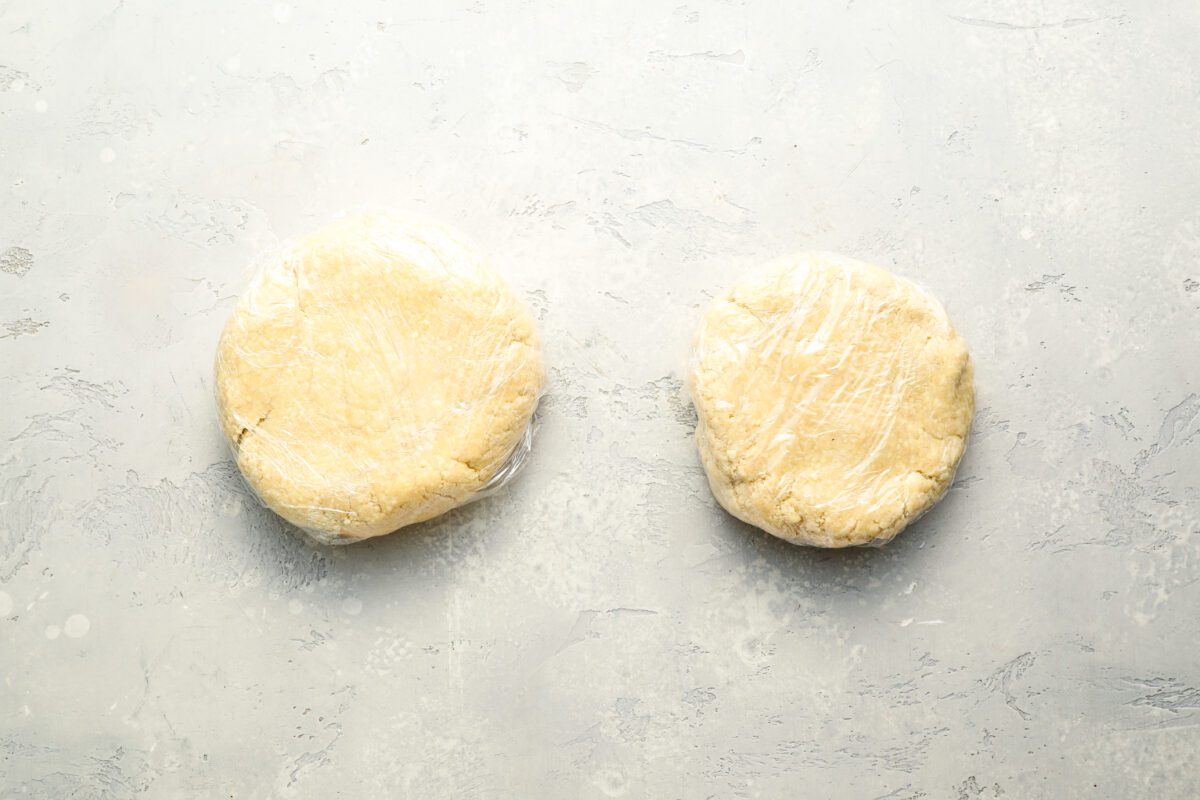
Make and chill the pie dough: Pulse the dry ingredients in a food processor, then add the cold butter and pulse until crumbly. Add the ice water and pulse just until the dough is evenly moistened—it should still look crumbly rather than forming a ball. Divide the dough, shape into discs, and refrigerate until firm.
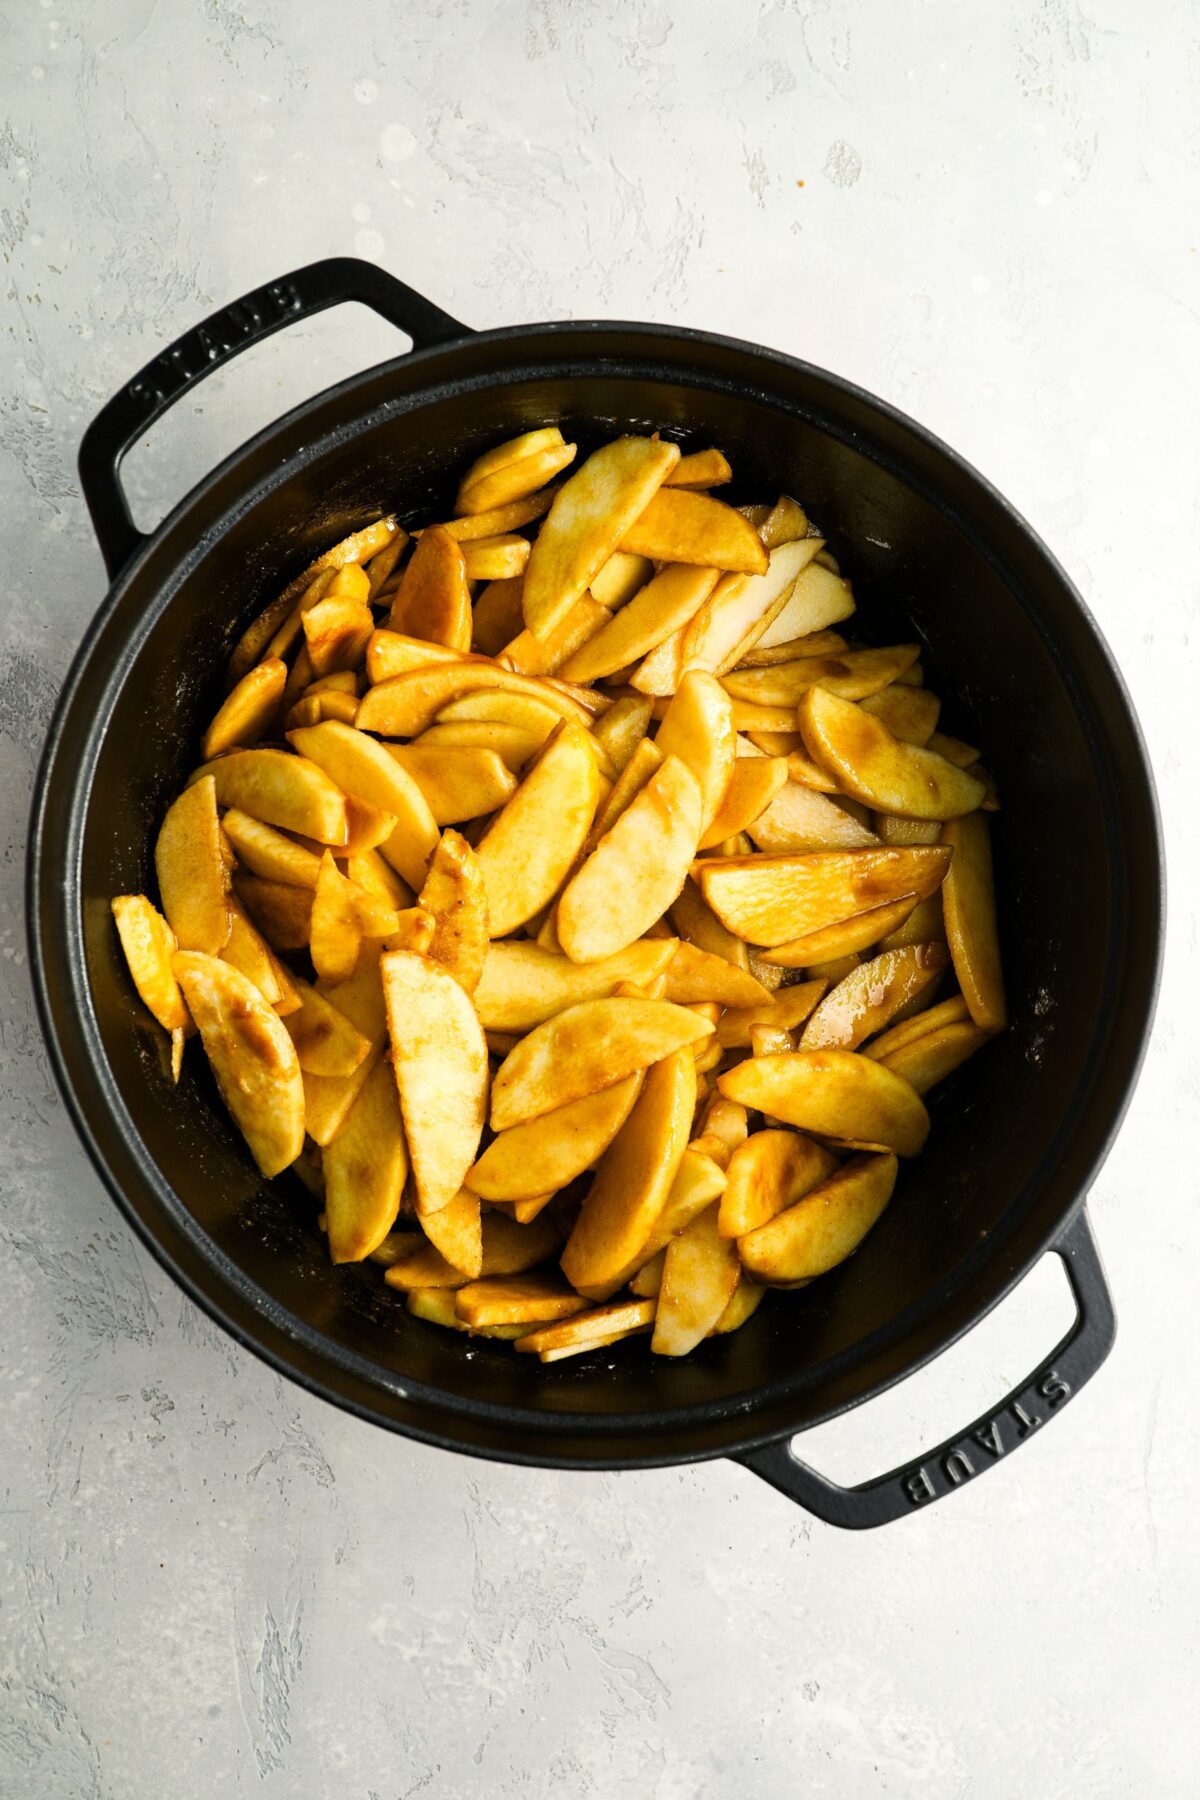
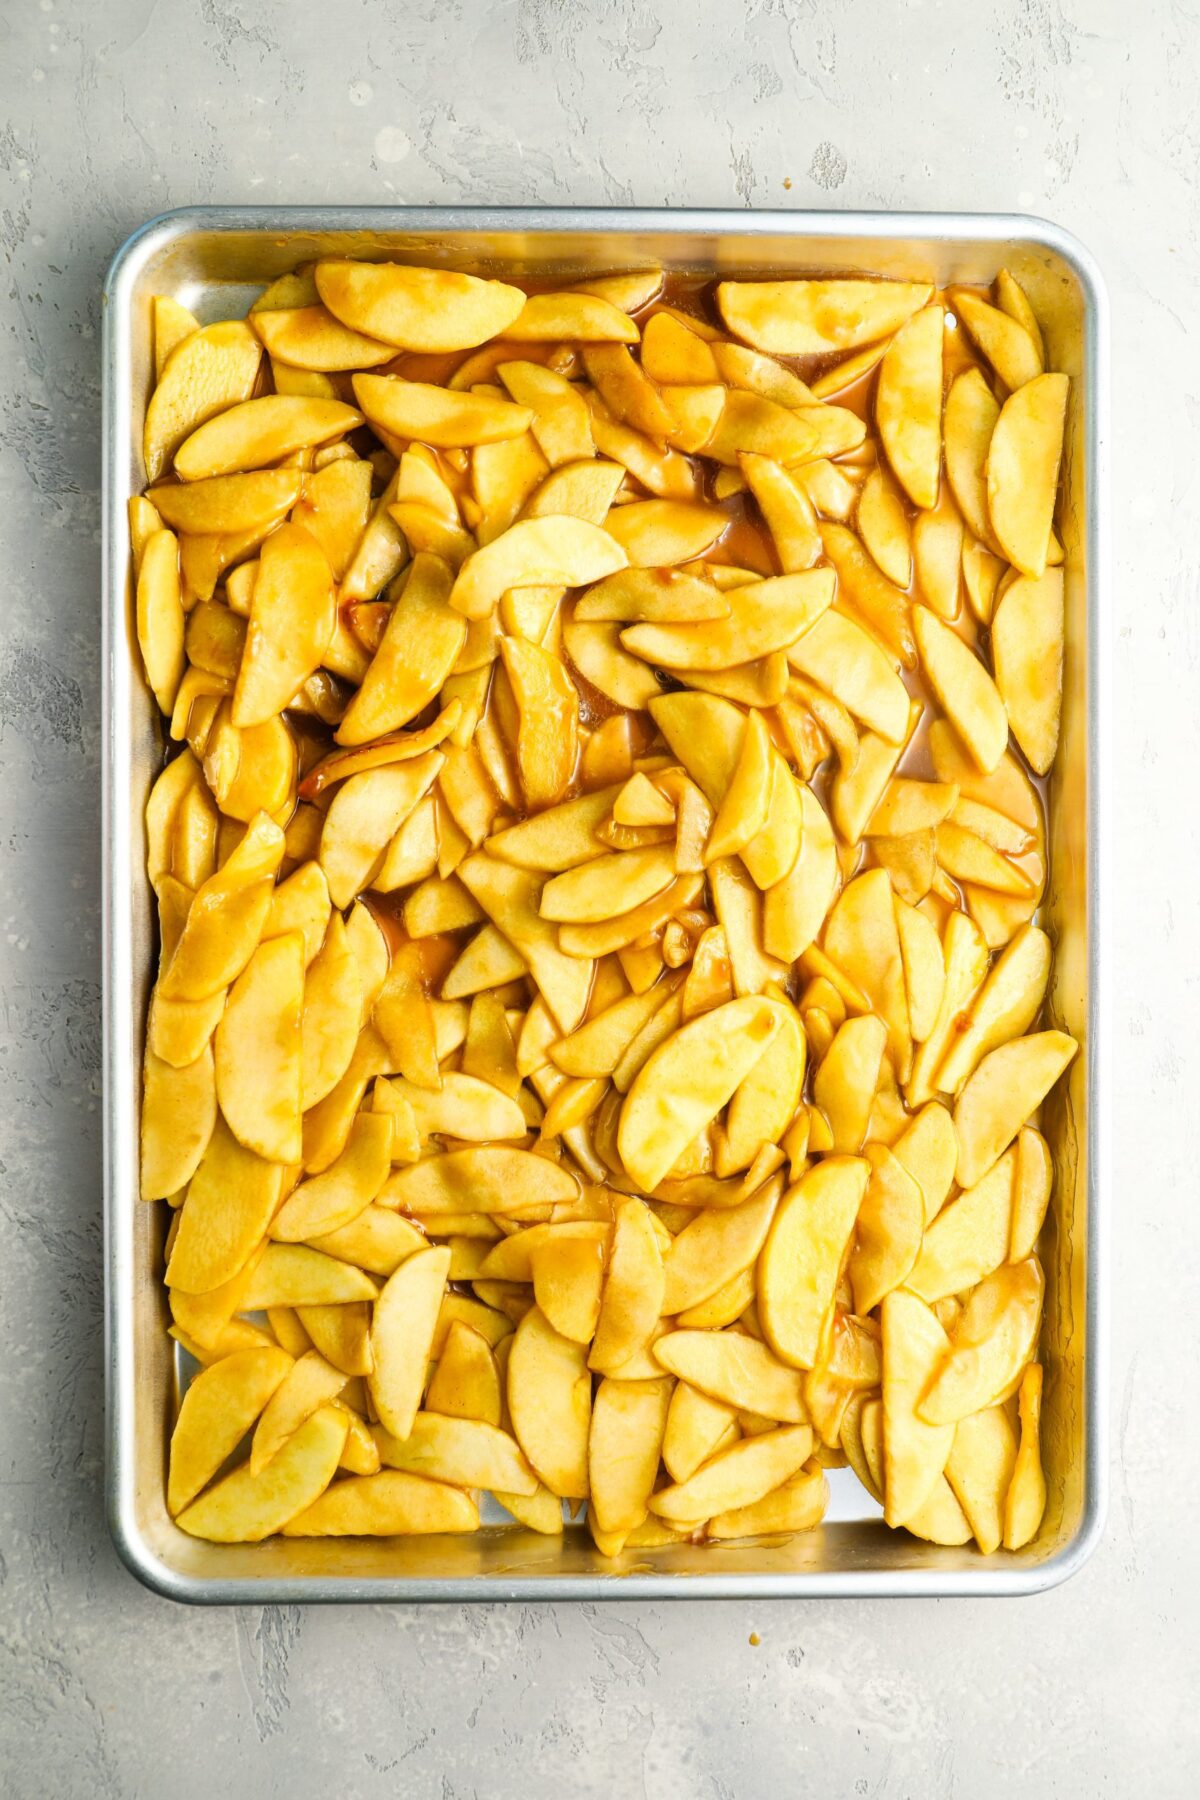
Prepare the apple pie filling: Combine the apples with the lemon juice, brown sugar, salt, cinnamon, flour, and cornstarch and cook over medium heat, stirring often. The apples are ready when they’ve softened slightly and their juices have thickened. Spread the filling on a baking sheet so it cools quickly and completely.
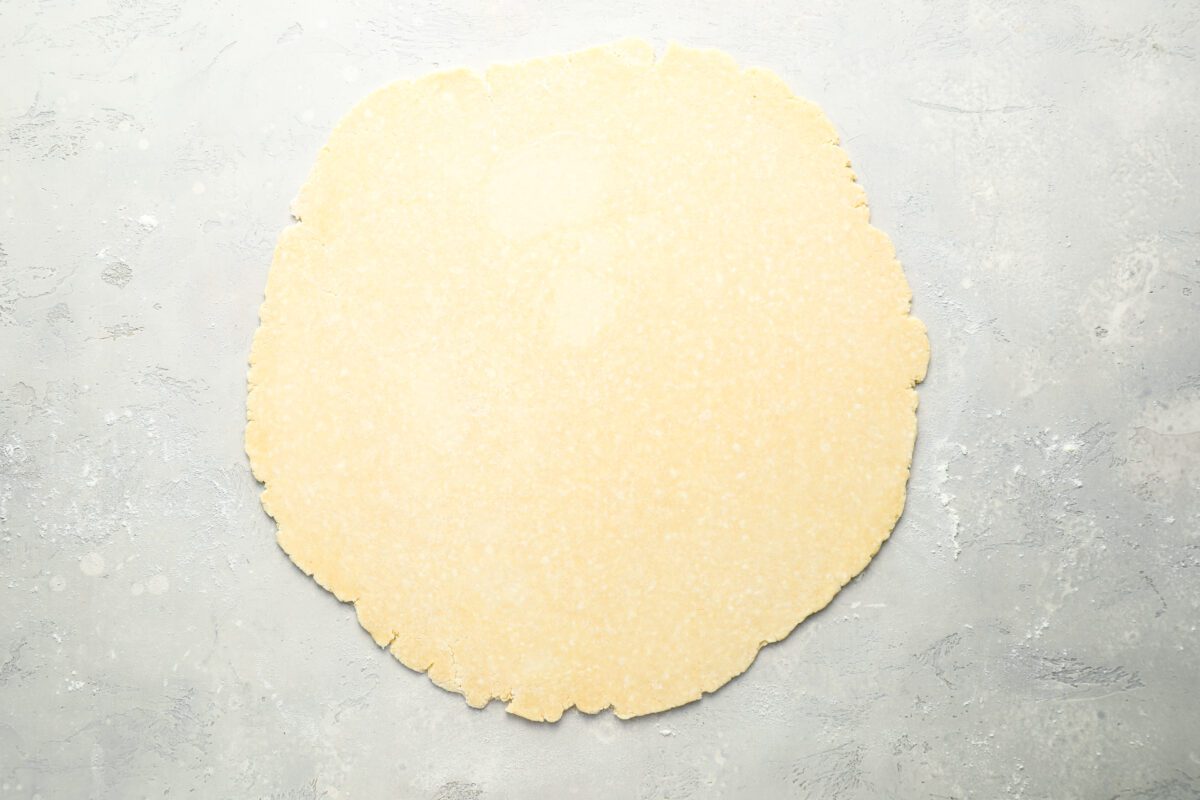
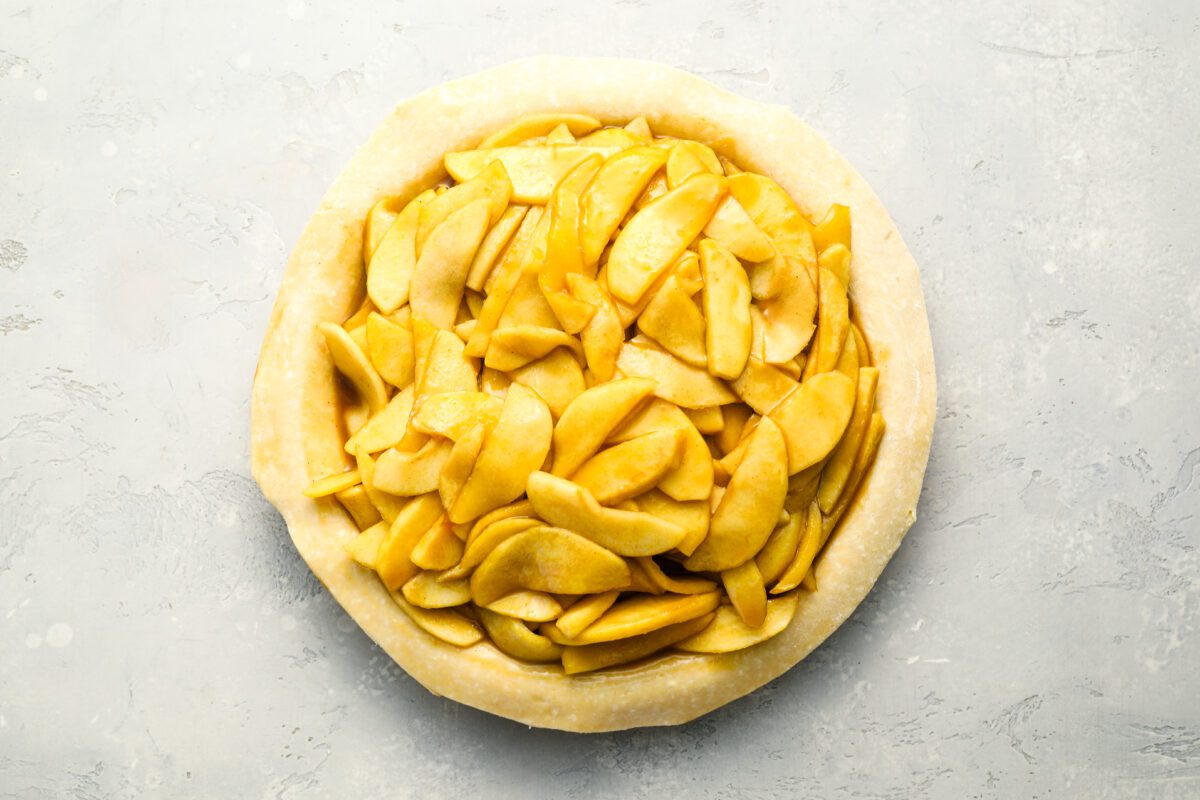
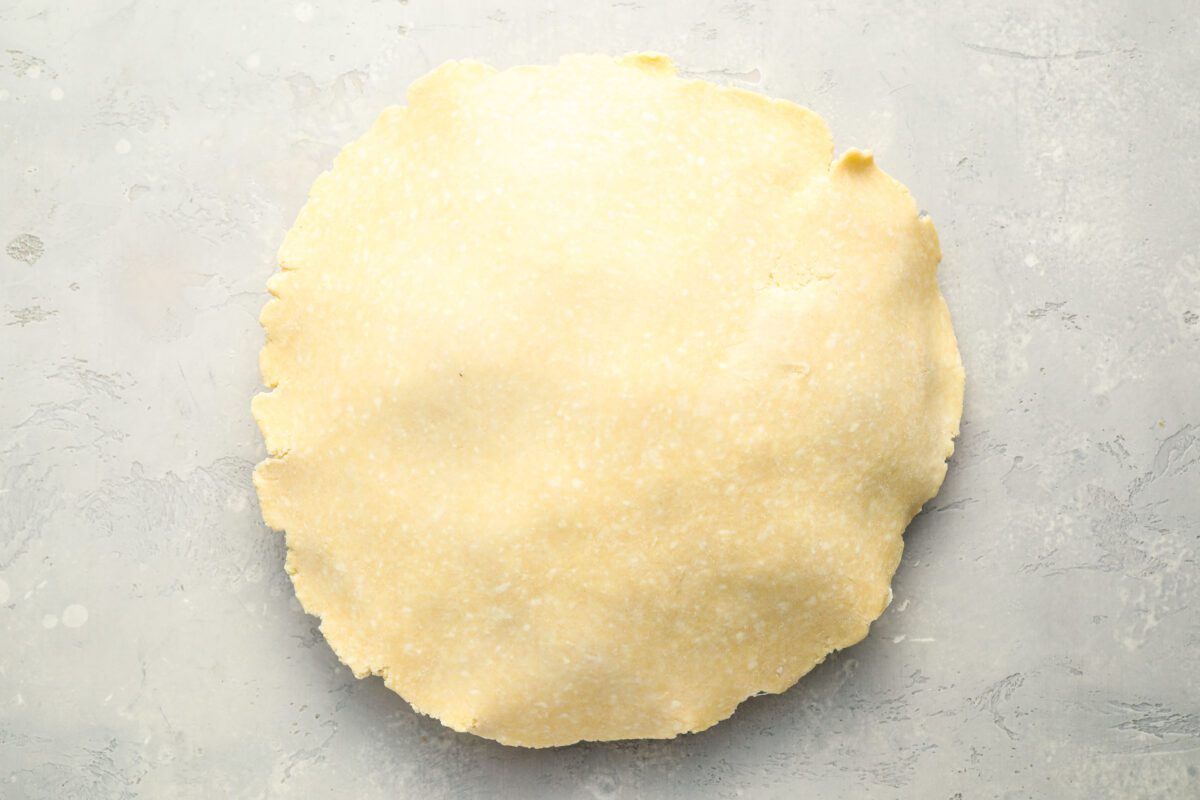
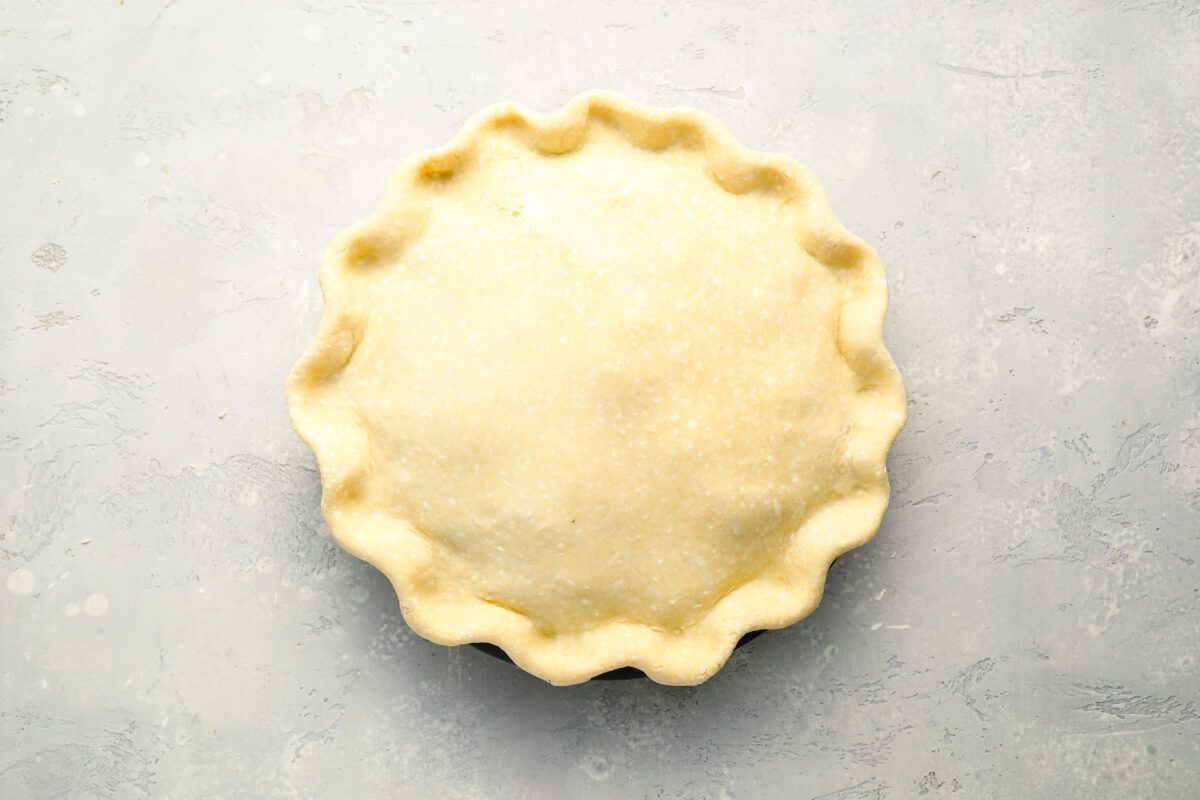
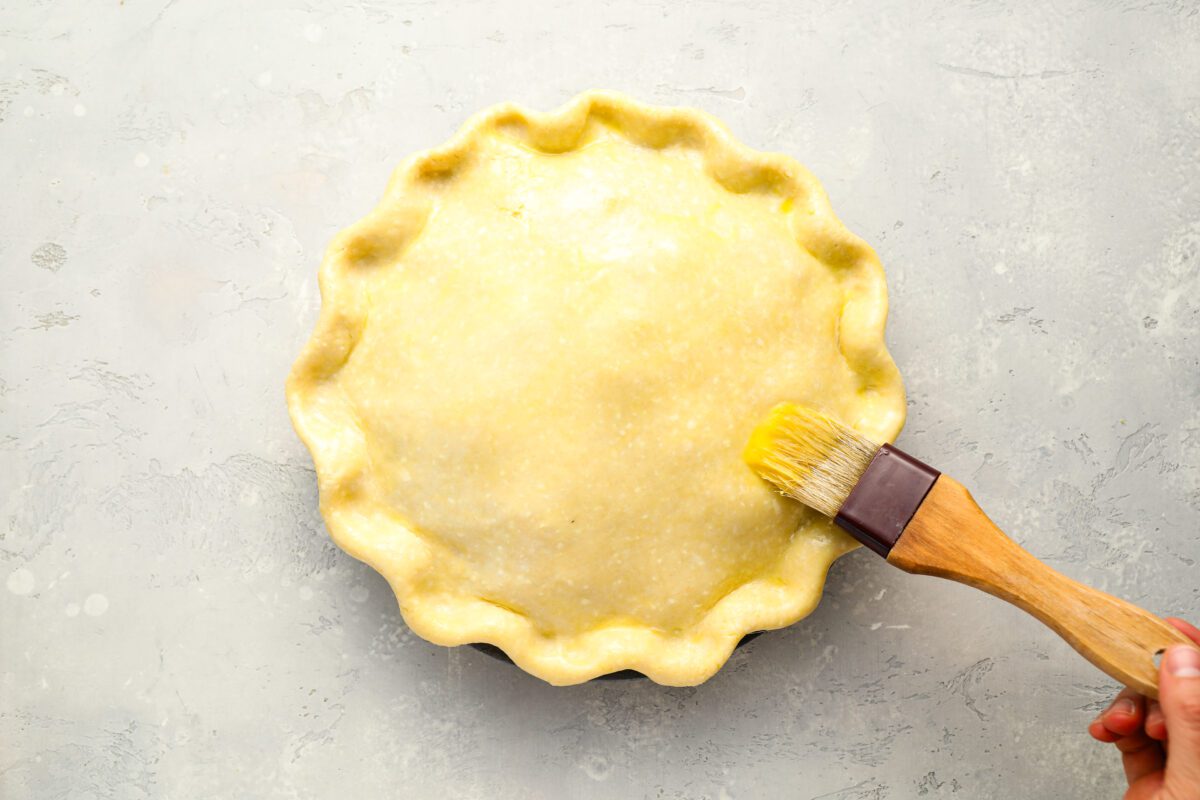
Assemble: Roll the larger dough disc into a 13-inch circle and fit it into a 9-inch pie pan. Add the cooled apple filling, then roll the top crust slightly larger than the pie and drape it over the apples. Seal and crimp the edges, brush with egg, cream, or milk, sprinkle with sugar, and cut a few slits in the top for steam to escape.
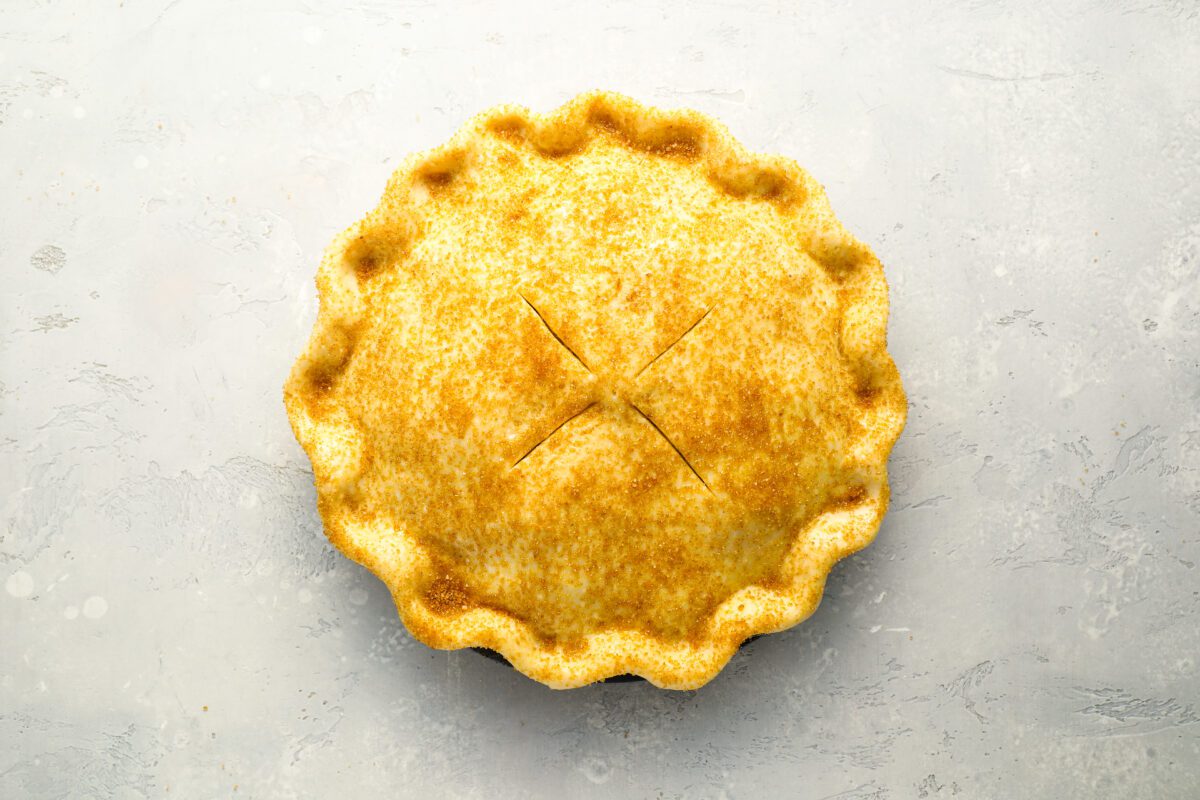
Bake: Bake the pie on a preheated baking sheet in the lower third of the oven—the blast of heat underneath helps crisp the bottom crust. The pie is done when the crust is deeply golden and the filling is bubbling through the vents.
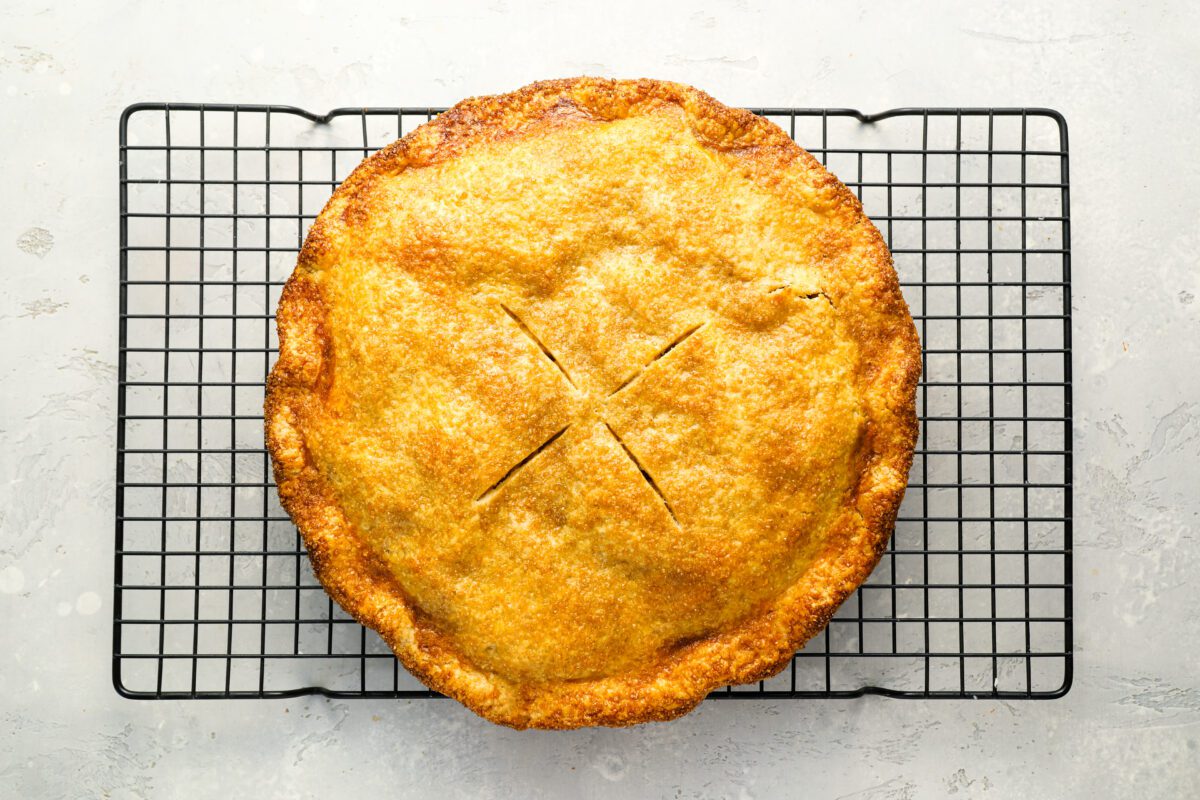
Cool and serve: Let the pie cool completely before slicing, at least 4 hours. This resting time is important: as the filling cools, it thickens and sets so you get neat slices rather than a runny filling. The pie can be baked a day ahead or frozen (baked or unbaked) for longer storage.
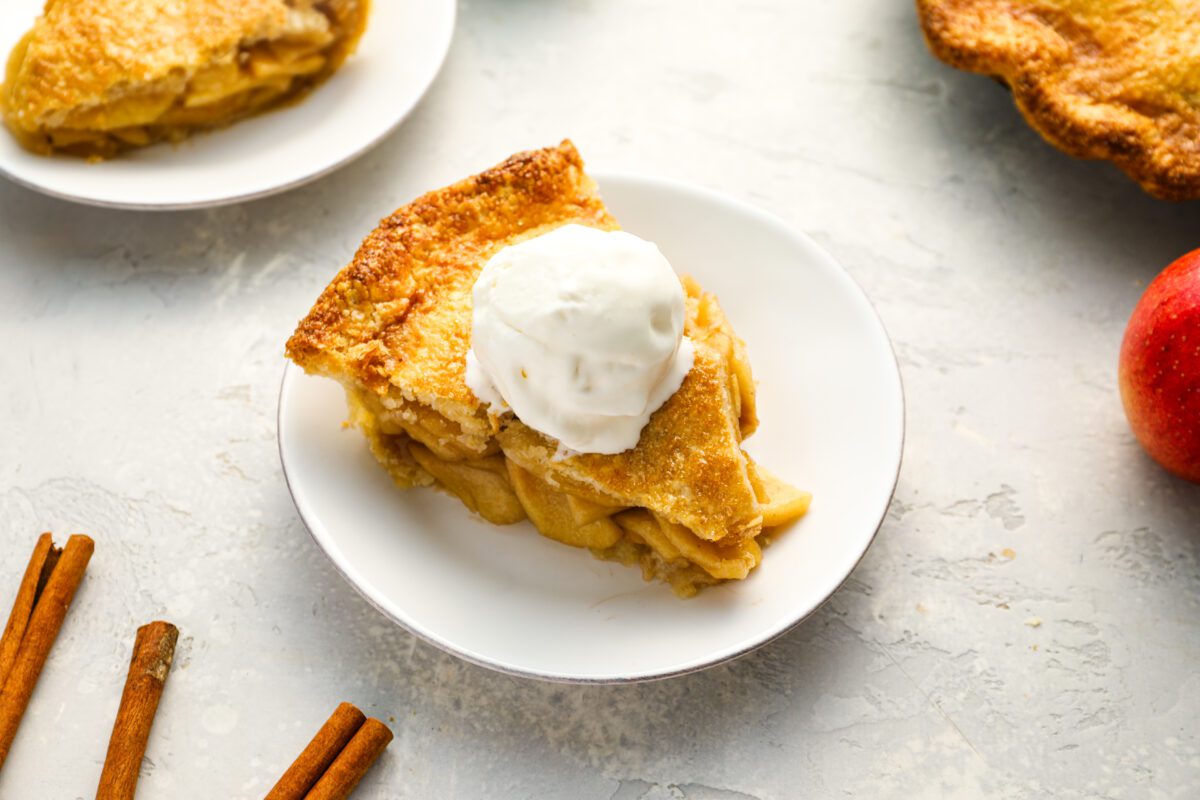
Apple Pie Video Tutorial
More Autumn Pie Recipes You’ll Love


Apple Pie
Ingredients
For the Crust
- 2¾ cups all-purpose flour, spooned into measuring cup and leveled-off
- 3 tablespoons granulated sugar
- 1 teaspoon salt
- ¼ teaspoon baking powder
- 18 tablespoons (2 sticks + 2 tablespoons) cold unsalted butter, sliced into 1-inch pieces
- 7 tablespoons ice cold water
For the Filling
- 4½ pounds baking apples (about 8 large apples; see note), peeled, cored, and sliced ¼-inch thick
- 1 tablespoon fresh lemon juice, from 1 lemon
- 1 cup (packed) dark brown sugar
- Heaping ¼ teaspoon salt
- Heaping ¼ teaspoon ground cinnamon
- 2 tablespoons all-purpose flour
- 2 tablespoons cornstarch
For Baking
- A beaten egg, heavy cream, or milk, for brushing over crust
- 2 tablespoons granulated or turbinado sugar, for topping the pie
Instructions
- Prepare the Crust: Combine the flour, sugar, salt, and baking powder in the bowl of a food processor fitted with the metal blade. Pulse a few times to combine. Add the pieces of butter and pulse until the mixture is crumbly with lots of pea-size clumps of butter within.Add the water and pulse until the mixture is evenly moistened and very crumbly.Dump the dough crumbles onto a work surface and divide into two piles, with one pile about 15% bigger than the other. You can eyeball it, but if you have a kitchen scale, one pile should weigh 13 oz (368 g) and the other 11.5 oz (326 g). Shape into two balls of dough and pat each one into a 5-inch (13-cm) disc. Wrap the discs in plastic wrap and refrigerate for at least 45 minutes or up to 3 days to rest.
- Prepare the Filling: In a large heavy-bottomed pot or Dutch oven, mix the apples with lemon juice, brown sugar, salt, cinnamon, flour, and cornstarch. Stir until thoroughly combined and both the flour and cornstarch are dissolved. Place the pot over medium heat and cook, stirring often, until the apples soften and the juices thicken, 11 to 13 minutes. Transfer the apples and their juices to a baking sheet, spreading them out evenly. Allow them to cool completely.
- Preheat the Oven: Preheat the oven to 425°F (220°C) and set an oven rack in the lower third position. Place a baking sheet on this rack to preheat as well. (This acts like a pizza stone, providing a hot surface to help the bottom crust of the pie crisp up effectively.)
- Assemble the Pie: Remove the larger disc of dough from the refrigerator. Lightly dust a clean work surface with flour and place the dough on it; sprinkle a bit of flour over the dough as well. Gently knead the dough with your hands just until it becomes soft and malleable (avoid overworking it—you want it just supple enough to roll out). Roll the dough out into a 13-inch (33-cm) circle, adding more flour as needed to prevent sticking. Carefully lift the dough by draping it over your rolling pin and transfer it to a 9-inch by 1½-inch (23-cm by 3.75-cm) deep pie pan, preferably metal (as metal conducts heat more effectively, helping the bottom crust crisp up) but ceramic or glass will work too. Gently press the dough into the pan, making sure to ease it into place without stretching. Trim the edges of the dough to extend about ½ inch (1.25 cm) beyond the pie pan's lip.Transfer the cooled apples and their juices into the crust; refrigerate while you prepare the top crust.Remove the second disc of dough from the refrigerator and roll it out into an 11-inch (28-cm) circle, following the same process described above. Retrieve the filled pie from the refrigerator and carefully drape the rolled dough over the top. Crimp the edges with a fork or flute them with your fingers to seal the top and bottom crusts together. Work quickly and dust your fingers with flour as needed to prevent the dough from becoming too warm. Brush the top crust with beaten egg, cream, or milk, and evenly sprinkle with 2 tablespoons of granulated or turbinado sugar. Cut four 3-inch (7.5-cm) slits in the top crust to allow steam to escape.
- Bake and Cool: Place the pie on the preheated baking sheet and bake at 425°F (220°C) for 15 minutes. Then reduce the oven temperature to 375°F (190°C) and continue baking for an additional 45 minutes, or until the crust is golden brown. Let the pie cool completely on a wire rack before slicing, at least 4 hours. Resist the temptation to cut into the pie while it’s warm, or you may end up with apple soup!
Notes
- Be sure to use baking apples that hold their shape when cooked, such as Honeycrisp, Jonagold, Granny Smith, or Golden Delicious. And use a mix of different varietals for the best flavor.
- Make-Ahead/Freezer-Friendly Instructions: The pie can be baked up to 1 day ahead of time and stored, loosely covered with foil, at room temperature. It can also be frozen for up to 3 months before or after baking it. (If freezing it unbaked, hold off on brushing the top crust with the beaten egg and sprinkling it with sugar; you can do that right before baking.) If baked, let it cool completely and place it in the freezer uncovered. When fully frozen, wrap the pie securely in foil and freeze. If the pie is unbaked, wrap it securely in foil and freeze. When ready to serve, proceed with baking instructions above (the pie is likely to take 10 to 15 minutes longer to bake).
Nutrition Information
This website is written and produced for informational purposes only. I am not a certified nutritionist and the nutritional data on this site has not been evaluated or approved by a nutritionist or the Food and Drug Administration. Nutritional information is offered as a courtesy and should not be construed as a guarantee. The data is calculated through an online nutritional calculator, Edamam.com. Although I do my best to provide accurate nutritional information, these figures should be considered estimates only. Varying factors such as product types or brands purchased, natural fluctuations in fresh produce, and the way ingredients are processed change the effective nutritional information in any given recipe. Furthermore, different online calculators provide different results depending on their own nutrition fact sources and algorithms. To obtain the most accurate nutritional information in a given recipe, you should calculate the nutritional information with the actual ingredients used in your recipe, using your preferred nutrition calculator.
Hi Jenn. I’m wondering if I make the apple mixture ahead of time and freeze it if it takes on more liquid? I want to make the pie for Thanksgiving and start doing things now.
Thank you.
Hi Lori, It should be fine to make it ahead and freeze. Enjoy!
This is a wonderful apple pie. Instead of cinnamon I’d like to use cardamon. Could you suggest how much?
Glad you like it! I’d suggest 1/8 teaspoon cardamom (a little goes a long way).
Hi Jen, I made this pie yesterday and it looks amazing! How long do I re-heat it for tonight? At the same temperature (375F?) right?
Hi Samantha, I recommend placing the pie on a baking sheet and loosely covering it with foil to protect the crust. Reheat it at 350°F for 15 to 20 minutes, or until it’s warmed through. Just keep in mind that the filling may get a bit soupy when served warm. Please LMK how it turns out! 🙂
You were totally correct. It is not an easy pie, but “well” worth the effort. Amazing crust and fantastic flavor. Used Jonagold & Honeycrisp apples. This is a keeper for sure! Thank you!
if I freeze the pie in a Pyrex dish, should I defrost the pie before I put it in the preheated oven?
Hi Marcy, Because it’s a Pyrex dish, just to be safe, I’d let it sit on the counter for an hour before putting it in the oven.
I made this pie with some apples my neighbor happened to give me, and by using this recipe for making an apple pie made the most delicious apple pie I have ever had. I read previous comments and realized the difference was Jenn revising her apple pie recipe at one point to cooking the apple filling prior to baking. I believe her revision for the filling makes the best apple pie.
Hi Jen, Ive made your apple pie recipe many times and loved it. Did it change? I don’t recall baking the apples before, I just recall microwaving the juices to reduce them. Thanks!
Yes, Barbara, I did change it and find this version to be much easier. Hope you enjoy if you make it!
Hello your recipe looks awesome! I would love to attempt making it tomorrow for my 98 year old mother in law. Could you please send me a note of the measurements in metric units? Sorry in from Glasgow and I want to be exact. Fingers crossed it is a success and I can post a half decent attempt at your masterpiece! You really cannot beat the original apple pie, it wins every time. Just to see a wee sparkle in her eye is so so worth it. Thank you so much.
Natasha Maguire
Wow – 98 – happy birthday to your MIL! The great majority of my recipes (including this one) include conversions to metric/weight measurements. To view them, scroll down to the recipe, and immediately under the recipe title on the right side, you’ll see a little toggle. If you move it from “cup measures” to metric, you’ll see measurements that will work for you. Hope that helps!
What I liked about the pie:
The crust turned out really delicious. The pie was really balanced, and not overly sweet. The apples were nicely cooked.
What I didn’t like: the pie took me from 10 am in the morning to 5 pm at night, BEFORE the final cooking period.
I made this pie for a special occasion— the birthday of someone important to me— and she enjoyed it, but I am not sure I’d make it again any time soon due to how labor intensive it was.
That said, I am a HUGE fan of Jenn’s recipes (I’ve made 3+ and never been let down) and will absolutely be back for more!!!
Jenn,
I made this but put a crumb crust rather than a dough crust and both are GF.
My problem is that the crumble crust seems a bit dry and crumbly even though it did have butter in it. Any suggestions?
Thanks so much!!
Hi Andrea, I suspect it needed more butter.