22 Quick and Easy Recipes in 30 Minutes (or less) + 5 Chef Secrets To Make You A Better Cook!

Perfect Apple Pie

Tested & Perfected Recipes

This post may contain affiliate links. Read my full disclosure policy.

With a crisp, flaky crust and thick, cider-flavored apple filling, this is my idea of the perfect apple pie.

Apple pie in a pie pan.

Even with years of professional and home cooking experience, I still approach homemade pie with a bit of trepidation. I’ve said it before: the person who coined the term “easy as pie” had obviously never made a homemade pie! But making a delicious apple pie is totally doable as long as you have a tried-and-true recipe like this one. The key is to avoid the typical apple pie pitfalls — a soggy crust and waterlogged filling — by blind baking the crust and boiling down the juices before filling the pie. These steps add a bit of extra time but ensure a crisp and flaky crust and a cider-flavored filling that’s not the least bit watery. The perfect apple pie!

What you’ll need to make Apple pie

Pie ingredients including butter, cornstarch, and shortening.

How to make Apple pie

Begin by making the crust. It’s easiest to use a food processor but you can also make it by hand if need be. Combine the flour, sugar, salt and baking powder in the bowl of a food processor fitted with the metal blade. (The baking powder is added to prevent the crust from shrinking during baking — it helps the crust expand into the pan rather than slip down the sides.) Pulse a few times to combine.

Dry ingredients in a food processor.

Add the pieces of butter and shortening.

Butter on dry ingredients in a food processor.

Pulse until you have coarse crumbs with lots of pea and chickpea-size clumps of butter and shortening within.

Coarse crumbs in a food processor.

Add the water and pulse until the mixture is evenly moistened and very crumbly.
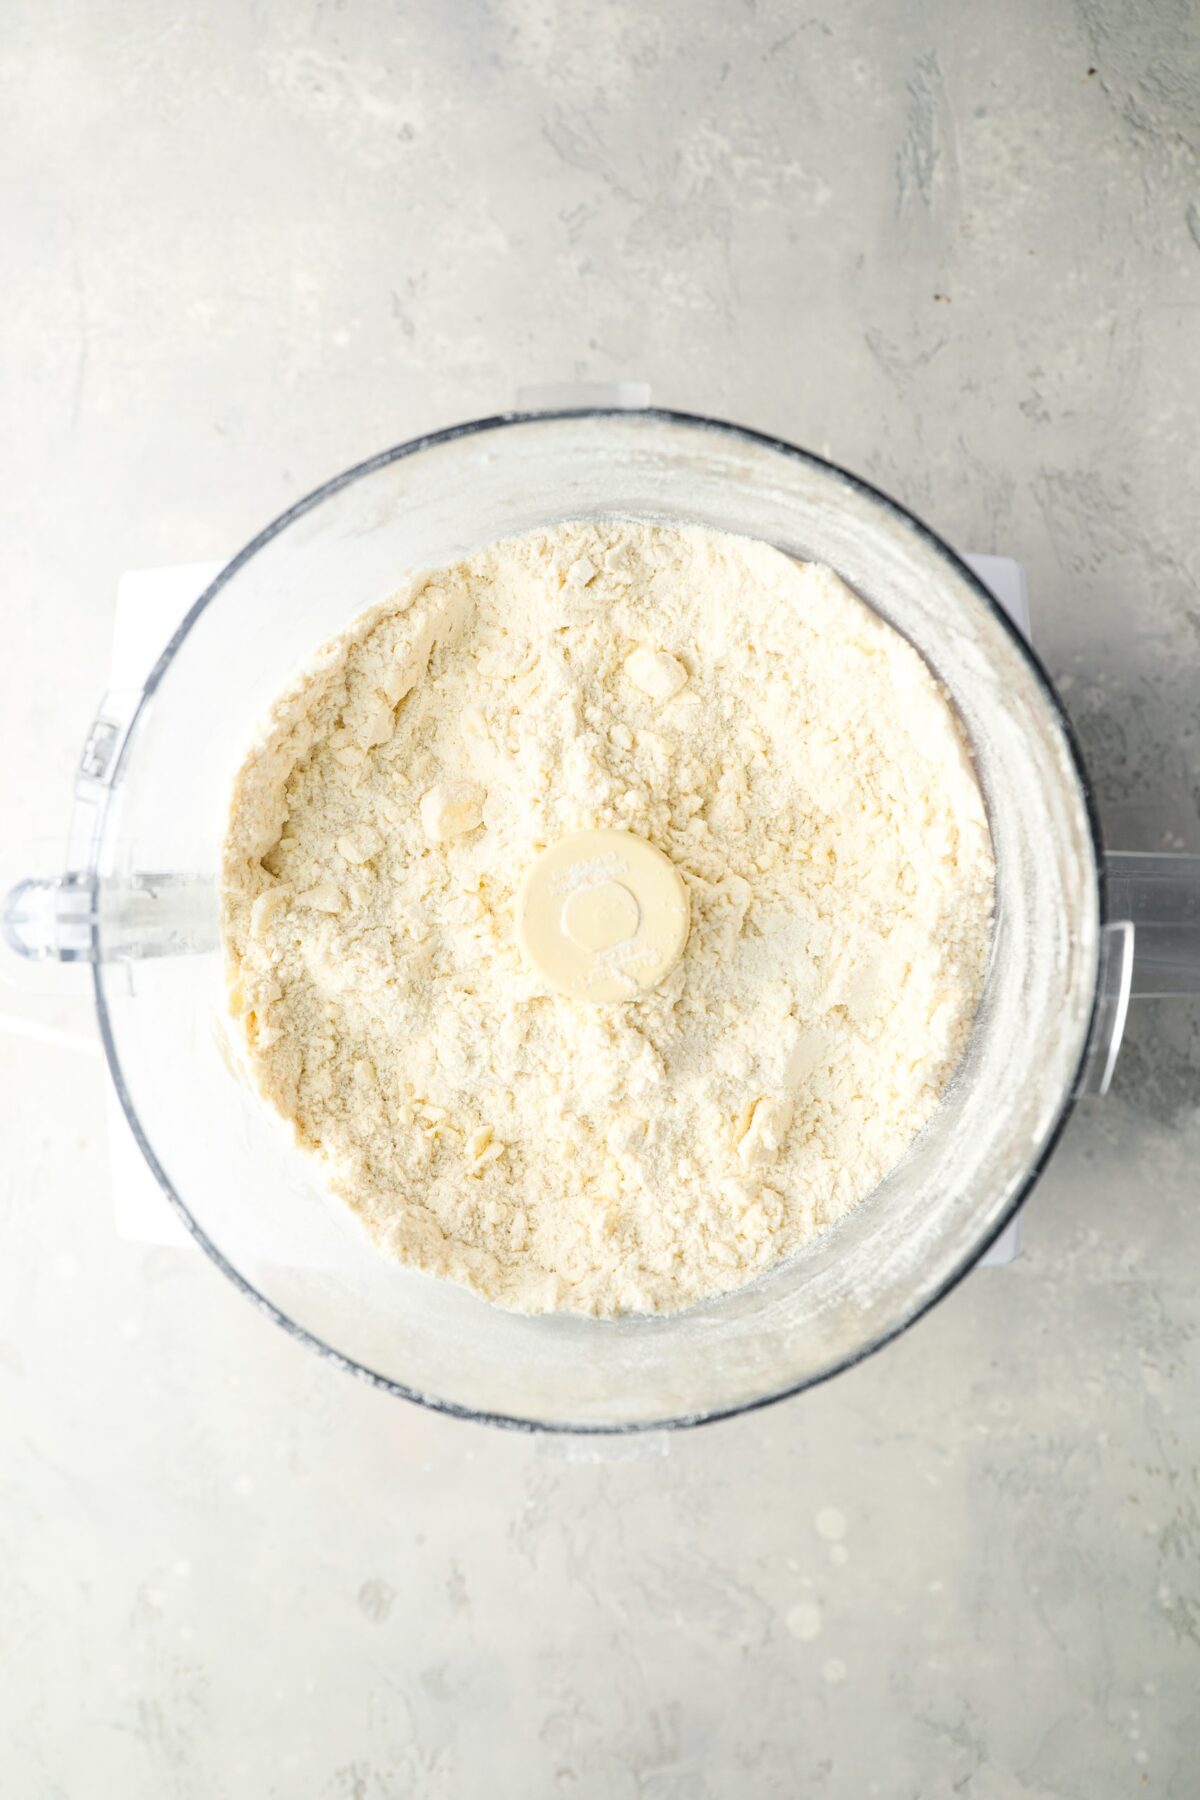
Crumbly mixture in a food processor.

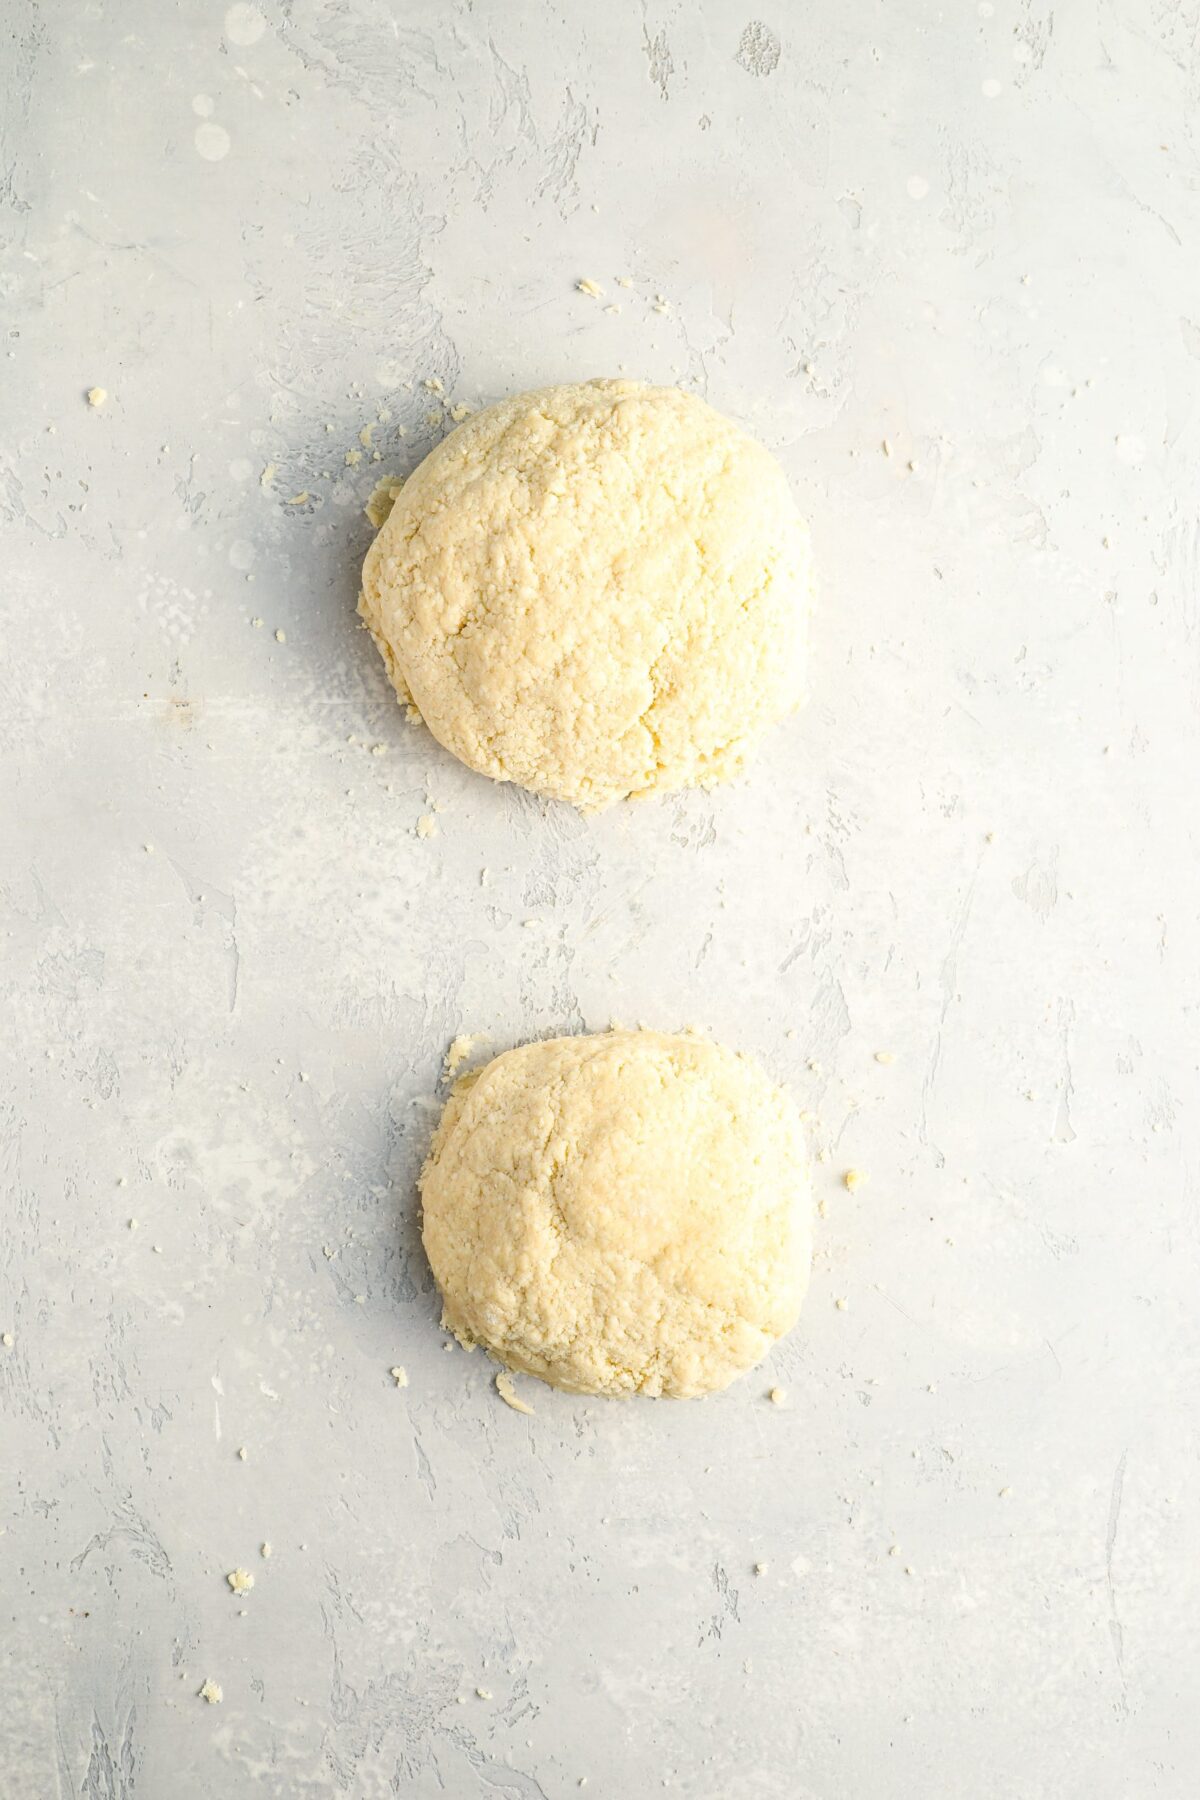
Dump the crumbly dough out onto a clean work surface and divide into two piles, with one pile about 15% bigger than the other.

Two piles of crumbly crust mixture.

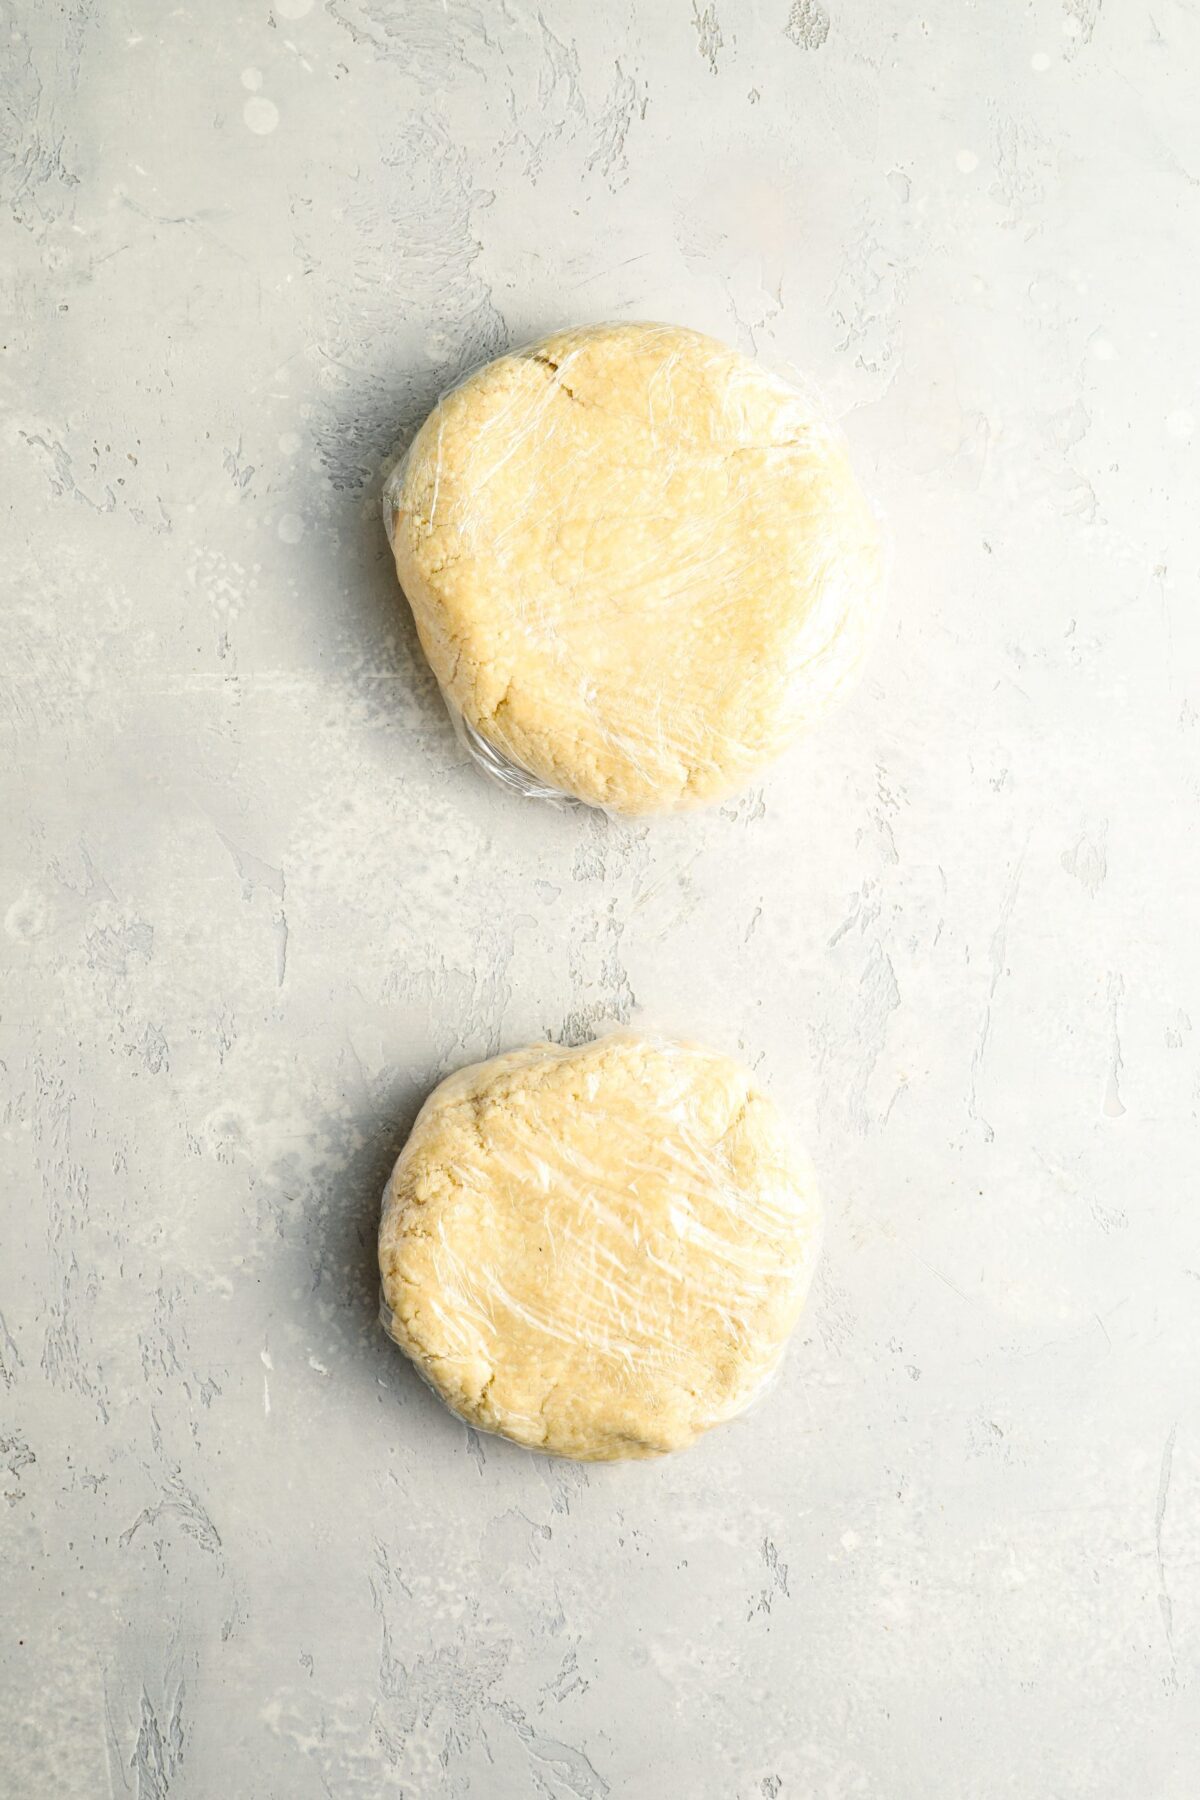
Make two balls of dough and pat each one into a 5-inch disc. Wrap the discs in plastic and refrigerate for at least 45 minutes.

Two balls of pie crust dough.

Take the larger disc of dough out of the refrigerator. Dust your work surface lightly with flour and place the dough on top; sprinkle a little flour more over the dough. Use your hands to quickly knead the dough into a soft and malleable disc (don’t overwork it; you want it just supple enough to roll).

Flattened ball of dough.

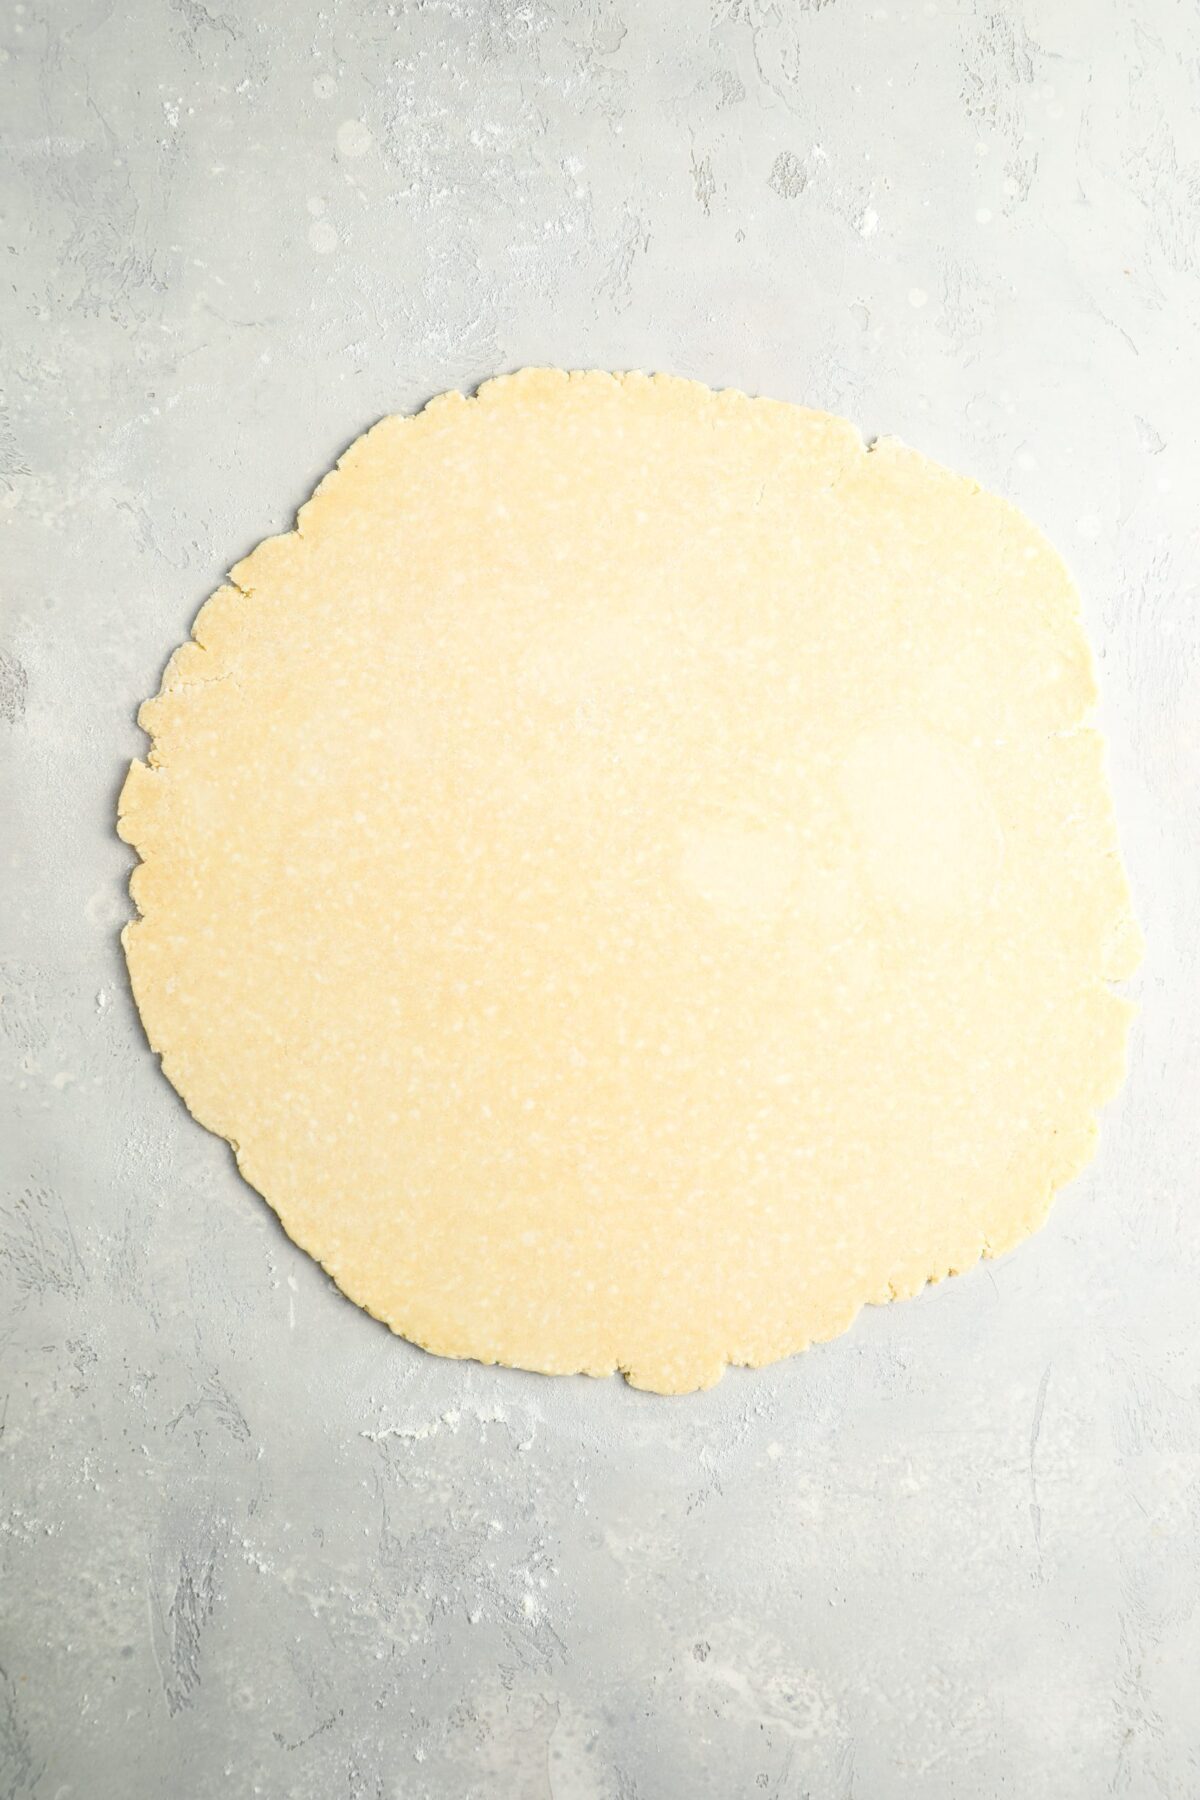
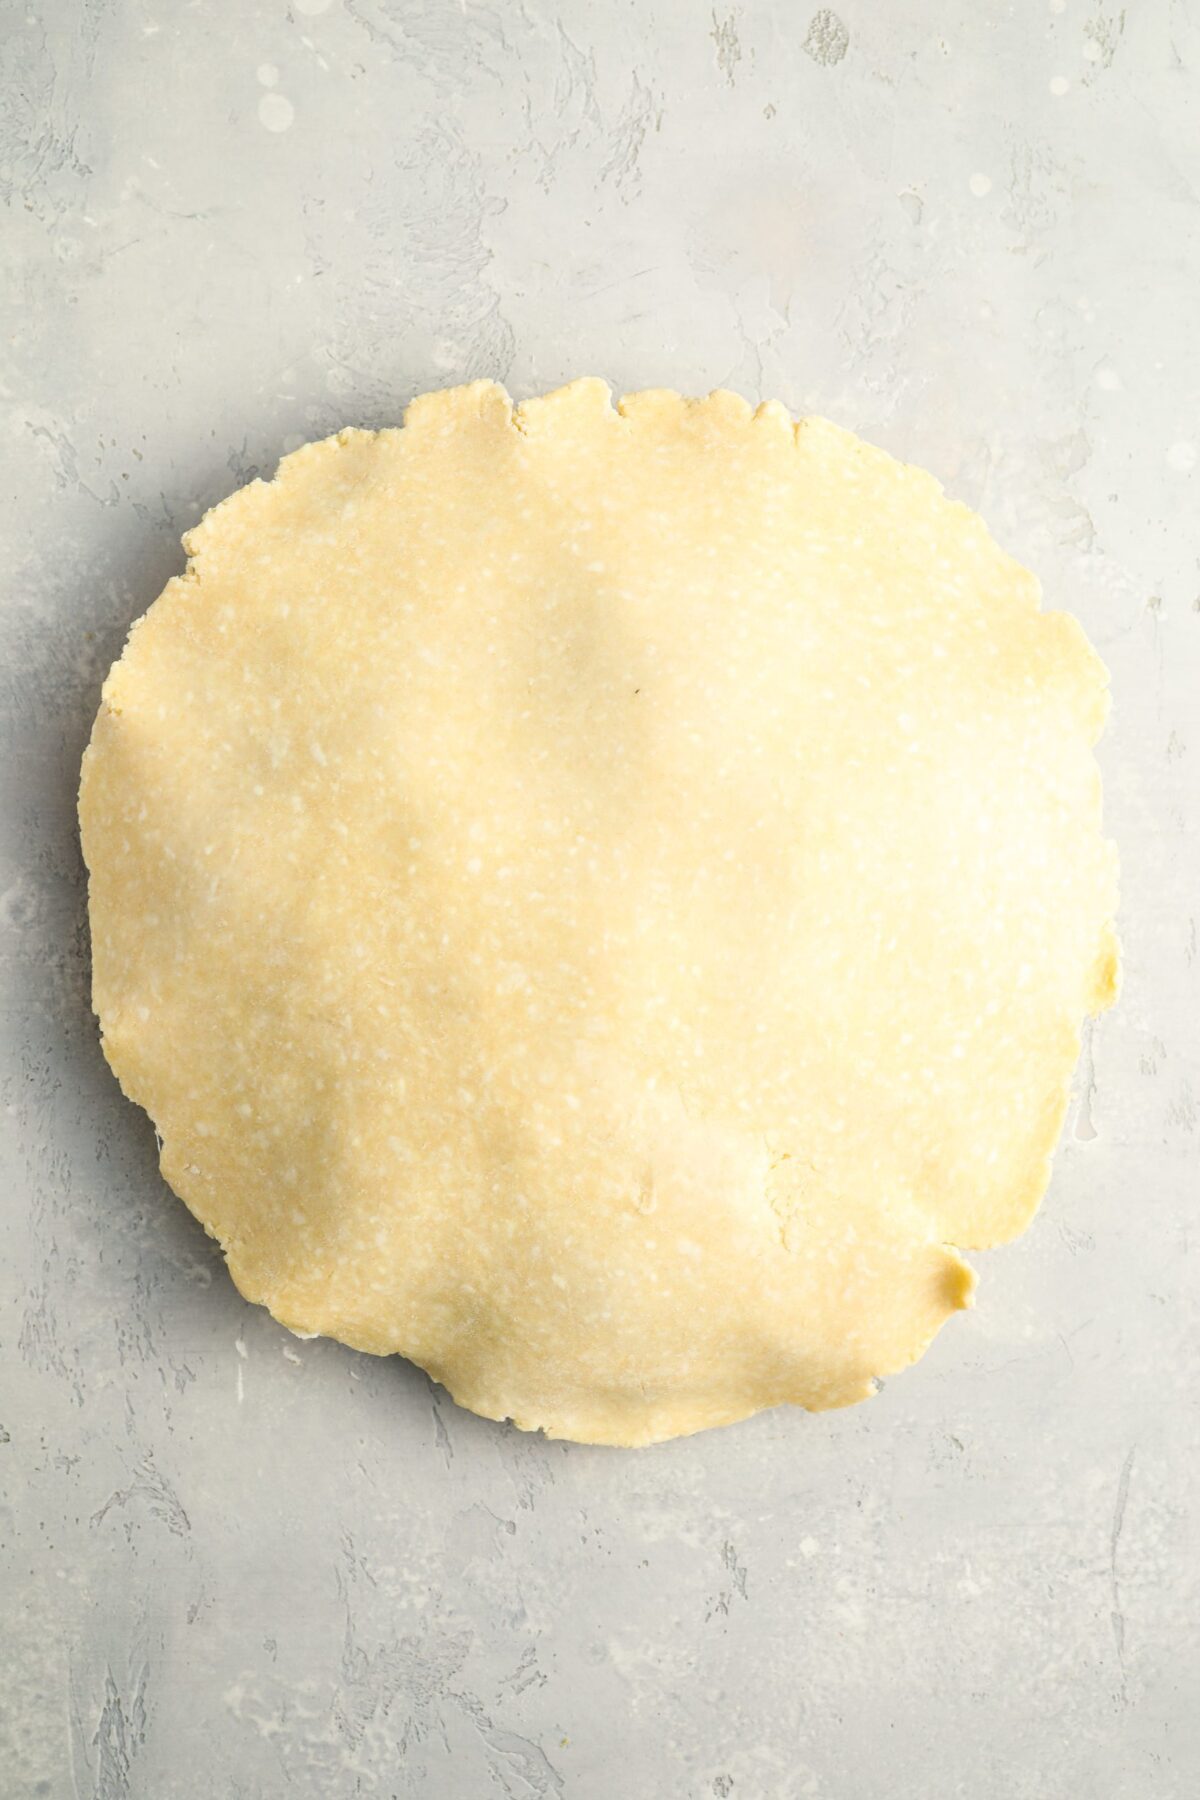
Roll the dough, adding more flour as necessary under and on top of the dough so it doesn’t stick, into a 13-inch circle.

Circle of rolled dough on a marbled surface.

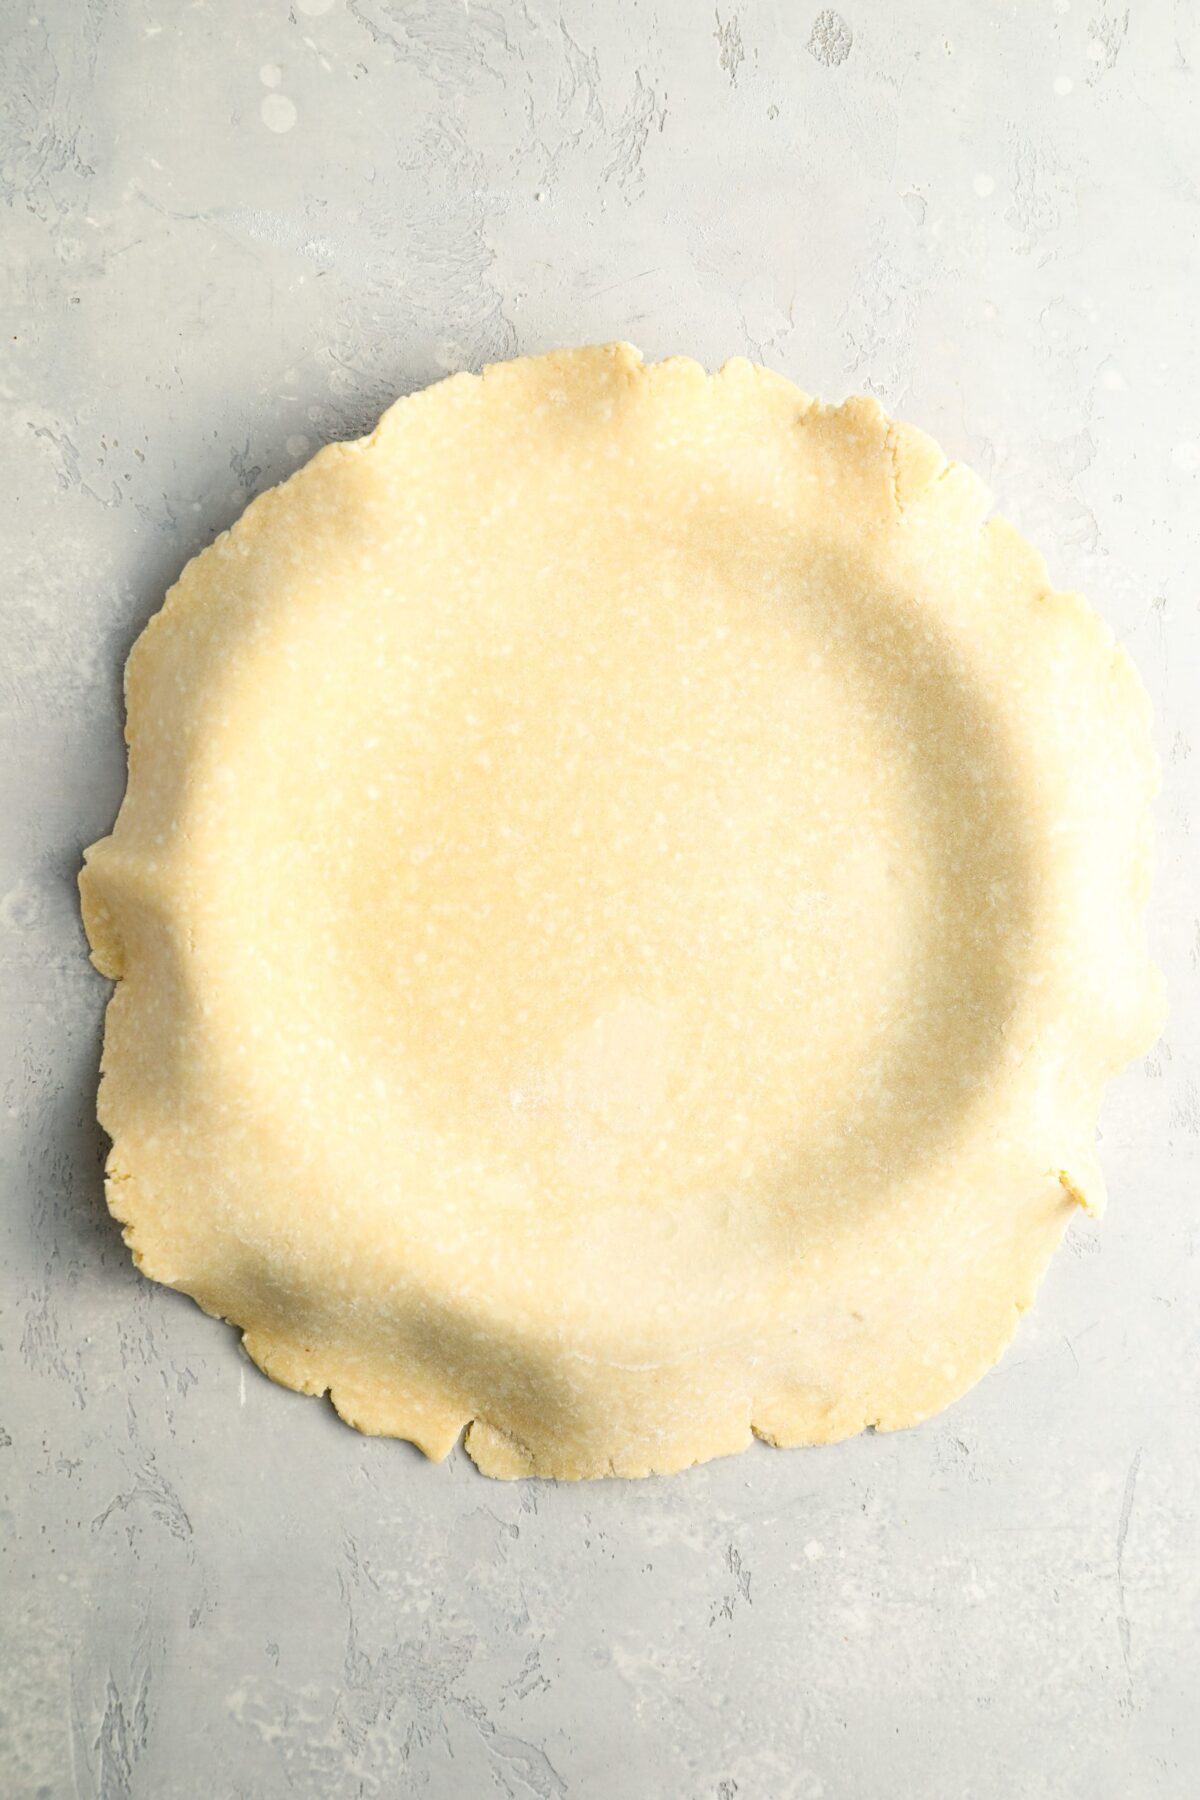
Carefully drape the dough over the rolling pin and transfer it to a 9-inch deep-dish pie pan (at least 1-1/2 inches deep). Gently fit the dough into the pan, easing it inwards rather than stretching it outwards. Trim the edges to 1/2-inch beyond the lip of the pie pan. Turn the edges under to create a rim on the crust. Press the rim against the lip of the pan, forming it into an even edge as you work your way around. Use any scraps to patch in any tears or thin areas. Place the crust in the refrigerator for at least 30 minutes while you heat the oven to 375°F.

Pie pan lined with pie crust.

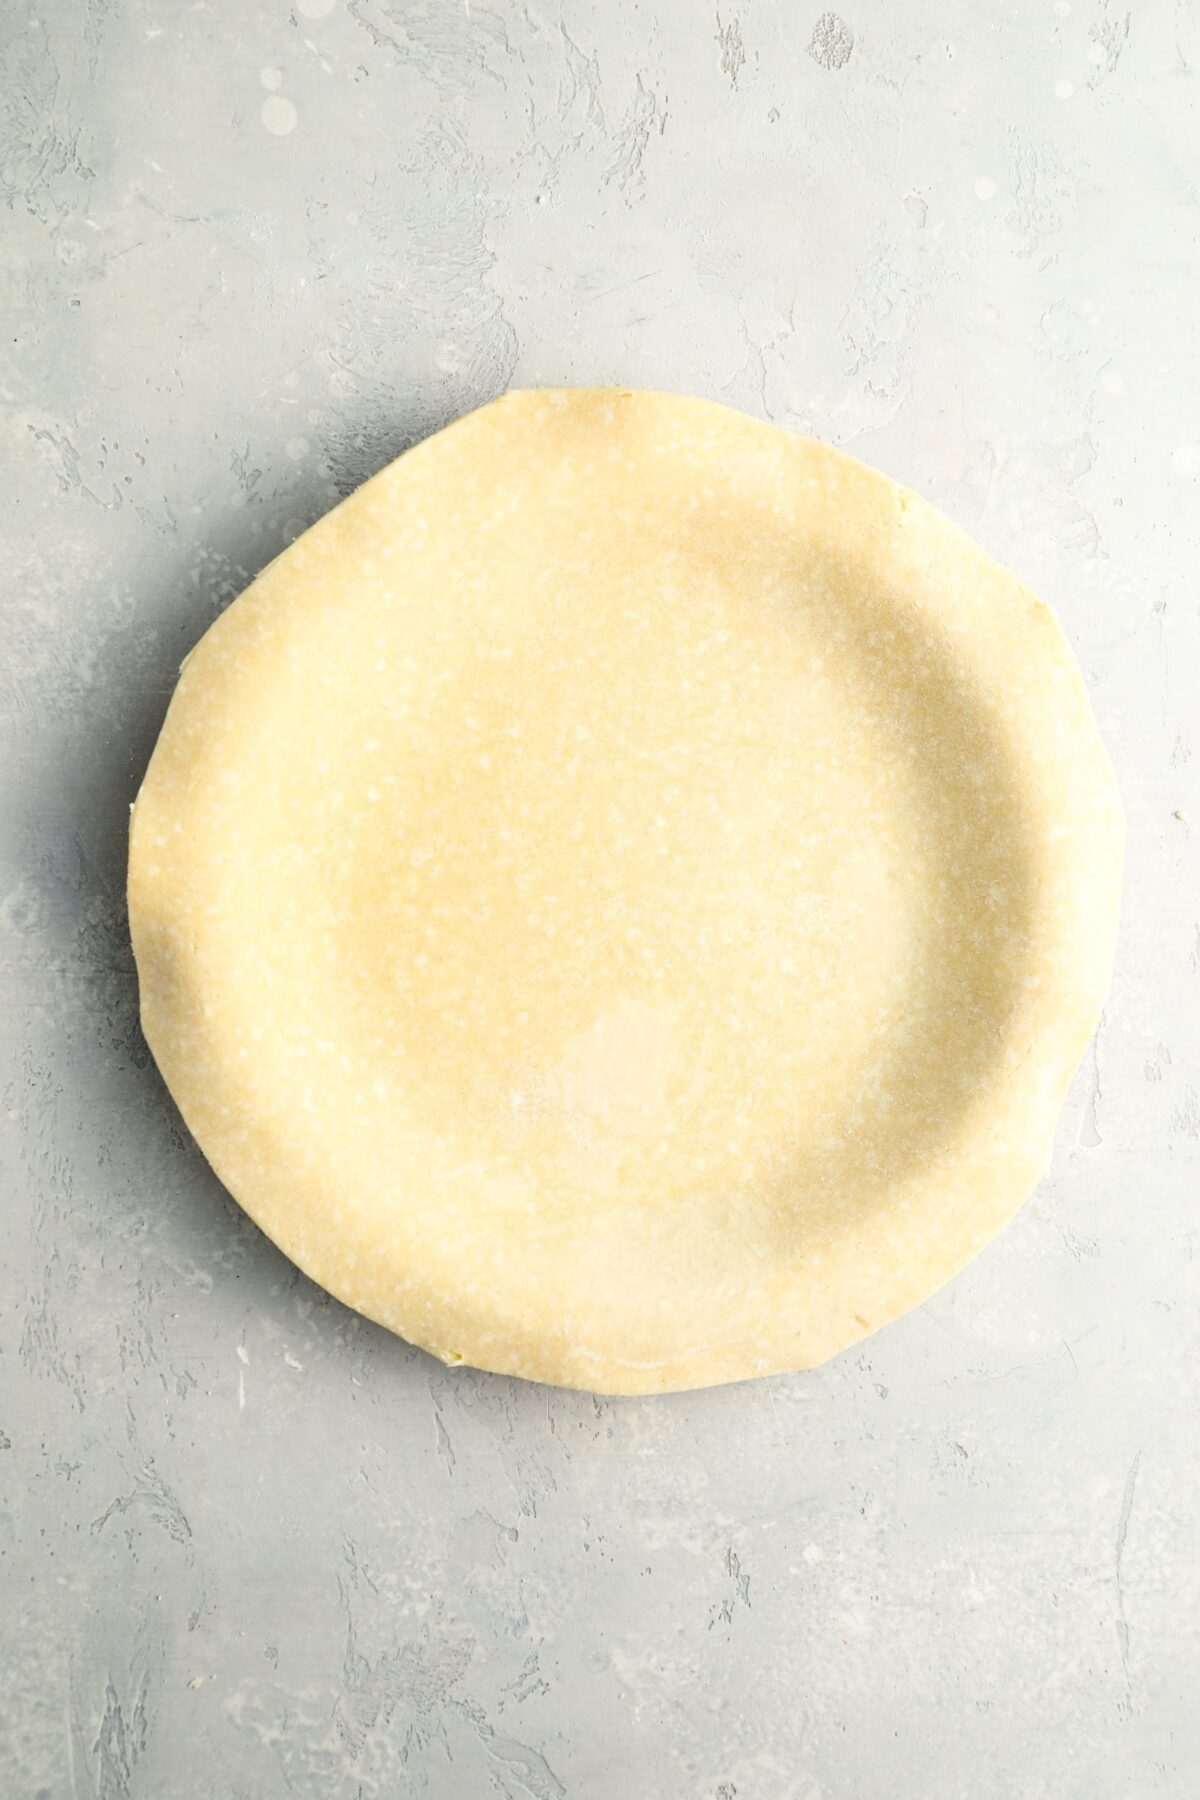
Remove the pie crust from the refrigerator and cover with a piece of parchment paper. Fill the crust with dried beans or pie weights.

Dry beans on parchment paper in a pie crust.

Bake for 20 minutes, then remove the parchment paper and beans/pie weights and tent the edges with a few strips of aluminum foil. (The foil will protect the edges from getting too dark.) Bake for another 15 to 20 minutes, until the dough is dry and golden. Let the crust cool to room temperature. Increase the oven temperature to 425°F.

Baked pie crust.

Meanwhile, combine the apples, lemon zest, lemon juice, granulated sugar, brown sugar, salt, and cinnamon.

Bowl of sliced apples and seasonings.

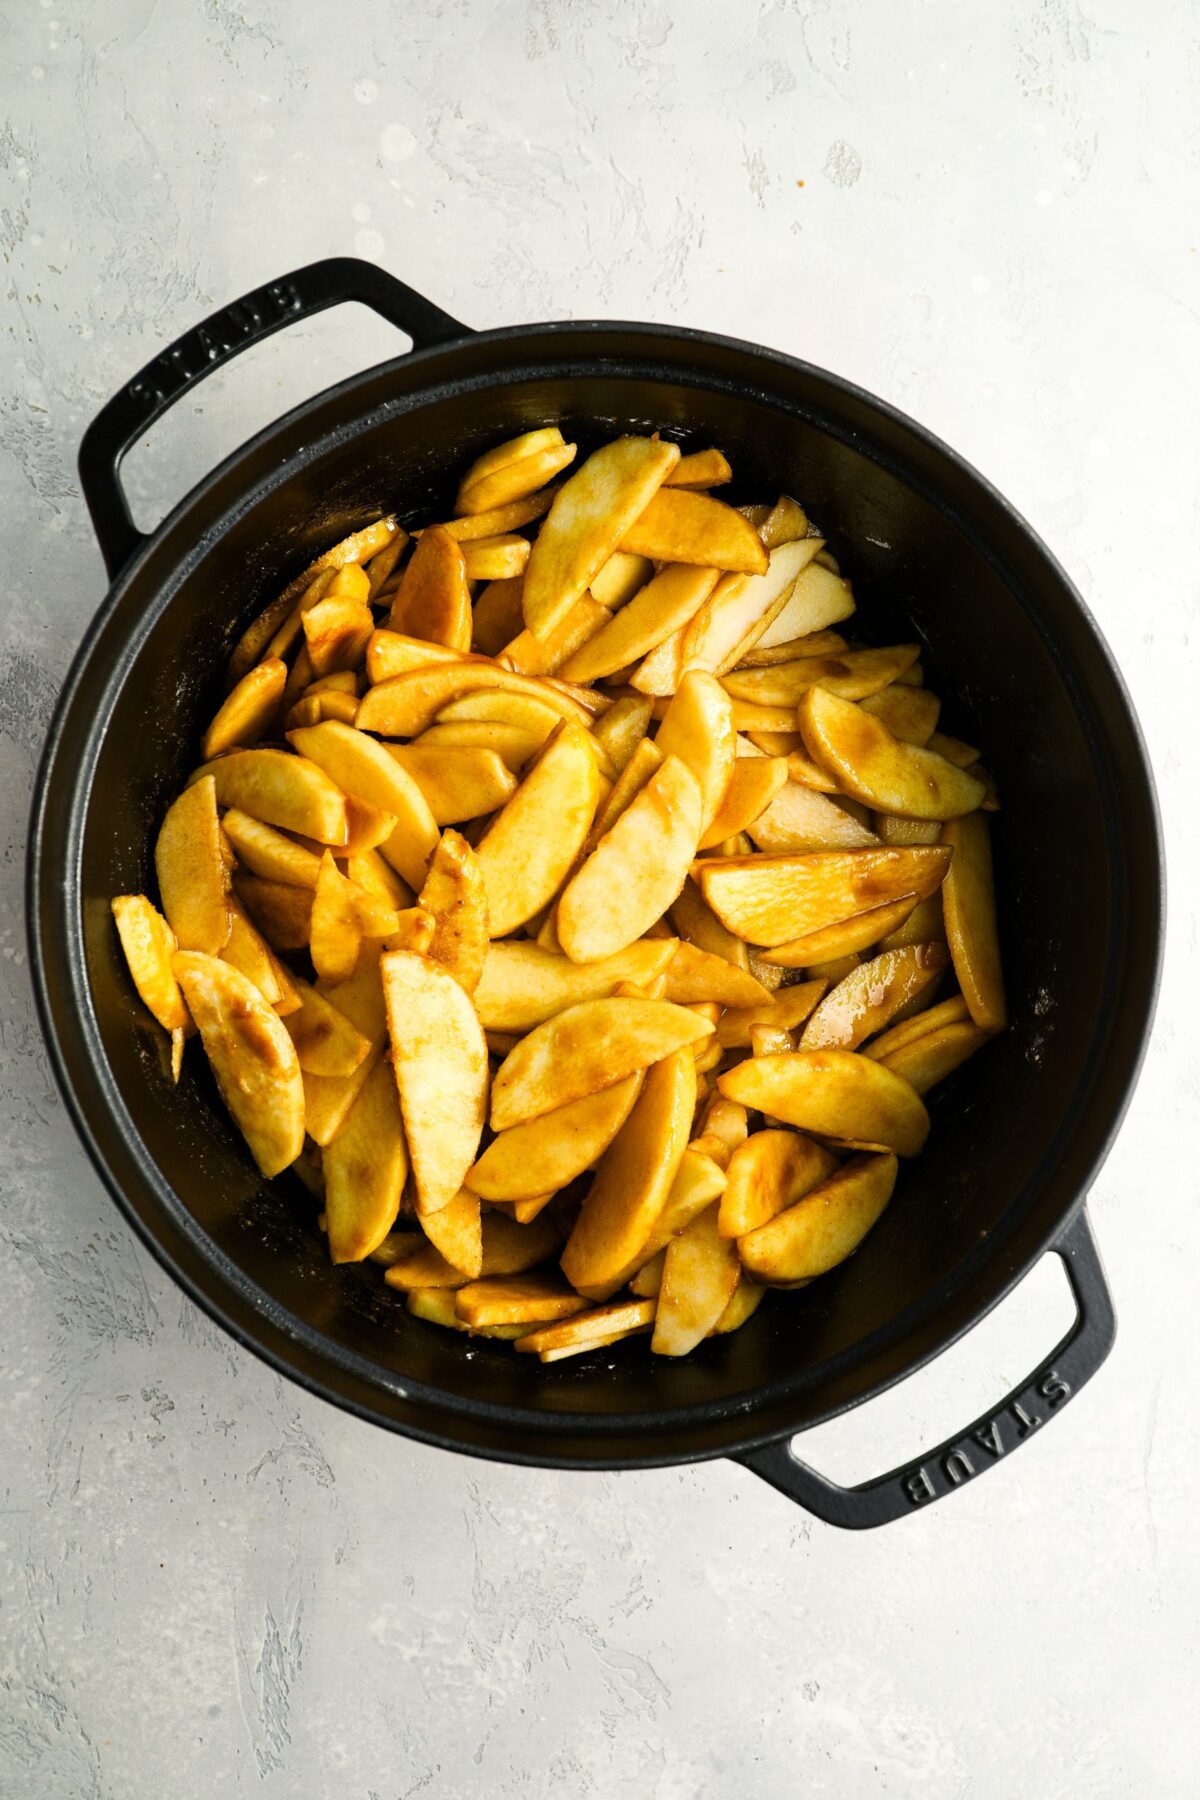
Toss until the sugar is dissolved and the apples are evenly coated. Let sit for at least 30 minutes.

Apple slices coated with seasonings.

Drain the apples, collecting the syrupy juice in another bowl.

Apple slices in a colander.

Pour the juice into a 2-cup microwave-safe measuring cup.

Dark liquid in a measuring cup.

Heat on high power in the microwave until the juice is reduced by half, about 4 minutes. (Alternatively, you can boil the juices in a small pan on the stove.) The syrup should be just slightly thickened.

Measuring cup of thick liquid.

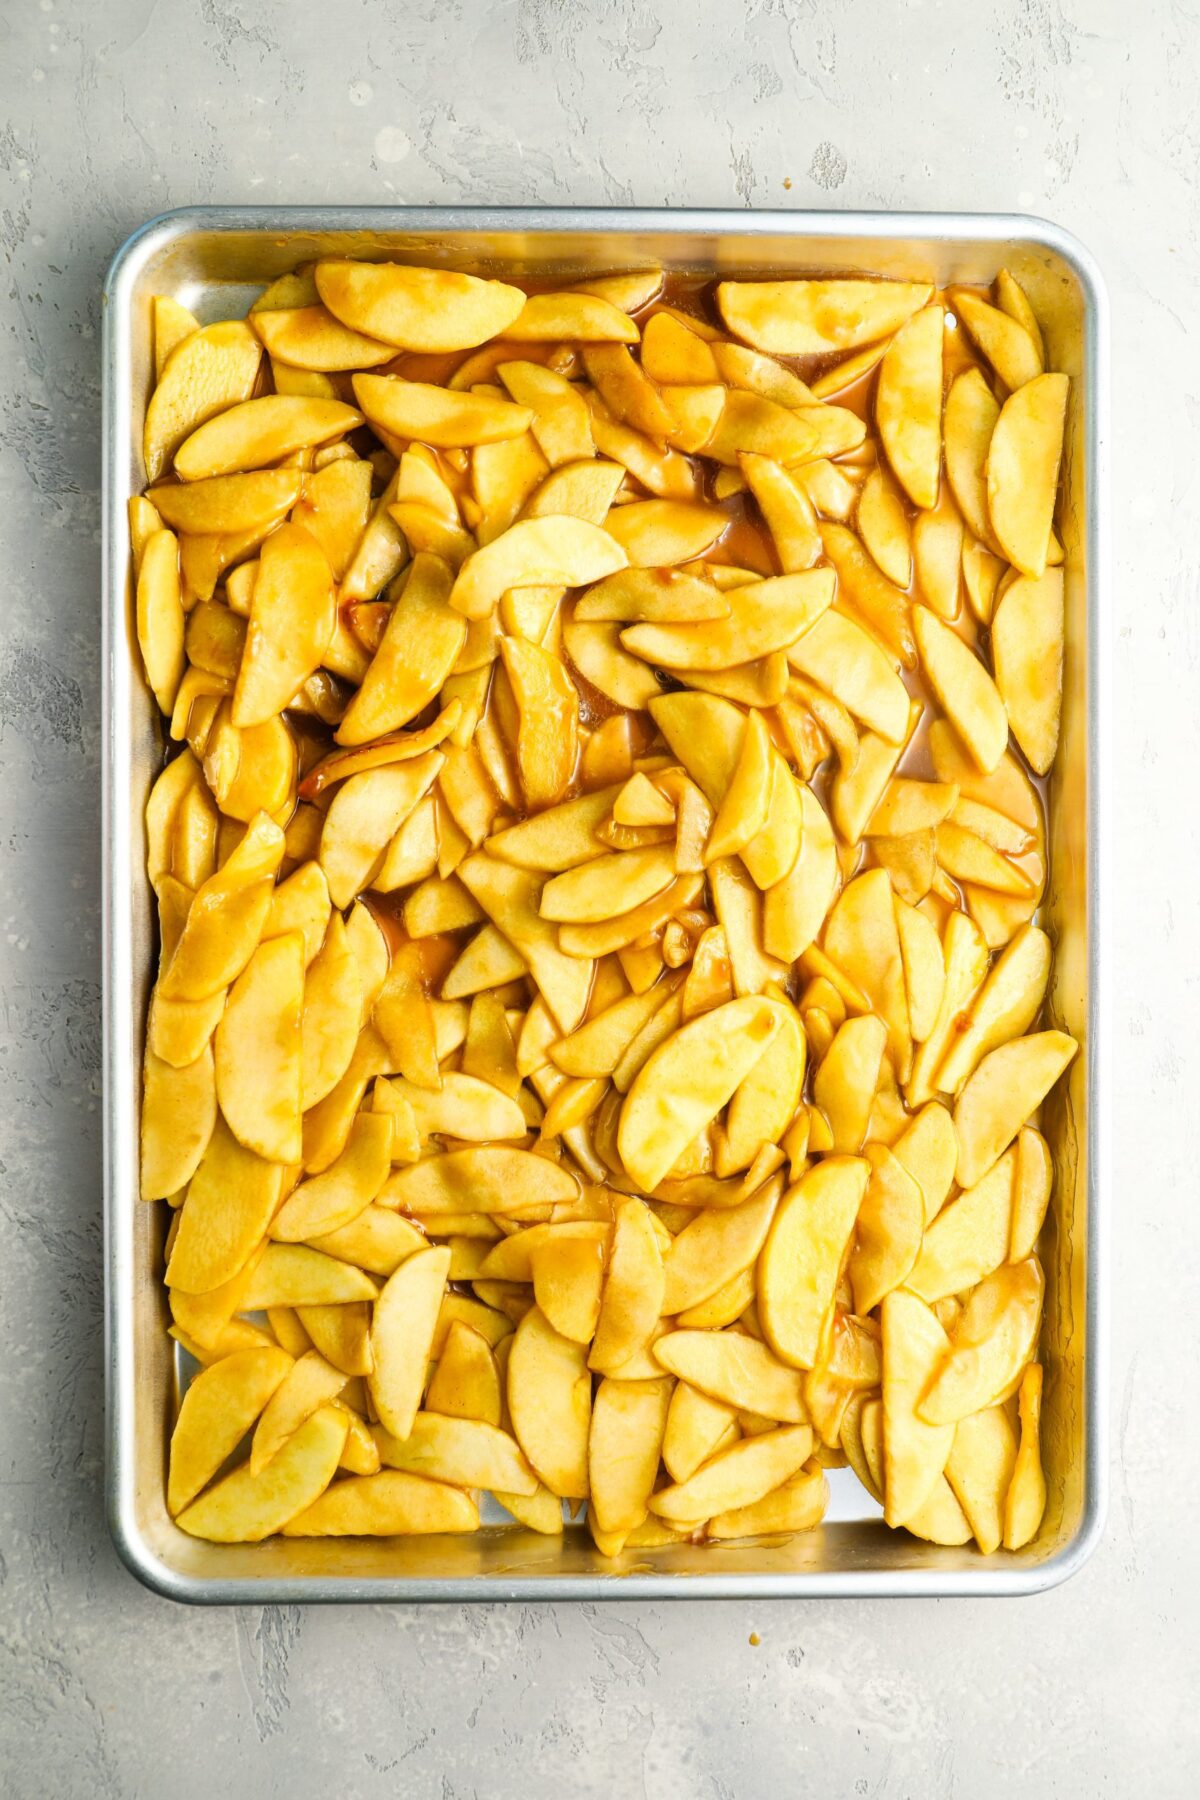
Add the syrup back to the apples, along with the flour and cornstarch; toss to combine.

Syrup pouring over apple slices.

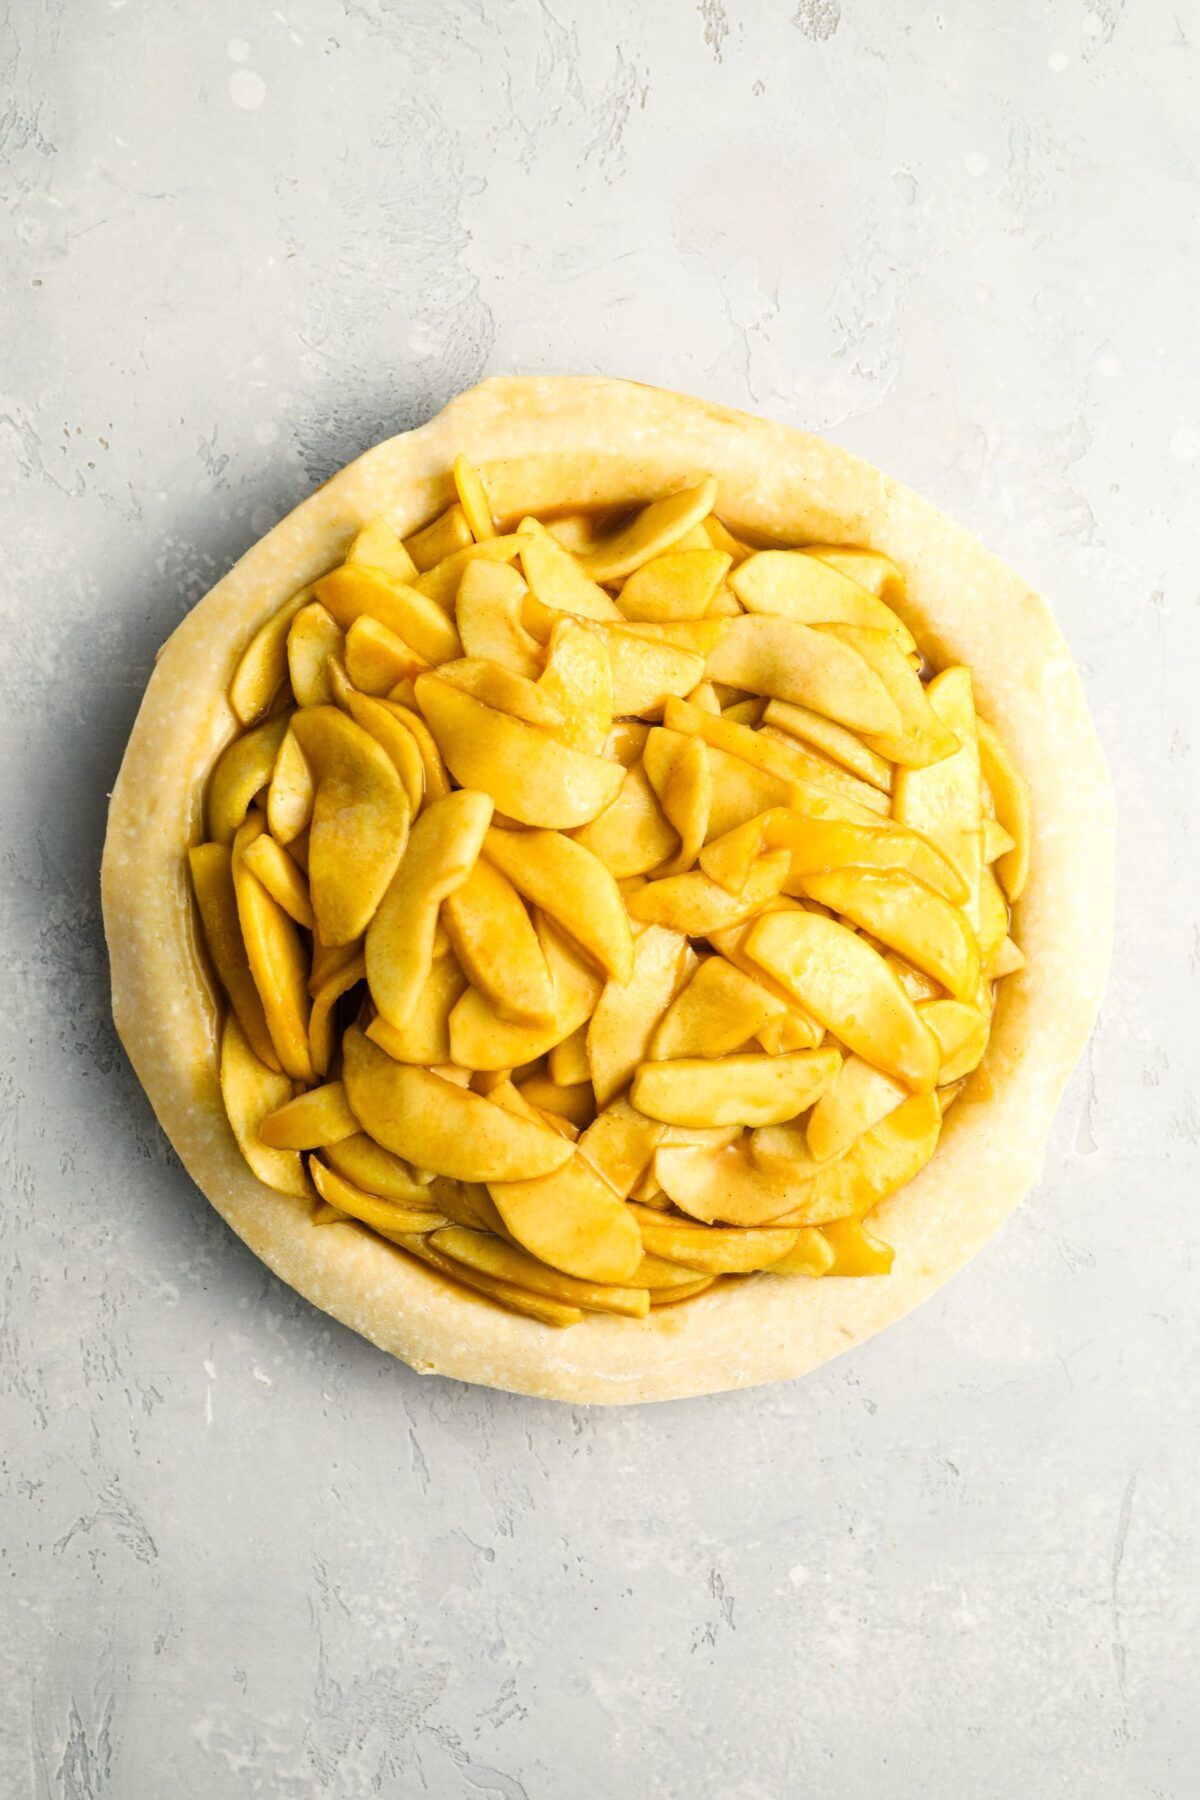
Add the apple filling to the baked pie shell.

Pie crust filled with seasoned apple slices.

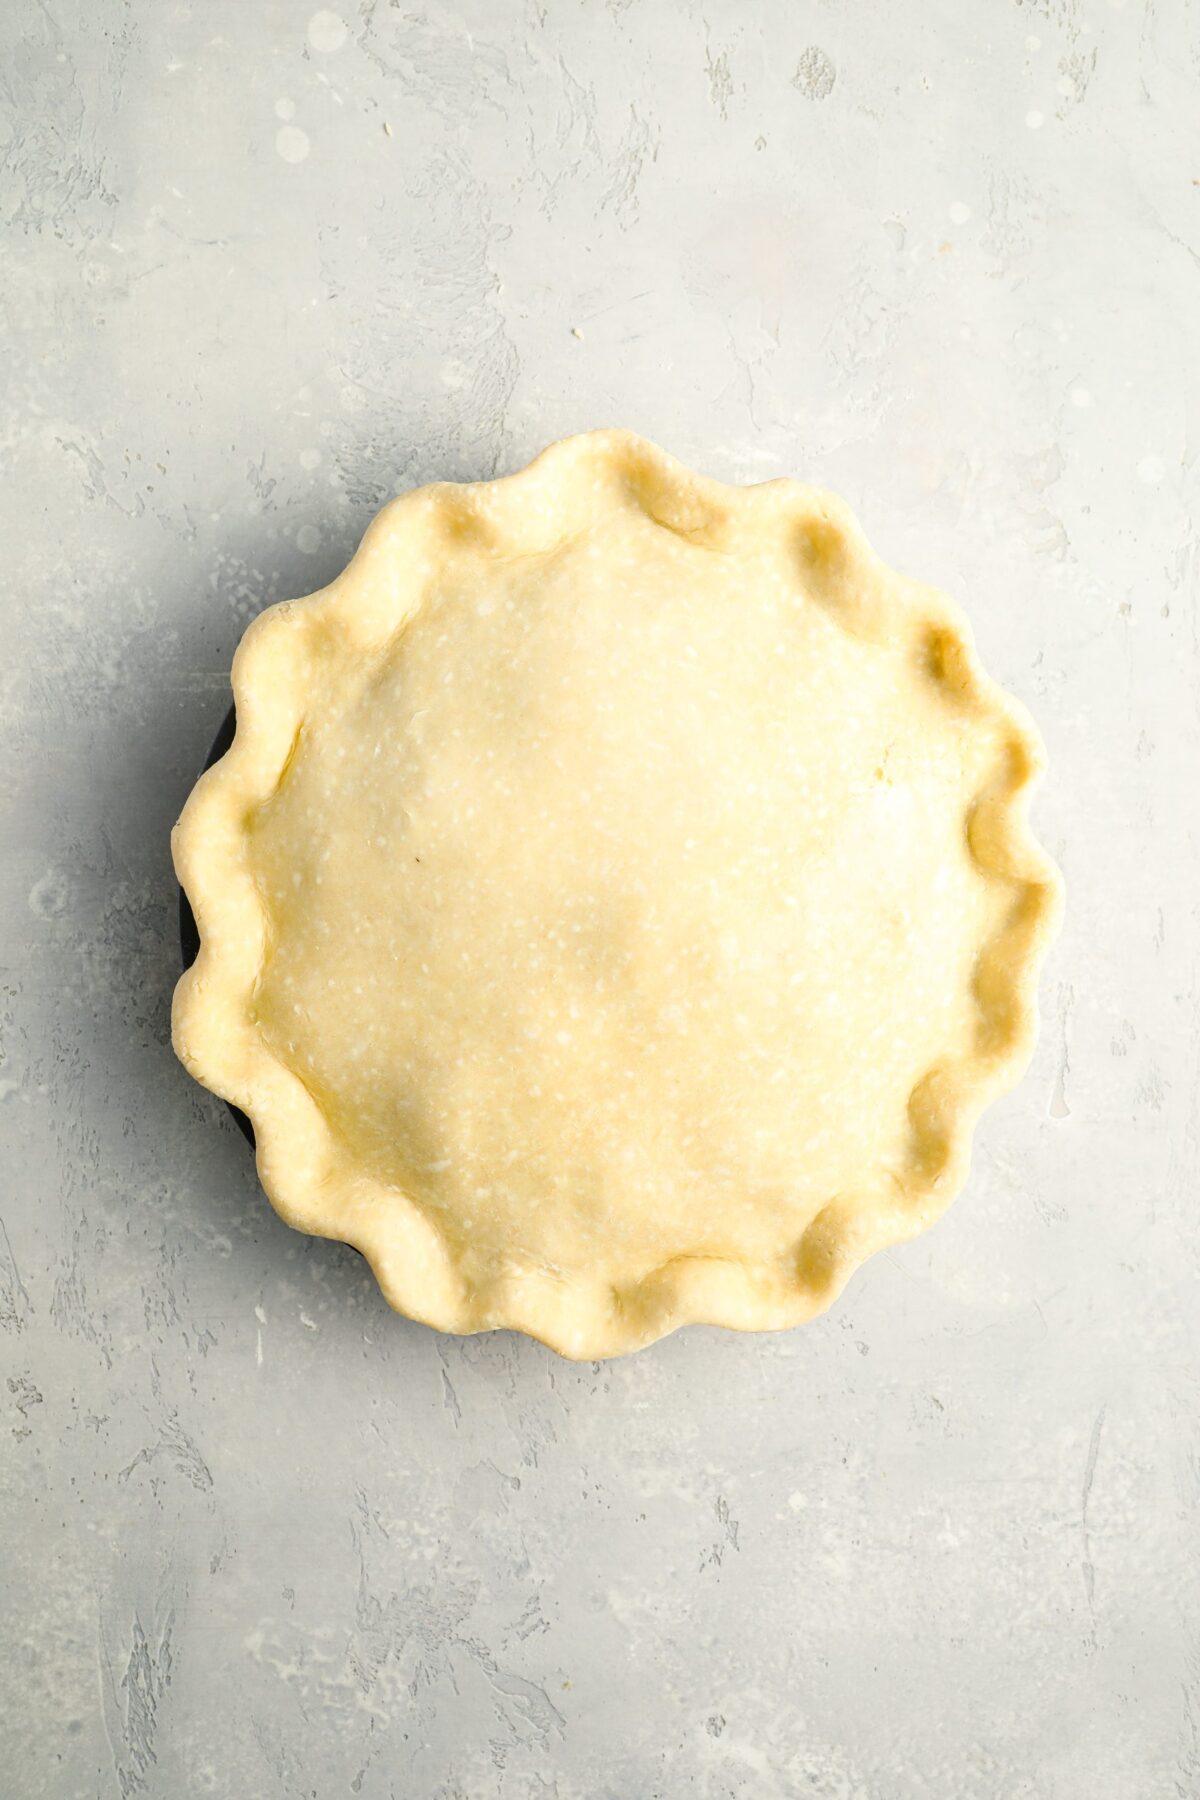
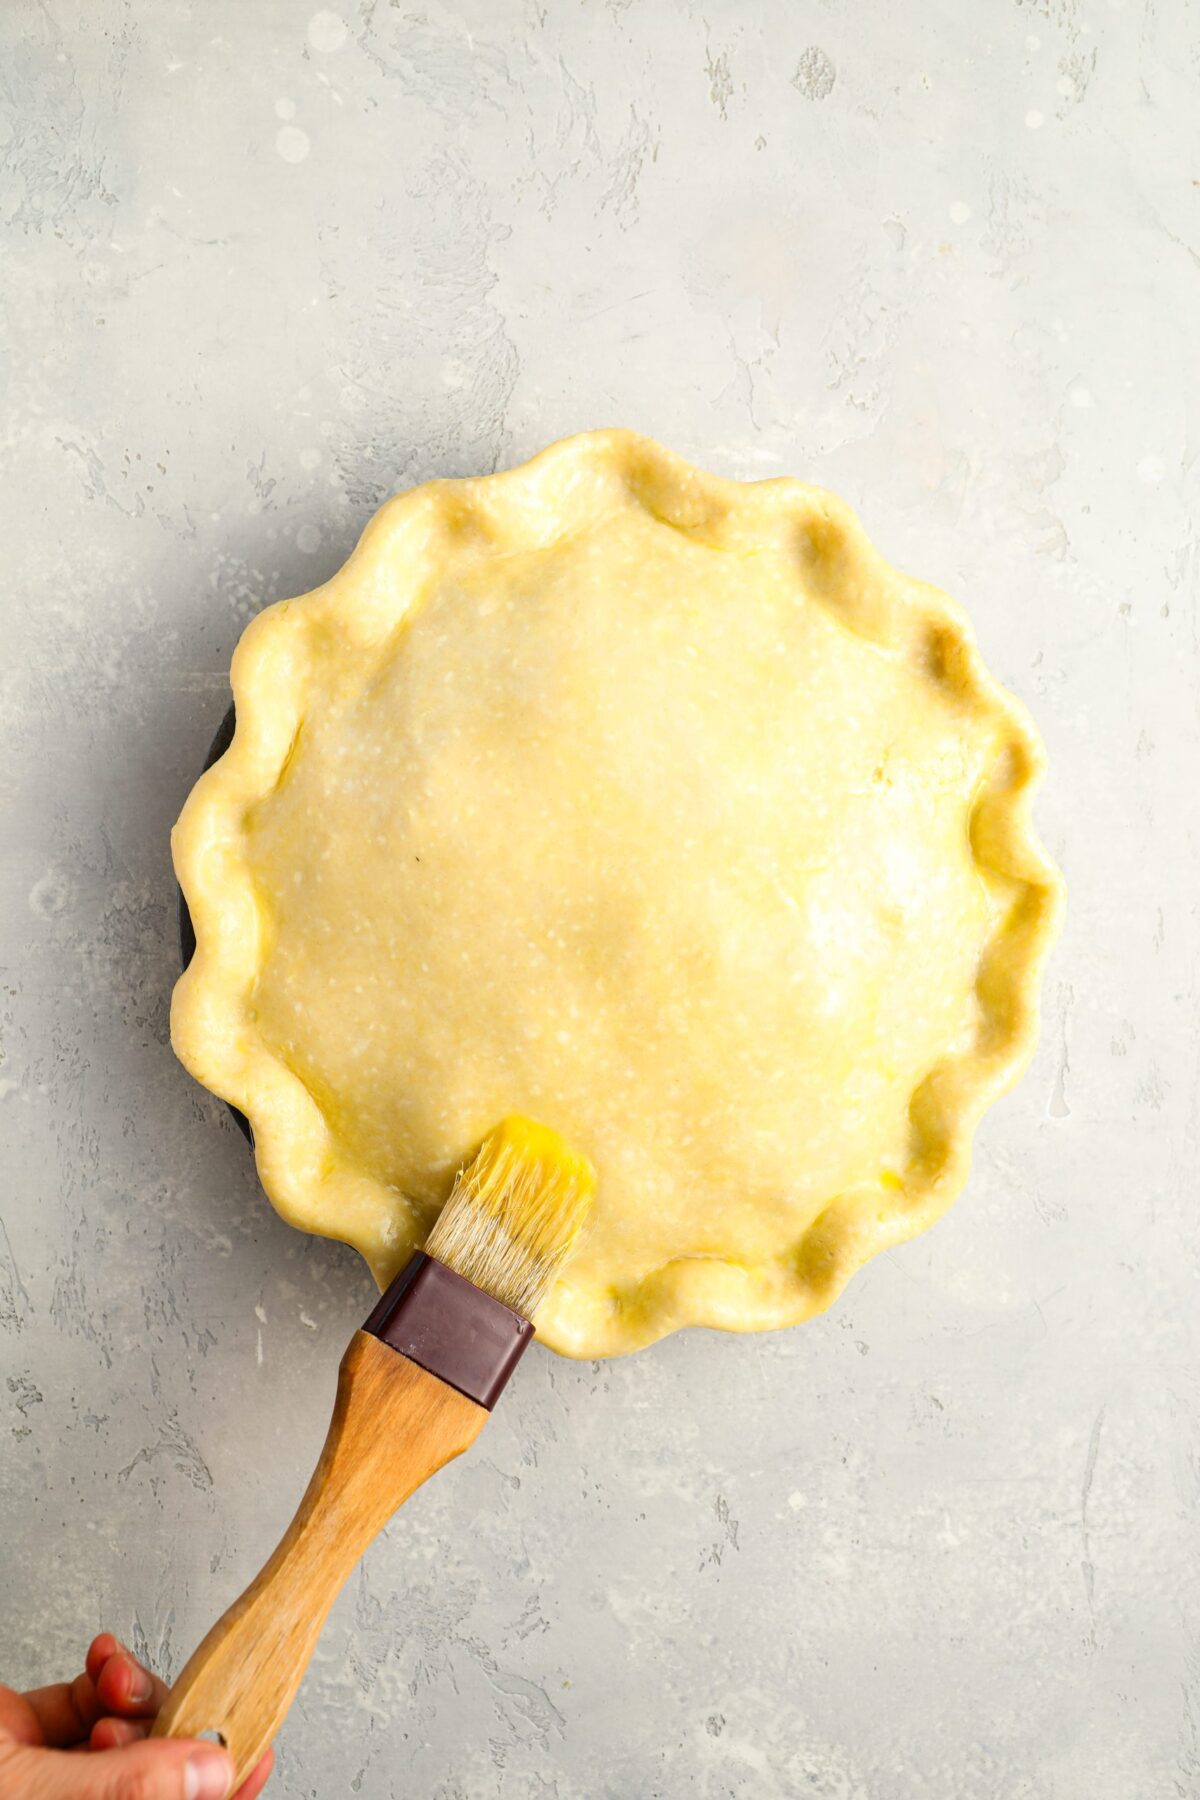
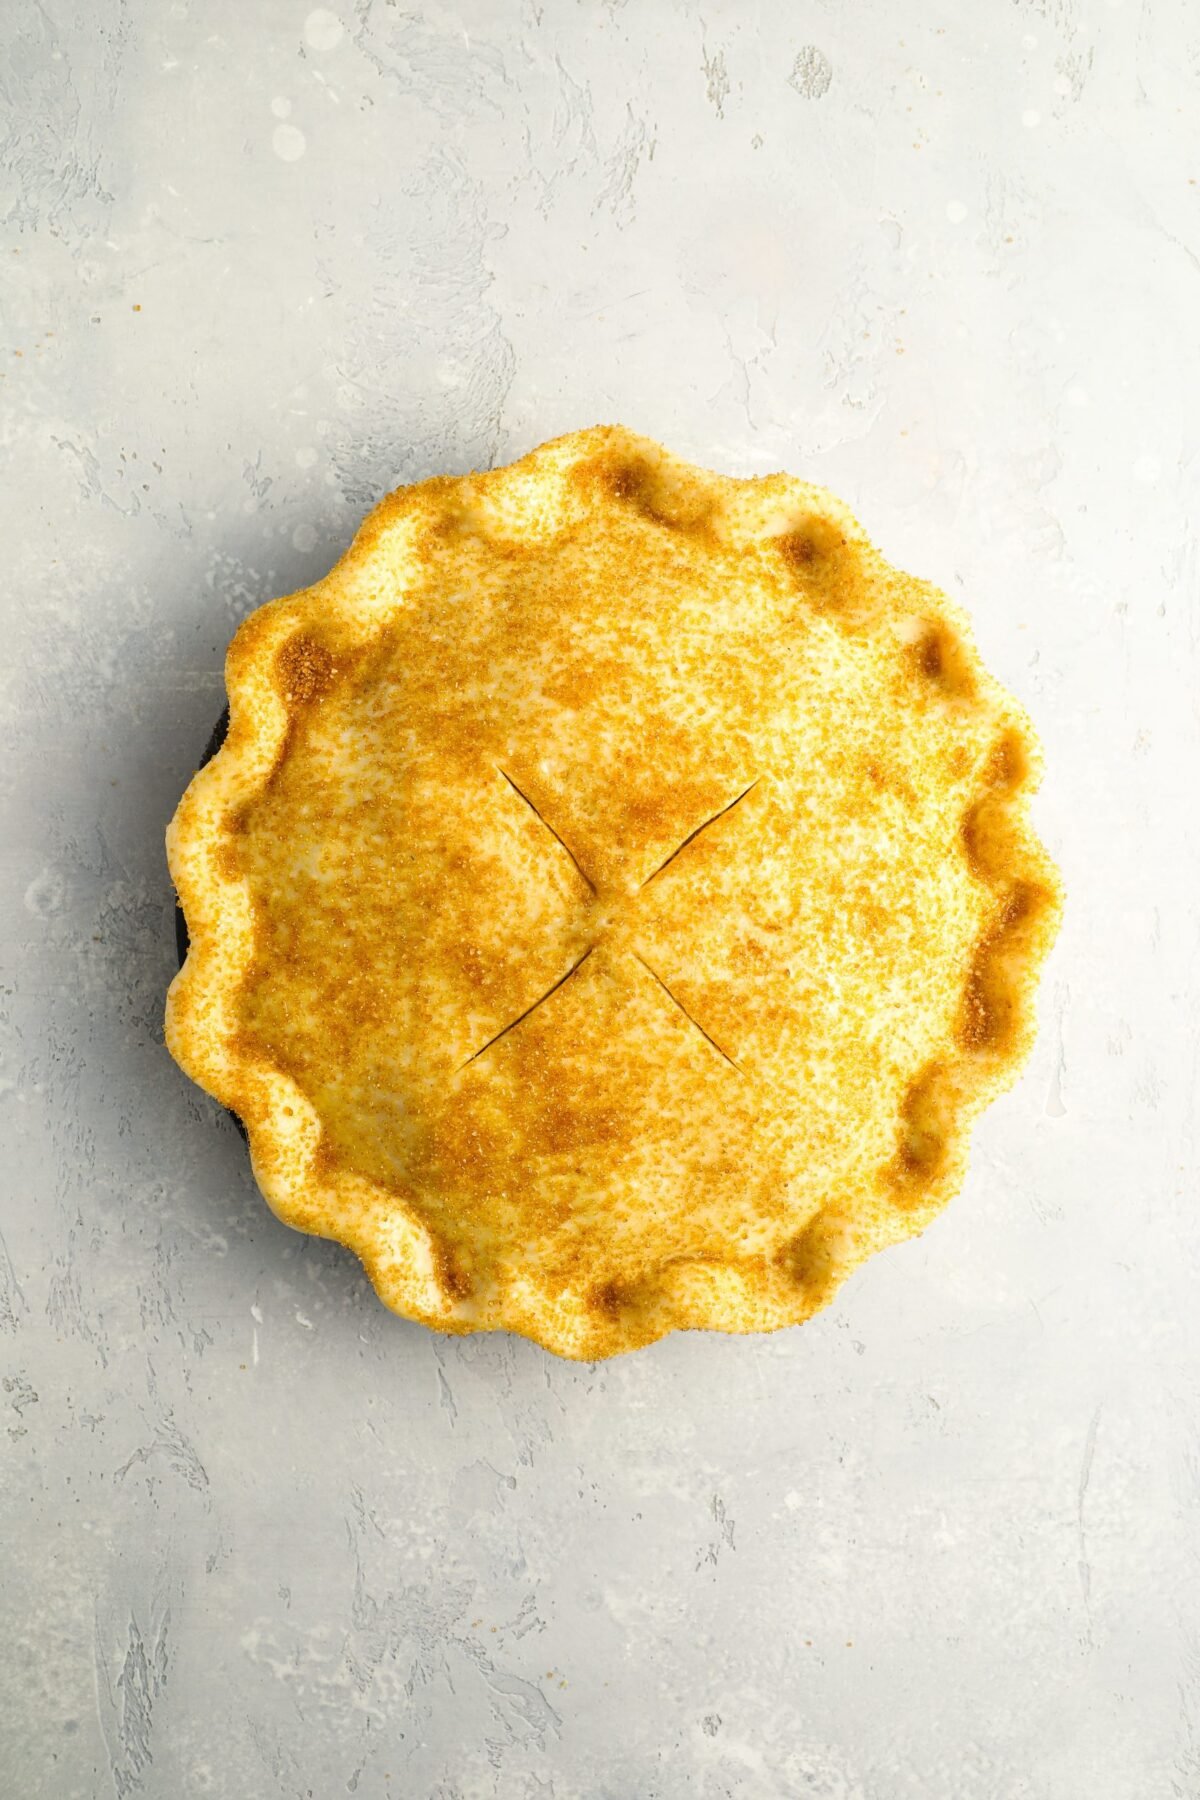
Take the other piece of dough out of the fridge and roll into an 11-inch circle, using the same process described above. Place the dough over the apples and crimp the edges with a fork or flute with your fingers, sealing the top and bottom crust together. Work quickly as the heat from the pan will soften the dough. Brush the top crust with the egg wash and sprinkle some sugar over top. Cut a few slits in the top crust to allow the steam to escape.

Crimped pie crust with slits cut out.

Bake at 425°F for 15 minutes, then reduce the heat to 375°F, and bake for an additional 45 minutes, or until the top is brown and filling is bubbly. Let the pie cool completely on a wire rack before cutting, about 4 hours. Enjoy!

Apple pie in a pie pan.

You may also like

Perfect Apple Pie

With a crisp, flaky crust and thick, cider-flavored apple filling, this is my idea of the perfect apple pie.

Servings: 8

Ingredients

For the Crust

  • 2¾ cups all-purpose flour, spooned into measuring cup and leveled with a knife
  • 3 tablespoons sugar
  • 1 teaspoon salt
  • ¼ teaspoon baking powder
  • 14 tablespoons cold unsalted butter, sliced into 1-inch pieces
  • ¼ cup cold vegetable shortening, in 4 pieces
  • 7 tablespoons ice cold water

For the Filling

  • 3½ pounds baking apples (see note), peeled, cored, sliced ¼-inch thick
  • 1 teaspoon lemon zest and 1 tablespoon lemon juice, from 1 lemon
  • ½ cup granulated sugar
  • 6 tablespoons packed dark brown sugar
  • Heaping ¼ teaspoon salt
  • ¼ teaspoon cinnamon
  • 2 tablespoons all-purpose flour
  • 2 tablespoons cornstarch

For Baking

  • A beaten egg, cream, or milk, for brushing over crust
  • 2 tablespoons granulated sugar, for topping the pie

Instructions

For the Crust

  1. Combine the flour, sugar, salt and baking powder in the bowl of a food processor fitted with the metal blade. Pulse a few times to combine. Add the pieces of butter and shortening and pulse until the mixture is crumbly with lots of pea and chickpea-size clumps of butter and shortening within.
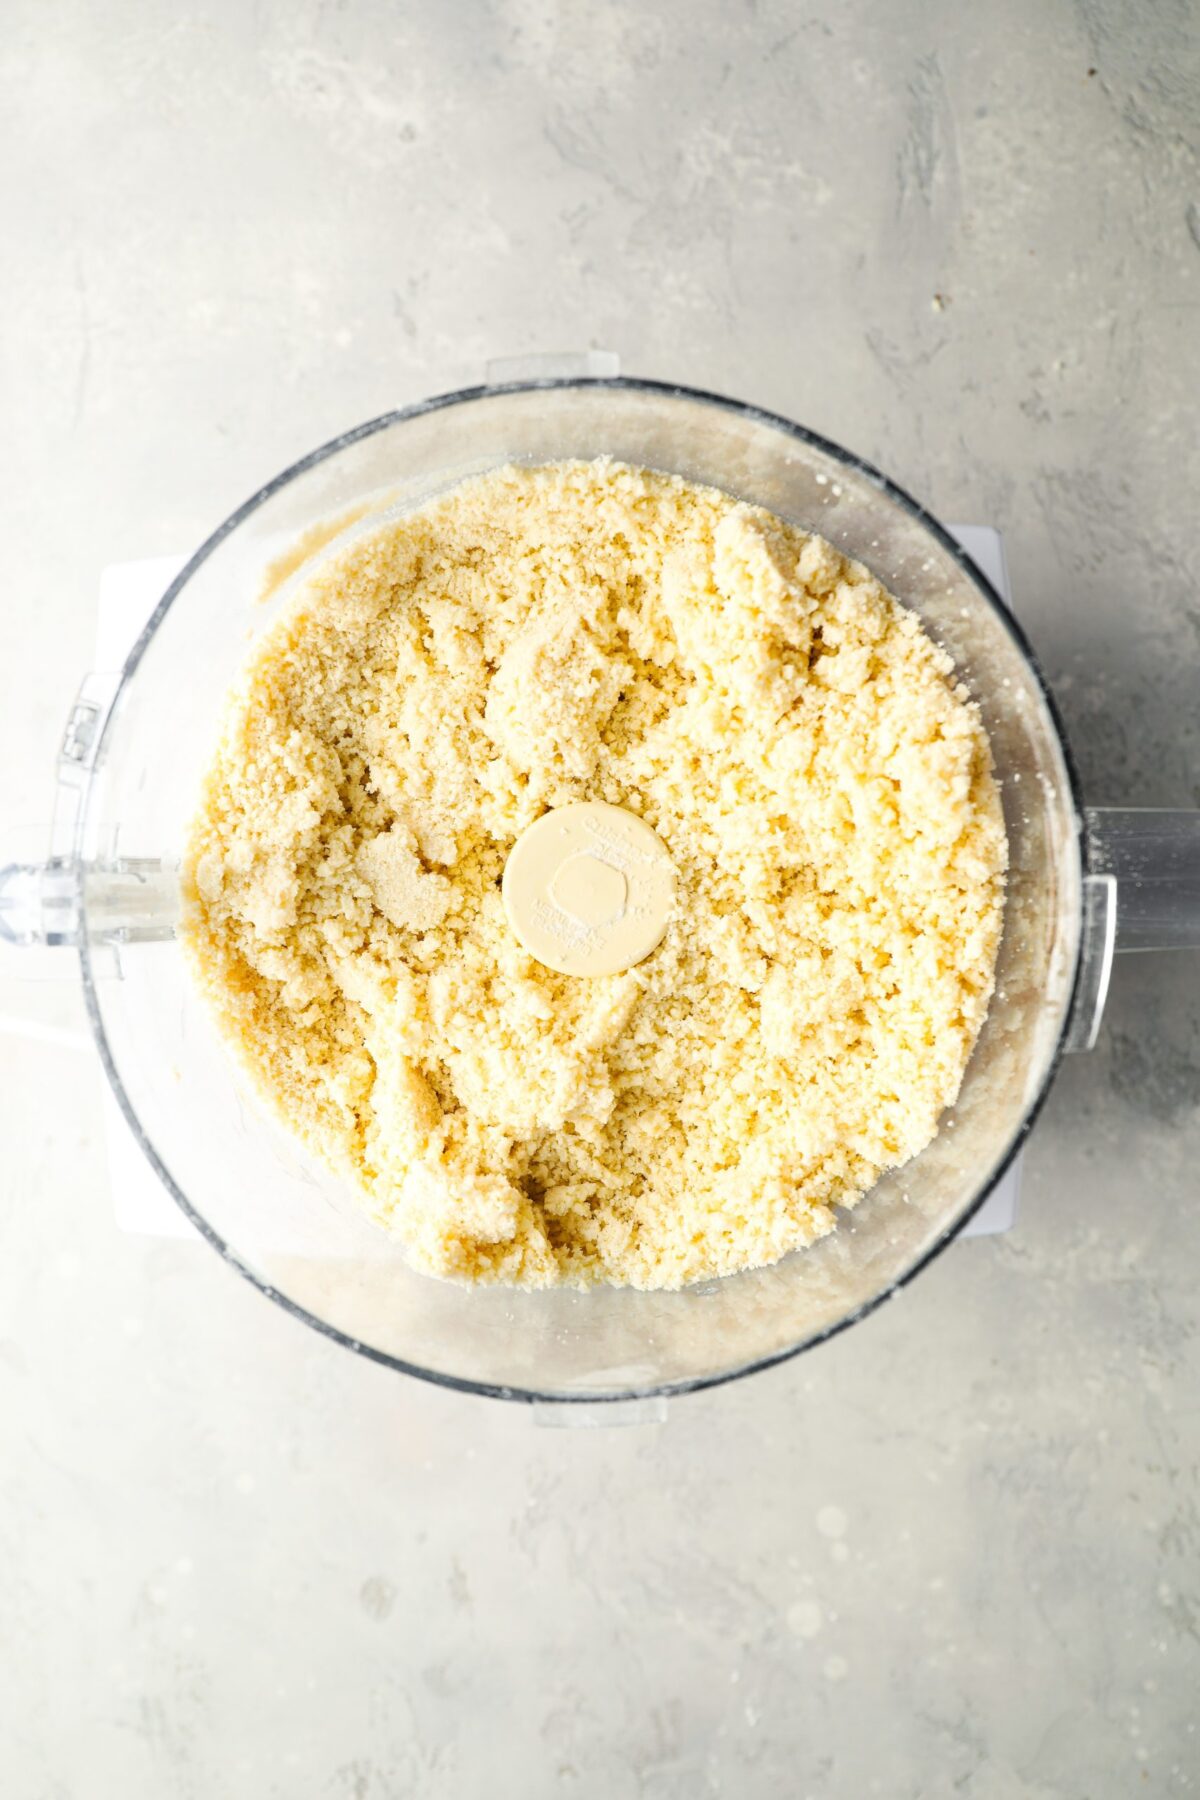
  2. Add the water and pulse until the mixture is evenly moistened and very crumbly. Dump the dough crumbles onto a work surface and divide into two piles, with one pile about 15% bigger than the other (13 oz and 11.5 oz). Make two balls of dough and pat each one into a 5-inch disc. Wrap the discs in plastic and refrigerate for at least 45 minutes.
  3. Take the larger disc of dough out of the refrigerator. Dust your work surface lightly with flour and place the dough on top; sprinkle a little flour over the dough. Use your hands to quickly knead the dough into a soft and malleable disc (don’t overwork it; you want it just supple enough to roll).
  4. Roll the dough, adding more flour as necessary under and on top of the dough so it doesn't stick, into a 13-in circle. Carefully drape the dough over the rolling pin and transfer it to a 9-in deep-dish pie pan (it should be at least 1½ in deep). Gently fit the dough into the pan, easing it inwards rather than stretching it outwards. Trim the edges to ½ inch beyond the lip of the pie pan. Turn the edges under to create a rim on the crust. Press the rim against the lip of the pan, forming it into an even edge. Use any scraps to patch in any tears or thin areas. Place the crust in the refrigerator for 30 minutes while you heat the oven.
  5. Preheat the oven to 375°F. Set an oven rack in the middle position.
  6. Remove the pie crust from the refrigerator and place on a baking sheet (this makes it easy to move in and out of the oven). Cover the crust with a piece of parchment paper and fill it with dried beans or pie weights. Bake for 20 minutes. Take the crust out of the oven; remove the parchment paper and beans/pie weights and tent the edges with a few strips of aluminum foil. (The foil will protect the edges from getting too dark.) Bake for another 15 to 20 minutes, until the dough is dry and golden. Don't worry if the bottom puffs up; just press it down gently with a flat spatula, such as a pancake turner, taking care not to puncture it. Let the crust cool to room temperature.
  7. Increase the oven temperature to 425°F.

For the Filling & Baking

  1. Meanwhile, combine the apples, lemon zest, lemon juice, granulated sugar, brown sugar, salt, and cinnamon. Toss until the sugar is dissolved and the apples are evenly coated. Let sit for at least 30 minutes.
  2. Drain the apples, collecting the syrupy juice in another bowl. Pour the syrupy juice into a 2-cup microwave-safe liquid measuring cup. Take note of the quantity and then heat on high power in the microwave, checking frequently, until the syrup is reduced by half. This will take about 4 minutes but keep a close eye on it as all microwaves are different. You don't want to cook it for too long, or it will turn into sticky caramel (see note below on how to correct this if it happens). The syrup should be just slightly thickened and still pourable. (Alternatively, you can boil the juices in a small pan on the stove.)
  3. Add the syrup back to the apples, along with the flour and cornstarch; toss to combine.
  4. Take the other piece of dough out of the fridge and roll into an 11-inch circle, using the same process described above. If necessary, use a little dough to patch up any holes in the bottom crust. Add the apple filling to the baked pie shell, compacting the apples as tightly as possible. (Too many air pockets will cause the crust to dome, creating a gap between the apples and the crust.) Place the rolled dough over top. Crimp the edges with a fork or flute with your fingers, sealing the top and bottom crust together. Work quickly, dusting your fingers with flour as necessary, so the dough doesn't get too warm.
  5. Brush the top crust with the beaten egg (or cream or milk). Sprinkle the remaining 2 tablespoons sugar over the top crust. Cut a few slits in the top crust to allow the steam to escape.
  6. Bake for 15 minutes, then reduce the heat to 375°F, and bake for an additional 45 minutes, or until the top is golden and the filling is bubbly. Let the pie cool completely on a wire rack before cutting, about 4 hours.
  7. Note: Be sure to use baking apples that hold their shape when cooked, such as Honeycrisp, Jonagold, Fuji, Granny Smith, or Golden Delicious. And use a mix of different varietals for the best flavor.
  8. Note: If you accidentally over-reduce the syrup and it seizes up when you pour it over the apples, transfer the apple mixture to a large sauté pan and cook over high heat until the caramel melts. Let cool completely in the fridge before proceeding with the recipe.
  9. Freezer-Friendly Instructions: The pie can be frozen for up to 3 months before or after baking it. (If freezing it unbaked, hold off on brushing the top crust with the beaten egg and sprinkling it with sugar; you can do that right before baking.) If baked, let it cool completely and place it in the freezer uncovered. When fully frozen, wrap the pie securely in foil and freeze. If the pie is unbaked, wrap it securely in foil and freeze. When ready to serve, proceed with baking instructions above (pie is likely to take a bit longer in the oven).

Nutrition Information

Powered by Edamam

  • Calories: 589
  • Fat: 24g
  • Saturated fat: 14g
  • Carbohydrates: 91g
  • Sugar: 48g
  • Fiber: 6g
  • Protein: 5g
  • Sodium: 383mg
  • Cholesterol: 53mg

This website is written and produced for informational purposes only. I am not a certified nutritionist and the nutritional data on this site has not been evaluated or approved by a nutritionist or the Food and Drug Administration. Nutritional information is offered as a courtesy and should not be construed as a guarantee. The data is calculated through an online nutritional calculator, Edamam.com. Although I do my best to provide accurate nutritional information, these figures should be considered estimates only. Varying factors such as product types or brands purchased, natural fluctuations in fresh produce, and the way ingredients are processed change the effective nutritional information in any given recipe. Furthermore, different online calculators provide different results depending on their own nutrition fact sources and algorithms. To obtain the most accurate nutritional information in a given recipe, you should calculate the nutritional information with the actual ingredients used in your recipe, using your preferred nutrition calculator.

See more recipes:

Comments

  • Love this recipe!! I usually don’t have enough time to be in the kitchen that long so I buy a pre-made frozen crust (MarieCalendar) and Pillsbury refrigerated pie crust for the top crust. And it comes out delicious. My husband loves it. It is not too sweet and I had really never liked Apple pie until I had this one.

  • The pre-bake for the crust was much too long; when pulled out after the second 20 minutes, the crust was completely hardened and dry. The slightly raised bubble in the middle cracked when I tried to flatten it with a spatula as suggested. The filling ended up pretty dry too. Should have read the reviews before I went ahead with the recipe.

    • Hi Rachel, Sorry to hear you had a problem with this! Did you bake the oven on the center rack in your oven? Did you make any adjustments to the recipe?

  • I made a mistake and added the cornstarch and the flour and mixed it with the apples and sugar, cinamon, etc. The liquid was very little, guess absorbed by the cornstarch, etc….what’s the problem?? (haven’t seen the results yet!)

    • — Vivian Robaldo
    • Reply
    • How did it turn out Vivian?

  • I have tried this recipe several times. Each time, the bottom crust can barely be scraped out of the pan and is far too dark. Additionally, the apples turn out too dry, without the barest hint of any sauce. This time I even added over a pint of boiled cider! The apples were swimming in it when I added them in, the liquid came right to the brim of the pan. Same result: bottom crust sticks to the pan and is dark brown, while there is no moisture left in the apples at all. And the apples remain too crisp. All I can think is that the bottom crust steals moisture from the apple mixture. I’ve been making my own crust and baking pies for over half a century. I don’t get it.

    • I’m sorry you’ve had so many problems with this! Do bake the pie on the center rack of the oven?

  • Really like this recipe. I do agree the crust cooks for too long. Not sure if that’s because of the high altitude I live in? I would cut total cooking time by about 10 -15 minutes because it was almost burned when I took it out before adding the apples in so it was really brown at the end (and yes I cooked on the middle rack.) I also made it more sour by just doing juice from two whole lemons and it was amazing. Can’t wait to cook this again!

  • I made this for Thanksgiving. I made it about a week prior and froze it. I was nervous as, I’ve never frozen a unbaked pie before. Well, I’m not nervous anymore! This was declared the best apple pie ever! (and I’ve made dozens that were good) I’ve never been disappointed with any of your recipes and have tried several that are now my go to. Thank you!

  • This was the best crust ever! Easier than I thought, and I’ve made a lot of pies. It was beautiful and everyone loved it! But.. I have a question.
    What did I do wrong? I followed the instructions exactly and the only issue I had was that the pie crust stuck to the pie pan horribly! I would send a photo if I could.

    • Hi Zara, Glad you liked the crust. Did any of the sweet filling seep under the crust? That might cause sticking.

      • Same thing – my crust stuck to the pie plate. Didn’t burn – looked beautiful. in my case, no filling seeped under the crust….

  • I followed your recipe which resulted in a fabulous pie! I had to use pie dough that I made earlier for another pie for the apple pie, because the dough I made from your recipe broke apart when I rolled it. I believe that happened because I substituted shortening for lard. Is that correct, or was it something else. I am very new to baking, but found your recipe, reviews and comments an invaluable tool. Thank you!!

    • It’s hard to say, Jeune. Did you knead the dough just a bit out of the fridge? That helps make it supple enough to roll out.

  • Another success I made this for Thanksgiving I referred to it as The virgin Apple pie, because it was just that a good old fashion apple pie, I did like taking the juices and reducing them, it was like adding boiled cider , which added to the depth of flavor. Thank you Jenn this will now be my go to apple pie, maybe next time I’ll add fresh cranberries to kick it up a notch 😊

  • The cook time is way too long on this recipe. I pulled it out 15 minutes early and it was still burnt. Who knows if the recipe was good.

    • Sorry you had a problem with this, Lyle! Was the pie on the center rack in your oven?

      • Yep. I think the 425 for 15 minutes at the beginning was the killer. Talking to other pie experts they are saying I should have put aluminum foil around the edge of the crust To keep it from getting burnt.

  • How many days does this pie keep? Room temperature? Or fridge after fully baked? I would like to make it today Tuesday in advance for Thanksgiving on Thursday and Friday (eating days). Thanks!

    • — Stephanie Wiesel
    • Reply
    • Hi Stephanie, This keeps well for about 3 days. You can store it at room temperature loosely covered with foil. Hope you enjoy!

      • So I’ve made several of your recipes and all of them are absolutely amazing, I think you’re the best. I find that when I’m making my crust (I’m following exact instructions) the dough doesn’t come out crumbly it is actually kind of sticky. Do I need less water?

        • Yes, I would use less water. You might also try a different brand of flour; I like King Arthur. Hope that helps and so glad you like the recipes!

  • The year, 2019. The mood: tense. My feelings in preparation for the annual office baking contest: needy and desperate.

    One year prior…
    I had just wow the chocolate chip baking contest. I had trained for this day for years, baking batch after batch in college. Drawing students in across the dorms in various states of conciousness to my kitchen, where I would then trap them and inform them of helpful studying tips. Suddenly, I had a captive audience. I had honed my craft over the years to perfection when on a fateful day, a contender challenged me in the office bake off. Tied we were, for a point, until the final votes were tallied and I emerged victorious. The coveted wooden spoon was mine for all to see. I was honored. For a year, I held the mantle, and legends of the crispy exterior around a doughy center were heard through the halls of cubicles.

    A week ago:
    No contenders dared challenge the reigning champion, so a new contest was made. An apple pie contest. A chance for others to prove their worth and unseat me in my throne, located next to column D3, near the recycling can. Not experienced in such an art, I did extensive research (As in, I searched google for “best apple pie recipe” and clicked on the third link.) Reading the recipe was like reading the bible, only longer and felt slightly more religious after reading it. A pre-baked crust you say? Jesus, is that you?

    So began my journey. The struggle lasted a day and a half, making two pies in all with honeycrisp apples (Way too much was riding on this contest, and I was NOT about to half-a$$ this. I left them on the counter overnight and as I awoke, the devil had struck in the form of my hungry golden retrievers in the middle of the night! One of the pies was half eaten. Why did they stop and leave the second pie alone? Definetely Jesus, for I shouted his name several times.

    The surviving holy pie traveled with me across traffic lights and streets, up an elevator, and over to my throne. The crusade had begun, but it was over before I had arrived, as no one else dared challenge me (Or they forgot. It was a really busy week. Not really sure) The point is I emerged victorious again, and what’s more is people loved it, telling me they were reminded of their parents’ pies. Was the world a little bit better back then, a little more holy? I like to think so. People raved about it not being too sweet or soupy. The devil’s textures I say! I returned to my throne/cubicle and placed my new trophy next to my old. Order has been restored, and I thank this site for this recipe.

    Seriously, excellent pie. It taked forever to bake, but there’s a reason this has scored 5 stars. Well done. Also, another good option for the beans or pie weights is uncooked rice. Thank you!

    • LOL — Thanks for sharing your story — so glad you were victorious! 🙂

      • Hello Andy, besides an excellent baker (since you are the proud owner of the wooden spoon), you are also an excellent writer. I came across your short story as I am finding myself in a similar situation, i.e. trying to impress by apple pie. Your writing is witty and refreshing, and you convinced me that I should give this recipe a try. Thanks for evoking multiple chuckles with your little write-up. After all, chuckles are like apples… A chuckle a day keeps the doctor away.

    • Thank you Andy for putting a smile on my face 🙂 Happy Thanksgiving to you. Thanks for the recipe Jenn – I will try it!

      • — Jill Zimmerman
      • Reply
  • My husband loves apple crumb. Would this recipe work with a crumb topping?

  • I don’t have a food scale, so I am wondering approximately how many cups of prepared, sliced apples will be needed for this recipe. I’m also wondering whether this pie has some height to the filling, which is my preference vs. a flatter pie. I apologize if these questions have already been asked; I scanned the previous comments and didn’t see this information. Thank you!

    • Hi Marna, I would estimate it will come out to about 7 – 7.5 cups of sliced apples. And while the apples do cook down in the oven, I’d say the pie has a fair amount of height. Hope you enjoy if you make it!

  • Is this made in a traditional 8” pan or a deep dish pan?

    • Hi Patty, It’s a 9-inch deep-dish pie pan.

  • If I am making the pie two days ahead of time do I need to freeze it and uncooked or can I put it together and leave it in the refrigerator until it’s ready to cook on Thanksgiving?

    • Hi Sherryl, You can keep it in the fridge. Enjoy!

  • Jenn- I have been making apple pie – this looks very close to the combined version of a few recipesI have been making. I am going to try yours. A few questions -I am taking a short cut and using the pillsbury ones-they have no instructions for blind baking. Suggestions or do I need to modify your instructions. We like firmer rather than mushier apples. I usually end up with the crust pocket but am afraid to cook some of the apples because it might become to mushy. Also, I saw your instructions for freezing-do you have a preference for baking then freezing or freezing and then baking? Many thanks and looking forward to trying-I like all your recipes I have tried. .

    • Hi Susan, Sometimes in the instructions it is not called blind baking; are there any instructions for a baked shell/no-bake pie fillings? Usually store-bought crusts only need to bake for 10 minutes or so. As for freezing, my preference would probably be to freeze and then bake. Hope that helps!

  • Hi! This pie looks awesome and I’m going to try it for thanksgiving. Am I right in reading that the bottom crust will have baked 1 hour 40 min total? Also, directions on how to freeze and then bake later? (I’m a newbie). Apologies if you’ve answered these questions already. 🙂

    • Hi Doreen, You’re correct about how much time the bottom crust spends in the oven. And see the bottom of the recipe for freezer-friendly instructions. Hope you enjoy! 🙂

  • If I freeze the apple pie do I defrost it before I bake it or cook it frozen? Thanks

    • Hi Carol, You can bake the pie straight from the freezer (just keep in mind that it will take a little longer in the oven).

  • Hi! If freezing and baking later, do I still bake the bottom before adding everything in and freezing?

  • Hi,
    Can I bake the pie the night before and leave it out covered and just reheat the next day? What is the best outcome?
    TIA

    • Hi Heather, Yes, you can bake it the night before Thanksgiving and store, covered, it at room temperature. I don’t recommend serving apple pie too warm, as it tends to get soupy when hot. But you could pop it in a 300°F oven for 15-20 minutes to warm it up just a bit. Happy Thanksgiving!

      • Hi Jenn.

        I tried this recipe for Christmas dinner yesterday, the first time I’ve attempted pastry. There was good news and bad news.
        Good news: everyone LOVED it.
        Bad news: I’ve been told I am not allowed to serve store-bought pie ever again.
        I did end up taking the bottom crust out a bit earlier than stated, as it was looking a bit too toasty even with the foil but everything else was perfect!

  • Hi Jenn! I love your website! I made this pie a month ago and it turned out perfect! I want to make it for Thanksgiving! What are the instructions if I want to make the dough ahead of time and freeze it? Thanks!

    • Hi Emily, so glad you like the recipes! Here are some tips on freezing pie dough. And I’d thaw the dough in the fridge 24 hours before you plan to assemble the pie.

  • Hi Jenn,
    I’d like to try this recipe but I would like to omit the cornstartch (cannot have corn), is there an equivalent replacement? I read online that I could use flour but would need to cook it longer or tapioca starch (2 tsp per 1 tbsp cornstartch), what do you think and recommend? Thanks so much!

    • Hi Trish, You can easily replace the cornstarch with more flour with no adjustments needed. Hope you enjoy!

  • Hi, I have made apple pies before, but have not found the perfect pie. I like my apples to be firm, not mushy. Does this recipe result in firm apples? Please let me know as I am searching for a new recipe for Thanksgiving this year. Thank you, Caryn

    • Hi Caryn, I would say that the apples will be tender but not mushy. One of the keys to getting the right texture is to use the right apples (Honeycrisp, Jonagold, Fuji, Granny Smith, or Golden Delicious). Hope that helps and that you enjoy if you make the pie!

  • Hi Jenn,

    Can I use a store bought crust instead? I’m not sure if I will
    Have luck making the crust from scratch😁😁

    • Hi Janelle, Sure, a store-bought crust will work — just make sure you follow the instructions on the package for blind baking the bottom crust. Hope you enjoy!

  • Hi Jenn – I made this apple pie, as is, the day before Thanksgiving for the last two years. It came out great. A few questions 1)is it possible to make the pie crust dough ahead of time and freeze it? If so, if I am making the pie on the Wednesday 11/27, when should I move the pie crust dough from the freezer to the fridge (or out on the counter) 2) if I assemble the whole pie, unbaked, and freeze it, how much extra time do you tnink I would need in the oven? Thanks! Chithra

    • Hi Chitra, Yes, you can make the dough ahead and freeze it. I’d thaw the dough in the fridge 24 hours before you plan to assemble the pie. And if you freeze the whole pie unbaked, I’d guesstimate it would need about 20 to 30 extra minutes. (I’d start checking at 20.) If the top starts getting too brown, just tent it with foil for the remaining time in the oven. Hope you enjoy!

  • Please recommend a type of apple for the pie.

    • Hi Susan, I like any of the following: Honeycrisp, Jonagold, Fuji, Granny Smith, or Golden Delicious. (And I recommend using a mix of different varietals for the best flavor.) Hope you enjoy!

  • Hi Jenn, I have tried many of your recipes and all have been great! You are my go to now when I want to try something new. I want to make this pie and freeze it unbaked. My question is, do I thaw it before baking? Thanks, Sharon

    • So glad you enjoy the recipes! You can bake the pie straight from the freezer (just keep in mind that it will take a bit longer in the oven). 🙂

      • Hi! Very excited to try it! How hot would you make oven to reheat pie if has been frozen for 3 days?

        • Hi Tessa, It sounds like you’ve already baked the pie? If so, I’d put in the oven (on a baking sheet) directly from the freezer and heat it at 300 degrees oven until the center is warm (I’m guesstimating it will take about 35 to 45 minutes.) Tent the pie with foil if the crust starts to get too brown. Just keep in mind that you don’t want to get it too hot right before serving as the filling will start to get soupy. Just a bit warm is what you’re aiming for.

          • Thank you so much! I have.. I’m excited to try but am scared I messed it up by heating up the flour and corn starch with the apples for filling instead of putting those ingredients on after sauce was heated up- we will see- it still looks great 🙂

            • — Tessa Ullman
  • Hi,

    I have made your pie 3 times now and it has been a success everytime. I want to bake another to use up my apples. Do you find that it’s better to freeze baked or unbaked!? Thank you

    • — Michelle Pyrah
    • Reply
    • Glad you like this! You can go either way, but if I had to choose, I’d freeze it unbaked. 🙂

  • Hi Jenna,

    I want to make this pie for Thanksgiving and was wondering if I can make ahead of time and freeze it?

    • Yes, it freezes nicely. See the very bottom of the recipe for Freezer-Friendly instructions. 🙂

  • First time making apple pie. It turned out fantastic. Everyone loved it. I am now making a second pie a few days on 😃

    • — Michelle Pyrah
    • Reply
  • This is my go-to apple pie recipe now – I’ve not had a pie full of unthickened juice since I’ve been using it. But I need some advice-

    Our granny smith apple tree has produced a bumper crop. I searched on the internet and found people freeze their apple pie filling – to be used at a later date with a fresh pie crust with the frozen apples. So, if I follow this recipe, would you add the flour and cornstarch before freezing? Otherwise, I’d have to thaw the apples and then add the thickening agents.

    • Hi Margaret. Glad you like the pie! If you freeze the apples, I think you really could go either way in terms of when you add the flour and cornstarch. If I had to pick one option, I’d go with adding them after removing the apples from the freezer.

      • Thanks for the quick reply, Jenn.

        I have so many apples I’ve tried both methods – with and without thickening before freezing. I’ll let you know which one works best (or maybe neither).

        • Please do!

  • This recipe did not work out with the crust. It split and the juices overflowed.

    • I’m sorry to hear that, Stephanie! Did you make any adjustments to the recipe?

      • Can I use a apple crisp mixture for topping instead of regular crust??

        • Sure, Toni – I think that would work.

  • I accidentally added the cornstarch and flour before I was supposed to. Can I still drain the liquid and reduce it after the filling sits for the 30 minutes?

    • Yep no worries!

  • The pie filling was delicious (although I did up the cinnamon content). I had trouble with the crust however. I blind baked the bottom crust but the full pie took longer than the time allotted in the recipe to cook. The top crust was slightly undercooked and the bottom crust burned. What did I do wrong?

    • Hi Lauren, Did you bake the pie on the middle rack in your oven? Did you make any changes to the recipe aside from increasing the cinnamon?

  • Best apple pie without the soggy bottom crust. This was a little more work than my usual recipe but well worth the effort. I used pink lady apples and is was visually appealing as well as delicious.

  • LOVE!!! Perfect. Can I use this crust for a chicken pot pie? Would I have to bake the pie crust first like for the apple pie??

    • Yes and yes (but I’d omit the sugar). I’d love to hear how it turns out!

  • I made this and the apple filling was amazing! Since it is apple season, I was wondering if I could make the apple filling (several batches) and just freeze that part. Should I do the syrup with the juices that are there after thawing??

    Thanks.

    • — Anne MacGregor
    • Reply
    • Hi Anne, I’ve never frozen just the apple mixture, but I suspect it should work. And I think you can go either way with the syrup. Hope that helps!

      • Thanks. Down the road I will let you know. I may make a batch doing it each way and then see the results.

        • — Anne MacGregor
        • Reply
  • I made this and everyone in my family loved it very much

  • This recipe looks great! Can you explain how you tent the edges with foil? Just not sure exactly
    How to do this and don’t want them to burn. Thanks!

    • Hi Jennifer, this video explains it well (and you don’t need to buy special foil for it – you can just cut a piece of foil into strips). Hope that helps and that you enjoy the pie!

    • Can I use butter instead of shortening?

      • Hi Celine, Shortening helps the crust hold its shape and makes it a little easier to work with but you can use all butter here. Hope you enjoy!

  • This was the first pie I ever made and it turned out beautiful and was it was delicious. I will definitely make this pie again. Instructions were easy to follow and well step by step pictures were a great reference.
    I also made the Lemon Poppy Seed cake and the Sour Cream Coffee cake. Both were delicious. Can’t wait to try more recipes.
    I also have your cookbook and looking forward to trying some of your main course dishes.
    I sent you pictures of my pie to your email address, hope you received them.
    Thank you for sharing your incredible talents with everyone.

    • I received the photos, Jane — your pie was lovely! I’m so happy you’re enjoying the recipes. 😊

  • I notice that you use unsalted butter. Would it be ok to use salted butter? Thanks.

    • — Anne MacGregor
    • Reply
    • Hi Anne, While it varies by brand, most salted butter has approximately 1/4 tsp. salt per stick, so you can use the salted butter and reduce the salt in the recipe as needed. Hope that helps!

      • That indeed helps. Thanks.

        • — Anne MacGregor
        • Reply
    • Hi Jenn,
      Love your recipes! Can you tell me which size food processor you are using in the apple pie recipe? Thank you

      • Hi Donna, so glad you like the recipes! I use a 14-cup food processor.

  • Just made this for a pie party and this was huge hit! People said it was the best pie there. Delicious recipe.

    The end of my crust burnt a bit. I have a gas oven and used a silicone cover for the ends which didn’t seem to help. Any recommendations?

    • Glad the pie was a hit, Lana! If you make it again, I’d reduce the oven temp by 25°. As a result, it could take a few minutes longer so keep a close eye on it.

  • Do I use my fingers to cut in butter if small processor?

    • Yes, that works 🙂

    • I made this with sundowner apples, didn’t bother with the blind baking or letting the apples sit as I made this after work for brunch the next morning. I chilled the crust then mixed the apple mix and assembled the pie, baked it at 180C for 75mins and it was perfect. Added 1/4tsp nutmeg and 1/2tsp more of cinnamon. The result was a flakey cooked crust (no soggy bottom) and a moist spicy filling. It was completely demolished and apparently the best Apple pie I’ve made so far.

  • Hi Jenn! My husband requested a homemade apple pie for his birthday tomorrow, and the one I made for his birthday a few years ago was a complete failure. It turned out so soggy (we threw away most of it)! I love your recipes, so thought I would try yours this time. I started making the crust in the food processor, and it did not come out with a crumbly texture like yours. I must have over-processed it, which happened pretty quickly! The two discs are wrapped in the fridge, but I was wondering if I should go ahead and make a new crust now. Will it not turn out right, since it wasn’t crumbly? THANKS!!!

    • Hi Karen, I am so sorry I am just now seeing your question and it’s too late! I would have said to just go ahead and use the crust; it wouldn’t be quite as flaky but it will still be good. Hope your pie turned out well!

      • Hi Jenn,

        That’s ok! I went ahead and used the dough. The sides of the crust deflated a bit (slid down in the pie plate), but I don’t know if that was due to my over-processing error, or if I just put it in the pie plate the wrong way! I love to bake, but pies are just not my forte. Anyway, your pie turned out wonderful, despite all my mistakes! My husband liked it! It wasn’t as beautiful as yours, but live and learn, right? Thanks for your recipes! I just got your cookbook in the mail and am making 2 recipes from it for company tomorrow night. You’re the best!

        • Glad the pie turned out well after all — thanks for the follow-up! And I hope you find lots of new favorites in the cookbook! 🙂

  • Peaches are in season and I want to make a pie with your wonderful crust recipe. Do you think I can just substitute peaches for apples for the filling, using your same ingredients and method? Maybe use all white sugar vs brown?

    • Hi Penny, because all fruit reacts differently when baked and pies can be pretty finicky. Unless you’re a really experienced pie baker and can make changes on the fly I’d suggest sticking with the apples here. Sorry! I do have two recipes where fresh peaches can be used though: Peach Cake, Peach Crisp. Hope that helps and that you enjoy the cake or crisp if you try one!

      • I have some pre-made pie crusts in the freezer that I made with lard because all of my grandmas used lard and it’s so Delish! Should I plan to bake it ahead like you did for this pie? And I always seem to have trouble getting the apples nice and soft (I personally do not like a crunch in my apple pie). Is this tried and true for a soft apple when it’s all done? Thank you in advance! I also plan to use a crumb topping but that shouldn’t change anything either, correct? Thanks!

        • Hi Melodie, Yes, I’d still blind bake the crust. And regarding getting the apples to the soft texture you’re looking for, instead of microwaving the juice, after you collect it from the apple/cinnamon/sugar mixture, I’d saute the apples, the juice, and the flour and cornstarch for about 15 minutes or so. That will serve a dual purpose of softening the apples and reducing the juice. Hope that helps and that you enjoy the pie!

  • I had never made a pie before this and it ended up being the tastiest pie I’ve ever had!!! The only thing I did differently from the original instructions was using a pastry cutter instead of a food processor. It gave me a little more control to make sure I didn’t over mix the pie crust..other than that I followed the instructions to a “t” and it ended up PERFECT!!! 🙂 Thanks Jen!

  • Does the author have a link to the exact pie pan you use for this recipe?

    • Hi Ethan, I love that pie plate too; unfortunately, I don’t recall where I got it-sorry!

  • As a novice baker, this recipe has been very good for me to learn making pies. The first time I made it the result wasn’t very good. The bottom crust came out really hard and crunchy and the edges were burnt because the foil i folded around the edges was poorly implemented. By mistake, I added the flour and corn starch before I drained the juices. Although the filling was delicious in that pie, I used Granny Smith and Opal apples. I also used a smaller pie pan than the recipe called for. The second time I made this recipe I modified it based on the results of my first attempt. I made a couple of small adjustments, I cut the blind bake by about 10 minutes, and I used an aluminium disc to protect the edges of the pie. The result was much better. I used about 2.3 pounds of the same mix of Granny Smith and Opal apples cut into eighths and it required me to make a very tall dome out of the upper crust. The crust baked a big, tall, round dome which kept its form after cooking, but inside the apples had cooked down considerably. The crust was really fantastic, just a bit crisp and buttery. The apples were soft but still kept form and were flavorful but not overwhelmingly sweet. The combination of good crust and good filling is always a homerun for me. Even if I haven’t got the recipe perfect yet I’m really happy with how it came out. I served it to my family and everyone loved it. I think the next time I want to buy a deeper dish pie pan, or at least think more seriously about modifying the recipe for less apples in my smaller pan. I also want to try this crust with blueberrys, peaches, cherrys, and pears.

  • Hi Jenn!
    Quick question here.. I want to make a marionberry pie and was wondering if this crust recipe would work? Also can I use frozen berries since they aren’t in season?
    Any special tips on working with frozen berries? Thank you!
    Luanne
    PS Love your book! I treated myself to it and can’t thank you enough! 🙏🏼🙏🏼🙏🏼❤️

    • Hi Luanne, so glad you’re enjoying the cookbook! 🙂 I’d be hesitant to suggest marionberries here. While I’ve never baked with them, all berries release a ton of juice and I’m concerned that it would make the pie soggy. Sorry!

Add a Comment

This site uses Akismet to reduce spam. Learn how your comment data is processed.