Pumpkin Cheesecake

This post may contain affiliate links. Read my full disclosure policy.
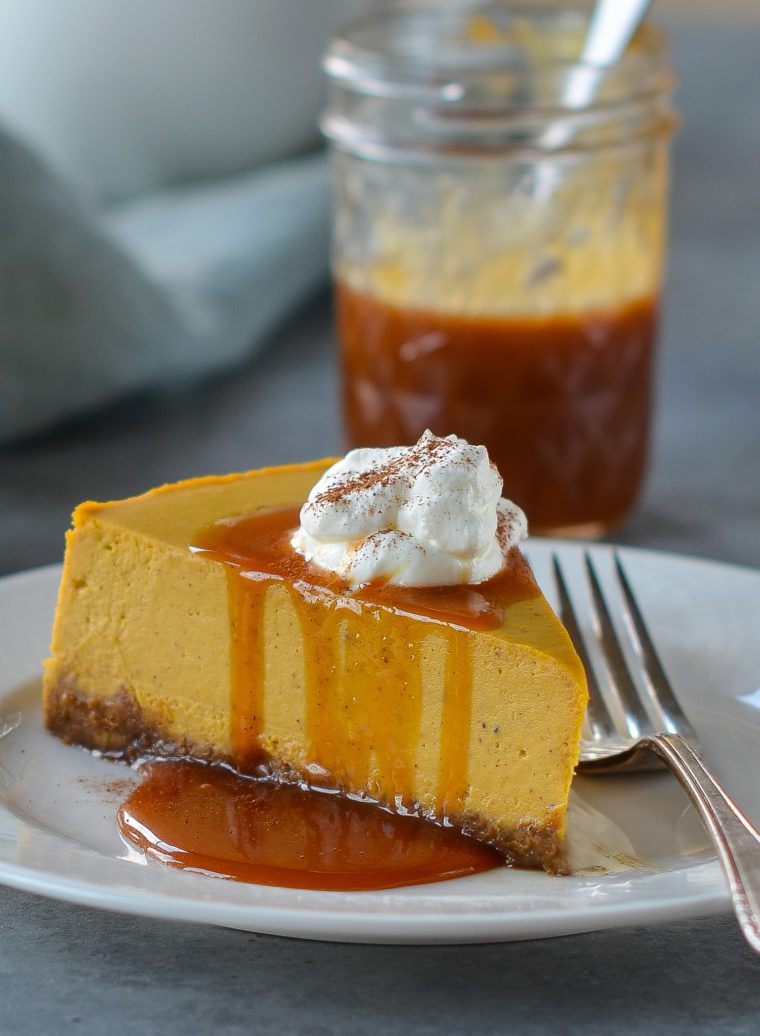
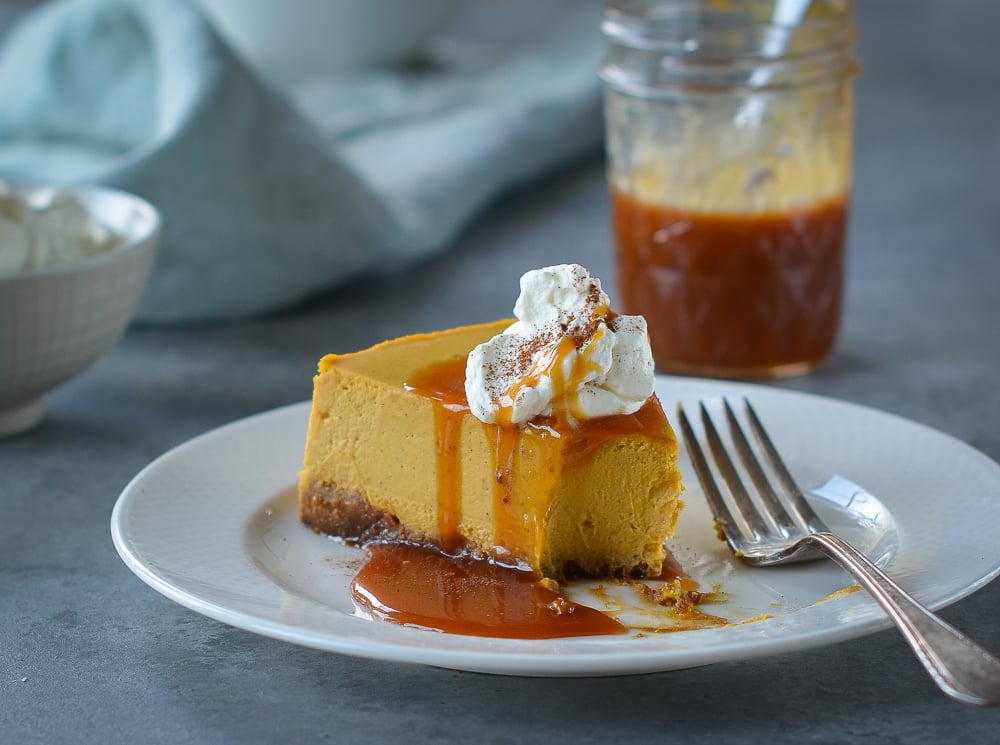
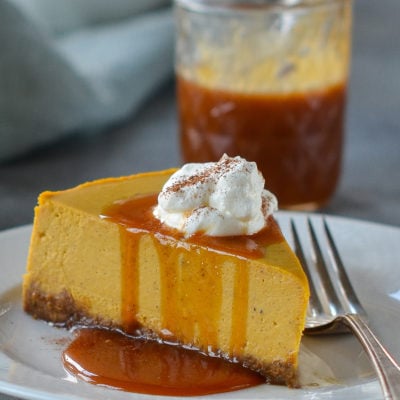
This pumpkin cheesecake is the ultimate sweet ending to your Thanksgiving feast—and no one will miss the pumpkin pie!
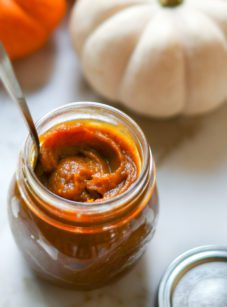
Pumpkin pie is a classic Thanksgiving dessert, but pumpkin cheesecake is just as festive and, honestly, even more delicious. This recipe combines the rich creaminess of classic cheesecake with the warm spices of pumpkin pie. Instead of a graham cracker crust, I use gingersnaps, which complement the spiced filling and really bring out the pumpkin flavor. The homemade caramel sauce is optional, but absolutely worth making—and it takes less than 10 minutes in the microwave.
Cheesecake might sound intimidating, but it’s actually very straightforward and uses just a handful of ingredients. The key is baking it in a water bath, which ensures even cooking and prevents cracks. It may sound fussy, but it’s not: just set the cake pan inside a larger pan and pour hot water around it. I’ll walk you through each step below. Let’s get started!
“I love pumpkin, but not pumpkin pie. This cheesecake was the perfect answer! It was delicious and everyone enjoyed it.”
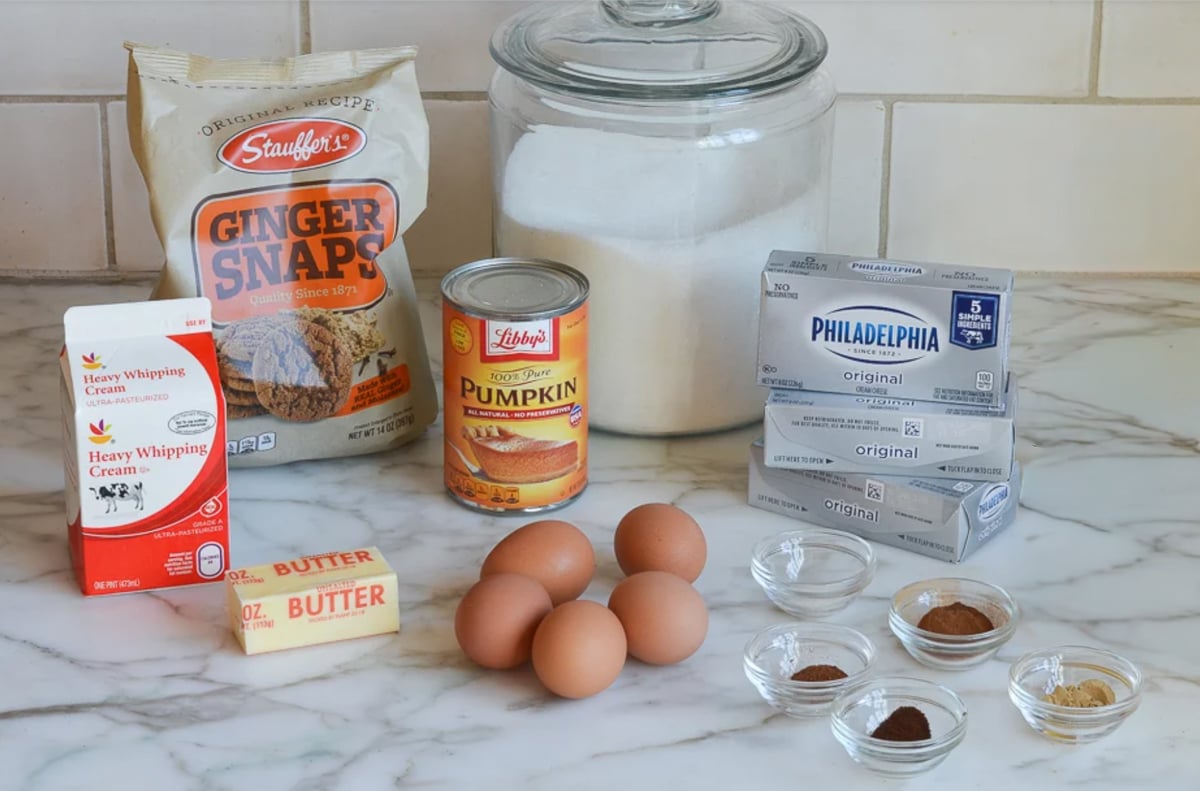
What You’ll Need to Make Pumpkin Cheesecake
Step-by-Step Instructions
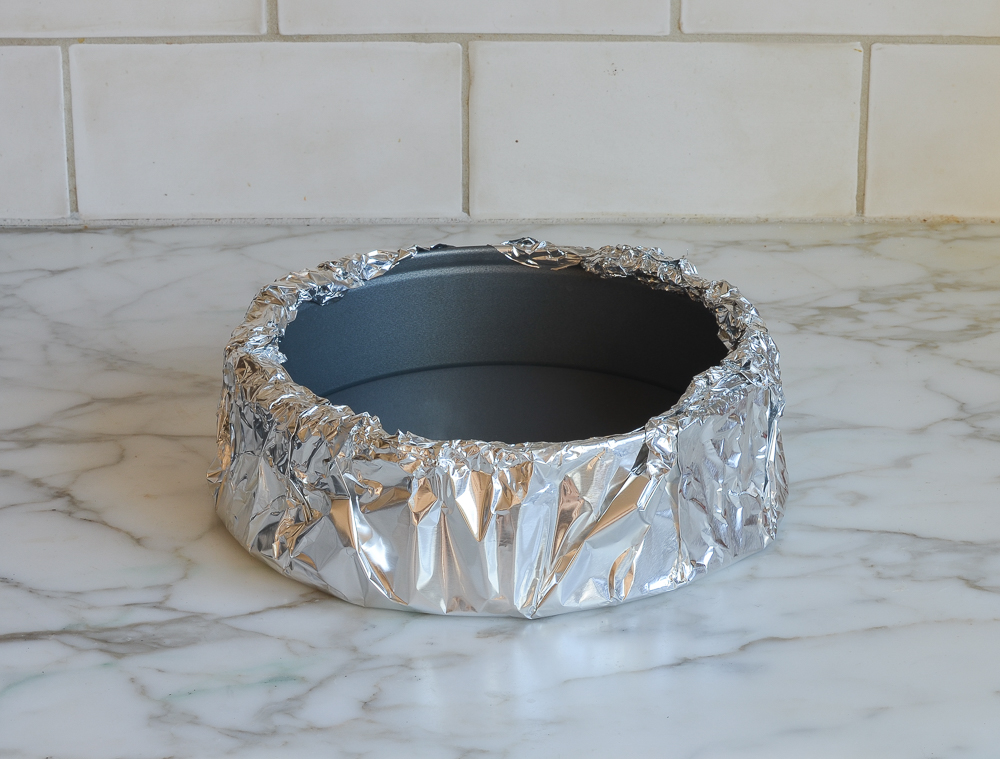
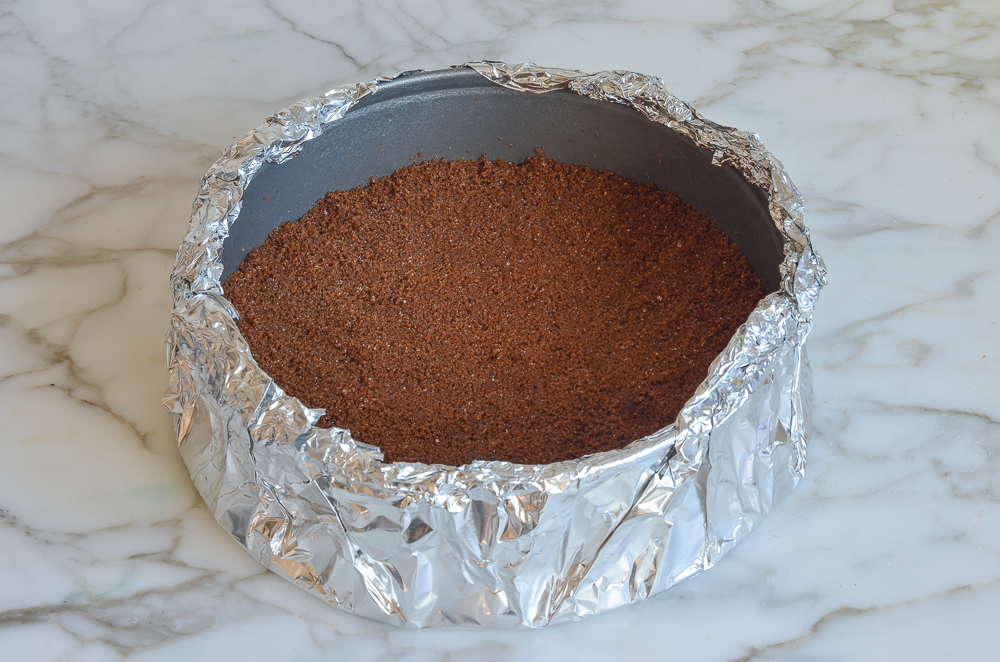
Step 1: Prep your pan. Begin by wrapping a 9-inch or 10-inch springform pan in a double layer of heavy-duty aluminum foil. (Heavy-duty is key—it’s wider and does a much better job of keeping water from sneaking into the pan during the water bath.) Once wrapped, spray the inside of the pan with nonstick cooking spray. (If you’d like to try another technique that doesn’t require wrapping the pan in foil, get more guidance here.)
Step 2: Make the crust. In a food processor, combine the gingersnaps, sugar, and melted butter. Pulse until the mixture forms fine, sandy crumbs.
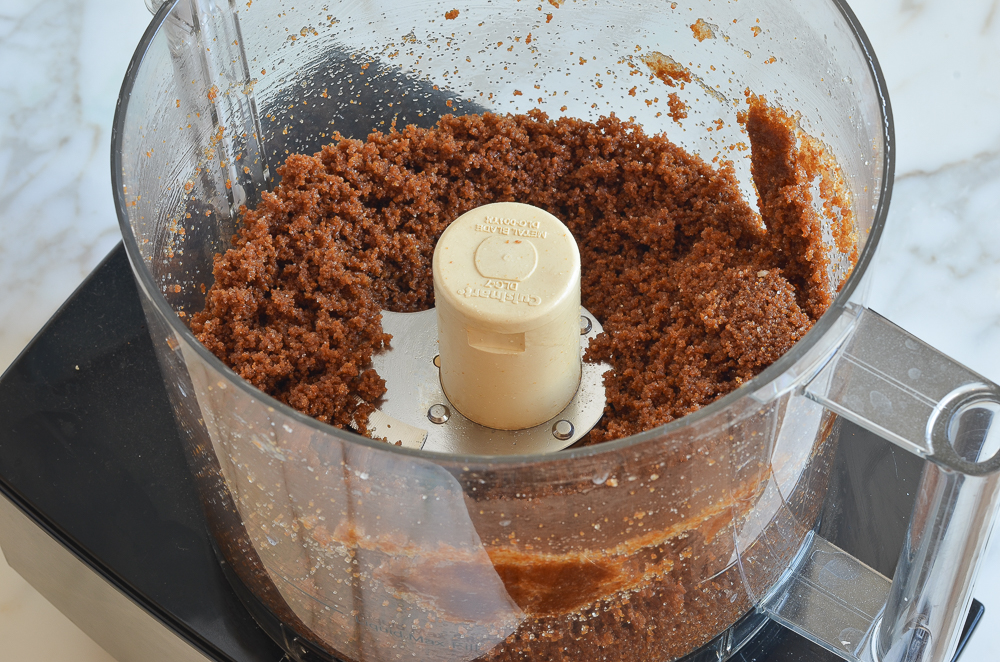
Step 3: Form and bake the crust. Pour the crumb mixture into the prepared pan and press it into an even layer—your fingers work well, or use the bottom of a measuring cup to really pack it in. Bake for 15 minutes, then set aside to cool while you make the filling.
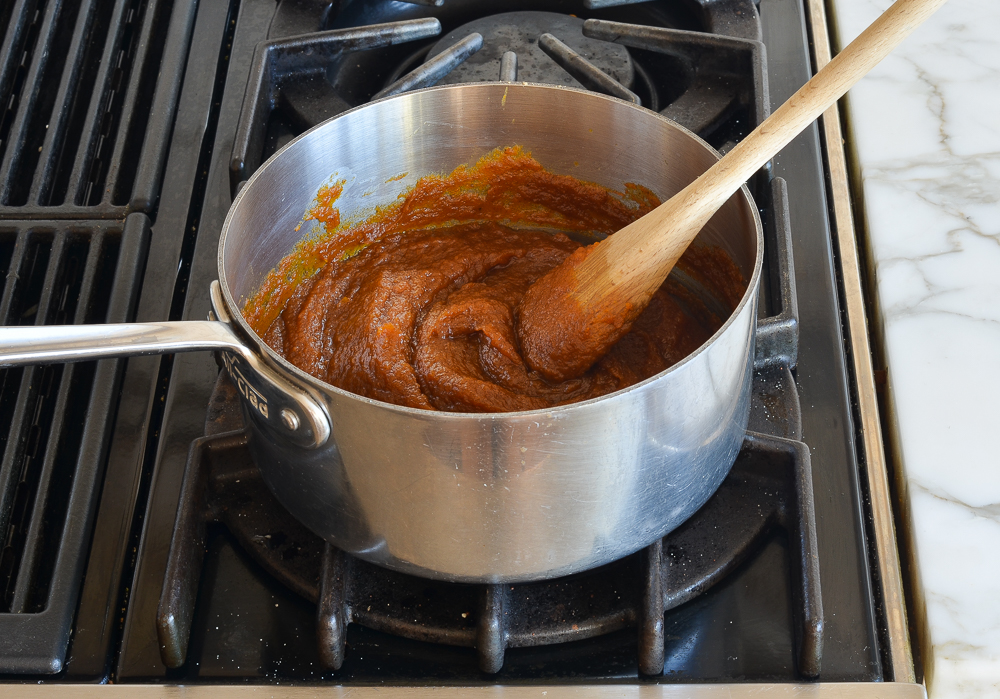
Step 4: Cook the pumpkin mixture. In a medium saucepan, stir together the pumpkin, sugar, and spices. Cook over medium heat until the mixture turns shiny, deepens to a bronze color, and thickens slightly. This step—borrowed from Rose Levy Beranbaum’s recipe—really intensifies the pumpkin flavor and helps dry the pumpkin out so the cheesecake sets beautifully.
Step 5: Purée the pumpkin mixture. Transfer the pumpkin mixture to a food processor and run it for one minute to smooth and cool it. With the motor running, add the cold heavy cream.

Step 6: Mix in the cream cheese and eggs. Add the cream cheese in large chunks and process until the batter is smooth. Finally, add the eggs and pulse until just combined. It’s important not to over-mix—if you incorporate too much air into the filling, it will rise and crack or fall when it bakes.

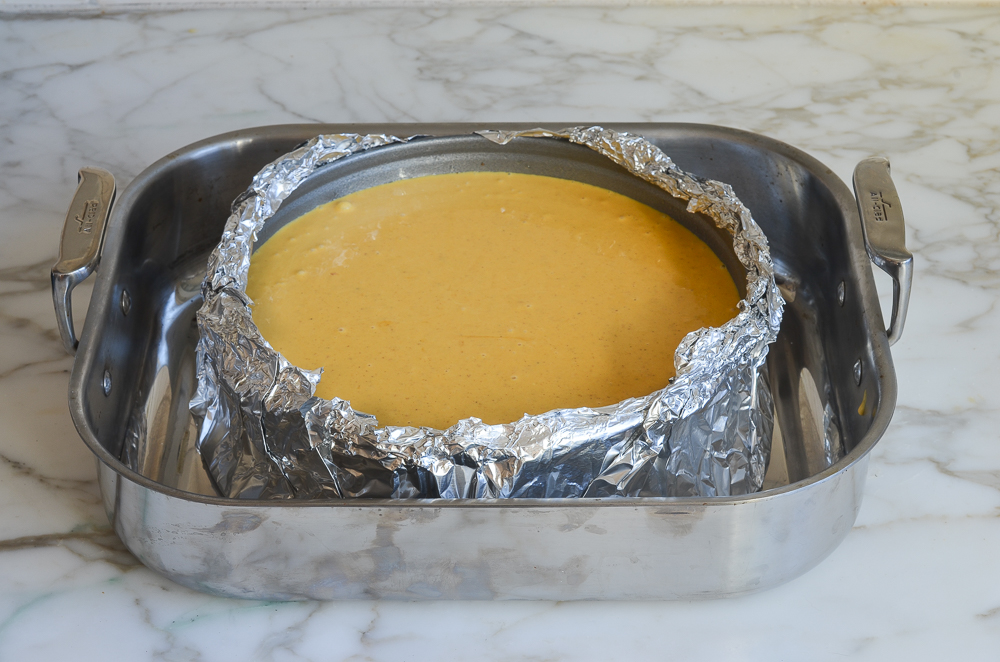
Step 7: Get ready to bake. Set the cake pan in a large roasting pan, then pour the pumpkin cheesecake filling into the cooled crust. Next, pour hot water into the roasting pan until it reaches about halfway up the side of the springform pan.
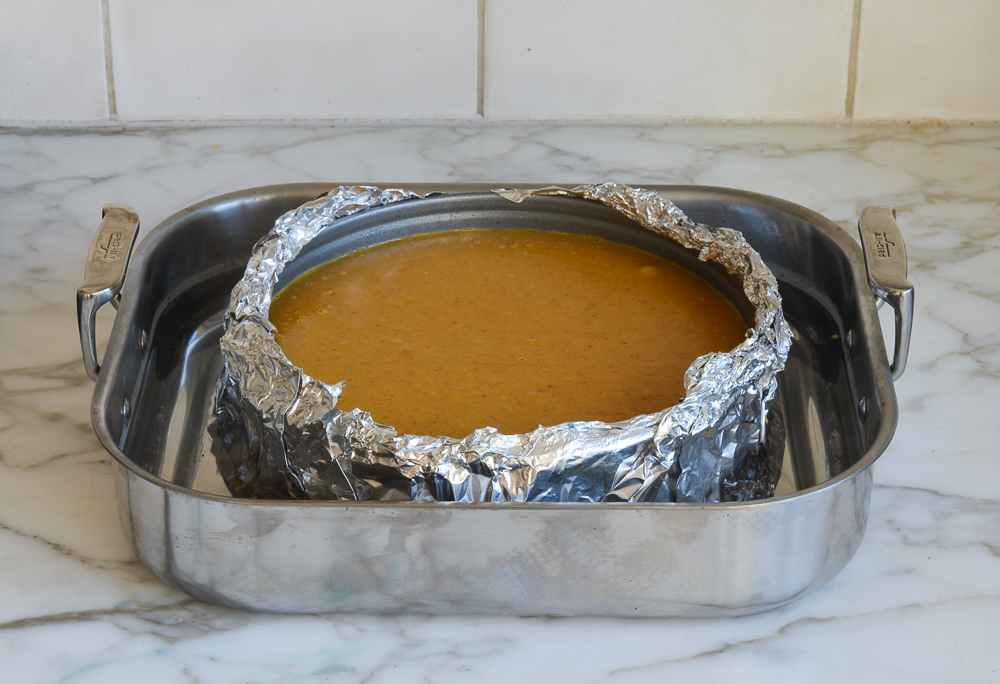
Step 8: Bake. Bake in a 325°F-oven until just set, about 1½ to 1¾ hours. A properly cooked cheesecake will jiggle a bit when you nudge the pan, but if the center still seems liquidy, it’s not done.
Step 9: Cool and serve. Let the cheesecake cool right in the water bath, then transfer it to a rack to cool completely. Once it reaches room temperature, cover it with plastic wrap and refrigerate for at least 4 hours (overnight is even better). This is definitely a “make it ahead” kind of dessert. When you’re ready to serve, warm the caramel sauce, drizzle it over each slice, and add a dollop of sweetened whipped cream plus a light dusting of cinnamon, if you like.
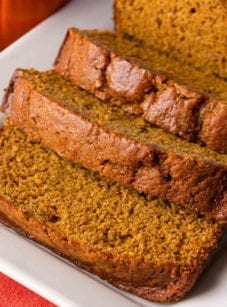
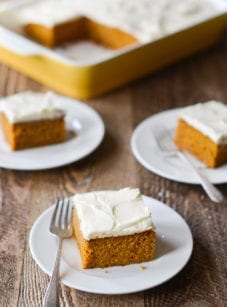
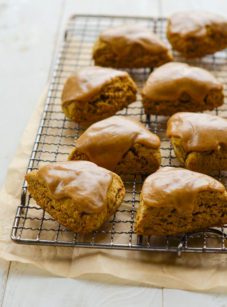
More Pumpkin Recipes You’ll Love
Pumpkin Cheesecake
Ingredients
For the Crust
- 7½ oz gingersnaps (or 1½ cups finely ground gingersnap crumbs)
- ¼ cup granulated sugar
- 4 tablespoons unsalted butter, melted
For the Filling
- 1 (15-oz) can pumpkin, such as Libby's
- 1⅓ cups granulated sugar
- 1 teaspoon ground cinnamon
- ½ teaspoon ground ginger
- ¼ teaspoon ground nutmeg
- ¼ teaspoon ground cloves
- ½ teaspoon salt
- 1 cup heavy cream cold
- 1½ lb (three 8-oz packages) cream cheese, room temperature
- 5 large eggs, room temperature
- Caramel sauce, for serving
- Special equipment: 9- or 10-in springform pan; 18-in heavy-duty aluminum foil
Instructions
- Preheat the oven to 325°F (165°C) and set a rack in the lower-middle position. Wrap a 9- or 10-in springform pan with one large piece of heavy-duty aluminum foil, covering the underside and extending all the way to the top so there are no seams on the bottom or sides of the pan. Repeat with another sheet of foil for insurance. Spray the inside of the pan with nonstick cooking spray.
- Make the crust: Pulse the gingersnaps, sugar, and melted butter in a food processor fitted with the metal blade until finely ground. Transfer the moistened crumbs into the prepared pan and press into an even layer. Bake until fragrant and set, about 15 minutes. Cool on a wire rack while you prepare the filling.
- Prepare the filling: Set a kettle of water to boil (this will be used for the water bath). In a small, heavy saucepan, stir together the pumpkin, sugar, cinnamon, ginger, nutmeg, cloves, and salt. Over medium heat, bring the mixture to a sputter, stirring constantly. Reduce the heat to medium-low and cook, stirring constantly, for 5 minutes, until thick, bronzed and shiny. Scrape the mixture into a large food processor fitted with the metal blade and process for 1 minute with the feed tube open.
- With the motor running, add the cold cream. Add the cream cheese (cut into chunks) and process for about 30 seconds, scraping the sides if necessary, or until smoothly incorporated. Add the eggs and process for about 5 seconds or just until incorporated (do not overmix!).
- Bake: Set the cake pan in a large roasting pan. Pour the batter into the cooled crust, and then pour enough boiling water into the large roasting pan to come about halfway up side of the cake pan. Bake until the cake is just set, 1½ to 1¾ hours. A properly cooked cheesecake will jiggle a bit when you nudge the pan, but if the center seems at all liquidy, it's not done. Carefully remove the roasting pan from the oven and set on a wire rack. Run a sharp paring knife around the edges to loosen the cake from the sides of the pan. Cool until the water is just warm, about 45 minutes.
- Finish cooling and chill: Remove the springform pan from the water bath, discard the foil and set on a wire rack. Continue to cool at room temperature until barely warm, about 3 hours. Cover with plastic wrap and refrigerate until chilled, at least 4 hours or overnight.
- To Serve: Remove the outer ring from the springform pan. Slide a thin metal spatula between the crust and pan bottom to loosen, then slide the cheesecake onto a serving platter. (Alternatively, you can keep it on the pan bottom.) If there is condensation on the top of the cheesecake, blot it gently with a flat paper towel. Let the cheesecake stand at room temperature for about 30 minutes, then cut it into wedges. Warm up the caramel sauce in the microwave (it stiffens in the fridge). If it's too thick, add more heavy cream to thin it out. Drizzle the caramel sauce over each piece of cheesecake and top with a dollop of sweetened whipped cream if desired.
Notes
- You'll need a large food processor— preferably with a 14-cup (3.3L) capacity—to make the filling (you can also use an 11-cup (2.6L) capacity, but you may have a bit of leakage). If you don't have one, it's fine to use a KitchenAid Mixer or electric beaters for the filling and a small food processor for the crust.
- Freezing Instructions: The cheesecake can be frozen for up to 3 months. To freeze: place the cake in the freezer briefly, unwrapped, to firm it up. Then double-wrap it tightly with aluminum foil or plastic freezer wrap, or place it in heavy-duty freezer bag. Thaw in the refrigerator the night before you plan to eat it.
Nutrition Information
This website is written and produced for informational purposes only. I am not a certified nutritionist and the nutritional data on this site has not been evaluated or approved by a nutritionist or the Food and Drug Administration. Nutritional information is offered as a courtesy and should not be construed as a guarantee. The data is calculated through an online nutritional calculator, Edamam.com. Although I do my best to provide accurate nutritional information, these figures should be considered estimates only. Varying factors such as product types or brands purchased, natural fluctuations in fresh produce, and the way ingredients are processed change the effective nutritional information in any given recipe. Furthermore, different online calculators provide different results depending on their own nutrition fact sources and algorithms. To obtain the most accurate nutritional information in a given recipe, you should calculate the nutritional information with the actual ingredients used in your recipe, using your preferred nutrition calculator.
Can the various spices be replaced with Pumpkin Pie Spice? If so, how much would you use?
Thanks!
Sure, Julia, you’ll need 2 teaspoons. Enjoy!
Would it be okay to add add little brandy to the cheesecake?
Hi Carol, cheesecake is so finicky that I wouldn’t tweak the recipe in any way. If you’d like to add a little brandy, I think it would be delicious in the caramel sauce.
How about adding the brandy to the whipped cream? Might be a nice way to give a kick to the topping!
When your young grandson who is a pumpkin and a cheesecake fan says this is the best ‘pie’ ever, then you know it’s your go to. Entire family is a fan and it’s for Thanksgiving every year.
I have made many pumpkin cheesecakes but this one is sublime! This is the only recipe I’ve seen where you cook the pumpkin purée…..my family loved the silky smooth texture & I will be using this recipe from now on, thanks Jen❤️
Hi Jenn! This cheesecake turned out perfect. I followed the instructions as written. Is there a way to adapt this recipe to make a normal NY-style cheesecake? I see you have a recipe for that on your site already, but I loved making this cheesecake in a food processor instead of a kitchen-aid stand mixer.
So glad you liked this! It would be fine to use a food processor for my New York cheesecake recipe as well.
This is one of the best cheesecakes I’ve made, and it’s simple to make. I didn’t use a food processor. Instead I beat the cream cheese in my stand mixer until light, then added the cooked pumpkin, heavy cream and eggs. The filling was enough for a 6″ springform pan and mini cheesecakes. For the mini cakes, I lined muffin cups with parchment paper liners and they peeled off easily. I kept the filling for the mini cakes in the fridge while the springform pan baked. The 6″ pan was done in just over 1 hour. The mini cakes took about 20 minutes. The mini’s were excellent and froze beautifully. For the water bath I set the 6″ pan in a 7″x3″ round cake pan , then set that pan in a larger pan before adding the water. This way there’s no need for foil and it’s impossible for water to seep into the crust. I baked the mini cakes with a pan of water on the bottom oven rack. The only change I made to the recipe was to double the measure of most of the spices
Hi Jenn,
I made this yesterday, as written. I followed the metric measurements for everything weighed on a scale and cup measurements for liquid ingredients. **This is, quite honestly, the most perfect pumpkin cheesecake I have ever tasted – bought or homemade. 10/10. ** We ate it sans caramel sauce, and it was perfectly sweet and spiced. It would absolutely satisfy any pumpkin pie craving, and while I cherish tradition, this may replace pumpkin pie on Thanksgiving altogether. I used Mi-del ginger snap cookies for the crust – the ginger bite in those cookies really sang in the aftertaste. There wasn’t a crack in sight, and the texture was otherworldly. Thank you so much for this amazing recipe!
Hi Jenn, I have made so many of your recipes. I couldn’t even list them all. Everyone loves them, including myself! How would I adapt this recipe for a cheesecake bar? What changes to the pan and the temperature what I need to make?
Thank you
Hi Melissa, So glad you like the recipes! I haven’t tried this as bars but I think it would work. I’d use a 9 x 13-inch pan. You’d need to make 1 ½ times the recipe (for both the crust and the filling) to have enough to fill a 9 x 13. I suspect the baking time would be about the same if not a tiny bit longer. Please LMK how it turns out if you try it this way!
I made this recipe as my first ever cheesecake and it was phenomenal! I plan to make it every thanksgiving! Thanks again Jen!
This looks amazing! Would I be able to sub sour cream for the heavy cream?
I can’t say for sure because I haven’t tried it. It would probably work — if you like that extra tang — but I’d be nervous to experiment since this cheesecake is time consuming to make.
Bye-bye pumpkin pie!
This is one of the best cheesecakes I’ve ever made. With the exception of using 2 tsp. of pumpkin pie spice instead of the varied spices, I made this exactly as written. It’s a bit of work (I made the crust the night before) but it was well worth the effort. My first attempt at using a water bath, too.
Thanks as always for making us all look so good in the kitchen, Jenn.