

This post may contain affiliate links. Read my full disclosure policy.
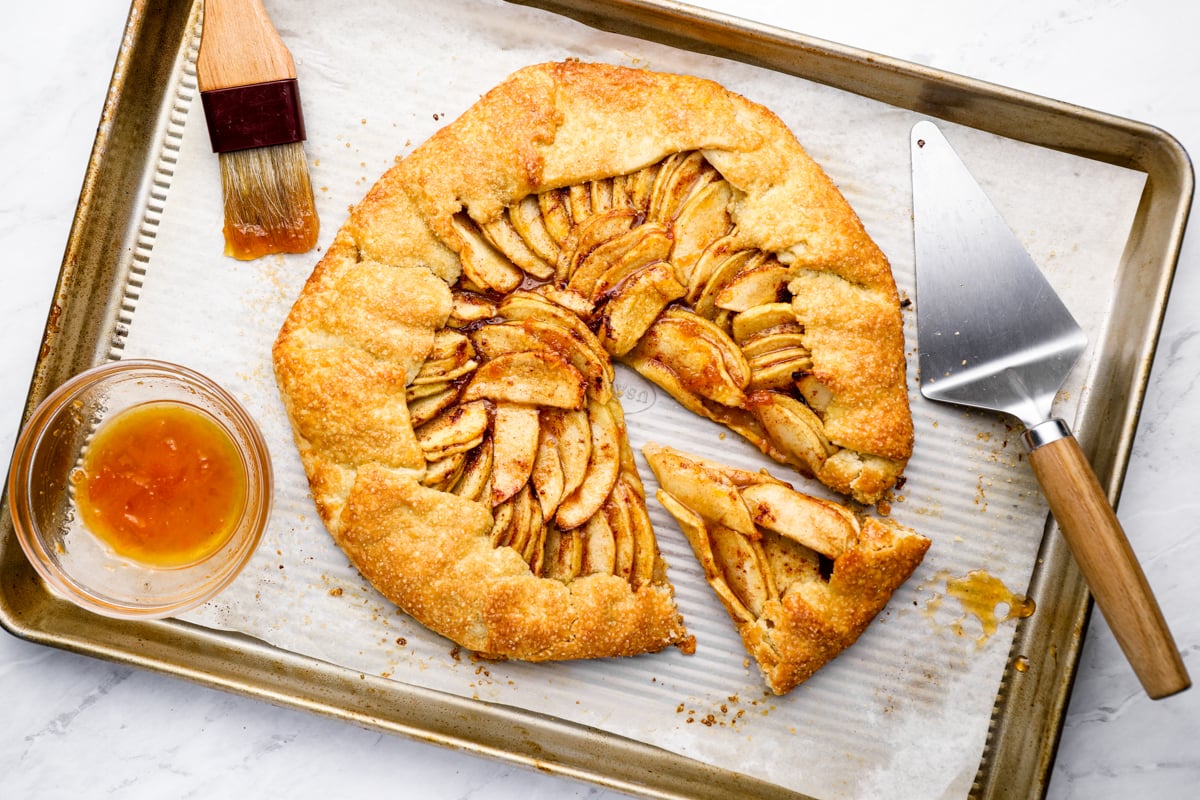
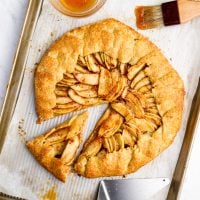
This apple tart recipe skips the tart pan altogether—the apples are piled onto the pastry and the edges simply folded up around them for a beautifully rustic dessert.
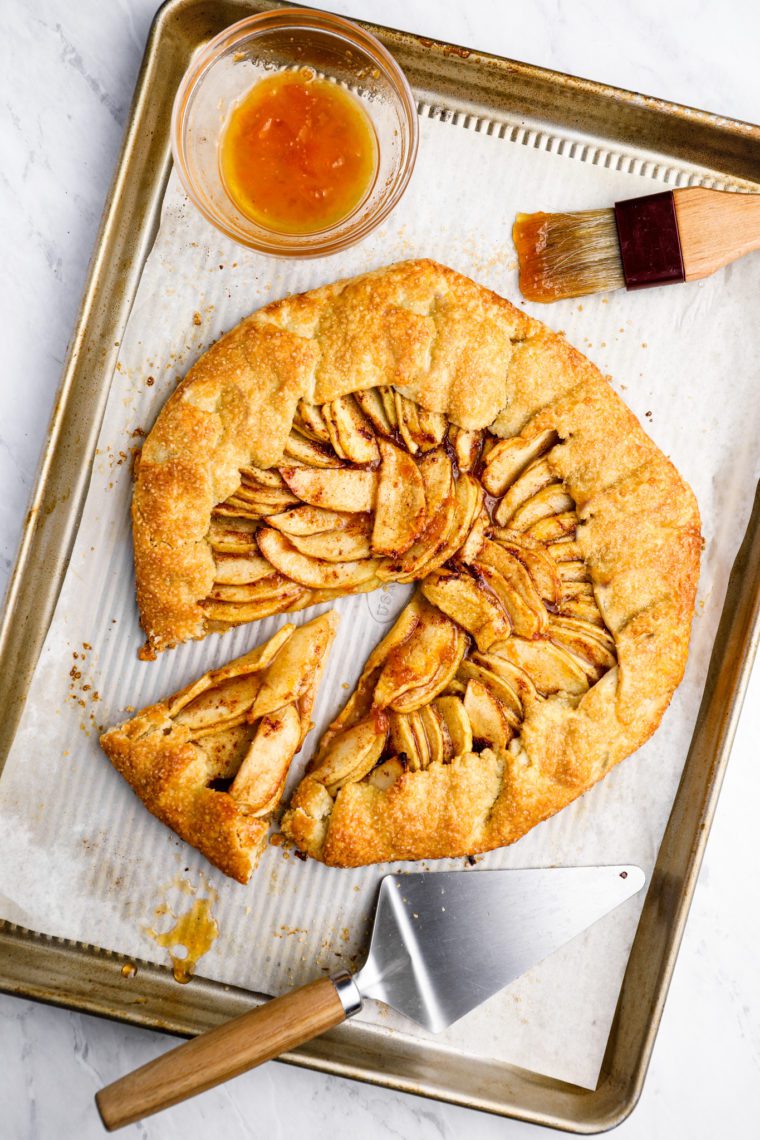
This apple tart recipe is essentially a free-form pie, with thinly sliced apples tossed with sugar and cinnamon and arranged on a buttery, flaky homemade crust. It’s every bit as delicious as a traditional apple pie but easier to assemble, and the rustic shape is part of its charm.
And don’t be intimidated by the homemade pastry—it comes together easily in the food processor, and because the tart is meant to look rustic, there’s no need to fuss over perfectly shaped edges. Bake it until the crust is golden and the apples are tender, then serve it warm or at room temperature, with vanilla ice cream if you like.
“I have made this at least 10 times and it turns out perfectly. I like to make a day or two ahead and freeze. Perfect dessert for company—I pop it in the oven when we start eating dinner and it’s done by the time we’re finished.”
What you’ll need to make a french apple tart
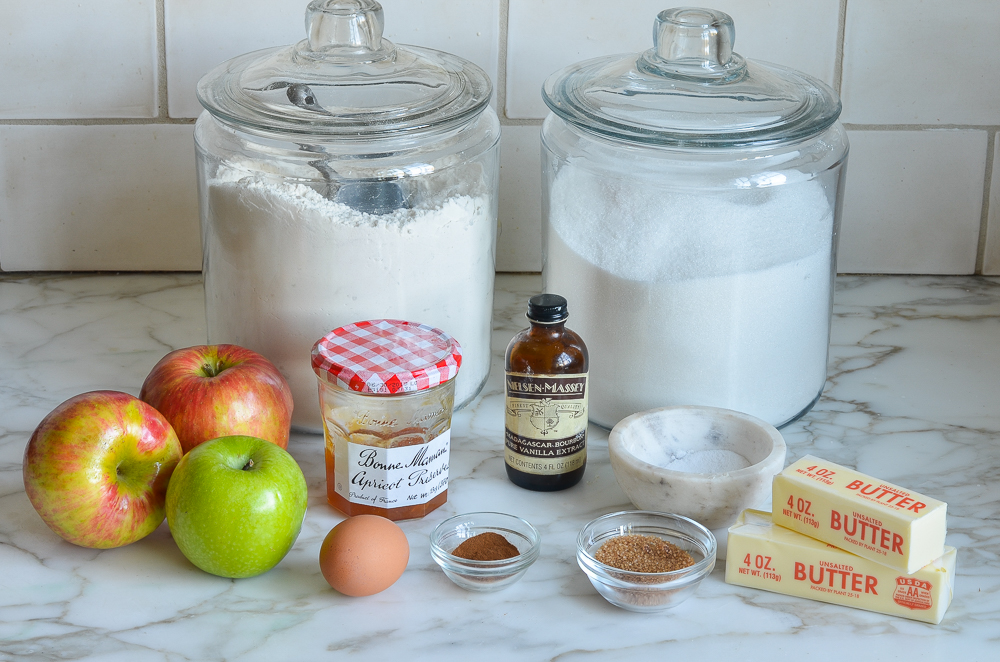
- All-purpose flour: Forms the base of the crust and provides structure to the dough and tart.
- Granulated sugar: Adds sweetness to the crust and filling, balancing the tartness of the apples.
- Butter: Makes the crust rich and flaky while also adding flavor to the filling.
- Baking apples: Use varieties like Honeycrisp, Jonagold, Fuji, Granny Smith, or Golden Delicious—and use a mix of different apples for the best flavor. Heads up: it can be tempting to load up the tart with extra apples, but less is more here—the apples release quite a bit of juice, which can leak from the tart and make a mess of the crust and your oven.
- Vanilla extract & Cinnamon: Adds warmth and enhances the sweetness in the apple filling.
- Egg: Brushed onto the crust for a golden, glossy finish.
- Turbinado sugar: Sprinkled on the crust and apples for added sweetness and a crunchy texture.
- Apricot jelly or jam (optional): Used to glaze the apples, giving them a glossy finish and adding a subtle fruit flavor.
- Jump to the printable recipe for precise measurements
How to Make French Apple Tart
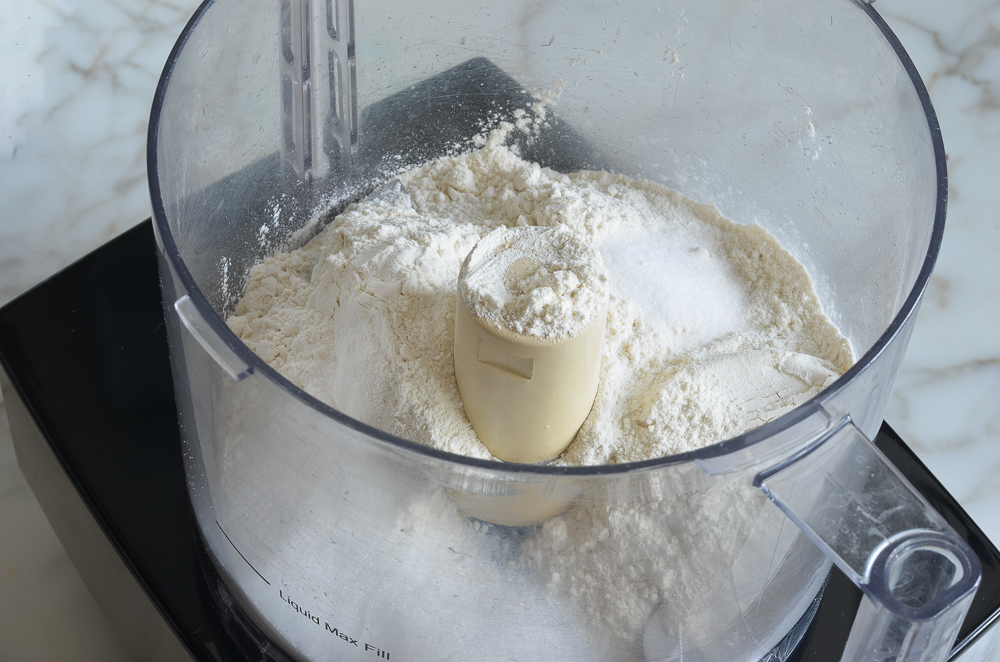
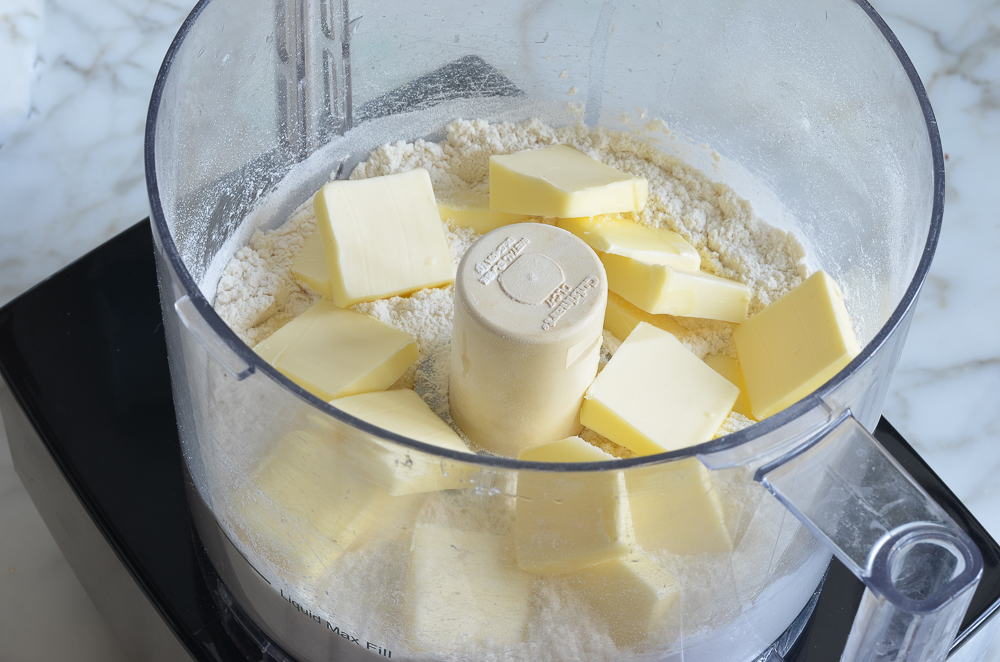
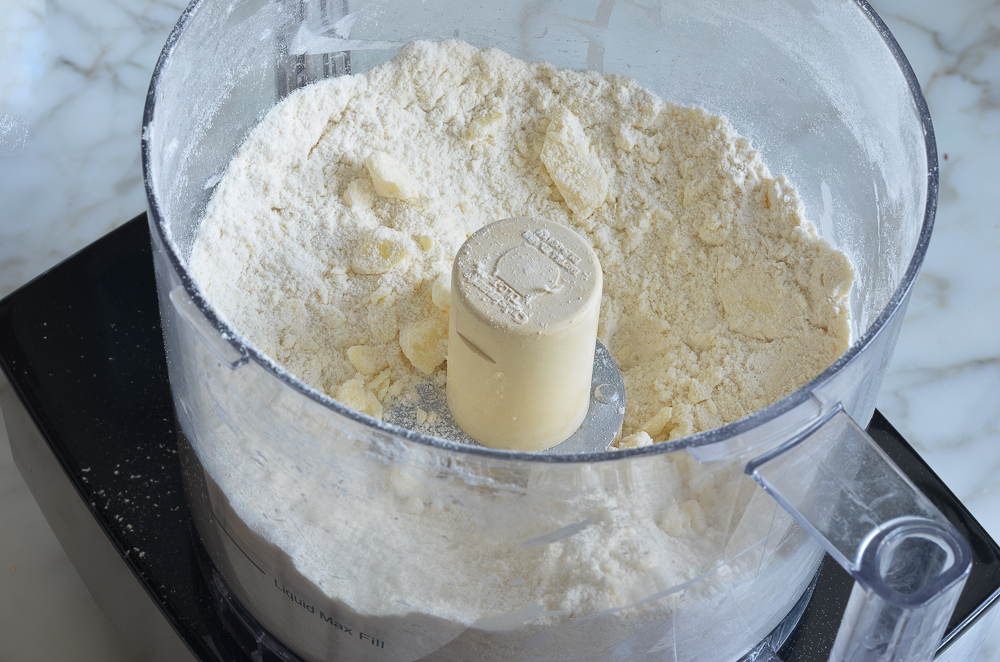
Make the pastry dough: In a food processor, pulse the flour, salt, and sugar to combine. Add the cold butter and pulse until the pieces are about the size of peas. Add the ice water and pulse just until the dough looks moistened and crumbly.
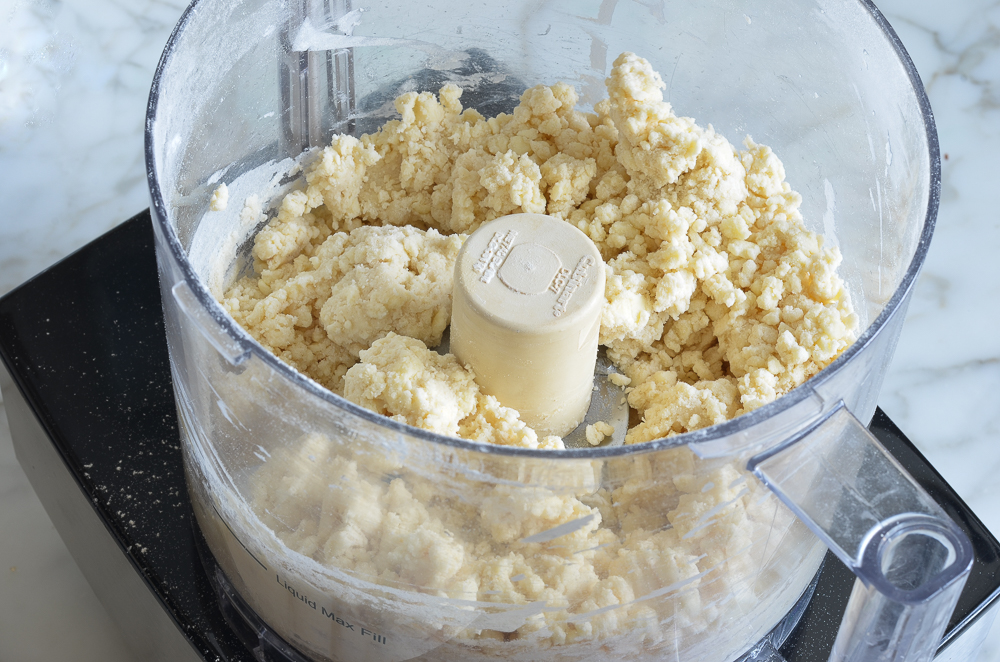
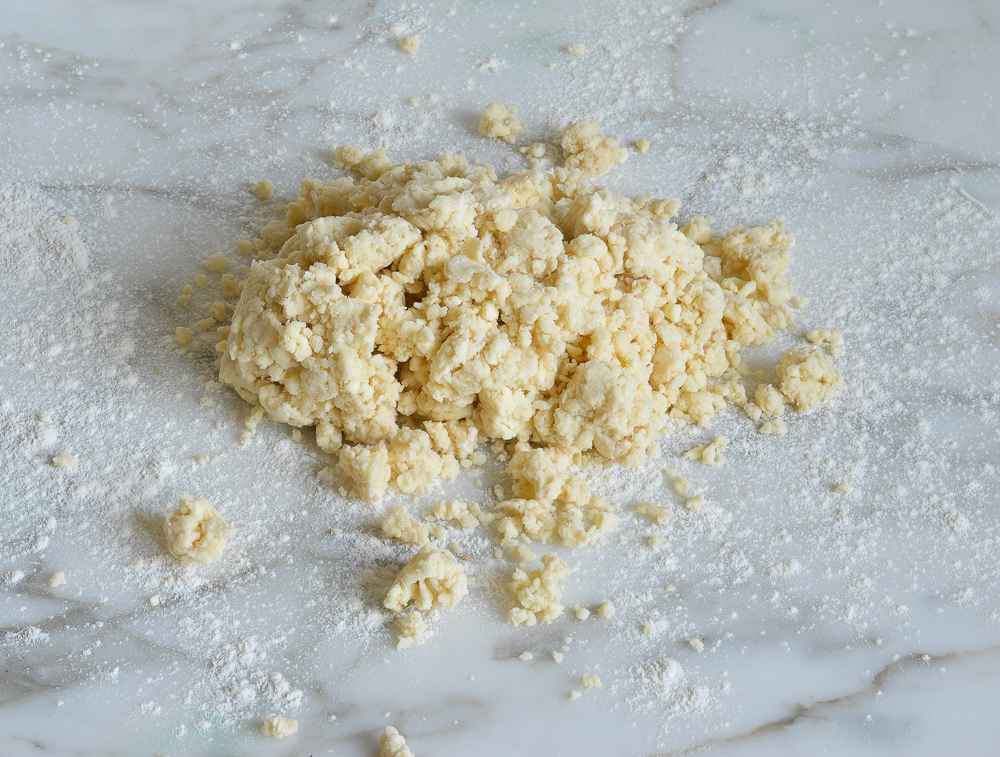
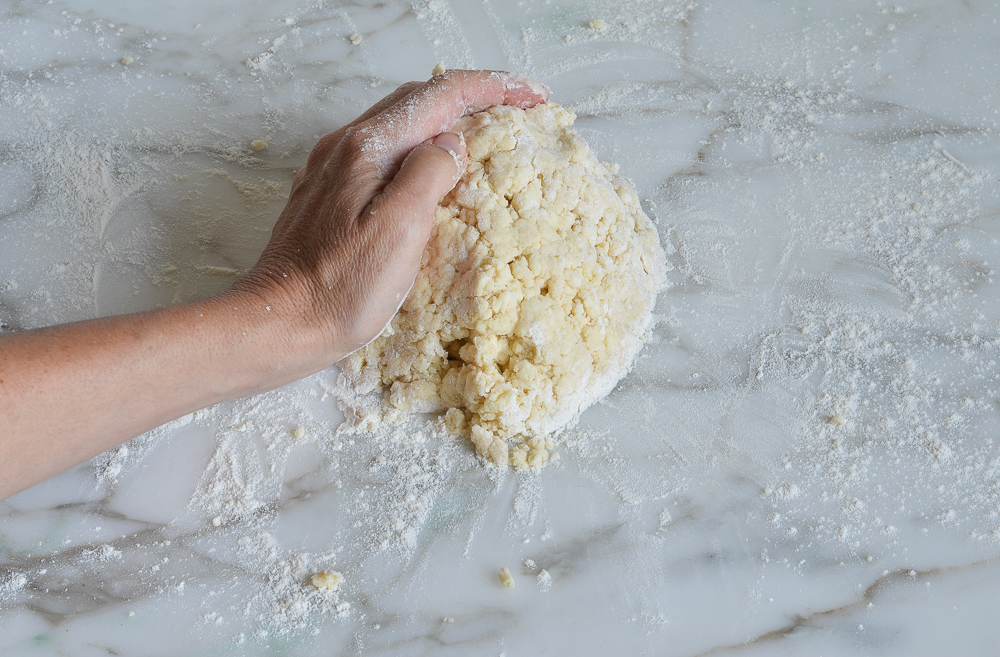
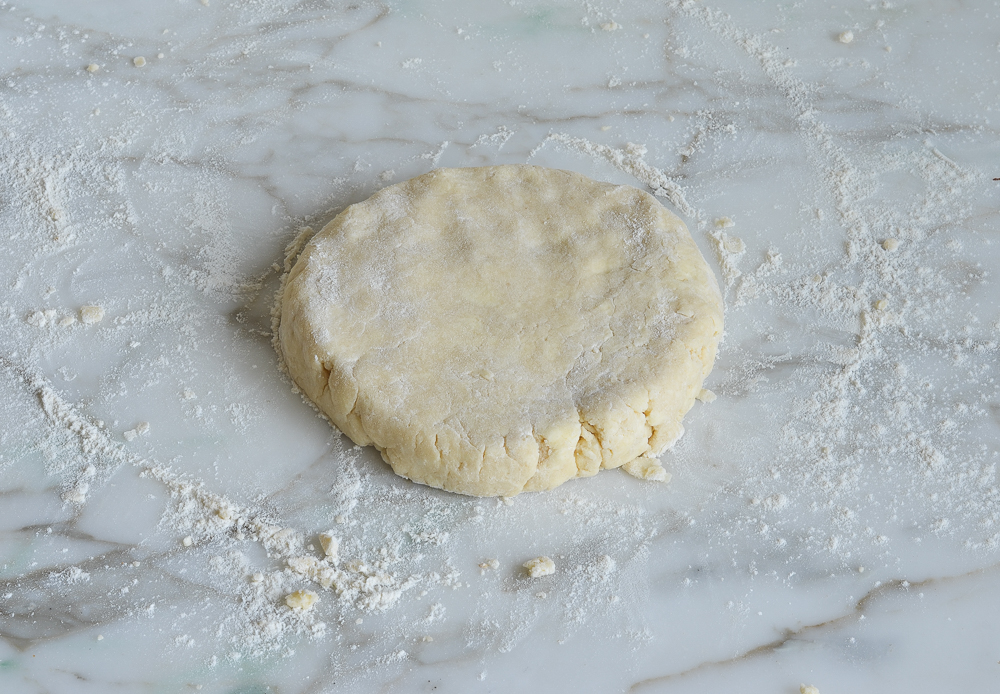
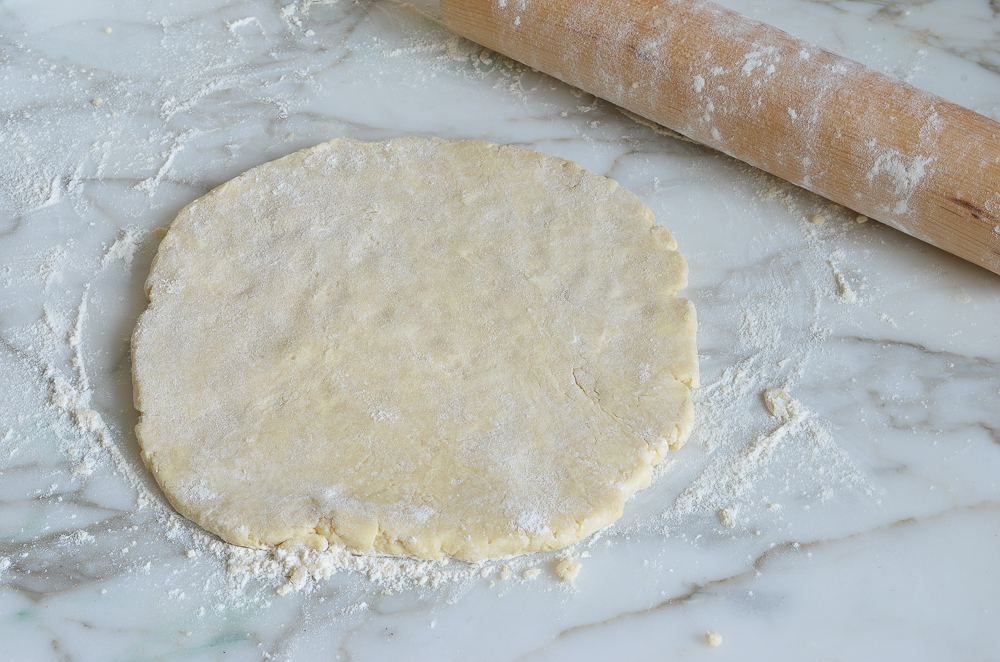
Form and chill the dough: Turn the dough onto a lightly floured surface and knead it a few times, just until it comes together. Shape it into a disk, roll it into a rough circle, and transfer it to a parchment-lined baking sheet. Refrigerate while you make the filling.
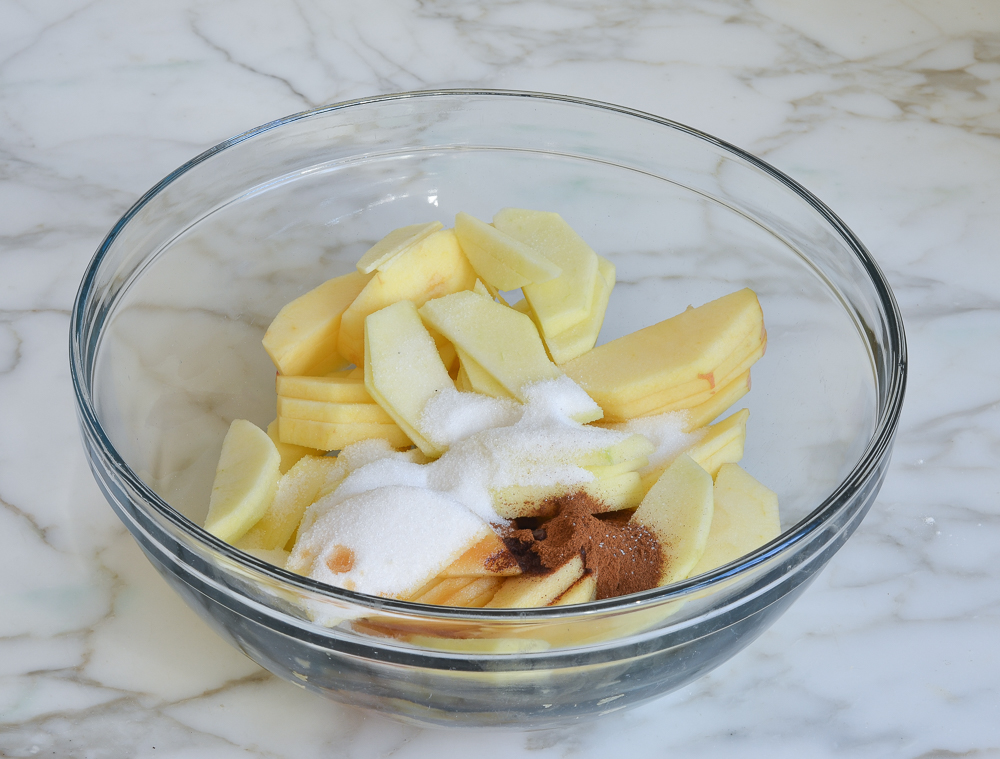
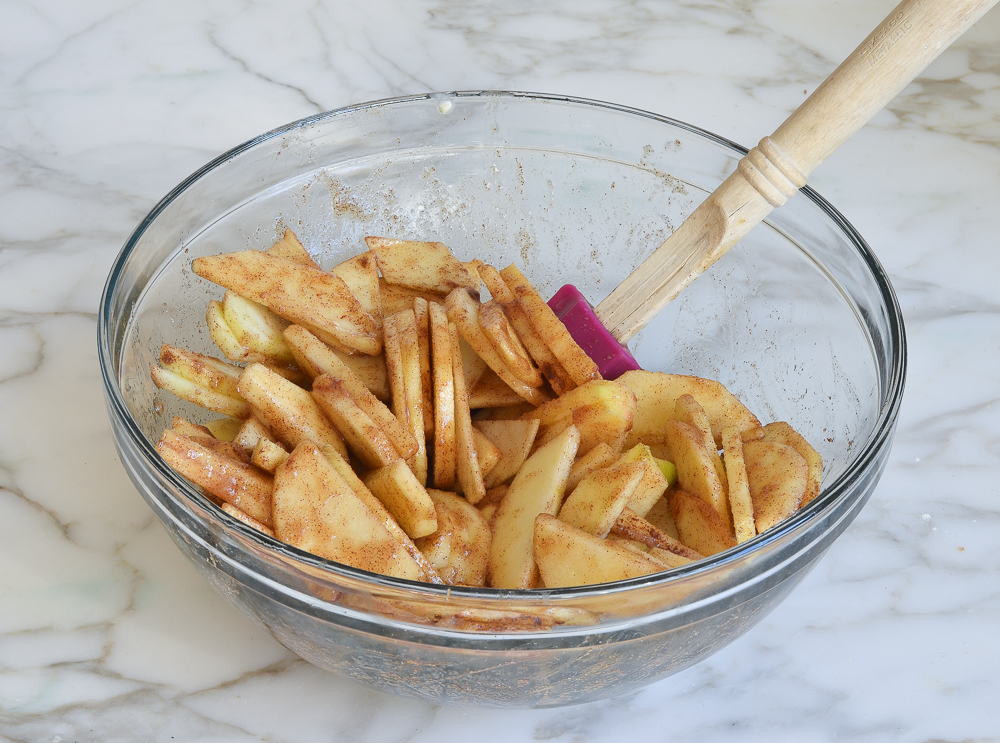
Make the apple filling: Peel, core, and thinly slice the apples. Toss with the sugar, vanilla, cinnamon, melted butter, and salt until evenly coated.
Assemble the tart: Roll the dough into a large circle directly on the parchment. Sprinkle with flour, then arrange the apples in overlapping circles, leaving a wide border around the edge. Fold the pastry over the apples, brush the crust with beaten egg, and sprinkle the tart with turbinado sugar. Chill while the oven preheats.
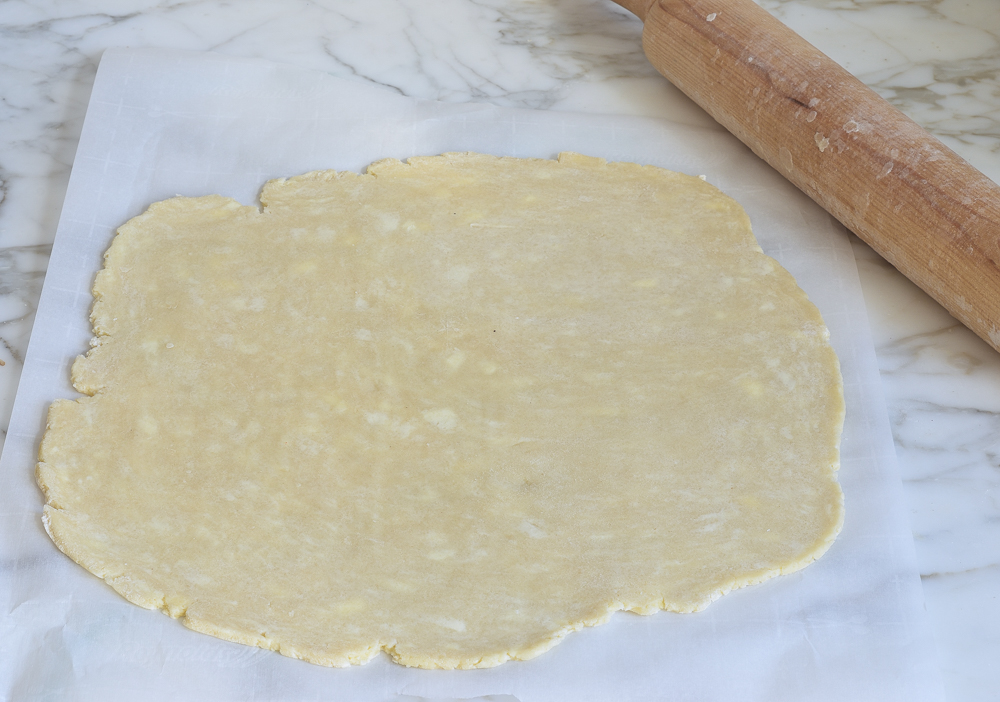
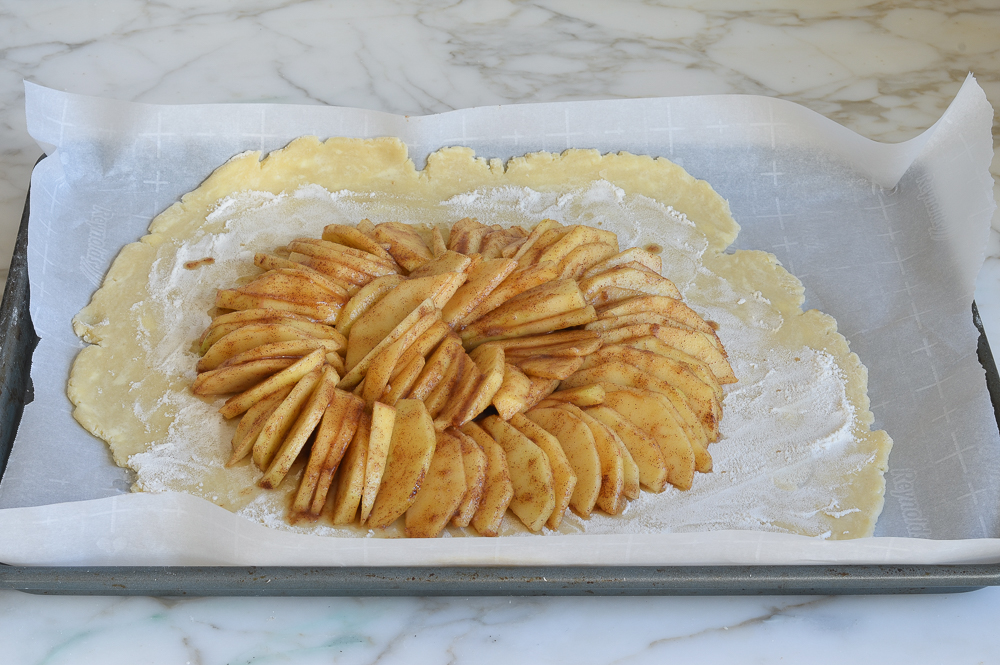
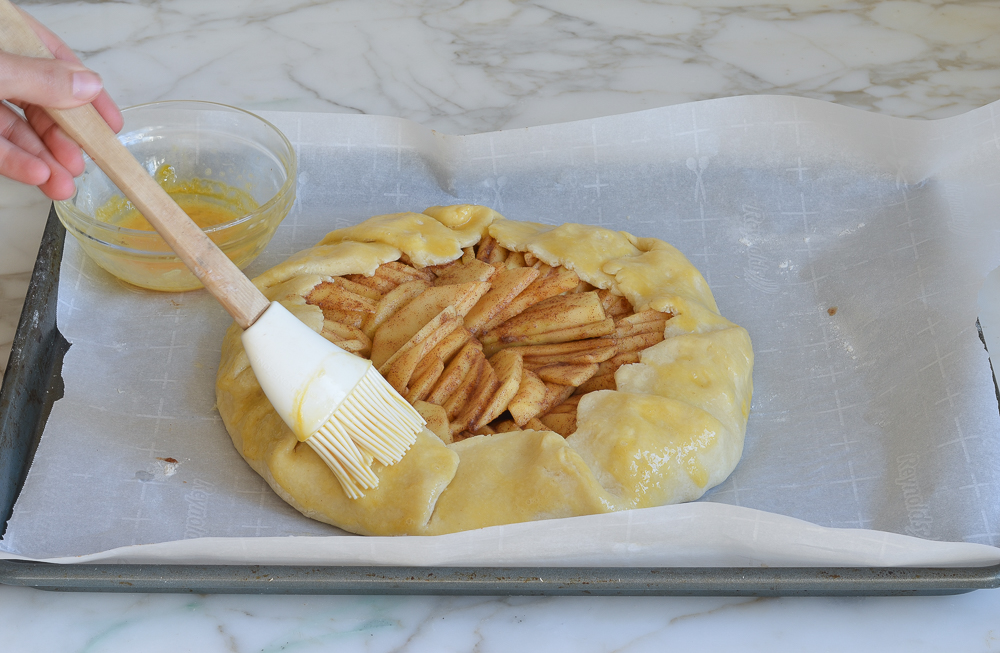
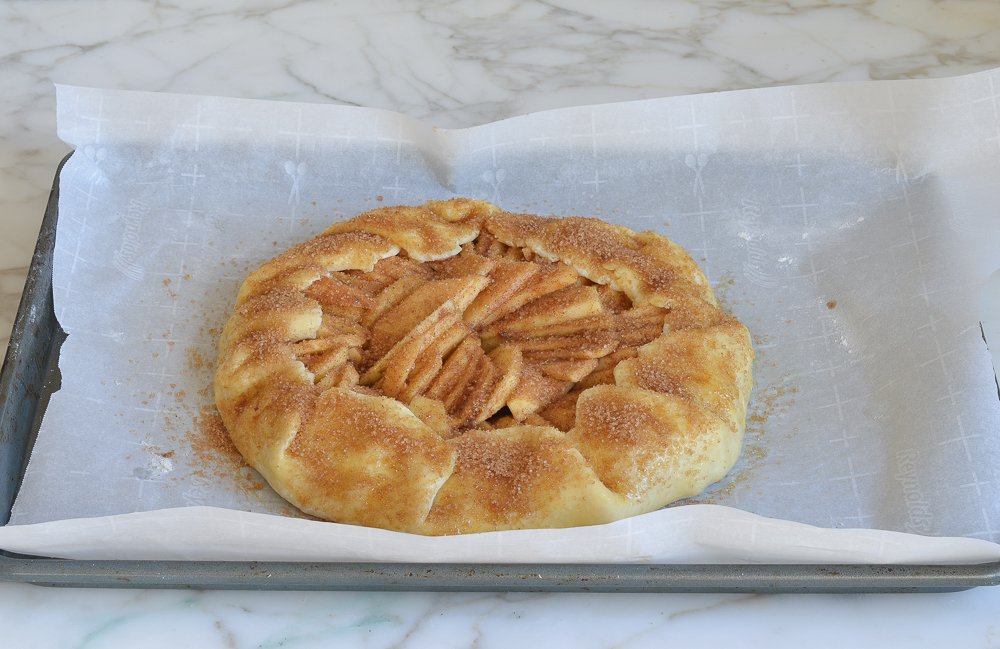
Bake and finish: Bake until the apples are tender and the crust is golden and cooked through. Let the tart cool, then brush the apples with the optional apricot glaze for a glossy finish. Slice and serve warm or at room temperature.
Video Tutorial
More Apple Desserts You may like

French Apple Tart
Ingredients
For the Crust
- 1½ cups all-purpose flour, spooned into measuring cup and leveled-off
- ½ teaspoon salt
- 2 tablespoons granulated sugar
- 12 tablespoons (1½ sticks) very cold unsalted butter, cut into ½-in (13-mm) pieces
- ¼ cup very cold water
For the Filling
- 1¾ lbs baking apples (3 large) (see note)
- ⅓ cup sugar
- 1 teaspoon vanilla extract
- 1 teaspoon cinnamon
- 2 tablespoons unsalted butter, melted
- ⅛ teaspoon salt
For Assembling & Baking
- 1 tablespoon all-purpose flour
- 1 egg, beaten
- 2 tablespoons turbinado sugar
- 1 tablespoon apricot jelly or jam (optional), for glaze
Instructions
- Make the crust: Line a baking sheet with parchment paper. In a food processor fitted with the steel blade, combine the flour, salt, and sugar. Pulse briefly to combine. Add the cold butter and process just until the butter is the size of peas, about 5 seconds. Sprinkle the ice water over the mixture and process just until moistened and very crumbly, about 5 seconds. Transfer the dough to a lightly floured work surface and knead a few times, just until it comes together into a cohesive ball. Pat the dough into a disk. Flour your work surface again and dust the dough with flour, as well. Using a rolling pin, roll into a circle 8 to 10 in (20 to 25 cm) in diameter, turning and adding more flour as necessary so the dough doesn’t stick. Transfer the dough to the parchment-lined baking sheet and refrigerate while you prepare the filling (you’ll roll the dough out further on the parchment paper, so go ahead and clean your work surface).
- Make the Filling: Peel, core, and cut the apples into ⅛-in (3-mm) thick slices (you should have about 4 cups) and place in a large bowl. Add the sugar, vanilla, cinnamon, melted butter, and salt; toss to combine.
- Take the dough from the fridge and slide the parchment paper onto the countertop. Roll the dough, directly on the parchment paper, into a 14-in (36-cm) circle about ⅛-in (3-mm) thick. It’s fine if the edges are a little ragged. Place the parchment and dough back on the baking sheet—the pastry should curve up the lip of the pan.
- Assemble the tart: Sprinkle the flour evenly over the pastry. Arrange the apple slices on top in overlapping concentric circles to within 3 in (7.5 cm) of the edge. Don’t worry about making it look perfect! It doesn’t make much difference in the end, and you don’t want the dough to get too warm. Fold the edges of the dough over the apples in a free-form fashion, working your way around and creating pleats as you go. Patch up any tears by pinching a bit of dough from the edge.
- Using a pastry brush, brush the pleated dough evenly with the beaten egg. Sprinkle 1 tablespoon of the turbinado sugar over the top crust and 1 tablespoon over the fruit. Chill the assembled tart in the fridge for 15 to 20 minutes.
- Meanwhile, preheat the oven to 350°F (175°C) and set an oven rack in the center position.
- Bake for 55 to 65 minutes, or until the apples are tender and the crust is golden and cooked through. (It’s okay if some of the juices leak from the tart onto the pan. The juices will burn on the pan but the tart should be fine—just scrape any burnt bits away from the tart once it’s baked.) Transfer the pan to a rack and let cool.
- While the tart cools, make the optional glaze. In a small bowl, mix the apricot jam with 1½ teaspoons water. Heat in the microwave until bubbling, about 20 seconds. Using a pastry brush, brush the apples with the apricot syrup.
- Use two large spatulas to transfer the tart to a serving plate or cutting board. Slice and serve warm or at room temperature. The tart is best served on the day it is made, but leftovers will keep, loosely covered on the countertop, for a few days.
Notes
- Be sure to use baking apples that hold their shape when cooked, such as Honeycrisp, Jonagold, Fuji, Granny Smith, or Golden Delicious. And use a mix of different varietals for the best flavor.
- Make-Ahead/Freezing Instructions: The dough can be made up to 3 days in advance and refrigerated. Allow it to sit at room temperature for about 15 minutes or until pliable before rolling. The assembled tart may be frozen for up to 3 months. To freeze, place the baking sheet in the freezer until the tart is frozen, then wrap tightly. (Wait until right before baking the tart to brush the beaten egg and sprinkle the sugar onto the crust.) Bake directly from the freezer. (It may take a few extra minutes to bake from frozen.)
Nutrition Information
This website is written and produced for informational purposes only. I am not a certified nutritionist and the nutritional data on this site has not been evaluated or approved by a nutritionist or the Food and Drug Administration. Nutritional information is offered as a courtesy and should not be construed as a guarantee. The data is calculated through an online nutritional calculator, Edamam.com. Although I do my best to provide accurate nutritional information, these figures should be considered estimates only. Varying factors such as product types or brands purchased, natural fluctuations in fresh produce, and the way ingredients are processed change the effective nutritional information in any given recipe. Furthermore, different online calculators provide different results depending on their own nutrition fact sources and algorithms. To obtain the most accurate nutritional information in a given recipe, you should calculate the nutritional information with the actual ingredients used in your recipe, using your preferred nutrition calculator.
Nice recipe but no baking temperature was provided.
Hi Laurie, it should be baked at 350°F/175°C. Hope you enjoy if you make it!
Made this again today and stacked the apples the way the picture shows and it was a thing of beauty when it came out of the oven. The crust always is the star of the show – hence, using all butter. Just an anecdote – I follow someone on instagram who posted a picture of two little girls, one asks the other “do you pray before you eat?” The other replies “non, we are French, we know how to cook”. Jenn, you definitely know how to cook.
❤️
How can anything that has a stick of butter be good? I just can’t picture putting it in my mouth. An abuse to your body
So did you actually make this, or are you just inserting your opinions here? We all make choices concerning what we eat, and if you personally don’t like butter, well that’s just fine, but I’m not sure this is the forum to discuss the merits of using particular ingredients. There are loads of cooking and baking websites to accommodate food sensitivities, allergies and the like, which might better serve you.
THANK YOU Mark, I’m so glad you spoke out on behalf of those of us who read reviews! Particularly since this is a 10/10 recipe. I always read reviews as I find them informative, with items that help me avoid common mistakes or great ideas I like to incorporate. I so dislike such criticism as you responded to, which has nothing to do with the quality of the recipe and wastes my time. Bless all the reviewers who have helped me learn so much and to make a recipe the best I can.
Awesome. Family loved it. Thank you
I made this for my friend Lisa’s birthday! It was easy and turned out great! Just like the recipe which seems to never happen….everyone loved it!
Made this for my family. My brother said it was one of his favorite desserts he’s had and asked me to make it again the following week. It came out delicious and beautiful. It was amazing how easy it was to make.
Made this tart. Super easy amd delicious.Didnot have a food processor, so i used forks to incorporate the butter. Added some walnuts to the filling. I didnot put any of the liquid from the apples into the pastry. I couldnot find turbinado sugar so i substitute light brown sugar, it worked out great. I made two, just doubled the recipe and both went in 1 night. Will definitely make again.
This was fabulous! Will definitely be my go to for galettes.
Do you think this crust would freeze well? Or be good as a two crust pie? It’s the best crust I’ve ever made. Butter sure is great.
Hi Kathy, Glad you enjoyed it! Yes, you can freeze either the dough or the assembled tart. See the bottom of the recipe for freezer-friendly instructions. And I think you could use this for a pie but I do have an apple pie recipe that you can check out here.
Nice pastry technique, just not sure if the food processor was necessary. Taste was meh. I thought it needed more cinnamon and sugar. Too much juice from apples spilled out, messy. Perhaps this was my fault because I prepped the apples the night before and noticed lots of liquid in the bowl, but I strained all of it before adding to the dough, but still had way too much juice.
Perfection! So,so good! I like this over my apple pie. It’s easier than an apple pie too.
Made this for Thanksgiving. Turned out wonderfully. Nice buttery flakey crust. I did add more cinnamon because we love it. Didn’t have a food processor so did it old school style with a pastry blender. Home run!!!