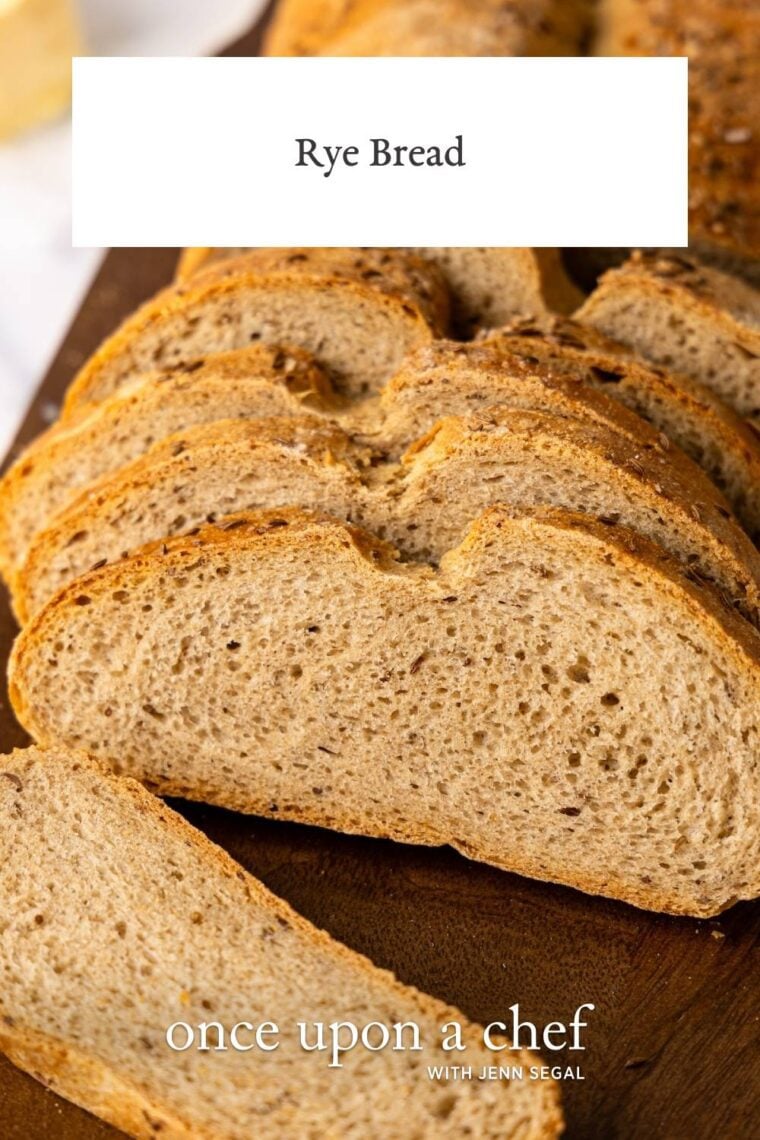
Rye Bread

This post may contain affiliate links. Read my full disclosure policy.
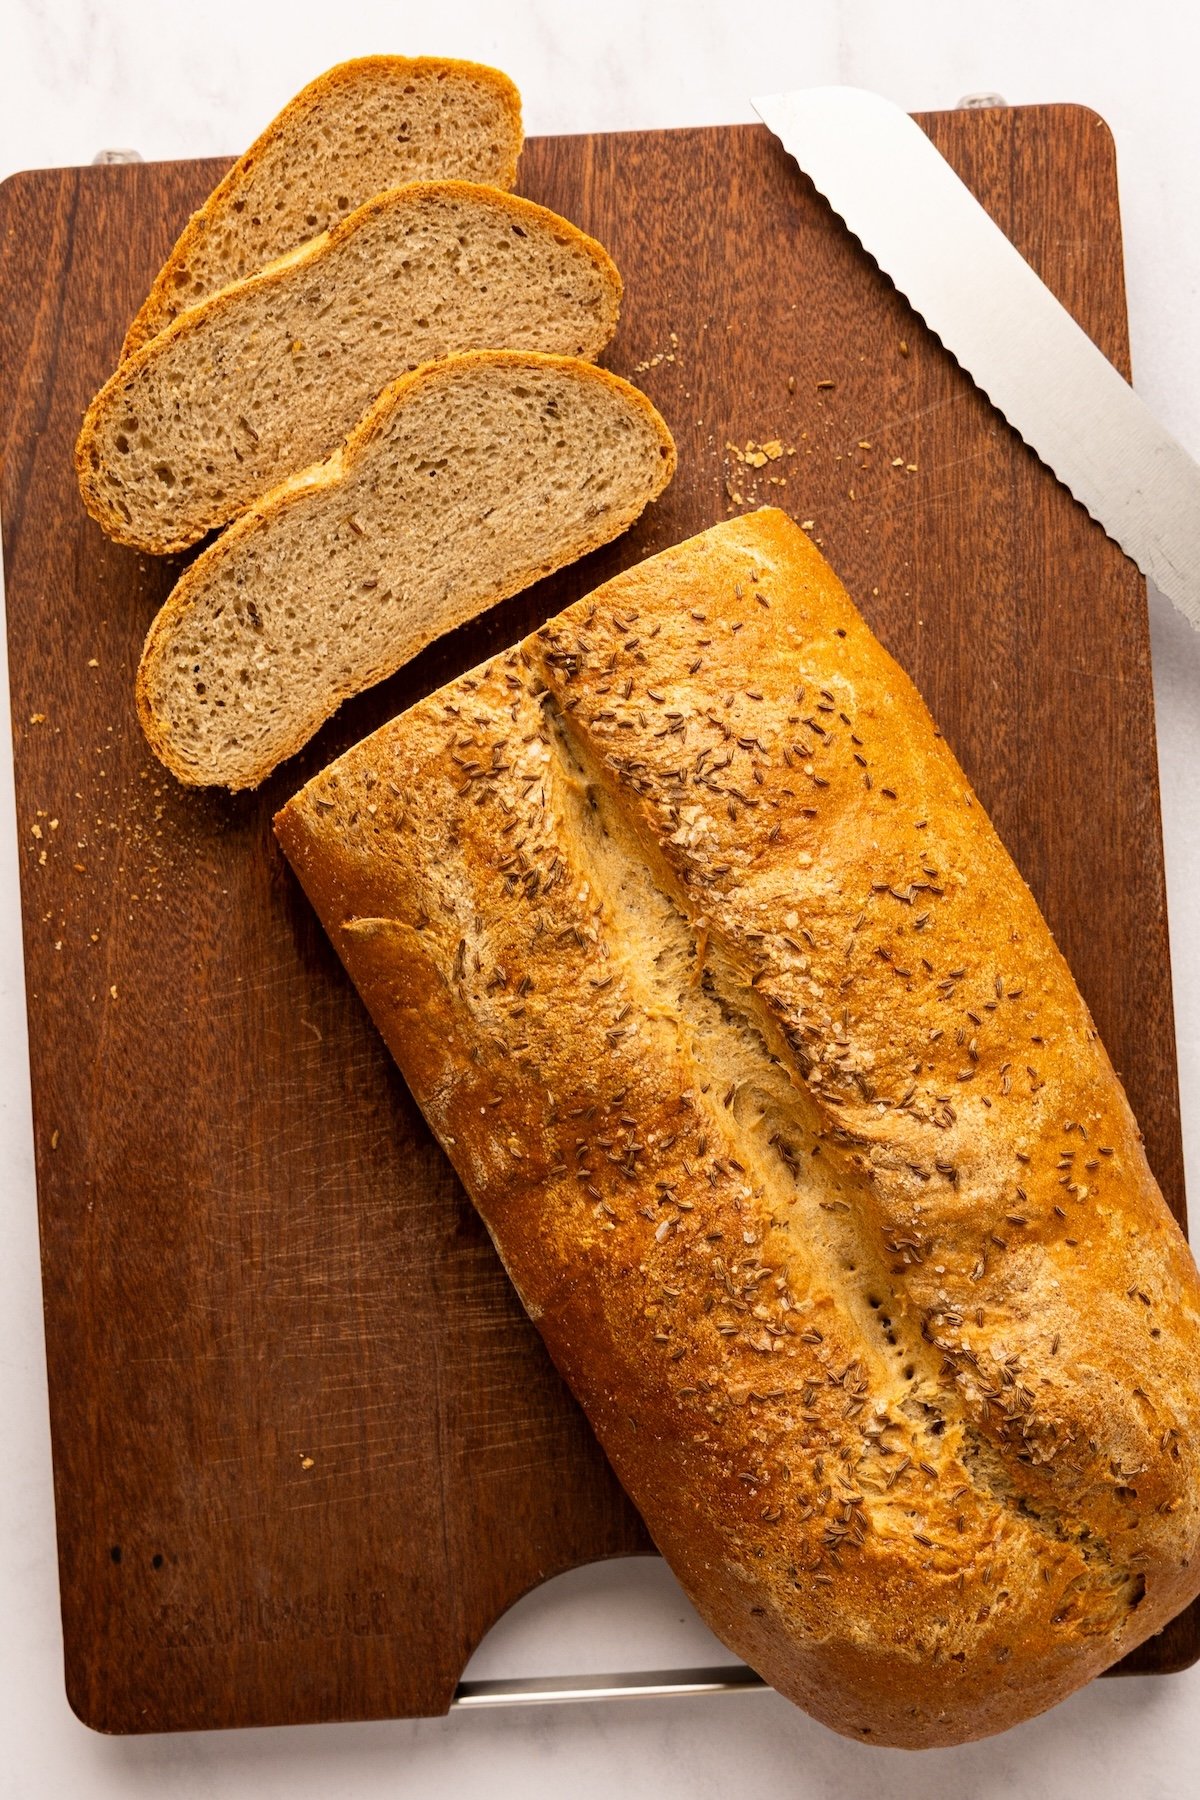
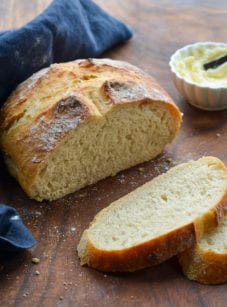
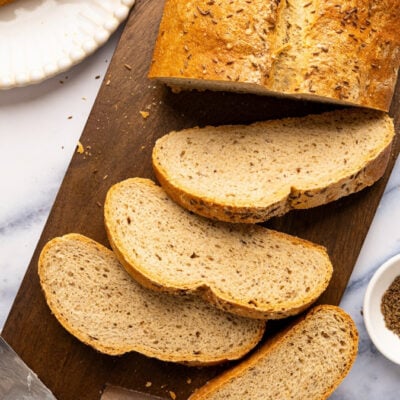
Soft inside with a golden crust and a hint of caraway, this homemade rye bread is perfect for sandwiches—or just a swipe of butter.
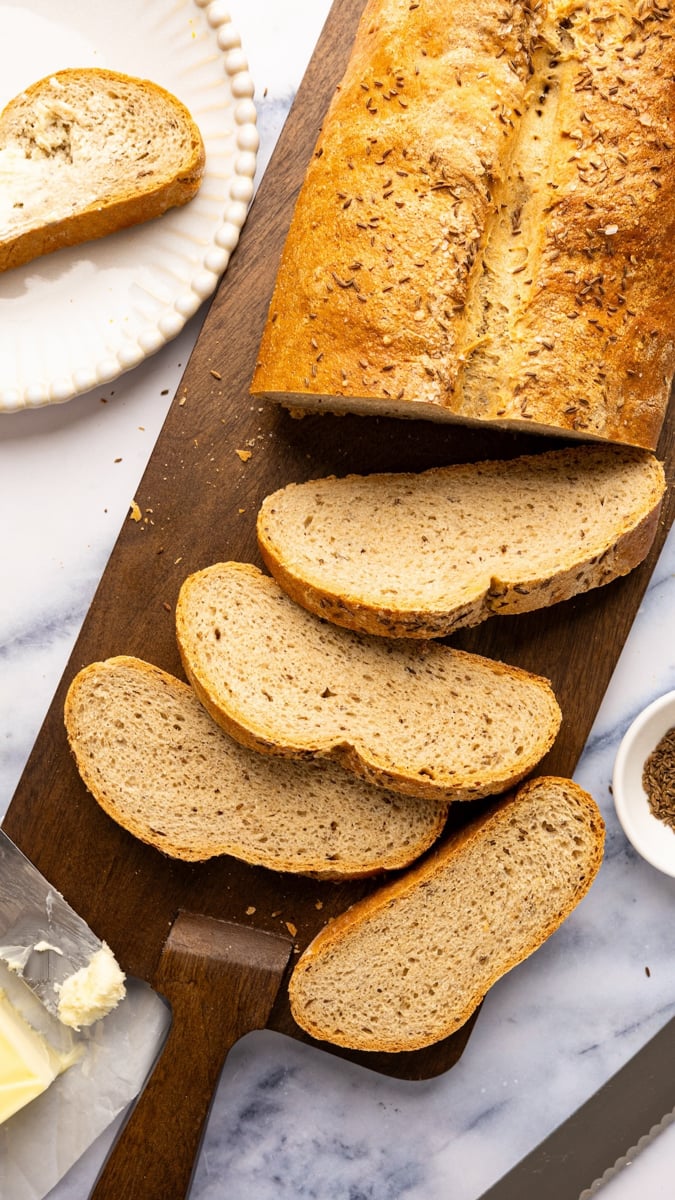
Rye bread has a distinct character—hearty, earthy, and just fragrant enough with caraway to give it its signature flavor. It’s the bread you want for deli classics like a Reuben, piled high with corned beef, sauerkraut, and Swiss, though it’s just as good fresh from the oven smeared with salted butter or alongside a bowl of soup.
While making rye from scratch can seem a bit intimidating, this version keeps things simple while still delivering everything you want from a classic loaf: a sturdy, golden crust, a soft but substantial crumb, and just the right amount of caraway seeds. It fills the kitchen with the best aroma as it bakes—and freezes beautifully too.
What You’ll Need To Make Rye Bread
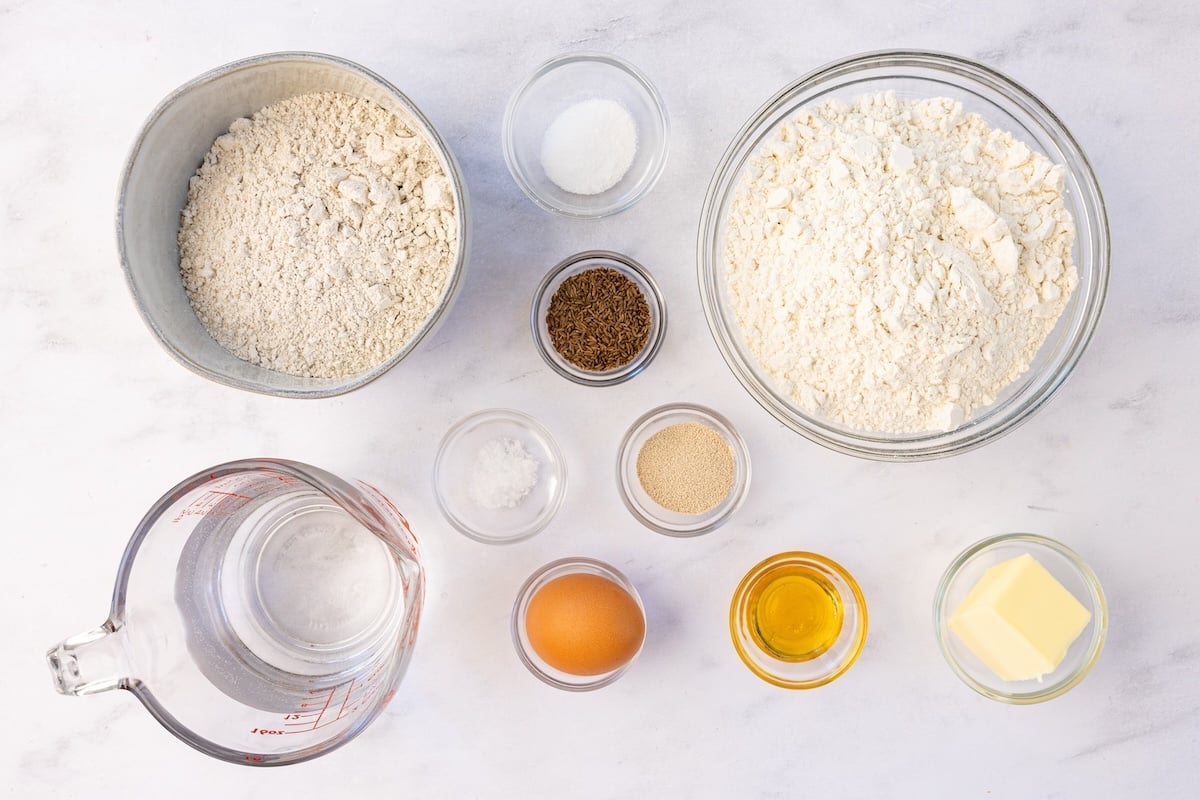
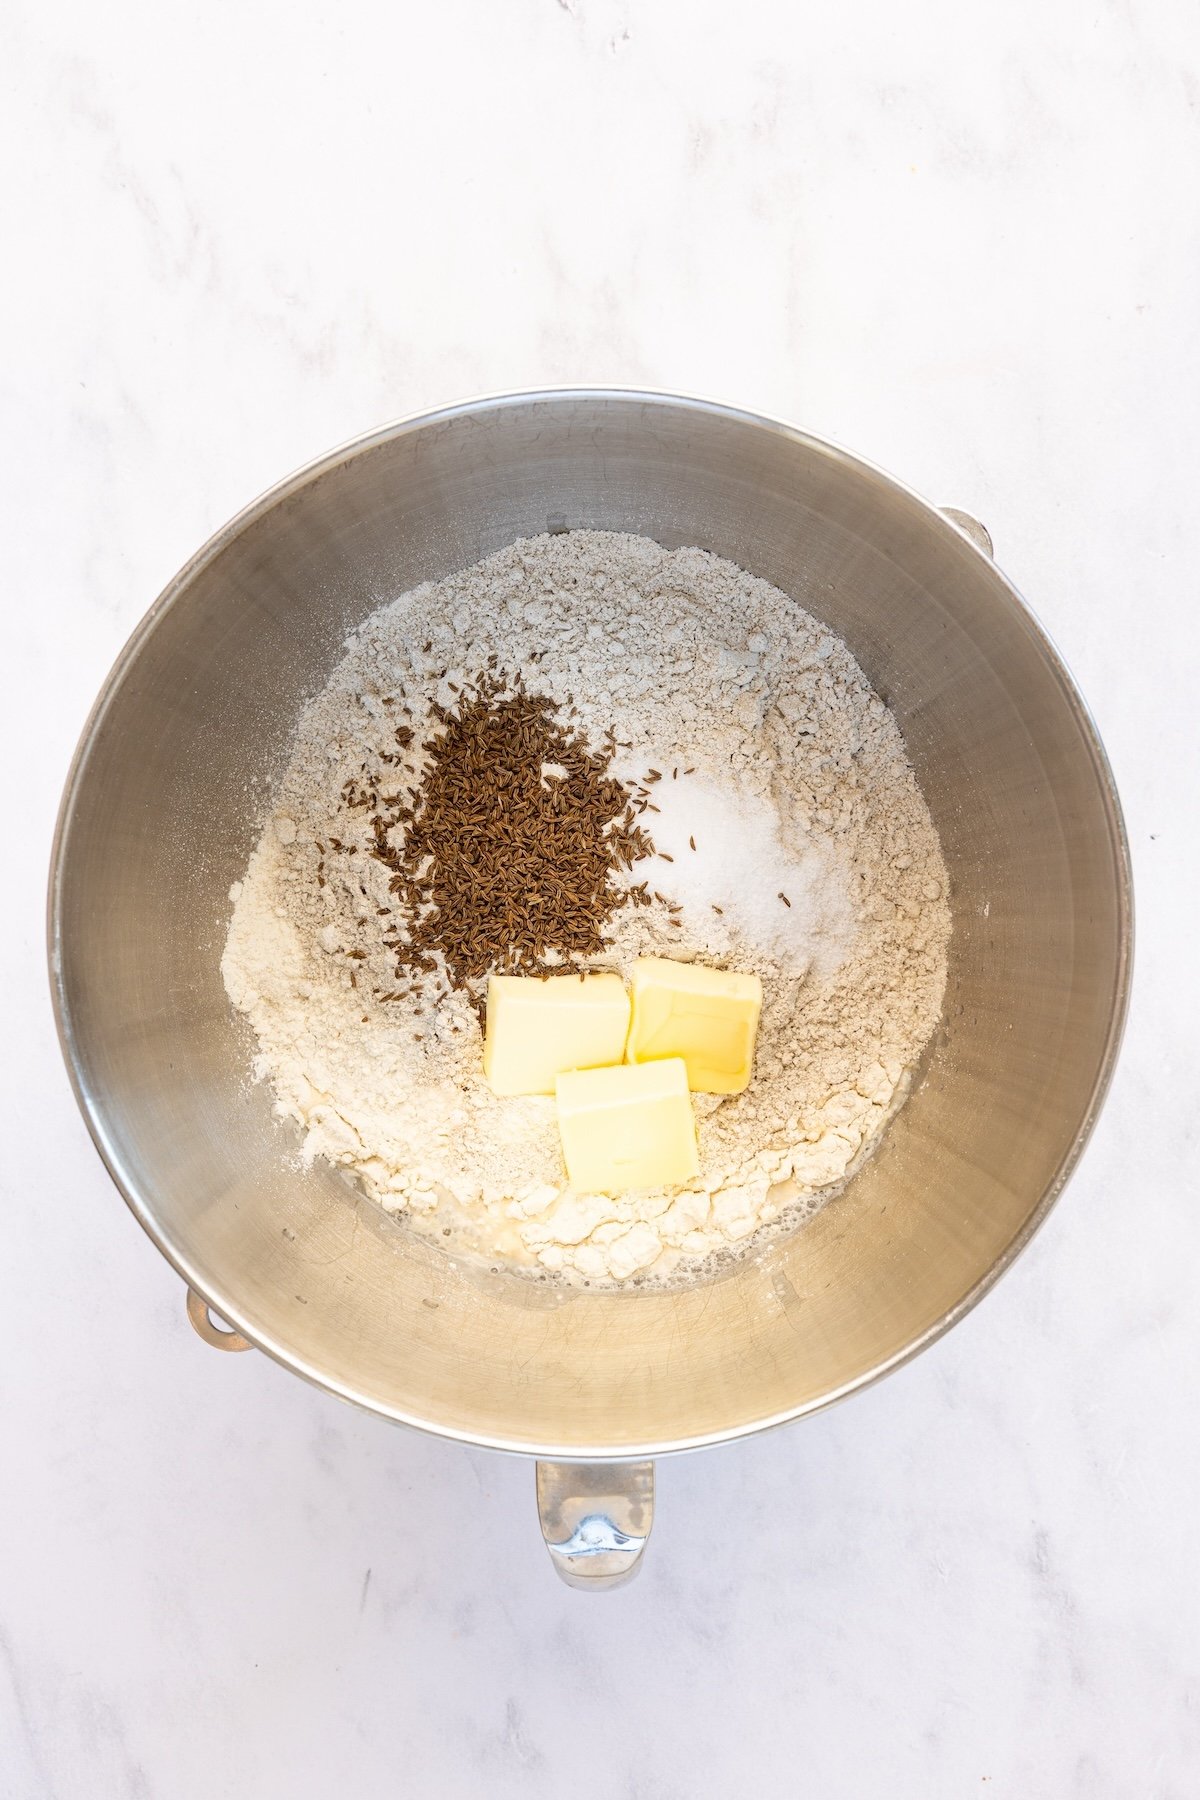
You’ll need instant or rapid-rise yeast, lukewarm water, honey, salt, bread and rye flour, caraway seeds, butter, egg white, and kosher salt. The rye flour provides that characteristic nutty, earthy flavor and dense crumb, while the bread flour supplies the necessary protein and gluten to give the loaf a sturdy, chewy structure. The caraway seeds are what give the bread its classic, unmistakable deli-style aroma and a little pop of earthy flavor in each bite.
Step-By-Step Instructions
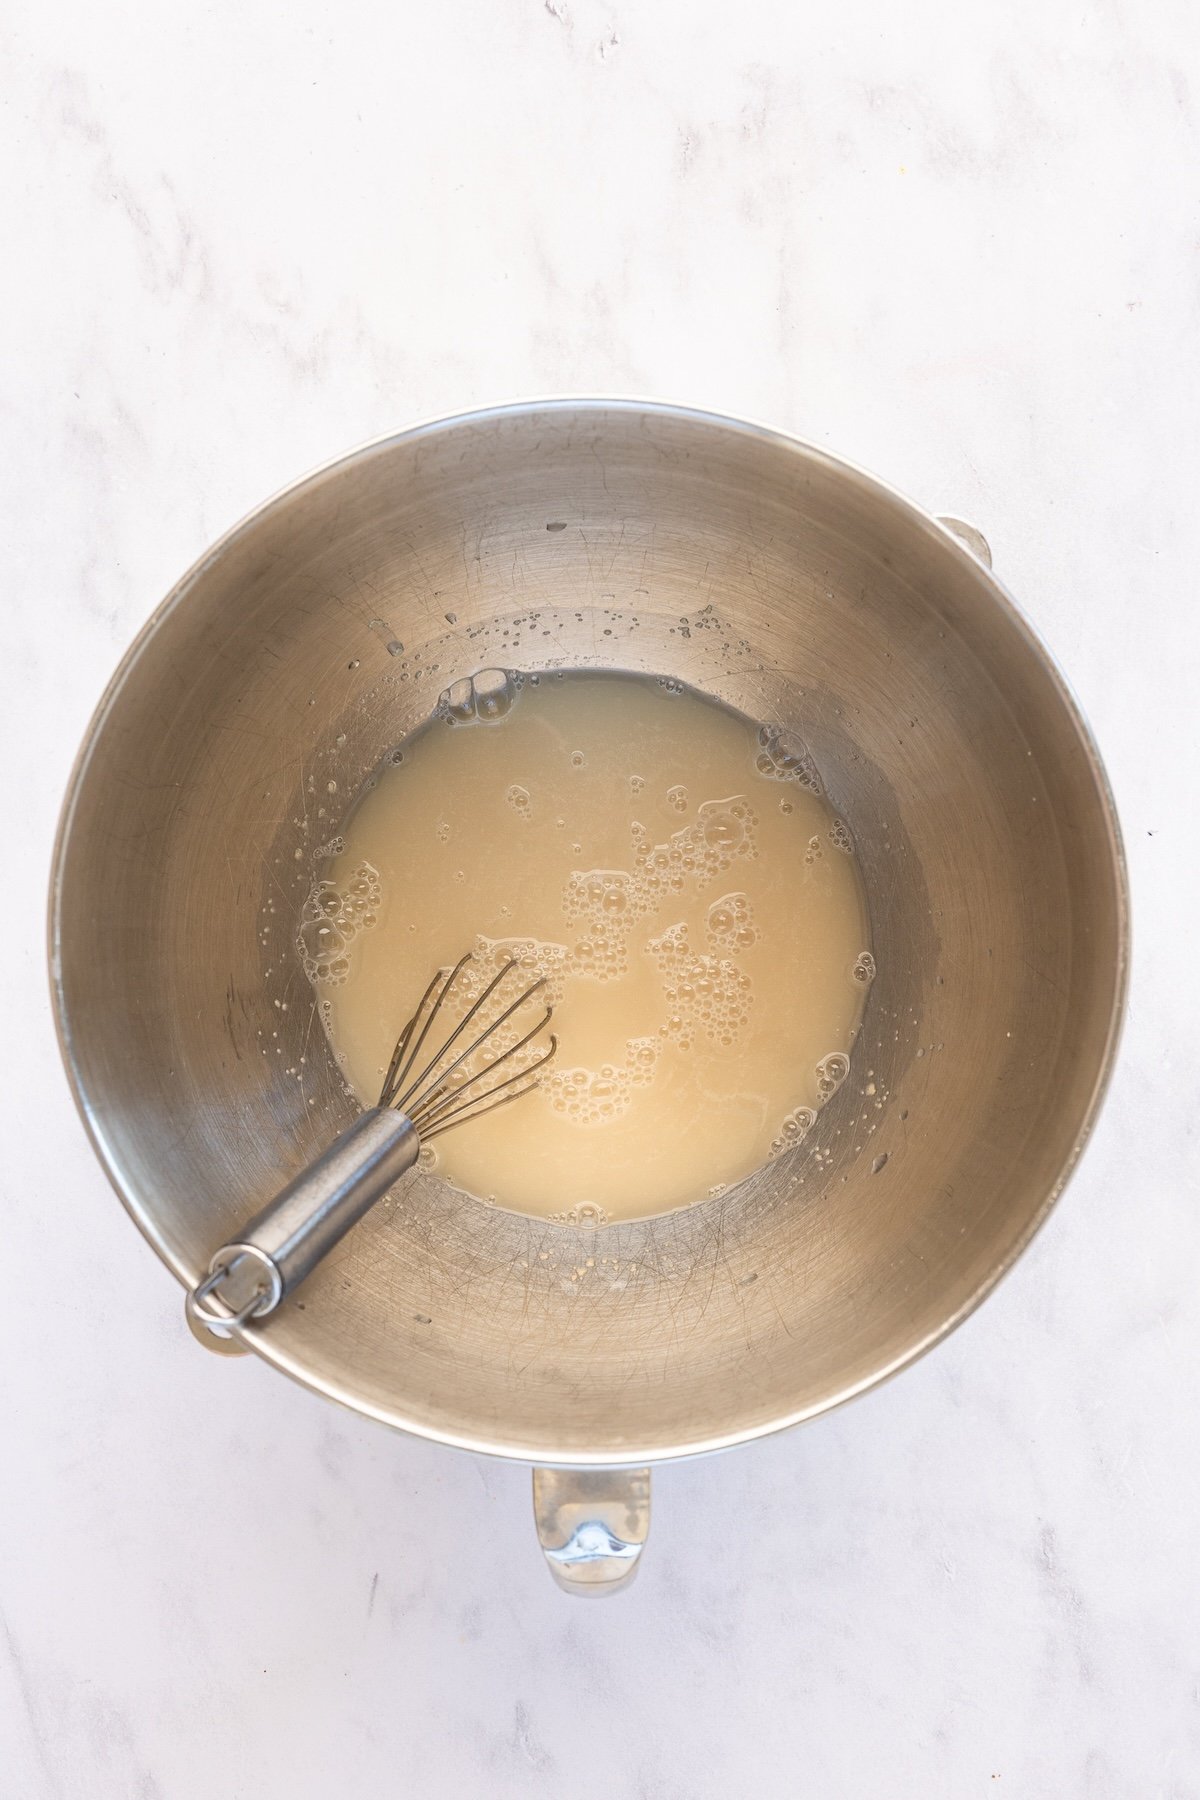
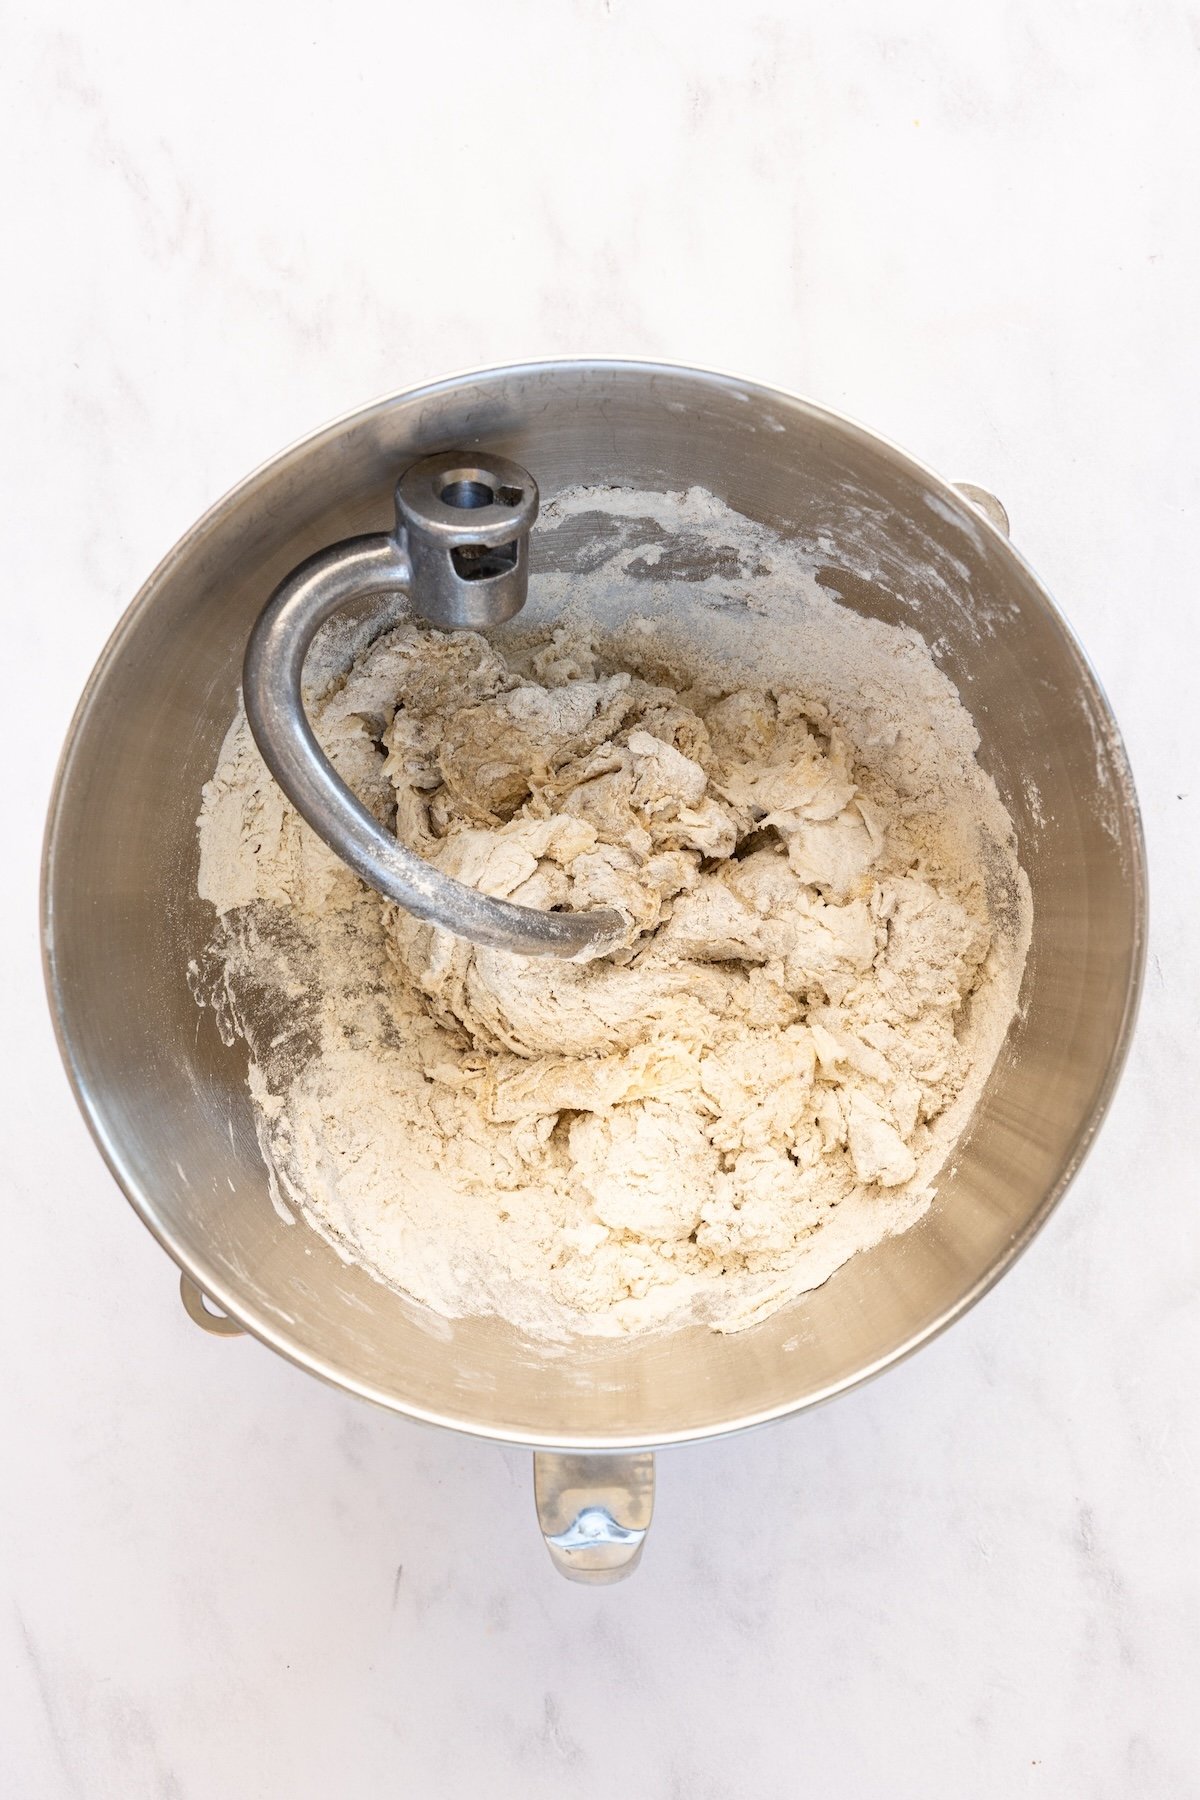
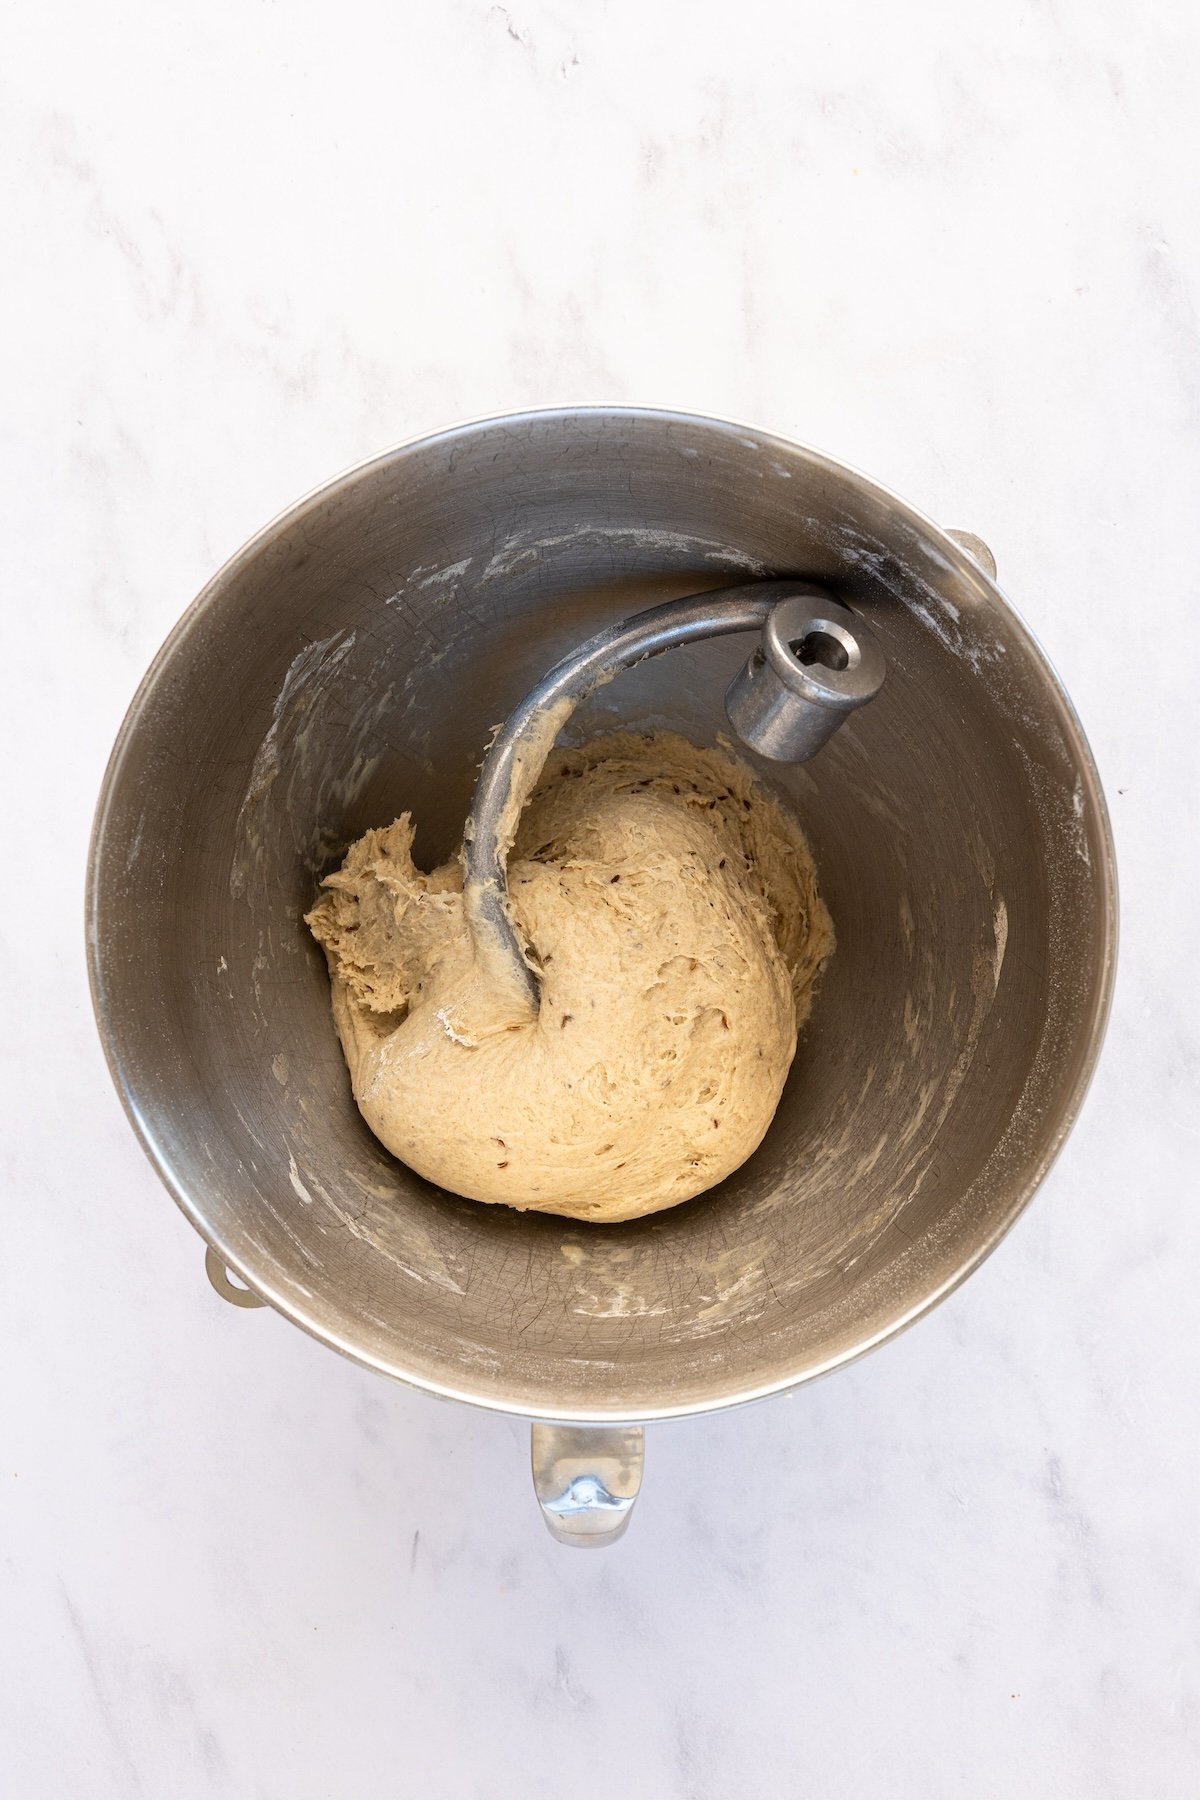
Step 1: Mix and knead. In the bowl of a stand mixer fitted with a dough hook, combine the yeast, water, and honey. Add the salt, bread flour, rye flour, caraway seeds, and butter. Mix on low until moistened, then increase to medium-low and knead until the dough is smooth and elastic, about 8 minutes.
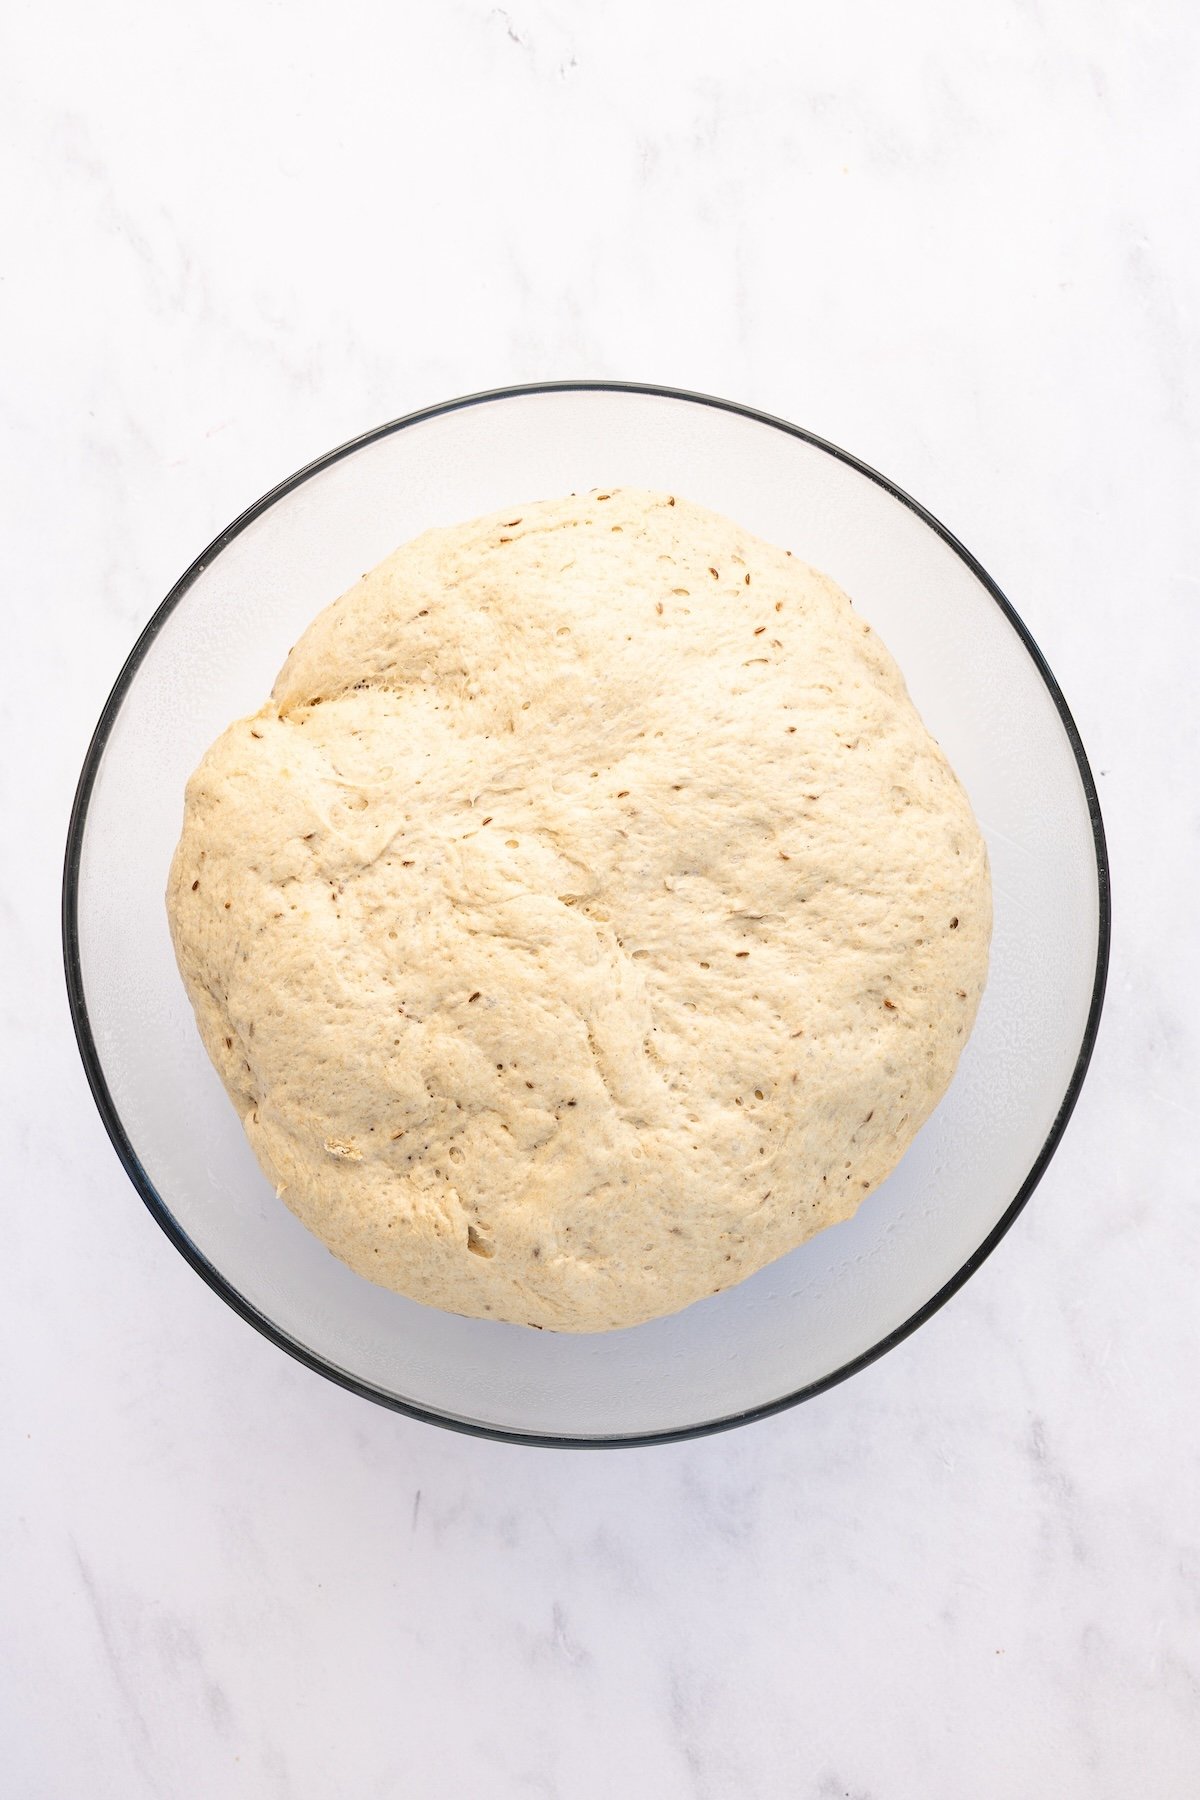
Step 2: First rise. Scrape the dough onto a lightly floured surface and knead briefly into a ball. Place in a large oiled bowl, turning once to coat. Cover tightly with plastic wrap and let rise in a warm spot until doubled, about 1½ to 2 hours.
Pro Tip: To tell if your dough is truly ready, use the “finger poke” test. Gently press two fingers about an inch into the risen dough; if the indentations remain and don’t spring back, the dough has reached its peak volume and is ready to be shaped.

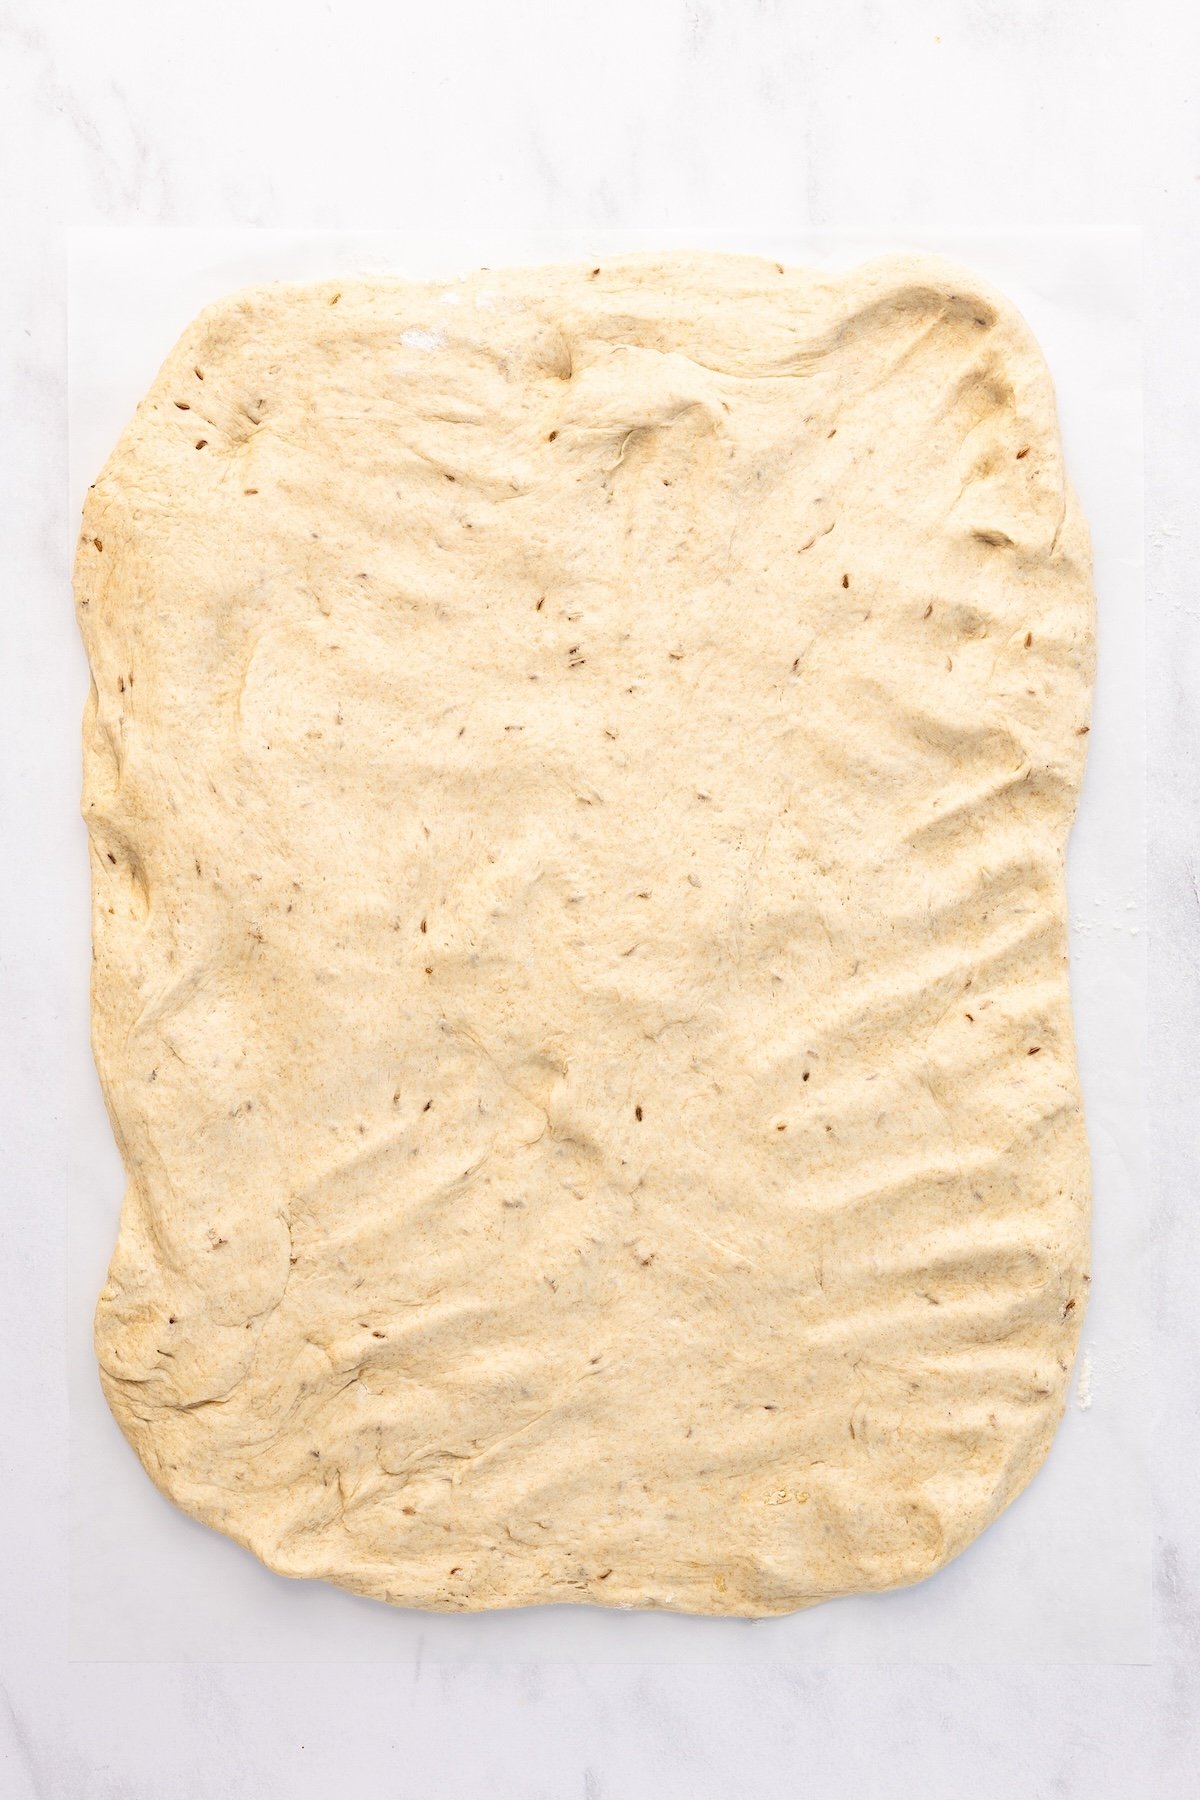
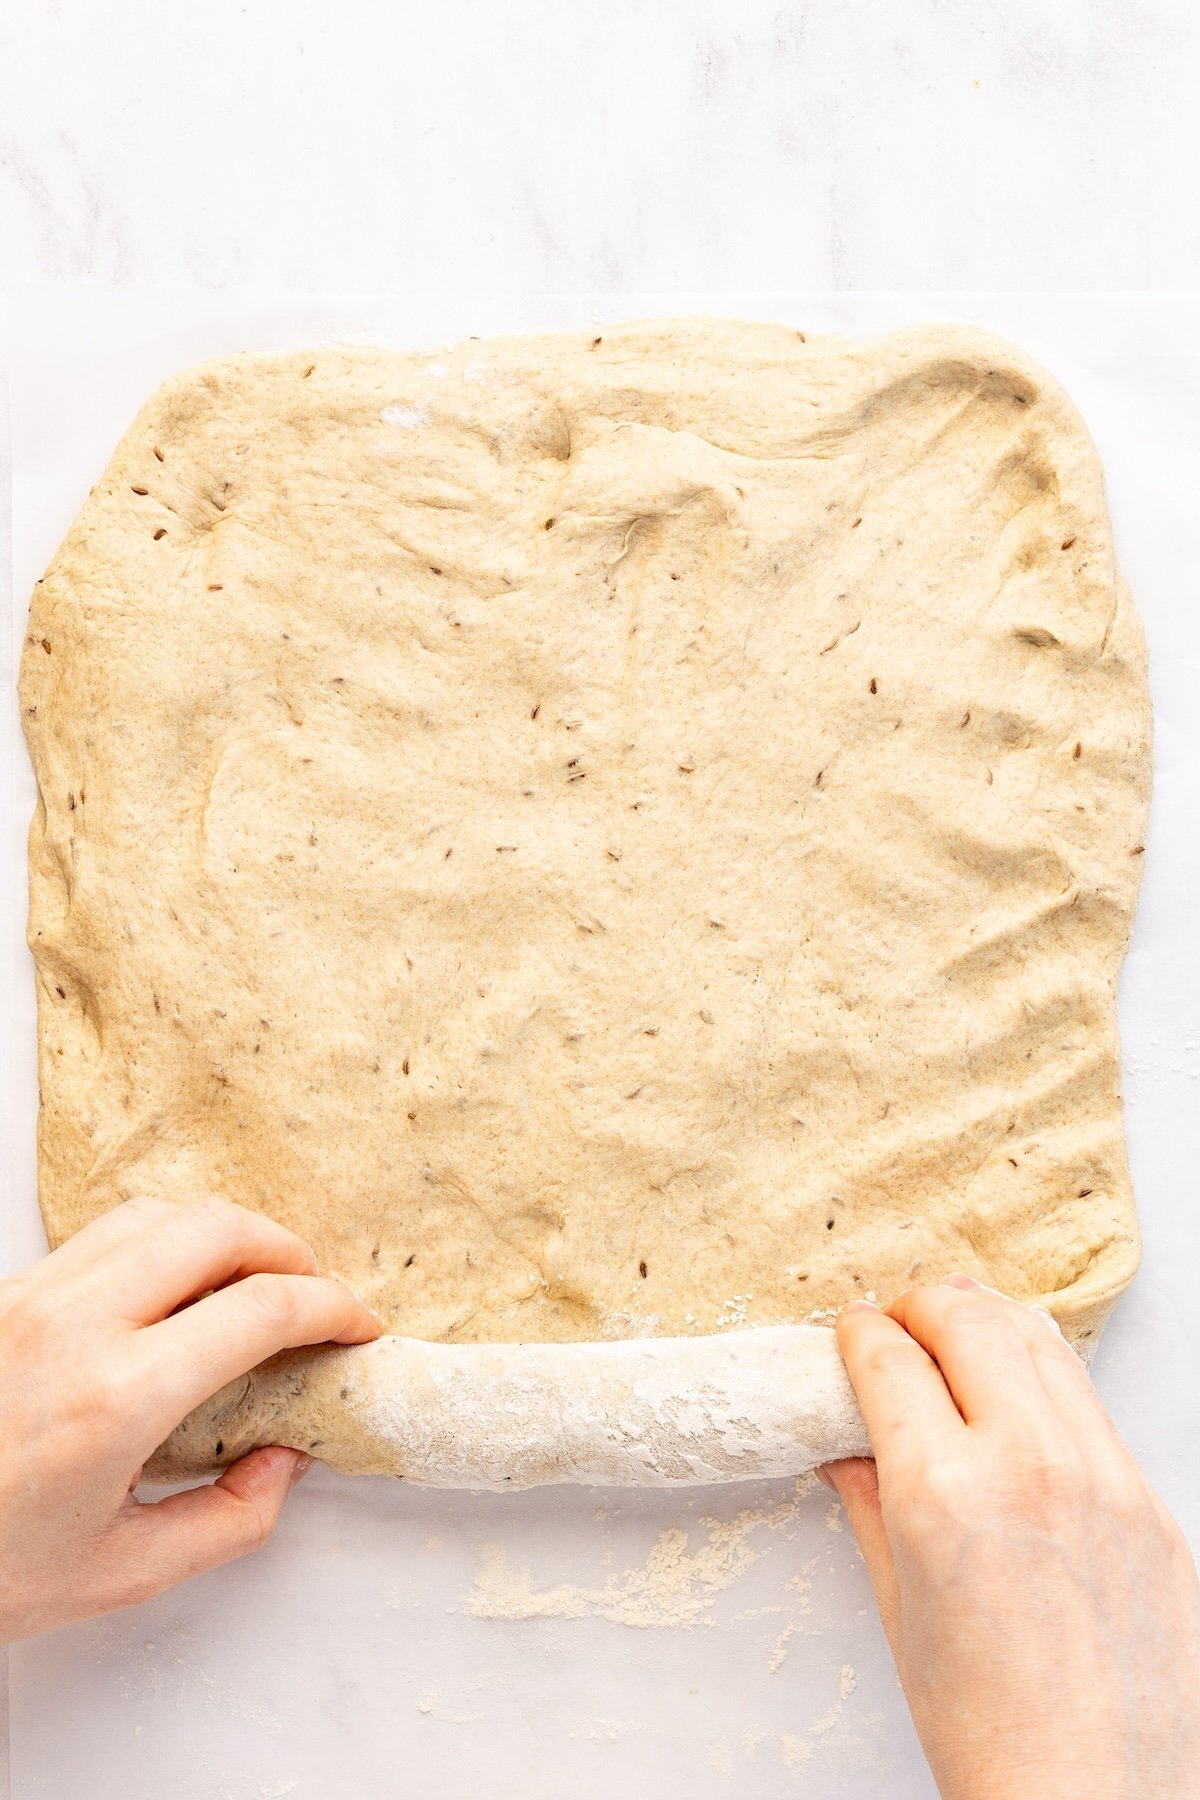
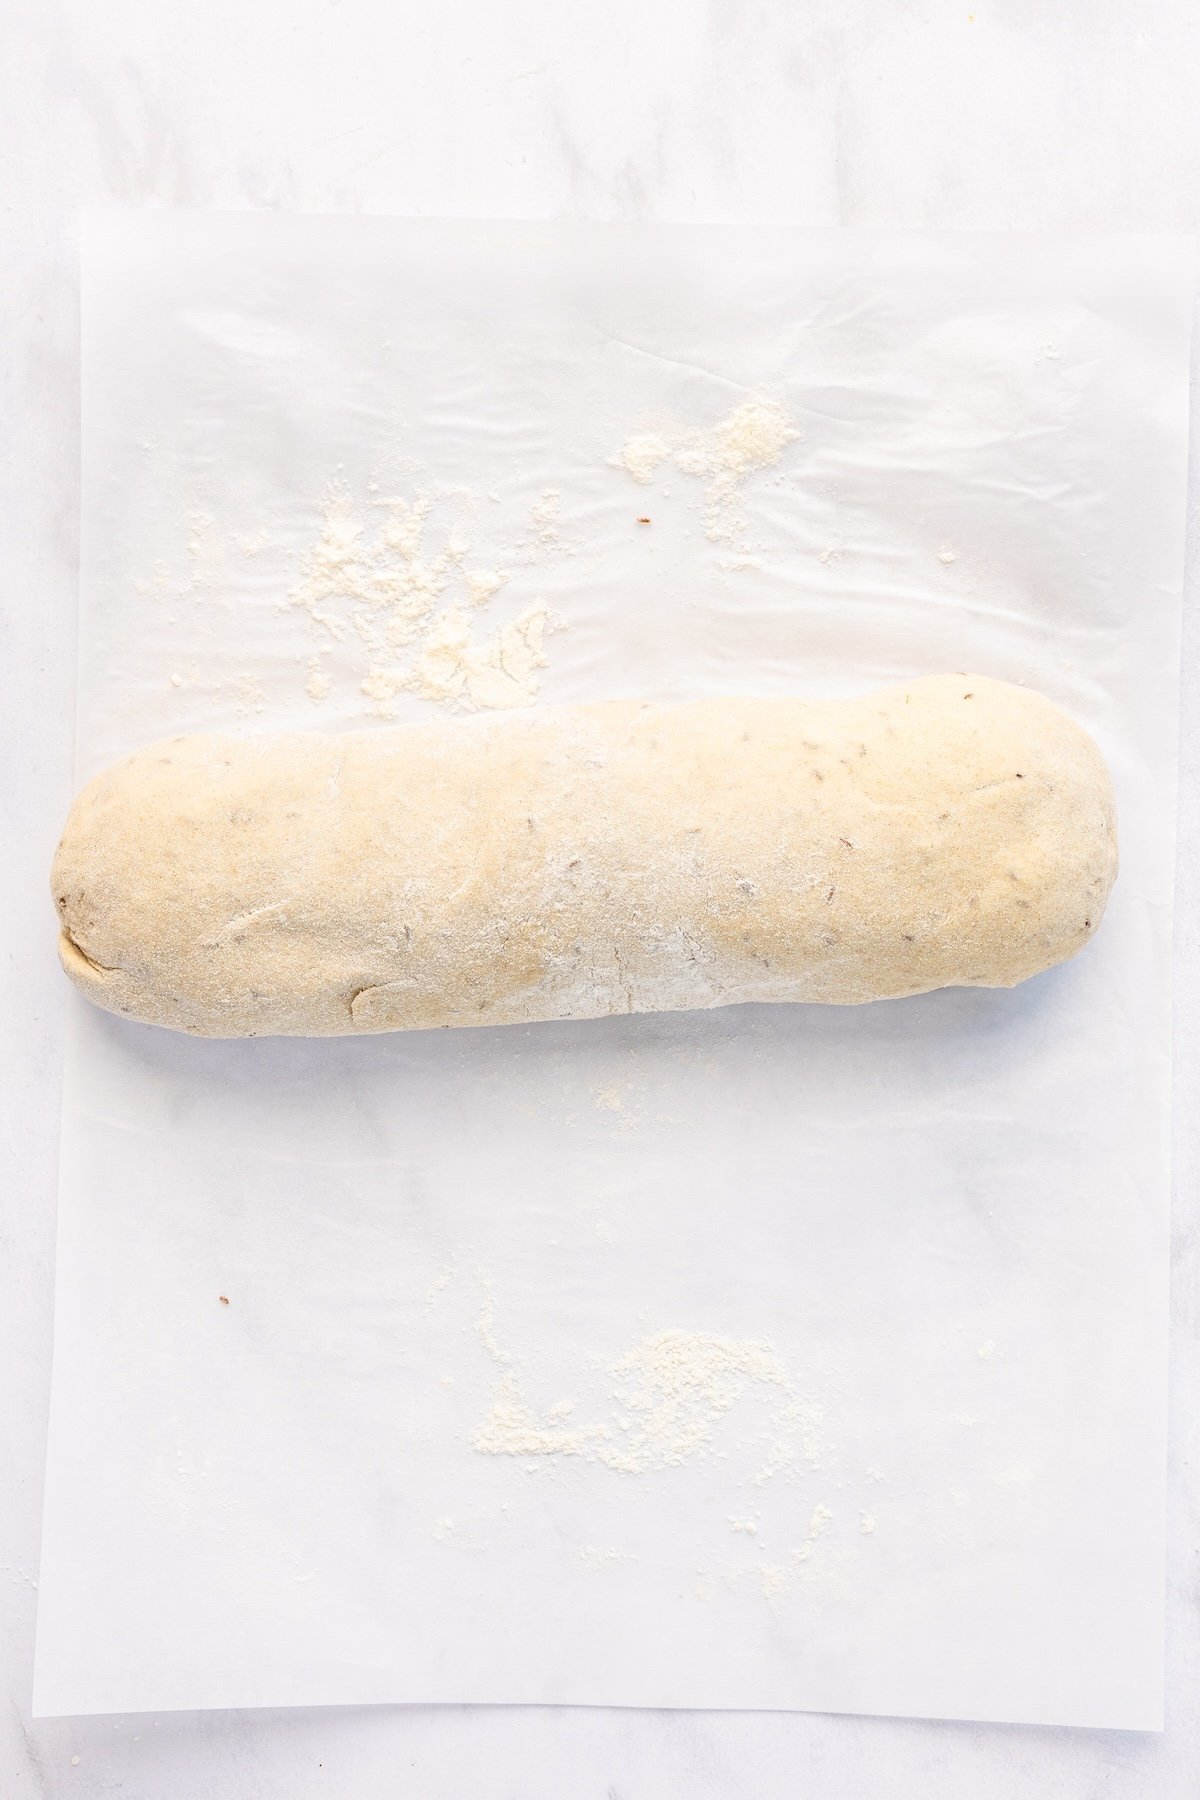
Step 3: Shape the loaf. Punch down the dough and turn it onto a lightly floured surface. Flatten it into an 8 x 10-inch rectangle. Starting from a short end, roll the dough into a tight log, tucking the edges in as you go to build surface tension. Pinch the seam and ends closed, then gently roll the log back and forth to even it out to approximately 9 inches long by 3½ inches wide. Place seam-side down on a parchment-lined baking sheet and cover loosely with greased plastic wrap.
Pro Tip: Building surface tension is the secret to a tall loaf. When rolling the log, pull the dough toward you slightly on the parchment paper to tighten the “skin” on top; this prevents the bread from spreading out.
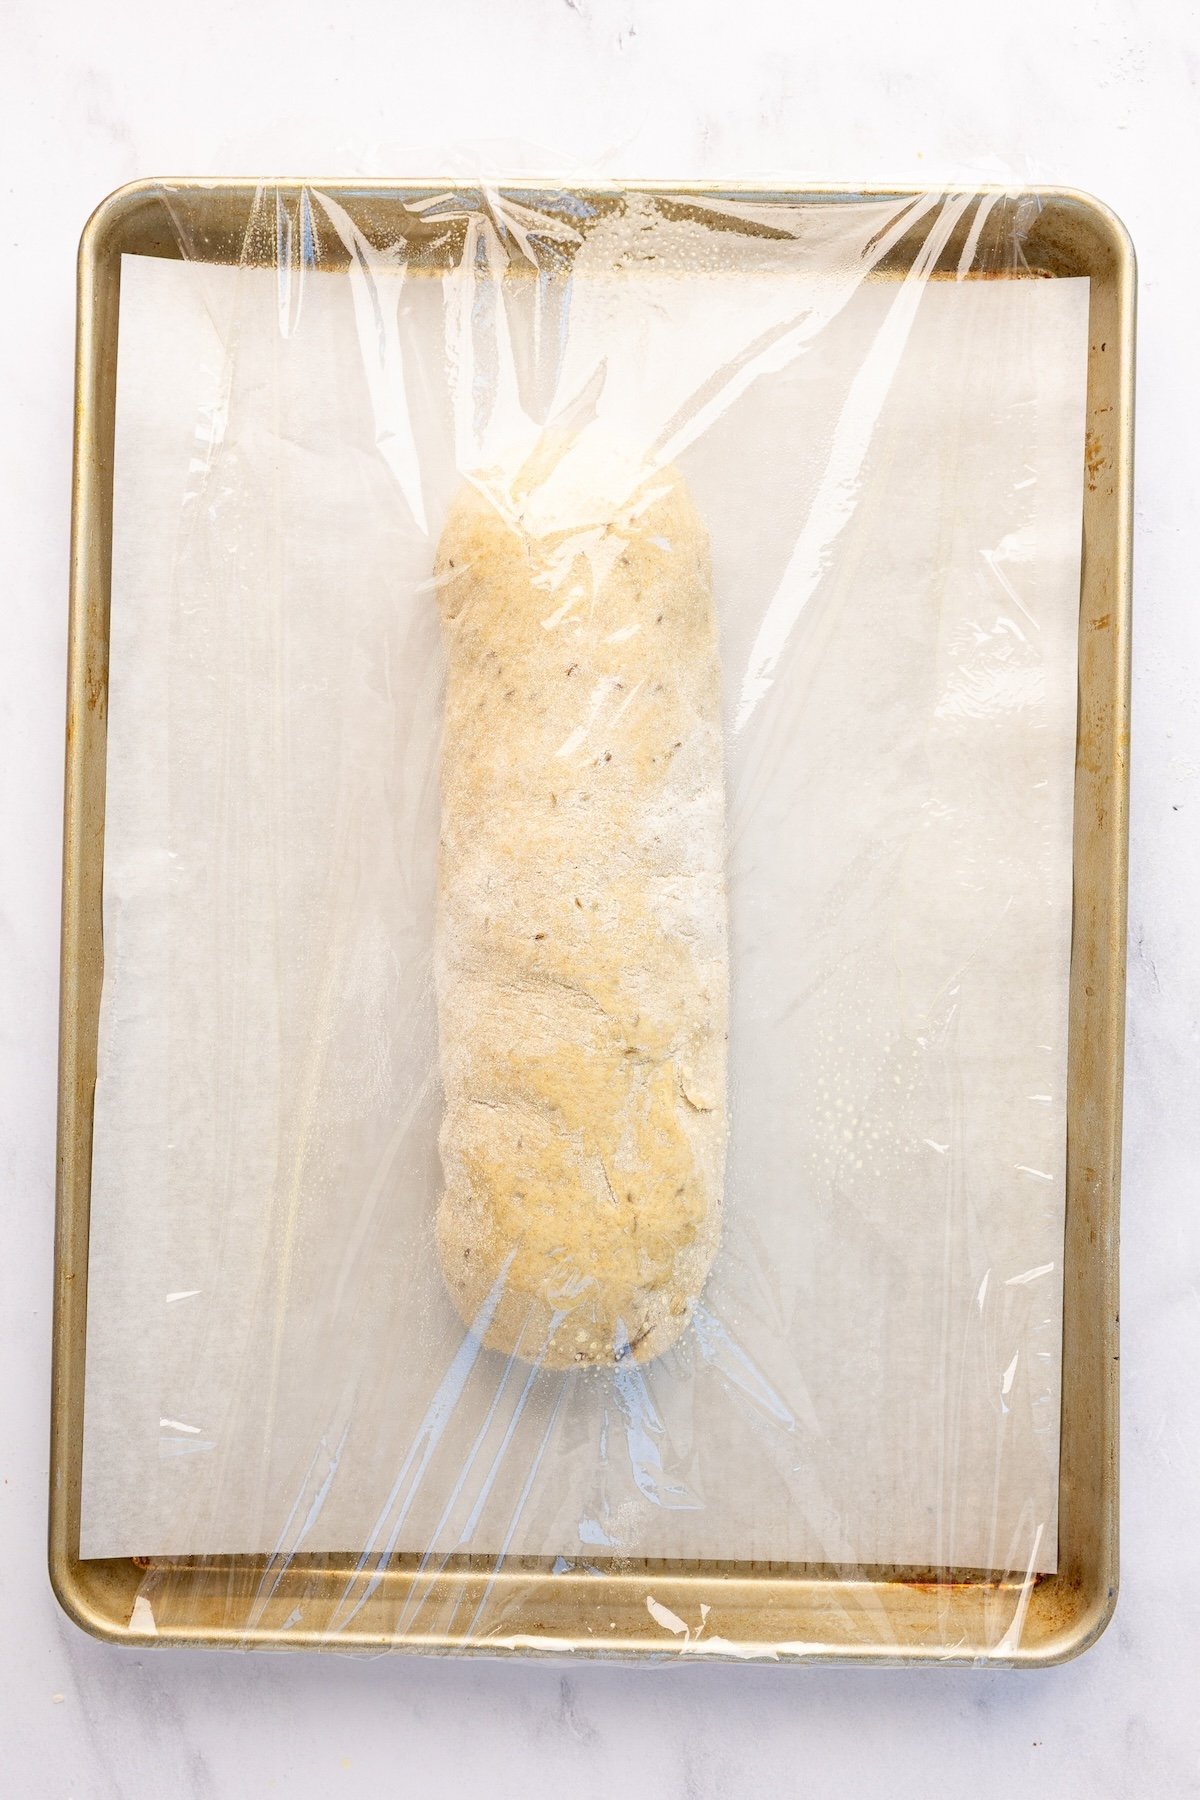
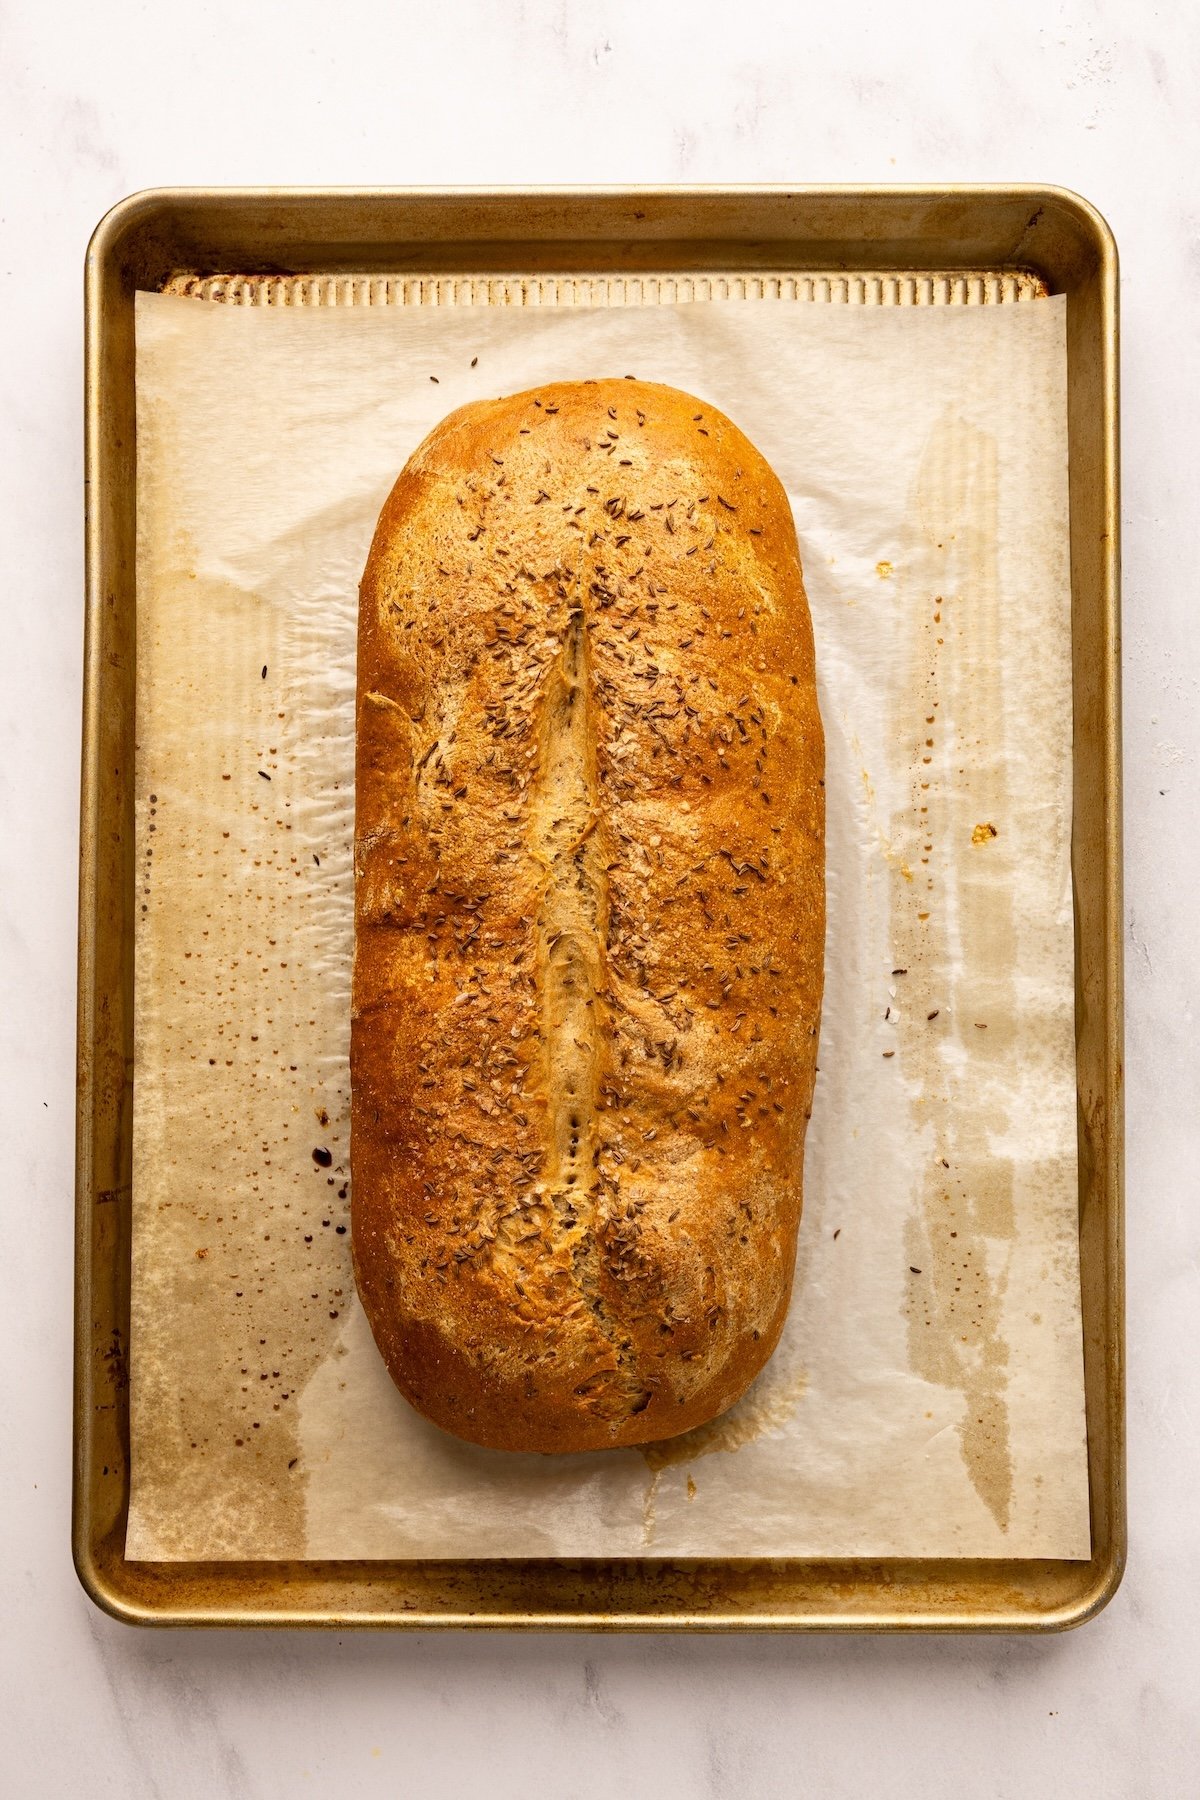
Step 4: Second rise and prep. Let rise until puffy and about 50 to 75% larger, about 45 minutes to 1 hour. Meanwhile, preheat the oven and place an empty pan on the bottom rack for steam. Before baking, brush with the egg white and sprinkle with caraway seeds and salt, then slash the top vertically about ½-inch deep.
Pro Tip: Use a very sharp knife or a lame for the vertical slash. A quick, confident stroke prevents the dough from dragging and allows the bread to expand nicely in the oven without cracking at the base.


Step 5: Bake. Place the baking sheet on the middle rack and carefully pour 1 cup of hot water into the empty pan. Quickly close the oven door. Bake at 425°F for 25 minutes, then reduce to 375°F and bake for 10 to 15 minutes more. The loaf is done when deep golden brown and the internal temperature reaches 200 to 205°F. Transfer bread to a wire rack and cool completely before slicing.
Store the cooled bread in an airtight bag or foil at room temperature for up to 3 days. For longer storage, slice and freeze in a freezer-safe bag for up to 3 months.
Pro Tip: Don’t rush the cooling process. While it’s tempting to slice into hot bread, rye needs time to “set” its internal structure. If you cut it too soon, the inside can turn gummy.
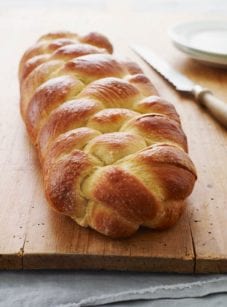
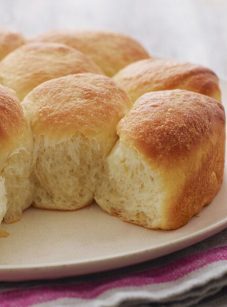
More Homemade Bread Recipes You’LL Love
Rye Bread
Ingredients
- 2½ teaspoons instant or rapid-rise yeast
- 1½ cups lukewarm water (no need to be exact but lukewarm is about 100°F)
- 1 tablespoon honey
- 1½ teaspoons salt
- 2⅔ cups bread flour
- 1⅓ cups rye flour
- 1 tablespoon caraway seeds, plus more for sprinkling
- 3 tablespoons unsalted butter, softened
- 1 egg white mixed with 1 teaspoon water
- Kosher or flaky sea salt, for sprinkling
Instructions
- Make the dough: In the bowl of a stand mixer fitted with the dough hook, combine the yeast, warm water, and honey; stir to combine. Add the salt, bread flour, rye flour, caraway seeds, and butter. Mix on low speed until all the dry ingredients are moistened, about 1 minute. Increase the speed to medium-low and knead until the dough is smooth and elastic, about 8 minutes.
- Let it rise: Scrape the dough onto a lightly floured surface (it will be slightly sticky) and knead by hand a few times to form a smooth ball. Place the dough in a large, lightly oiled bowl, turning it once to coat. Cover the bowl tightly with plastic wrap and let rise in a warm, draft-free spot until doubled in size, 1½ to 2 hours.
- Shape the loaf: Punch down the dough and turn it out onto a lightly floured surface. Gently flatten it into a rectangle, about 8 by 10 in (20 by 25 cm). Starting from one short end, roll the dough up firmly into a log, tucking the edges in as you go to build tension and create a smooth surface. When you reach the end, pinch the seam closed and gently roll the loaf back and forth to even it out. It should measure about 9 inches long and 3½ in (9 cm) wide. Tuck the ends under slightly to round them off, then place the loaf seam-side down on a parchment-lined baking sheet.Spray a sheet of plastic wrap with nonstick spray and cover the loaf loosely. Let rise until puffy and about 12 in (30 cm) long and 5 to 6 in (13 to 15 cm) wide—it should look airy and about 50 to 75% larger in size, 45 minutes to 1 hour.
- Prepare to bake: While the dough rises, preheat the oven to 425°F (220°C) and set an oven rack in the middle position. Place an empty baking pan on the bottom rack (you’ll use it to create steam).When ready to bake, brush the loaf with the egg white mixture and sprinkle with caraway seeds and a generous pinch of kosher or flaky sea salt. Using a sharp knife or lame, slash the top of the loaf vertically down the center about ½ in (13 mm) deep.
- Bake the bread: Place the baking sheet on the middle rack and carefully pour 1 cup (240 ml) of hot water into the empty pan to create steam. Quickly close the oven door.Bake at 425°F (220°C) for 25 minutes, then reduce the heat to 375°F (190°C) and continue baking for 10 to 15 minutes more, or until the loaf is deep golden brown and an instant-read thermometer inserted into the center registers 200 to 205°F (93 to 96°C).
Notes
- Storage and Freezing Instructions: Once completely cool, store the rye bread in an airtight plastic bag or tightly wrapped in foil at room temperature for up to 3 days. For longer storage, slice the loaf and freeze it in a freezer-safe bag with as much air pressed out as possible. The bread will keep well in the freezer for up to 3 months. When ready to enjoy, thaw slices at room temperature or toast them directly from frozen.
- If you’re using yeast packets instead of measuring from a jar, you’ll need slightly more than one packet (each packet contains 2¼ teaspoons, and this recipe calls for 2½ teaspoons).
Nutrition Information
This website is written and produced for informational purposes only. I am not a certified nutritionist and the nutritional data on this site has not been evaluated or approved by a nutritionist or the Food and Drug Administration. Nutritional information is offered as a courtesy and should not be construed as a guarantee. The data is calculated through an online nutritional calculator, Edamam.com. Although I do my best to provide accurate nutritional information, these figures should be considered estimates only. Varying factors such as product types or brands purchased, natural fluctuations in fresh produce, and the way ingredients are processed change the effective nutritional information in any given recipe. Furthermore, different online calculators provide different results depending on their own nutrition fact sources and algorithms. To obtain the most accurate nutritional information in a given recipe, you should calculate the nutritional information with the actual ingredients used in your recipe, using your preferred nutrition calculator.
Add a Comment