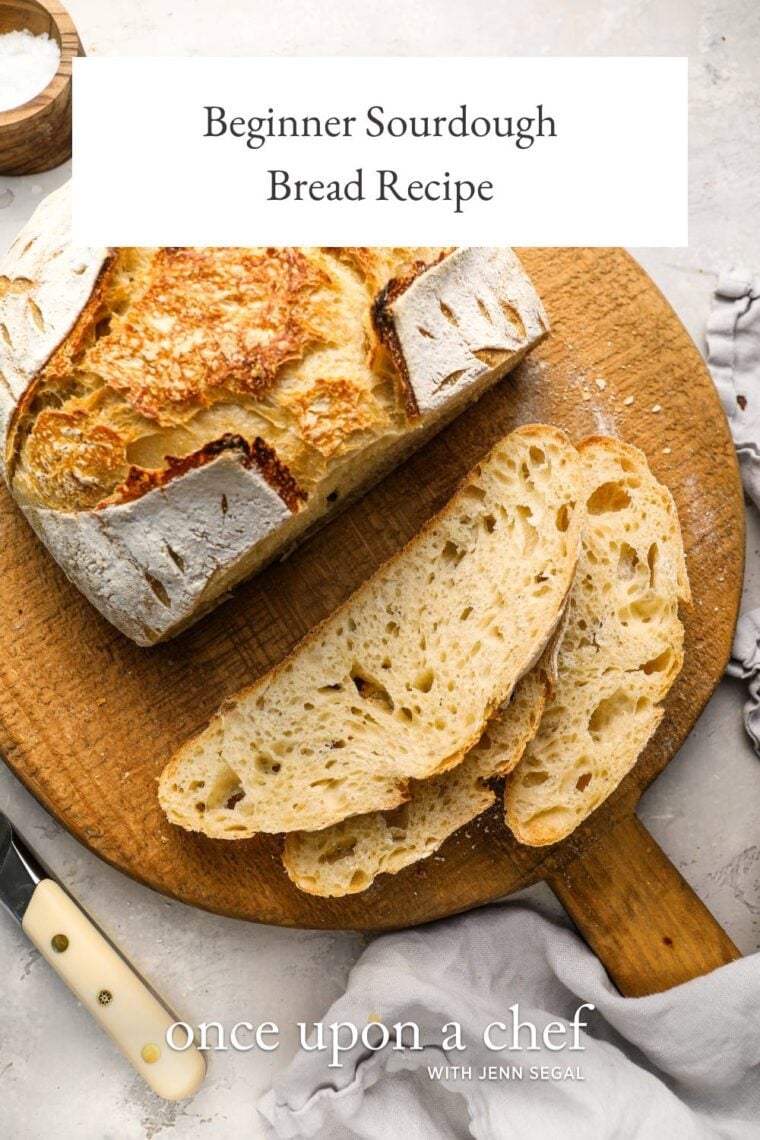
Sourdough Bread Recipe

This post may contain affiliate links. Read my full disclosure policy.
There’s nothing quite like pulling a crackly, golden sourdough loaf from your own oven. This beginner-friendly sourdough bread recipe breaks the process into simple, manageable steps so anyone can bake bakery-worthy bread at home.
Sourdough baking is more than just making bread—it’s a hobby, a practice, and a lesson in patience and intuition. It might feel a little like science at first, but over time, it becomes second nature—something you feel as much as you follow. The beauty of sourdough bread is that while it takes time, it’s not difficult. It’s really just a series of simple steps that build on one another.
This is a beginner-friendly recipe that was taught to me by my friend and sourdough-baking enthusiast, Jesse Gomory. I’ve broken it down in a way that explains the “why” behind each step so that you’re not just following instructions—you’re learning how to work with the dough and understand what’s happening at each stage.
Starter or Levain: The Foundation of Sourdough
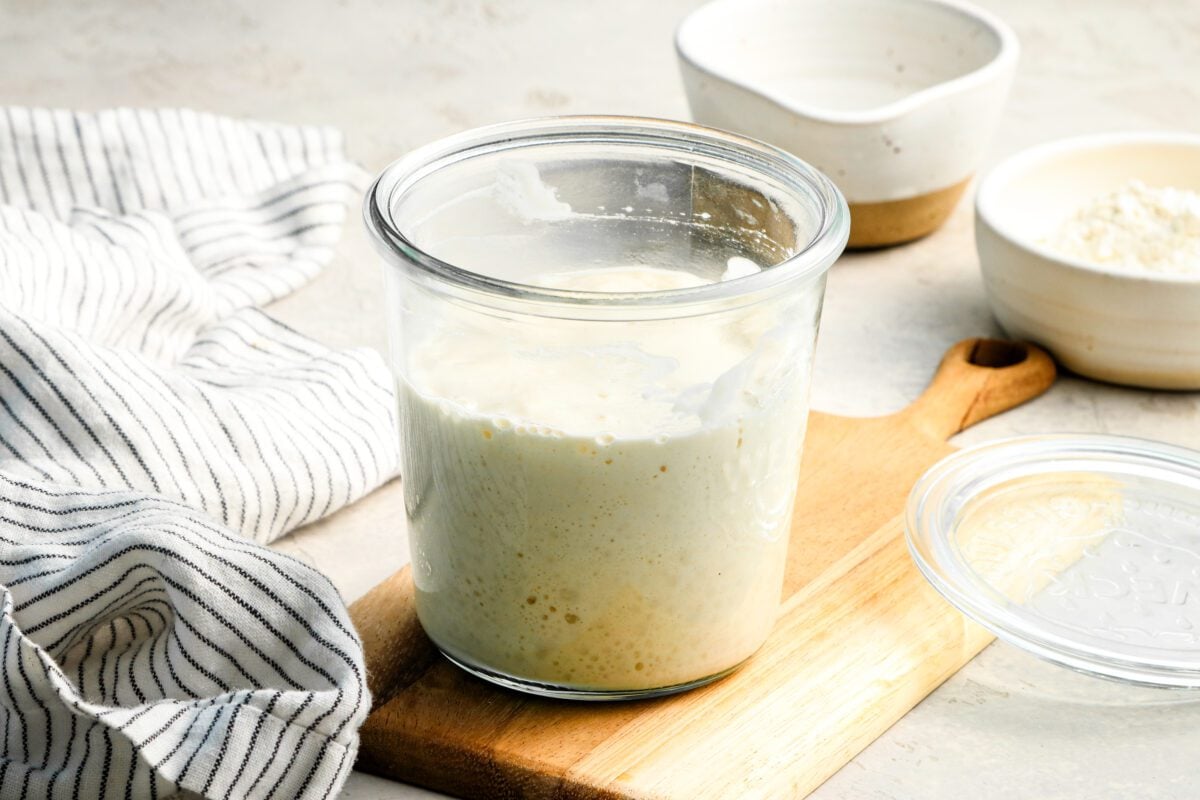
All sourdough starts with an active sourdough starter or levain—which, simply put, is a natural culture of wild yeast and bacteria that gives sourdough its rise and flavor. A starter is a living, ongoing fermentation that needs regular feeding, while a levain is a portion of your starter mixed with fresh flour and water, typically built for a specific bake (meaning a single loaf or batch of bread you’re planning to make that day).
- If your starter is at room temperature and regularly fed, feed it 4 to 6 hours before mixing so it’s bubbly and active.
- If your starter is kept in the fridge, you’ll need to make a levain by mixing a small amount of starter with fresh flour and water, then letting it ferment for 4 to 6 hours before using.
From feeding your starter (or making your levain) to baking, plan for about 24 hours from start to finish.
Essential Tools for Sourdough Baking
- Containers for Starter and Levain – Clear, wide-mouth glass containers make it easy to mix, maintain, and monitor fermentation.
- Digital Scale – A must-have for accurate measurements of flour, water, and starter. Baking by weight ensures consistency and better results.
- Bread Proofing Basket (Banneton) – Helps the dough maintain its shape and structure during final proofing. A 9-inch round basket is ideal for boules; use an oval basket for bâtards.
- Bench Scraper – Indispensable for shaping dough, lifting it cleanly from the counter, and keeping your work surface tidy.
- Reusable Bowl Covers – A convenient alternative to plastic wrap for covering your bulk fermentation container.
- Lame (Bread Scoring Tool) – A sharp razor blade or bread lame makes clean, controlled cuts that direct oven spring.
- Bread Sling or Parchment Paper – A heatproof sling or a piece of parchment makes transferring dough into a hot Dutch oven safer and easier.
- 5- to 7-Quart Dutch Oven or Domed Bread Oven – Traps steam for a crisp crust and even baking. A 5-quart Dutch oven is the most versatile size for standard sourdough loaves.
Ingredients You’ll Need To Make Sourdough Bread
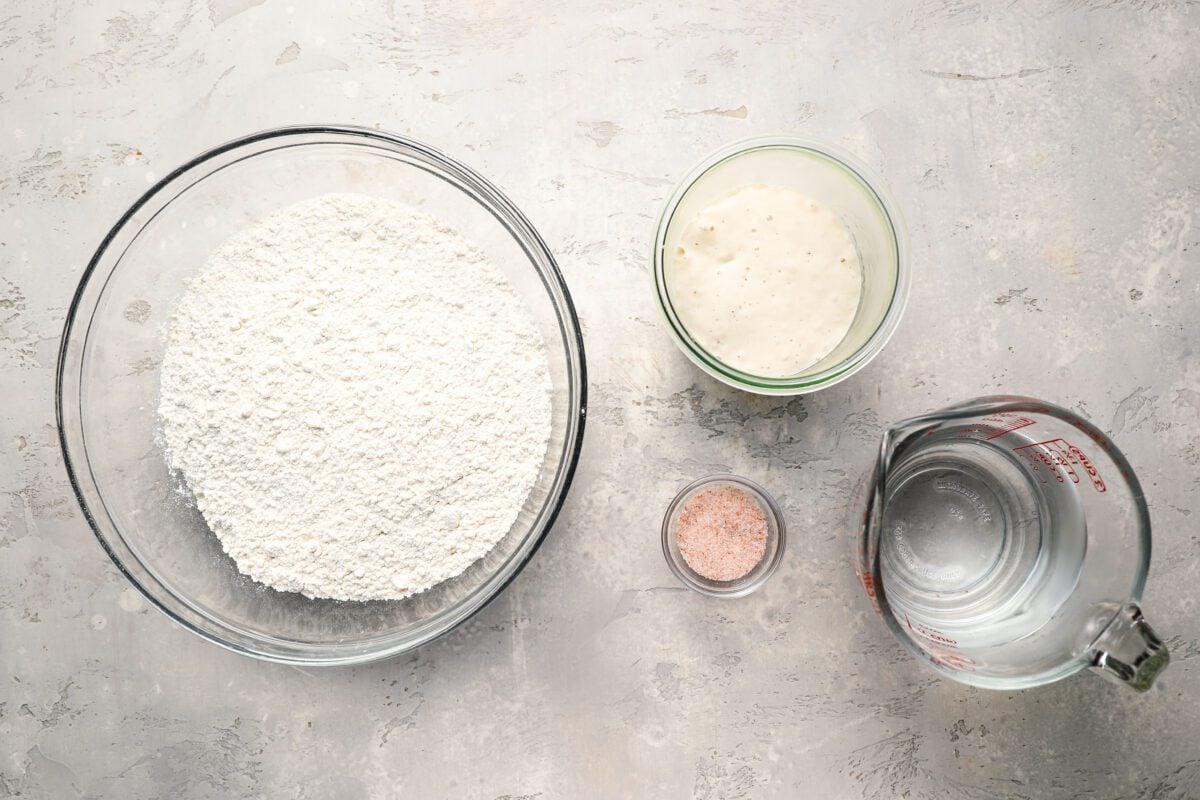
- All-purpose flour: For simplicity’s sake, I use all-purpose flour in this recipe—it works beautifully and yields a crusty, tender loaf with a mildly tangy flavor. Just be sure to use a high-protein brand, like King Arthur, which has enough strength to provide structure and support gluten development during fermentation. For a more complex flavor, you can use a blend of 400g bread flour, 60g all-purpose, and 40g rye. The bread flour adds extra protein, which strengthens the dough and gives the loaf a bit more structure and chew. The small amount of rye adds complexity and depth of flavor.
- Fine sea salt: Balances the flavor of the bread and strengthens the gluten network so the dough can trap gas and rise properly.
- Warm water: Hydrates the flour and starter to bring the dough together and kick off fermentation. The warmth helps the yeast and bacteria in the starter stay active.
- Active sourdough starter or levain: This is the natural leavening agent that makes sourdough unique—wild yeast and bacteria working together to lift the bread
- Jump to the printable recipe for precise measurements
Step-By-Step Instructions
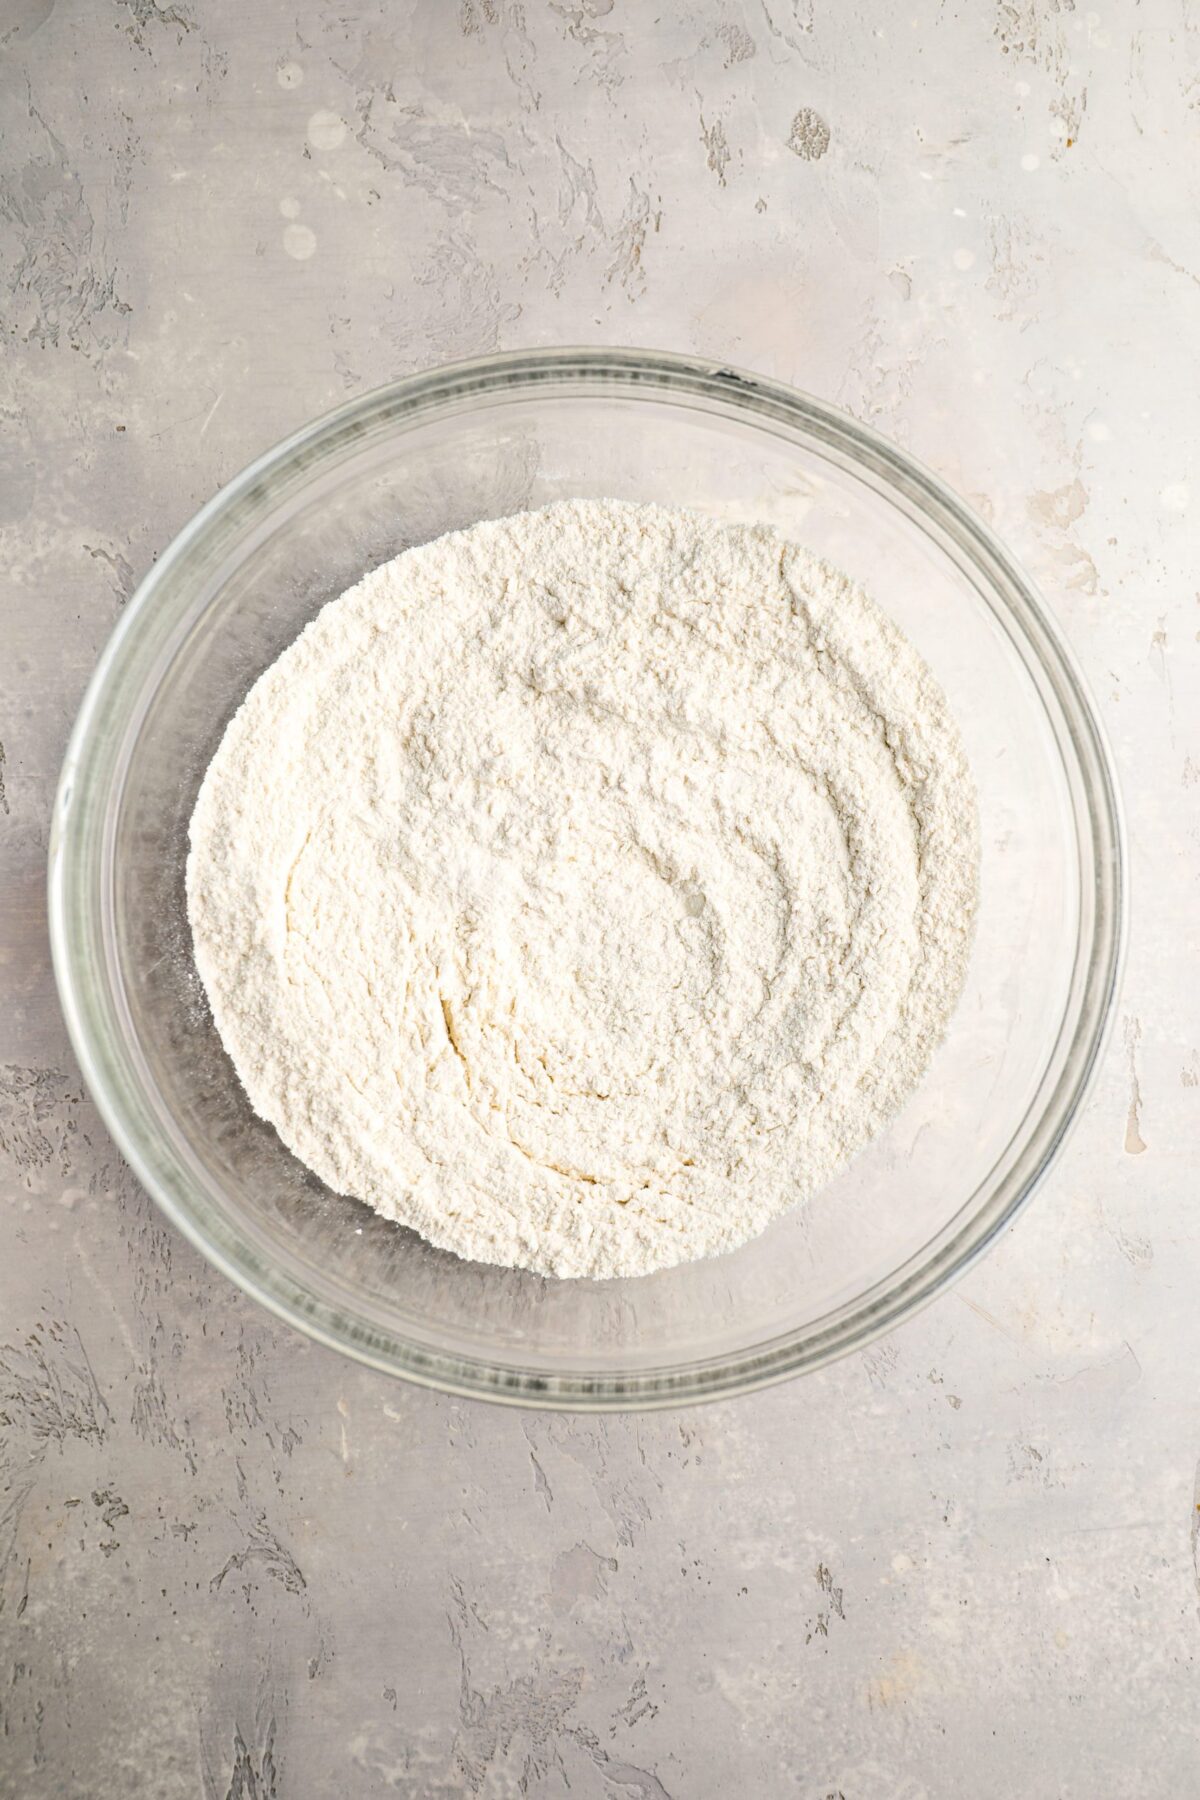
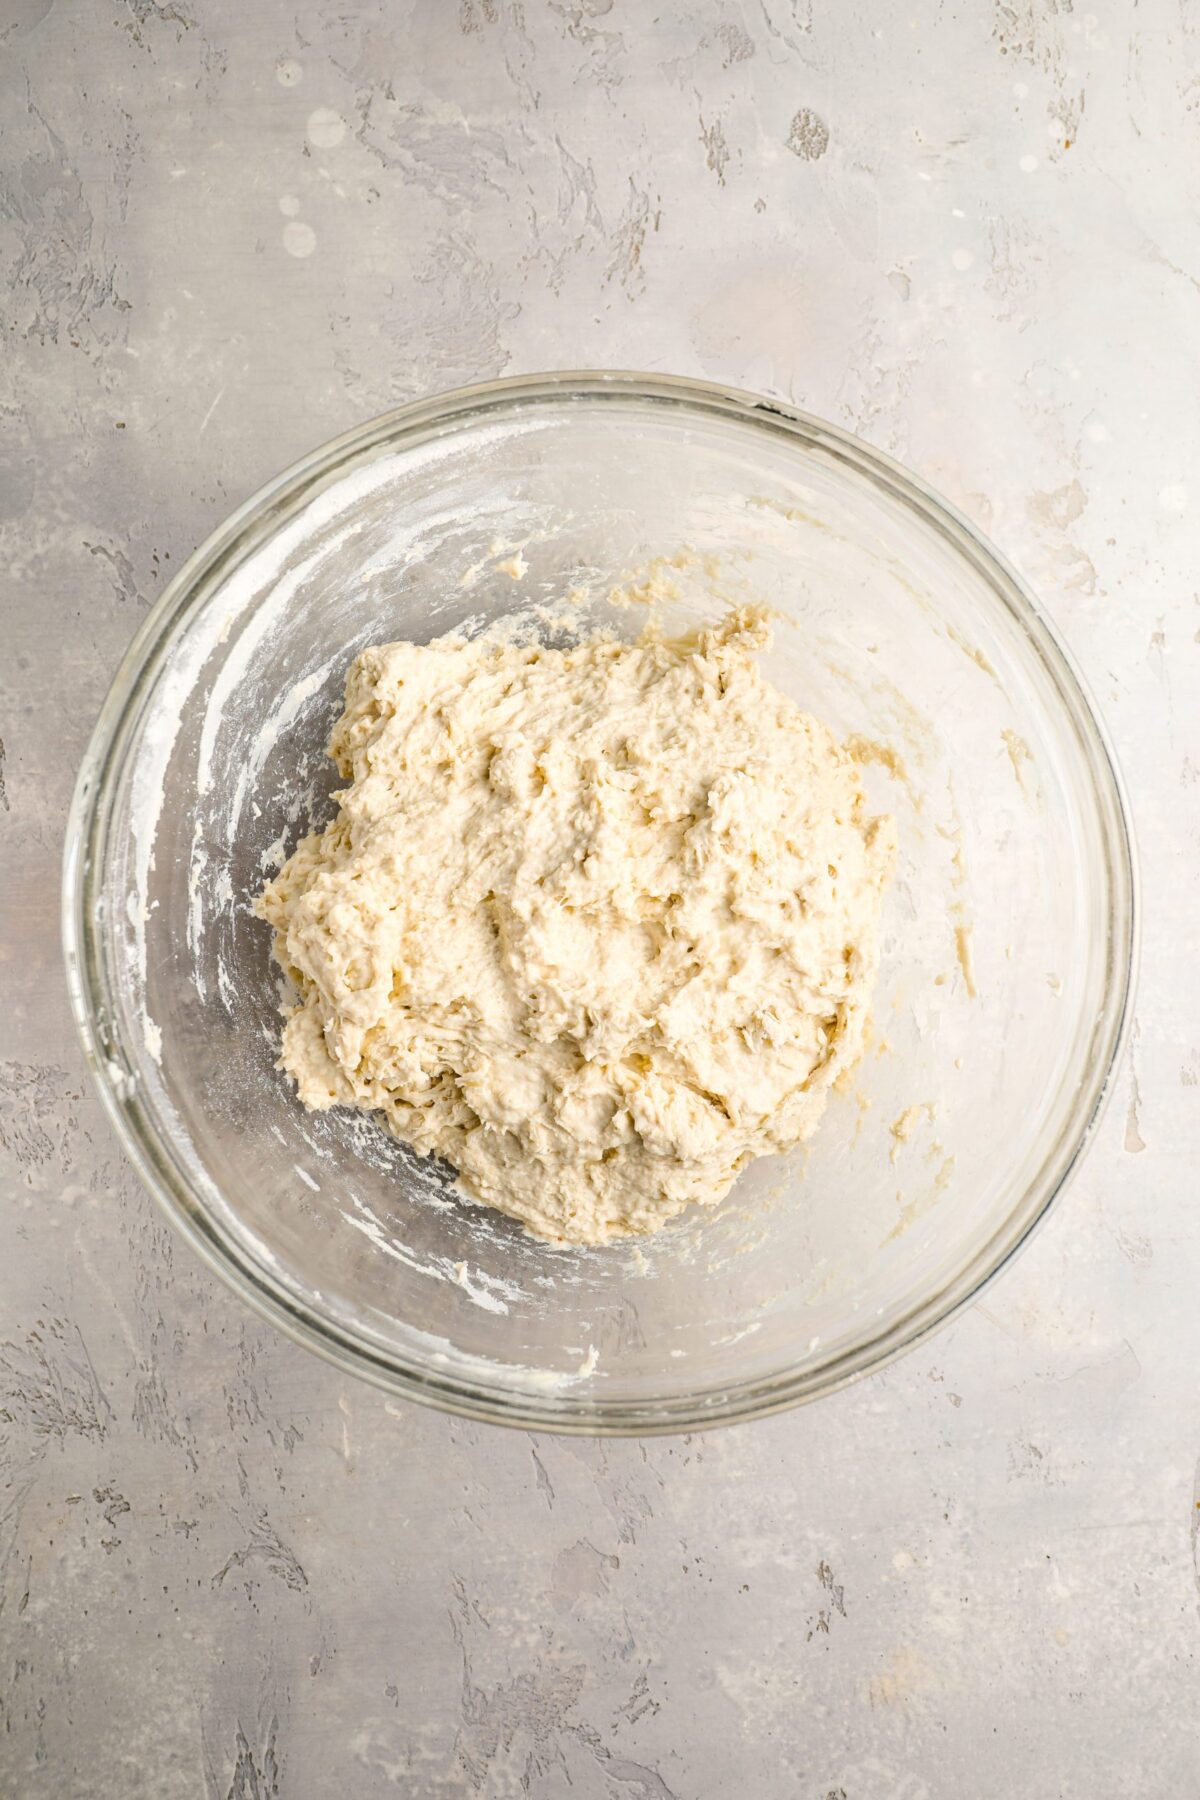
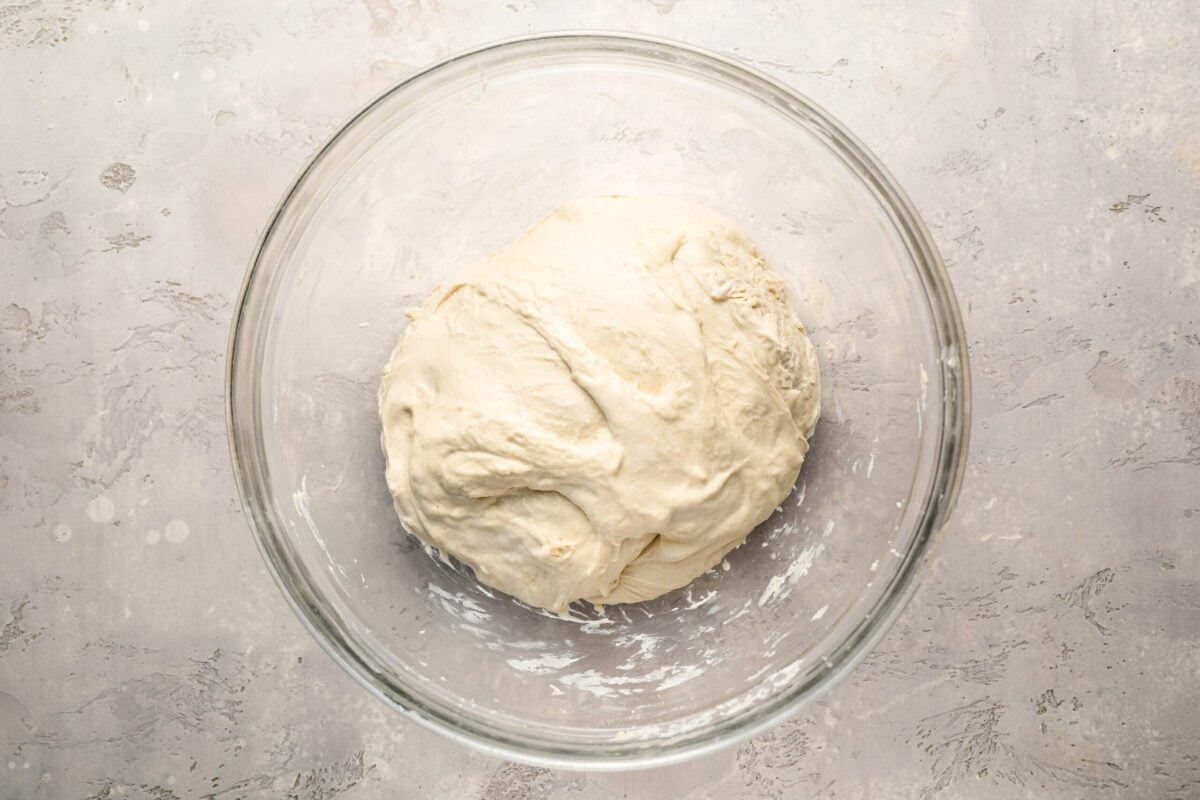
Step 1. Mix the dough. In a large bowl, whisk together the flour and salt. Add the water and starter (or levain) and mix until no dry bits remain (you can mix by hand, using a dough whisk, or a wooden spoon). The dough will be shaggy and sticky.
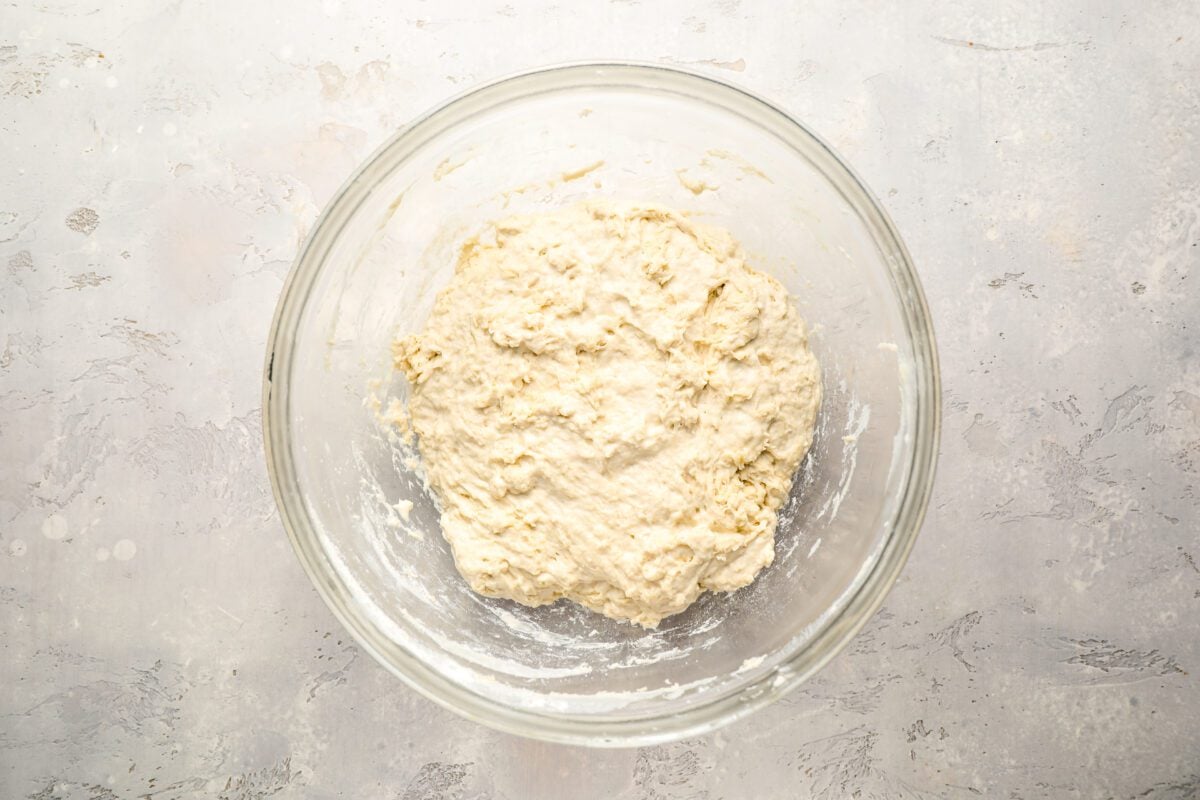
Step 2. Let the dough rest. Cover the bowl loosely with a damp towel or plastic wrap and let it sit for about 1 hour. This gives the flour time to fully absorb the water and kick-start gluten development, which makes the dough much easier to work with later. (This step, called autolyze, also helps create a better texture and structure in the finished loaf.)
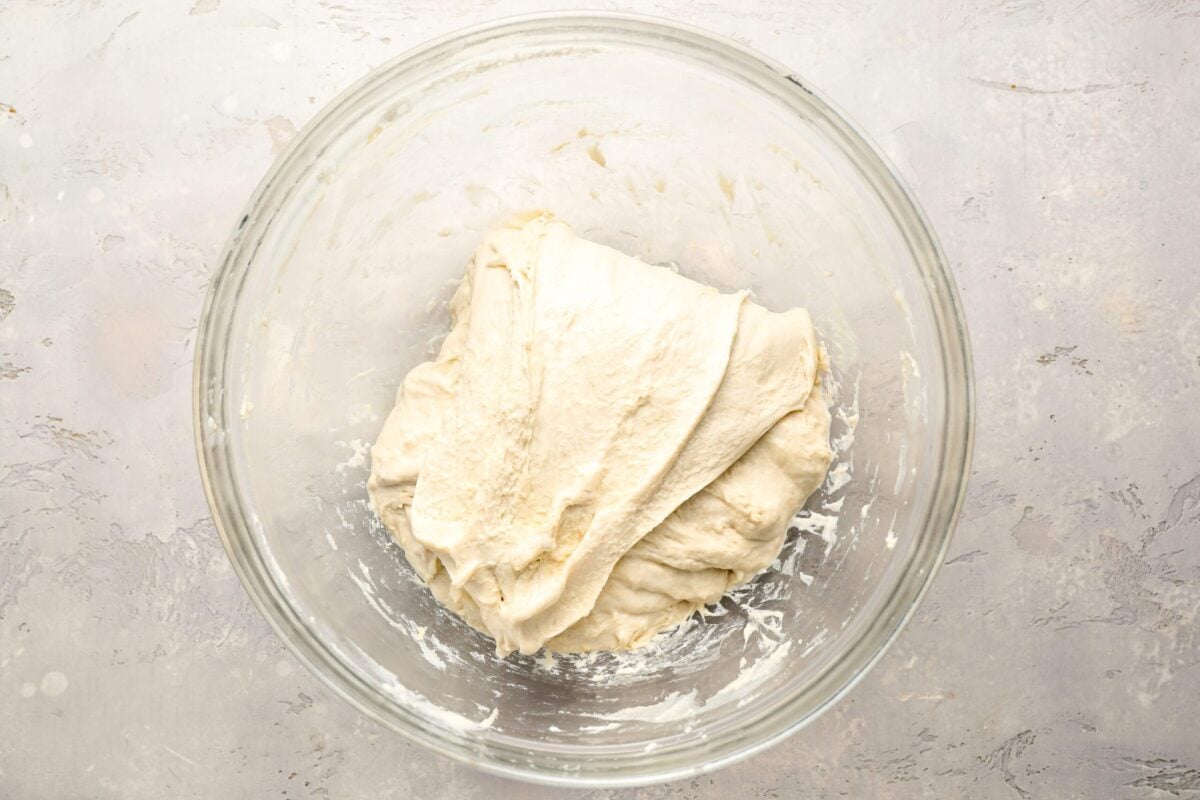
Step 3. Stretch and fold. After mixing, the dough undergoes its first rise, known as bulk fermentation. During this stage, the sourdough starter ferments the dough, creating gas, developing gluten strength, and building flavor. Instead of kneading, a series of stretch-and-folds helps structure the dough while maintaining an airy texture.
Moisten your hands with water to prevent sticking. With the dough in the bowl, lift one side, stretch it upward, and fold it over itself. Rotate the bowl and repeat on the other three sides. Cover loosely between rounds to prevent drying, and repeat 3 more times every 30 minutes over the next 2 hours (for a total of 4 stretch-and-fold sets).
Step 4: Bulk Fermentation. After the last stretch-and-fold, let the dough rest, loosely covered and untouched, for 2 to 3 more hours. It will continue fermenting, becoming puffy and slightly domed. When it’s ready, the dough should jiggle when you gently shake the bowl, and the surface should be smooth with visible air bubbles underneath. The dough should have increased by 50 to 75% in volume (it does not need to double).
Pro Tip: If your kitchen runs cold, pop the bowl in a turned-off oven with the light on—it creates a cozy proofing box without the need for special equipment.
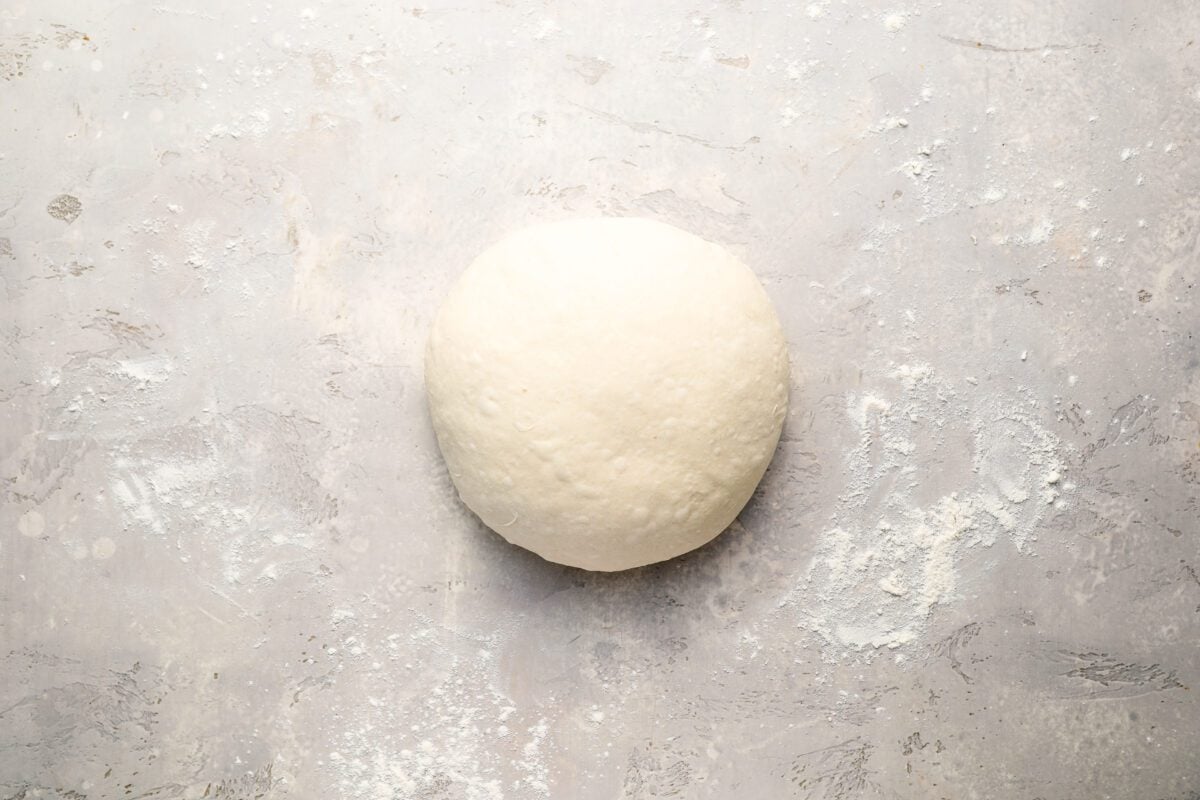
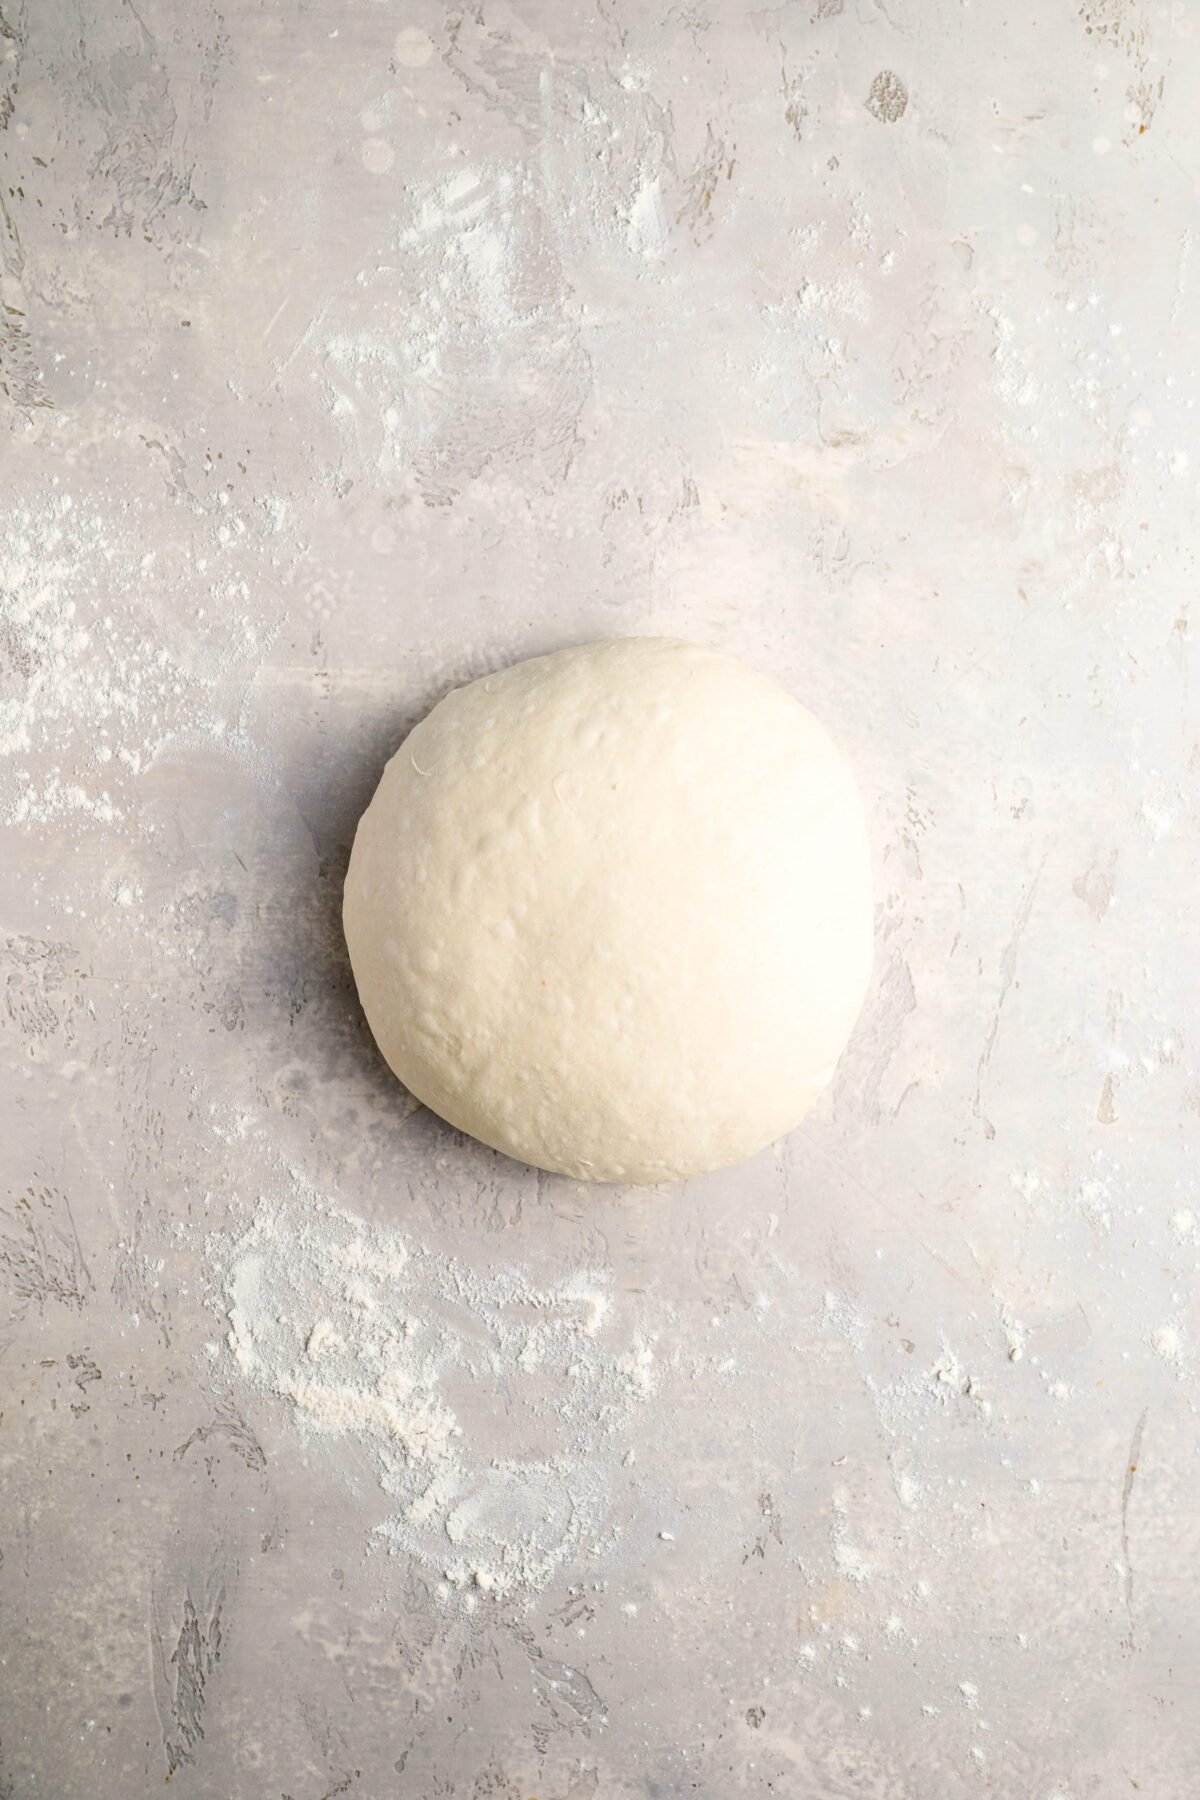
Step 5. Pre-shape. Lightly flour a surface and gently turn out the dough (you want to be gentle so you don’t deflate the air pockets that have formed). Shape it into a ball by pulling and tucking the edges under with floured hands or a bench scraper. Cover loosely and let rest for 15 minutes.
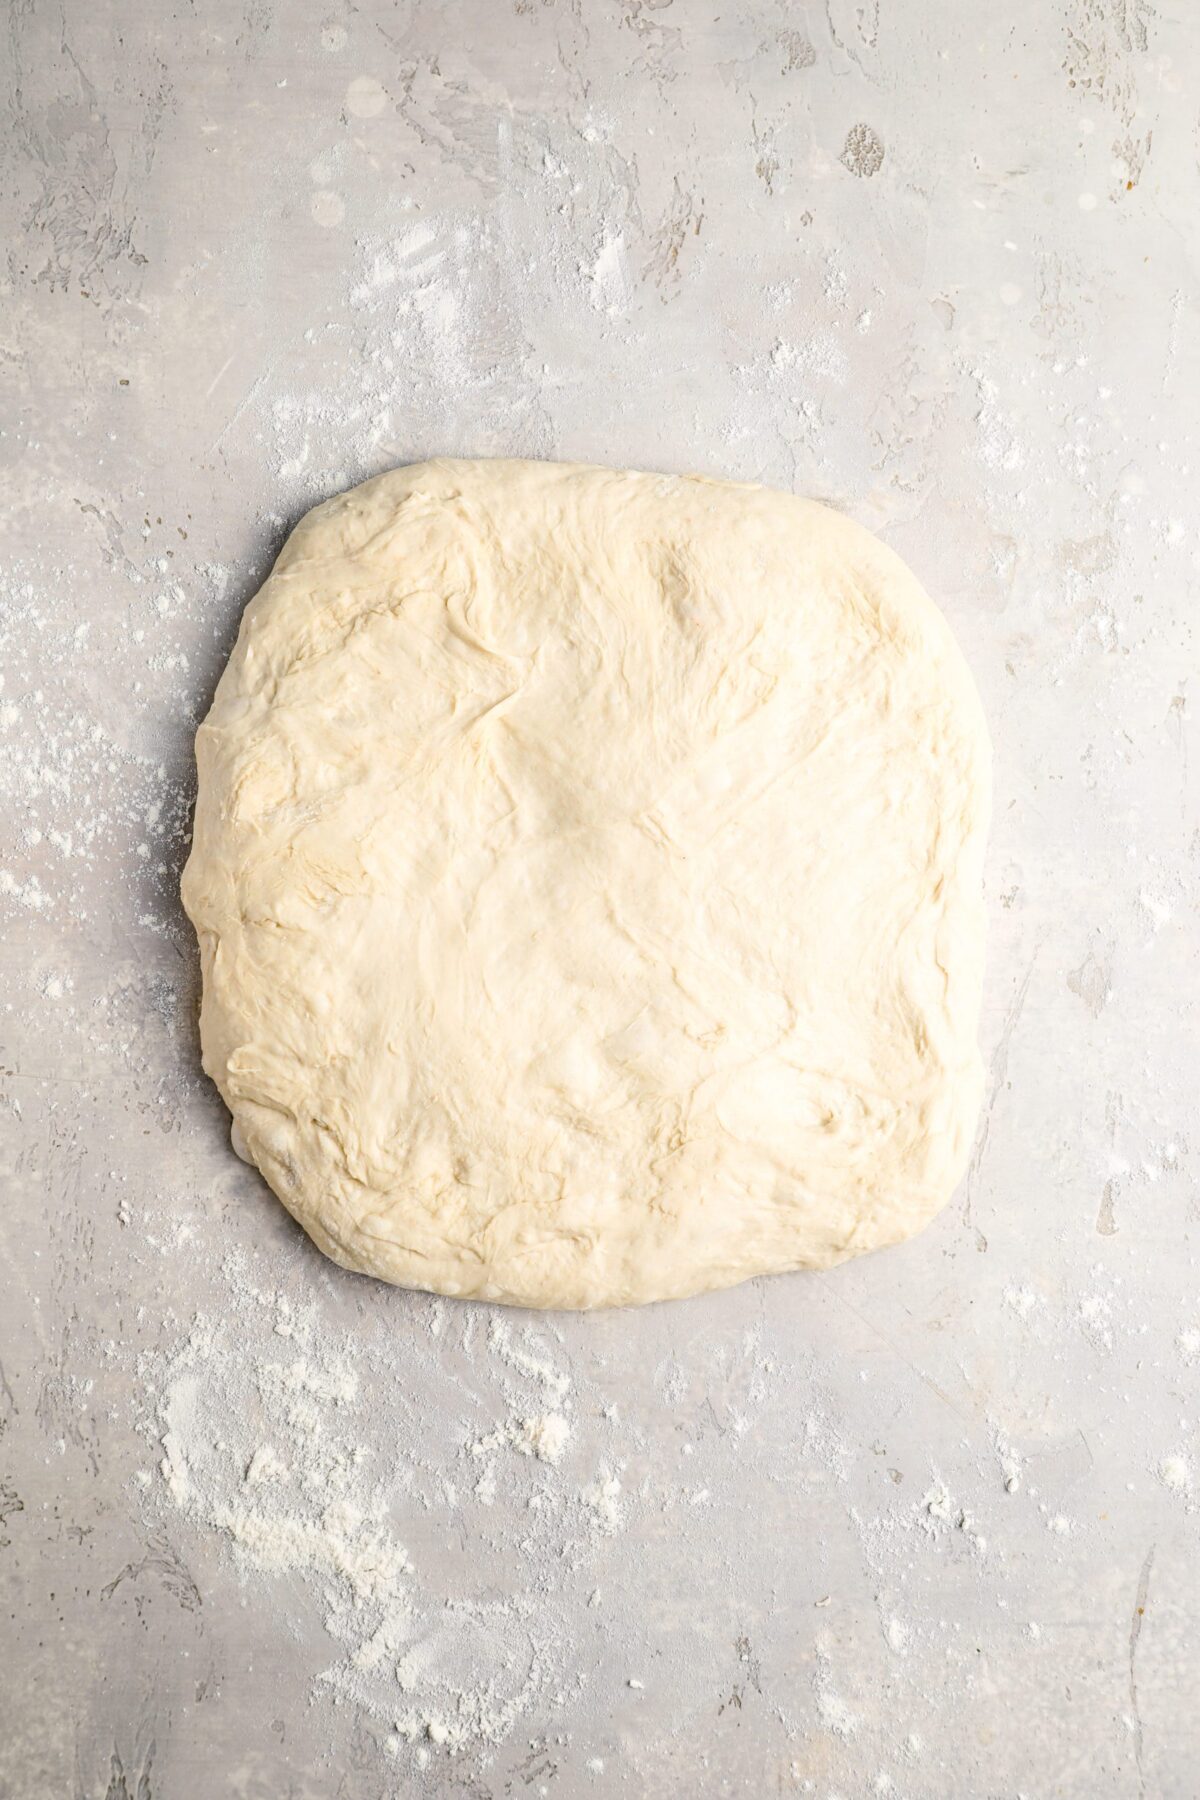
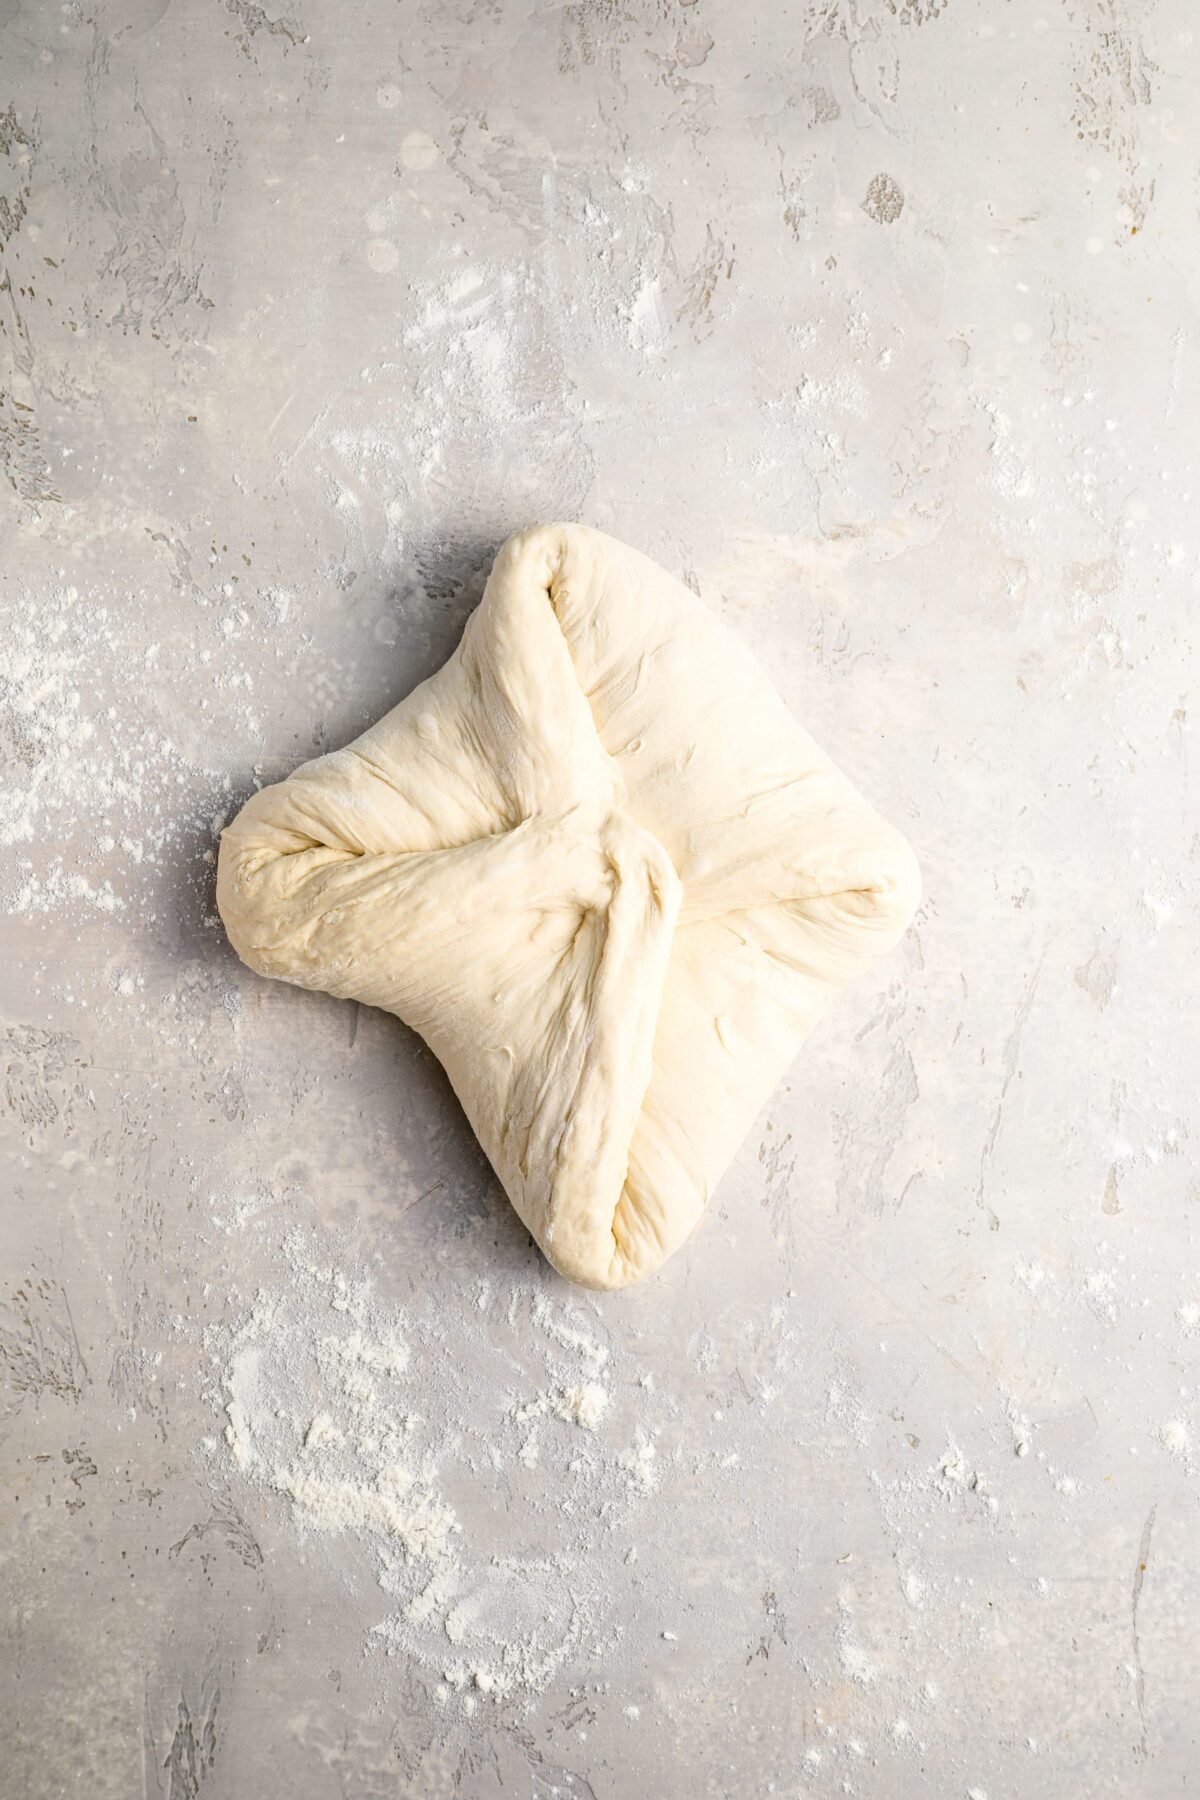
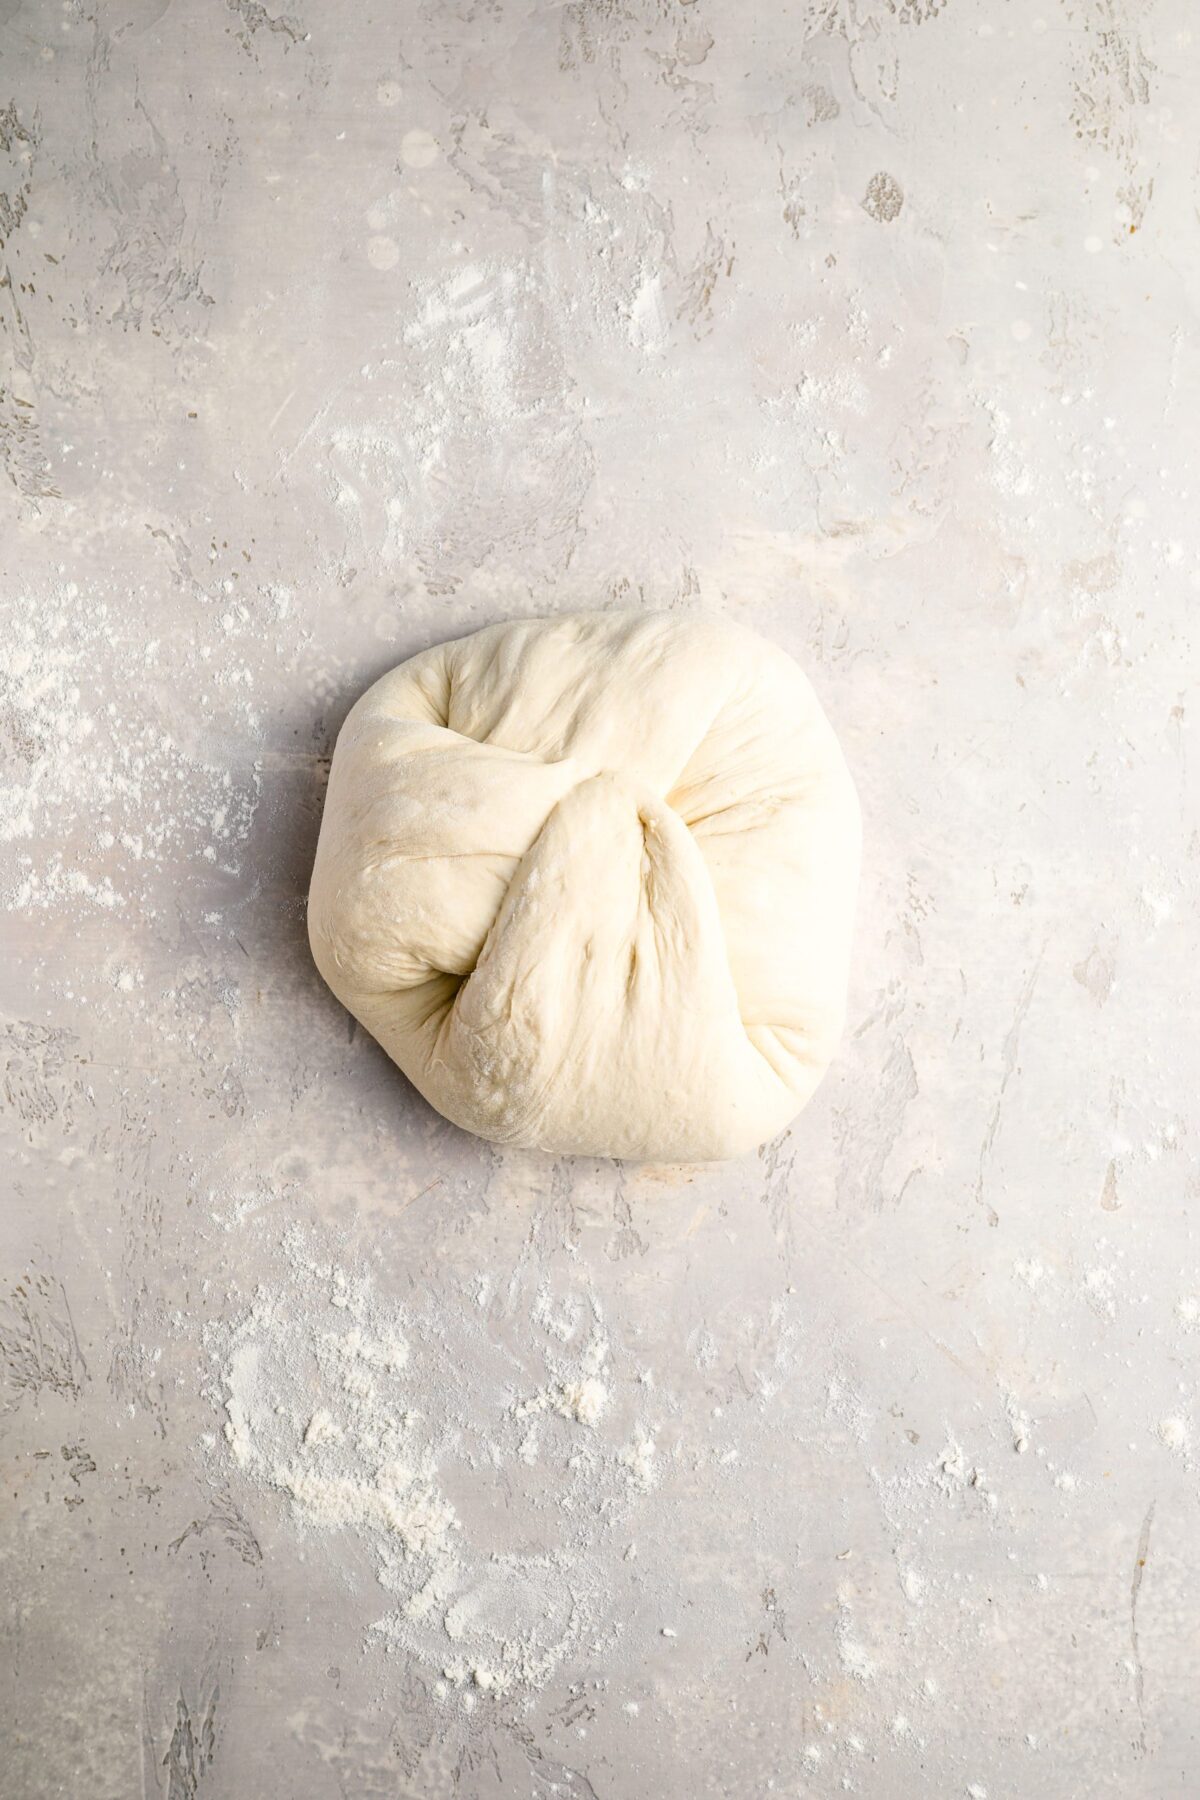
Step 6. Final Shaping. Lightly flour the top and use a bench scraper to flip the dough so the floured side is down. Gently stretch it into a rough square. Fold each corner toward the center to form a loose package, then tuck and pinch the corners/seams firmly into the center to seal. Flip seam-side down and, with cupped hands, gently pull the dough toward you to tighten the surface without tearing. It should feel smooth, taut, and slightly tacky.
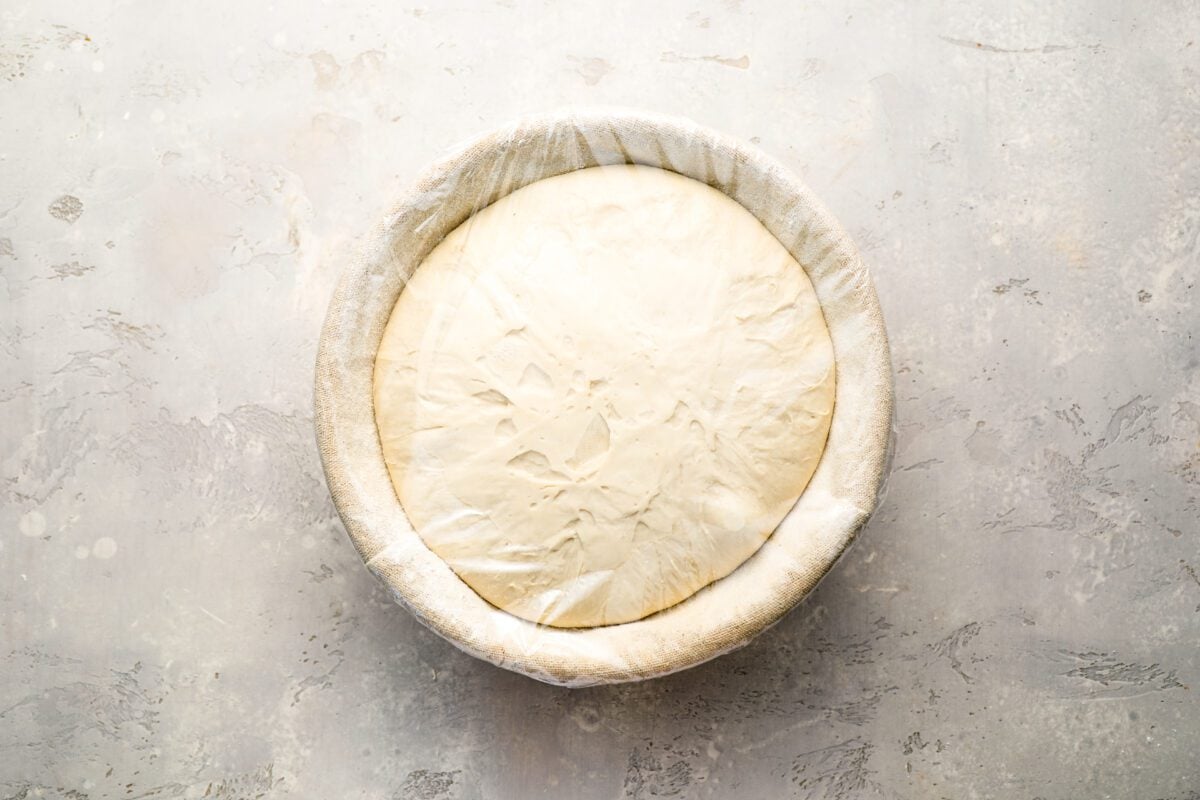
Step 5: Final Proofing. This step lets the dough relax, build its structure, and create gas for an open crumb and good oven spring (the final burst of rise in the oven). The dough will rise slightly during this stage, but not dramatically. You can proof at room temperature for a quicker bake or in the fridge overnight for better flavor and easier handling.
Option 1: Room Temperature Proof (Faster)
Cover with a lid or plastic wrap and proof at 75°F/24°C until slightly puffy but still firm, 1½ to 3 hours. It’s ready when it springs back slowly when pressed and has slight air pockets forming.
Option 2: Cold Proof (Overnight for Better Flavor & Handling)
Cover with a lid or plastic wrap and refrigerate for 10 to 12 hours. The slower fermentation develops a more complex, tangy flavor and makes the dough firmer, which makes scoring and handling easier.
Pro Tip: If life gets in the way, a slightly longer cold proof—up 24 hours—is usually fine. The dough may ferment a bit more, but as long as it still holds its shape and hasn’t collapsed, it should still bake up beautifully.
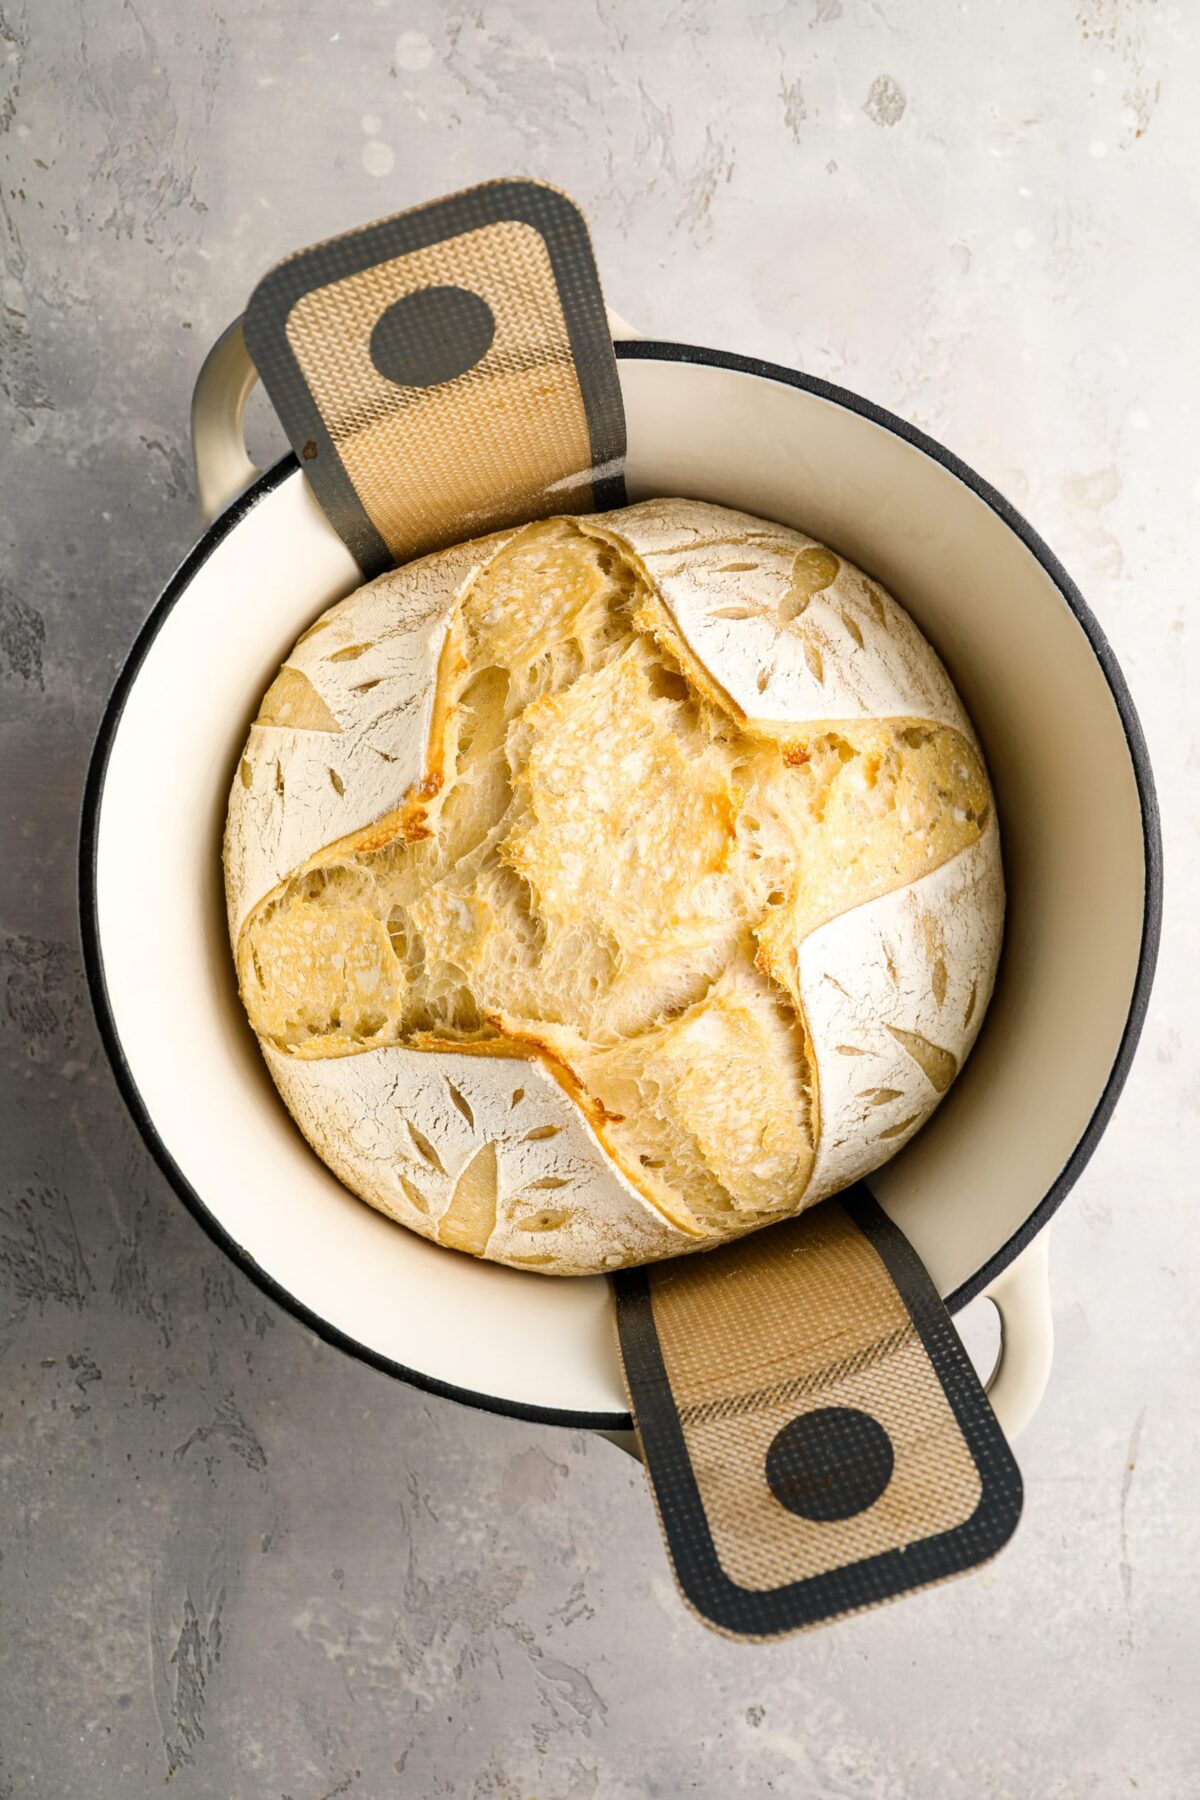
Step 6: Bake. Preheat the oven to 465°F (240°C) with a rack in the lower-middle position. Place a 5-quart Dutch oven or domed bread oven inside to preheat.
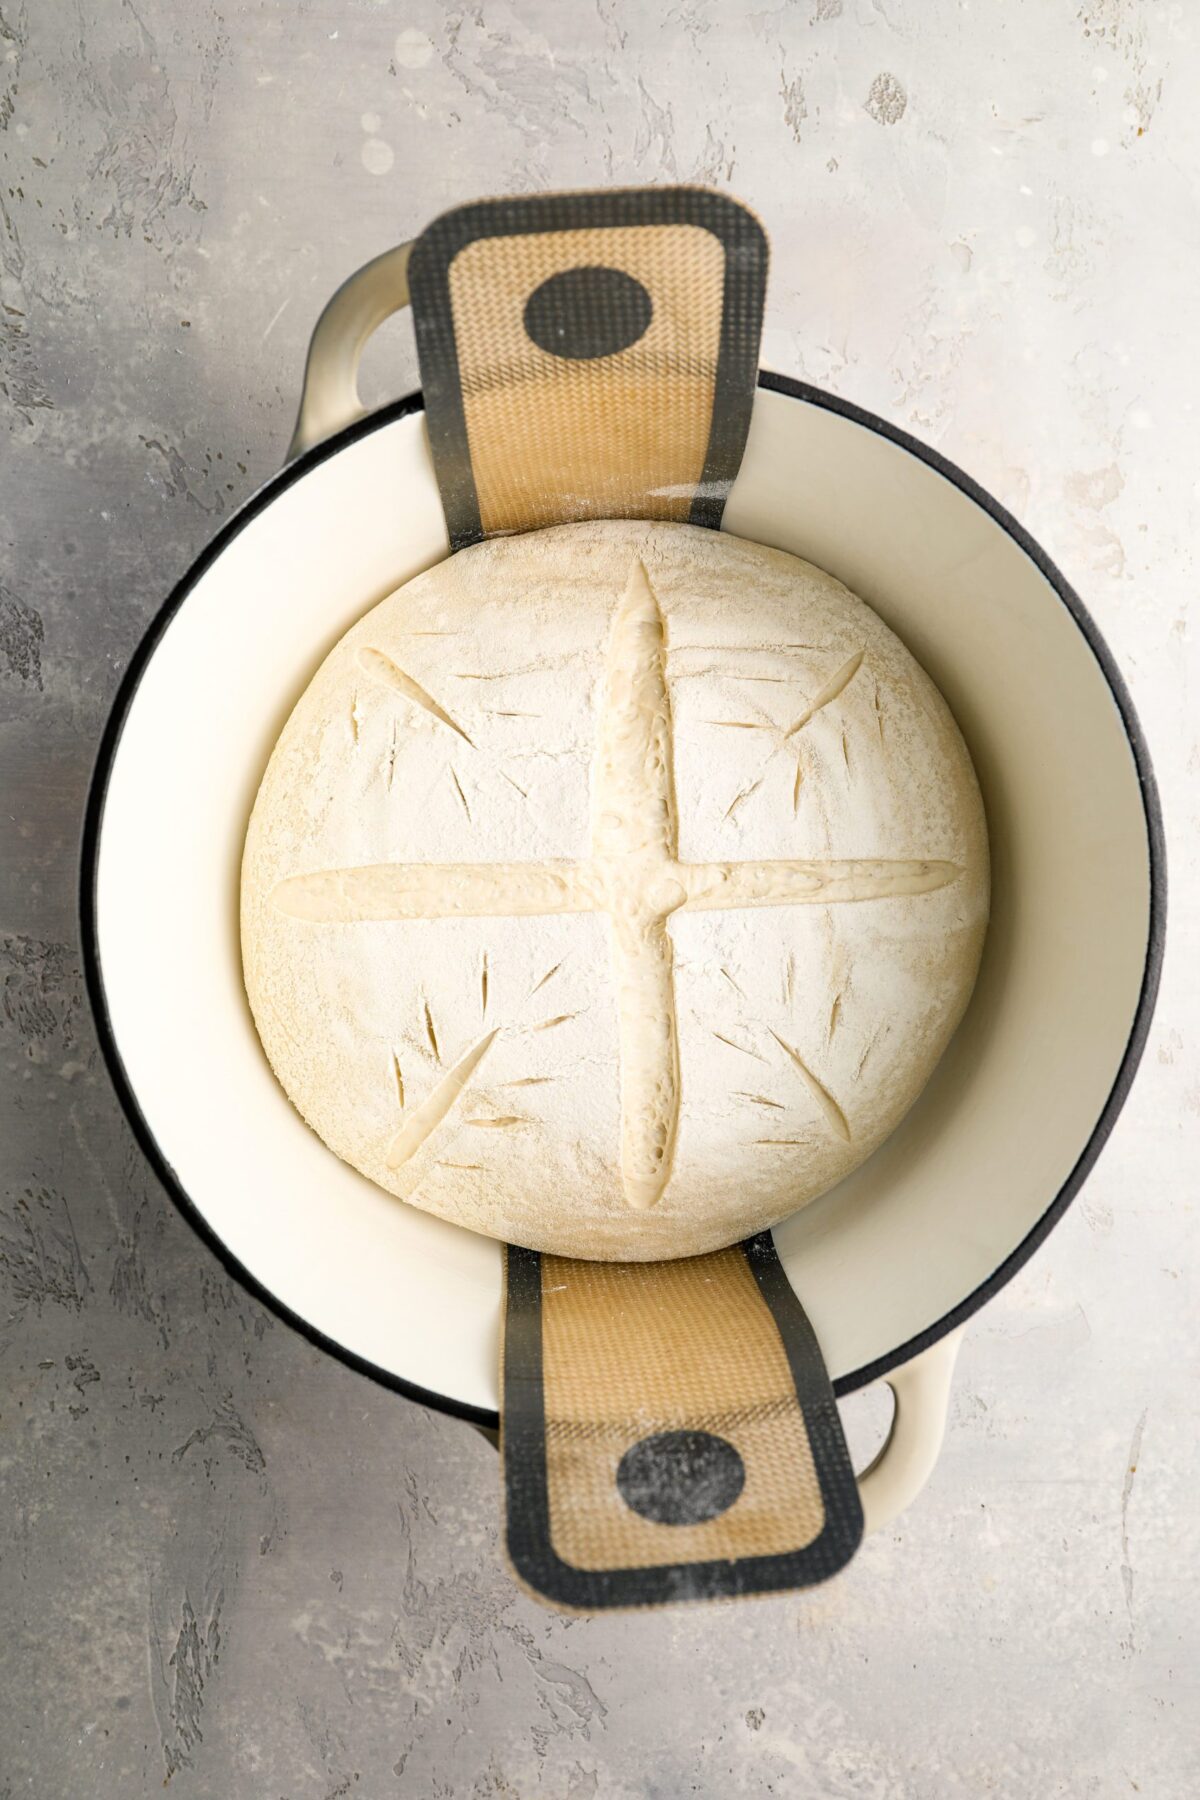
Lay a sheet of parchment or a silicone bread sling over the proofing basket and flip the dough onto it for an easy transfer. Score the top about ½-inch deep with a lame or sharp knife—use a single slash, cross, spiral, or decorative design.
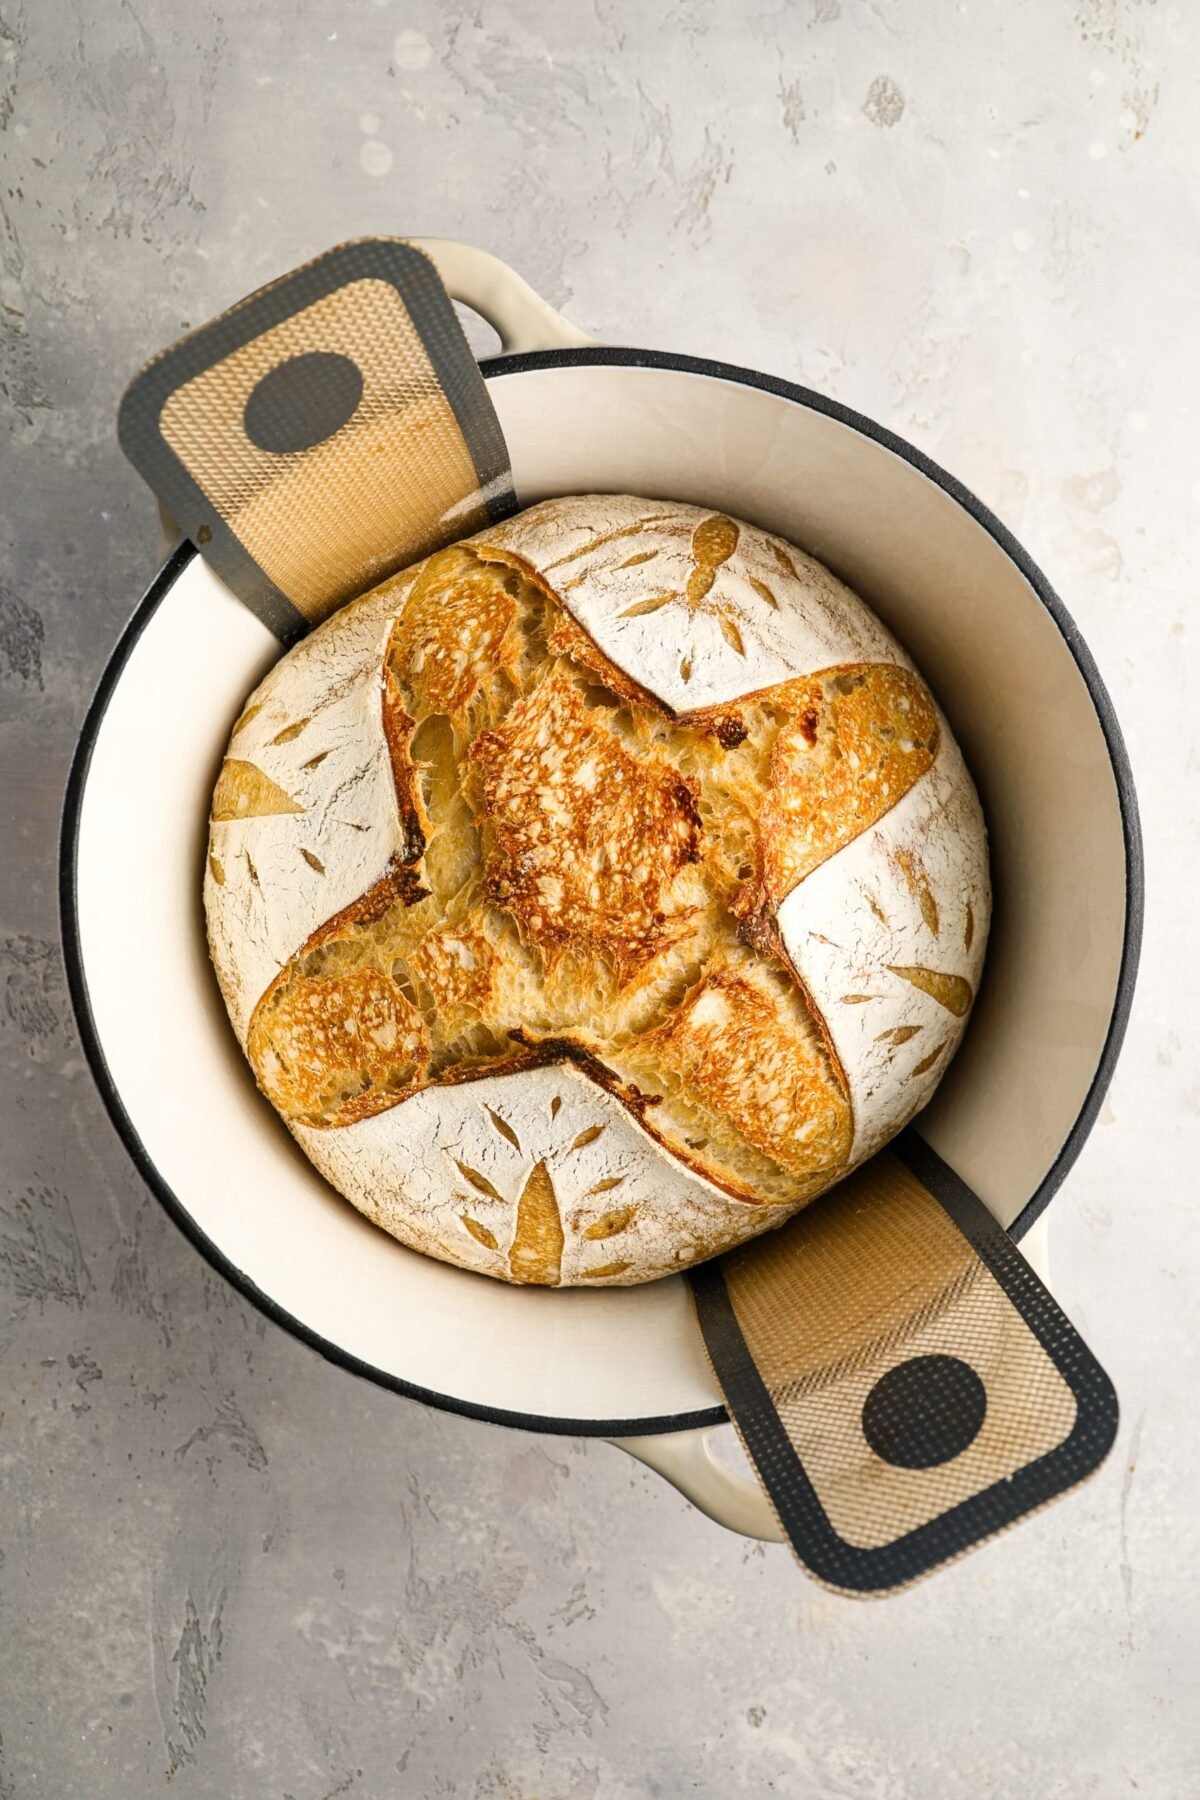
Carefully remove the hot Dutch oven and set it on a heatproof surface. Lift the dough by the edges of the parchment or sling and lower it gently into the pot. Cover with the lid and bake for 30 minutes. Uncover and bake 10 to 15 minutes more, until golden brown.
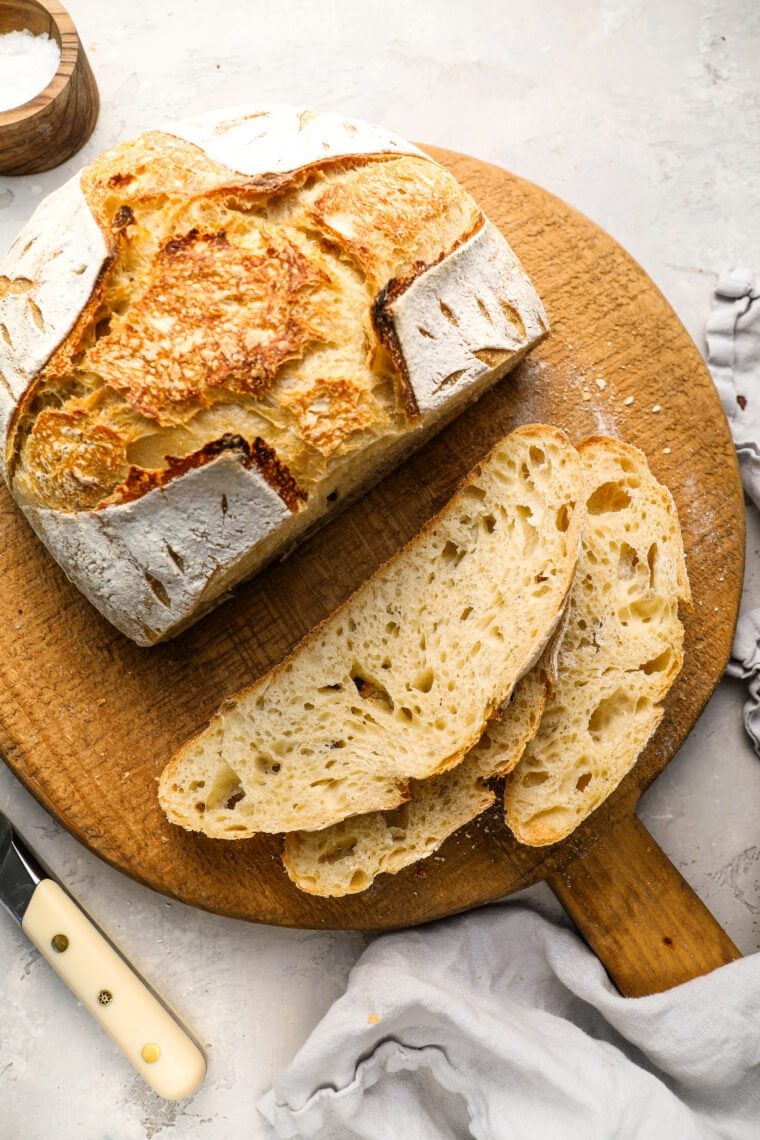
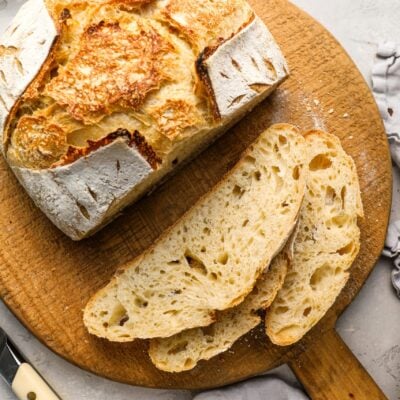
The crust should be crisp and crackly, and the loaf should sound hollow when tapped.

Step 7: Cool. Let the loaf cool on a wire rack for at least 1 hour before slicing. As tempting as it is, resist slicing into the loaf too soon. Letting it cool fully allows the crumb to set and finish cooking—otherwise you’ll end up with a gummy interior.

Storage
Sourdough is at its best within 2 days, when the crust is crisp and the inside is soft and fresh, but it will keep at room temperature for 3 to 5 days. Store it cut-side down on a wooden board and cover loosely with a towel or paper bag for the first couple of days. After that, pop it in a bread box or wrap it in a clean towel inside a partially closed plastic bag to keep it from drying out too quickly.
You can also freeze sourdough for up to 3 months—slice first, wrap tightly, and reheat slices or the whole loaf in a 350°F oven for 10 to 15 minutes to bring back the crust.
Video Tutorial
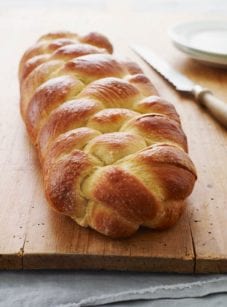
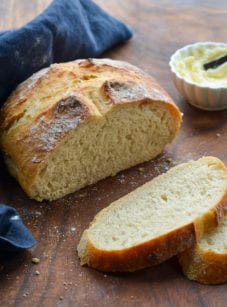
More Homemade Bread Recipes


Beginner Sourdough Bread Recipe
Ingredients
- 500 g (3¾ cups + 2 tablespoons) all-purpose flour (preferably King Arthur)
- 12 g (2 teaspoons) fine sea salt
- 350 g (1½ cups) warm water (80°F/27°C)
- 100 g (½ cup) active sourdough starter (fed 4 to 6 hours ago, doubled in size, and bubby) OR levain (see instructions in the recipe notes)
Instructions
- Mix the Dough: In a large mixing bowl, whisk together the flour and salt. Add the water and 100g starter OR levain, then mix by hand, using a dough whisk, or a wooden spoon until no dry bits remain. The dough will feel shaggy, sticky, and rough. Cover loosely with a damp towel or plastic wrap and let rest for 1 hour—this allows the flour to fully absorb the water and begin gluten development, making the dough easier to handle later. (This process, called autolyze, helps create a better texture and structure in the final loaf.)
- Stretch and Fold: Moisten your hands with water to prevent sticking. With the dough in the bowl, lift one side, stretch it upward, and fold it over itself. Rotate the bowl and repeat on the other three sides. Cover loosely between rounds to prevent drying, and repeat 3 more times every 30 minutes over the next 2 hours (for a total of 4 stretch-and-fold sets).
- Bulk Fermentation: After the final fold, let the dough rest, still loosely covered and untouched, until it’s puffy, slightly domed, and has increased by 50 to 75% in volume. The surface should look smooth with bubbles underneath and jiggle slightly when the bowl is gently shaken. This typically takes 2 to 3 hours, depending on temperature and starter activity.
- Pre-Shaping: Lightly flour a clean work surface to prevent sticking. Turn the dough out gently onto the floured surface, being careful not to deflate the air pockets. Use lightly floured hands or a bench scraper to shape the dough into a ball.Slide the bench scraper (or your hands) under one side of the dough. Gently pull it toward you while rotating slightly, using the scraper or your hands to tuck the edges under. Continue this circular motion, pulling the dough along the surface to create tension and form a smooth, round shape.Cover loosely with a clean kitchen towel or plastic wrap and let it relax on the counter for 15 minutes before final shaping.
- Final Shaping: Lightly flour the top of the loaf, then use a bench scraper to flip it over so the floured side is down.Gently stretch and press the dough into a rough square. Take one corner and fold it toward the center, then repeat with the other three corners to form a loose package. Tuck and pinch any remaining seams into the center, then gently shape it into a ball. Flip the dough over (seam-side down). Using your hands, cup and roll the dough slightly toward you to create surface tension, keeping it tight but not tearing the skin. The dough should feel smooth, tight, and slightly tacky—not too loose or sticky.Transfer the dough to a lightly floured banneton basket for proofing.Pro Tip: If you don’t have a proofing basket, a medium mixing bowl (about 8 inches in diameter) lined with a clean kitchen towel works well. To prevent sticking, dust the towel generously with flour—rice flour is ideal because it doesn’t absorb moisture, creating a non-stick barrier. If you don’t have rice flour, use a blend of all-purpose and cornstarch or simply more all-purpose flour, though it may be slightly more prone to sticking.
- Proofing (Choose One Method - Room Temperature or Cold Proofing) Option 1: Room Temperature Proof (Faster)Cover with a lid or plastic wrap and proof at 75°F/24°C until slightly puffy but still firm, 1½ to 3 hours. It’s ready when it springs back slowly when pressed and has slight air pockets forming.Option 2: Cold Proof (Overnight for Better Flavor & Handling)Cover with a lid or plastic wrap and refrigerate for 10 to 12 hours.Pro Tip: If life gets in the way, a slightly longer cold proof—up 24 hours—is usually fine. The dough may ferment a bit more, but as long as it still holds its shape and hasn’t collapsed, it should still bake up beautifully.
- Bake the Bread: Preheat the oven to 465°F (240°C) and set a rack in the lower middle position. Place a 5-quart Dutch oven or domed bread oven inside the oven to preheat as well.Place a sheet of parchment or a silicone bread sling over the proofing basket, then flip the dough onto it for an easy transfer. Using a lame or sharp knife, score the top about ½-inch deep to control expansion during baking. You can use a single slash, cross, spiral, or decorative design.Carefully remove the hot Dutch oven and place it on a heat-proof surface.Lift the parchment paper or bread sling by the edges and lower the entire thing—parchment/bread sling and dough together—carefully into the hot Dutch oven. Cover with the lid and place in the oven (remember—it’s hot—handle with oven mitts). Bake for 30 minutes. Remove the lid and bake for about 10 minutes longer, until golden brown.When done, the crust should be crisp and crackly, and the bread should sound hollow when tapped. Let the bread cool on a wire rack for at least 1 hour before slicing.
Notes
50g sourdough starter (cold from fridge)
50g all-purpose flour
50g warm water (80°F/27°C) Mix and let rise for 4 to 6 hours at room temperature until bubbly, doubled, and slightly domed. Then use 100g of this levain in the recipe. Note: You’ll end up with a little more levain than you need—this gives you a bit of cushion in case some sticks to the jar or spatula. You can use the extra in other simple sourdough recipes like crackers, pancakes, or flatbread—or just discard or compost it. Storage Instructions: Sourdough bread is best enjoyed within 2 days, when the crust is crisp and the interior is at its freshest, but it will keep at room temperature for 3 to 5 days. Store it cut-side down on a wooden board and cover loosely with a towel or paper bag for the first couple of days. For longer storage, place it in a bread box or wrap it in a clean kitchen towel inside a partially closed plastic bag to slow staling while preventing moisture buildup. You can also freeze sourdough for up to 3 months—slice it first, wrap tightly, and reheat slices or the whole loaf in a 350°F (175°C) oven for 10 to 15 minutes to restore the crust.
Nutrition Information
This website is written and produced for informational purposes only. I am not a certified nutritionist and the nutritional data on this site has not been evaluated or approved by a nutritionist or the Food and Drug Administration. Nutritional information is offered as a courtesy and should not be construed as a guarantee. The data is calculated through an online nutritional calculator, Edamam.com. Although I do my best to provide accurate nutritional information, these figures should be considered estimates only. Varying factors such as product types or brands purchased, natural fluctuations in fresh produce, and the way ingredients are processed change the effective nutritional information in any given recipe. Furthermore, different online calculators provide different results depending on their own nutrition fact sources and algorithms. To obtain the most accurate nutritional information in a given recipe, you should calculate the nutritional information with the actual ingredients used in your recipe, using your preferred nutrition calculator.
Very successful recipe. Sharing with friends
This is the best sourdough recipe that i have found to make a beautiful loaf of bread with the perfect crust on the outside and perfect softness on the inside. Great job!
I am new to sourdough bread. I have tried a couple of other recipes either varying degrees of success. I have now made 4 loaves following this recipe and they have come out great each time. Finding this one has increased my confidence and I have started to branch out more. Thank you.
I used this recipe as an absolute first-timer making sourdough (I bought a pot, granulated starter, basket, and lame at an auction and wanted to use it), and this worked beautifully! The loaf wasn’t quite as artistically decorated as Jenn’s photo, but the crust, texture, and flavor were great. Thanks for another great recipe!
Hi Jenn,
I just made your sourdough today and it was amazing—so delicious, with the perfect texture, as well as stunning to look at!!! I loved it 😍 It was my very first sourdough bake, so I know your precise recipe and directions get ALL the credit. Thank you soooo much for sharing such a winning recipe.
I was wondering if I would be able to use this same recipe to incorporate some inclusions. I was thinking of fennel seeds/raisons or diced jalapeño/cheddar. If not, is there a specific recipe/strategy that you have had success with for inclusions?
Thank you for your amazing talent! I love sooo many of your recipes ❤️
Glad to hear it came out so well! Yes, I do think this bread would be okay with some inclusions. You can fold them in before the bulk fermentation step. I’d love to hear what you think if you try it!
Another success story to share from a Once Upon a Chef superfan! I had never made sourdough before and yet I successfully made a good-looking, tasty loaf by following this recipe. Beginners luck? Maybe. But I prefer to give credit to Jenn Segal for knowing her craft and writing clear instructions. This site is my go-to for recipes and many have become part of my standard rotation. I highly recommend her cookbooks, too! I get many compliments on recipes I have made for friends and family and when they ask for a recipe I do not hesitate to share Once Upon a Chef because I trust it completely.
❣️
My first attempt at sourdough–something I’ve been wanting to try. Turned out fantastic! I was gifted a dry sourdough starter and followed your recipe for the finished loaf. Looked great and tasted even better. Thank you for this recipe!
Jenn, I have been on a “sourdough journey” since creating my own starter 5 months ago, trying countless sourdough bloggers’ recipes & techniques, in search of the best loaf. There was always something slightly off, until I tried your version. The search is over! Yours produces a consistently fabulous loaf each time. The only change I made was to bake at 450F.
Now I have the confidence to give loaves away to family and friends, knowing the crumb won’t be gummy, there won’t be massive “tunnels”, it will be beautifully domed, etc.
I have tried many recipes on your site and have loved every one.
Thank you for sharing your talents with us!