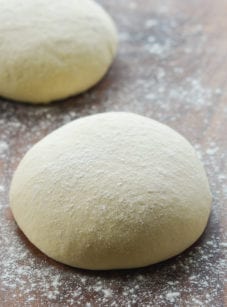
Sourdough Starter

This post may contain affiliate links. Read my full disclosure policy.
Ready to start your sourdough journey? With just flour, water, and a little patience, you can create a lively starter that will leaven endless loaves of homemade bread.
If you’ve ever wanted to bake sourdough bread from scratch, it all starts here—with a simple, homemade sourdough starter. A starter is just a mixture of flour and water that, over time, captures wild yeast and good bacteria from the environment. Once it’s active, it becomes the natural leavening for your sourdough bread recipe—no commercial yeast required.
You’ll often see the word “feeding” used in sourdough recipes. It simply means removing a portion of the starter and adding fresh flour and water to keep it active and strong.
This sourdough starter recipe begins with whole wheat flour because it contains more nutrients and naturally occurring microorganisms than all-purpose flour, which helps jump-start fermentation. Once the starter is bubbling and active, you’ll switch to all-purpose flour for a milder flavor and more versatile base.
It takes at least 7 days to build a healthy starter from scratch, so give yourself enough time—but it only takes a few minutes a day, so don’t be intimidated! From there, you’ll be on your way to fresh, homemade sourdough in no time. And the best part? You can store it in the fridge and feed it just once a week—it’ll last indefinitely (years and years!) with a little care.
What You’ll Need To Make Sourdough Starter

- Whole wheat flour: This flour kick-starts the fermentation process and helps your starter get bubbly and active more quickly.
- All-purpose flour (plus more as needed): Once the starter is going, you’ll switch to feeding it mostly with all-purpose flour. It’s more neutral, so it creates a stable, consistent environment for the wild yeast and bacteria to thrive.
- Warm water: Hydrates the flour and activates the fermentation process. You want it warm—but not hot—about the temperature of bathwater. Too cold and fermentation slows way down; too hot and you risk killing the yeast. Pro Tip: If your tap water is heavily chlorinated or treated, it can interfere with fermentation. If that’s the case, use filtered or bottled water to give your starter the best chance to thrive.
- Jump to the printable recipe for precise measurements
Step-By-Step Instructions
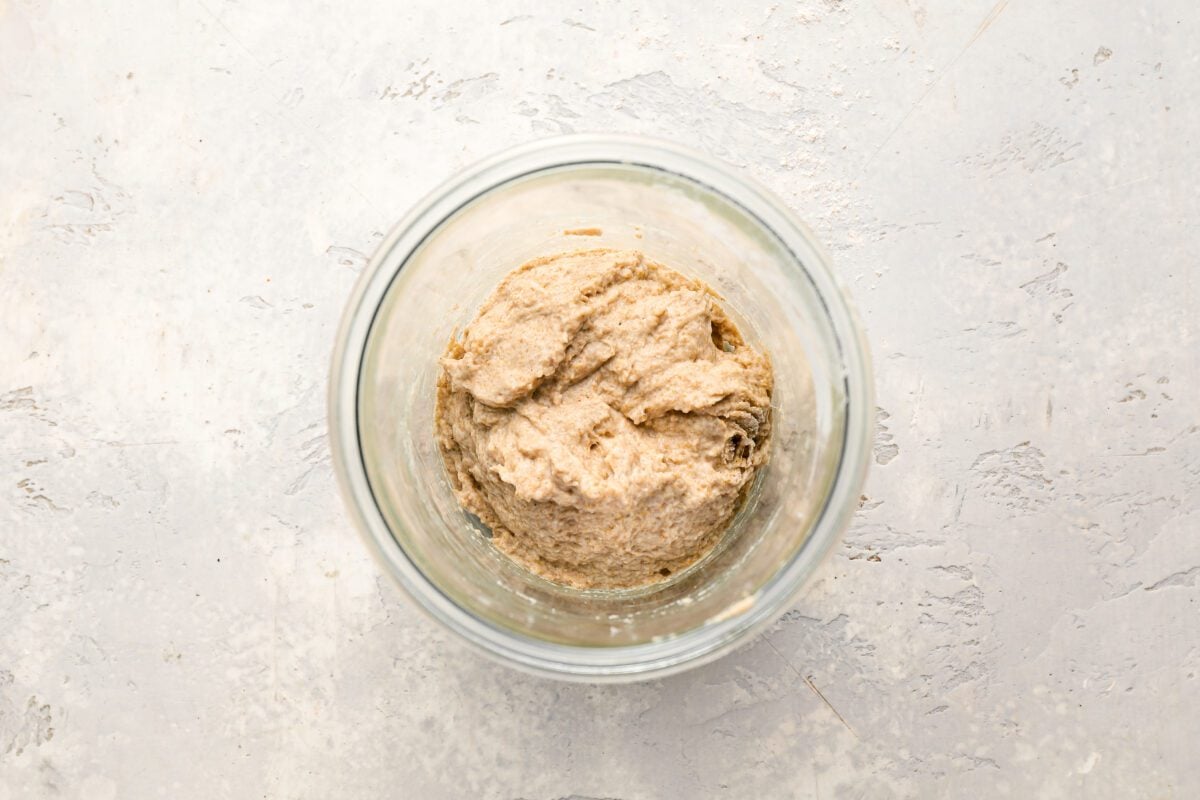
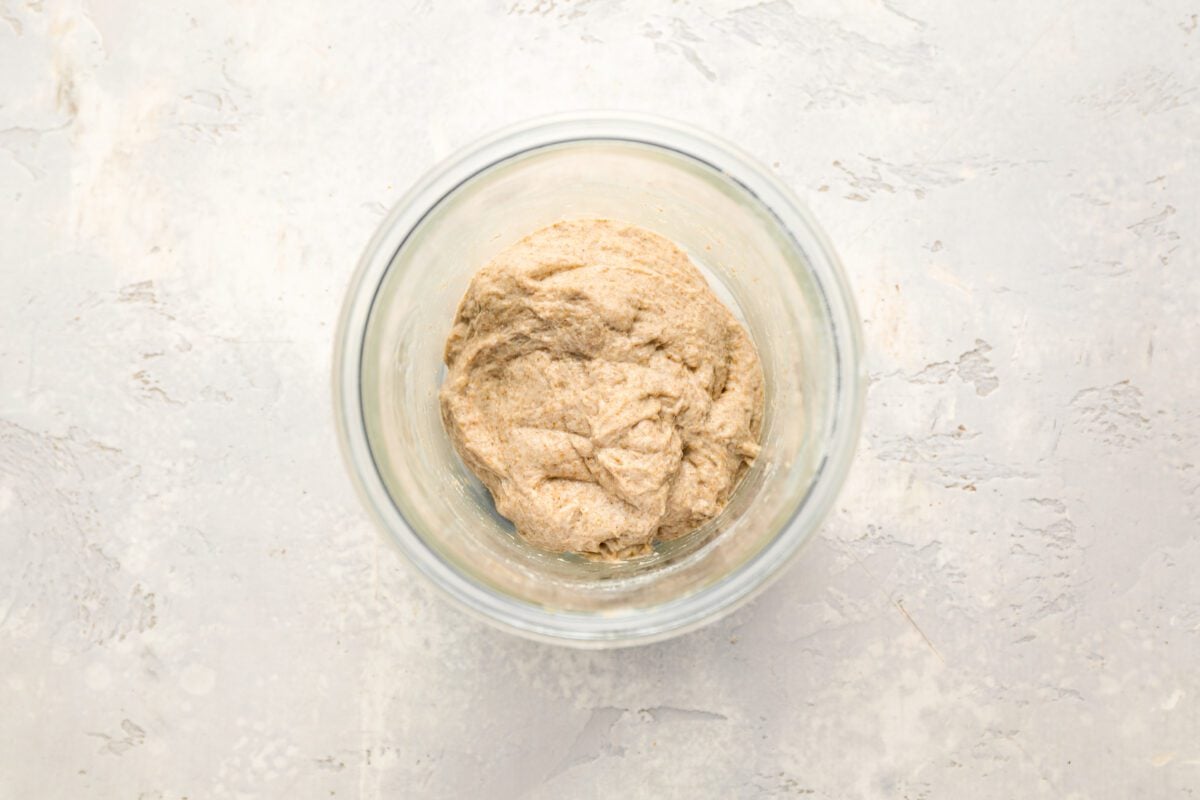
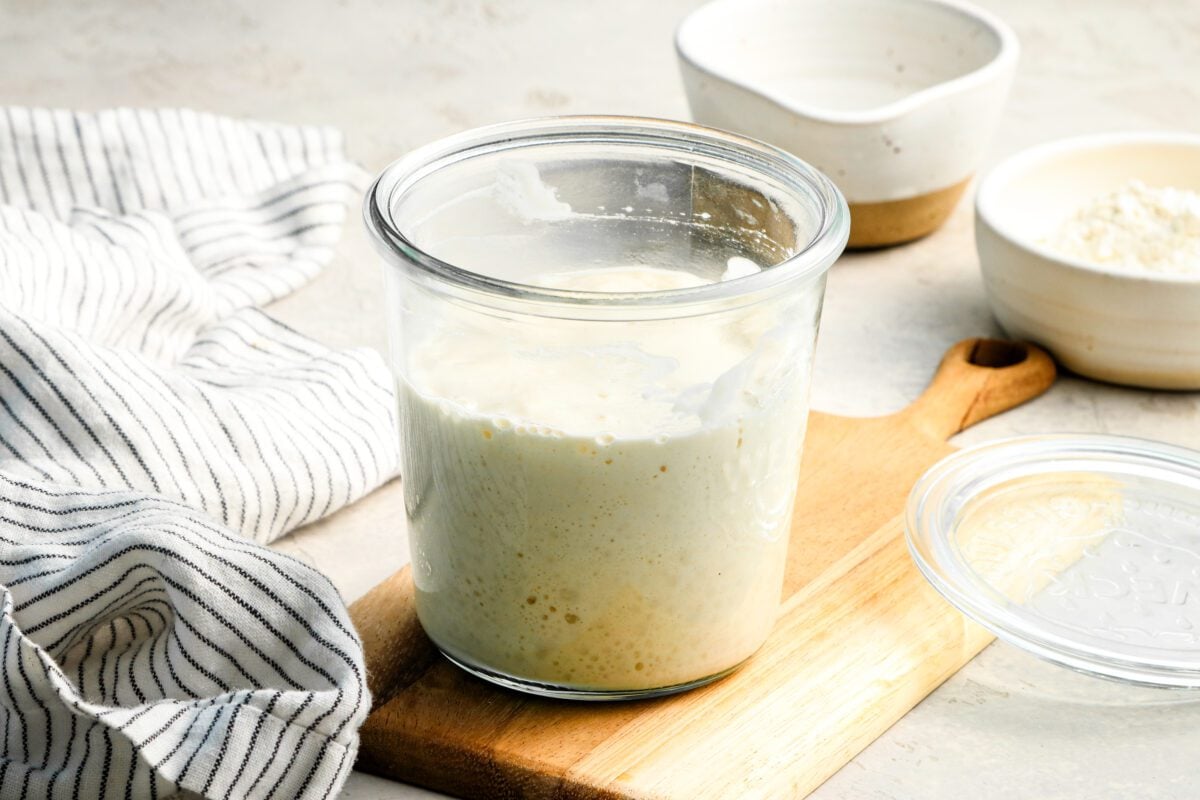
Day 1: Mix the starter. In a clean jar or bowl, mix 60g (½ cup) whole wheat flour with 60ml (¼ cup) warm water (80 to 85°F). Stir until no dry flour remains, scrape down the sides, cover loosely, and let rest at room temperature (70 to 75°F) for 24 hours.
Pro Tip: If using a bowl, use a clear one if you have it—you’ll be able to watch the bubbles forming and see how much it rises each day.
Day 2: Stir only. No feeding today—just give the starter a good stir to redistribute the yeast and bacteria. Cover loosely and let it rest at room temperature. Don’t worry if it doesn’t look much different than Day 1; that’s totally normal.
Pro Tip: Stir vigorously when redistributing—oxygen helps the yeast and bacteria develop, so don’t be shy about whipping some air into the mix.
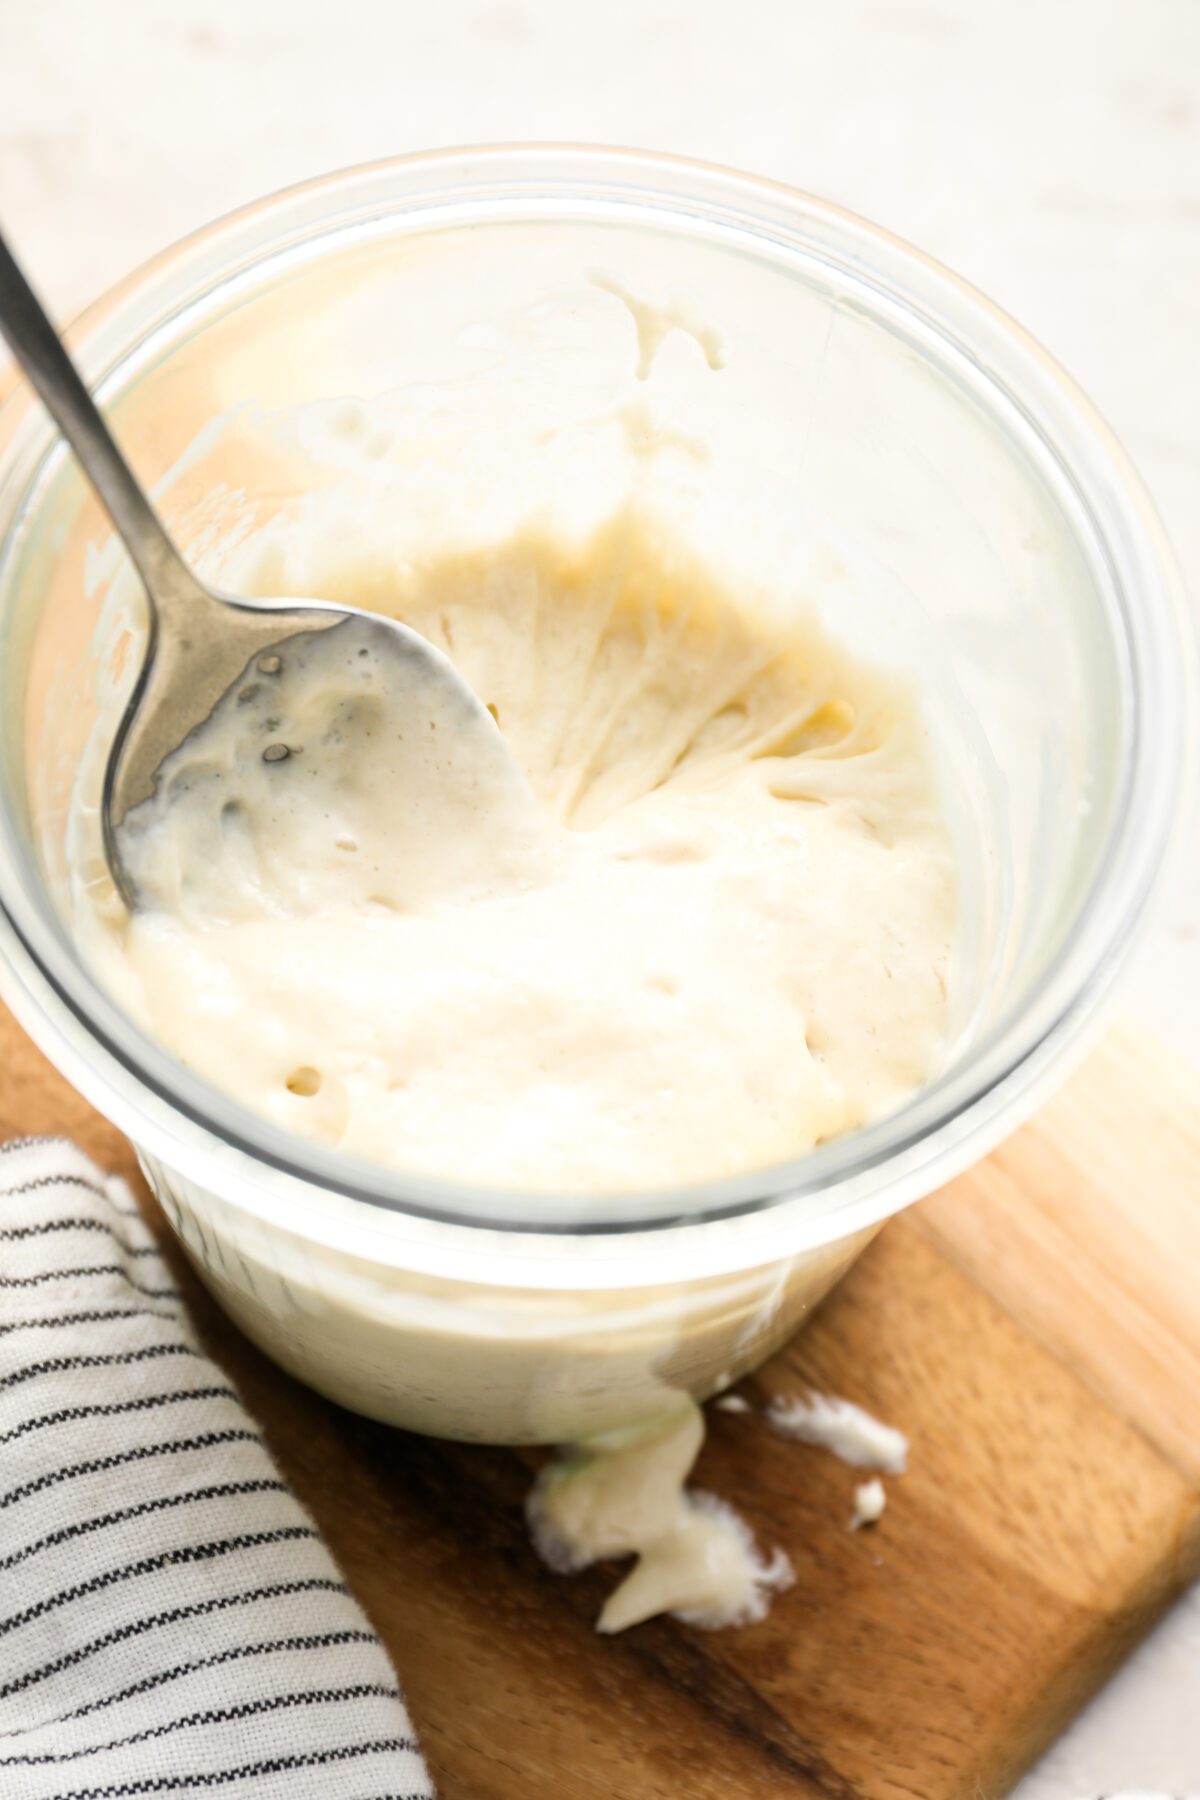
Days 3 through 7: Begin daily feedings. From here on out, you’ll feed the starter once a day. Each day, discard half of it, then stir in 60 g (½ cup) all-purpose flour and 60 ml (¼ cup) warm water. Cover loosely and let it sit at room temperature. By Day 5, you should start to see some real activity—bubbling and rising.
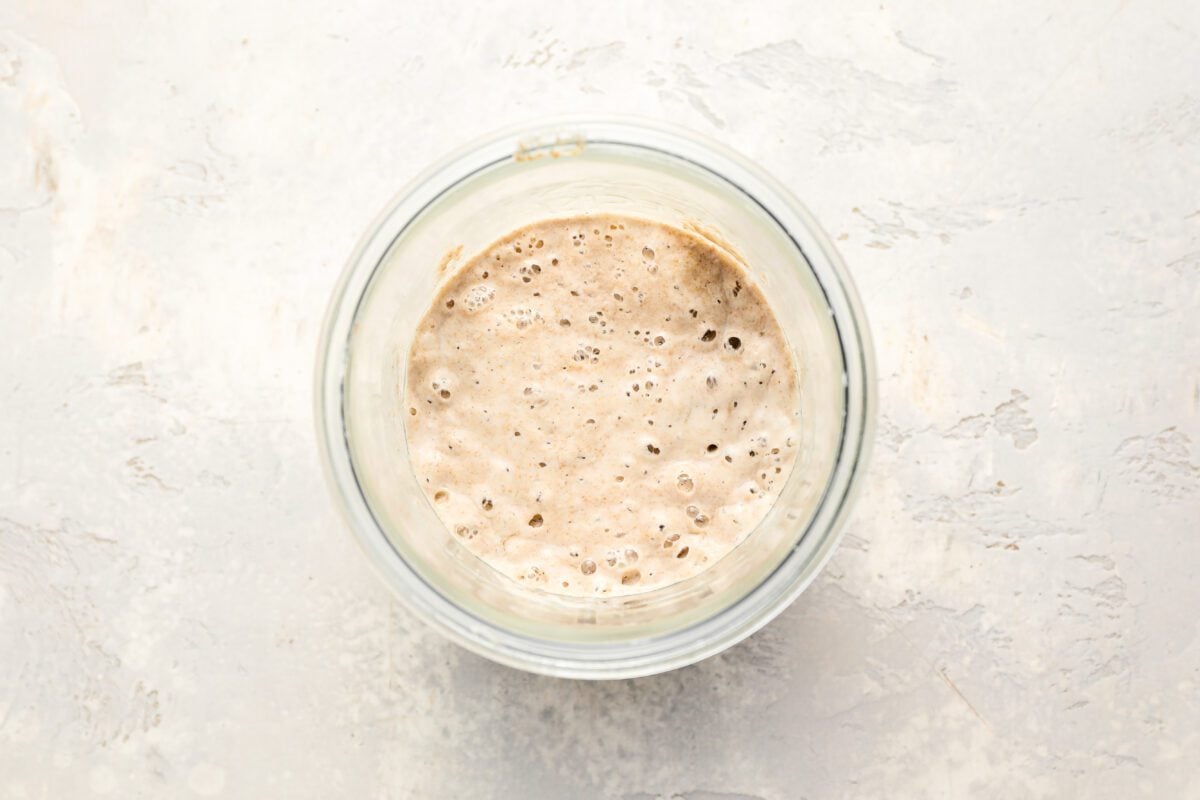
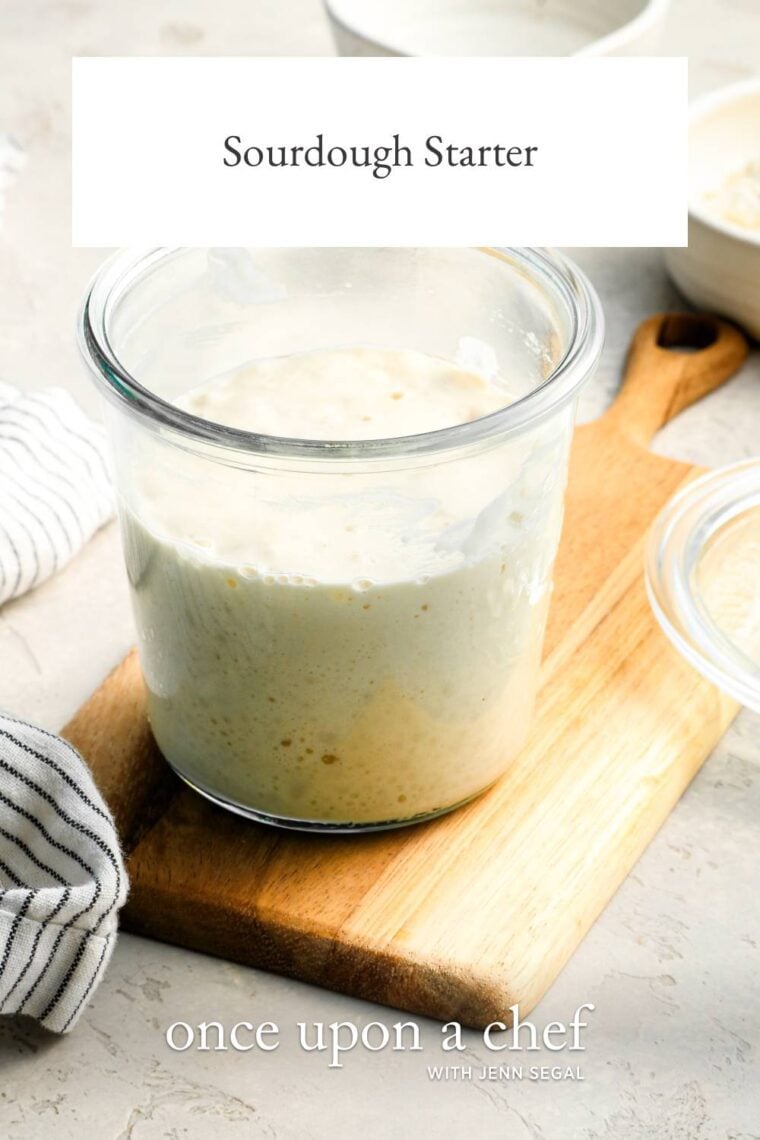
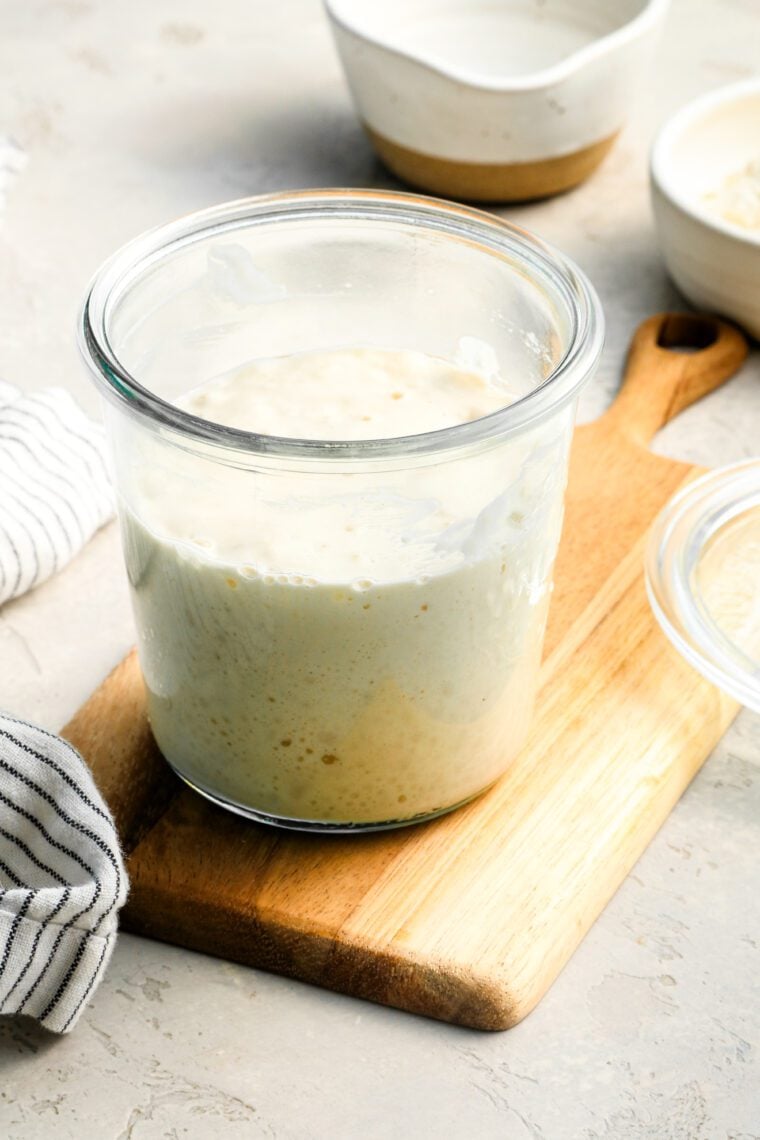
By Day 7, a healthy starter should double in size within 4 to 6 hours and smell pleasantly tangy. If it’s not quite there yet, just keep up the daily feedings until it is. Once it’s strong and bubbly, transfer it to a clean jar. You can use it right away or store it for later.
Pro Tip: Use a rubber band or piece of tape to mark the starter’s level right after feeding. It’s the easiest way to track how much it rises without guesswork.
Maintaining Your Sourdough Starter
To keep your starter happy and active, you’ll need to give it regular feedings—don’t worry, it’s simple. If you bake a few times a week, it’s easiest to keep your starter at room temperature and feed it daily. Each day, discard down to about 60 g (3 tablespoons), then add 60 g (½ cup) flour and 60 ml (¼ cup) water. Stir well, cover loosely, and let it do its thing.
If you bake less often—say once a week or so—store the starter in the fridge and feed it weekly the same way. After each feeding, leave it out for a few hours to get bubbly again before tucking it back into the fridge.
More Sourdough starter tips
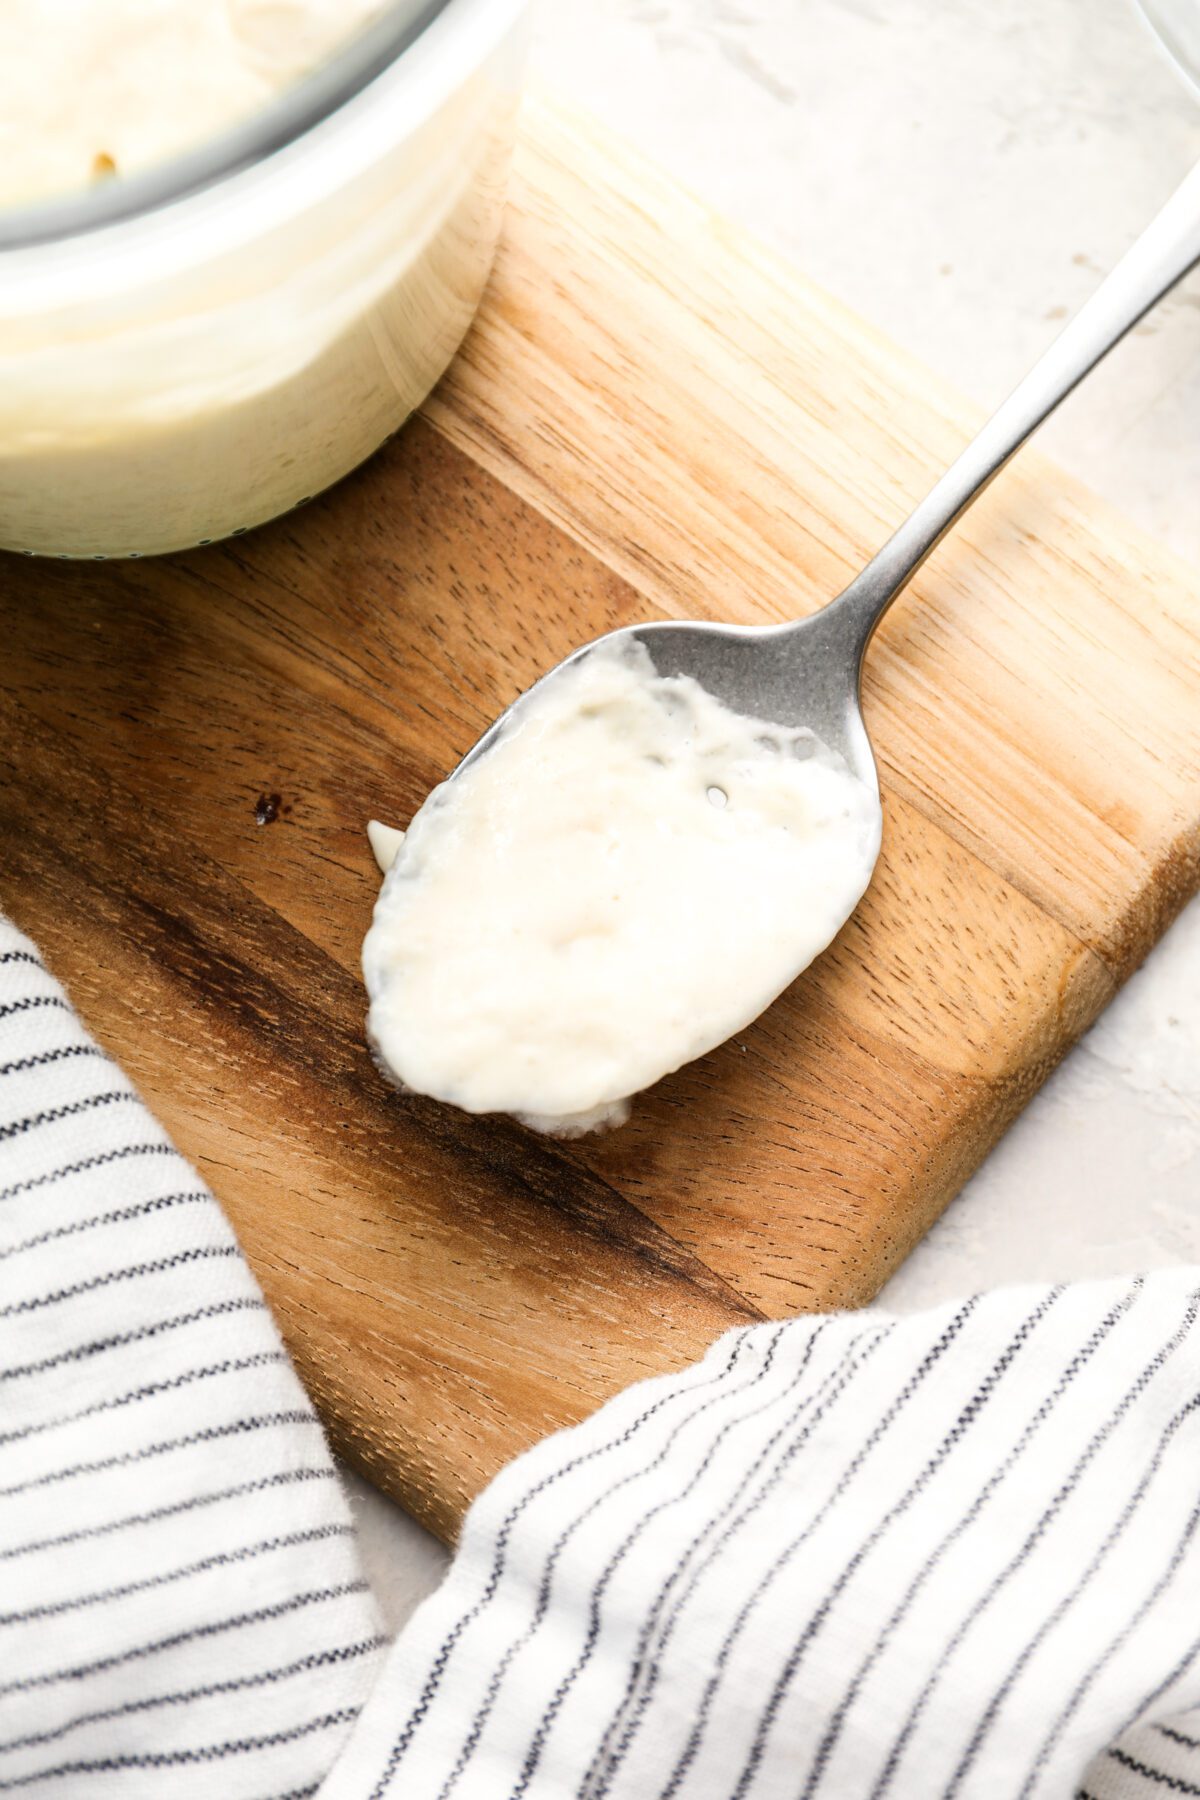
- Consistency check: Your starter should have the texture of thick pancake batter with a bit of stretch when you stir it. If it feels too dry or too soupy, adjust the flour-to-water ratio slightly until it looks and feels right.
- Don’t toss your discard: Use extra starter in pancakes, waffles, crackers, or even to kick off a quick batch of pizza dough—it adds great flavor and reduces waste.
Sourdough Starter Video Tutorial
YOU MAY ALSO LIKE
Sourdough Starter

Equipment
- Kitchen scale (recommended), or measuring cups
- Clean jar or container (at least 1-qt/1-L size)
- Spoon or silicone spatula
Ingredients
- Whole wheat flour
- All-purpose flour
- Warm water
Instructions
- Day 1: In a clean jar or bowl, mix 60g (½ cup) whole wheat flour with 60ml (¼ cup) warm water (80 to 85°F/27 to 29°C ). Stir until no dry flour remains. Scrape down the sides, cover loosely with a lid or clean towel, and let it rest at room temperature (70 to 75°F/21 to 24°C) for 24 hours.
- Day 2: No feeding today. Just give the mixture a good stir to redistribute the developing wild yeast and bacteria. Cover loosely again and let it continue resting at room temperature.
- Days 3 through 7: You’ll now feed your starter once a day. Each day, discard about half the starter (roughly 60g or ½ cup; you can weigh or eyeball it—no need to be exact). The texture will be very stretchy. Add 60g (½ cup) all-purpose flour and 60ml (¼ cup) warm water. Stir well, cover loosely, and let it rest at room temperature until the next day.By Day 5 or so, you should see regular bubbling and a noticeable rise. By Day 7, your starter should double in volume within 4 to 6 hours of feeding and smell pleasantly tangy. If it does, you’re ready to bake! If not, continue daily feedings until it’s consistently active.(Not sure if it’s ready? Do the float test: drop a teaspoon of bubbly, recently fed starter into a glass of water—if it floats, it’s good to go.)Once it’s active/ready to bake with, transfer your starter to a clean jar. You can use the starter right away or store it for later (see below for how to maintain your starter).
- Maintain: If you bake a few times a week, keep your starter at room temperature and feed it once a day. First, by discarding most of it (leaving about 60g or 3 tablespoons), then adding 60g (½ cup) flour and 60ml (¼ cup) water. Stir well and cover loosely.If you bake once a week or less, store your starter in the refrigerator and feed it the same way about once a week. After feeding, let it sit at room temperature for a few hours to become active before putting it back in the fridge.
Notes
50 g all-purpose flour
50 g warm water (80°F/27°C) Stir everything together in a clean jar and let it rise at room temperature for 4 to 6 hours, until bubbly, doubled in size, and slightly domed on top. Once it’s ready, it can go straight into your dough.
This website is written and produced for informational purposes only. I am not a certified nutritionist and the nutritional data on this site has not been evaluated or approved by a nutritionist or the Food and Drug Administration. Nutritional information is offered as a courtesy and should not be construed as a guarantee. The data is calculated through an online nutritional calculator, Edamam.com. Although I do my best to provide accurate nutritional information, these figures should be considered estimates only. Varying factors such as product types or brands purchased, natural fluctuations in fresh produce, and the way ingredients are processed change the effective nutritional information in any given recipe. Furthermore, different online calculators provide different results depending on their own nutrition fact sources and algorithms. To obtain the most accurate nutritional information in a given recipe, you should calculate the nutritional information with the actual ingredients used in your recipe, using your preferred nutrition calculator.
Eager to get started on the starter. Could I use white whole wheat flour or rye flour or a combination of the 2 in place of the whole wheat flour to get started?
Thank-you!
Linda L
Hi Linda, I’d use the rye flour. 😊
can one weigh it down to 60 g ea time (volume stays the same) rather than “eye balling”? How would that affect the flavor? And can I use (enriched, unbleached, unbromated) bread flour all the time, instead? Thank you,
Gudrun F.
You can weigh it each time, but you really don’t need to. And bread flour should work, but it may require more water. Good luck!
HELP PLEASE, Jennifer….I had the starter going, when I posted my question and everything was gong fine, starter already started to bubble…then I (am 85) messed up on day 5….I forgot to take 1/2 half of the starter, before adding new flour & water to it…That was yesterday, today I see a bit of bubbling, but hardly any movement. Can this be saved, and how do I proceed, or do I have to start from the beginning? Thank you for your help, Gudrun F.
Hi Gudrun, not sure if I’m weighing and too late, but you don’t need to start over; forgetting to discard is easy to fix. Just discard all but 113g (about 1/2 cup) of the starter and resume your normal feeding of flour and water. This will restore the balance of yeast to food.
Hi Jennifer, I did make another starter with bread flour, & actually had a rise on day 2. As you suggested, I added some extra water, wasn’t sure how much, but added 1 tbsp ea on day 3 & 4, that seemed to make it too thin, so no extra the following days. I see from your answer to Lily, that my house temp is OK at 69F during the day, but it is set at 67 at night. I had the jar next to an old fridge with coils, which gave some heat. Today, day 7, I put a towel underneath and around the bottom of the jar and set it on top of a heat register. It’s cold and the furnace is going most of the day. Is that too much heat? The starter seems still a bit thin, not rising, but smells good and slightly acidic. I will continue with the discard & feeding. What more or different can I do? Should I switch to all purpose flour? I bought a 6 qt dutch oven a few days ago and really want this to work, though am getting a bit discouraged. Thank you for all your help, it is much appreciated. Gudrun F.
Hi Gudrun, Don’t be discouraged! It is very normal for a starter to look flat on Day 7 as the yeast takes over from the initial bacteria.
Here are the basic facts to get it moving:
The Heat Register: Move it away from the furnace vent. Direct heat can exceed 85°F, which can overheat the starter and make it runny. The ideal temperature is between 70°F and 75°F. (Try putting it in your oven with the oven off, but the oven light on.)
Consistency: If it still feels too thin, simply reduce your water by a tablespoon at the next feeding or add a tablespoon of flour. You are aiming for the consistency of a very thick, stretchy pancake batter.
The Flour: You do not need to switch to all-purpose flour. Bread flour actually creates a stronger gluten network that traps bubbles better. However, replacing half of your bread flour with whole wheat flour for a few days can give a sluggish starter a massive nutrient boost.
Hope that helps!
Hi, I am using your recipe and am very excited about making my own sourdough starter. I have made bread for 53 and 1/2 years, but never sourdough. We were in Texas in February. Lora, our lovely daughter-in-law, was making sourdough bread every day. (They have five children) She began each day by taking out the extra starter and “feeding” the mother”. Then she made bread and rolls. They were delicious! I was delighted to find your simple starter recipe when we got home. I began four days ago. Thank you! In Christ, Kim Wills
When you are staring the starter do you discard down to 60 g each day (volume stays the same throughout the process) or do you only discard ½ of the starter (volume increases as you go).
Hi Amy, if you just discard about half of each day, you’ll be good.
Hi, I am going to be trying this for the first time and my house at the moment is around 68 F as we are moving into cooler weather and am wondering if that will be okay to set out or do I need to have it in a warmer place?
Hi Lily, that should be fine.
This morning is day 6, I usually discard and feed in the afternoon. When I got up this morning it had risen and seeped out of the Weck jar. Do I just clean it up, eyeball the discard and keep going? Or do I have to start over? Yesterday, day 5 I did notice more bubbling, but nothing like this morning.
Hi Jina, No need to start over! Just eyeball the discard and keep going – you might want to move it to a larger jar.
that’s exactly what i did, except moved it to the same size jar… it has been only 2 hours and has already doubled in size. I also opted to just put a tea towel doubled over it with a rubber band instead of placing the Weck lid back on. does this mean it’s ready? should I refrigerate until ready to bake?
Hi Jina, Yes I would transfer it to a clean jar and refrigerate until you’re ready to bake.
Hi Jenn,
I am excited to make this recipe. Can you please tell me where you find the small clear jars with lids for the starter?
Thanks,
Vickie
Hi Vickie, I like these jars. Hope that helps!
Dear Jenn,
I can’t wait to give this a whirl – my partner and I have always wanted to learn to make our own sourdough. The weather is really warm here in Australia at the moment. Is there any risk that the starter will spoil (due to the heat and humidity) while it develops at room temperature?
Hi Gayathiri, A sourdough starter won’t spoil just from sitting in a hot kitchen, but the heat makes it ferment faster so you’ll need to feed it more often. True spoilage is rare—just watch for mold or off-colors, and otherwise feed it every 12 hours or so to keep it healthy.