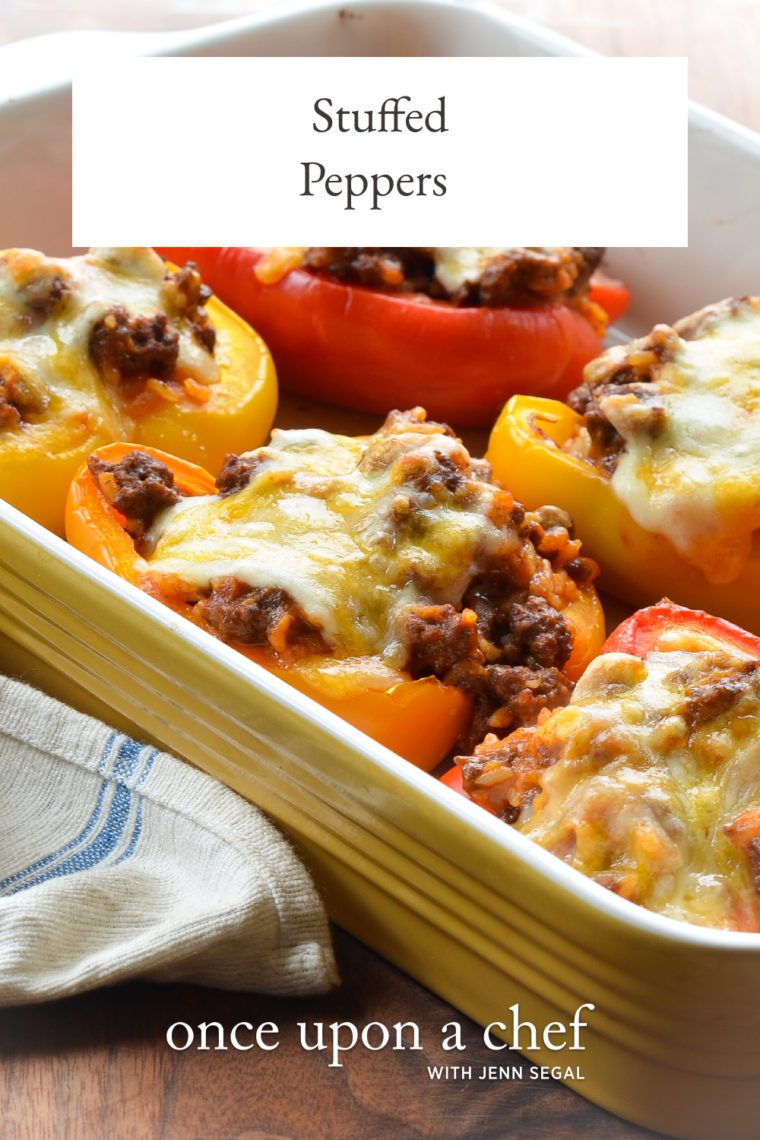
Stuffed Peppers

This post may contain affiliate links. Read my full disclosure policy.
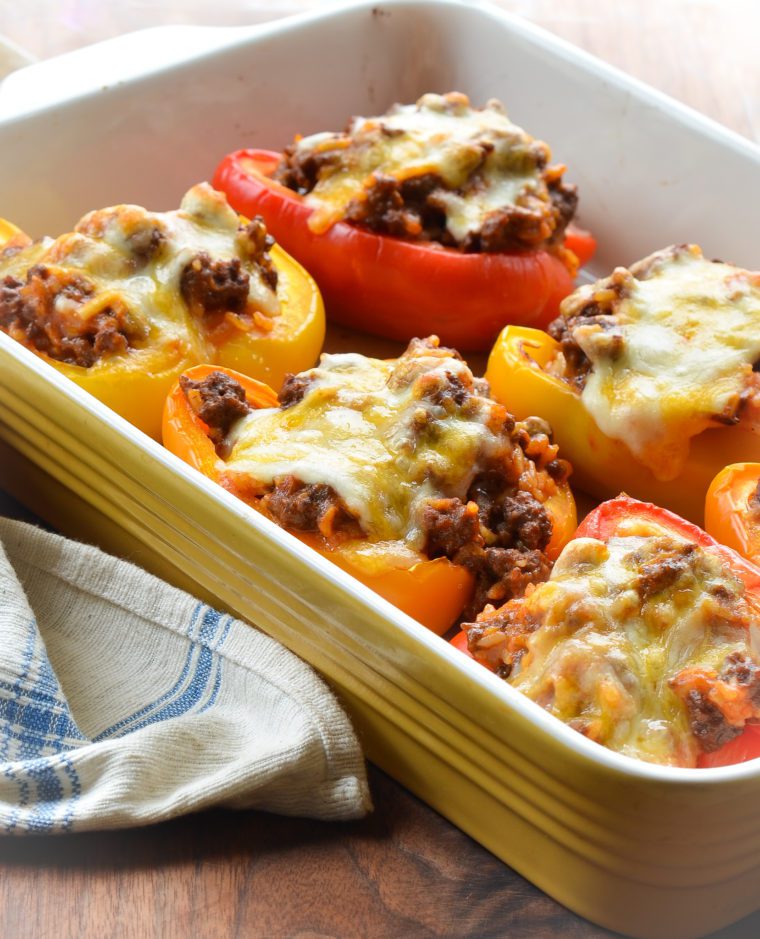
Classic stuffed peppers loaded with savory ground beef, rice, tomato sauce, and melty cheese—comforting, crowd-pleasing, and easy enough for a weeknight.
Almost every cuisine has its own version of stuffed peppers—bell peppers filled with some combination of meat, tomato sauce, vegetables, rice, and cheese. In the U.S., the dish is undeniably retro (the most popular recipe online is still the one from Betty Crocker!). Here, I’ve given the classic recipe a little update by quickly tenderizing the beef before cooking and seasoning it with Southwestern spices, which pair perfectly with the sweetness of the bell peppers. That said, the recipe is endlessly flexible—you can switch up the meat, spices, grain, or cheese to give it a whole new twist. I like to serve this version with cornbread.
The peppers need a head start in the oven so they cook all the way through. A lot of recipes call for boiling them first, but I prefer roasting—more flavor, less cleanup! Just slice the peppers in half from top to bottom, scoop out the seeds and membranes, and roast until they’re tender-crisp.
“These stuffed peppers are so good I was asked to make them for dinner twice in one week! And there were leftovers in between!”
What You’ll Need To Make Stuffed Peppers
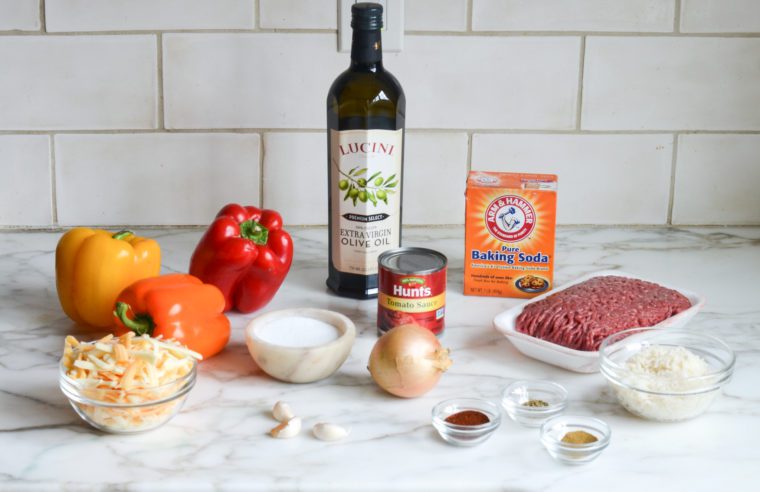
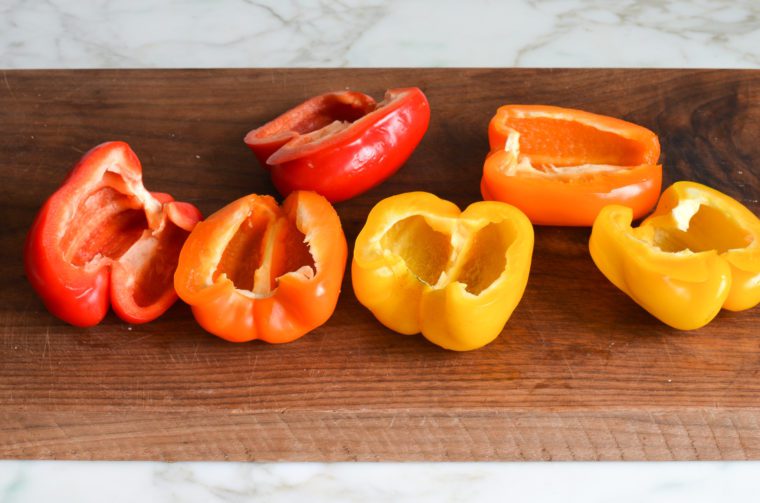
When selecting bell peppers, look for peppers that are bright, shiny and firm. They should not have wrinkled skin, soft spots, or moldy stems. I prefer red, orange, or yellow peppers; green peppers are unripe and have an unpleasant, somewhat bitter taste. (If left to fully ripen, green peppers will eventually turn another color, and the flavor will become increasingly sweet.) Bell peppers keep for up to a week in the refrigerator crisper drawer.
Step-by-Step Instructions
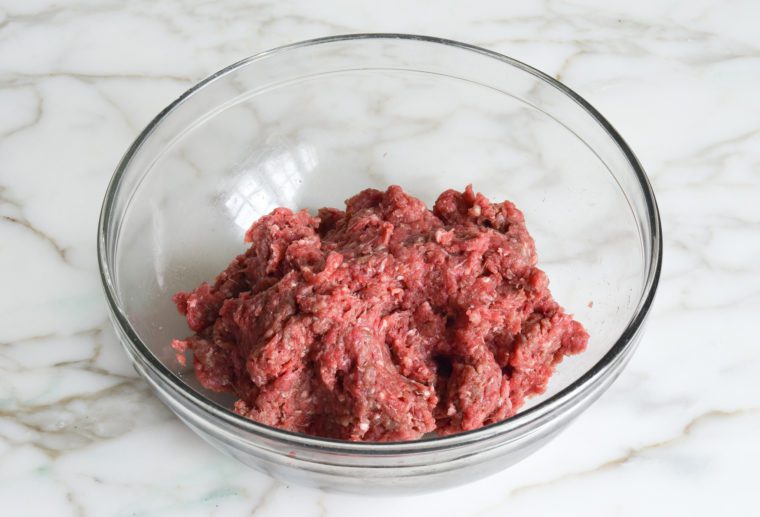
Step 1: Tenderize the beef. In a medium bowl, combine the beef with 1 teaspoon of the salt and the baking soda. Mix it with your hands until it’s evenly combined, then let it sit for 20 minutes while you prep the rest of the recipe. The baking soda works its magic during this time—it raises the pH, which helps the beef stay tender and juicy as it cooks. (I use this tenderizing technique in many ground beef recipes, including beef enchiladas, beef chili, and shepherd’s pie.)
Step 2: Prepare the peppers. Slice the peppers in half from top to bottom, then scoop out the seeds and membranes with your hands or a small knife.
Step 3: Pre-roast the peppers. Place the pepper halves cut side up in a 9×13-inch baking dish. Drizzle with 1 tablespoon of the oil and sprinkle with the remaining salt. Roast for about 20 minutes, until they’re just starting to brown and are tender but still holding their shape. Don’t worry if some liquid collects in the peppers—that’s totally normal.

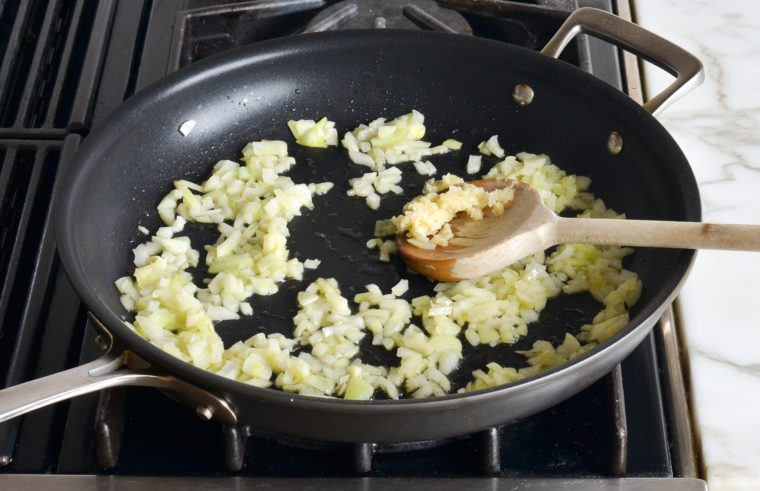
Step 4: Make the filling. Meanwhile, heat the remaining 2 tablespoons of oil over medium heat in a large nonstick skillet. Add the onion and cook, stirring frequently, until soft and translucent, 3 to 4 minutes. Add the garlic and cook 1 minute more; do not brown.
To the skillet, add the ground beef mixture, chili powder, cumin, and oregano and increase the heat to medium high.
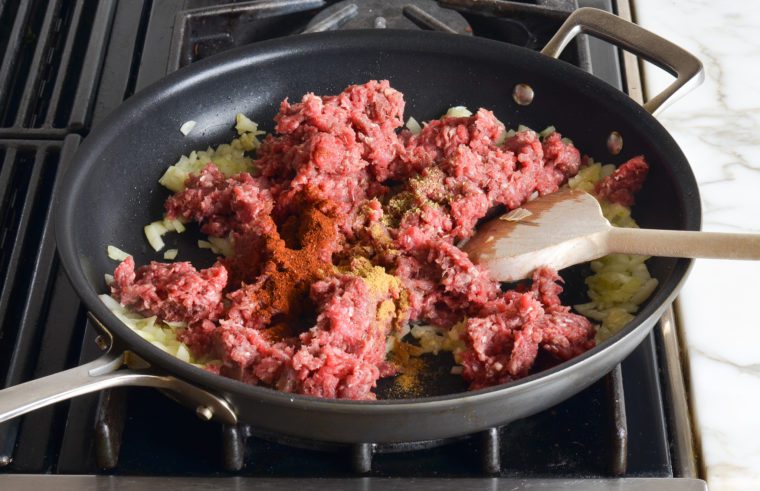
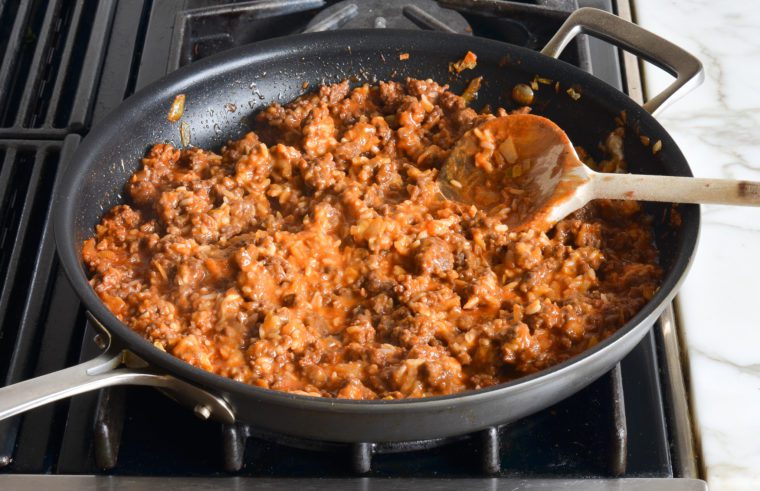
Cook, breaking the meat up with a wooden spoon, until the meat is browned and almost cooked through, about 5 minutes. Add the tomato sauce and bring to a boil.
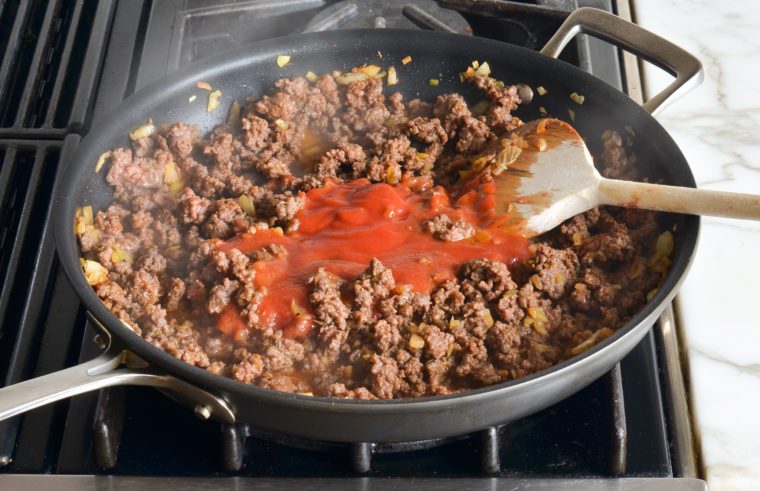
Reduce the heat to medium low and cook, uncovered, until the meat is cooked through, 2 to 3 minutes. Add the cooked rice and 3/4 cup of the cheese.
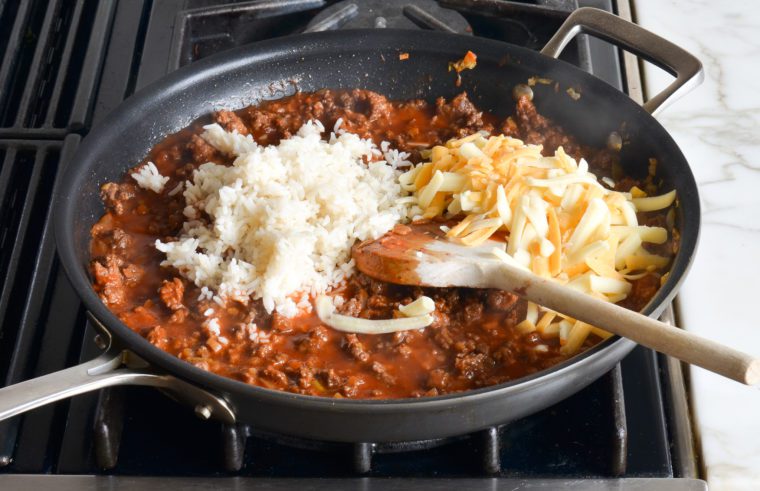
Stir until melted and remove the skillet from the heat.
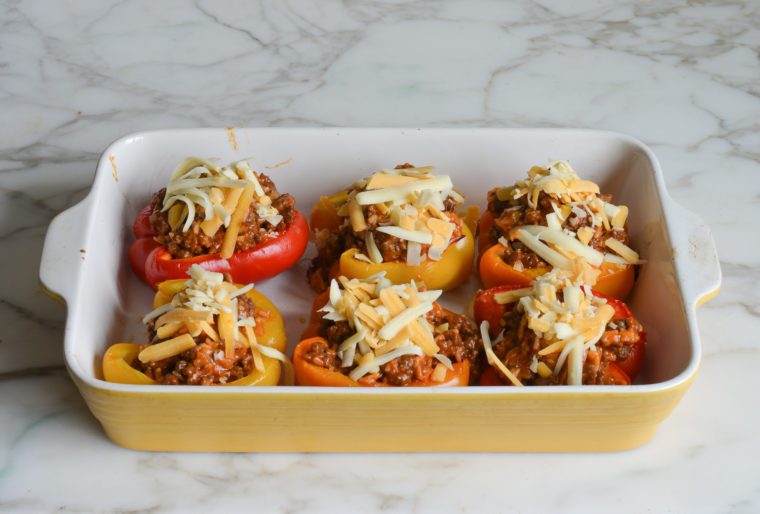
Step 5: Fill the peppers. Take the peppers out of the oven and spoon the meat filling evenly into each one. Sprinkle the tops with the remaining ¾ cup of cheese.
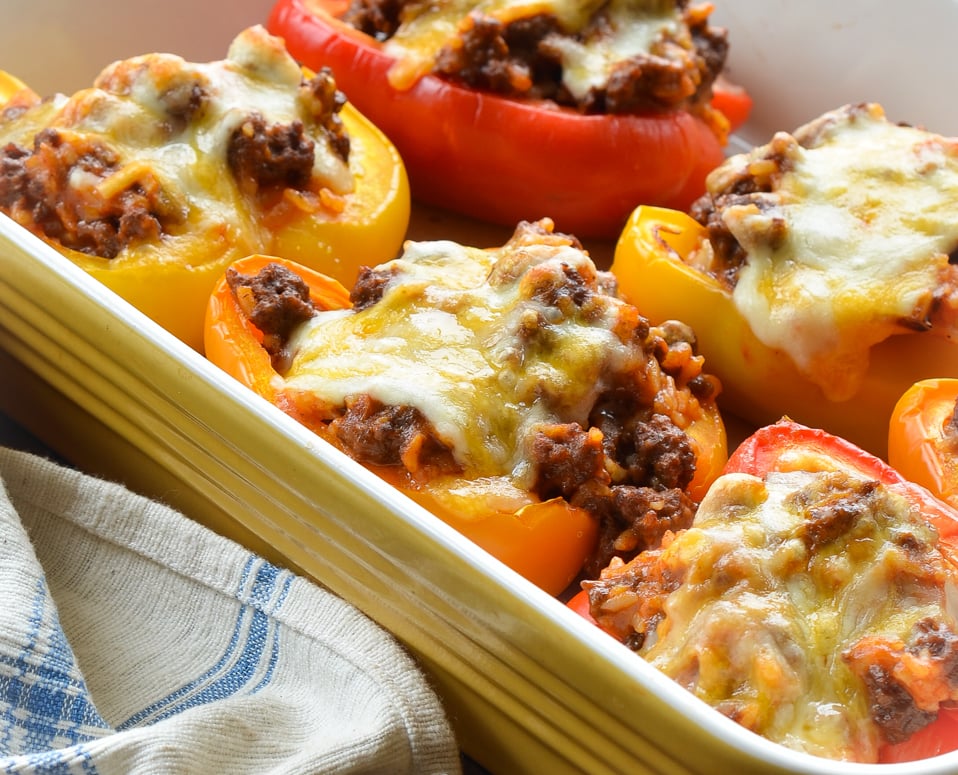
Step 6: Bake. Return the filled peppers to the oven and bake for 10 to 15 minutes, until the filling is hot and the cheese is melted and bubbling. Serve warm and enjoy!
Video Tutorial
You May Also Like
Stuffed Peppers

Ingredients
- 1 lb 90% lean ground beef
- 1¼ teaspoons salt divided
- Heaping ¼ teaspoon baking soda
- 3 large red, yellow, or orange bell peppers, cut in half from the stem to the bottom and cored
- 3 tablespoons extra-virgin oil
- 1 medium yellow onion, finely chopped
- 3 cloves garlic, minced
- 1½ teaspoons chili powder
- ½ teaspoon ground cumin
- ¼ teaspoon dried oregano
- 1 (8-oz) can tomato sauce
- 1 cup cooked rice, quinoa, or any grain
- 1½ cups shredded Monterey Jack or Cheddar Jack cheese
Instructions
- Preheat the oven to 425°F (220°C) and set an oven rack in the middle position.
- Tenderize the beef: In a medium bowl, using your hands, mash the beef with 1 teaspoon of the salt and the baking soda. Let sit for 20 minutes while you continue with the recipe.
- Line a 9 x 13-in (23 x 33-cm) baking dish with aluminum foil for easy clean-up, if you like. Place the peppers, cut side up, in the baking dish; drizzle with 1 tablespoon of the oil and sprinkle with the remaining ¼ teaspoon salt.
- Roast the peppers for about 20 minutes, until slightly browned and tender-crisp. A bit of liquid will accumulate in the bottom of the peppers; that's okay.
- Meanwhile, heat the remaining 2 tablespoons of oil over medium heat in a large nonstick skillet. Add the onion and cook, stirring frequently, until soft and translucent, 3 to 4 minutes. Add the garlic and cook 1 minute more; do not brown. Add the ground beef mixture, chili powder, cumin, and oregano, and increase the heat to medium-high. Cook, breaking the meat up with a wooden spoon, until the meat is browned and almost cooked through, 4 to 5 minutes. Add the tomato sauce and bring to a boil; reduce the heat to medium-low and cook, uncovered, until the meat is cooked through, 2 to 3 minutes. Add the cooked rice and ¾ cup (90 g) of the cheese, and stir until melted. Remove the skillet from the heat.
- Remove the peppers from the oven and spoon the meat filling evenly into the peppers. Sprinkle with the remaining ¾ cup (90 g) cheese and place back in the oven. Roast for 10 to 15 minutes, until the filling is hot and the cheese is melted and bubbling, and serve.
Notes
Pair with

Nutrition Information
This website is written and produced for informational purposes only. I am not a certified nutritionist and the nutritional data on this site has not been evaluated or approved by a nutritionist or the Food and Drug Administration. Nutritional information is offered as a courtesy and should not be construed as a guarantee. The data is calculated through an online nutritional calculator, Edamam.com. Although I do my best to provide accurate nutritional information, these figures should be considered estimates only. Varying factors such as product types or brands purchased, natural fluctuations in fresh produce, and the way ingredients are processed change the effective nutritional information in any given recipe. Furthermore, different online calculators provide different results depending on their own nutrition fact sources and algorithms. To obtain the most accurate nutritional information in a given recipe, you should calculate the nutritional information with the actual ingredients used in your recipe, using your preferred nutrition calculator.
Gluten-Free Adaptable Note
To the best of my knowledge, all of the ingredients used in this recipe are gluten-free or widely available in gluten-free versions. There is hidden gluten in many foods; if you're following a gluten-free diet or cooking for someone with gluten allergies, always read the labels of your ingredients to verify that they are gluten-free.
these were absolutely delicious. I’ve tried many other stuffed pepper recipes that have just been blah. Your blog is my go to when looking for a recipe. 😉
My family really enjoyed these. Thank you for sharing your recipe.
Jenn…..made the Stuffed Peppers for the third time. What a tasty dinner. Made with your mashed potatoes and it was a big hit. Thanks for making me look like a great cook. Liz
I used ground turkey instead of beef and it turned out absolutely amazing!!! Best stuffed pepper recipe I’ve ever made. Thanks for sharing the recipe👍🏼
Very good! I made mine ahead and made a couple of changes:
Mixed the ground beef (Uncooked) and baking soda together and let it sit as stated in the recipe. Then mixed the salt, onion, garlic, chili powder, ground cumin, dried oregano, and cheese together with the meat. I let the cooked rice cool before mixing it in. I then shaped the uncooked mixture into the bell pepper halves.
When ready to cook, I put it in the oven (Covered with tin foil) at 425F and left it for 60 minutes, took it out, topped it with cheese, and put it back in for another 5 minutes, and wallah.
Did you pre cook the peppers? Or just cooked for the longer time? They weren’t still crunchy?
Love love love this recipe. The bf and I love the chili flavor more than classic red sauces. I tend to use what I have on hand, or even remember… Turns out I had way too many peppers on hand that needed to be sued up, so I doubled the recipe and used 1 lb ground lamb too. it was soooo tasty! I have a yellow rice I like, so I used that. I tend not to use much in the pepper but on the side. Also blended up fire-roasted diced tomatoes for my own red sauce. I have an autoimmune issue so almost everything is grass-fed or organic, etc… absolutely loved the results! Orange and yellow peppers too for the win too!!
Amazing recipe! We are vegan so I subbed in Beyond Burger for the ground beef and skipped the tenderizing step. I also used Follow Your Heart cheddar shreds for the cheese and added in some chopped fresh mushrooms with the onions and garlic only because I had some that needed to get used. Otherwise I follow the recipe as written and it was delicious. I will absolutely make this again soon and frequently.
*COOKED Rice is KEY*
Made this last night for my family. We loved it but noted it could have used more sauce/better ratio of ingredients for the filling.
Upon reading the recipe again to see if I missed something, it stated 1 Cup COOKED rice. Okay so, I cooked 1 Cup of organic basmati rice according to directions on package. Great. What I didn’t do, and in my opinion what is not blatantly obvious when you read through the instructions section of the recipe, is they it’s important to ONLY use 1 Cup of the COKKED rice. Yes. After the rice has cooked the volume changes. So this, I suspect, is the reason why it didn’t come out perfect.
Maybe just a clarification in directions would help. I’m definitely far from a pro home chef, learning and excited about learning and trying new things, but a bit more clear directions probably would have made this a 5/5 star rating for me.
These were excellent. We used ground turkey (93/7) for a lighter take on beef without sacrificing flavor. We also replaced half of the tomato sauce (4 oz) with leftover fire roasted tomatoes. Don’t skip the baking soda (tenderizing) step!
These are awesome!!!