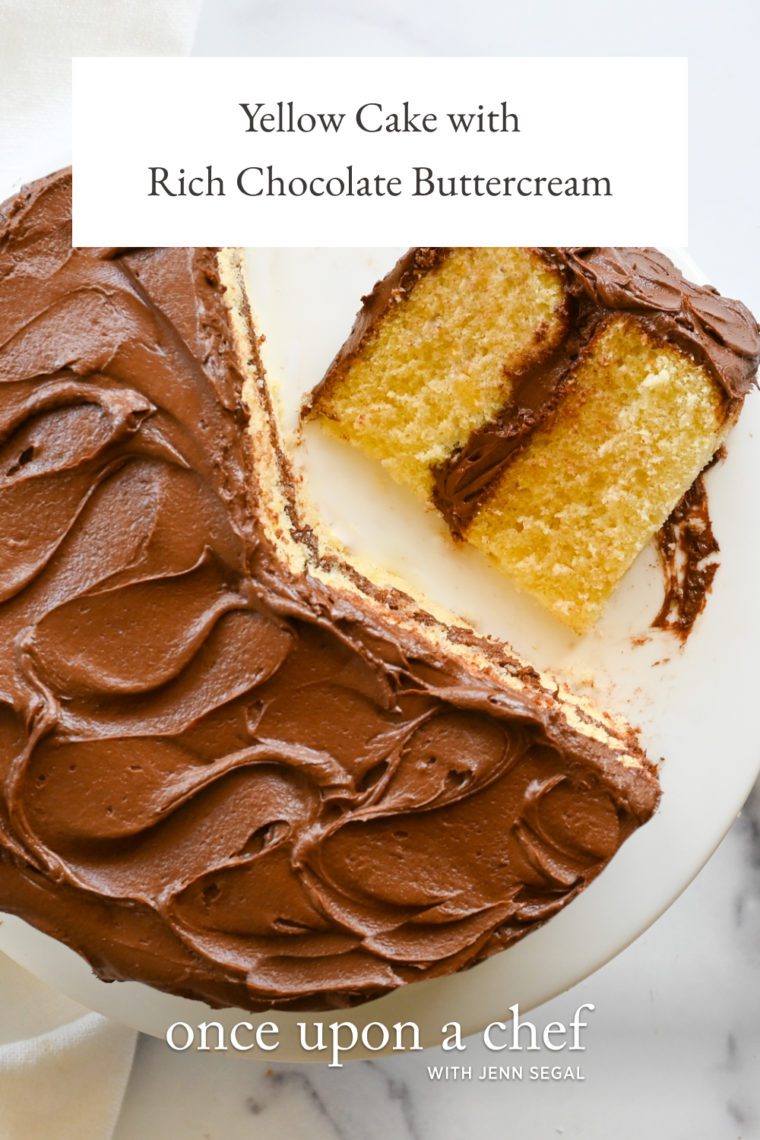
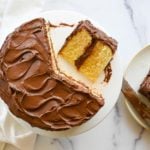
Yellow Cake with Rich Chocolate Buttercream

This post may contain affiliate links. Read my full disclosure policy.
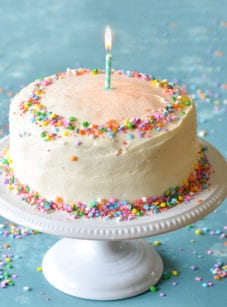
This homemade yellow cake delivers everything you want in a classic birthday cake—soft, fluffy layers and a rich, buttery crumb that feels worthy of a celebration.
If you’re looking for a classic yellow cake recipe for birthdays or any celebration, this is the one. It’s tender, fluffy, and full of rich vanilla flavor—so much better than anything from a box, and almost as easy. Unlike white cake, which is made with just egg whites, yellow cake uses whole eggs (and sometimes extra yolks), giving it that golden color and custardy flavor. You can pair it with any frosting you like, but it’s especially good with chocolate buttercream or cream cheese frosting—both of which can be whipped while the cake cools.
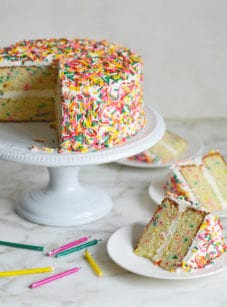
If you’d rather make cupcakes or a sheet cake instead of a layer cake, go right ahead. The recipe makes 24 cupcakes (bake for 20 to 23 minutes) or a 9 x 13-inch sheet cake (bake for 30 to 35 minutes).
“This was everything a vanilla cake should be!! Perfect texture, delicious taste.”
What You’ll Need To Make Yellow Cake
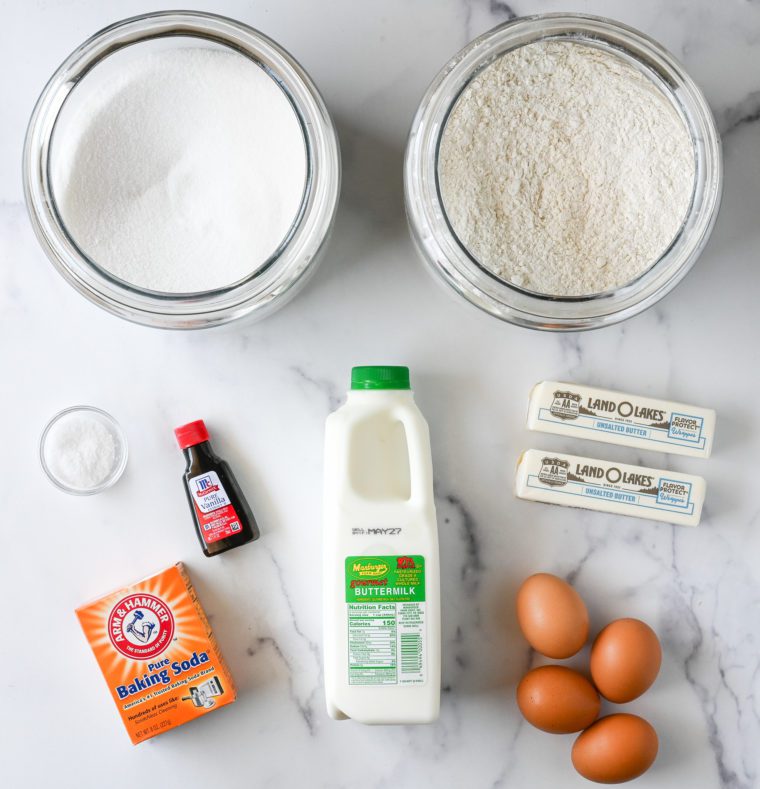
- Buttermilk, eggs & vanilla extract: These wet ingredients bring moisture, richness, and flavor. Buttermilk adds tang and tenderness, eggs provide structure and stability, and vanilla enhances the cake’s classic flavor. (If you don’t have any buttermilk on hand, see my post on how to make buttermilk using milk and vinegar.)
- Cake flour, granulated sugar, baking soda & salt: This dry blend forms the base of the batter. Cake flour keeps the crumb soft and fine, sugar sweetens and helps with browning, baking soda gives lift, and salt balances the sweetness.
- Butter: Adds richness and flavor while creating a soft, tender texture. Be sure it’s fully softened so it creams properly with the sugar. You’ll know it’s ready if it yields easily to pressure but isn’t melty. If you press a finger in and it leaves a clean indent without sliding around, you’re good to go.
- Jump to the printable recipe for precise measurements
Mixing Method
This cake uses a different mixing method than you might be used to. Instead of the traditional creaming method—where butter and sugar are beaten first, followed by eggs, flour, and liquid—this recipe uses the “high-ratio” or “two-stage” method.
The dry ingredients, including the sugar, are mixed first. Then all of the butter and half the liquid ingredients are added to coat and moisten the dry mix. Finally, the remaining liquid is added, and the batter is beaten until pale and creamy.
Popularized by pastry chef and author Rose Levy Beranbaum, this method works for cakes where the sugar equals or exceeds the flour by weight. It’s faster and easier than creaming and produces a fine-crumbed, velvety, and tender cake.
Step-by-Step Instructions
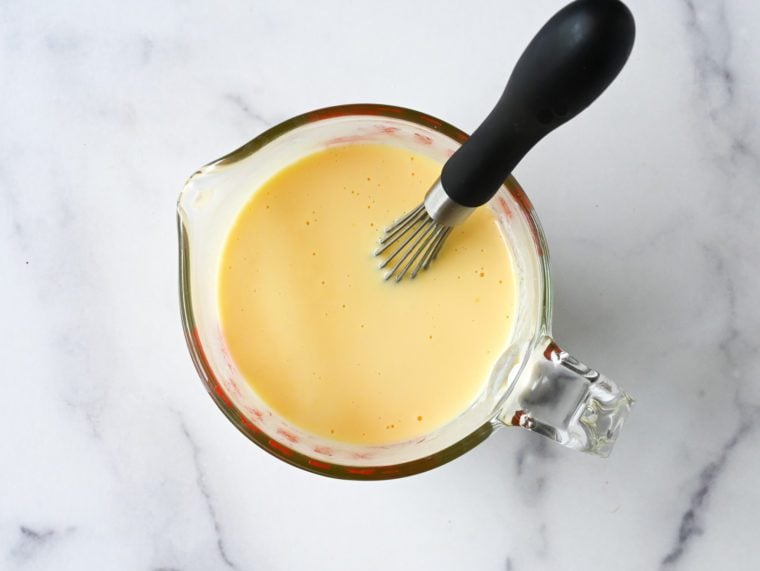
Step 1. Prep the pans and wet ingredients. Spray two 8-inch cake pans with nonstick cooking spray. Line the bottoms with parchment rounds, then spray the parchment with flour-based nonstick spray. In a medium bowl or large measuring cup, whisk together the buttermilk, eggs, and vanilla. Set aside. (It may look curdled as it sits—don’t worry.)
Pro Tip: To measure the parchment paper, just trace the bottom of the pan. If you’re a frequent baker, you can use pre-cut parchment circles (sold online or in baking supply stores). They’re a time-saver and ensure a perfect fit.
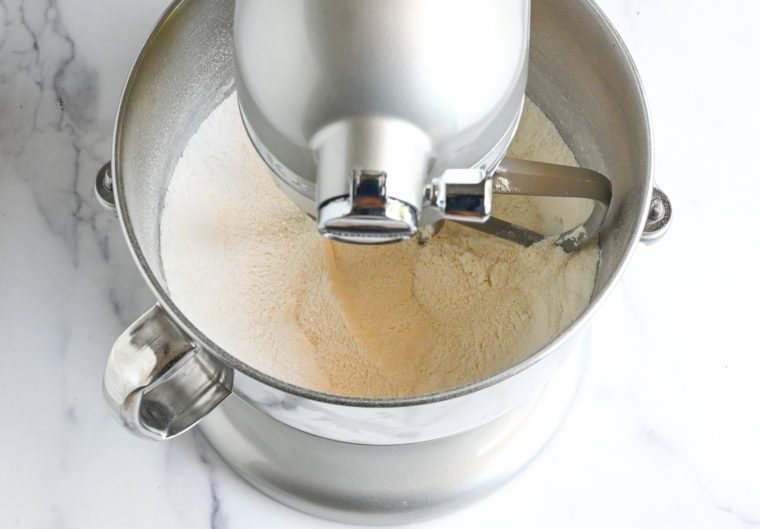
Step 2. Mix the dry ingredients. In the bowl of a stand mixer fitted with the paddle attachment (or using an electric hand mixer), combine the flour, sugar, baking soda, and salt. Mix on low for 30 seconds to blend.
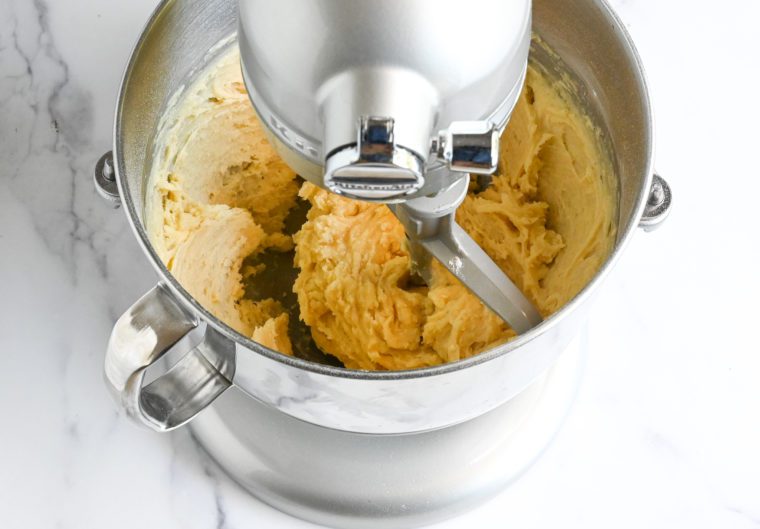
Step 3. Add butter and some of the wet mixture. Add the softened butter and half of the buttermilk mixture. Mix on low until moistened but still slightly crumbly, about 1 minute.
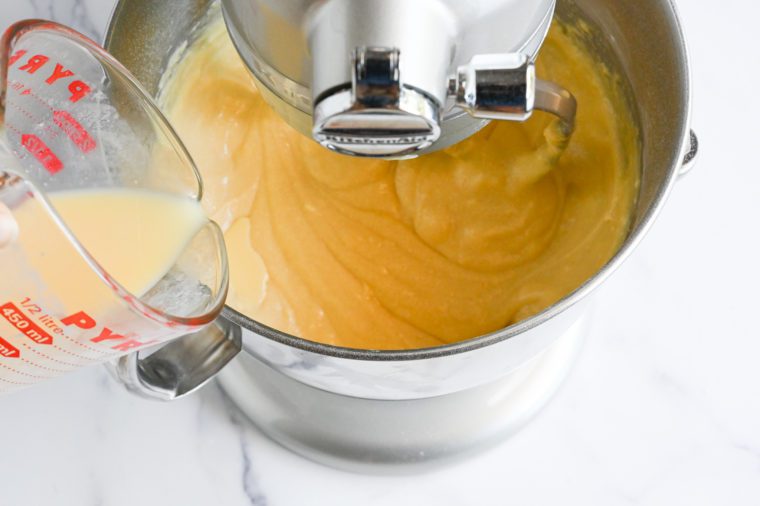
Step 4. Add remaining wet ingredients. With the mixer on low, slowly pour in the rest of the buttermilk mixture.
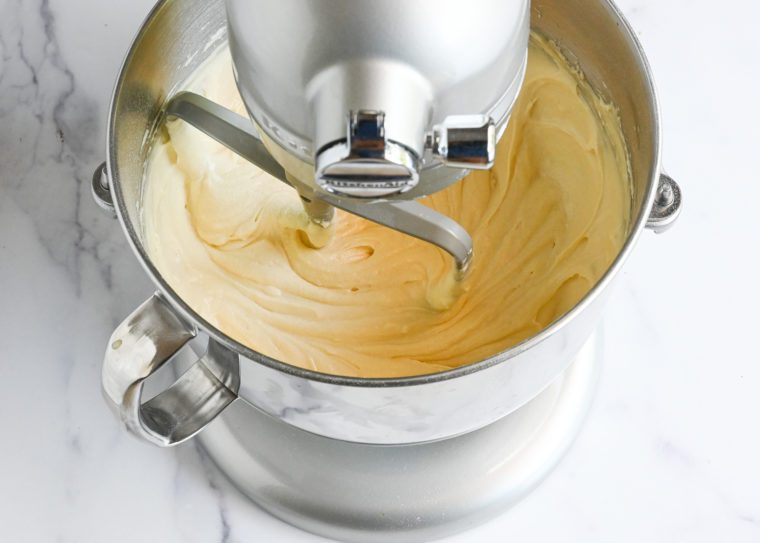
Step 5: Finish off the batter. Once added, increase speed to medium and mix for 3 minutes, pausing once to scrape the sides and bottom. The batter should be pale and creamy. Scrape down once more to ensure everything is incorporated.
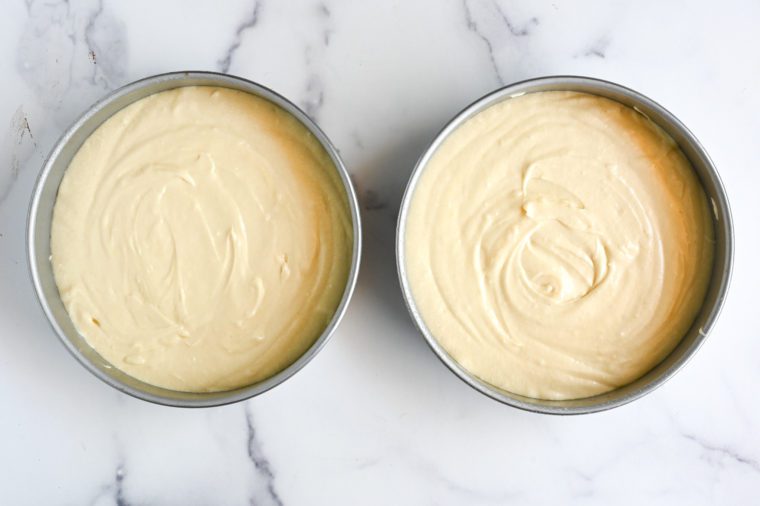
Step 6. Transfer batter and bake. Divide the batter evenly between the prepared pans.
Pro Tip: Eyeballing the batter is just fine, but for perfectly even layers, weigh the pans after filling them and adjust as needed.
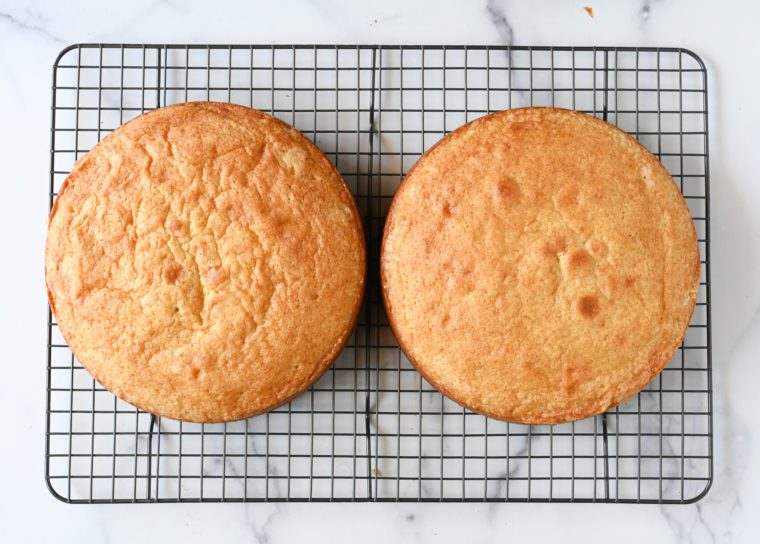
Step 7. Bake and cool. Bake in a 350°F-oven for 30 to 40 minutes, or until a cake tester or toothpick comes out clean. Cool in the pans on a wire rack for 15 minutes, then unmold and finish cooling right side up on the rack (leave the parchment on the bottoms).
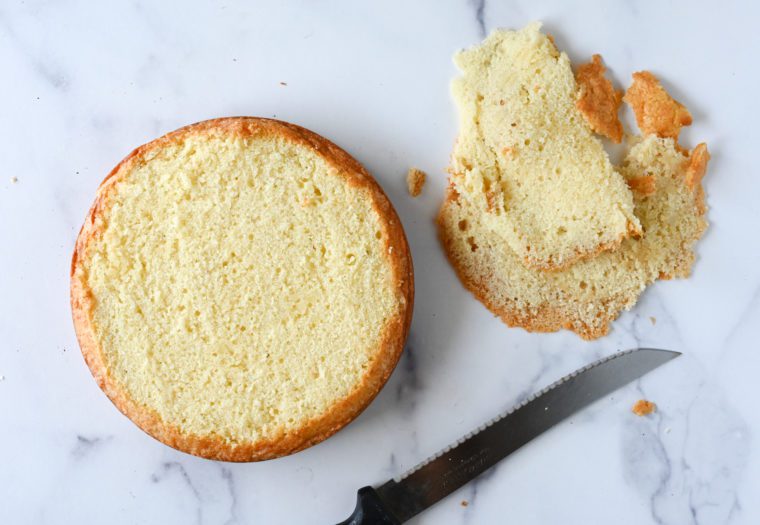
Step 8: Trim the cakes if necessary. When the layers are completely cool, use a serrated knife to trim off the domed tops (this ensures the cake is level).
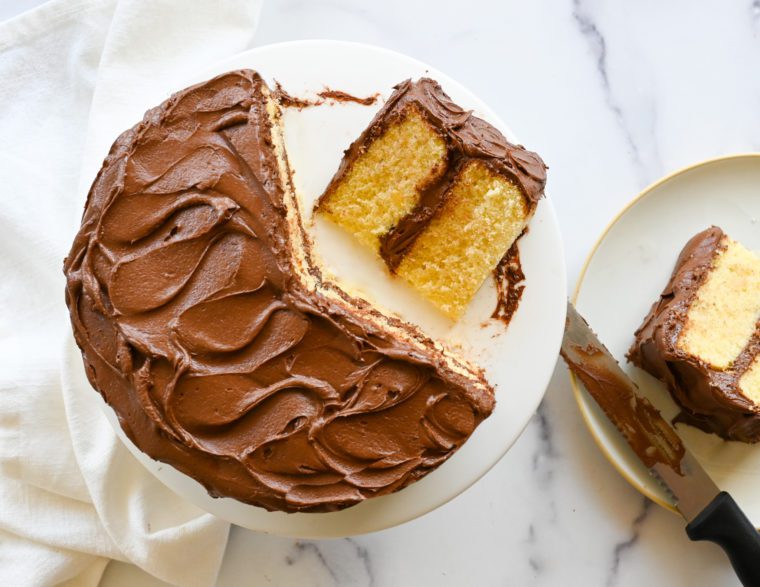
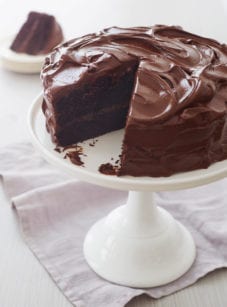
Step 9: Frost. Place one cake layer, cut side down, on a serving plate, spread with ¾ cup frosting, then top with the second layer, also cut side down. Spread the remaining frosting over the top and sides, swirling decoratively. The cake is best enjoyed the day it’s made but keeps well for up to 3 days at room temperature under a cake dome. For longer storage, freeze the cake (without the frosting) for up to 3 months.
Pro Tip: For a neater finish, spread a thin layer of frosting over the cake and chill briefly before doing the final coat—this is called a crumb coat.

More Layer Cakes to Love

Yellow Cake with Rich Chocolate Buttercream
From birthday parties to weekend baking, this yellow cake checks every box—easy to make, rich and tender, and always a hit.
Ingredients
- 1 cup buttermilk (see note)
- 4 large eggs
- 2 teaspoons vanilla extract
- 2¾ cups cake flour, spooned into measuring cup and leveled-off
- 2 cups granulated sugar
- ½ teaspoon baking soda
- Heaping ½ teaspoon salt
- 2 sticks (1 cup) unsalted butter, softened
- Rich Chocolate Buttercream (or Cream Cheese Frosting)
Instructions
- Preheat the oven to 350°F and set an oven rack in the middle position. Spray two 8-inch cake pans with nonstick cooking spray with flour. Cut two 8-inch rounds of parchment paper and line the bottom of each pan; spray the paper with nonstick spray with flour. (To measure the parchment paper, just trace the bottom of the pan.)
- In a medium bowl or large liquid measuring cup, whisk together the buttermilk, eggs, and vanilla. Set aside. (Note that the mixture will start to look curdled as it sits; that's okay.)
- In the bowl of an electric mixer fitted with the paddle attachment or beaters, combine the flour, sugar, baking soda, and salt. Beat on low speed for 30 seconds to combine. Add the soft butter and half of the buttermilk mixture and mix on low speed until moistened but still a little crumbly, about 1 minute. With the mixer running on low, gradually add the remaining buttermilk mixture, then increase the speed to medium and mix for three minutes, stopping once to scrape down the sides and bottom of the bowl with a rubber spatula. The batter should look pale and creamy. Scrape down the sides and bottom of the bowl again, making sure the batter is evenly mixed.
- Transfer the batter to the prepared pans and bake for 30 to 40 minutes, or until a cake tester comes out clean. Cool in the pans on a rack for 15 minutes, then unmold onto rack to finish cooling right side up (keep the parchment paper underneath the cake layers so they don't stick to the rack). When cake layers are completely cool, use a serrated knife to trim off the domed tops, if necessary; this will ensure the cake is level. Place one cake layer on a serving plate, cut side down. Using an offset spatula or butter knife, spread about ¾ cup of the frosting over the first layer. Top with the second layer, cut side down, then spread the remaining frosting over the top and sides of the cake, swirling decoratively. The cake is best enjoyed fresh on the day it is made, but it will keep nicely for 2 to 3 days stored in a cake dome at room temperature.
- Note: If you’d like to make your own buttermilk, check out the easy method here.
- Note: The recipe can also make 24 cupcakes (bake for 20 to 23 minutes) or a 9 x 13-inch sheet cake (bake for 30 to 35 minutes).
- Note: Nutritional information includes the chocolate buttercream frosting.
- Freezer-Friendly Instructions: The cake can be frozen, without frosting, for up to 3 months. After it is completely cooled, double-wrap it securely with aluminum foil or plastic freezer wrap, or place it in heavy-duty freezer bag. Thaw overnight on the countertop and then frost before serving.
Nutrition Information
Powered by ![]()
- Per serving (14 servings)
- Calories: 669
- Fat: 35 g
- Saturated fat: 20 g
- Carbohydrates: 86 g
- Sugar: 54 g
- Fiber: 2 g
- Protein: 7 g
- Sodium: 269 mg
- Cholesterol: 132 mg
This website is written and produced for informational purposes only. I am not a certified nutritionist and the nutritional data on this site has not been evaluated or approved by a nutritionist or the Food and Drug Administration. Nutritional information is offered as a courtesy and should not be construed as a guarantee. The data is calculated through an online nutritional calculator, Edamam.com. Although I do my best to provide accurate nutritional information, these figures should be considered estimates only. Varying factors such as product types or brands purchased, natural fluctuations in fresh produce, and the way ingredients are processed change the effective nutritional information in any given recipe. Furthermore, different online calculators provide different results depending on their own nutrition fact sources and algorithms. To obtain the most accurate nutritional information in a given recipe, you should calculate the nutritional information with the actual ingredients used in your recipe, using your preferred nutrition calculator.
I just made this, and my friends and coworkers could not stop talking about how good it was. One of my friends said that it was “just like her mother used to make”. My coworkers told me several times about how delicious it was. Thanks for making me look like a professional baker!
I’ve made this delicious cake before, but today, I don’t see the buttermilk in the ingredient list…? The buttermilk sub recipe is 1 cup. Is that the correct amount for this cake?
Hi Anne, glad you like it! You must’ve just overlooked it, because buttermilk is the first ingredient in the list. And, yes, you’ll need one cup. Enjoy!
Hi Jen, can I use this recipe for a 9×13 cake? And if yes, how would I adjust the baking time?
Thanks for your help and for all your wonderful recipes — I use them so often that I’m constantly referring people to your site and your books!
Hi Deanna, thanks for your nice words about the recipes – so glad you like them! Yes, you can bake this in a 9 x 13 baking dish, though it will be a bit shorter. I’d start checking for doneness at 35 to 40 minutes.
Hello Jenn,
I’m wanting to bake this cake.
Have a question for you.
Does it matter what the protein percentage is when using all purpose flour?
I wasn’t sure if one was better to use.
Again, myself and my daughters throughly enjoy all your recipes here and your books.
Thank you
Regina
Hi Regina, So glad you like the recipes! The higher the level of protein in the flour, the more structure your cake will have. My brand of choice is King Arthur. One of the reasons I like it is because of it’s high protein percentage (almost 12%). Hope you enjoy the cake!
I made this cake for my grandson’s 4th birthday, and it was a big hit. Used your rich chocolate buttercream using milk chocolate for the icing, but made it smooth instead of swirly and decorated the top with m&ms. It was a big hit.
I’m interested to know the reason behind the different technique of not starting with butter creamed with sugar. This cake, compared to that method was firmer and much easier to slice, but not dry. Is that the reason?
Thanks for another wonderful recipe!
Glad the cake was a hit! It’s interesting that you found the cake to be firmer — when I use this method, it generally comes out tender and a bit fluffier. That said, I was going for a texture more like a store-bought cake mix (and professional bakers often use this high ratio/reverse creaming method). If you’re still curious, I’d google it to get a bit more information.
What would be the cook time if I made it into cupcakes?
Hi Clara, Cupcakes will take 20 to 25 min. Hope that helps!
Hi
Can these be made in 9 inch rounds?
Sure – just keep in mind that the big time will likely be a bit shorter. Enjoy!
Thank you!
This cake, just like every recipe on your website or in your cookbooks, is a winner! I just made it for the first time on a whim, and it turned out perfectly! Thank you so much for your elegant, delicious, and dependable recipes!