

This post may contain affiliate links. Read my full disclosure policy.
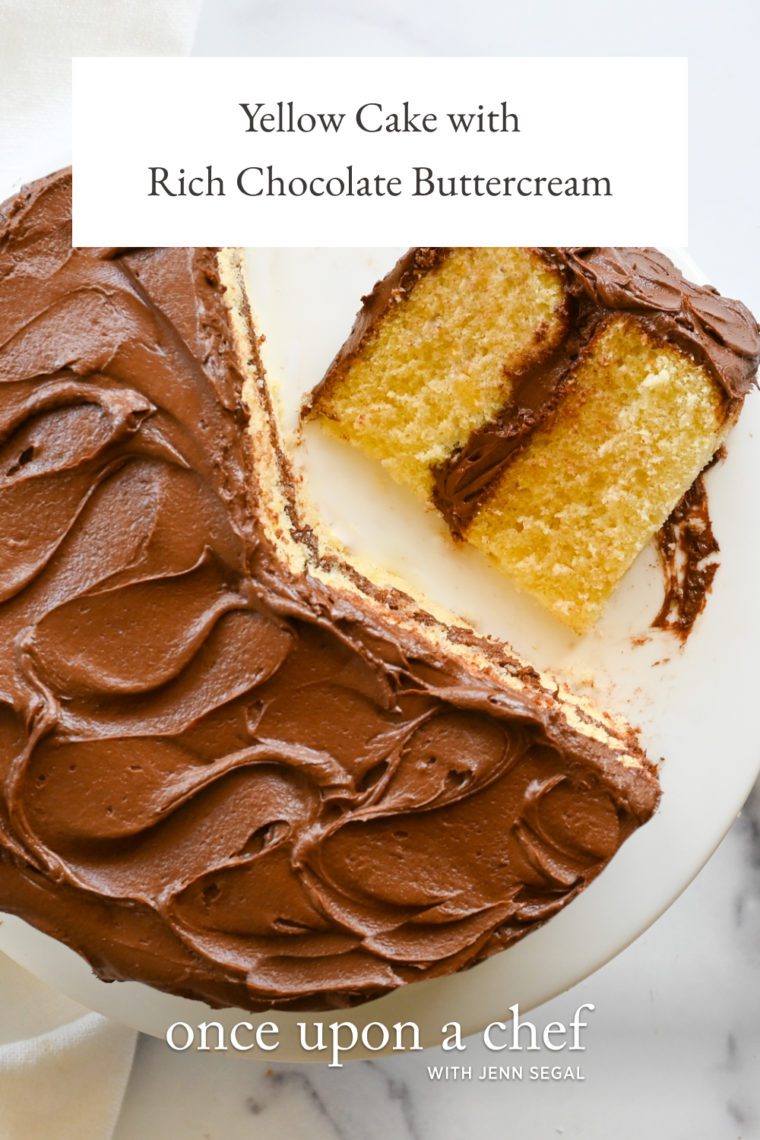
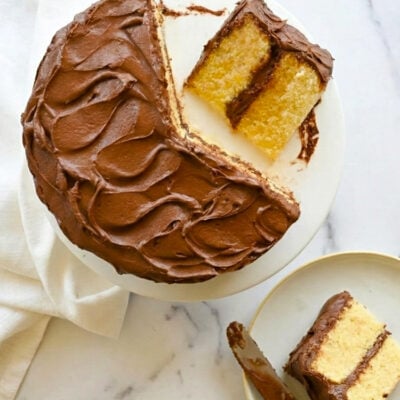
If you’re looking for a classic yellow cake recipe for birthdays or any celebration, this is the one. It’s tender, fluffy, and full of rich vanilla flavor—so much better than anything from a box, and almost as easy.
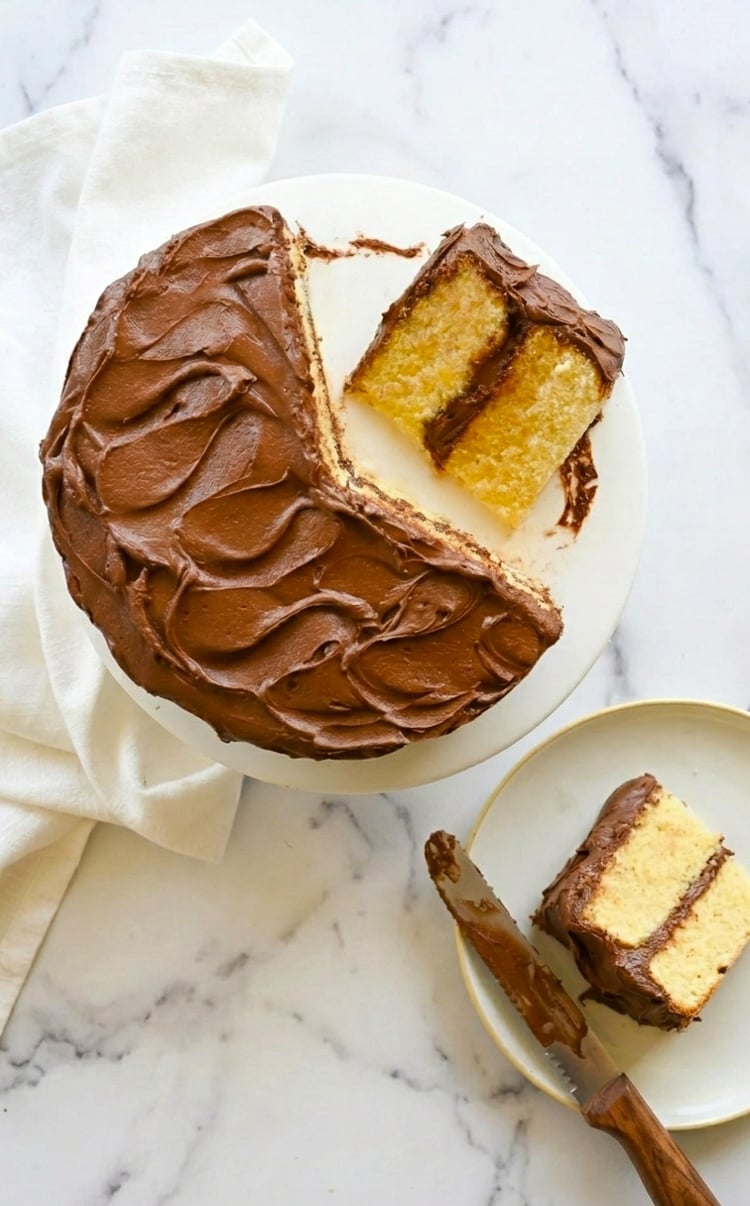
After culinary school and before starting Once Upon a Chef, I ran a small cake business, so I’ve baked my fair share of layer cakes. This yellow cake was—and still is—one of my favorites because it gives you everything you want in a homemade yellow cake: buttery, vanilla-scented layers with a soft, fine crumb. Best of all, it uses an easy two-stage mixing method that’s practically foolproof. And while you can pair it with just about any frosting, rich chocolate buttercream is the classic and hard to beat.
“This was everything a vanilla cake should be!! Perfect texture, delicious taste.”
What You’ll Need To Make Yellow Cake
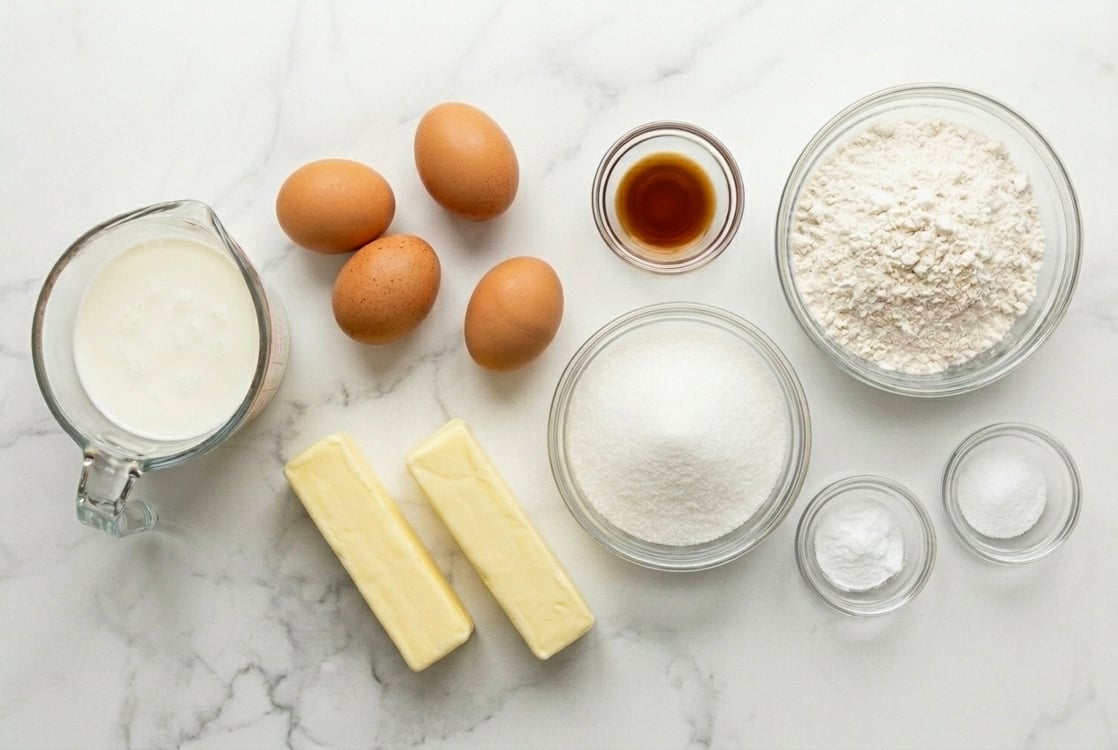
- Cake flour: Gives the cake its soft, fine crumb. It has less protein than all-purpose flour, so it develops less gluten and produces a more tender cake.
- Granulated sugar: Sweetens the cake and also helps keep it moist and tender.
- Baking soda: Provides the leavening and works with the acidity in the buttermilk to help the cake rise.
- Salt: Balances the sweetness and brings out the butter and vanilla flavors.
- Unsalted butter: Gives the cake its rich, buttery flavor. Make sure it’s fully softened so it blends easily and evenly into the dry ingredients.
- Buttermilk: Adds moisture and tenderness, along with a subtle tang that balances the sweetness. (If you don’t have any buttermilk on hand, see my post on how to make buttermilk using milk and vinegar.)
- Eggs: Whole eggs give yellow cake its characteristic golden color, as well as richness and structure.
- Vanilla extract: Adds the warm vanilla flavor that’s essential to a classic yellow cake.
- Jump to the printable recipe for precise measurements
Mixing Method
This cake uses a different mixing method than you might be used to. Instead of the traditional creaming method—where butter and sugar are beaten first, followed by eggs, flour, and liquid—this recipe uses the “high-ratio” or “two-stage” method.
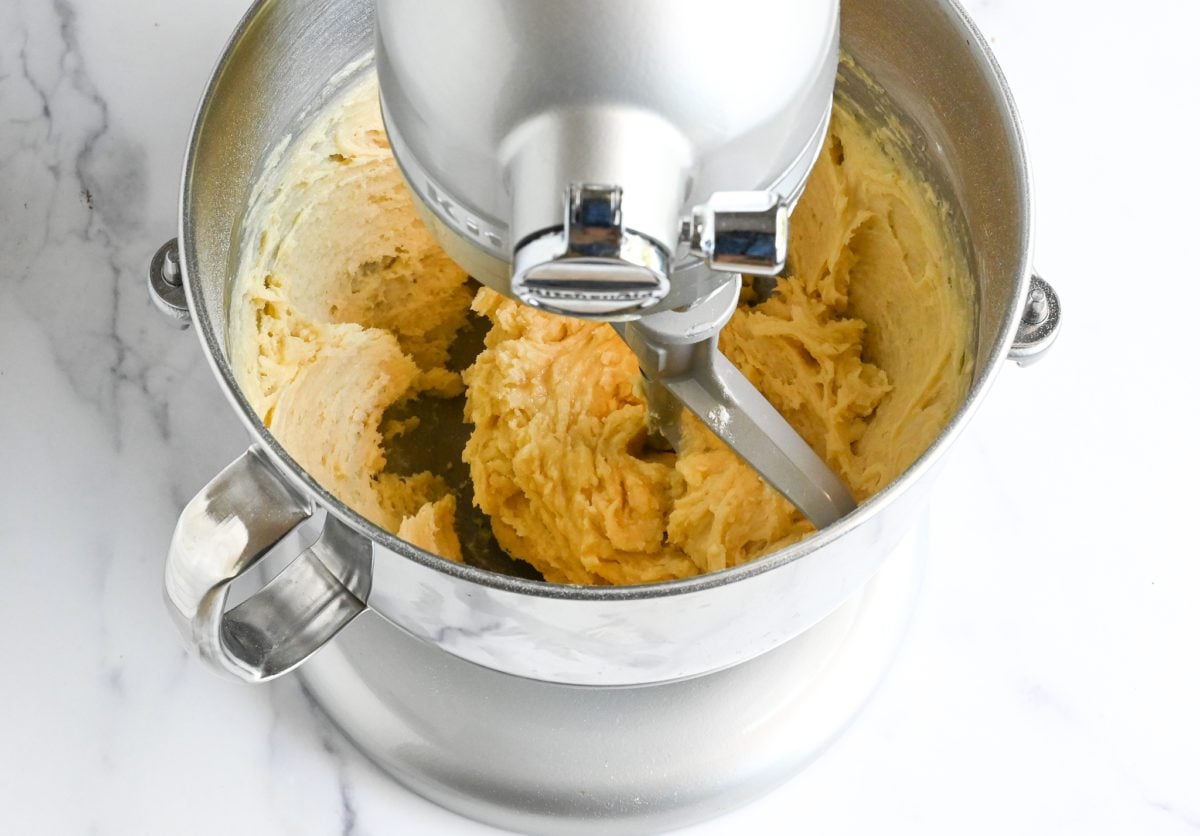
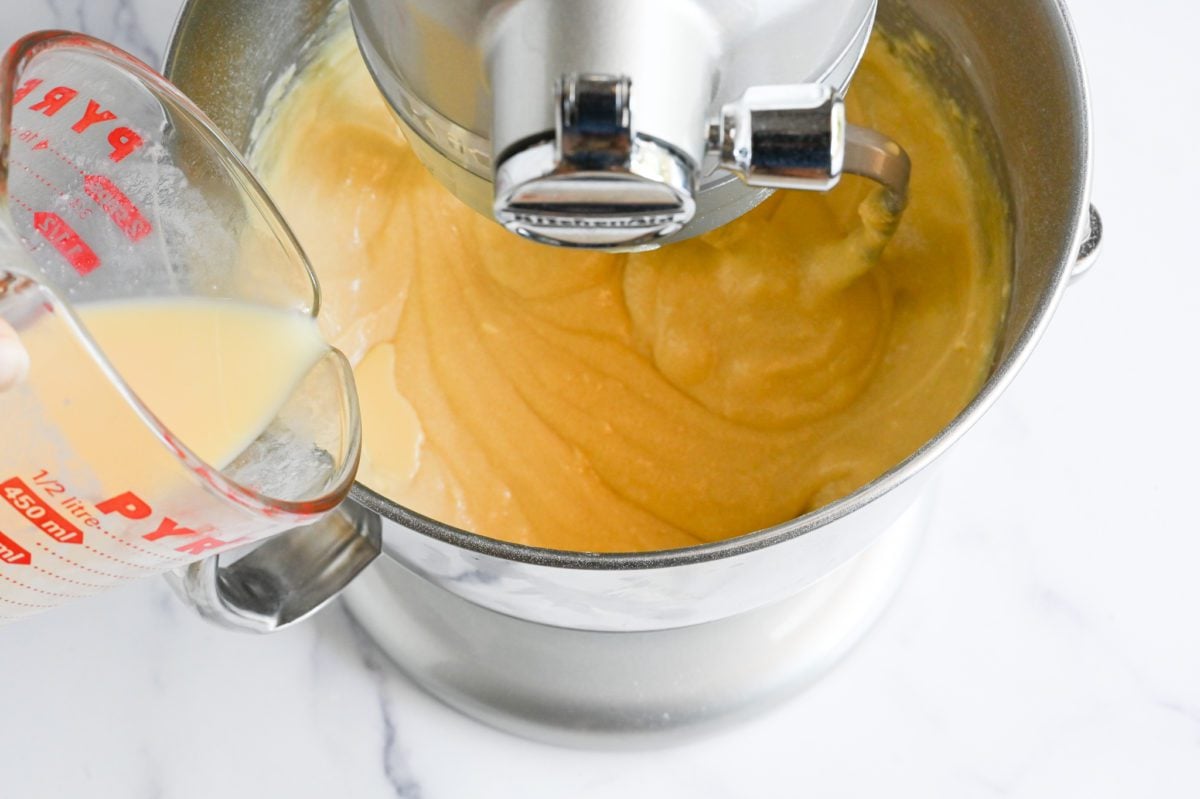
The dry ingredients, including the sugar, are mixed first. Then all of the butter and half the liquid ingredients are added to coat and moisten the dry mix. Finally, the remaining liquid is added, and the batter is beaten until pale and creamy.
Popularized by pastry chef and author Rose Levy Beranbaum, this method works for cakes where the sugar equals or exceeds the flour by weight. It’s faster and easier than creaming and produces a fine-crumbed, velvety, and tender cake.
How To Make Yellow Cake
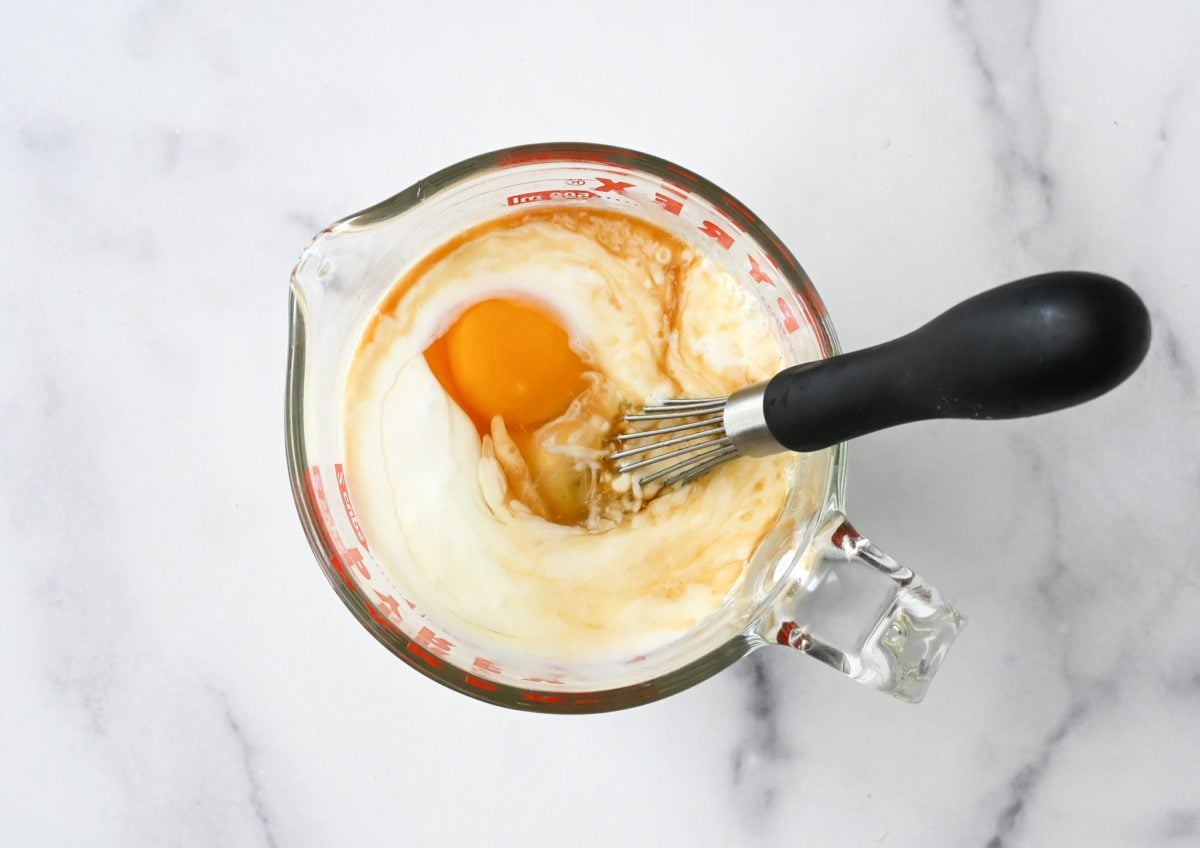
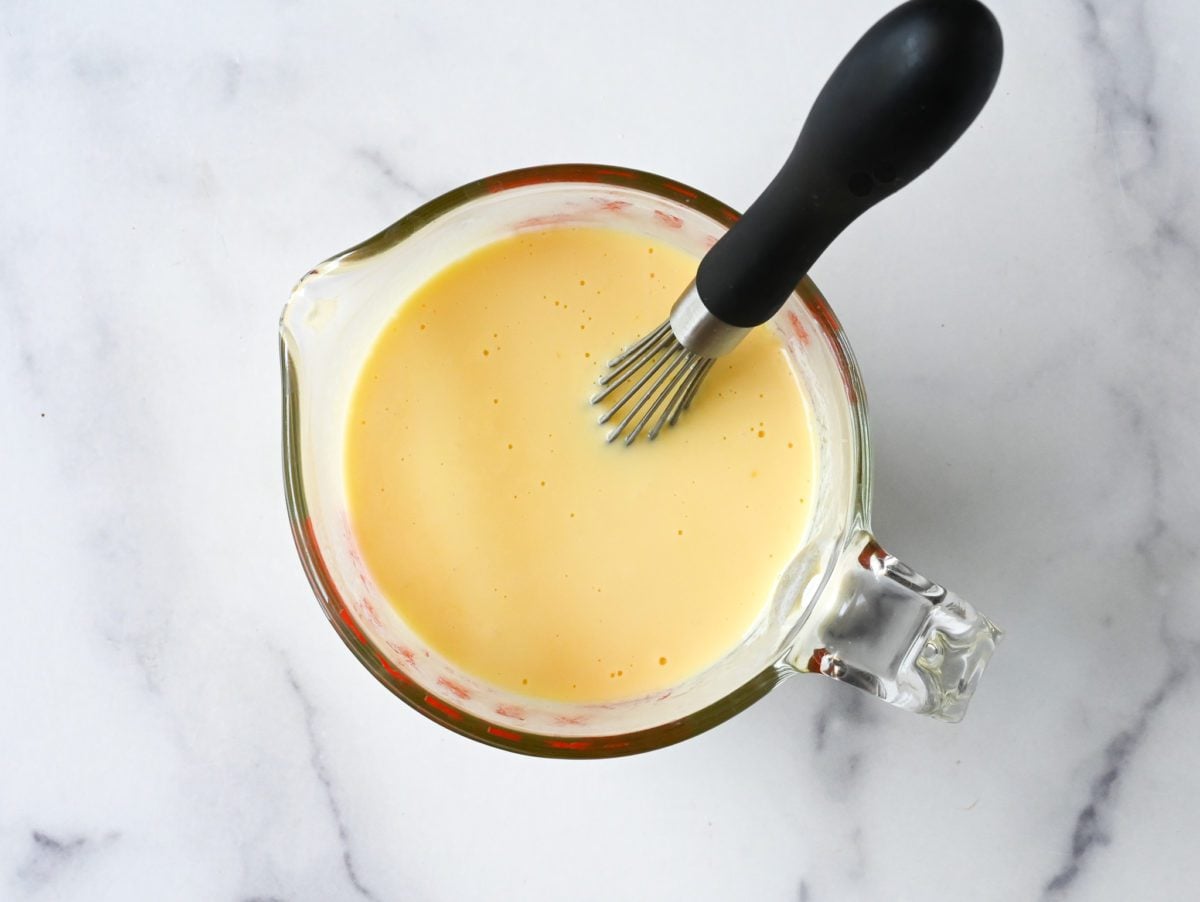
Step 1: Mix the wet ingredients. Whisk the buttermilk, eggs, and vanilla together in a bowl or large measuring cup. Don’t be concerned if the mixture starts to look a little curdled as it sits—that’s normal.
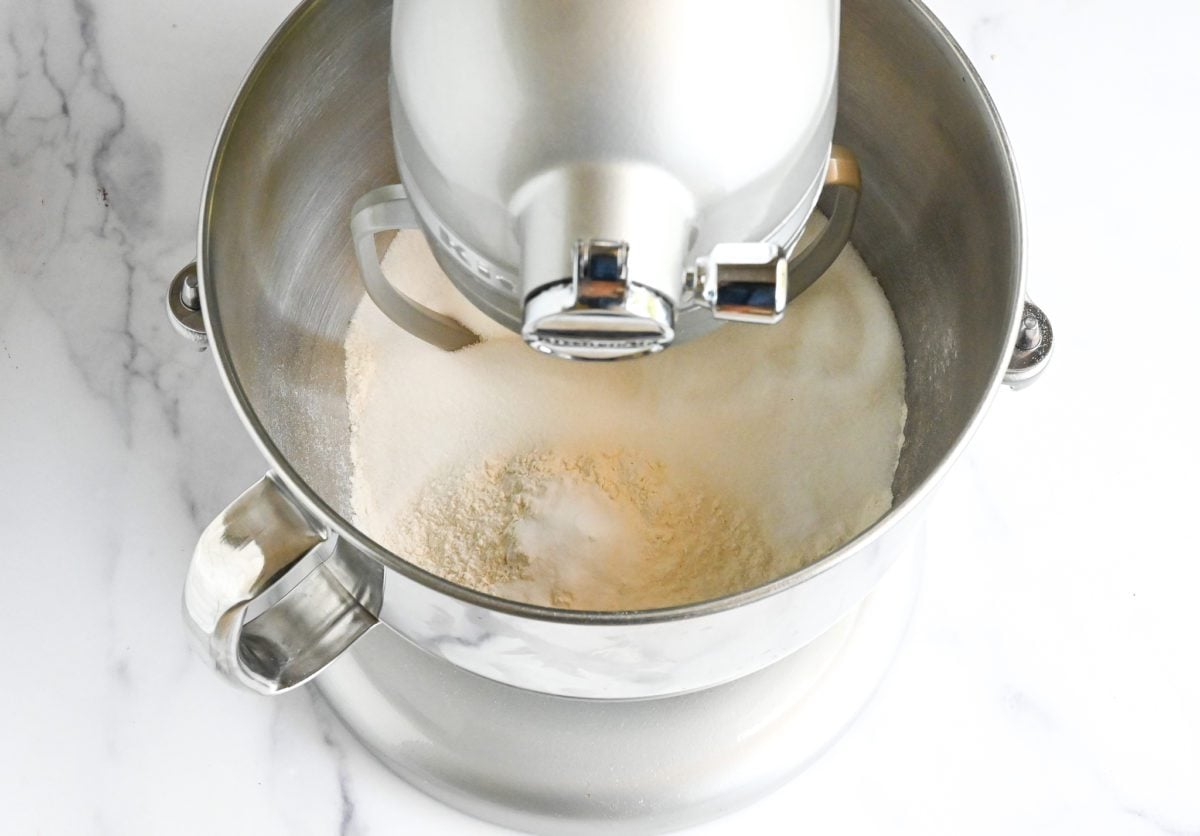
Step 2: Mix the dry ingredients. Add the cake flour, sugar, baking soda, and salt to the bowl of a stand mixer fitted with the paddle attachment. Give the dry ingredients a quick mix on low so everything is evenly distributed.
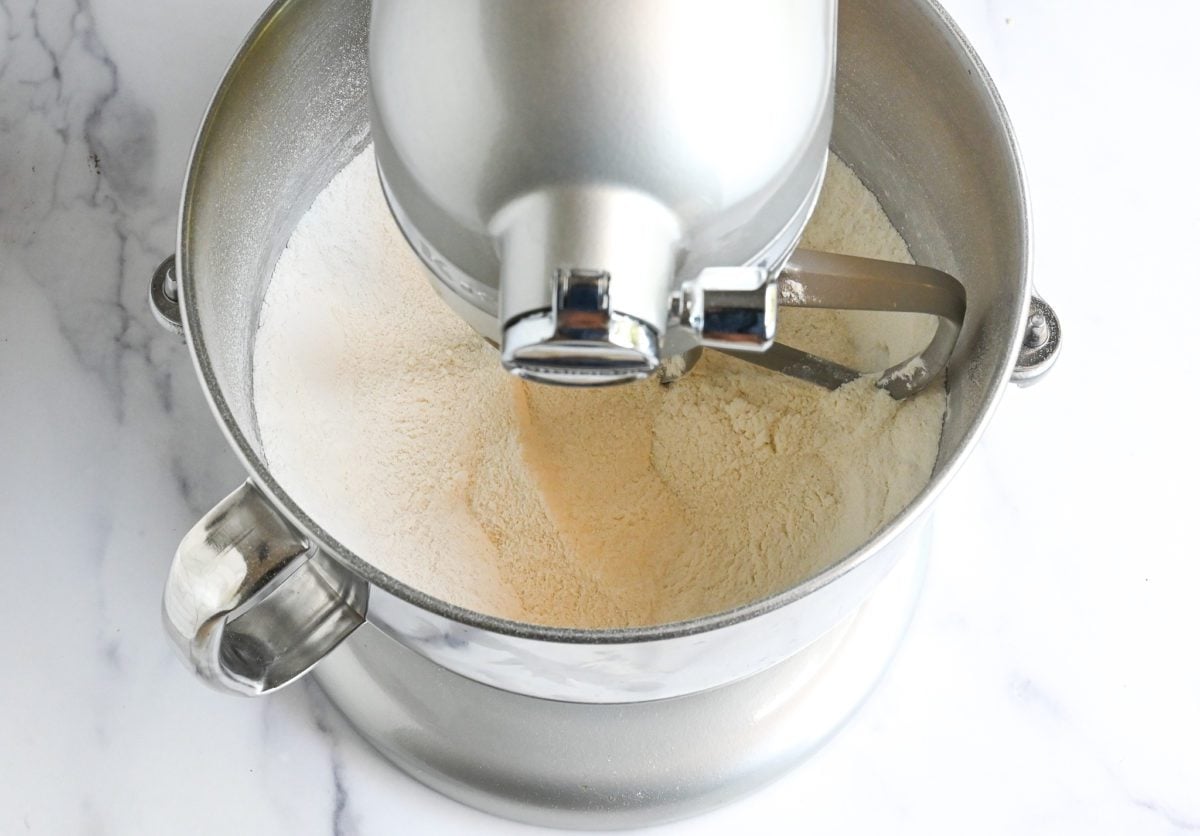
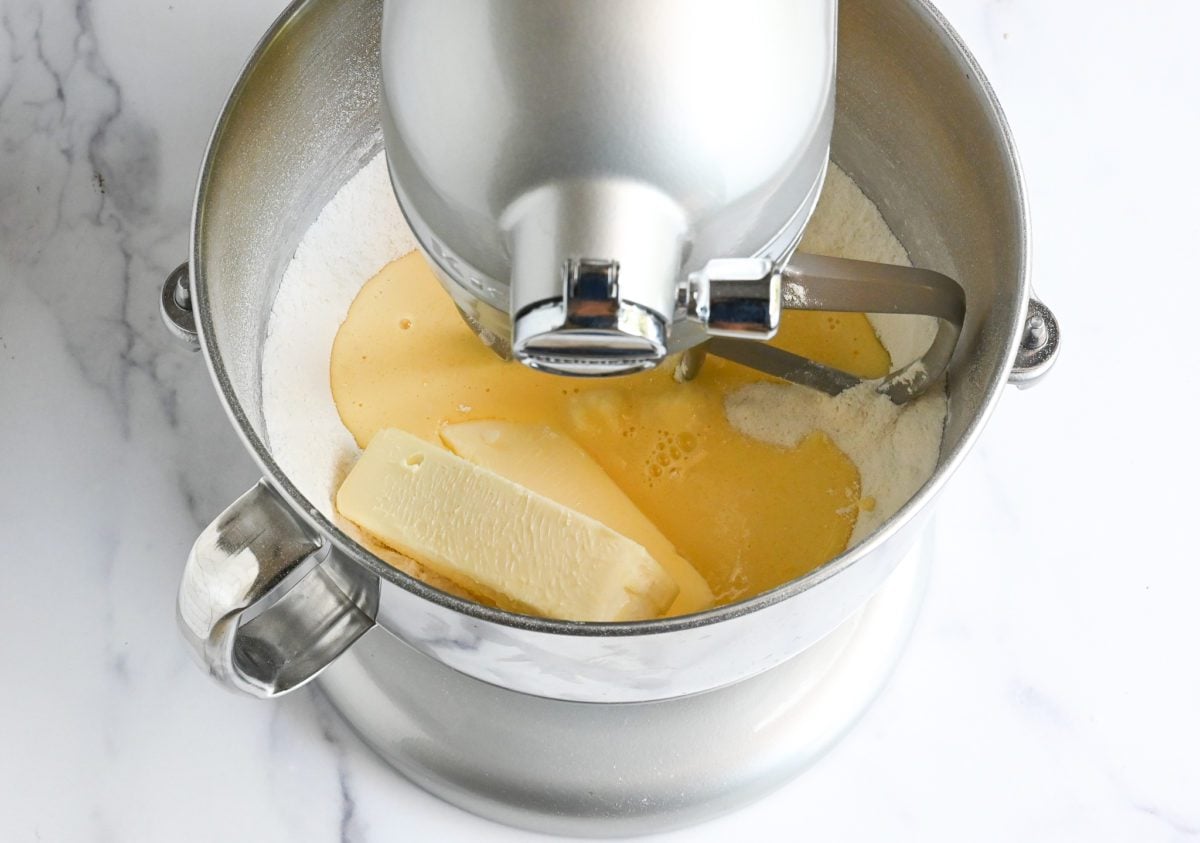
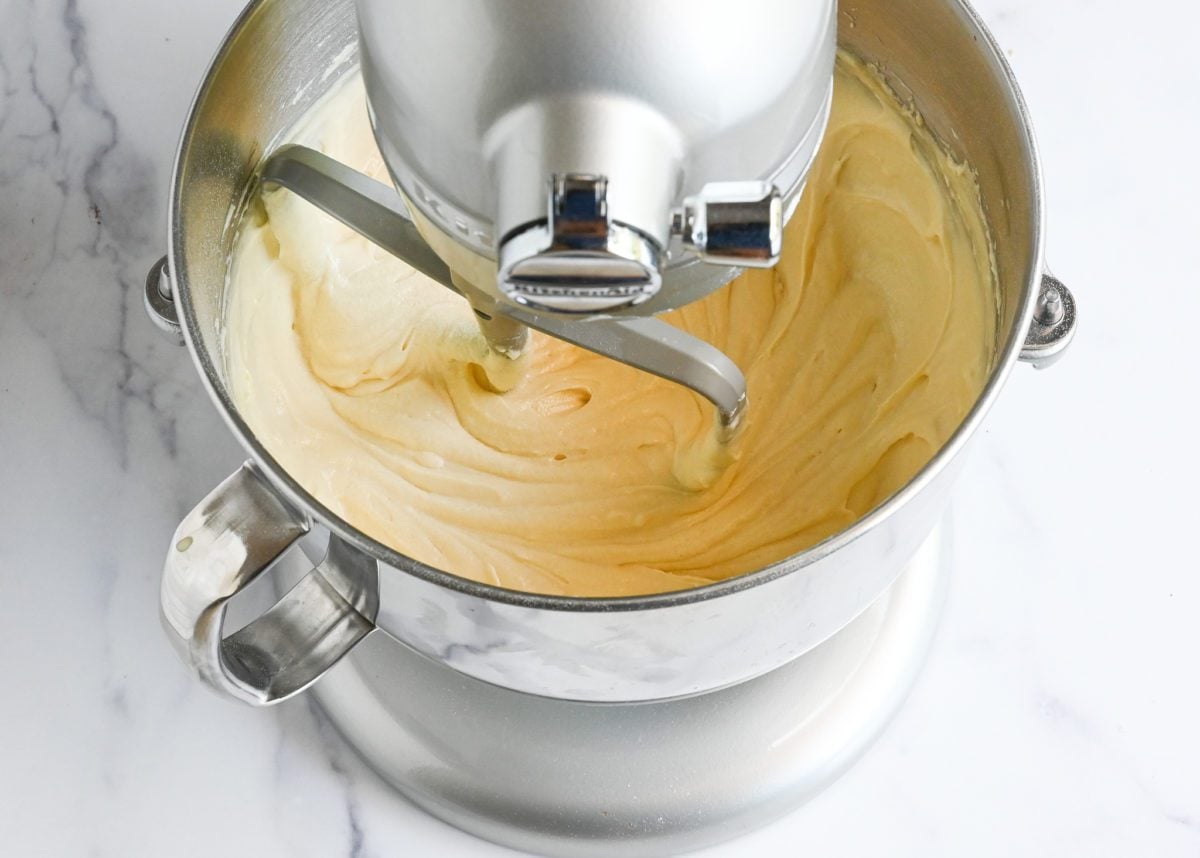
Step 3: Mix the batter. The batter comes together in three stages. First, the softened butter and half of the buttermilk mixture are mixed into the dry ingredients. Next, the remaining buttermilk mixture is gradually added, and the batter will start to loosen and smooth out. After a few minutes of mixing, it should be pale, smooth, and creamy, with no streaks of butter or pockets of dry flour remaining.
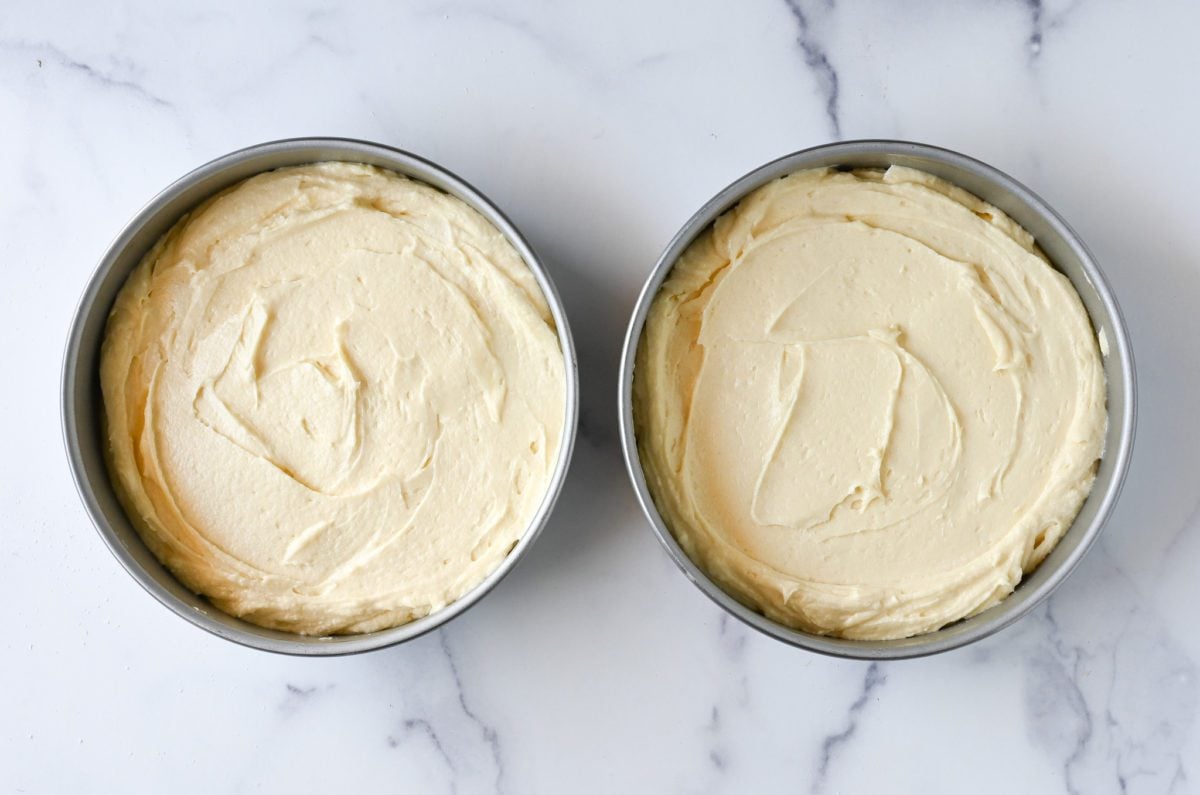
Step 4: Bake and cool. Divide the batter between the prepared pans and smooth the tops. The cakes are done when they’re golden, gently spring back when pressed in the center, and a tester comes out clean. Let them cool briefly in the pans before turning them out onto a rack to cool completely.
Pro Tip: For perfectly even layers, weigh the filled pans on a kitchen scale and adjust the amount of batter in each as needed.
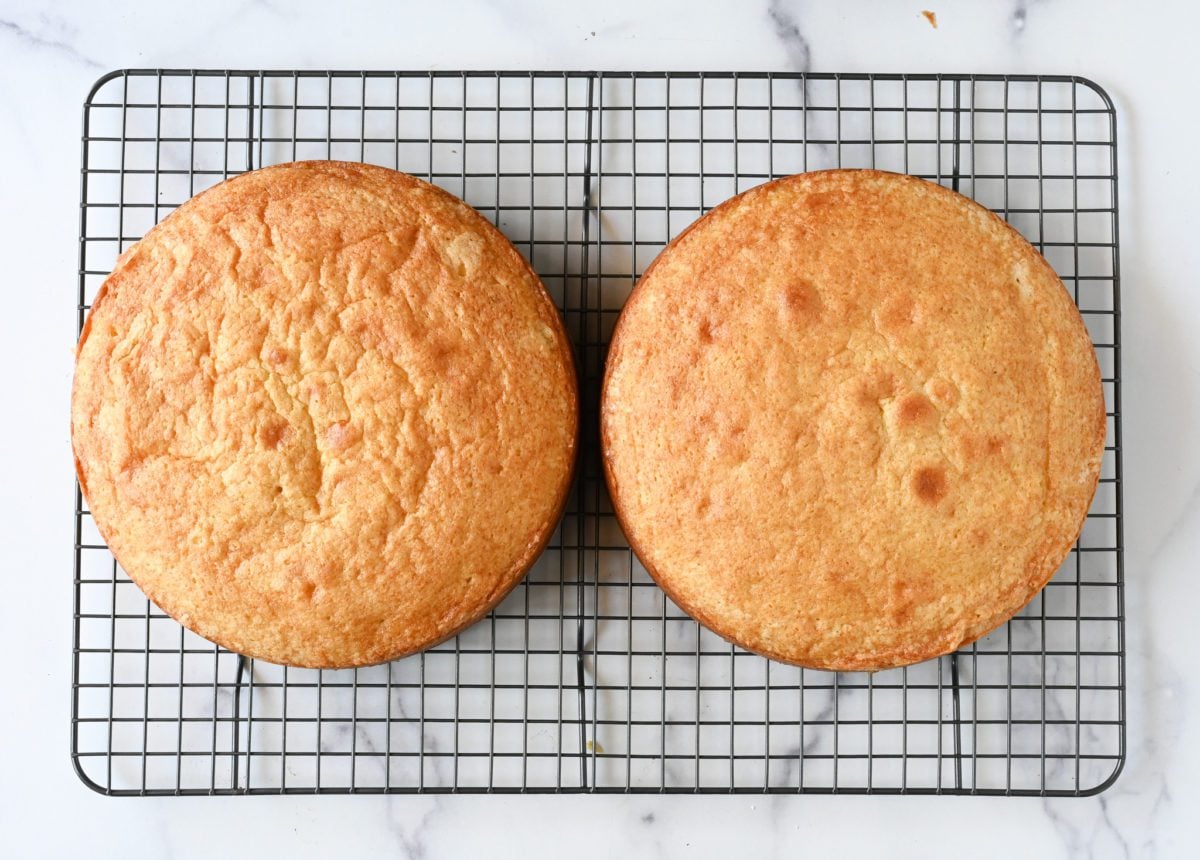
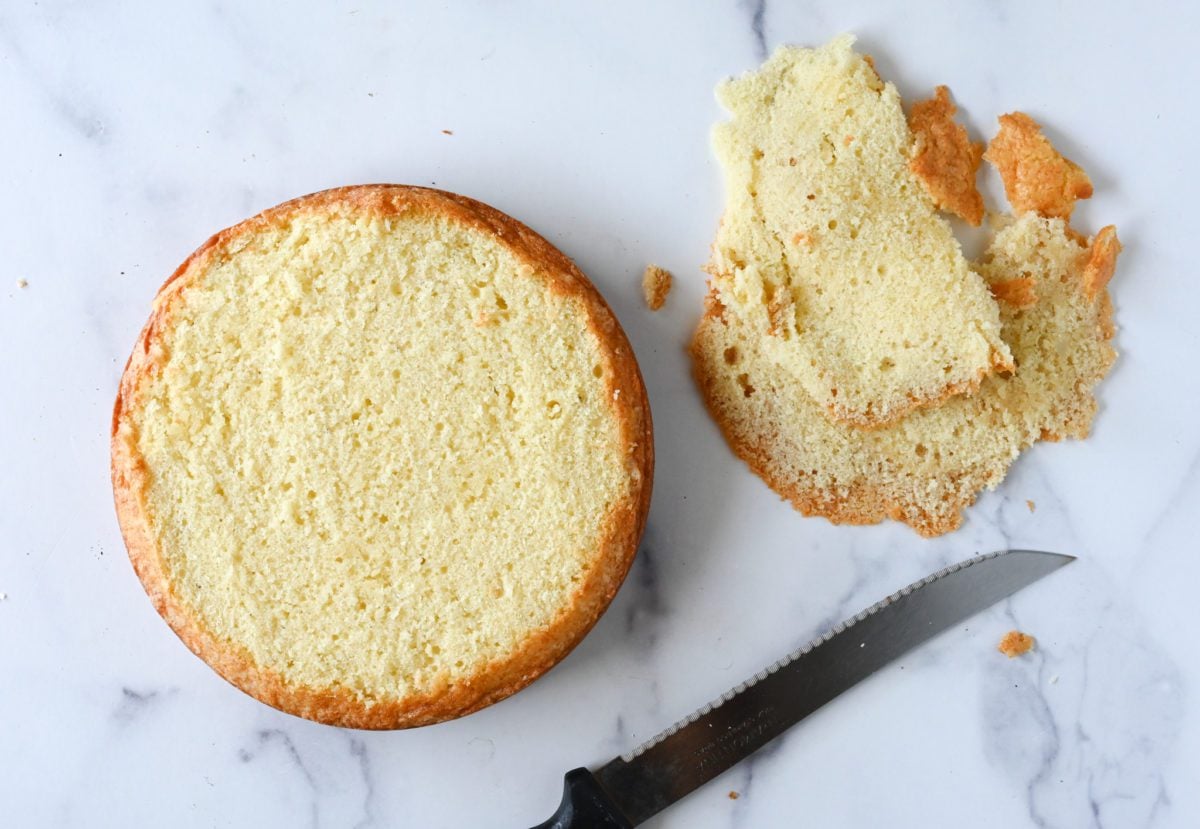
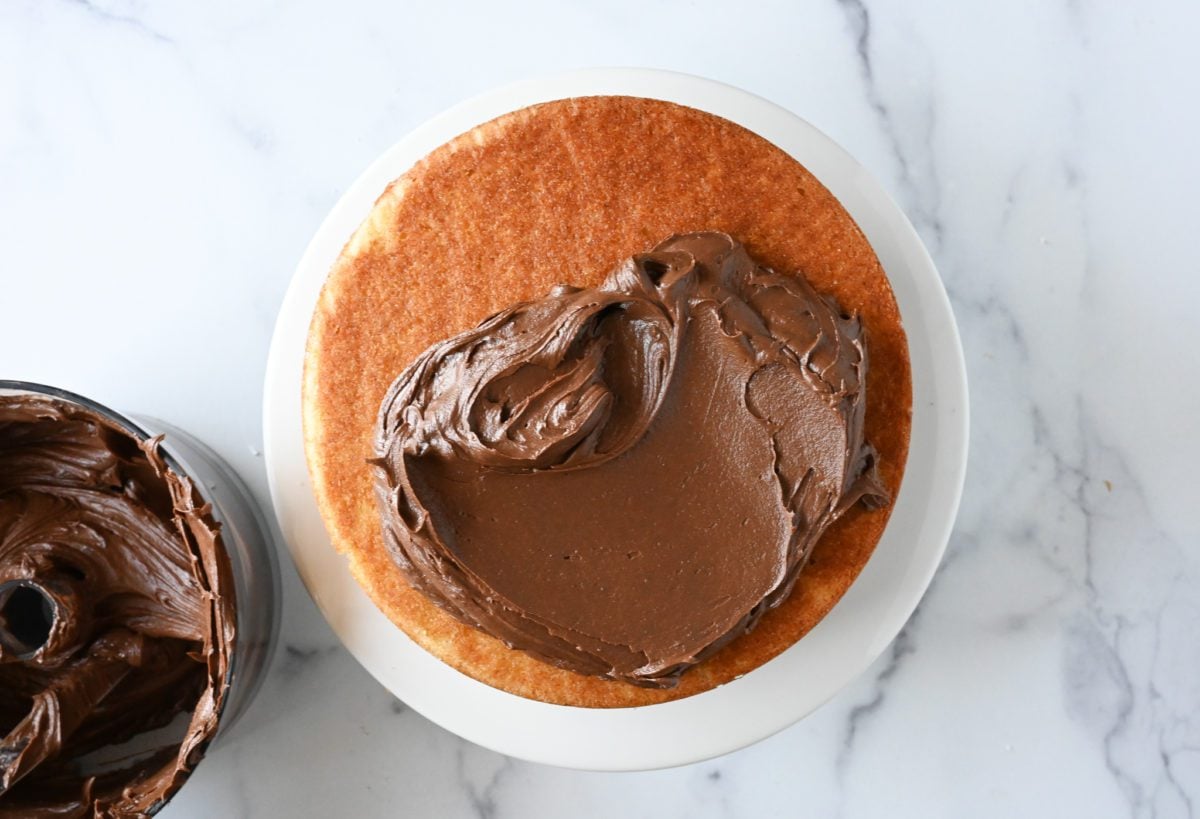
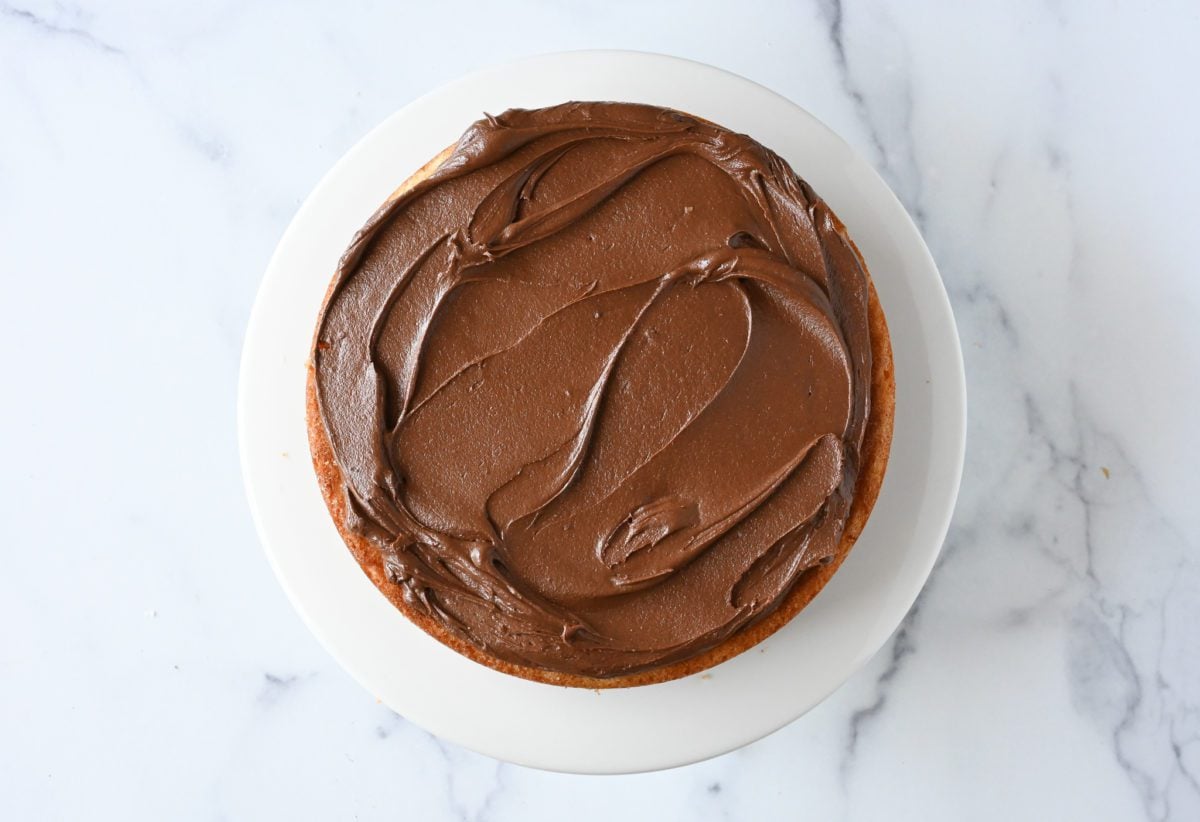
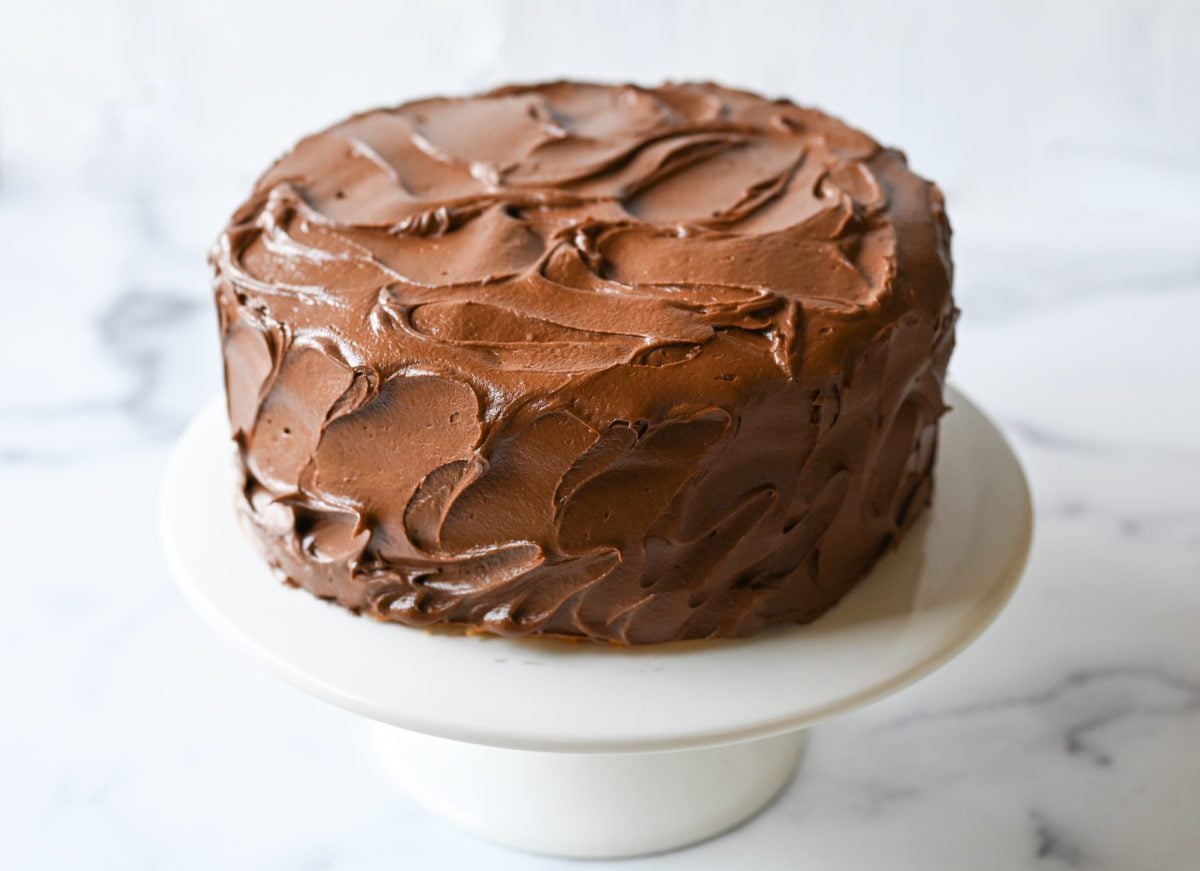
Step 5: Assemble and frost. If the cooled cakes have domed slightly, use a long serrated knife to trim the tops so the layers will stack evenly. Set the first layer on a serving plate and spread a generous layer of chocolate buttercream over the top. Add the second layer, then frost the top and sides. An offset spatula makes the job easier, but there’s no need to fuss over a perfectly smooth finish—a few swirls look great.
Pro Tip: If you’re picking up crumbs as you frost, apply a thin “crumb coat” first and chill the cake briefly before adding the final layer of buttercream.
Yellow Cake FAQs
Can I use all-purpose flour instead of cake flour? I don’t recommend it. Cake flour has a lower protein content, which helps give this cake its soft, fine crumb. If you don’t have any on hand, you can make a substitute: for each cup of cake flour, measure 1 cup all-purpose flour, remove 2 tablespoons, and replace them with 2 tablespoons cornstarch.
Can I bake this in a 9×13-inch pan instead of layers? Yes. The recipe works well as a 9×13-inch sheet cake. Bake for 30 to 35 minutes, or until a tester inserted into the center comes out clean.
Can I make this yellow cake as cupcakes? Absolutely. The recipe makes 24 standard cupcakes; bake them at 350°F for 20 to 23 minutes.
Can I make this cake ahead of time? Yes. The unfrosted cake layers can be frozen for up to 3 months. Once frosted, the cake is best served fresh, but it will keep nicely under a cake dome at room temperature for a few days.
More Layer Cakes You’ll Love


Yellow Cake Recipe
Ingredients
- 1 cup buttermilk (see note)
- 4 large eggs
- 2 teaspoons vanilla extract
- 2¾ cups cake flour, spooned into measuring cup and leveled-off
- 2 cups granulated sugar
- ½ teaspoon baking soda
- Heaping ½ teaspoon salt
- 1 cup (2 sticks) unsalted butter, softened
- Rich Chocolate Buttercream or Cream Cheese Frosting
Instructions
- Preheat the oven to 350°F (175°C) and set an oven rack in the middle position. Spray two 8-in (20-cm) cake pans with nonstick cooking spray with flour. Cut two 8-in (20-cm) rounds of parchment paper and line the bottom of each pan; spray the paper with nonstick spray with flour. (To measure the parchment paper, just trace the bottom of the pan.)
- In a medium bowl or large liquid measuring cup, whisk together the buttermilk, eggs, and vanilla. Set aside. (Note that the mixture will start to look curdled as it sits; that’s okay.)
- In the bowl of an electric mixer fitted with the paddle attachment or beaters, combine the flour, sugar, baking soda, and salt. Beat on low speed for 30 seconds to combine. Add the soft butter and half of the buttermilk mixture and mix on low speed until moistened but still a little crumbly, about 1 minute. With the mixer running on low, gradually add the remaining buttermilk mixture, then increase the speed to medium and mix for three minutes, stopping once to scrape down the sides and bottom of the bowl with a rubber spatula. The batter should look pale and creamy. Scrape down the sides and bottom of the bowl again, making sure the batter is evenly mixed.
- Transfer the batter to the prepared pans and bake for 30 to 40 minutes, or until a cake tester comes out clean. Cool in the pans on a rack for 15 minutes, then unmold onto rack to finish cooling right side up (keep the parchment paper underneath the cake layers so they don't stick to the rack).
- When cake layers are completely cool, use a serrated knife to trim off the domed tops, if necessary; this will ensure the cake is level. Place one cake layer on a serving plate, cut side down. Using an offset spatula or butter knife, spread about ¾ cup of the frosting over the first layer. Top with the second layer, cut side down, then spread the remaining frosting over the top and sides of the cake, swirling decoratively. The cake is best enjoyed fresh on the day it is made, but it will keep nicely for 2 to 3 days stored in a cake dome at room temperature.
Notes
- If you’d prefer not to buy it, check out some easy guidance on how to make buttermilk using milk and lemon juice or vinegar.
- The recipe can also make 24 cupcakes (bake for 20 to 23 minutes) or a 9 x 13-in (23 x 33-cm) sheet cake (bake for 30 to 35 minutes).
- Nutritional information includes the chocolate buttercream frosting.
- Freezing Instructions: The cake can be frozen, without frosting, for up to 3 months. After it is completely cooled, double-wrap it securely with aluminum foil or plastic freezer wrap, or place it in heavy-duty freezer bag. Thaw overnight on the countertop and then frost before serving.
Nutrition Information
This website is written and produced for informational purposes only. I am not a certified nutritionist and the nutritional data on this site has not been evaluated or approved by a nutritionist or the Food and Drug Administration. Nutritional information is offered as a courtesy and should not be construed as a guarantee. The data is calculated through an online nutritional calculator, Edamam.com. Although I do my best to provide accurate nutritional information, these figures should be considered estimates only. Varying factors such as product types or brands purchased, natural fluctuations in fresh produce, and the way ingredients are processed change the effective nutritional information in any given recipe. Furthermore, different online calculators provide different results depending on their own nutrition fact sources and algorithms. To obtain the most accurate nutritional information in a given recipe, you should calculate the nutritional information with the actual ingredients used in your recipe, using your preferred nutrition calculator.
Jenn, should I sift the cake flour before measuring it?
Thanks
Jennifer
Nope – not necessary. Hope you enjoy the cake! 😊
This cake was fabulous! And turned out as described — tender! I’ve tried so many cake recipes. And making a cake for each of my seven children’s birthdays has given me plenty of tries! This one was everything a vanilla cake should be!! Perfect texture, delicious taste. I made it yesterday for my middle child’s 11th birthday! I can’t find cake flour where I live so I made it myself! What a wonderful cake! Thank you!
I made this cake for a birthday party and received many compliments on how could it be possible to make such a plain cake taste so good? I didn’t reveal my secret weapon – that I used a Once Upon a Chef recipe. It had a very nice crumb and great flavor. I will be using this as my go-to yellow cake recipe from now on. Thanks Jenn!
This was a fine cake, but nothing super special. A bit dense, but I was prepared for that after having read the reviews. The kids at the birthday party didn’t really like it, but six year olds are not known for having discerning palates. Anyway, I was delighted to try a yellow cake recipe from Jenn because it’s just what I wanted to make, but I might not make this one again. I made 24 cupcakes.
My question is related to the mixing time. I always thought you needed to mix cakes as little as possible, just until completely combined, so they didn’t get tough. This recipe indicates plenty of mixing, and I was just wondering why this recipe would be different than some other cake recipes which tell people to “go easy on the mixing.” Looking forward to making this for my son’s birthday this week.
Hi Audrey, This method was made popular by pastry chef and cookbook author Rose Levy Beranbaum. It can be used for any cake where the weight of the sugar equals or exceeds the weight of the flour. It is not only faster and easier than the traditional creaming method, but it also yields incredibly tender, fine-textured velvety cakes. Hope that clarifies and happy early birthday to your son! 🙂
Thank you Jenn! How fascinating about the science behind it. And yes, it was sure an easy cake to whip up!
Hi Jenn! Totally amateur baker here – have only been working on cakes for the past couple of months, trying different recipes. This is the first two-stage cake I’ve tried. The cake came out moist and not dense at all. But I ended up with kind of a corn bread taste and maybe texture. (Just getting over COVID, so possible that my taste is off…) Has that happened to anyone else? What could I have done wrong? Thank you!!
Hi David, it’s strange that it tasted like cornbread. Were all your ingredients, including your flour, fresh? What brand of flour did you use?
I used King Arthur cake flour in the box. But everything was fresh. I think the only thing I didn’t do precisely was to use a bit more than the right amount of baking soda. It seemed like a small amount, so I did a heaping 1/2 tsp. I’m going to try again and see if it works better the second time.
Hi David, I don’t think the additional baking soda would’ve caused that taste but I’m not 100 percent sure (but I wouldn’t recommend additional baking soda as it’s not needed — it’s much stronger than baking powder). I googled your question and while I’ve never experienced it myself, it looks like other people have commented that certain baked goods have a cornbread flavor — I’m not sure what variables come together to make it happen though, so I’m not sure how to tell you to avoid it — sorry I can’t be more helpful!
Hi Jenn! I’m actually pleased to find the comments saying this cake results in a denser crumb – I’m looking to do a multi-layer cake to cover with fondant and I had thought yellow cake would never be an option (i.e. too soft), so this is a win in my book. My question to you is about whether or not you think I’ll be able to crumb coat/freeze the cake? (in reference to your note re: best enjoyed day-of, or within a couple days, at room temp).
Thank you again for always making me look much more talented than I am! 🙂
Hi Laurka, yes, I do think this will freeze nicely without the frosting. Hope you enjoy!
Hi Jenn,
Can this cake’s ingredients be mixed by hand? I don’t own an electric mixer. Thanks!
A mixer is ideal, but with some elbow grease, you could be able to mix it by hand. Hope you enjoy!
I had a definite 5-star experience with this! The texture of the cake was fluffy and had a great crumb. It was also perfectly flavored with a slightly buttery taste. And the frosting….oh my…I’m glad I had enough to cover the cake after sampling it over and over! I made this for my nephew’s birthday and several people went back for seconds (and asked for the recipe). I had a hard time staying away from it too! I’d definitely recommend — thanks Jenn!
I love all the recipes I have made from your site. This cake came out a bit dense, it wasn’t as fluffy as I thought it would have been. I didn’t get to make the icing (had a storm and ran out of power); However, it still made my son’s birthday and everybody did enjoy it. Thank you for all the fabulous recipes.