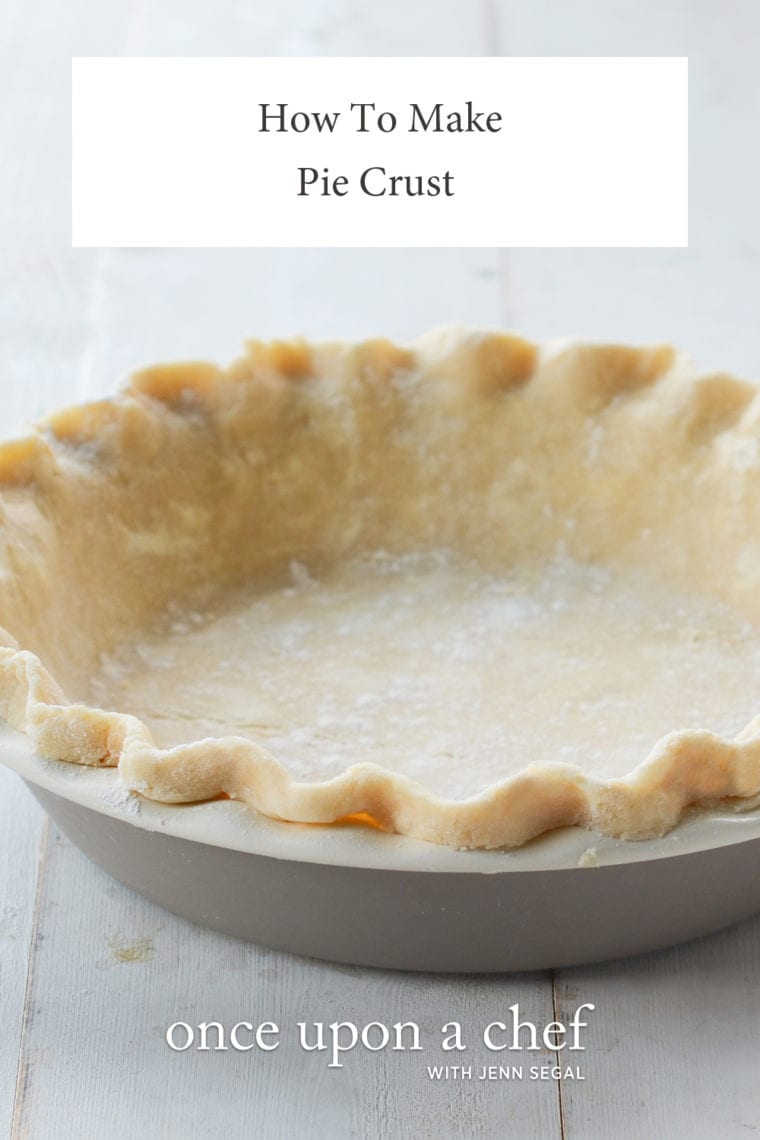
Perfect Pie Crust

This post may contain affiliate links. Read my full disclosure policy.
Learn how to make the perfect pie crust with this easy recipe. Buttery, tender and flaky—it’s ideal for beginners and seasoned bakers alike!
Are you hesitant to make homemade pies because the idea of making your own crust feels daunting? Don’t be! With just a handful of ingredients, you can make a pie dough that’s reliable, easy to handle, and yields a buttery, flaky crust every time. My pie crust recipe combines butter and shortening for the perfect balance: butter adds rich flavor and flakiness, while shortening ensures a tender texture and helps the crust hold its shape. A bit of baking powder—a genius tip from pastry chef Nick Malgieri—prevents shrinking and slipping by encouraging the dough to expand into the pan as it bakes.
Whether you’re making pumpkin pie, pecan pie, or any other favorite, this recipe is straightforward enough for beginners and far better than store-bought. Once you try it, you’ll wonder why you waited so long to make your own crust!
“I’ve tried for many years to make a good pie crust. And here it is…the best ever. Thank you so much for sharing this recipe, and for explaining the baking process in such details. This will be my go-to for years to come!”
What You’ll Need To Make Pie Crust
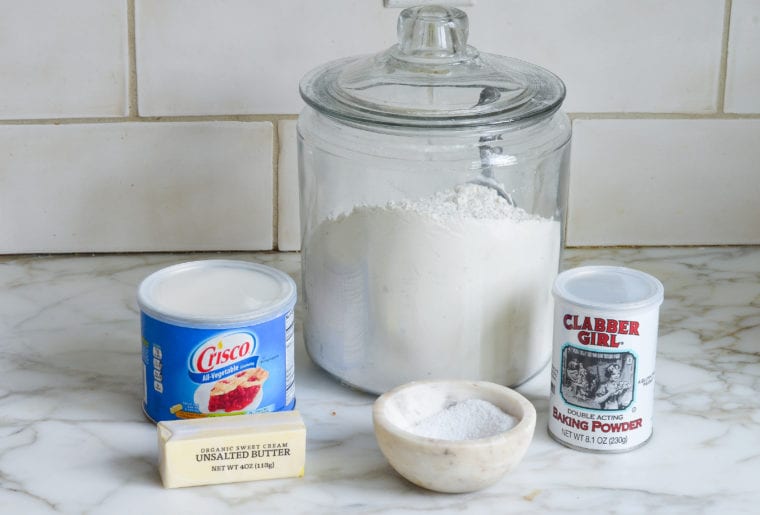
- All-Purpose Flour: Provides the structure and foundation for the crust, forming the base that holds the filling. To ensure accuracy, measure the flour by spooning it into the measuring cup and leveling it off.
- Salt: Enhances the flavor of the crust.
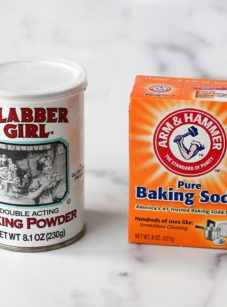
- Baking Powder: Helps the crust to expand into the pan, preventing shrinking and slippage during baking.
- Butter: Contributes flavor and creates flaky layers as it melts during baking. The butter should remain in the fridge until immediately before you need it; keeping it very cold ensures distinct pockets of fat that result in maximum flakiness.
- Vegetable Shortening: Adds tenderness to the crust, making it easier to work with. The shortening should also be very cold as it prevents it from blending too much with the flour, preserving the crust’s delicate texture.
- Cold Water: Binds the ingredients together to form a cohesive dough; using very cold water helps keep the butter and shortening from melting prematurely and makes the dough easier to handle and roll out.
- Jump to the printable recipe for precise measurements
Step-by-Step Instructions
To begin, combine the flour, salt and baking powder in the bowl of a food processor fitted with the metal blade. (If you don’t have a food processor, I’ve given instructions for making the dough by hand in the printable recipe.)
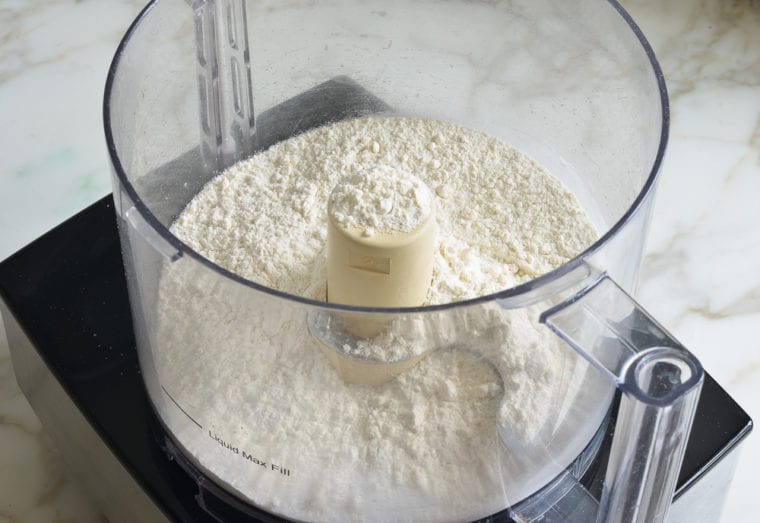
Add the cold butter and shortening in pieces.

Pulse until you have coarse crumbs with lots of pea and chickpea-sized clumps of butter and shortening within. Don’t over-process the dough: all of those clumps of fat steam in the oven, creating layers in the pastry that make a flaky crust.
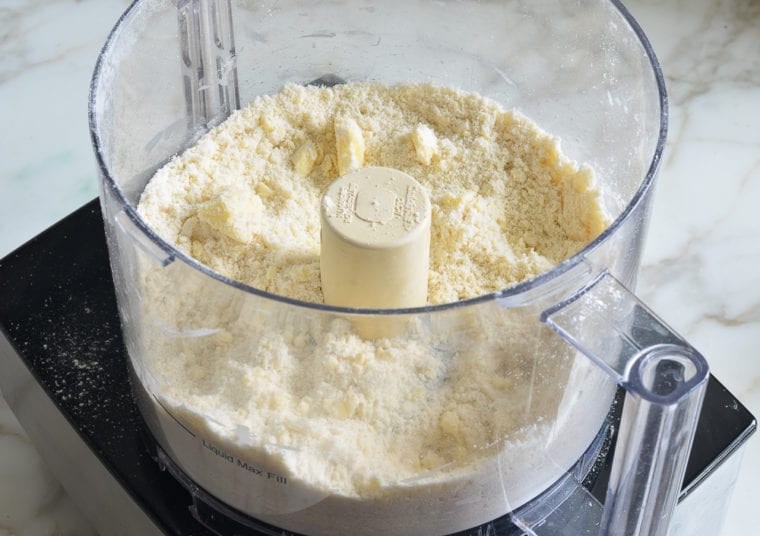
Add ice cold water and pulse a few times until the mixture is just evenly moistened and very crumbly. It will not come together into a mass — that’s good!

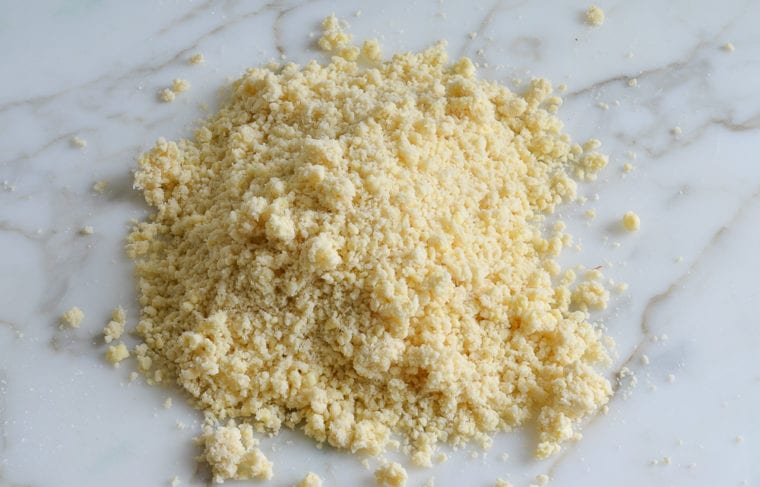
Dump the crumbly dough out onto a lightly floured surface. (I know this looks all wrong, but have faith!)
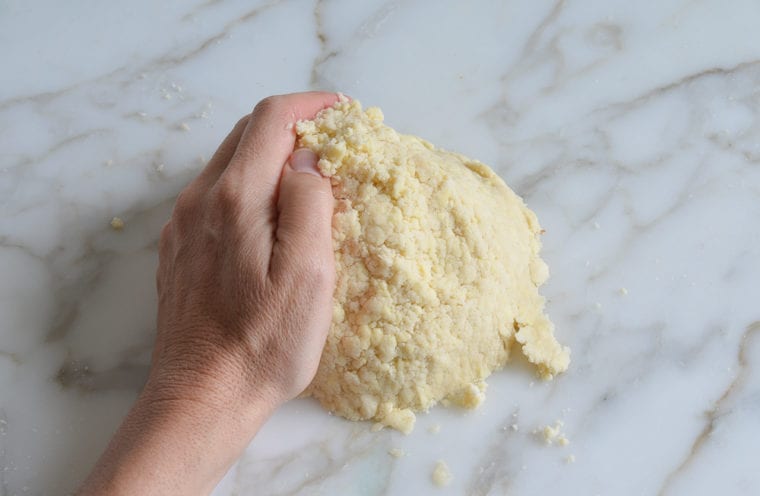
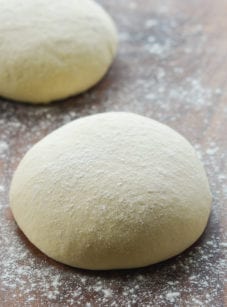
Gather it into a ball.
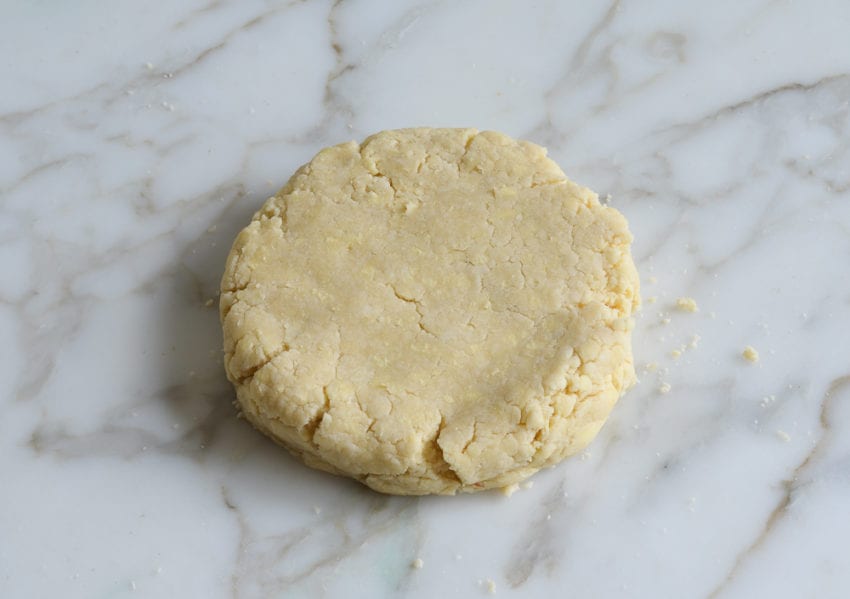
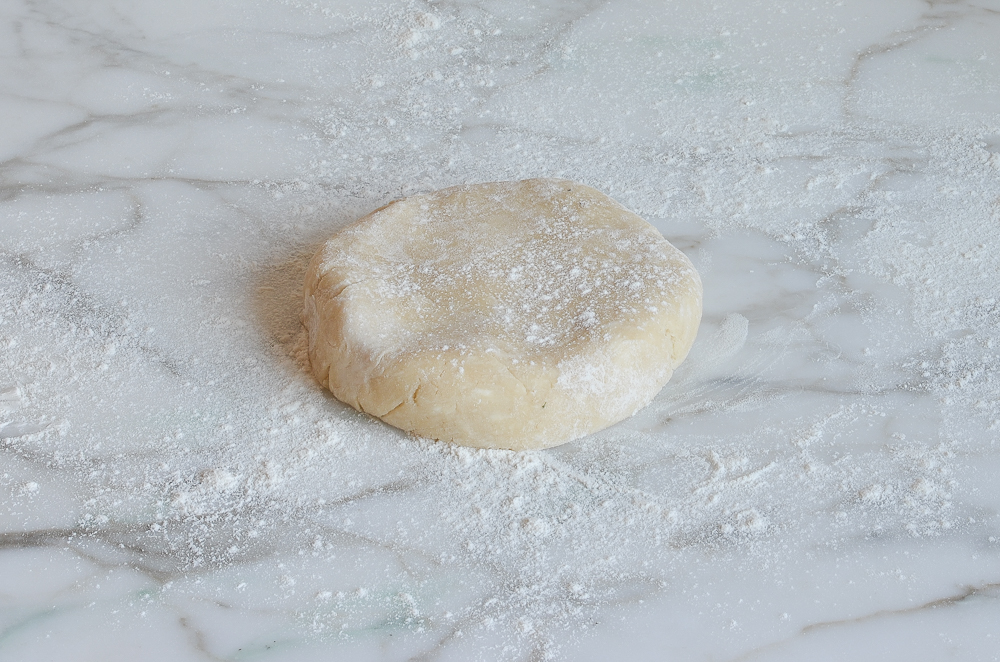
Then pat the dough into a 5-inch disc. Wrap it in plastic and refrigerate for at least 45 minutes or up to 3 days to rest. Allowing the dough to rest helps the gluten relax and also ensures that dough stays chilled — both important in making a tender, flaky crust.
Take the dough out of the refrigerator and dust your work surface lightly with flour. Place the dough on top and sprinkle a little flour over the dough. Use your hands to quickly knead the dough into a soft and malleable disc (don’t overwork it; you want it just supple enough to roll).
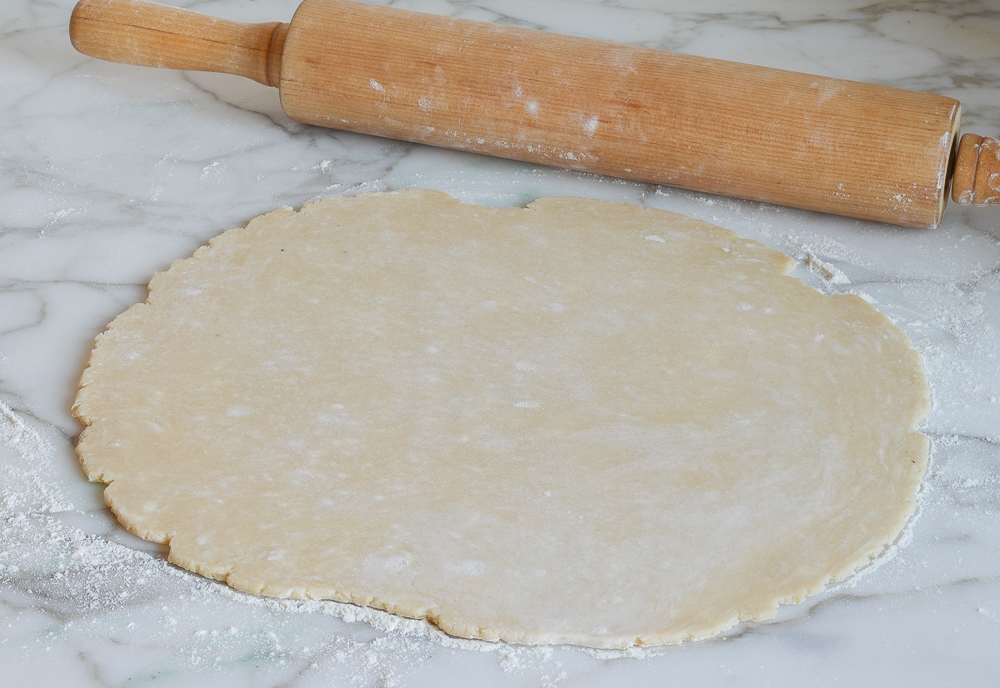
Roll the dough, turning it frequently and adding more flour as necessary so it doesn’t stick, into a 13-inch circle.
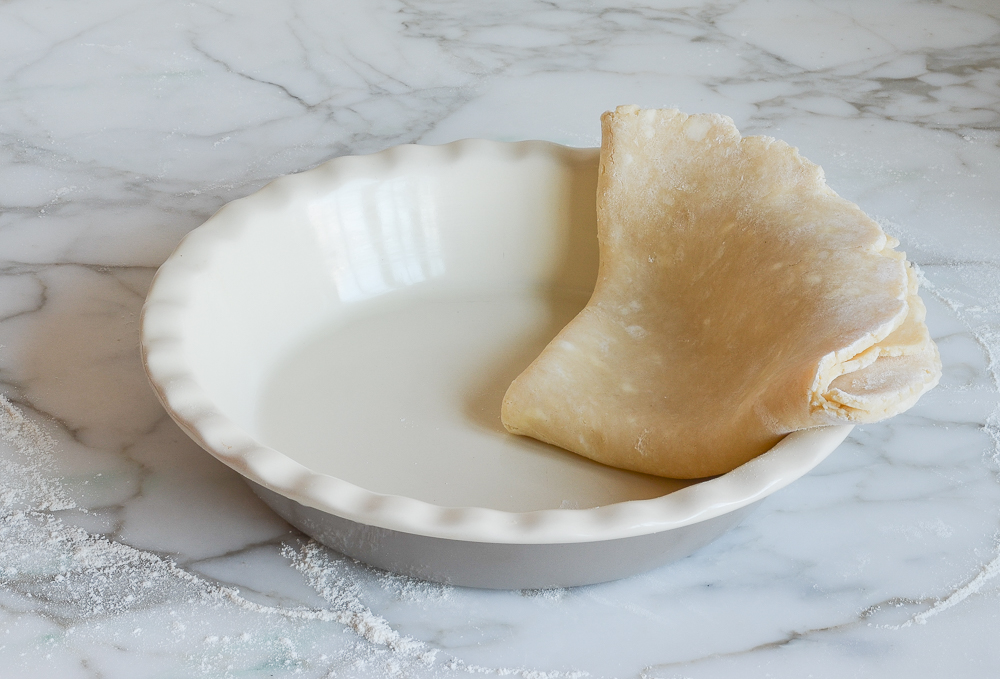
Fold the dough into quarters without creasing it and transfer it to a 9-inch deep-dish pie pan.
Gently fit the dough into the pan, easing it inwards rather than stretching it outwards. Don’t worry if it tears, just patch it right back up.
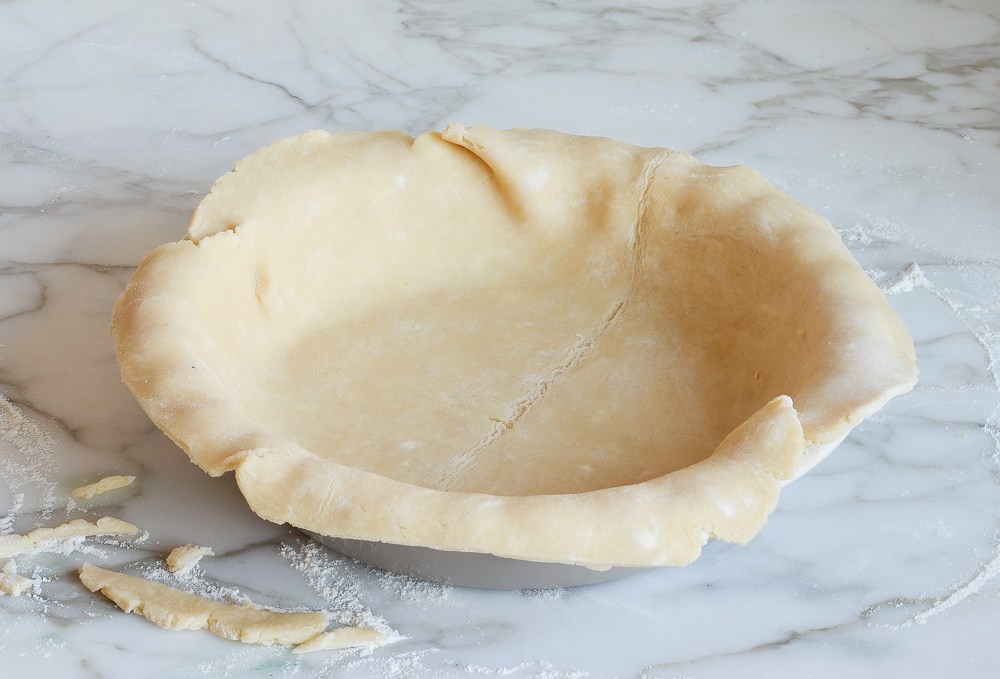
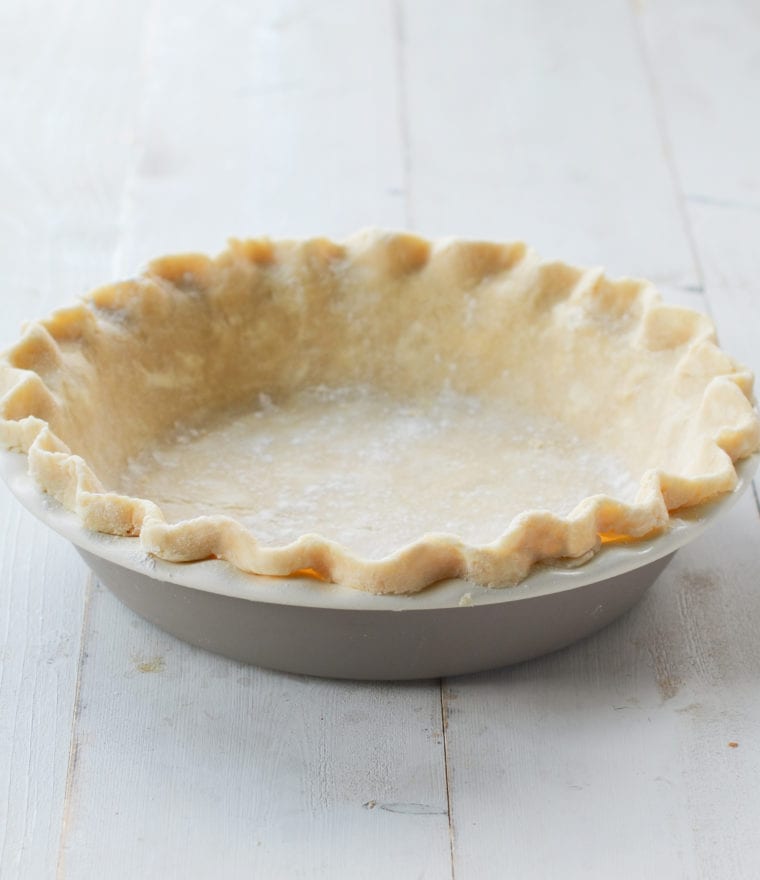
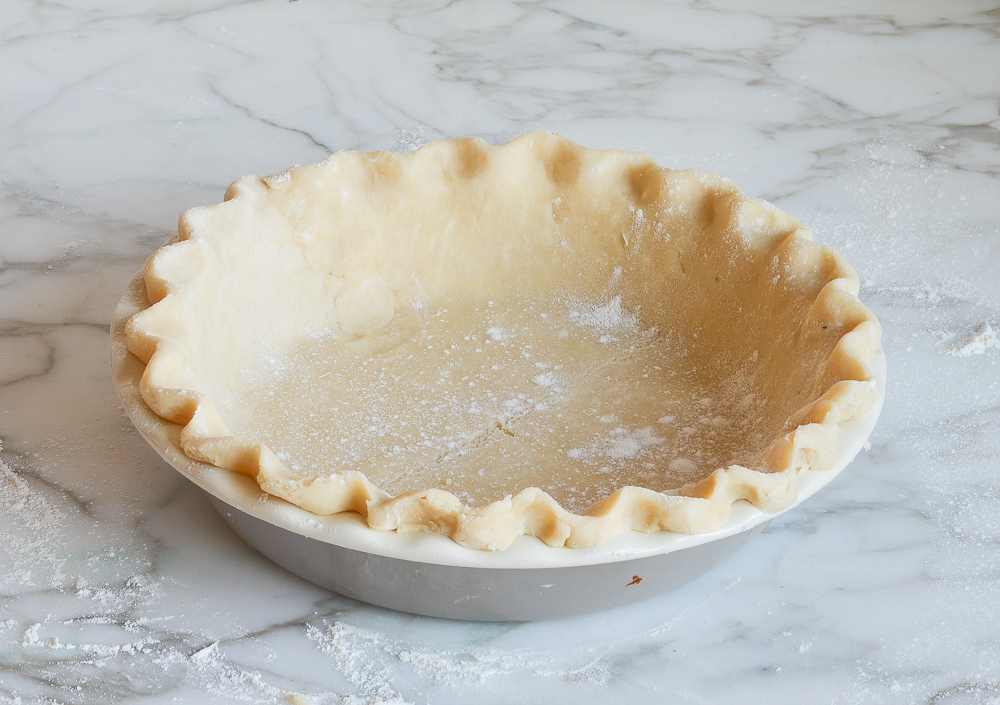
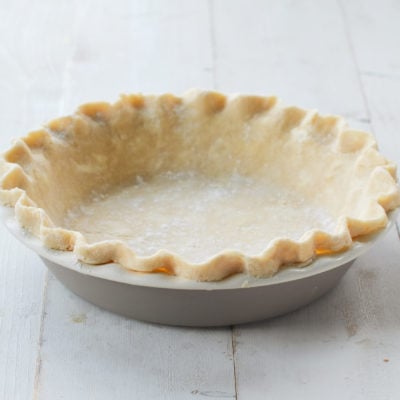
Trim the edges to ½ inch beyond the lip of the pie pan, if necessary. Turn the edges under to create a rim on the crust (you can use the scraps to patch in any thin areas); then press the rim against the lip of the pan, forming it into an even edge as you go. Using your fingers, crimp the rim. Place the crust in the refrigerator for at least 30 minutes before proceeding with your recipe.
Blind Baking
Some pie crusts require partial or full blind baking to ensure they are fully cooked and crisp. Partial blind baking is typically used for pies with fillings that will be baked further, such as custard pies or quiches, where the crust gets a head start to prevent it from becoming soggy. Full blind baking is necessary for pies with fillings that don’t require any baking, like cream pies or chilled no-bake pies. In both cases, blind baking ensures the crust holds its structure, remains crisp, and avoids a soggy bottom before the filling is added.
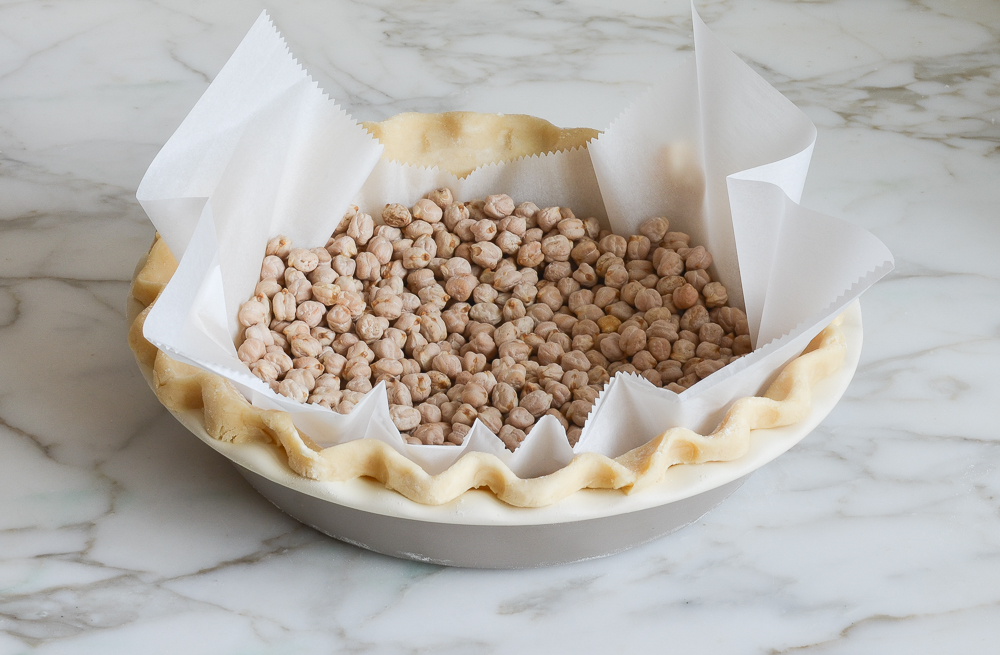
If your crust requires blind baking: Preheat the oven to 375°F. Remove the crust from the refrigerator and cover with a piece of parchment paper. Fill the crust at least halfway full with dried beans or pie weights.
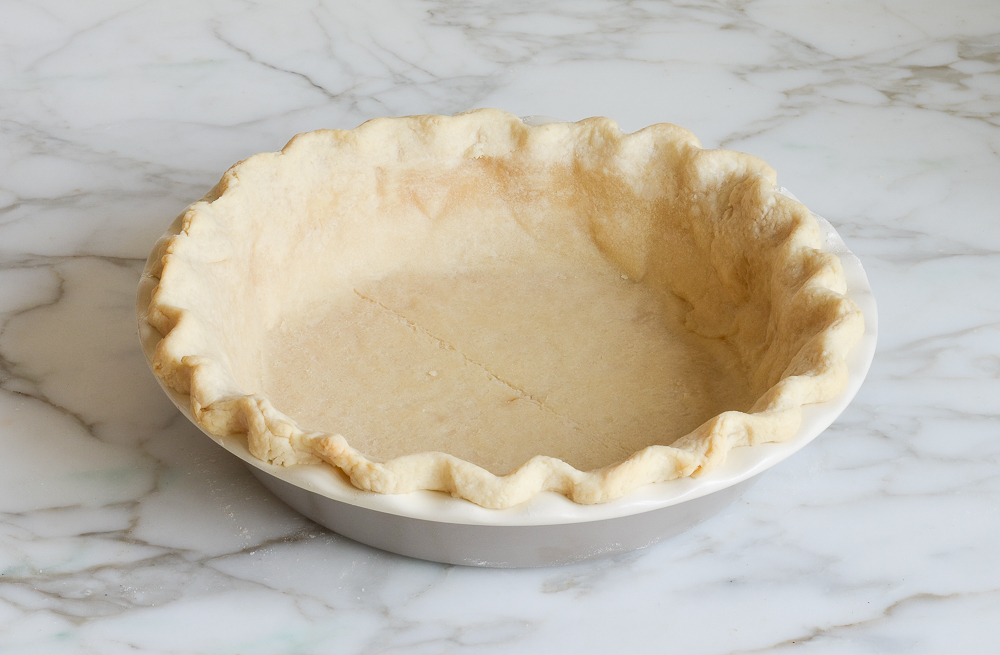
Bake for 15 to 20 minutes, or until the edges are lightly golden and the crust is set. Carefully remove the parchment and weights. If the recipe requires a fully baked crust, return the crust to the oven and bake for an additional 5 to 10 minutes, or until the bottom is golden and cooked through. For recipes requiring further baking, proceed as directed.
Make-Ahead & Freezing Instructions
You can make pie crust ahead of time and refrigerate, sealed tightly in plastic wrap, for a few days. Making pie crust ahead can actually improve its texture and flavor as it allows the gluten in the flour to relax. The pie crust can be frozen for longer storage. Wrap the dough tightly in plastic wrap before freezing. Before using, thaw the dough in the refrigerator overnight.
Frequently Asked Questions
A: Yes, you can use all butter or all shortening, but the texture and flavor will differ. All butter will give a richer flavor and potentially more flakiness due to its water content, but it can be harder to work with as it melts faster. All shortening, on the other hand, is easier to handle and helps the crust hold its shape better but will lack the delicious flavor that butter provides.
A: Keeping the butter and shortening cold is crucial for achieving a flaky pie crust. When cold, these fats don’t mix completely with the flour, creating small pockets in the dough. As the crust bakes, the fat pockets steam, resulting in the desired flakiness. Additionally, cold fats are less likely to be overworked into the dough, which can prevent the crust from becoming tough. Working with cold ingredients also makes the dough easier to handle and roll out.
Video Tutorial
You May Also Like


Perfect Pie Crust
Ingredients
- 1½ cups all-purpose flour, spooned into measuring cup and leveled-off
- ½ teaspoon salt
- ⅛ teaspoon baking powder
- 6 tablespoons very cold unsalted butter, sliced into ¼-in (6-mm) pieces
- 3 tablespoons very cold vegetable shortening, in 3 pieces
- 4 tablespoons very cold water
Instructions
- Combine the flour, salt and baking powder in the bowl of a food processor fitted with the metal blade. (If you don't have a food processor, see note below.) Process for 5 seconds to blend.
- Add the butter and shortening. Pulse until you have coarse crumbs with lots of pea-sized clumps of butter and shortening within, 15 to 20 one-second pulses.
- Add the water and pulse until the mixture is just evenly moistened and very crumbly, 7 to 10 one-second pulses.
- Dump the crumbly dough out onto a work surface and gather it into a ball.
- Pat the dough into a 5-in (13-cm) disc and wrap it in plastic wrap. Refrigerate for at least 45 minutes or up to 3 days to rest.
- Take the dough out of the refrigerator and dust your work surface lightly with flour. Place the dough on top and sprinkle a little flour over the dough. Use your hands to quickly knead the dough into a soft and malleable disc (don’t overwork it; you want it just supple enough to roll).
- Roll the dough, turning it frequently and adding more flour as necessary so it doesn’t stick, into a 13-in (33-cm) circle.
- Fold the dough into quarters without creasing it and transfer it to a 9-in (23-cm) deep-dish pie pan.
- Gently fit the dough into the pan, easing it inwards rather than stretching it outwards. Don’t worry if it tears, just patch it right back up.
- Trim the edges to ½ in (13 mm) beyond the lip of the pie pan, if necessary. Turn the edges under to create a rim on the crust (you can use the scraps to patch in any thin areas); then press the rim against the lip of the pan, forming it into an even edge as you go. Using your fingers, crimp the rim. Place the crust in the refrigerator for at least 30 minutes, and then proceed with your pie recipe.
- If your crust requires blind baking: Preheat the oven to 375°F (190°C). Remove the crust from the refrigerator and cover with a piece of parchment paper. Fill the crust at least halfway full with dried beans or pie weights. Bake for 15 to 20 minutes, or until the edges are lightly golden and the crust is set. Carefully remove the parchment and weights. If the recipe requires a fully baked crust (such as for a custard pie), return the crust to the oven and bake for an additional 5 to 10 minutes, or until the bottom is golden and cooked through. For recipes requiring further baking, proceed as directed.
Notes
- If you don’t have a food processor, you can mix the dough by hand. In a large mixing bowl, whisk together the flour, salt, and baking powder until well combined. Add the cold butter and shortening, and use a pastry cutter, two knives, or your fingers to cut the fats into the flour mixture until it resembles coarse crumbs with some pea-sized clumps. Drizzle the cold water over the mixture, one tablespoon at a time, and toss with a fork until the dough just comes together. Avoid overmixing; the dough should still be crumbly but hold together when pinched
- Freezing Instructions: The pie crust dough can be frozen for up to 3 months after you’ve formed it into a disc. Wrap it tightly in a layer of plastic wrap and a layer of foil. Before using, thaw the dough in the fridge overnight and then proceed with the recipe.
Nutrition Information
This website is written and produced for informational purposes only. I am not a certified nutritionist and the nutritional data on this site has not been evaluated or approved by a nutritionist or the Food and Drug Administration. Nutritional information is offered as a courtesy and should not be construed as a guarantee. The data is calculated through an online nutritional calculator, Edamam.com. Although I do my best to provide accurate nutritional information, these figures should be considered estimates only. Varying factors such as product types or brands purchased, natural fluctuations in fresh produce, and the way ingredients are processed change the effective nutritional information in any given recipe. Furthermore, different online calculators provide different results depending on their own nutrition fact sources and algorithms. To obtain the most accurate nutritional information in a given recipe, you should calculate the nutritional information with the actual ingredients used in your recipe, using your preferred nutrition calculator.
I need advice… I followed ur recipe strictly, but somehow my dough turns soft
I didn’t even need to put water in the 2nd attempt, it was still soft… it doesn’t become crumbly… the butter, shortening, water was all cold…
Sorry you’re having a problem with this! I’m wondering if you’re over-processing the flour/butter/shortening mix. It only needs 15 to 20 one-second pulses. Do you think that could be the case?
perfect pie crust. rolled out beautifully. light and flaky. used this recipe for a tomato pie tonight.
Can I freeze this pie crust?
Sure!
Can i freeze this crust to use later?
Sure! (You can either wrap it securely in plastic wrap and foil or a freezer bag or could freeze it in your pie plate.) Hope that helps!
I have tried the King Arthur pie crust recipe, the Cooks Illustrated vodka pie crust recipe and many more. Yours is the most foolproof: holds its shape in the oven, crisp, tasty, easy to handle, easy to make. I doubled it today for a very large strawberry rhubarb pie. Lovely. Thank you!
A perfect, easy crust recipe! Thank you!
Hi Jenn. I’d like to make an old-fashioned double crust lemon pie for my Dad for Father’s Day. He doesn’t care for meringue. The very few recipes I’ve found online do not have many reviews so I am hesitant to pick one. I’d like to use your favorite pie crust recipe so that I know at least the crust will be a winner! Here’s my question… should I blind bake the crust for this type of pie? Does it depend on the recipe I choose for the filling? If you can recommend a good lemon pie filling recipe, I’d be grateful! Thank you!
Hi Christine, without seeing a recipe it’s hard to say for sure but yes, I think to be safe, I’d blind bake the crust as I suspect the filling will have a fair amount of moisture. Unfortunately, I don’t know offhand of a great lemon pie recipe though – Sorry I can’t be more helpful!
Hi Jenn,
Love your recipes and have made at least 25 of them by now…..you have replaced Ina for my go to recipes!
Made this crust recipe in my single 9 inch pie pan and just wondered how to adjust the measurements and baking time for the majority of my 10 inch pie pans.
I also own small, 6 inch, pie plates from Longaberger Basket from years ago. I have no idea how long to bake the crust for in them let alone how to calculate the ingredients for a crust let alone a filling. Can you help? Would love to start using them as they’d be the perfect size for when its just my husband and me.
Frequent The Capital Grille in Denver often so can’t wait to make the cocoanut cream pie.
Thank-you for your time and hope you are in the works for another cookbook!
Warm regards,
Karen
Hi Karen, I’m flattered that I’m your go-to for recipes!! 🙂
Are your 6 and 10-inch pie pans deep dish?
Hi Jenn, Oh my gosh I am so awful at making pie crust and my Mother made pie crust to die for. It must have skipped a generation. I tired to make this before Thanksgiving. It looked like the pictures, throughout the food processor process. I left it in the frig for 24 hours, sat it on the counter for 15 minutes and when I tried to roll it out it completely fell apart and part of it stuck to the roller. It was a mess. Did I not put in enough water? Also I used White Lilly flour because I saw it had less protein and might make a flakier? Was it not enough to hold it together? I should have taken a picture. Any thoughts are appreciated.
Hi Belinda, Sorry you had trouble! It may have something to do with the white lily flour. I’d try it again with all-purpose (I use King Arthur) and be sure to knead it just a bit when you take it out of the fridge to help make it supple enough to roll out. Also, don’t be shy about adding more flour as you roll it out to prevent sticking.
thank you Jen, I will try the King Arthur which I also have. I am determined to keep trying. My friends say I am nuts and just to buy frozen pie crust. :). I think I should have kneaded it more too.
White Lily uses a soft winter wheat with less protein, more like a cake flour; it will make more delicate, fluffier biscuits and cakes. All purpose flour has a mix of hard wheat and soft wheat, so King Arthur AP flour works better here. The little bit of kneading helps activate the gluten to hold it together – just don’t over-knead it or your dough can get tough.
Hi Jen,
Thank you for this gorgeous looking pie crust recipe!
I am making a beef pie (it will be a little saucy). Do you think I should blind bake the crust?
Also, can I double or triple this crust recipe, or better to make 3 batches?
Thanks!
Hi Bry, I would definitely blind bake the crust — and, yes, you can double or tripe without any issues. Enjoy!
I had the same issues of it sticking to the counter/rolling pin as another poster. It was difficult to roll out, but easy to patch. And by the time it was baked I don’t think you could tell anyway! I will try using more four on the counter next time, as you suggested to another reader.
The taste was great! Very flaky and decadent, just like we enjoy. Soooo much better than the frozen crusts you get at the supermarket. Thanks!
use enough flour to roll! surface and rolling pin