
Rice Krispie Treats

This post may contain affiliate links. Read my full disclosure policy.
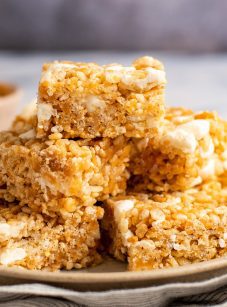
A childhood favorite you never outgrow—this Rice Krispie Treat recipe gets a few simple upgrades for even more gooey, buttery goodness.
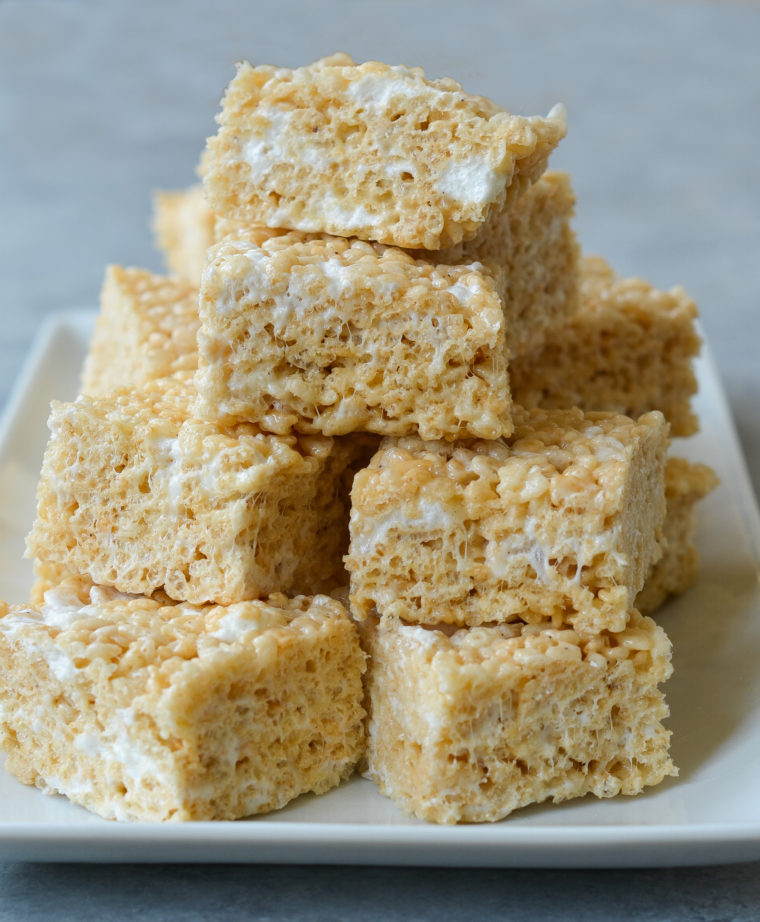
I’m always hesitant to say a recipe is the “best ever,” especially for a dessert like Rice Krispie Treats that everyone knows and loves. But once you’ve tinkered with a recipe for weeks—asking your kids, their friends, and anyone who passes through your house to sample different versions—you can say it’s the best with some confidence. There’s absolutely nothing wrong with the original back-of-the-box Rice Krispie treat recipe, but it can be made so much better with almost no effort.
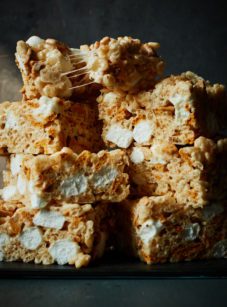
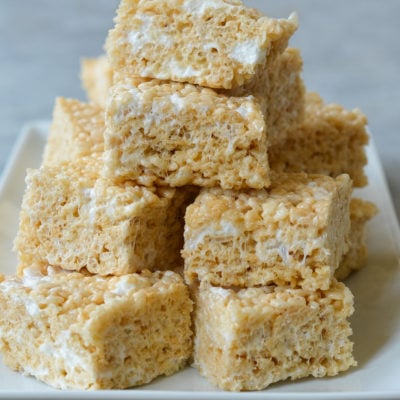
Here’s how: I use more butter and brown it for a deeper, nuttier flavor, add extra marshmallows and fold some in at the end for gooey pockets throughout, and finish with vanilla and a little salt to balance the sweetness. The result is everything I want in a Rice Krispie treat: buttery, gooey, chewy, and crisp without being hard.
“These really are the BEST rice krispie treats! Moist, delicious, and full of gooey marshmallow goodness!”
What You’ll Need To Make Rice Krispie Treats
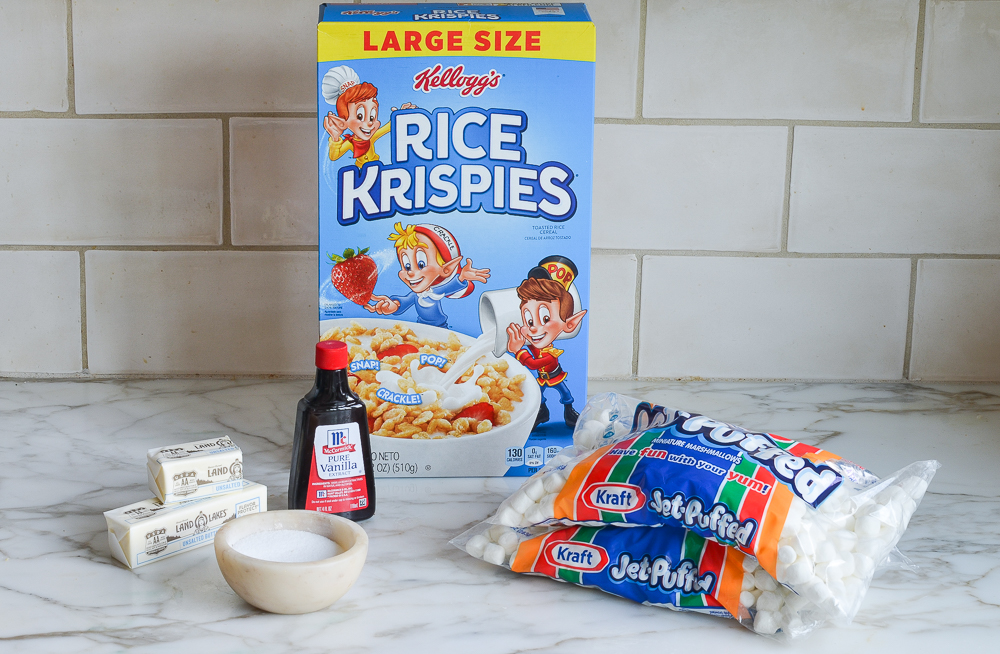
- Butter: Using more than the classic recipe makes the treats richer and softer, and browning it adds a deep, nutty flavor.
- Mini marshmallows: I use two bags and reserve some to fold in at the end, creating gooey pockets throughout the treats.
- Rice Krispies: The classic choice, though another crispy rice cereal will work, too. Make sure the cereal is fresh for the best crunch.
- Vanilla & salt: Vanilla rounds out the flavor, while salt balances all that sweetness and brings out the flavor of the browned butter.
- Jump to the printable recipe for precise measurements
How To Make Rice Krispie Treats
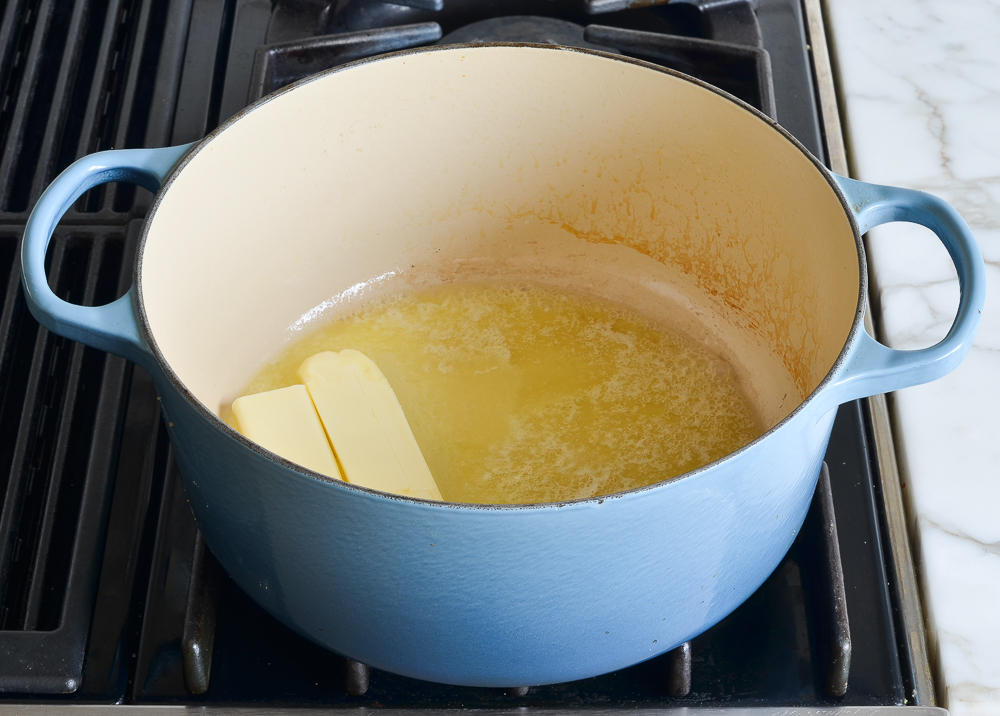
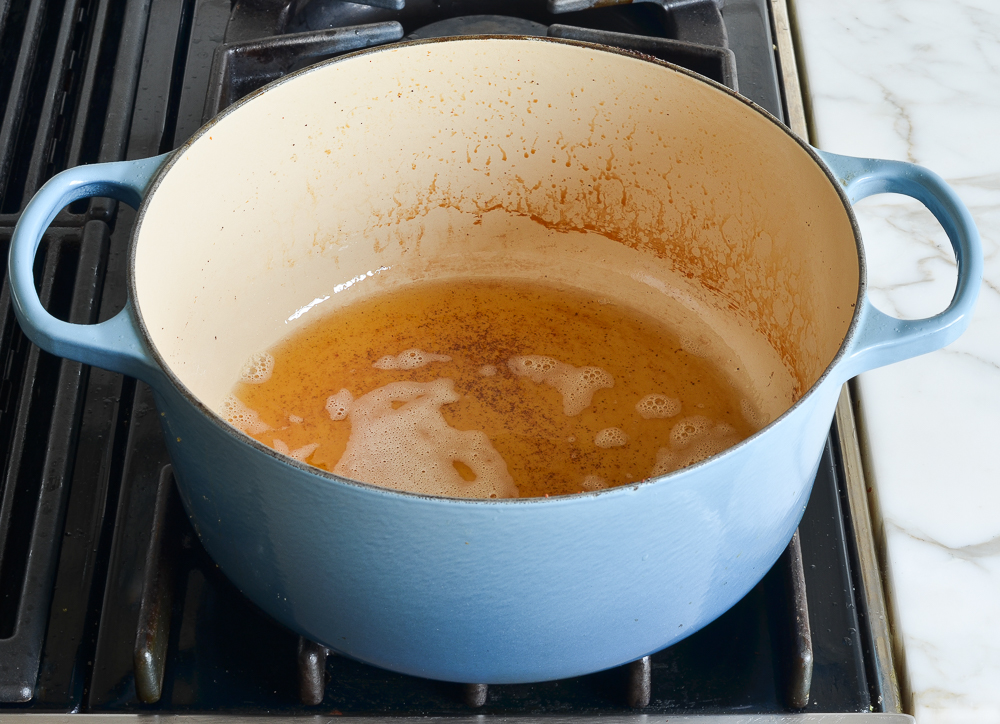
Brown the butter: Melt the butter over medium heat and continue cooking until it turns golden brown and smells nutty. A light-colored pot makes it much easier to see the color change. Watch carefully toward the end—once the milk solids begin to brown, they can burn quickly.
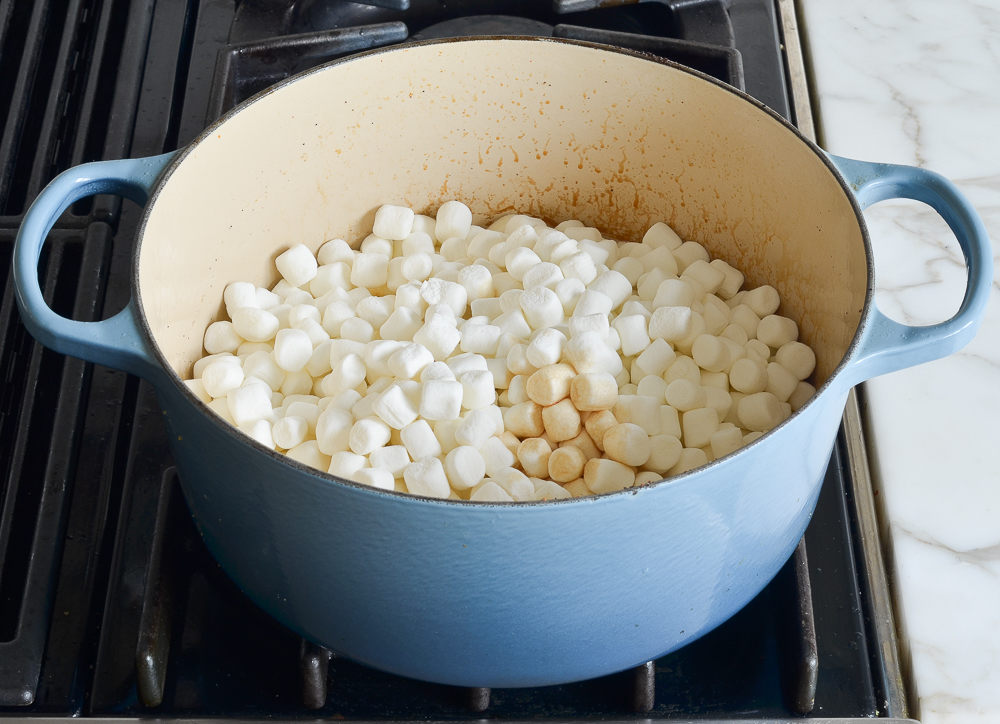
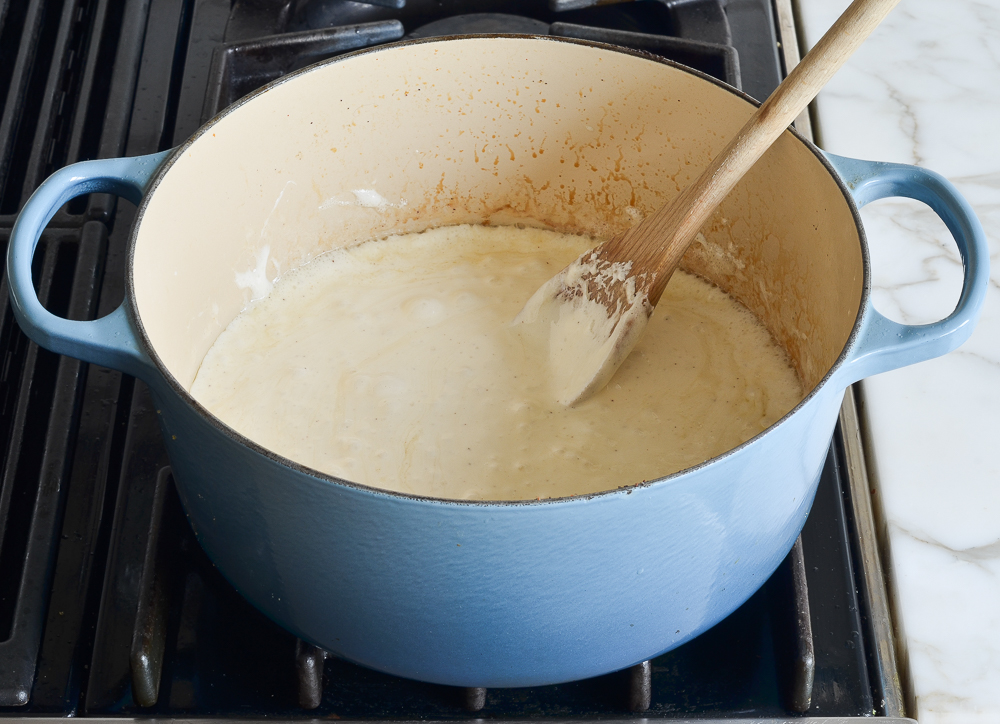
Add the marshmallows: Stir in most of the marshmallows and cook just until completely melted, then remove the pot from the heat and stir in the vanilla and salt.
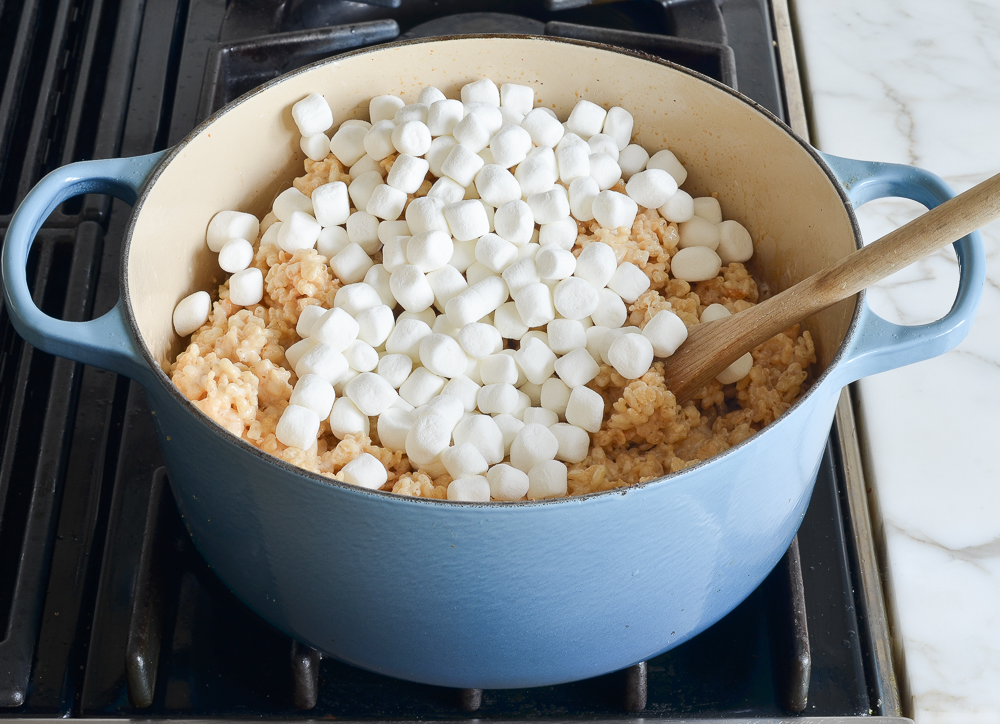
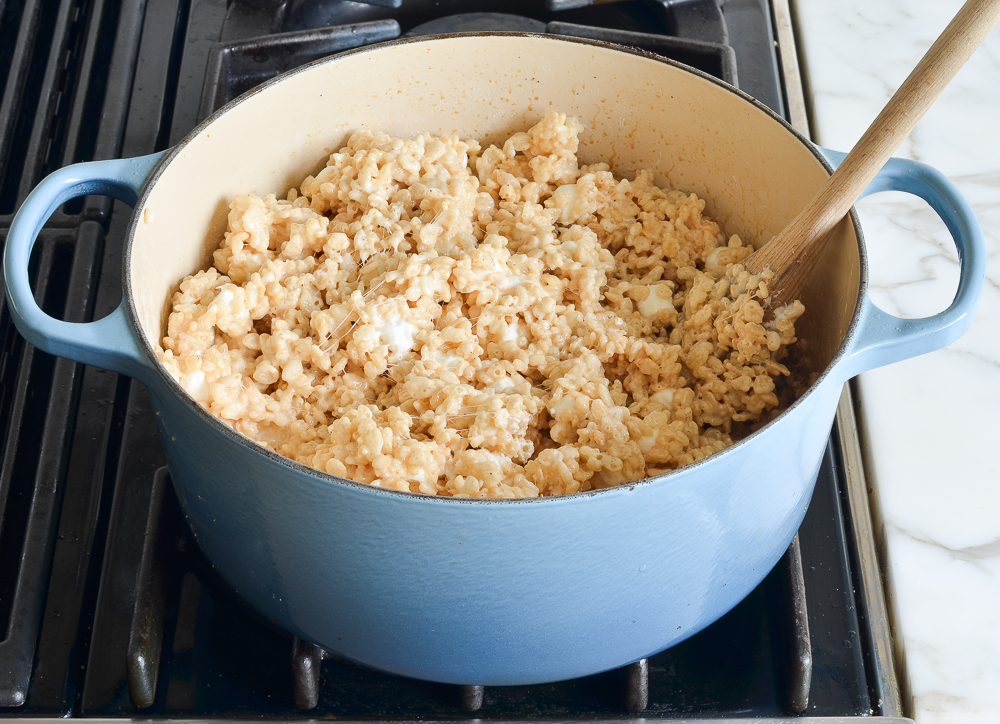
Add the cereal and reserved marshmallows: Fold in the Rice Krispies until evenly coated, then add the reserved marshmallows. They’ll soften slightly from the heat but won’t melt completely, leaving gooey pockets throughout the treats.
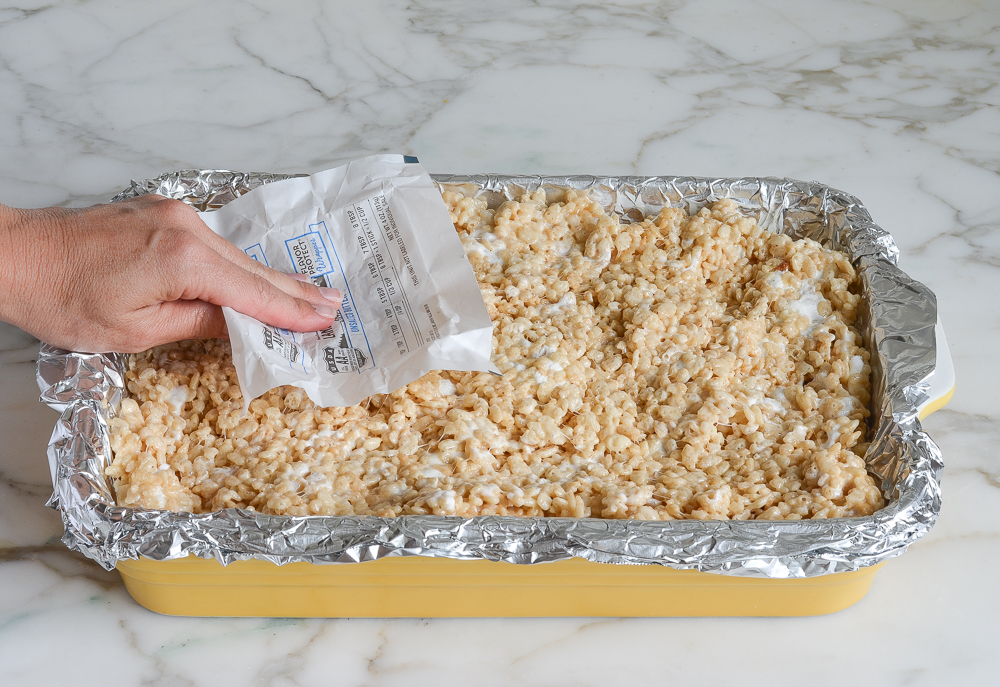
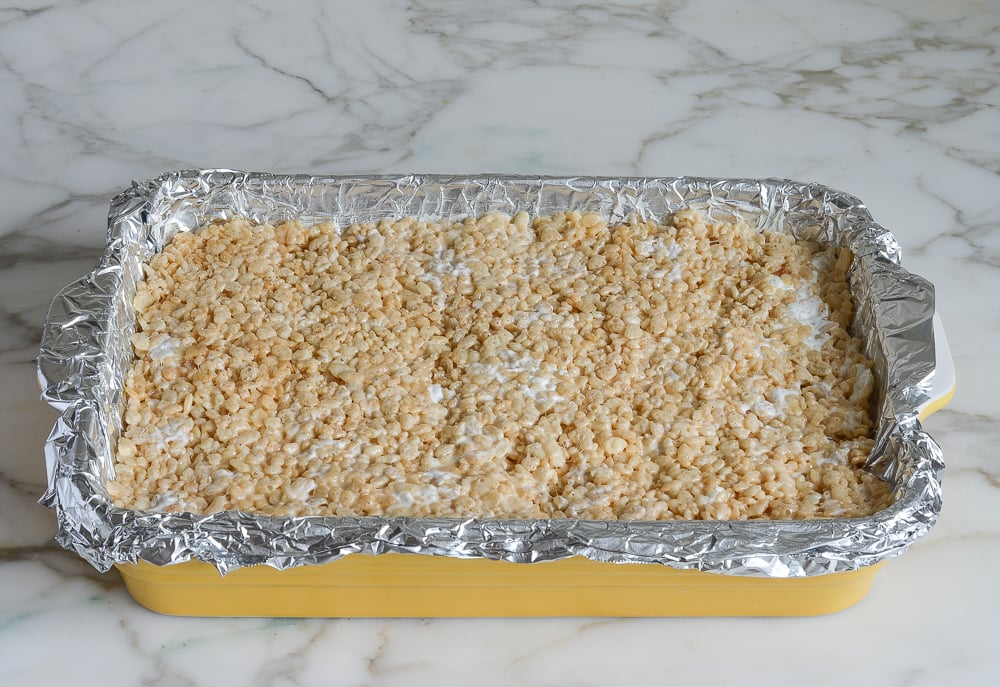
Press into the pan: Transfer the mixture to the prepared pan and press it into an even layer without compacting it too firmly (the butter wrappers come in handy here). A light hand keeps the treats tender and chewy rather than dense and hard. Let cool completely before cutting into squares.
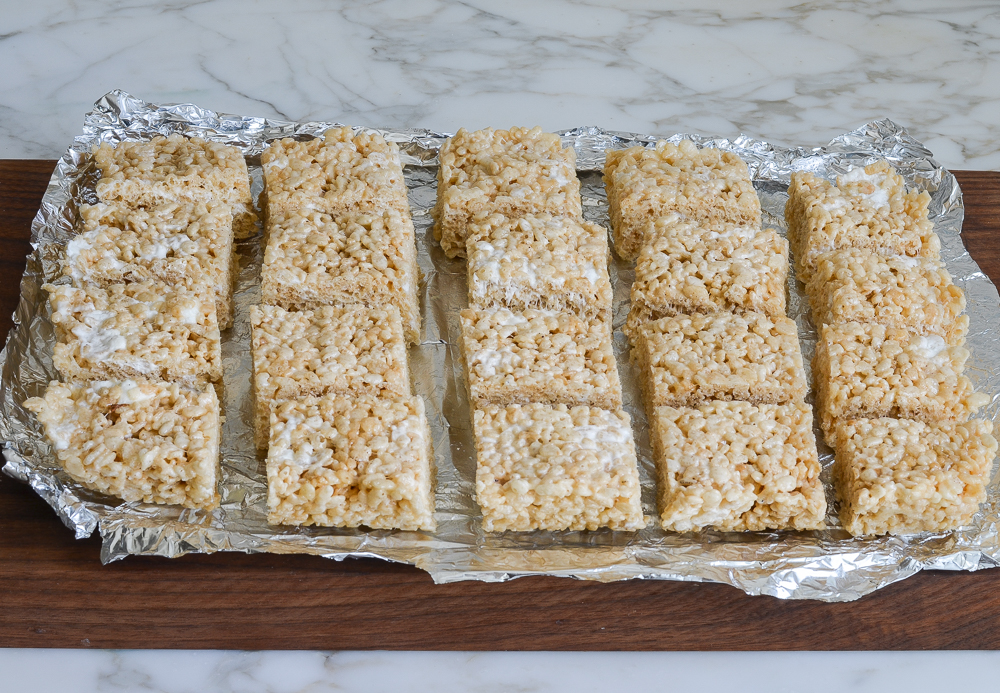
Cut into squares: Lift the treats out of the pan and transfer to a cutting board. Cut into squares and serve. You can store the treats in an airtight container at room temperature for several days days or freeze them for longer storage.
Video Tutorial
You May Also Like
Best Rice Krispie Treats
Ingredients
- 12 tablespoons (1½ sticks) unsalted butter, plus more for greasing the pan
- Two (10-oz) bags mini marshmallows, divided
- ¾ teaspoons vanilla extract
- ½ teaspoon salt
- 8½ cups Rice Krispies or crispy rice cereal (see note)
Instructions
- Line a 9 x 13-in (23 x 33-cm) pan with heavy duty aluminum foil and lightly grease with softened butter. Set aside 2 cups (110 g) of the marshmallows.
- In a large pot or Dutch oven, preferably with a light bottom so you can monitor the color, melt the butter over medium heat (save the butter wrappers; you’ll use them later for pressing the mixture into the pan). Swirl the pan occasionally to be sure the butter is cooking evenly.
- As the butter melts, it will begin to bubble and foam, and the color will progress from bright yellow to golden to, finally, a toasty-brown. Once you smell that nutty brown butter aroma, take the pan off the heat. (You’ll see little bits of golden brown sediment forming; that’s okay. However, if the sediment looks almost black, go ahead and pass the butter through a fine sieve to strain it out, then return the brown butter to the pan.)
- Off the heat, add the remaining marshmallows, vanilla, and salt.
- Place the pot back over medium heat and stir the mixture with a wooden spoon until the marshmallows are completely melted. Remove the pan from the heat and add the cereal. Using a rubber spatula or wooden spoon, stir until evenly combined.
- Add the reserved marshmallows and stir until they are softened and partially melted. Don’t overmix; you want pockets of goo. Transfer the mixture to the prepared pan and, using the butter wrapper or damp fingers, press the mixture gently into an even layer in the prepared baking pan. Let cool at room temperature for at least an hour.
- Use the foil overhang to lift the treats onto a cutting board, then use a serrated bread knife to cut into squares. Store in an airtight container at room temperature for up to 5 days.
Notes
Nutrition Information
This website is written and produced for informational purposes only. I am not a certified nutritionist and the nutritional data on this site has not been evaluated or approved by a nutritionist or the Food and Drug Administration. Nutritional information is offered as a courtesy and should not be construed as a guarantee. The data is calculated through an online nutritional calculator, Edamam.com. Although I do my best to provide accurate nutritional information, these figures should be considered estimates only. Varying factors such as product types or brands purchased, natural fluctuations in fresh produce, and the way ingredients are processed change the effective nutritional information in any given recipe. Furthermore, different online calculators provide different results depending on their own nutrition fact sources and algorithms. To obtain the most accurate nutritional information in a given recipe, you should calculate the nutritional information with the actual ingredients used in your recipe, using your preferred nutrition calculator.
Gluten-Free Adaptable Note
To the best of my knowledge, all of the ingredients used in this recipe are gluten-free or widely available in gluten-free versions. There is hidden gluten in many foods; if you’re following a gluten-free diet or cooking for someone with gluten allergies, always read the labels of your ingredients to verify that they are gluten-free.
Family and friends LOVE these! I sprinkle just a little extra sea salt before cutting for an extra pop. Thank you for an amazing recipe!
These are as amazing as everyone has said. I decided to make them after a family member recommended this recipe. I had been trying various recipes for weeks, searching for the perfect balance of texture (pliable and gooey but with some crunch still left), sweet and salty. These fully delivered.
My first batch was rock hard, but I discovered I had overcooked my marshmallows—my dutch oven (only light colored bottom pan I had) carried a lot of heat and did not need any further heat to melt the marshmallows. The second batch I did not return the pot to heat; just stirred until the marshmallows melted and it came out perfect! I seriously can’t get enough of these.
This is THE recipe. 10/10. No notes.
Perfection and I Love this recipe and excited to use this for the holidays! These brought so much joy to our home!
These really are incredible! Rice crispy treats seem so easy but sometimes they just come out bland. This step-by-step made it so easy. I sprinkled sea salt flakes on the top at the end and *chefs kiss*! They’re fantastic!
Delicious. My teenage daughter and I made for a BBQ. I agree with other reviewers – the brown butter adds alot of flavor. Skeptical teenager was impressed.
I do not rate recipes online but this is the best rice krispie recipe. Small tweak is transformative to an American classic. Thank you for making life that much better.
The absolute best!
My husband said these are the best tasting Rice Krispie bars he has ever had (and that’s saying something!!)
The best I have ever made! They weren’t kidding.
Your recipe is my go-to Rice Krispies treats recipe and has been for over 2 years. The browned butter makes a huge difference in flavor that makes these perfect when you follow the recipe exactly as written.