
Chicken Schnitzel

This post may contain affiliate links. Read my full disclosure policy.
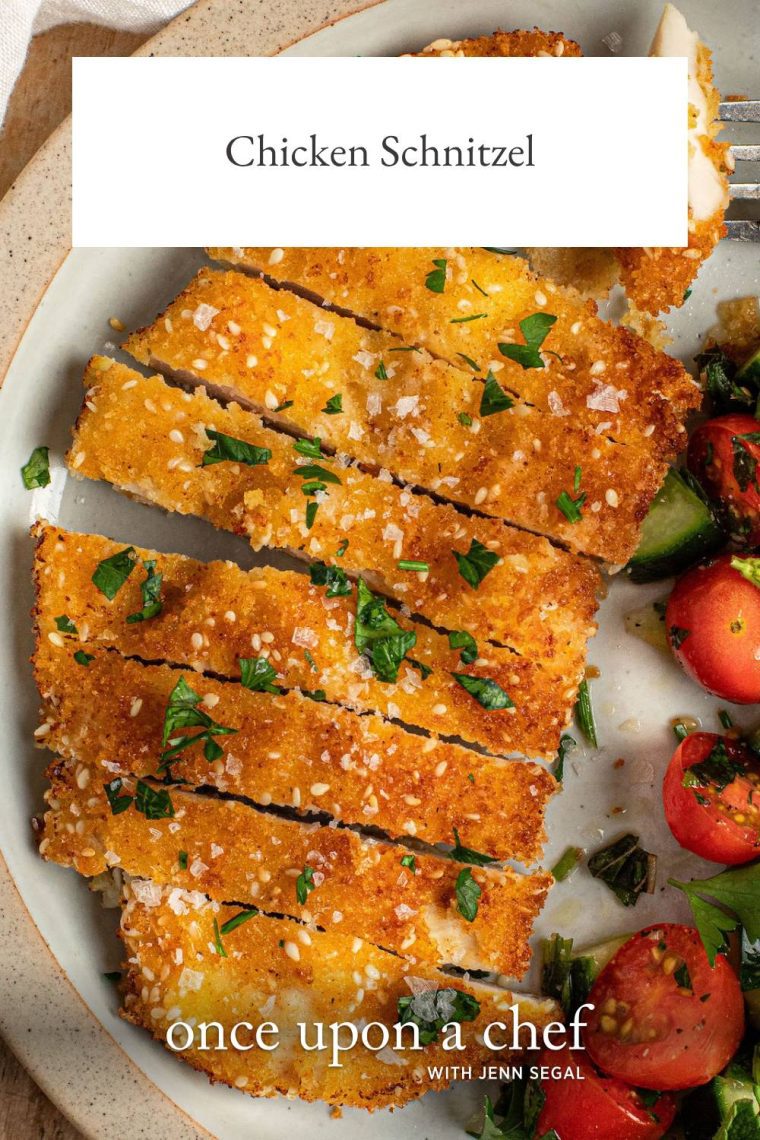
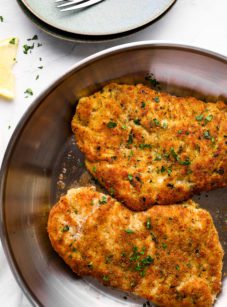
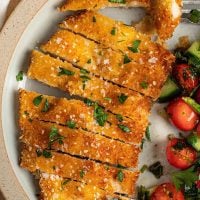
Golden and crispy outside, tender and juicy inside—this chicken schnitzel recipe is a weeknight favorite for kids and adults alike.
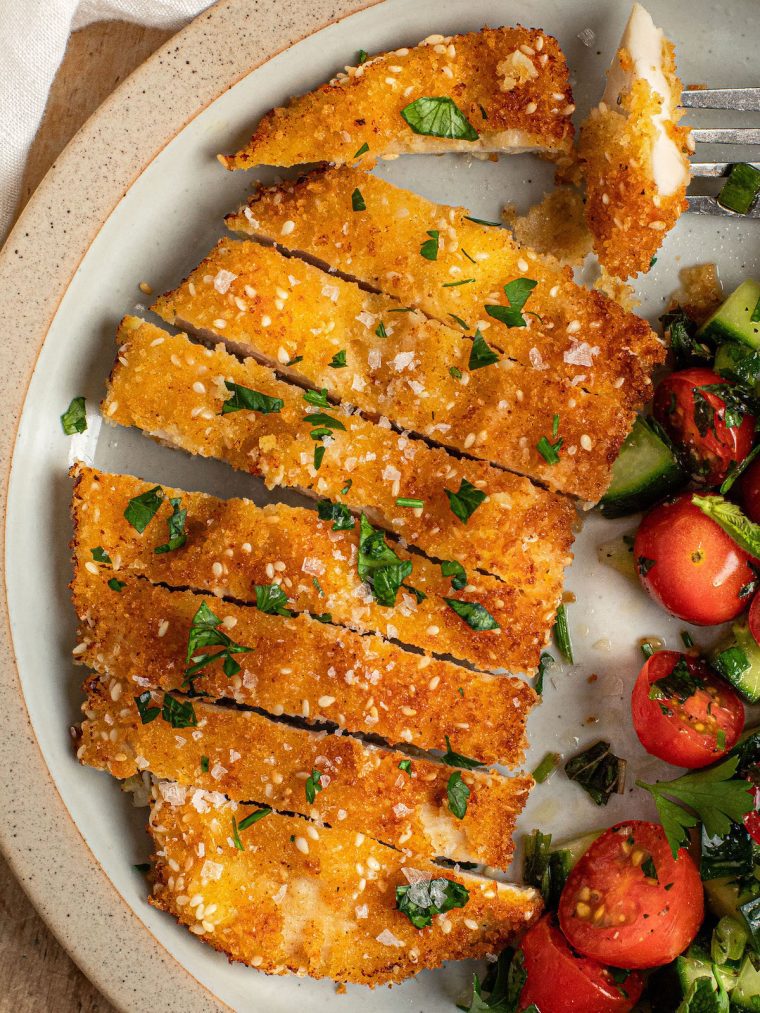
This chicken schnitzel recipe delivers everything you want: a deeply golden, crisp crust and juicy, tender chicken underneath. I have my son, Zach, to thank for the inspiration. After a summer internship in Israel, he came home with a stack of popular Israeli cookbooks (he knows his mama!), and I had a great time cooking my way through them. This schnitzel is my take on the many versions I came across.
Though schnitzel originated in Austria, it’s hugely popular in Israel, from family dinner tables to restaurant menus. And with that irresistible crunch, it’s no surprise kids love it, too.
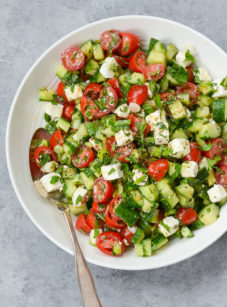
The secret to great schnitzel, in my opinion, is to quick-brine the chicken. Soaking the chicken fillets in a saltwater bath for just 30 minutes before breading ensures they come out flavorful and irresistibly juicy. Borrowing a page from my Israeli cookbooks, I add sesame seeds to the breading for a subtle nutty flavor, along with garlic powder and paprika for extra seasoning. As for sides? Schnitzel pairs beautifully with a vibrant, crisp salad—think Israeli salad or Greek salad.
“Delicious. Husband and kids loved it, even my picky toddler. I made it with the Greek salad on this site, which is also so good!”
What You’ll Need To Make Chicken Schnitzel
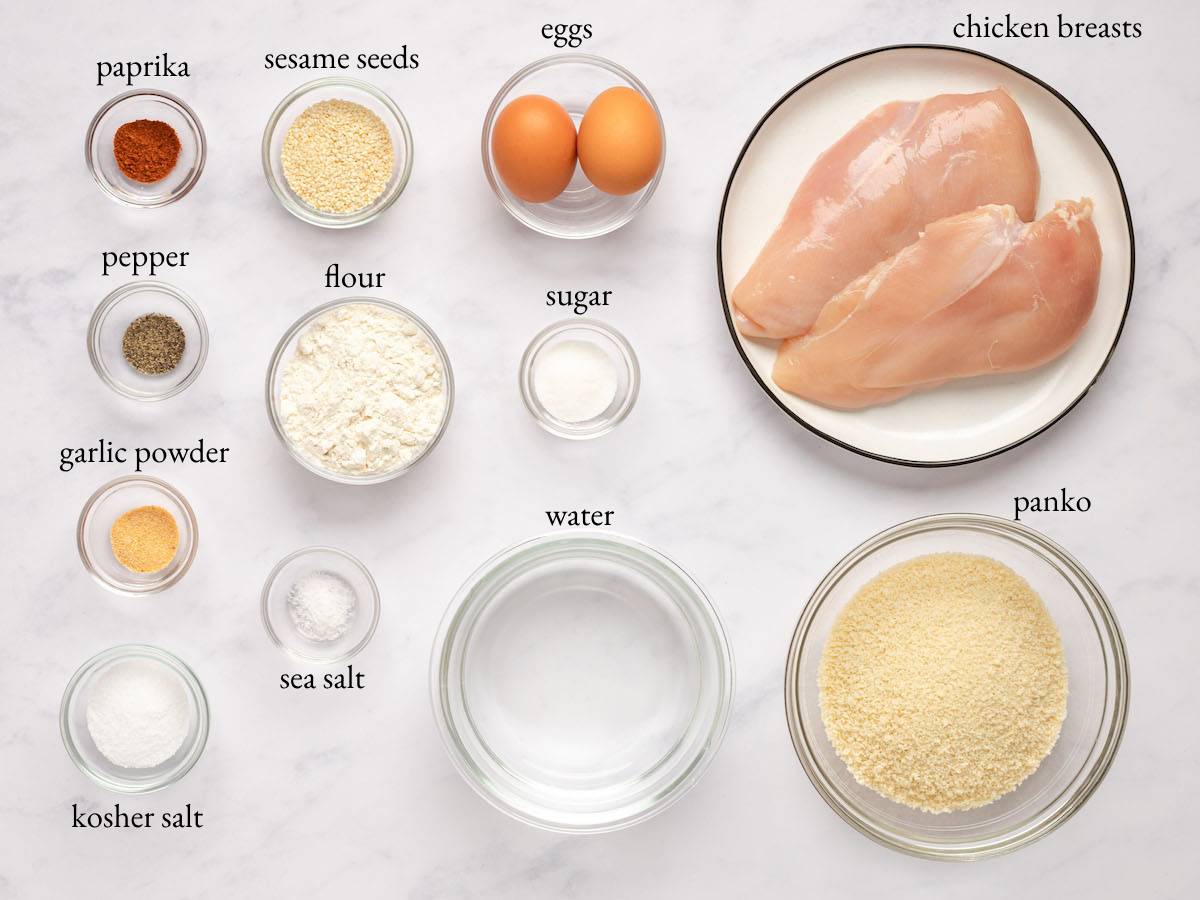
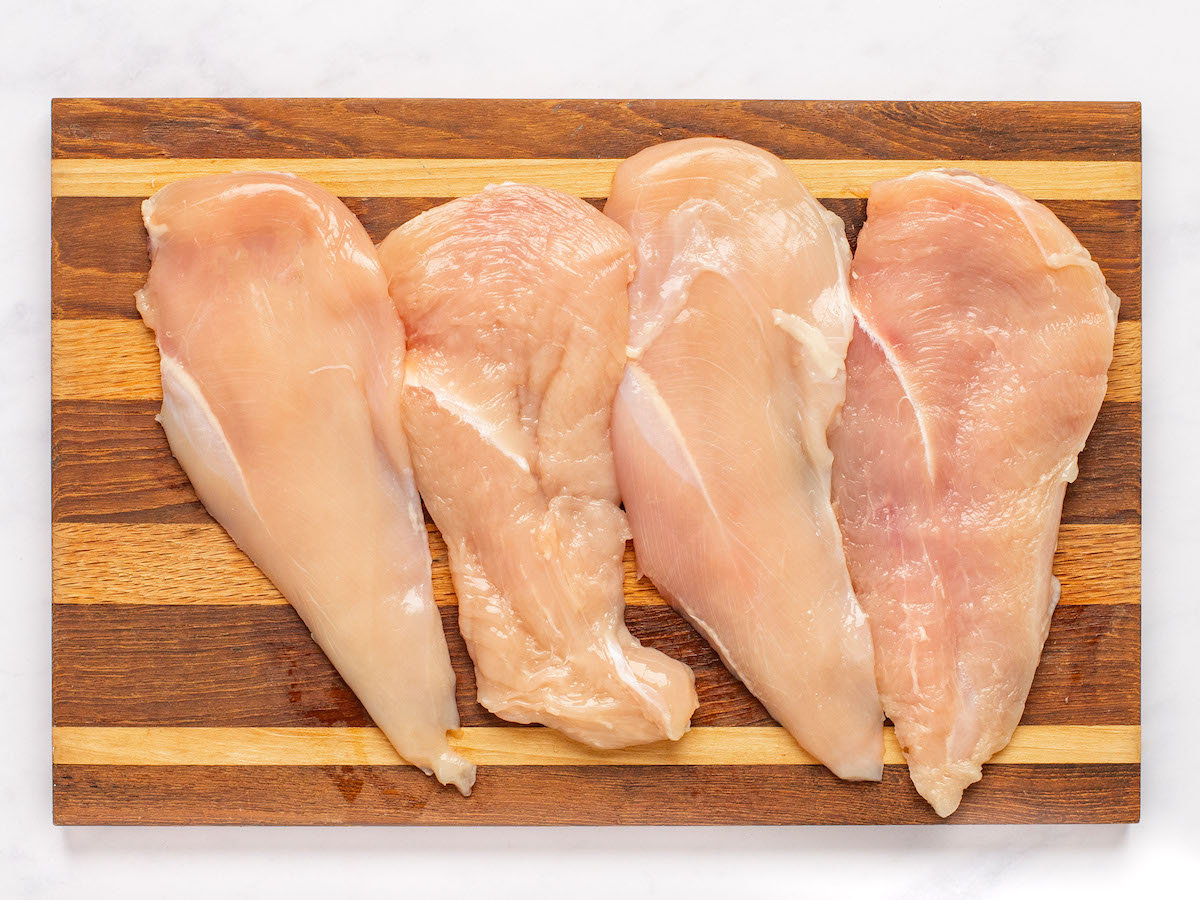
- Boneless, skinless chicken breasts: Start with whole chicken breasts, slice them in half horizontally, and pound them to an even ⅛- to ¼-inch thickness. I don’t recommend store-bought thin-cut breasts; they’re generally too thin, so the chicken can overcook before the coating has a chance to become deeply golden and crisp.
- Quick brine: A simple mixture of water, kosher salt, and a little sugar seasons the chicken throughout and helps keep it tender and juicy. Don’t brine the chicken for longer than 45 minutes, or it may become too salty.
- Panko breadcrumbs: These Japanese-style breadcrumbs are coarser and airier than regular breadcrumbs, giving the schnitzel an especially light, crisp coating.
- Sesame seeds: A common addition to Israeli-style schnitzel, they add a subtle nutty flavor and extra texture to the breading.
- Garlic powder and paprika: Season the breadcrumb mixture and give the crust extra flavor.
- All-purpose flour and eggs: These form the first two layers of the breading and help the panko mixture adhere evenly to the chicken.
- Vegetable oil: Use a neutral oil suitable for frying.
- Lemon wedges: Optional, but highly recommended—a squeeze of fresh lemon is the classic finishing touch for schnitzel.
- Jump to the printable recipe for precise measurements
How To make Chicken Schnitzel
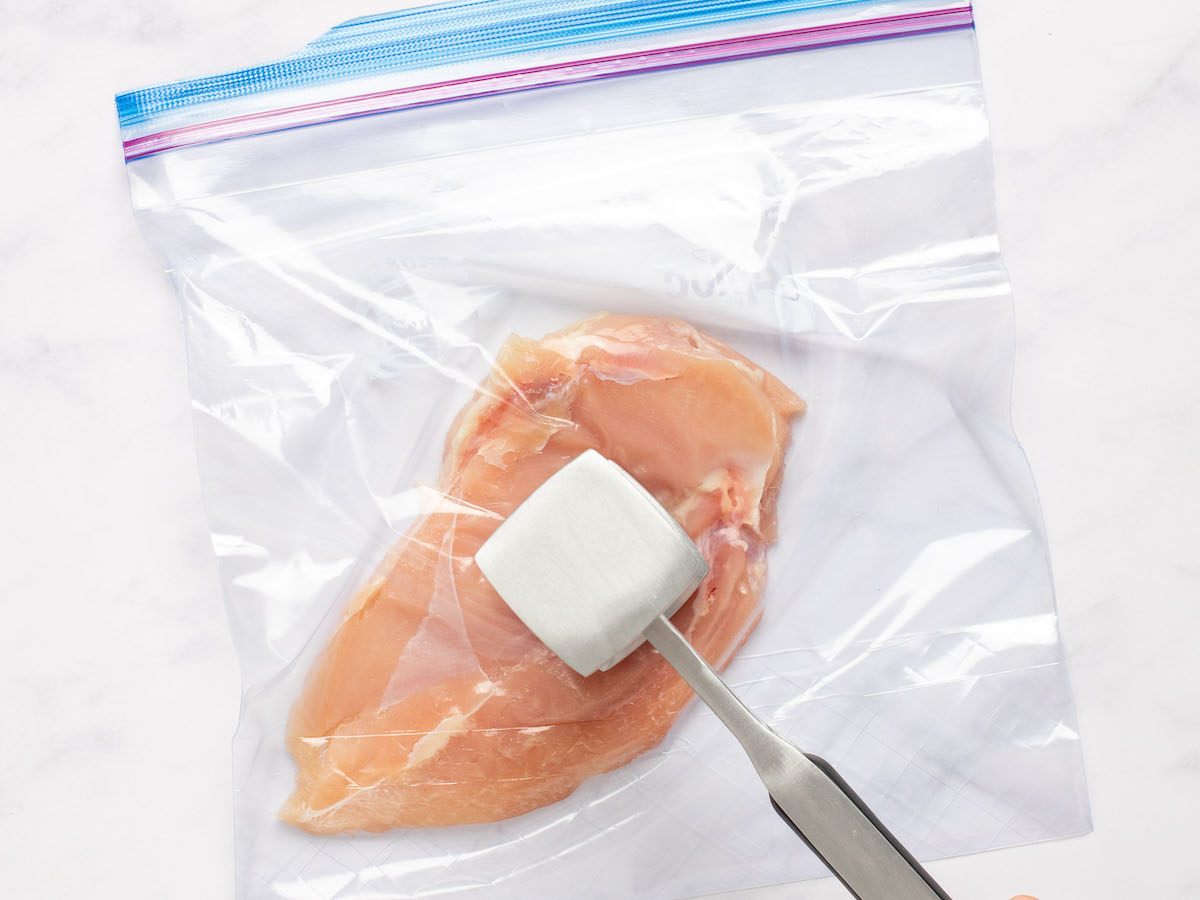
Prepare the chicken: Slice the chicken breasts horizontally to make thin fillets, then pound them to an even thickness. Pounding is important here: evenly thin pieces cook quickly, so the coating can become golden and crisp without the chicken drying out.
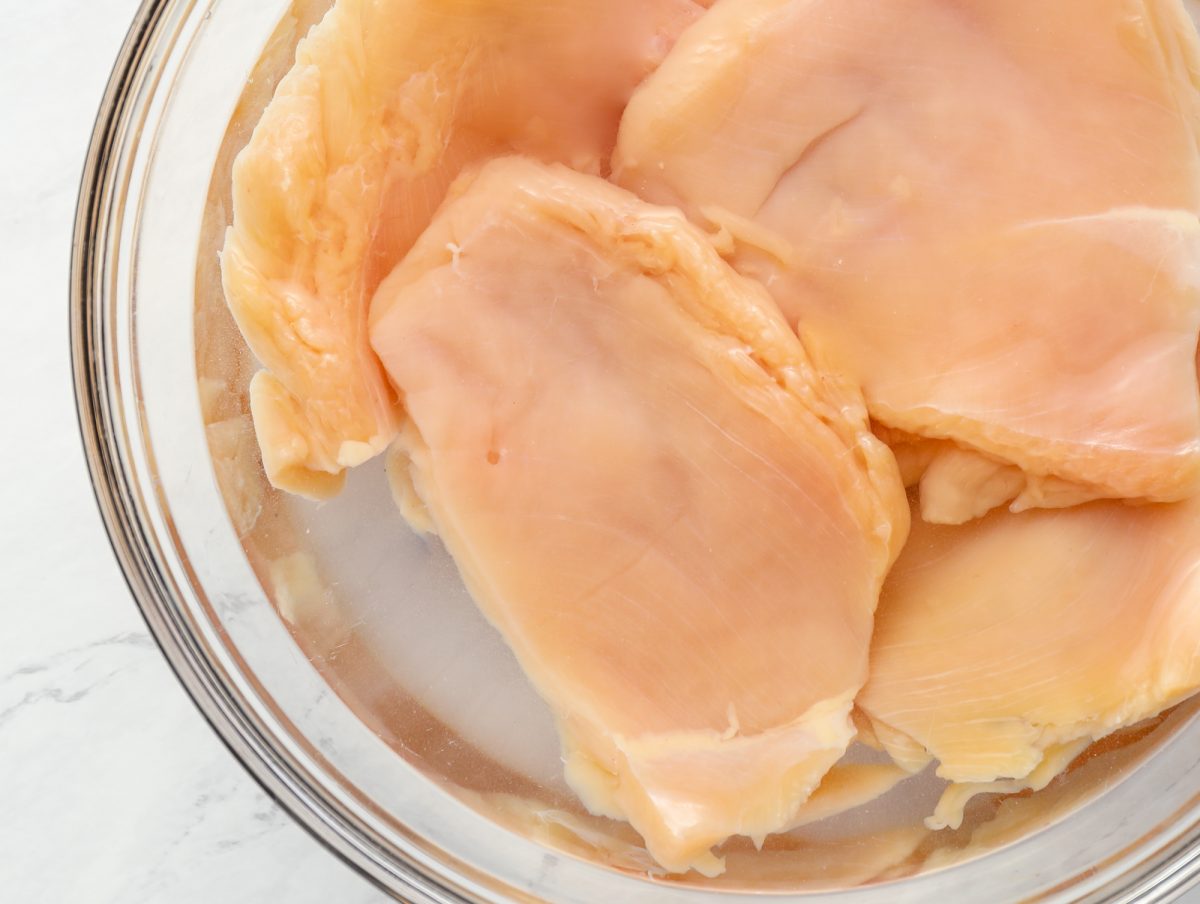
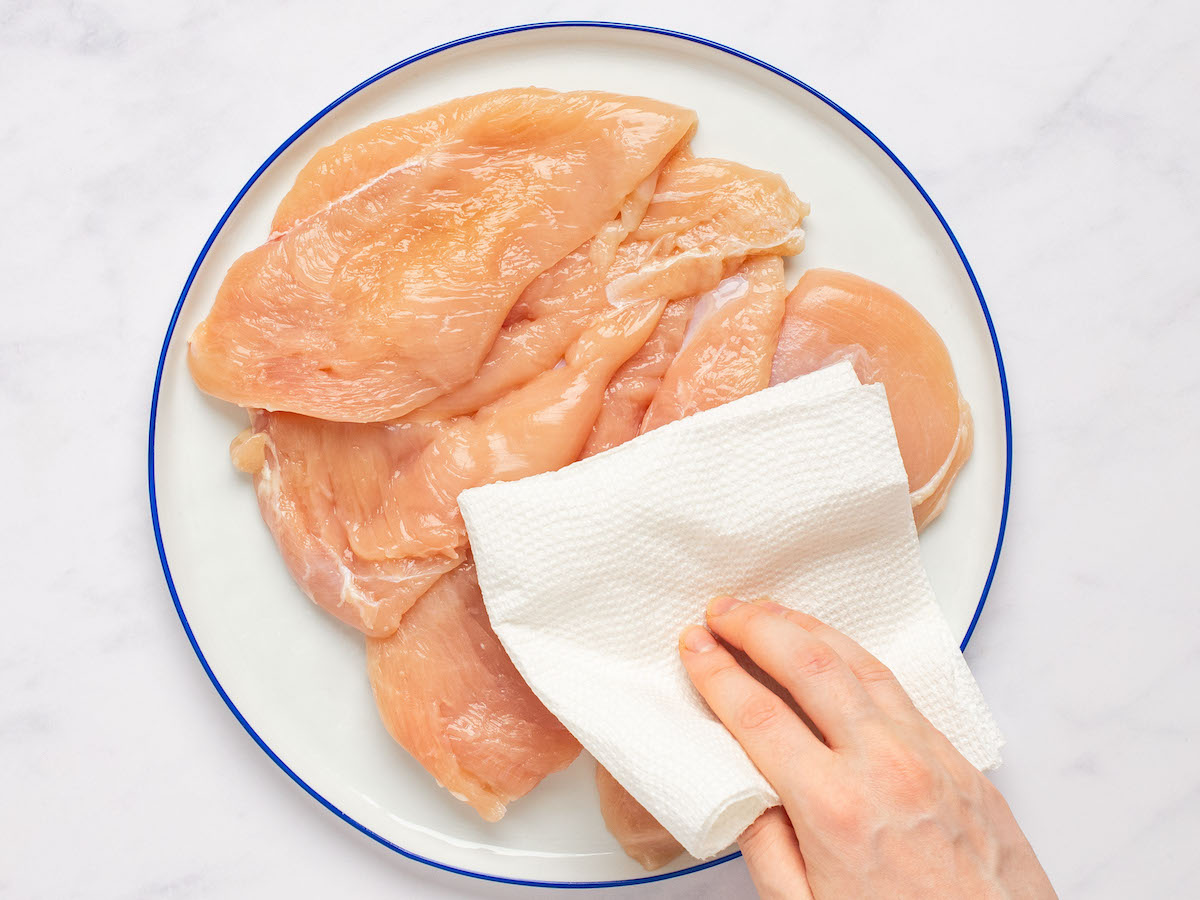
Brine the chicken: Add the chicken to the brine, making sure the pieces are submerged. After brining, pat the chicken very dry—excess moisture can keep the breading from adhering properly.
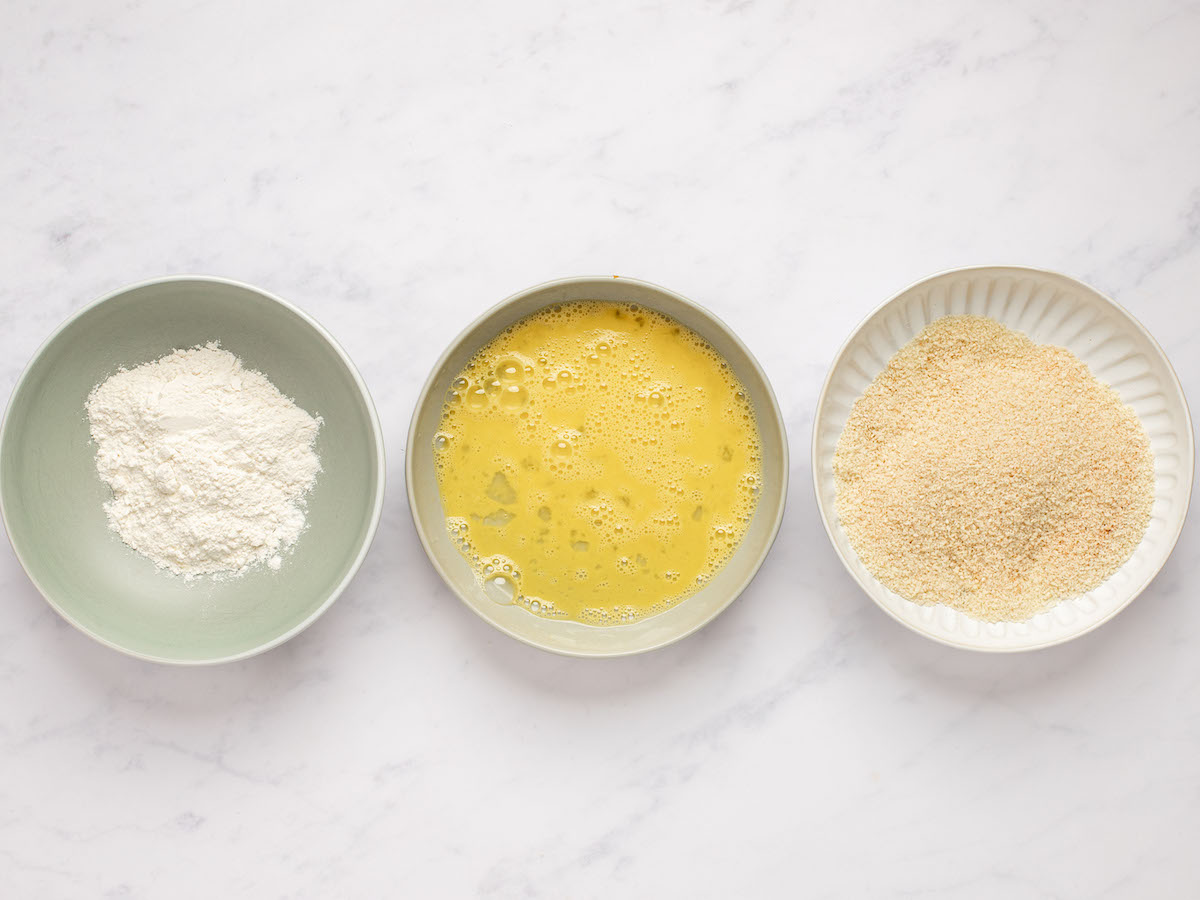
Set up the breading station: Arrange the flour, beaten eggs, and seasoned panko mixture in separate shallow bowls. Keeping them in order makes breading much easier (and a little less messy).
Bread the chicken: Coat each piece first in flour, then egg, and finally the panko mixture. Press the crumbs gently onto the chicken so you get an even, generous coating.
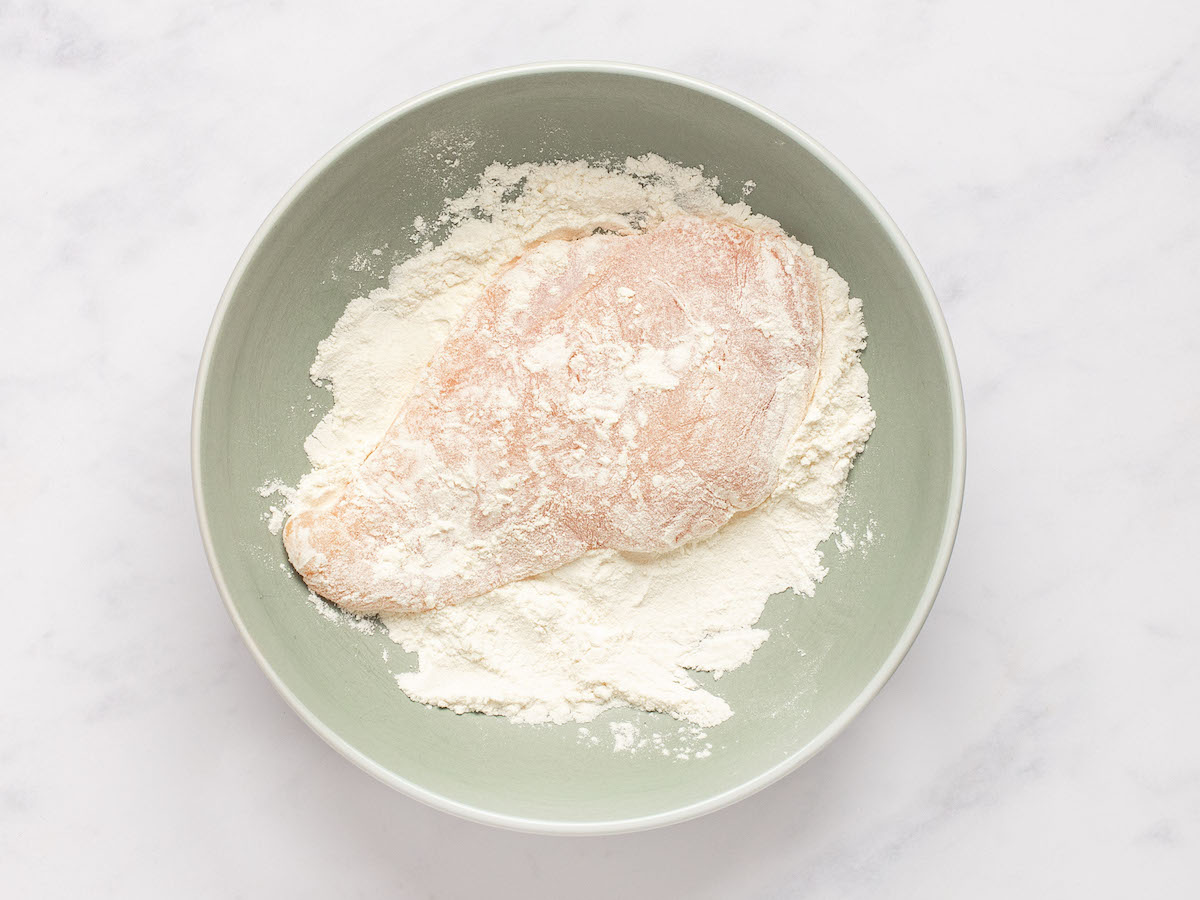
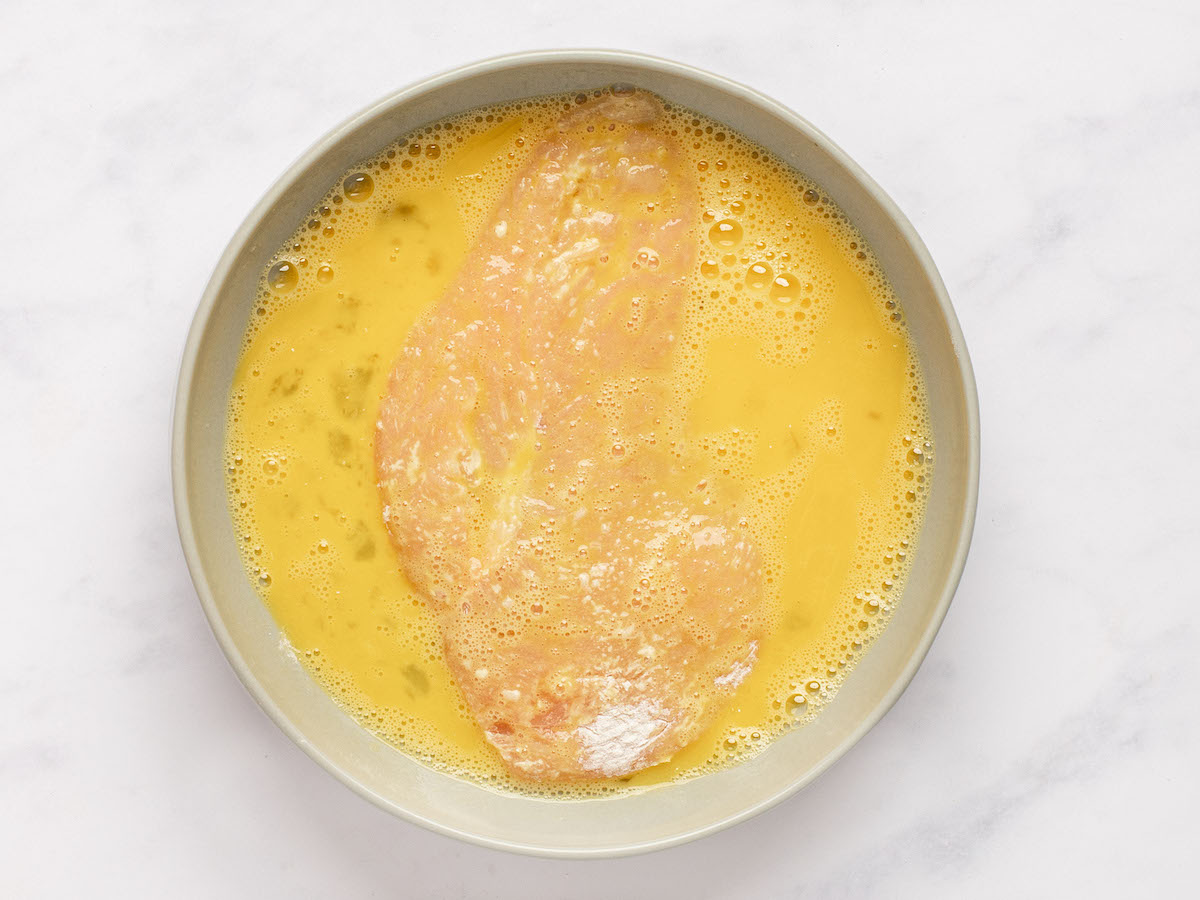
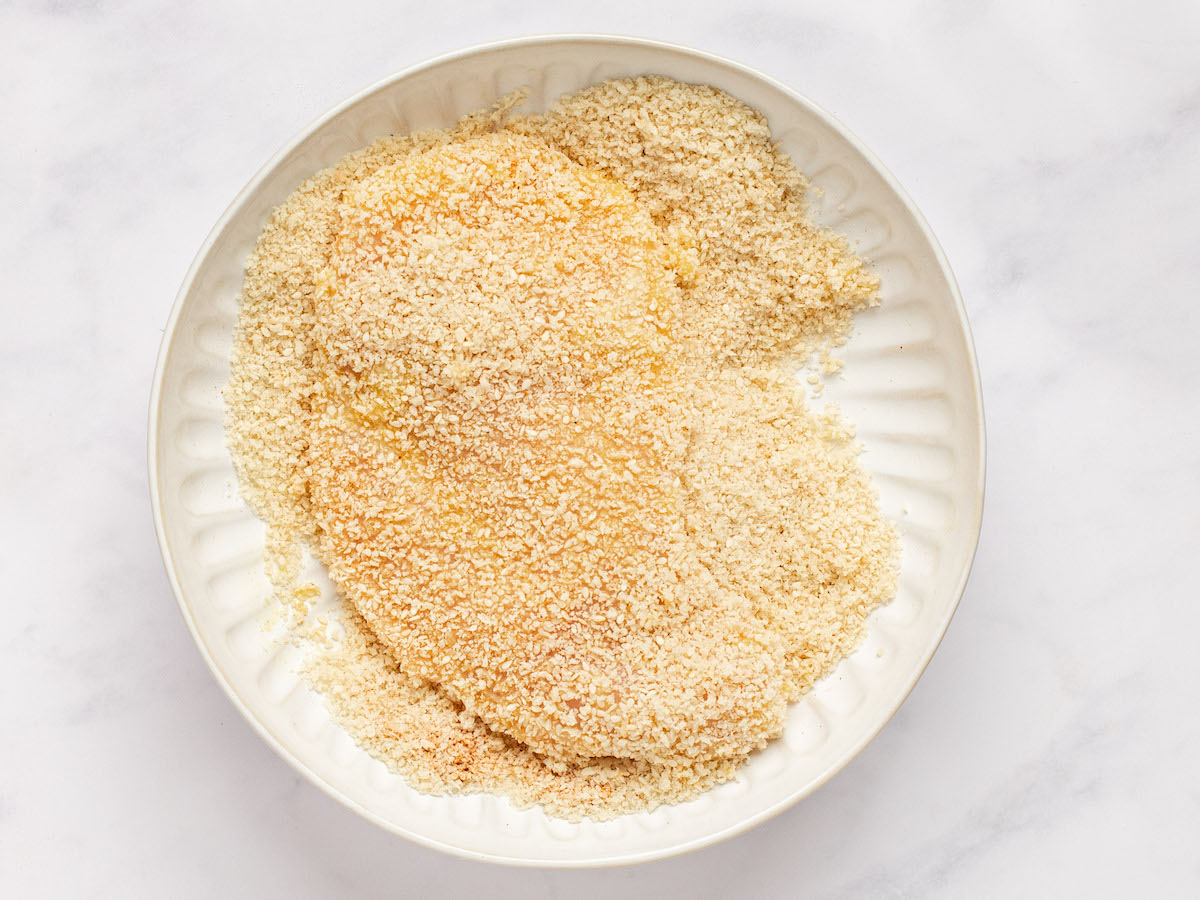
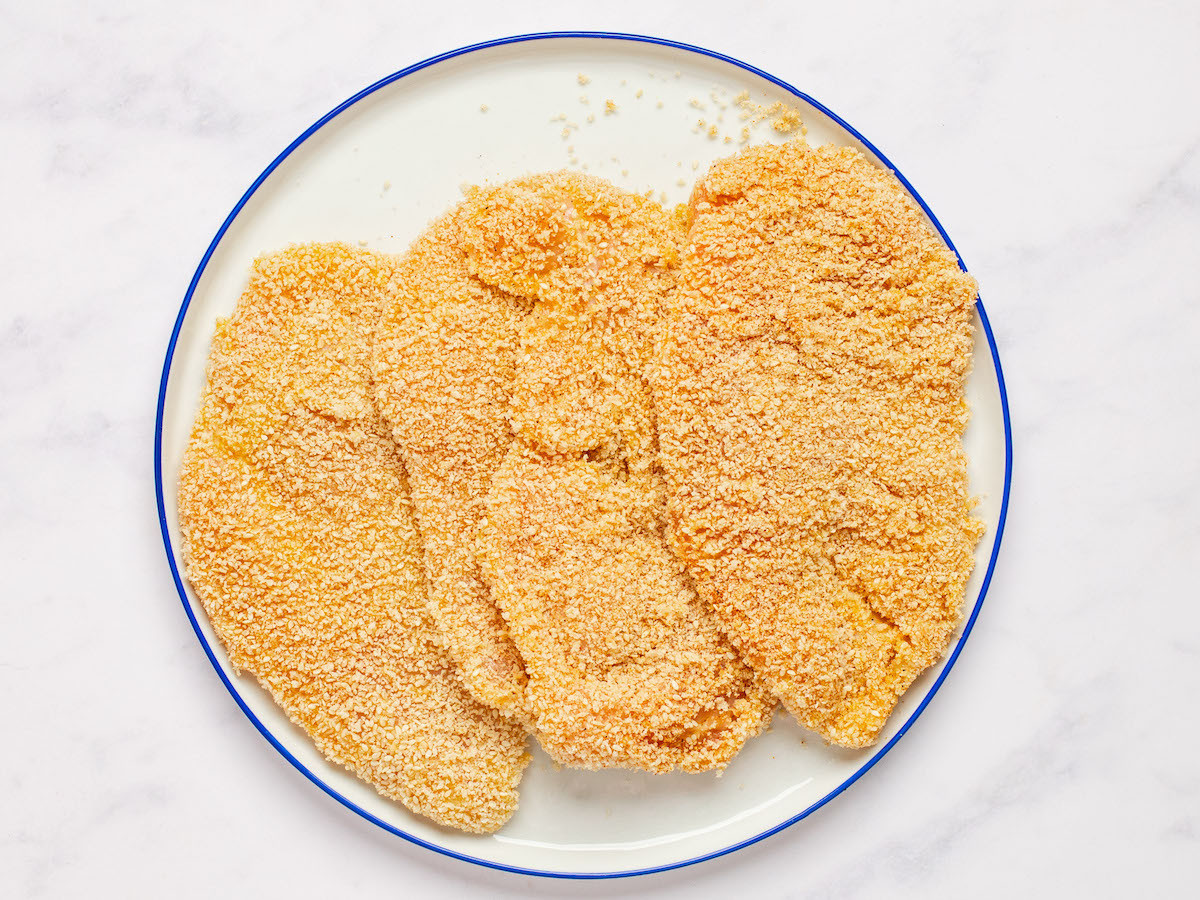
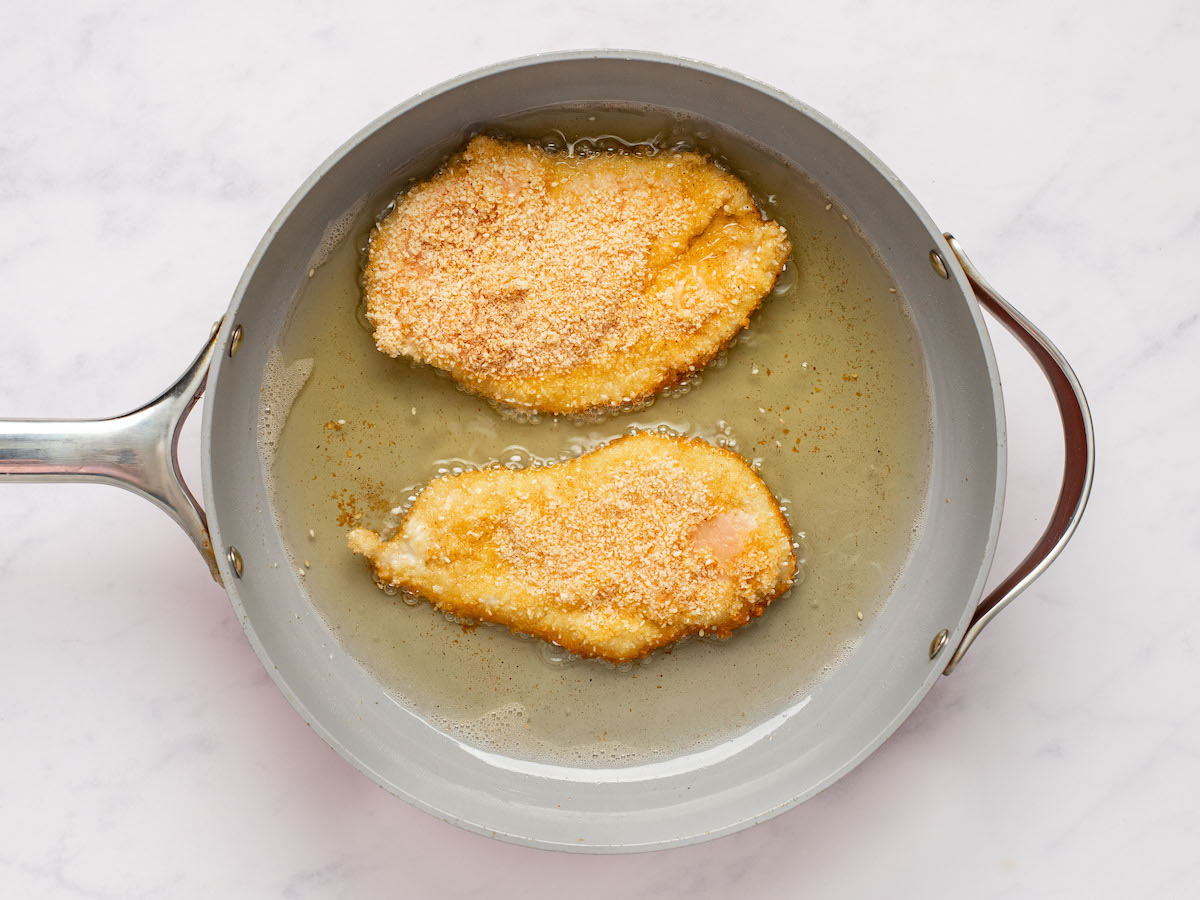
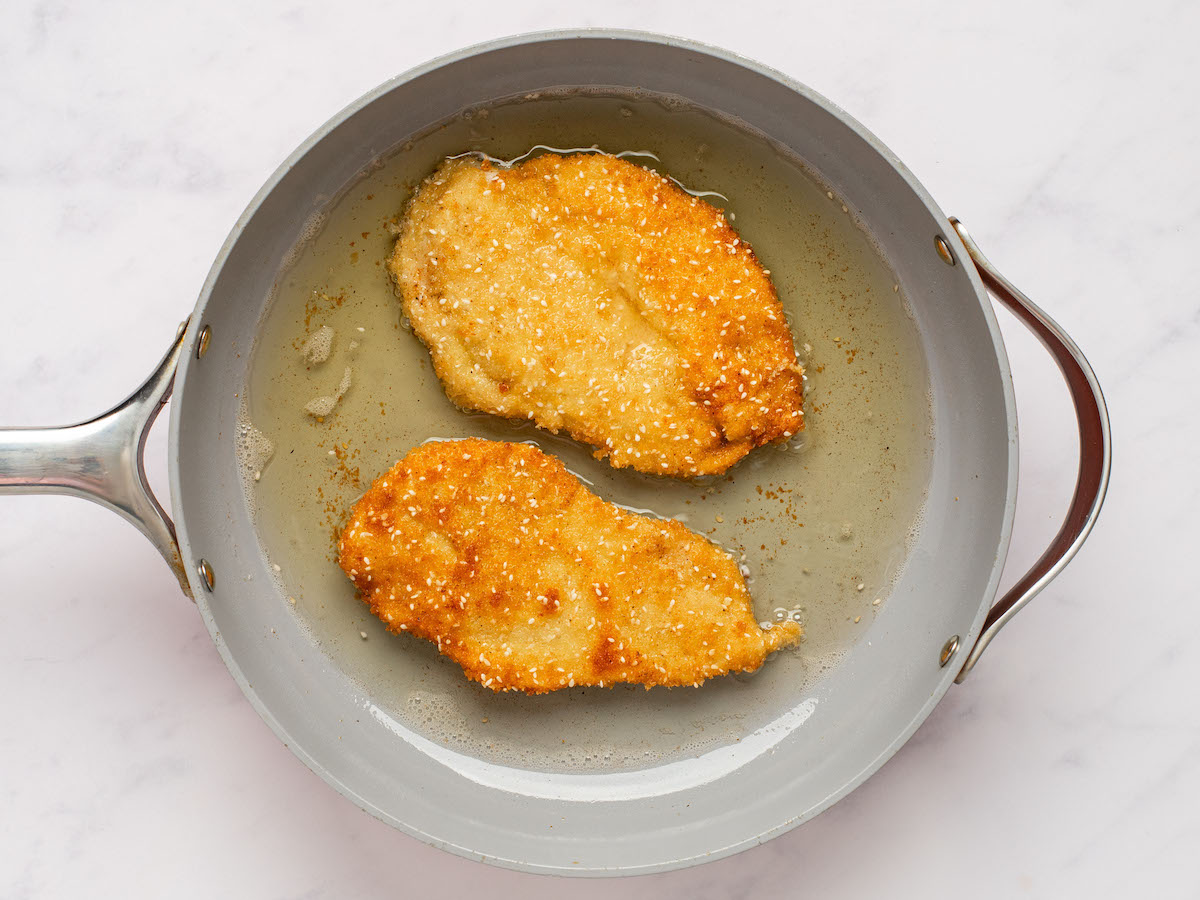
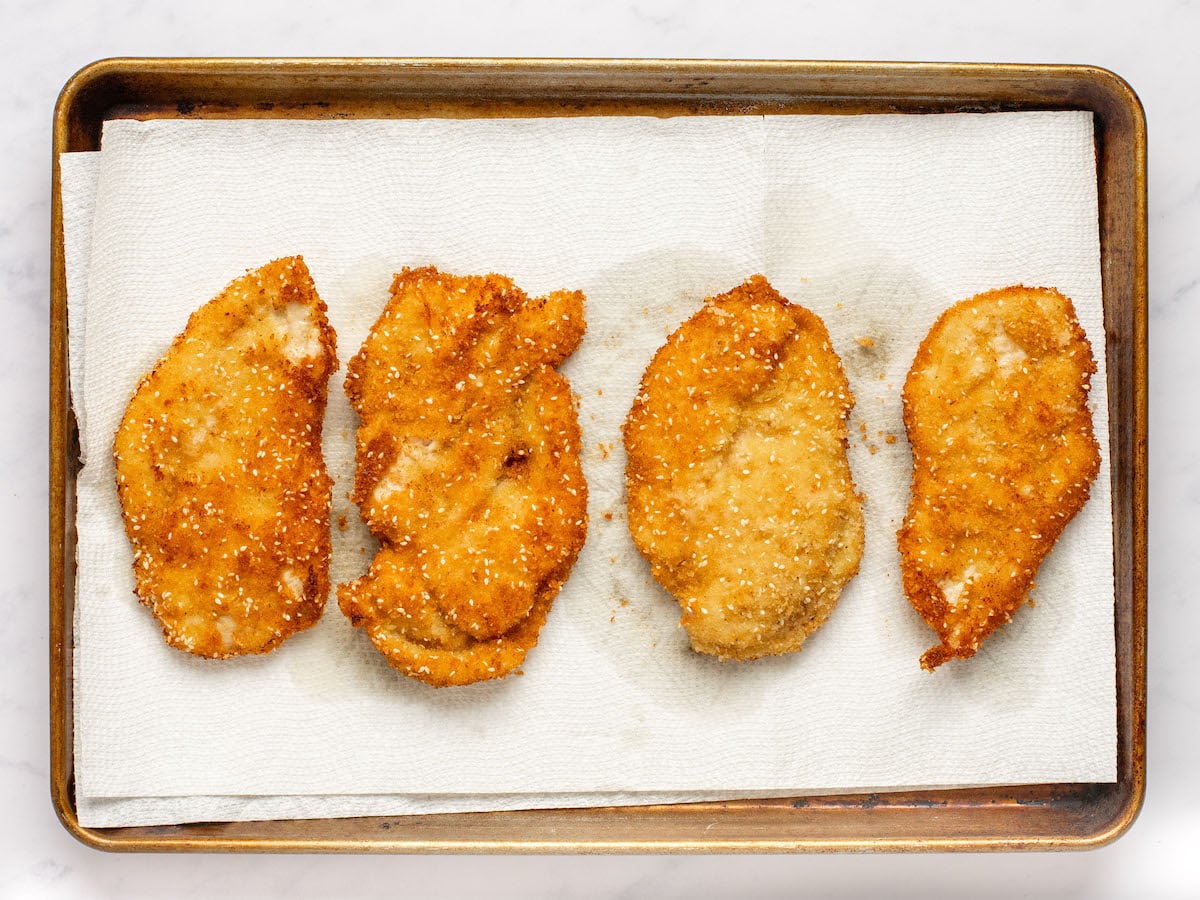
Fry the schnitzel: Heat the oil until hot and shimmering, then fry the chicken in batches without crowding the pan. Cook until deeply golden and crisp on both sides, then transfer to the prepared baking sheet.
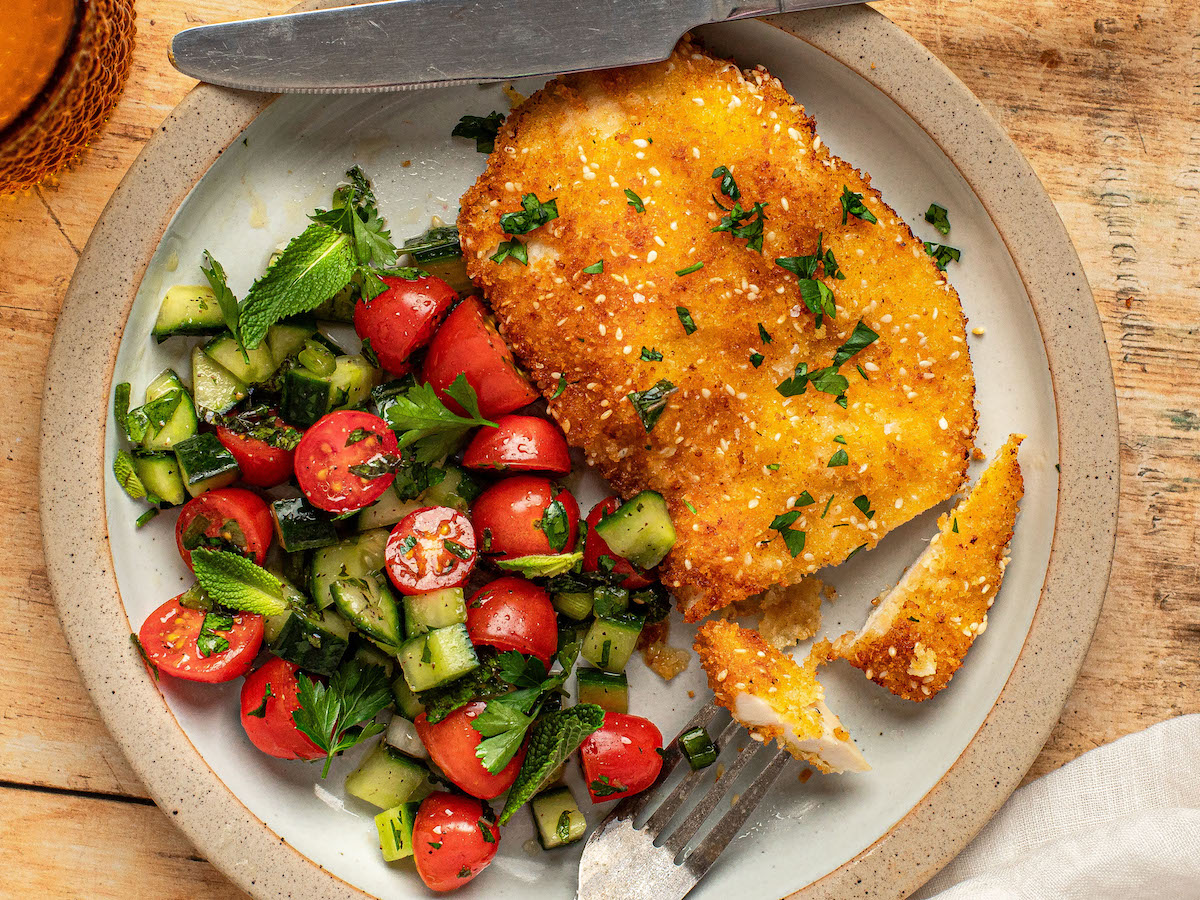
Serve: Serve the schnitzel hot and crispy. Beyond salads, simple vegetables such as roasted asparagus, roasted broccoli, or French green beans make great sides for chicken schnitzel. Whatever you serve alongside, don’t forget plenty of lemon wedges for squeezing over top.
Frequently Asked Questions
Can I use pre-sliced thin-cut chicken breasts instead of pounding?
I don’t recommend it. Thin-cut chicken breasts cook so quickly that the chicken can be done before the breading has time to get golden and crisp. Pounding the chicken yourself also tenderizes it and gives you an even thickness for more consistent cooking.
Can I bake schnitzel instead of pan-frying it?
For that classic crispy, golden exterior, pan-frying is the way to go. However, if you’re aiming for a lighter option, you can bake it. Place the breaded chicken on a foil-lined baking sheet lightly greased with olive oil. Bake at 400°F for 20 to 25 minutes, making sure to flip the chicken halfway through the baking process.
Video Tutorial
More Crispy Chicken Recipes You’ll Love
Chicken Schnitzel
Ingredients
- 2 boneless, skinless chicken breasts (1 to 1¼ lbs/454 to 567 g)
- 2 cups water
- 2 tablespoons kosher salt
- 2 teaspoons sugar
- 1⅓ cups panko breadcrumbs
- ¼ teaspoon freshly ground black pepper
- ½ teaspoon fine sea salt or table salt
- ¾ teaspoon garlic powder
- ¾ teaspoon paprika
- 2 tablespoons sesame seeds
- ½ cup all-purpose flour
- 2 large eggs
- Vegetable oil, for cooking
- Lemon wedges, for serving (optional)
Instructions
- Slice the chicken breasts in half horizontally to form flat fillets. Place a fillet in a resealable freezer bag and use a meat mallet or rolling pin to pound to an even thickness between ⅛ and ¼-in (3 and 6-mm) thick. Remove the pounded cutlet and set aside. Repeat with the remaining pieces of chicken.
- Make the brine: In a medium bowl, combine the water, kosher salt, and sugar. Stir until the salt and sugar are dissolved. Add the pounded chicken to the brine and let sit for 30 to 45 minutes (no longer or the chicken may be too salty). Remove the chicken from the brine and pat dry with paper towels.
- In a large shallow bowl, mix the panko, pepper, fine sea or table salt, garlic powder, paprika, and sesame seeds. Place the flour in another shallow bowl. Beat the eggs in a third bowl. Set up a breading station in this order: flour, eggs, panko.
- Dredge the chicken in the flour, coating evenly on both sides; dip in the eggs, letting any excess drip off; then dredge in the panko mixture, turning and patting to adhere. Place the breaded chicken on a plate and repeat until all the chicken is breaded.
- Line a 13 x 18-in (33 x 46-cm) baking sheet with paper towels. In a large nonstick skillet, heat about ⅛ in (3 mm) of oil over medium heat until hot and shimmering. Place two pieces of chicken in the pan, and cook until the first side is golden brown, 2 to 3 minutes. Carefully flip the chicken and cook for another 2 to 3 minutes, until golden and cooked through. (If the chicken is browning too slowly, increase the heat to medium-high.) Place the cooked chicken on the prepared baking sheet. Cook the remaining chicken in the same manner (you shouldn’t need more oil). Transfer the chicken to a serving platter or individual plates. Serve with lemon wedges, if desired.
Notes
- As tempting as it might be to use store-bought thin-cut chicken breasts for this recipe, pounding the chicken yourself offers numerous advantages. First, it both tenderizes the meat and ensures a consistent thickness for evenly cooked, juicy meat. Second, pounding achieves a more balanced breading-to-chicken ratio; with thin-cut breasts, you get the feeling of eating more breading than chicken. Finally, thin store-bought cuts cook too rapidly, risking undercooked breading or overcooked chicken.
- When breading chicken, use one hand for the dry coatings and one hand for the wet. It’s much less messy this way.
- Nutritional information was calculated assuming that approximately ¼ cup of the oil is absorbed into the chicken when frying.
Pair with
Nutrition Information
This website is written and produced for informational purposes only. I am not a certified nutritionist and the nutritional data on this site has not been evaluated or approved by a nutritionist or the Food and Drug Administration. Nutritional information is offered as a courtesy and should not be construed as a guarantee. The data is calculated through an online nutritional calculator, Edamam.com. Although I do my best to provide accurate nutritional information, these figures should be considered estimates only. Varying factors such as product types or brands purchased, natural fluctuations in fresh produce, and the way ingredients are processed change the effective nutritional information in any given recipe. Furthermore, different online calculators provide different results depending on their own nutrition fact sources and algorithms. To obtain the most accurate nutritional information in a given recipe, you should calculate the nutritional information with the actual ingredients used in your recipe, using your preferred nutrition calculator.
Jenn – I’ve made this recipe about 7 times, and 2 items- brining for longer than 20 minutes makes the chicken salty as does adding salt into the panko mix. so next time- I’m not adding any salt to the panko mix! Beyond that – comes out really good!
Brining the chicken is an interesting idea and can’t wait to try it. I make breaded cutlets all the time (same method as you) and I let them rest in the fridge prior to cooking. I find that the breading really adheres better and no issues later when frying. Thanks for the innovative cooking ideas!
I love your directions! You always take the time to clearly explain not only what to do, but why do it that way- as you explained why to tenderize the chicken and not try to buy the cutlets. It does make a difference. I have learned the hard way. 😉
Thank you for another wonderful recipe with delicious and complementary sides.
It turned out great. It was my first time making chicken schnitzel. They were a bit more tender than expected, but not in a bad way. 10/10
Generally successful. But too salty for me because of the brine and added salt in the panko mix, and I didn’t really enjoy the paprika. That didn’t taste like schnitzel to me; more like a kind of hungarian dish. I used a good quality chicken and wished it had more of a chance to contribute its flavor.
Excellent schnitzel! My whole family loved it. We had it with butter noodles and blackcurrant compote.
Thank you for sharing this delicious recipe, my husband enjoyed so much!
I followed the recipe exactly and must be doing something wrong. When pan frying the chicken, the breading coating gets burned but the internal temperature of the chicken is still too raw/not high enough. Not sure how to balance cooking to the right temperature for the meat but also not burning the coating. I did only one breast at a time – when I pounded them out, they were nearly the size of a frisbee : )
I ended up doing a light fry where the coating was perfectly colored and then put in the oven to finish the meat temperature. Too cumbersome. It was delicious though.
How can I fry (and not burn) but still meet the required internal temperature for the meat?
Hi Michele – sorry you struggled with these a bit! It sounds like you just need to turn down the heat; that will allow the chicken to cook through without burning the breading.
Except for the seasonings, this is Japanese chicken katsu.
Really delicious chicken! Made the recipe exactly as described and am so glad I have leftovers for today! Thank you!!!!
Best chicken schnitzel recipe! Son requests it every week!