Texas-Style Chili Con Carne
- By Jennifer Segal
- Updated February 6, 2024
- 266 Comments
- Leave a Review

This post may contain affiliate links. Read my full disclosure policy.
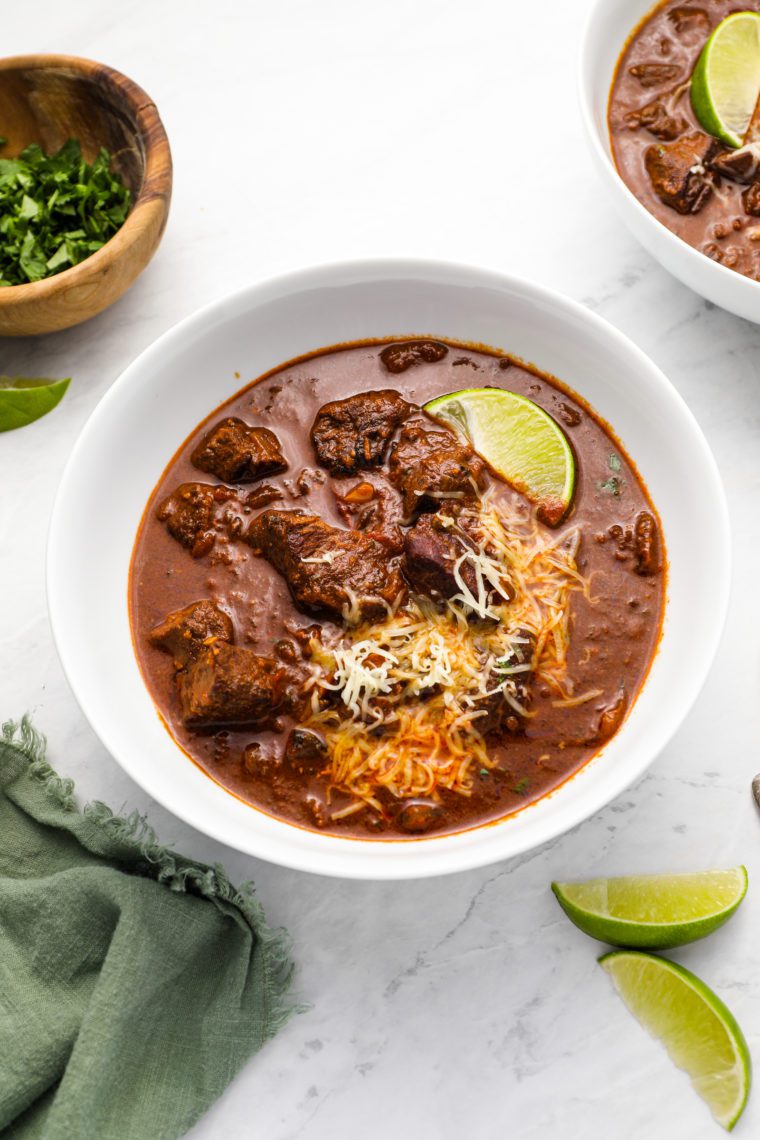
Tender chuck roast in a deeply-flavored and smoky sauce, Texas-style chili con carne is the ultimate beef chili.
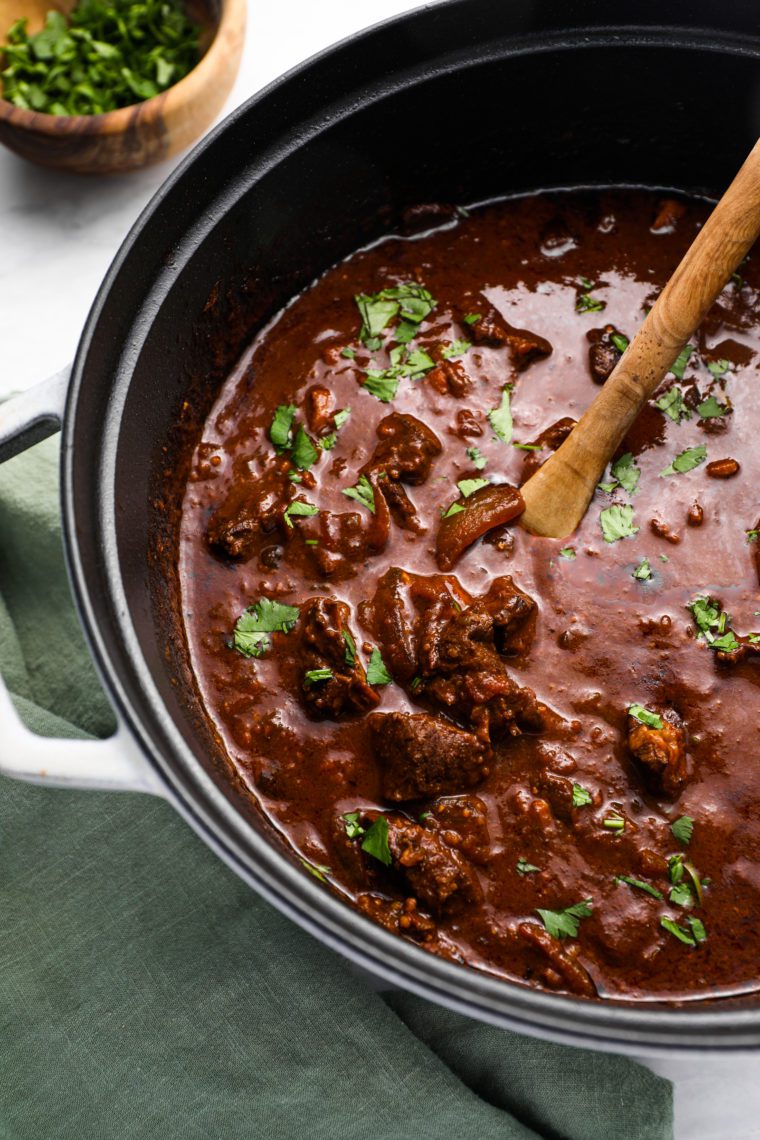
With tender chunks of beef in a thick, deeply-flavored, and smoky sauce, this chili con carne is essentially a chili-flavored beef stew. It’s not the fastest or easiest chili to make (for that, try my ground beef chili recipe), but it’s what I consider the most authentic beef chili. If you’re looking for a recipe for a chili cook-off, this is the one! What makes it Texas-style? Mainly, it’s made with cubed beef rather than ground beef and no beans (true Texas chili also does not contain tomatoes, but I like the flavor they add).
The recipe requires over an hour of prep and active cook time, plus several hours to simmer on the stove, so it’s best to make it over the weekend. I would suggest doubling the recipe; you can freeze some for another night (you’ll be so glad you did!) or use leftovers for tacos, burritos, or topping rice or baked potatoes. Serve chili con carne with cornbread muffins or cornbread.
“Legit. Great chili.”
What You’ll Need To Make Texas-Style Chili Con Carne
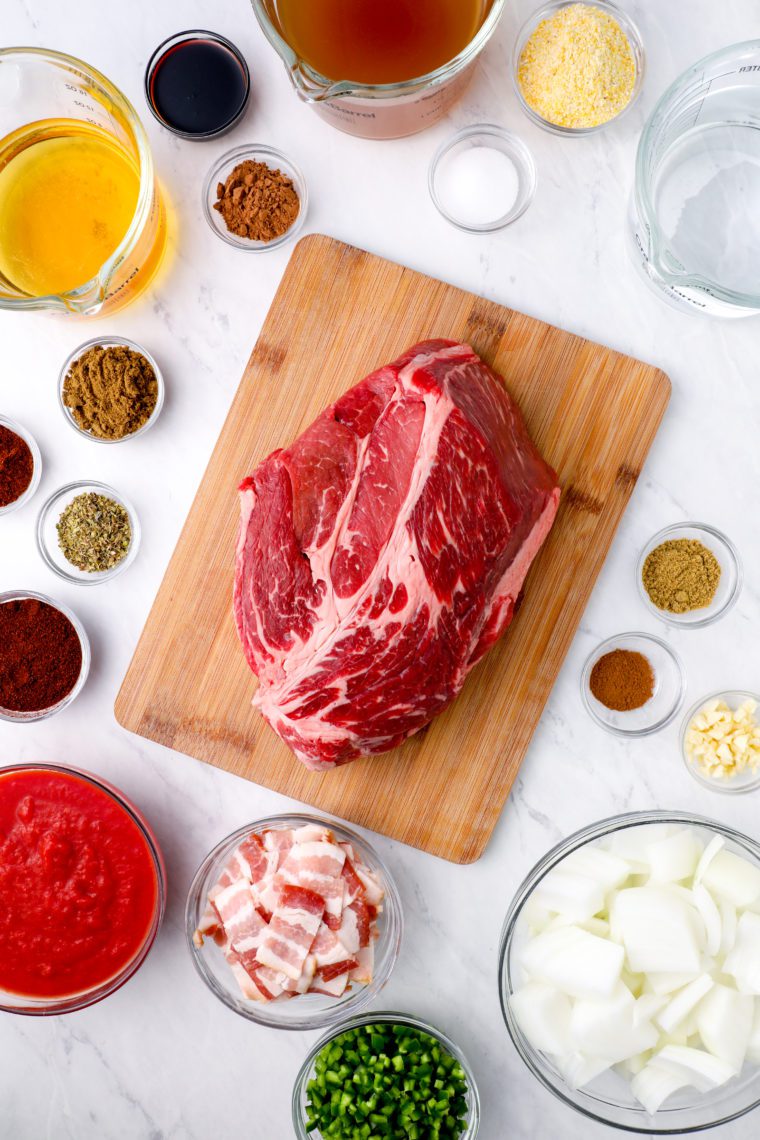
- Spices (Ancho Chile Pepper, Chipotle Chile Pepper, Cumin, Oregano, Coriander, Cinnamon): These spices create a rich and complex chili flavor profile.
- Cornmeal: Used as a thickener, cornmeal gives the chili a hearty texture and a subtle corn flavor.
- Beef Chuck Roast: A cut of meat that becomes tender and flavorful when cooked slowly. It adds body and a rich beefy flavor to the chili.
- Bacon: Provides a smoky element that enhances the overall depth of flavor.
- Yellow Onions, Garlic Cloves, Jalapeño Chiles: This trio forms the aromatic base of the dish.
- Low-Sodium Beef Broth: Adds moisture and a savory depth, allowing the flavors to meld together while keeping sodium levels in check.
- Canned Crushed Tomatoes: Contribute a tangy and slightly sweet foundation, essential for a good chili’s texture and taste.
- Molasses: Brings a rich, dark sweetness, balancing the spices and heat.
- Natural Unsweetened Cocoa Powder: A secret ingredient in many chili recipes, cocoa powder adds a unique depth and a hint of bitterness, complementing the spices beautifully.
- Jump to the printable recipe for precise measurements
Step-by-Step Instructions
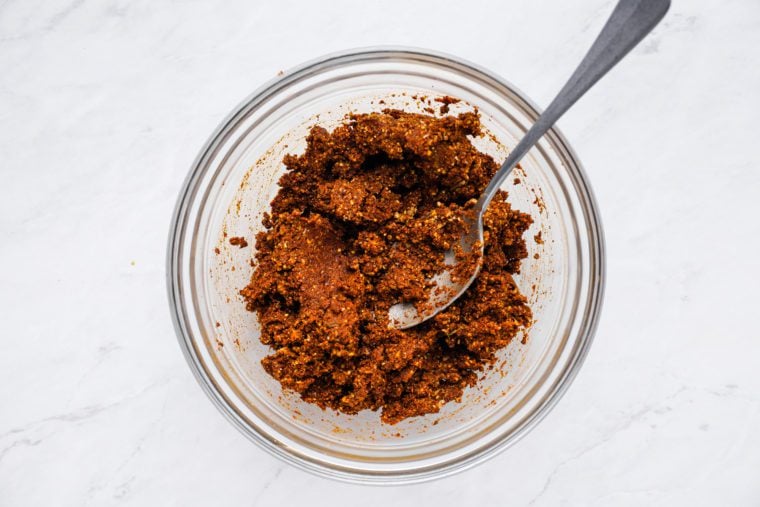
Begin by combining the spices and cornmeal in a small bowl. The cornmeal is used to thicken the stew. Add a bit of water to form a paste, then set aside.
Next, fry the bacon until the fat has rendered and the bacon is crisp.
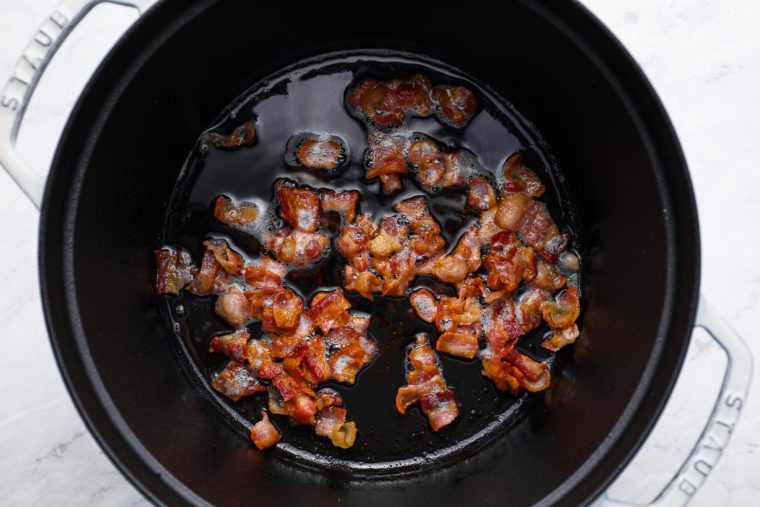
Use a slotted spoon to transfer bacon to a paper towel-lined plate.
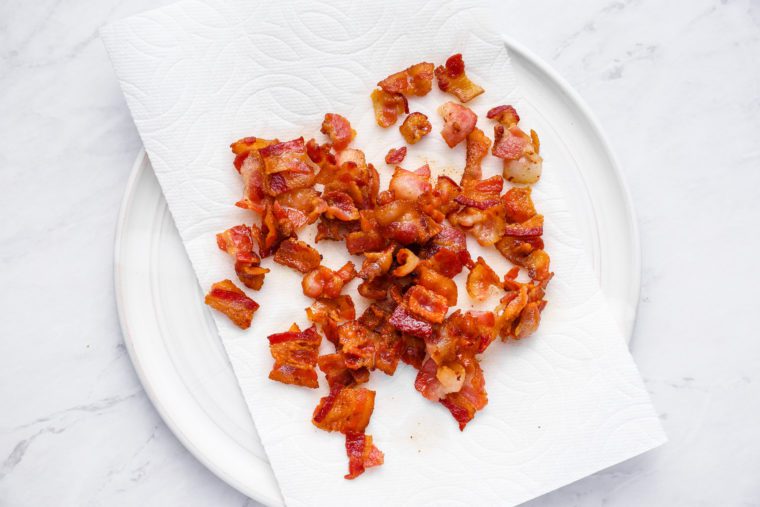
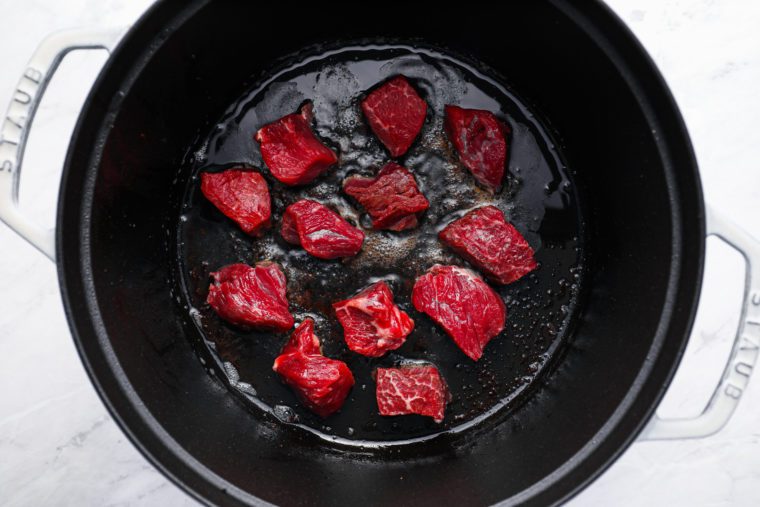
Pour all but a few teaspoons of the bacon fat into a small bowl, then sear the meat in batches (the meat should be in a single layer) until well browned on at least one side, adding more of the reserved bacon fat as necessary. This process creates a depth of flavor and adds wonderful dimension to the stew.
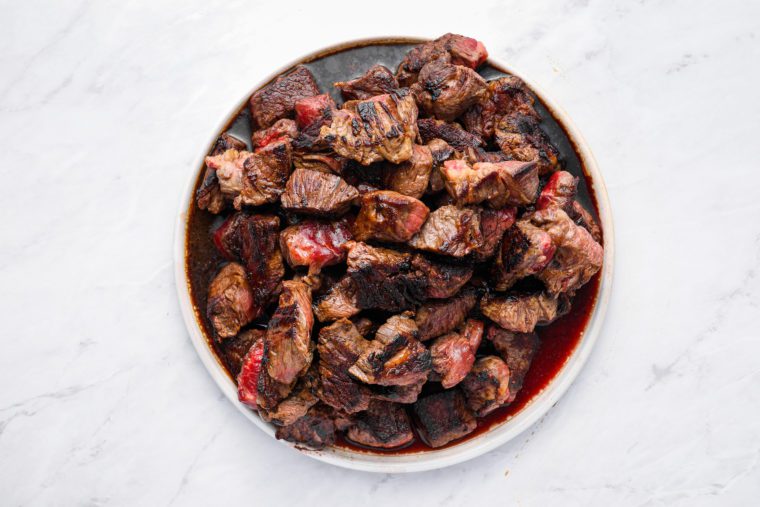
Transfer the seared beef to a plate. Add some water to the pan – it will smoke – and scrape the bottom with a wooden spoon to release all the brown bits. This is called deglazing. Pour the flavorful liquid over the beef.
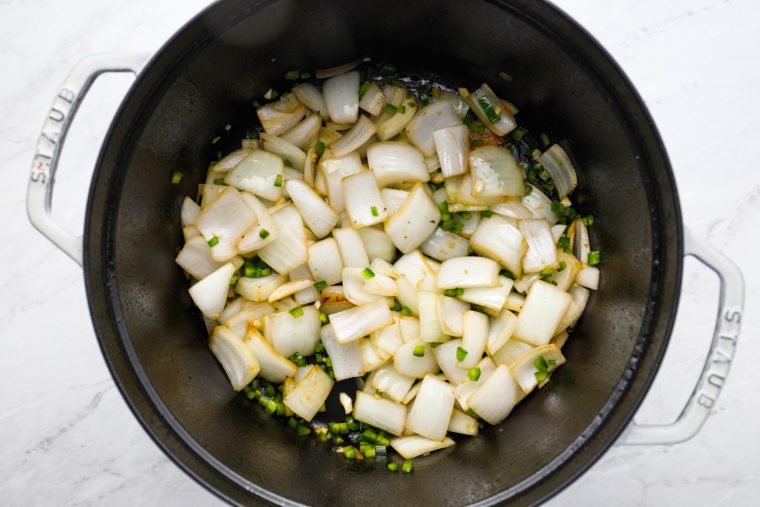
Reduce the heat to medium and add 3 tablespoons of the reserved bacon fat to the pot. Add the onions.
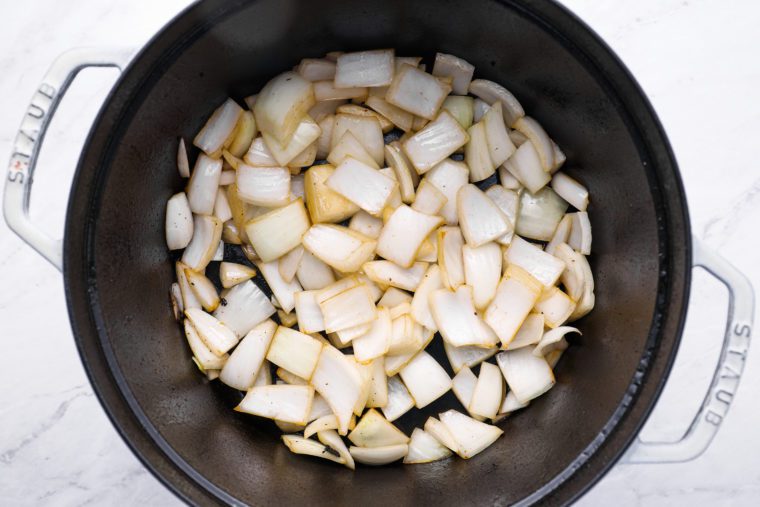
Cook, stirring frequently, until softened, about 5 minutes. Add the garlic and jalapeños and cook 2 minutes more.
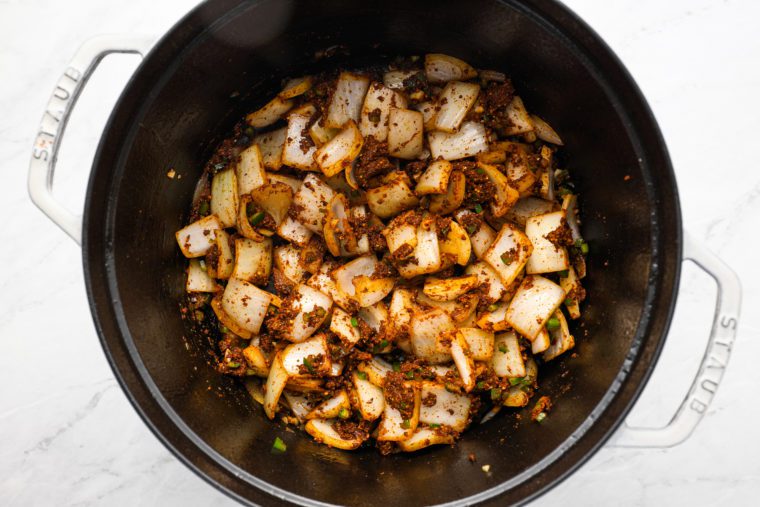
Add the reserved chili paste and sauté until fragrant, a few minutes (it will look clumpy and stick to the bottom a bit – that’s okay).
Add the beef broth the pot.
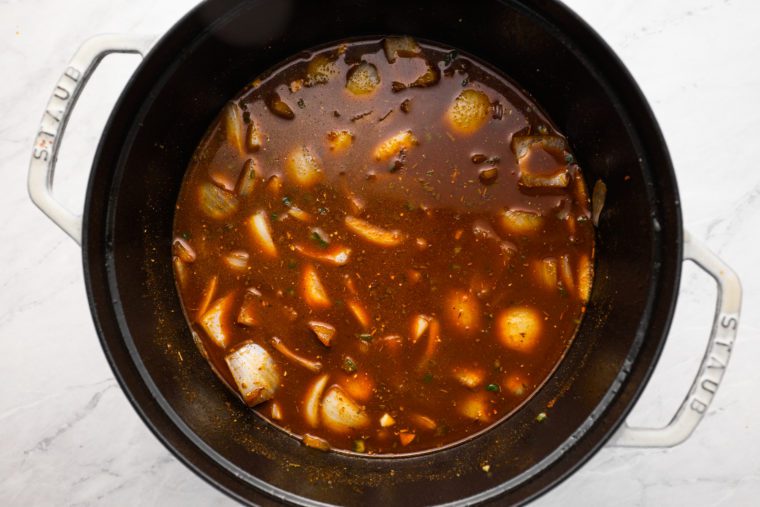
Use a whisk to stir until all of the spices are dissolved into the broth, then add the water, beer, crushed tomatoes, molasses, cocoa powder, seared beef and cooked bacon.
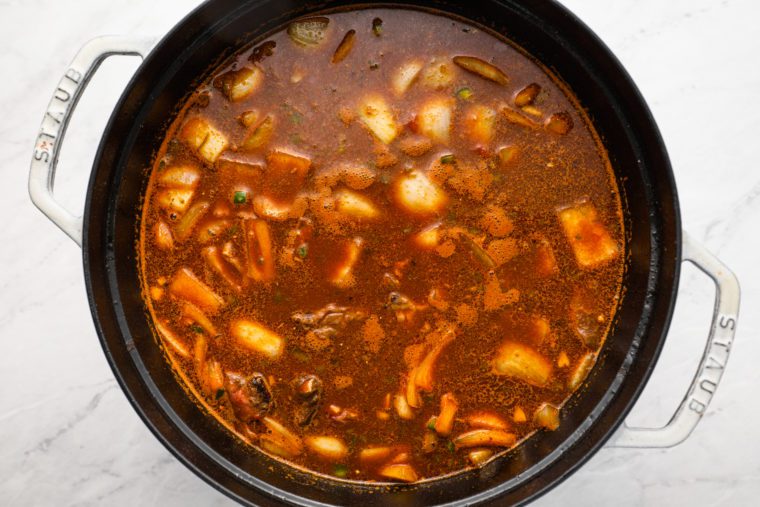
Bring to a simmer, then cover and cook with the lid just slightly ajar for 2-1/2 to 3 hours, or until the meat is tender and the sauce is nicely thickened.

Ladle the stew into bowls serve with shredded cheese, cilantro, and lime wedges.
Frequently Asked Questions
Ground ancho chile pepper, made from dried poblano peppers, imparts a mild, sweet, and smoky flavor with a subtle heat. It’s known for its deep red color and earthy tones. On the other hand, ground chipotle chile pepper, derived from smoked and dried jalapeños, offers a more intense smokiness with a noticeable heat and a hint of chocolatey undertones. The combination of both provides a complex and layered chili flavor.
Chuck roast is a cut of beef that comes from the shoulder area of the cow. It’s known for its rich beef flavor and marbling of fat, which contributes to its tenderness when cooked. Look for meat with a good amount of white fat veins running through it. This marbling ensures that the meat stays tender and flavorful during the slow cooking process. Avoid using generically packaged “stew meat,” especially if it appears lean, as it’s unlikely to become tender. While preparing the chuck roast, trim off the excess fat, but avoid over-trimming. Removing only the large flaps of fat is sufficient, as some fat is necessary to enrich the chili’s flavor.
Yes, the dish can be made up to 3 days ahead of time or frozen for up to 3 months. Before serving, defrost it in the refrigerator for 12 hours and then reheat it on the stovetop over medium heat until hot.
Video Tutorial
You May Also Like
- Classic Beef Chili
- White Chicken Chili
- Chicken Chili with White Beans
- Beef Stew with Carrots and Potatoes
- Chili Mac
Texas-Style Chili Con Carne

Tender chuck roast in a deeply-flavored and smoky sauce, Texas-style chili con carne is the ultimate beef chili.
Ingredients
- ¼ cup ground ancho chile pepper
- 1 tablespoon ground chipotle chile pepper
- 2 tablespoons ground cumin
- 2 teaspoons dried oregano
- 1 teaspoon ground coriander
- ½ teaspoon cinnamon
- ¼ cup cornmeal
- 1 (4-pound) beef chuck roast, trimmed of excess fat and cut into 1½-inch cubes (see note below)
- 8 ounces (about 8 slices) bacon, cut into ¼-inch pieces (see tip below)
- 2 teaspoons salt
- 2 small yellow onions, cut into 1-inch chunks
- 5 garlic cloves, chopped
- 3 jalapeño chiles, cored, seeded and finely diced (see note)
- 4 cups (32 oz) low-sodium beef broth
- 2 cups water, plus more for the chili paste and deglazing the pan
- 1¼ cups lager beer
- 1 cup canned crushed tomatoes
- 1 tablespoon molasses, such as Grandma's Original
- 2 teaspoons natural unsweetened cocoa powder
Optional Garnishes
- Fresh chopped cilantro
- Shredded Cheddar or Monterey Jack cheese
- Lime wedges
Instructions
- Mix the chili powders, cumin, oregano, coriander, cinnamon and cornmeal in a small bow and stir in ½ cup water to form a thick paste; set aside.
- Season the beef with the salt; set aside.
- In a large pot or Dutch oven, fry the bacon over medium heat, stirring frequently so it doesn't stick, until the fat renders and the bacon crisps, about 10 minutes. Using a slotted spoon, remove the bacon to a paper towel-lined plate. Pour all but a few teaspoons of fat from the pot into a small bowl; set aside.
- Increase the heat to medium-high. Sear the meat in three batches (it should be in a single layer), until well browned on one side, about 4 minutes per batch, adding more of the reserved bacon fat as necessary. (Hint: Once the meat is in the pan, don't stir or touch it – leaving it alone will allow it to develop a nice brown crust on one side.) Place the seared meat on a plate. Add about ¼ cup of water to the pot (it will smoke), and scrape the bottom with a wooden spoon to release all of the flavorful brown bits. Pour the dark liquid over the seared meat.
- Reduce the heat to medium and add 3 tablespoons of the reserved bacon fat to the pot. Add the onions and cook, stirring frequently, until softened, about 5 minutes. Add the garlic and jalapeños and cook 2 minutes more. Add the reserved chili paste and sauté until fragrant, a few minutes (it will look clumpy and stick to the bottom a bit – that's okay).
- Add the beef broth and stir with a whisk until the spice mixture is completely dissolved. Scrape the bottom of the pot with the whisk to release any spices. Stir in the the water, beer, crushed tomatoes, molasses and cocoa powder. Add the reserved bacon and seared beef (along with the juices from the beef on the bottom of the plate) back to the pot and bring to a boil. Reduce the heat to low and cover, leaving the lid just barely ajar. Simmer, stirring occasionally so the bottom doesn't burn, until the meat is meltingly tender and the juices are thickened, 2½ to 3 hours. Taste and adjust seasoning if necessary. Ladle the chile con carne into bowls and serve with cilantro, cheese, and lime wedges.
- Note: When selecting the meat, be sure not to buy anything generically labeled "stew meat." Also, you will lose about ½ pound after trimming the fat, so if you buy the meat already trimmed and cubed, you'll only need about 3½ pounds.
- Tip: To make bacon easier to chop, try placing it in the freezer for 15 to 20 minutes first. The colder it is, the easier it is to cut.
- Note: Always be careful when handling jalapeño peppers. Wash your hands well when done and avoid touching your eyes.
- Make-Ahead/Freezer-Friendly Instructions: The chili can be made up to 3 days ahead of time or frozen for up to 3 months. Before serving, defrost it in the refrigerator for 12 hours and then reheat it on the stovetop over medium heat until hot.
Pair with
Nutrition Information
Powered by ![]()
- Per serving (6 servings)
- Calories: 644
- Fat: 32g
- Saturated fat: 11g
- Carbohydrates: 22g
- Sugar: 7g
- Fiber: 3g
- Protein: 66g
- Sodium: 1648mg
- Cholesterol: 195mg
This website is written and produced for informational purposes only. I am not a certified nutritionist and the nutritional data on this site has not been evaluated or approved by a nutritionist or the Food and Drug Administration. Nutritional information is offered as a courtesy and should not be construed as a guarantee. The data is calculated through an online nutritional calculator, Edamam.com. Although I do my best to provide accurate nutritional information, these figures should be considered estimates only. Varying factors such as product types or brands purchased, natural fluctuations in fresh produce, and the way ingredients are processed change the effective nutritional information in any given recipe. Furthermore, different online calculators provide different results depending on their own nutrition fact sources and algorithms. To obtain the most accurate nutritional information in a given recipe, you should calculate the nutritional information with the actual ingredients used in your recipe, using your preferred nutrition calculator.
See more recipes:
Comments
Add a Comment Cancel reply
This site uses Akismet to reduce spam. Learn how your comment data is processed.

Sorry for asking but ,,, by the way just love your recipes all yummy ….For jalapeños mentioned in this recipe,, are they hot or sweet i get confused there are so many oon the market,, I live in N.Z
No apologies necessary, and so glad you liked the recipes! Jalapeños are hot peppers.😊
I cannot believe some of the ingredients I placed into this chili – and it came out amazing! Family loved it, though I reduced the jalapenos to one with seeds. I also moved everything into the slow cooker when it was time to simmer and cooked it on low for at least three hours. Delicious!
I live in Mexico where there are lots of cornmeal options from fine to thick and precooked. What is the type you suggest for this recipe?
Hi Robin, I’d go with medium grind. Hope you enjoy the chili!
Holy cow!!!!!! I love spicy food but this one is waaaaaayyyy too spicy! I mean I love jalapeños, I’ll eat pickled ones whole right out of the jar. I followed the recipe to the letter. What on earth did I do wrong?? Could only eat a little of it over rice with a TON OF CHEESE (I was out of sour cream and we were in the middle of a huge snowstorm so no going to the store). I will try it again but I will seriously cut the spice mix down.
I made this recipe this past weekend when we hosted Game Night for our neighbors, a total of 8 people including ourselves. While still considering myself a novice cook, it was definitely a challenge for me as I decided to double the recipe to ensure I had enough for everyone. It was delicious, and my neighbors, all Texans LOVED it. The rich taste of the sauce, the fact that it had no beans, and the tender meat was a huge hit. Fortunately, there was plenty, and I was able to put some in the fridge for the following night and some in the freezer for my husband and me for when the next arctic blast hits the Houston area. Great recipe! (One last thing: because I knew it was going to take me a while to get it all prepared, I asked the butcher at Kroger if he would help me save some time by removing the excess fat and cutting the meat into stew size pieces, and he did. I was very grateful for that time saver.)